
Its a long weekend here in England (Friday and Monday off work) so am starting on the Kanga DX Conversion Kit. I’ve bought this for when I can have my practical assement as part of my Intermediate Radio Licence.
Stage 0 has been getting enough practice and all the other pre-reqresuits ready, of course these are not in the build instructions, but faciliated the purpose and ability to build and test once complete.
- Setup Mast to Receive on 40m – DXCommander
- Receive Morse on TS-690 on 40m
- Build up soldering skills on other kits (Volt Tester, Oscilliscope, Frequency Generator, Frequency Counter)
- Lab Equipmemnt – have added a USB Microscope as I think this will be very useful
With that I laid out the kit and also pictures of my details so when the assement comes, they can see I have actually built the kit.
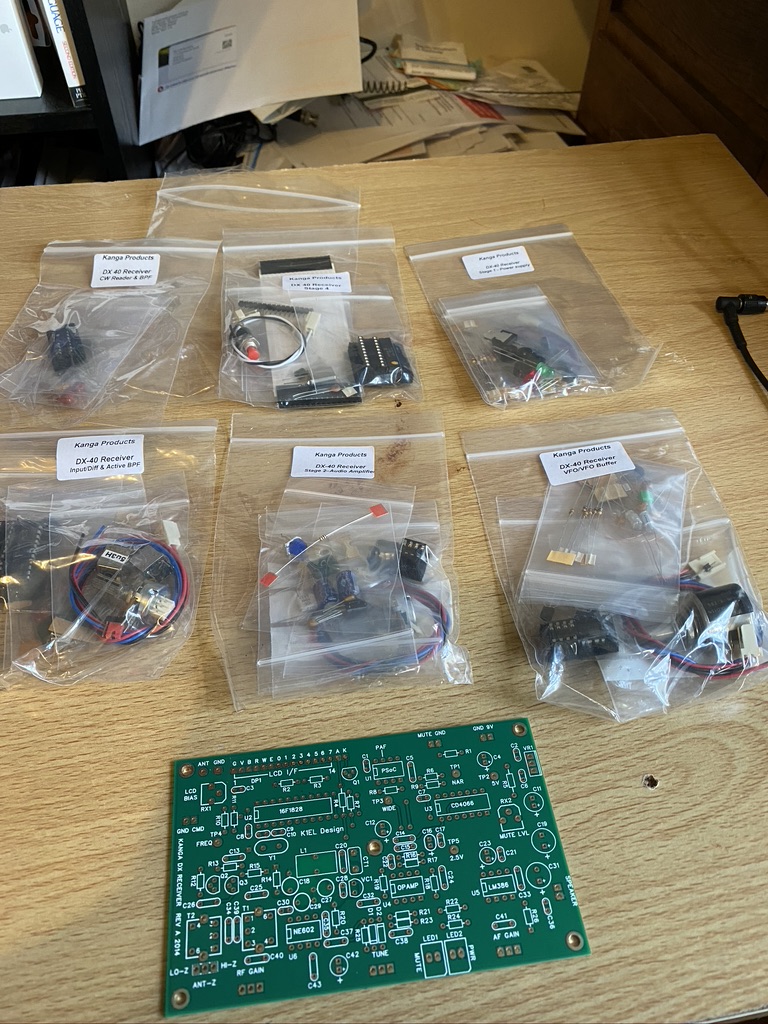
very nicely bagged components 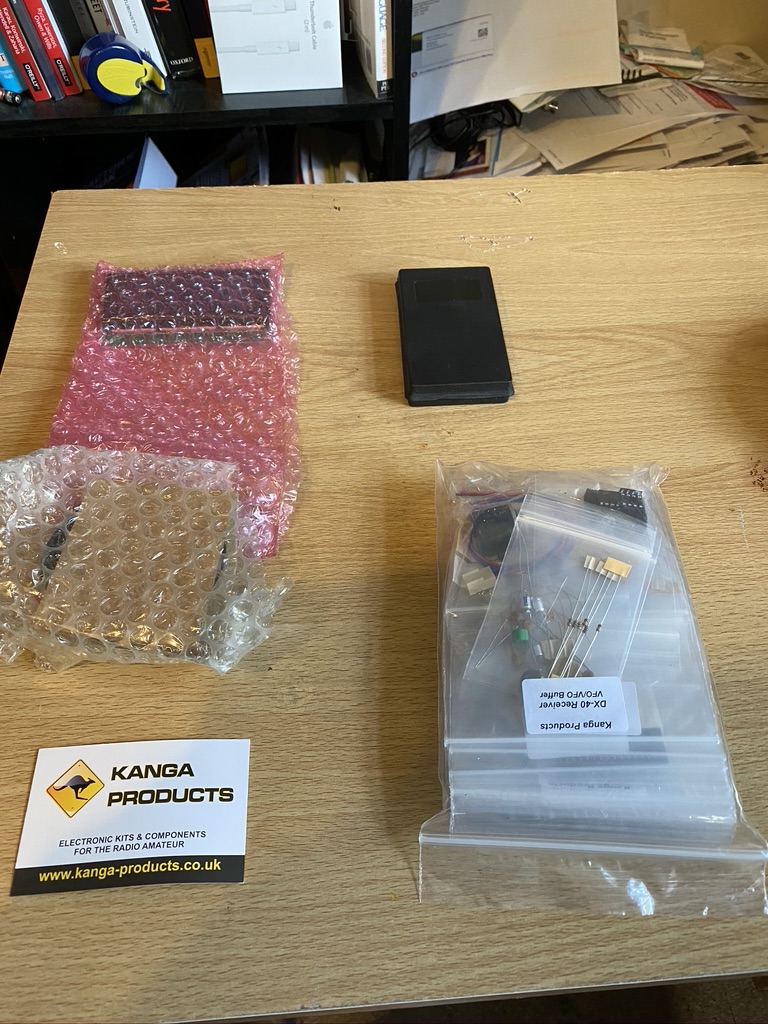
screen, speaker and chips 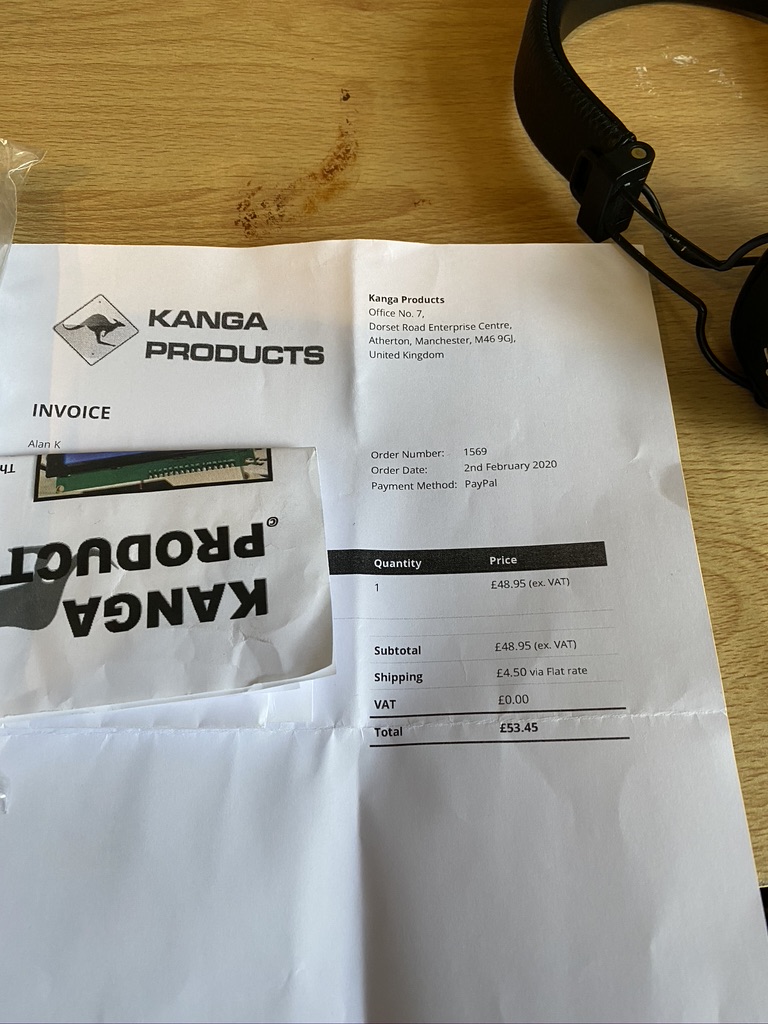
£53 for a kit…
I printed out the instructions from here which are practical, but one criticisim I have is there is lack of a circuit and block diagram. As this kit is built for radio amateurs I think that should be included.
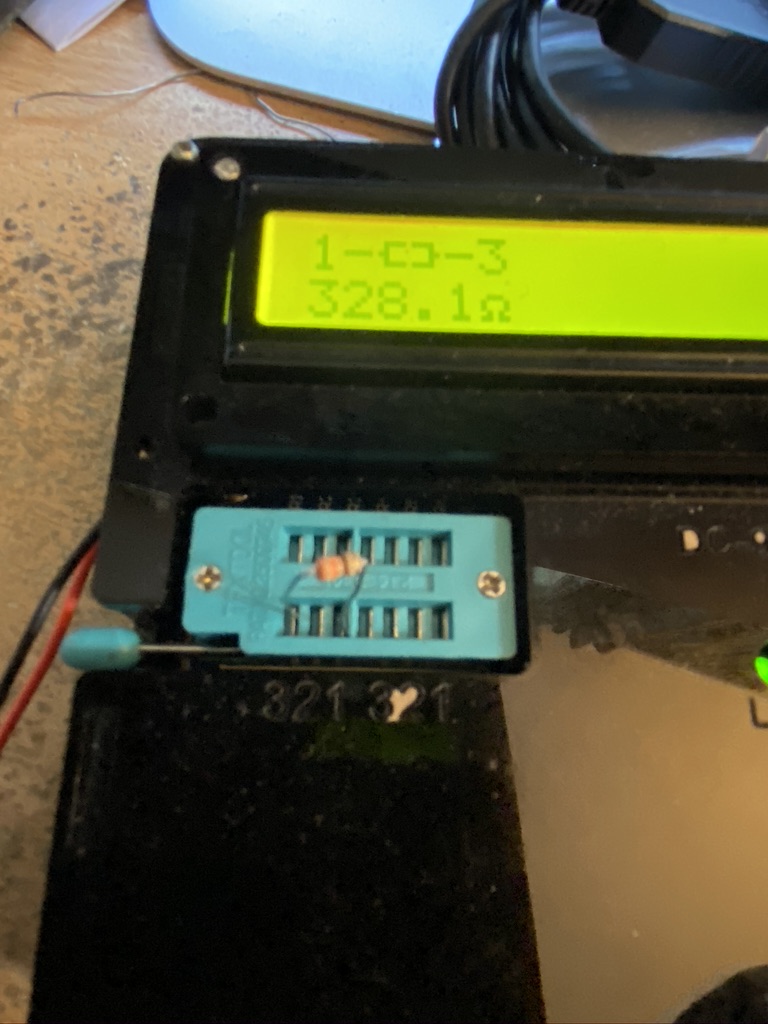
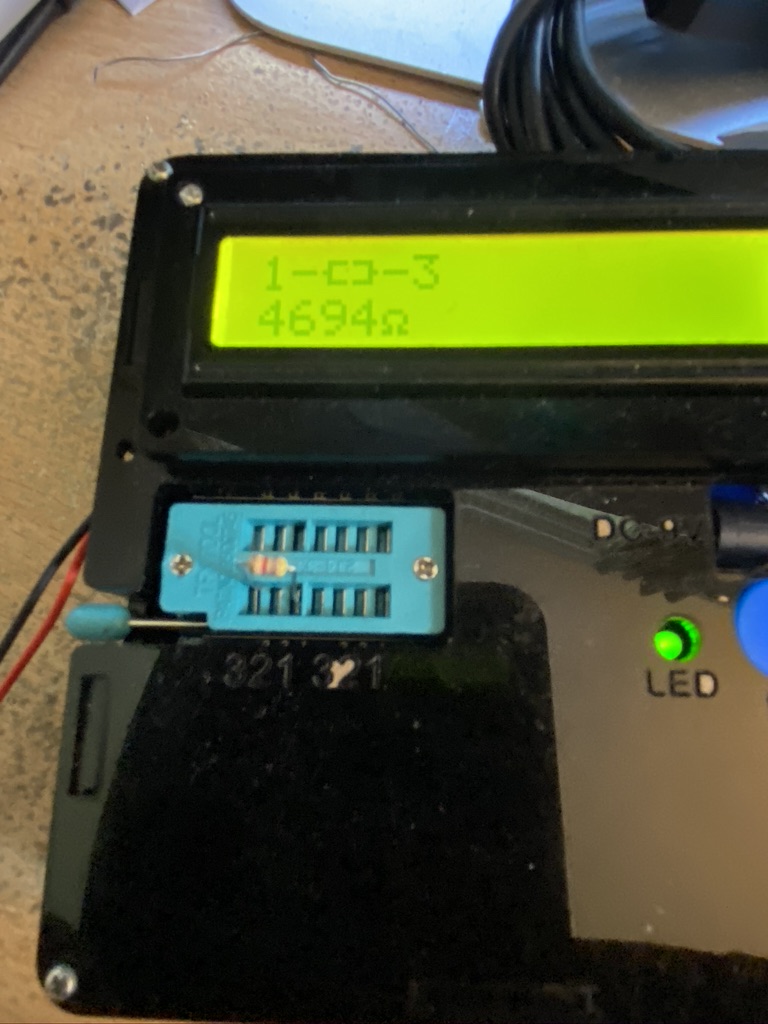
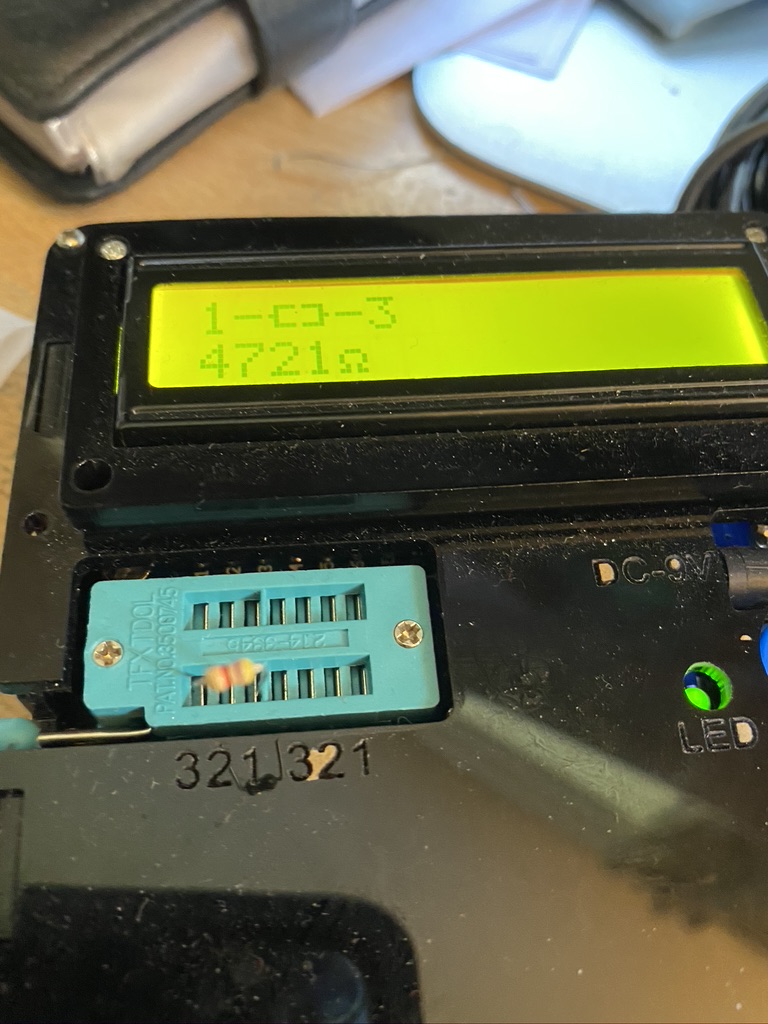
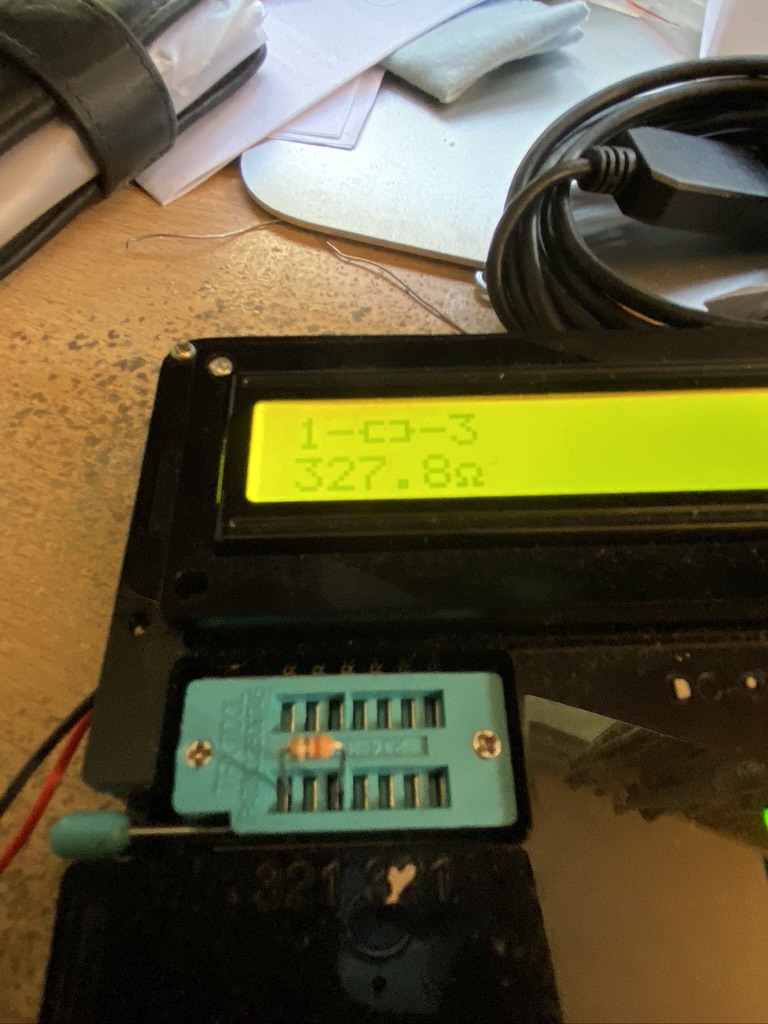
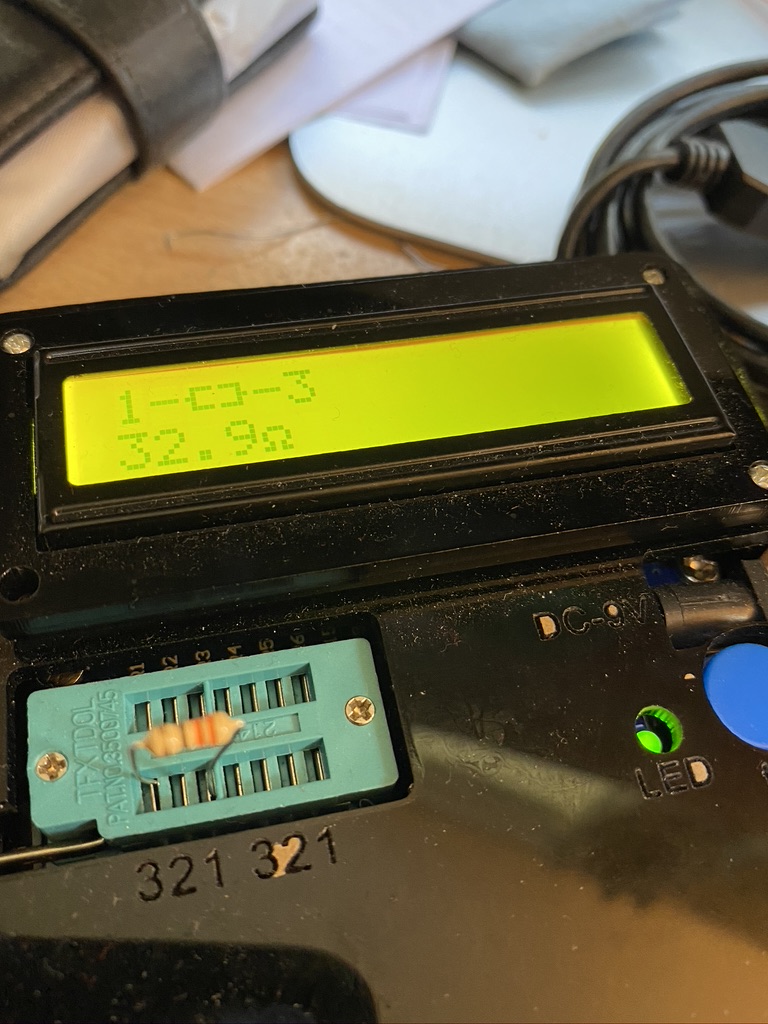
I was very impressed with the clarity of the instructions, in particular giving the colour codes for the resistors. As I have a tester I used that to confirm the values, but it is a great way of ‘learning’ the resistance bands.

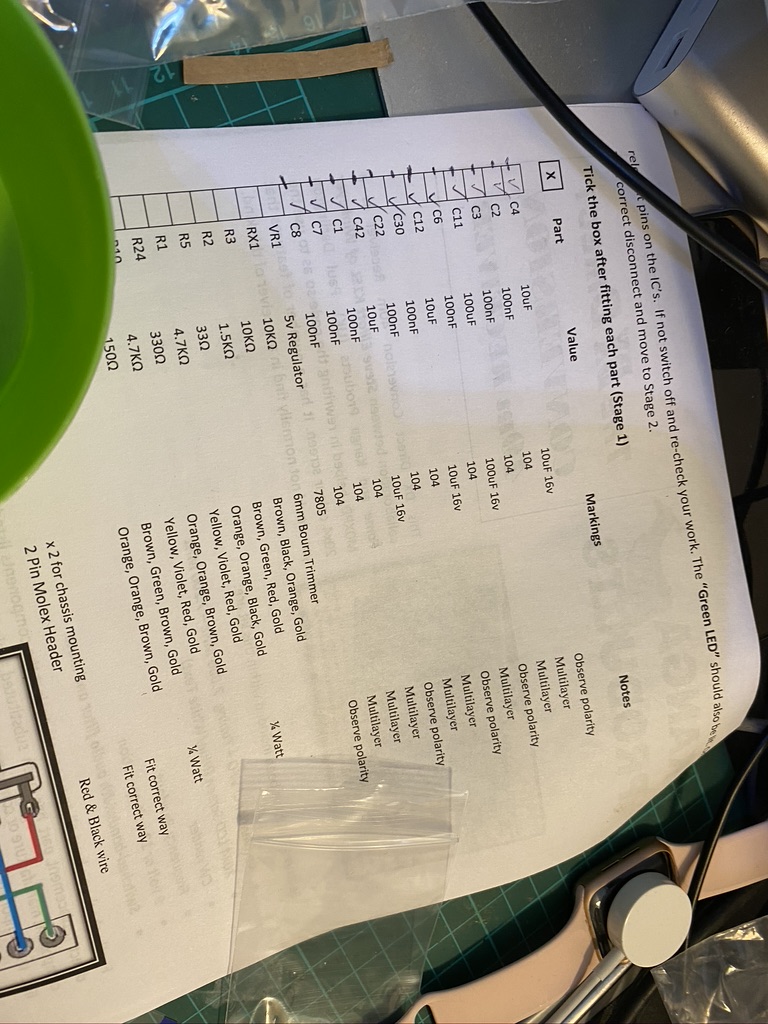
checking off the list
I found getting the trimmer ‘RX1’ to be quite fiddly, as it sits a little off the board and the ‘legs’ bend in a little. Using a fine pair of tweezers allowed the legs to be put into place with the correct height adjustment.
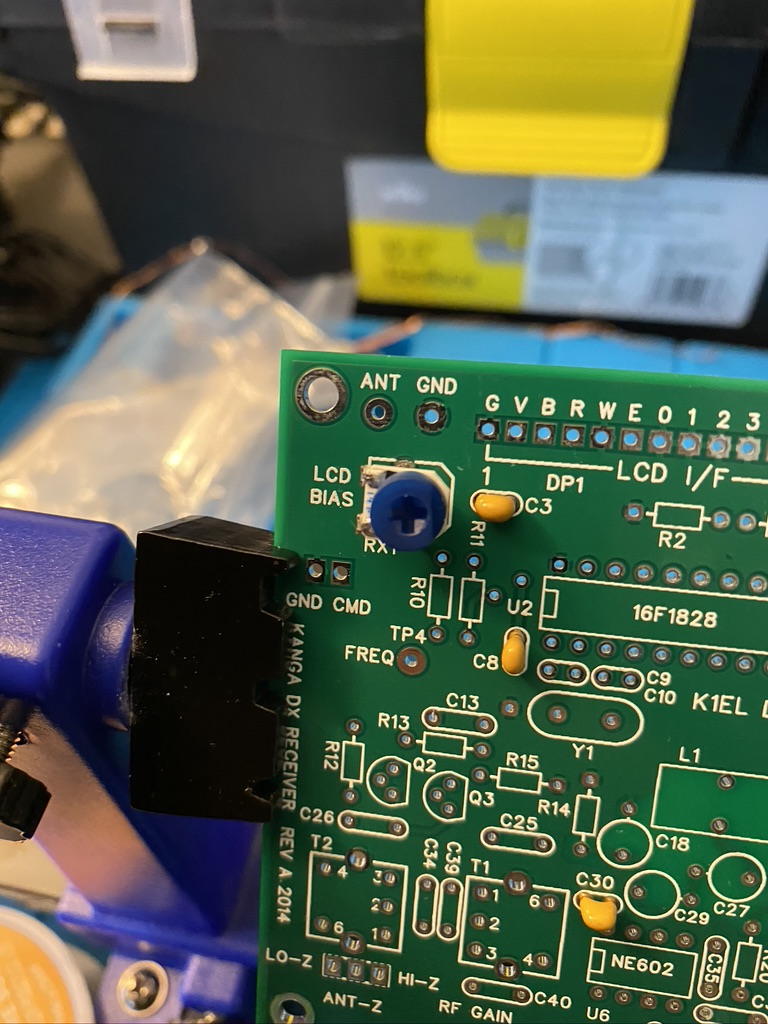
fiddily 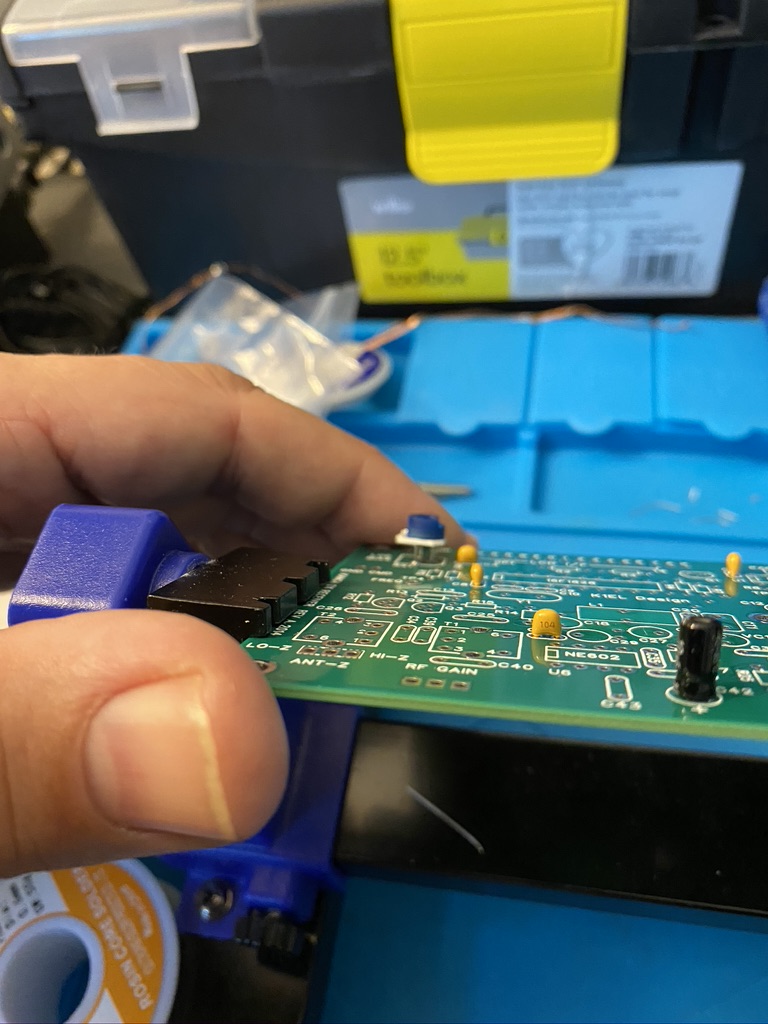
tweezers required!
I then set about putting the LED’s in making sure that I got the +/- the correct way around. I used this site to confirm and from the markings on the PCB assume the ‘notch’ edge to be negative/flat as per the picture.
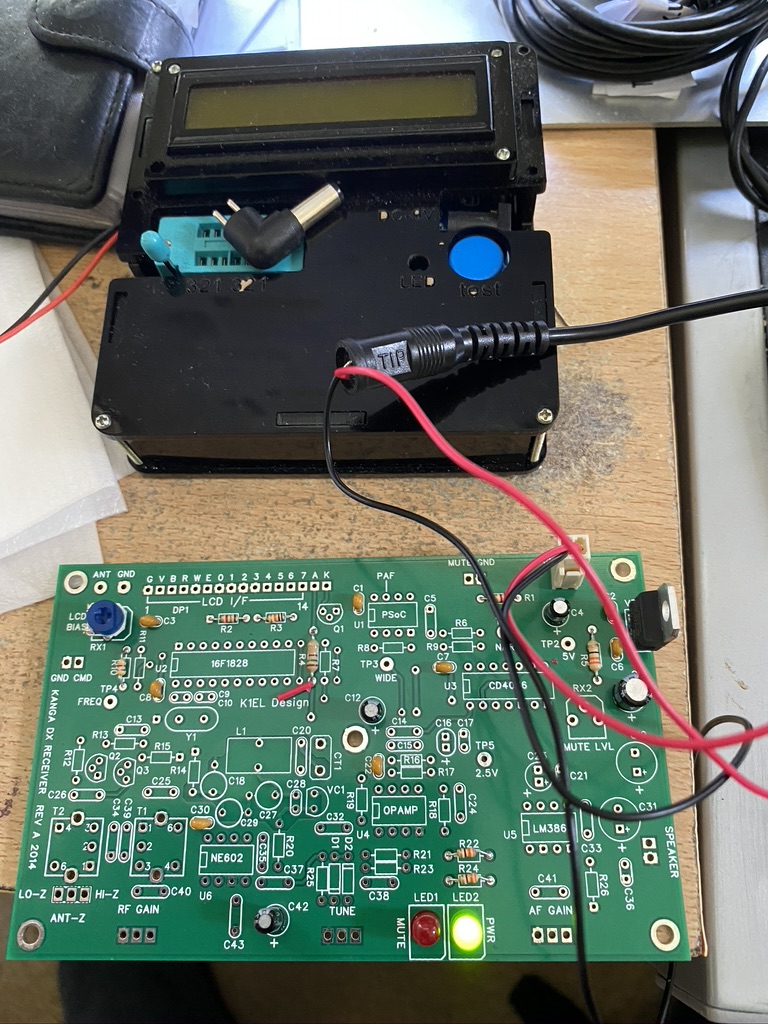
It had taken me about 2 hours of patient and methodical building to get all the components in. I did find however that *ahem* someone had left the voltmeter on and the battery had run flat. I popped out for my daily ‘essentials’ hoping to get a PP9 but no luck, so have ordered a pack of 8 from Amazon here. In the mean time i adjusted my variable PSU and hooked the stage-1 completed board up and huzzah – I have LED’s – which i think confirms the power circuit is working correctly !