Having seen the video on splitting the audio source from the main antenna and using a secondary ‘receive only’ antenna for the MFJ-1028 I thought this was an excelllent idea to deal with the QRM I have.
This video gives an excellent example of how to install the RX7300 and all the necessary connections. However, I use an MFJ-993B on 160m although my end-fed antenna is only designed to goto 80m. The internal ATU is good upto SWR of 3.0 approx, so an external ATU becomes essential.
My first ‘issue’ was getting the case off. I read comments that others had suffered this as well, beit from overight screws, or using the wrong screwdriver. I found a screwdriver that worked perfectly, but one screw (speaker screw, top left from the rfront) wouldn’t budge. In the end i relcutantly used a dremel and a small drill bit to remove the screw.
I do not understand why manufactures put screws in so tight. I wasnt happy about using a dremel on such a new piece of equipment.
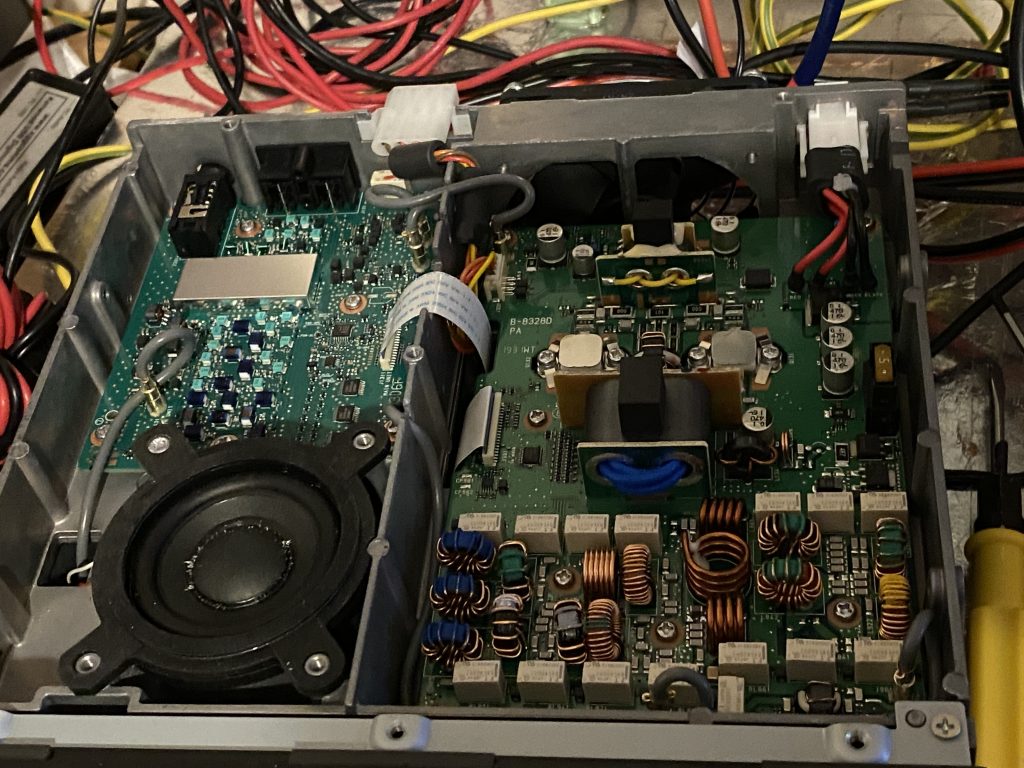
how to route the ATU 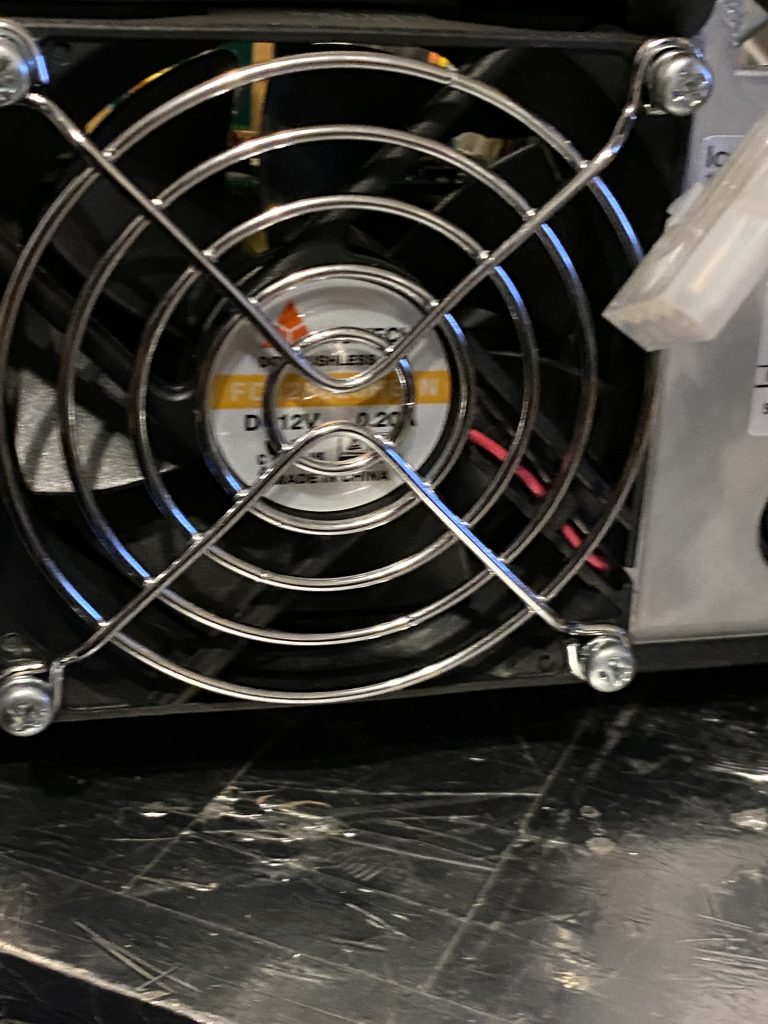
is the fan an option ?
I looked at the ATU cable and where it could fit. I wasn’t going to cut the case, thats for sure, and whilst i dont use the other sockets at the moment, i may do in the future. It felt like i was gaining one feature, i.e. to tap the RX circuit but had to lose another. The Instructions for the tap kit specify that the ATU cable be tucked away and kept away from the fan. However, this gave me an idea to look at could I route the cable around the fan enclouser and not-tighten the screws quite so much ?
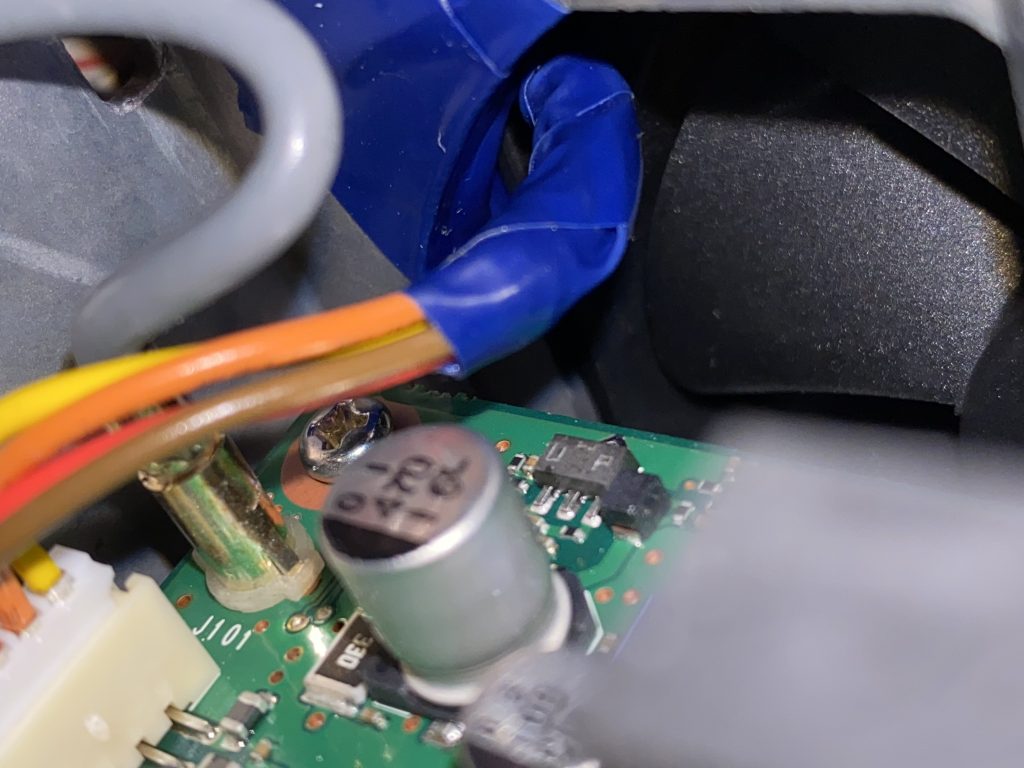
electrical tape around the ATU feed wires 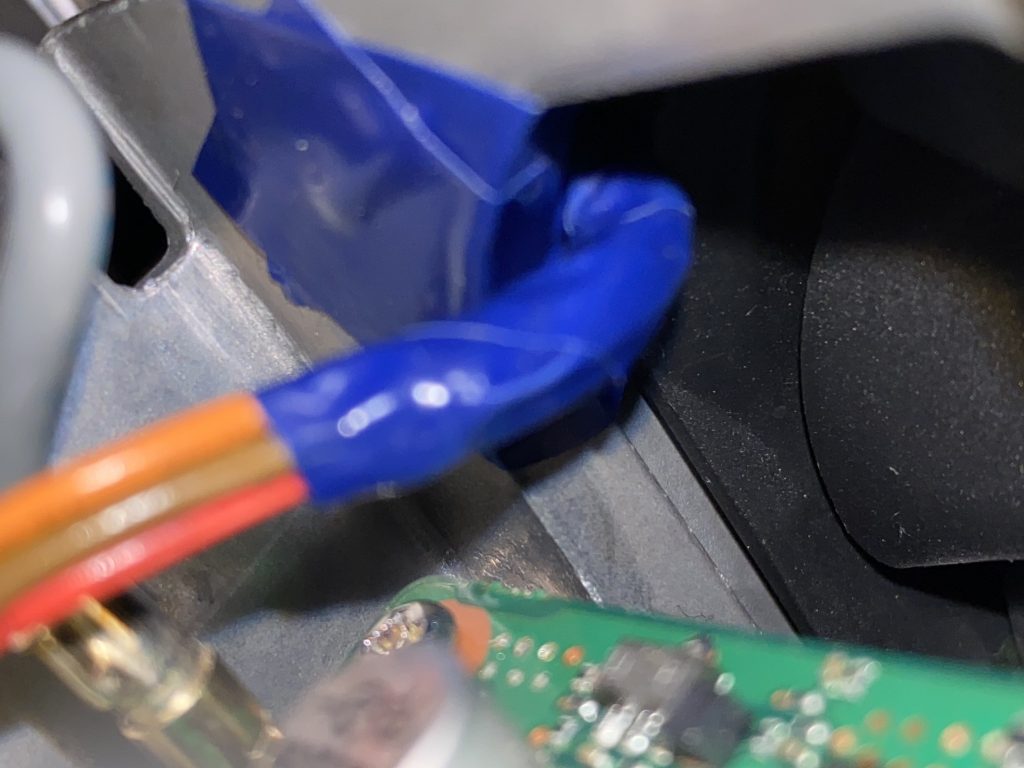
out of the case via the fan, but not thru it 
magnifying glasses to the ready
I carefully fed the ATU wiring around the fan enclousre, not thru it, but between the fan case and the chasiss of the transceiver. I put on electrical tape onto the wire and the chassis to provide a degree of protection to the cable.
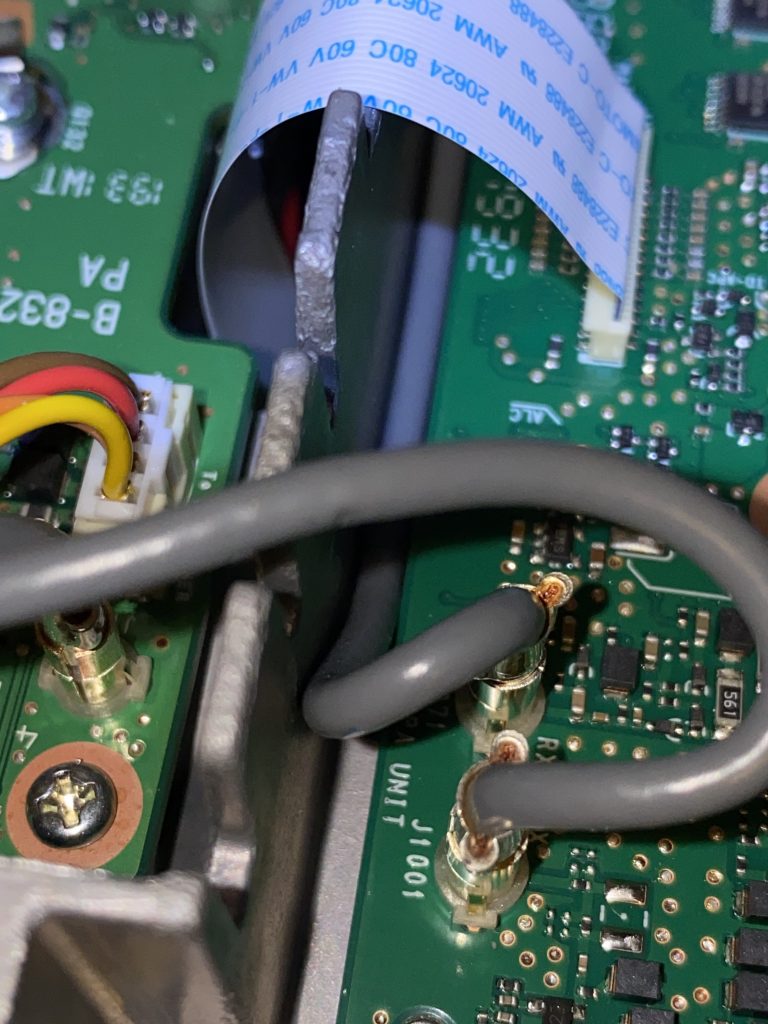
remove the front most cable 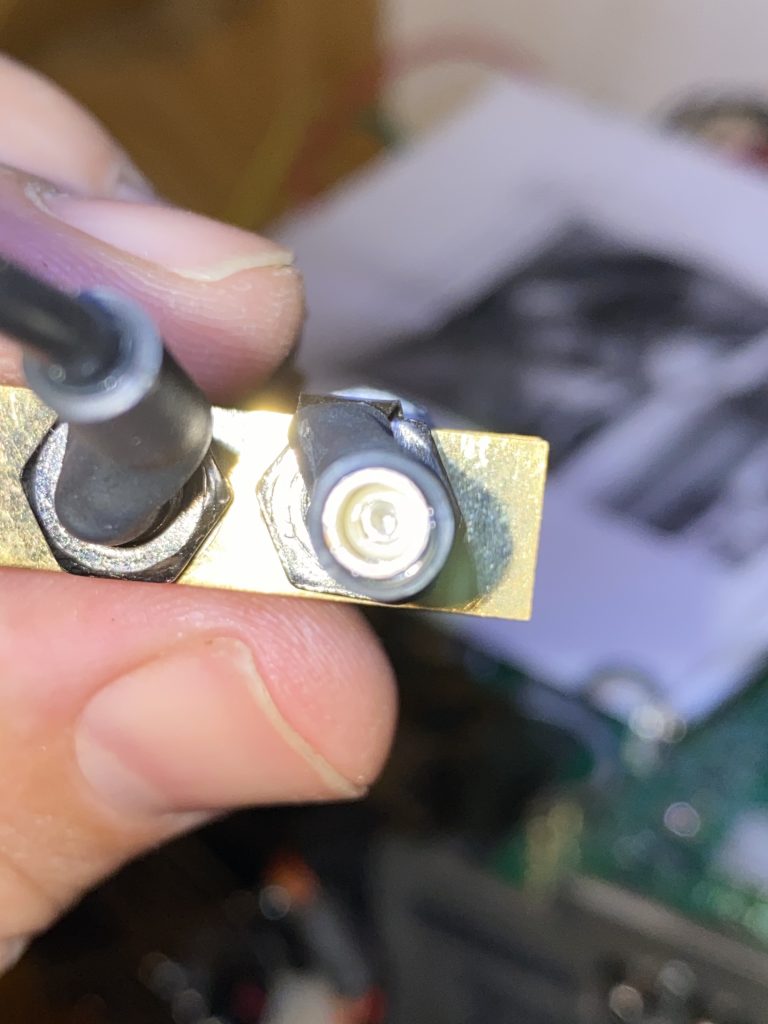
attach into the jack 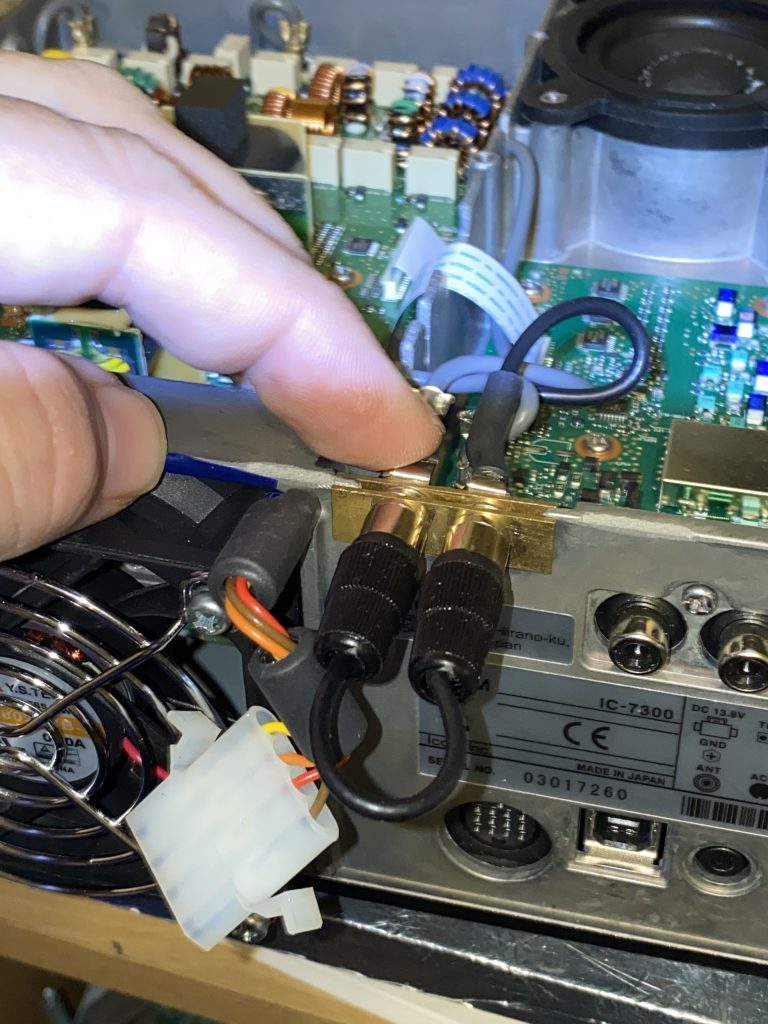
mount the tap, in this case loopback fitted 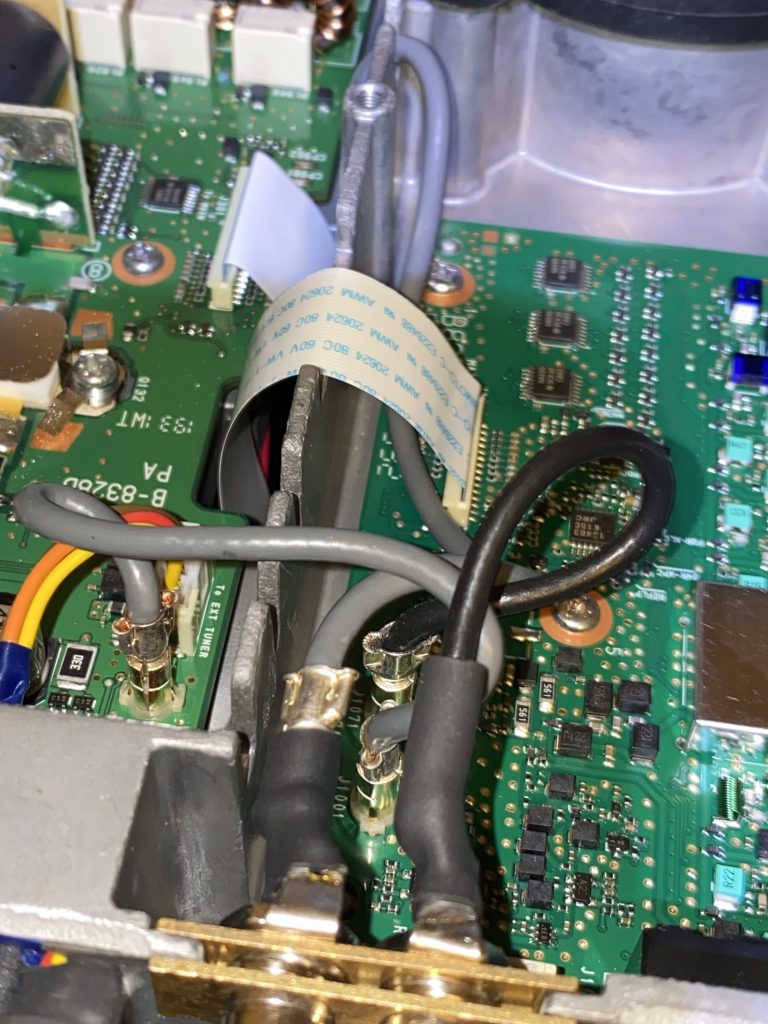
route the cabling tidly 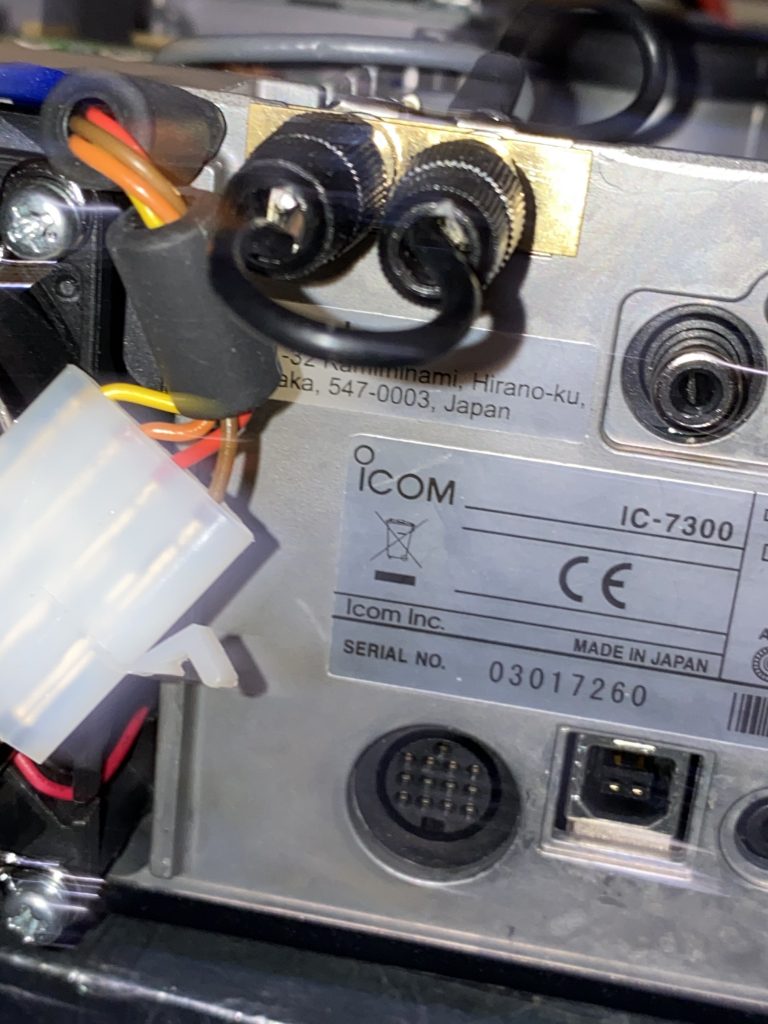
ATU + Tap available !
I was able to get te ATU cable and the RX Tap out of the casing nicely. The next step was to do some basic testing of the transcevier, firstly without the ATU to ensure receive was working correctly, then to test some low-wattage (WSPR) and then higher (FT8) transmissions.
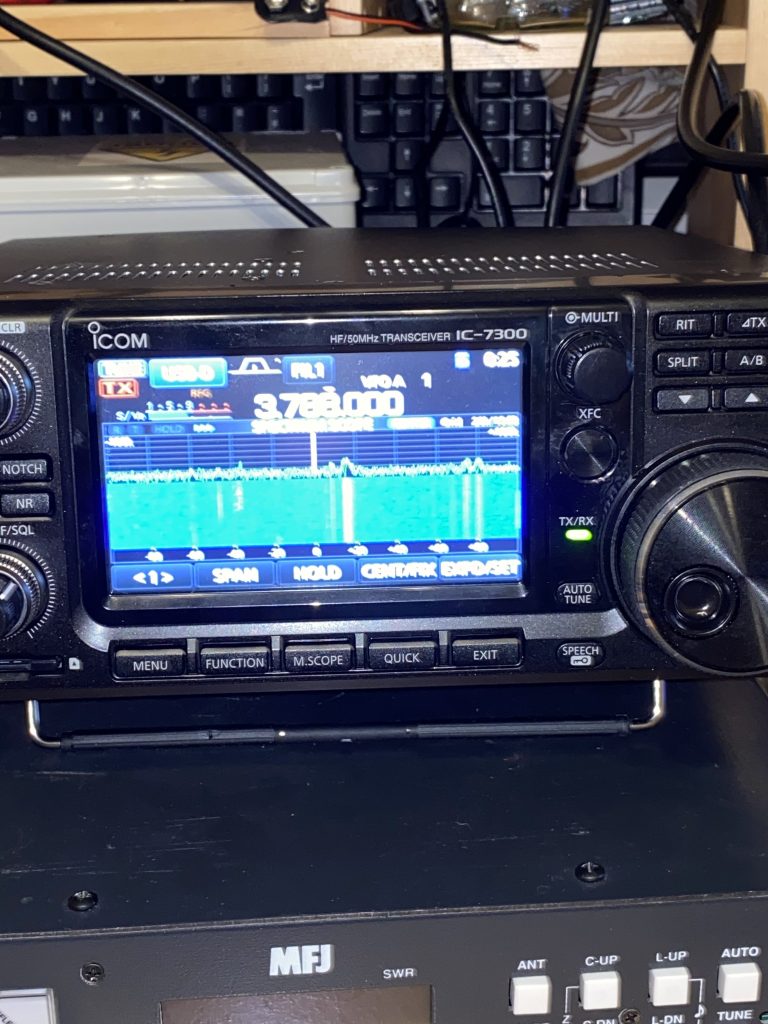
80m 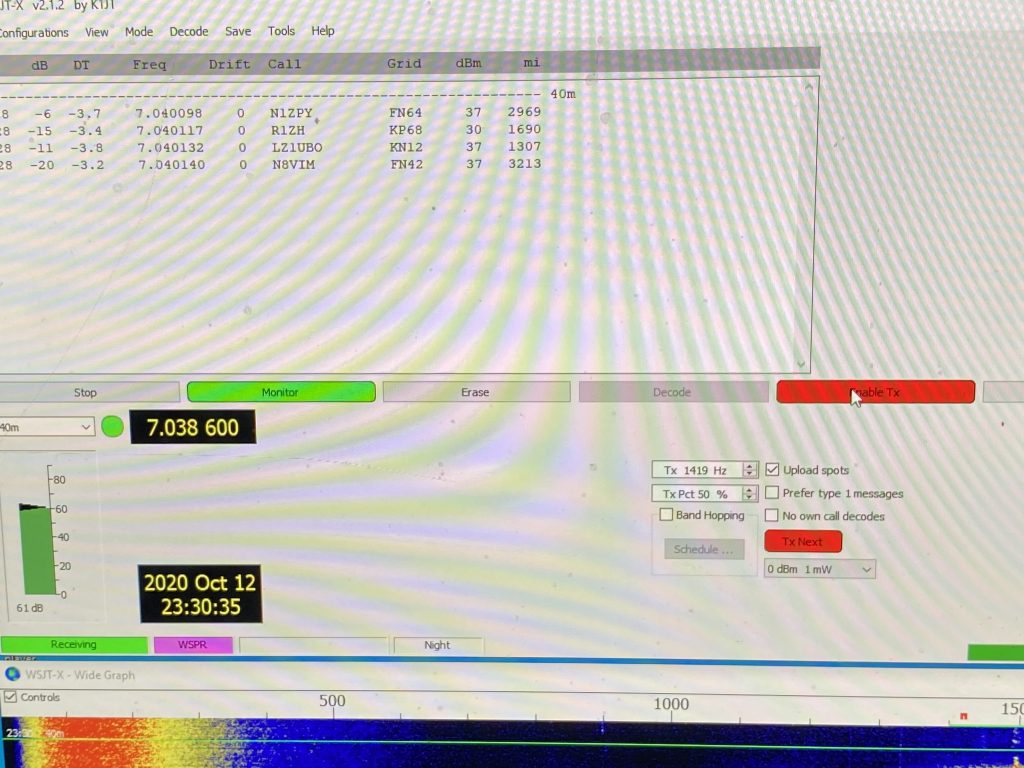
WSPR 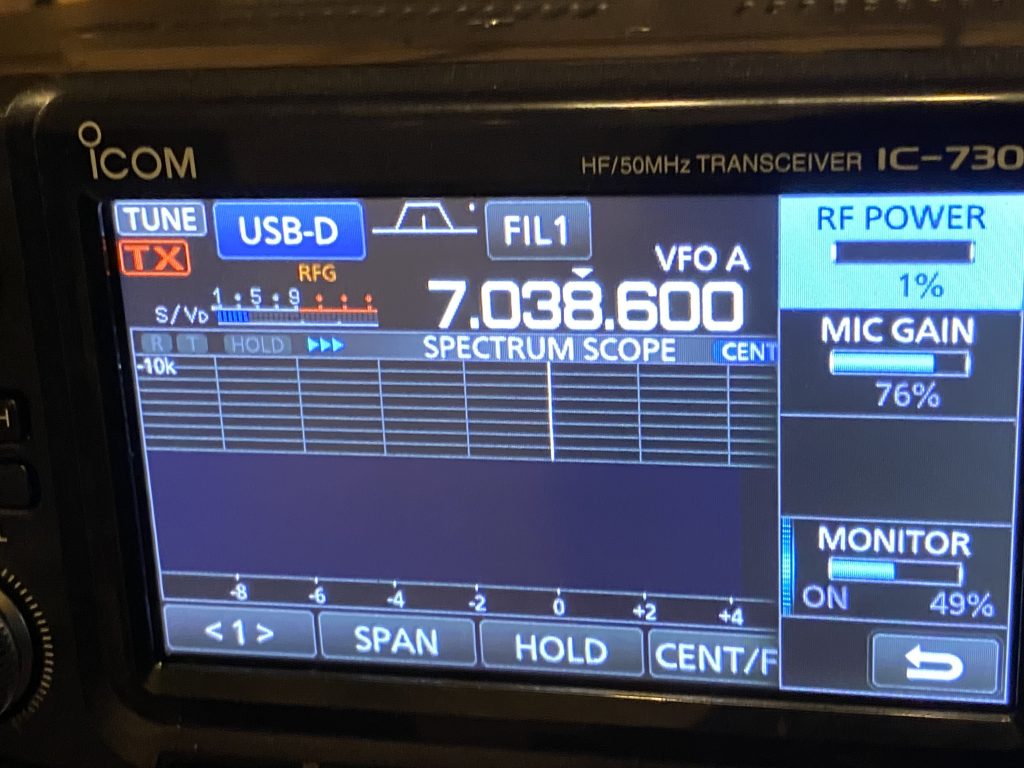
40M FT8
I was able to receive WSPR no problem and also transmit and see my transmissions were being received via WSPR.net map. This was on 1W of power. I then proceeded to FT8 on 40m, as this is a popular frequency any time of day with generally good propergation. With 20W I was quickly able to make contacts and confirm my RX tap was working correctly and my TX was working correctly.
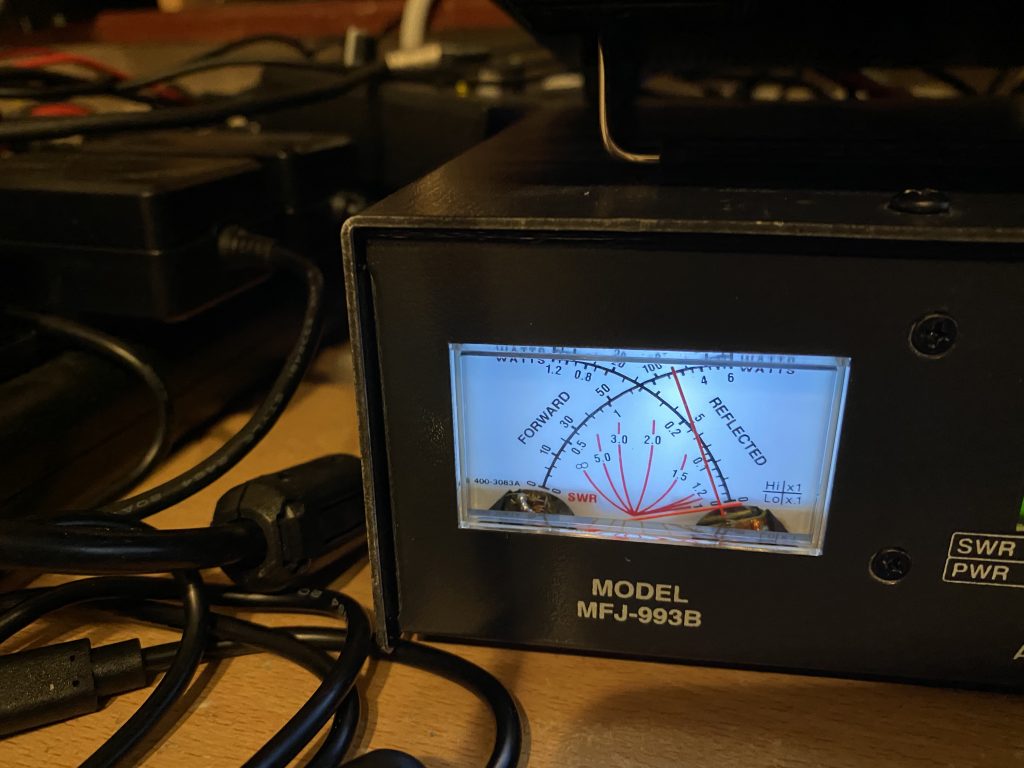
Attach ATU 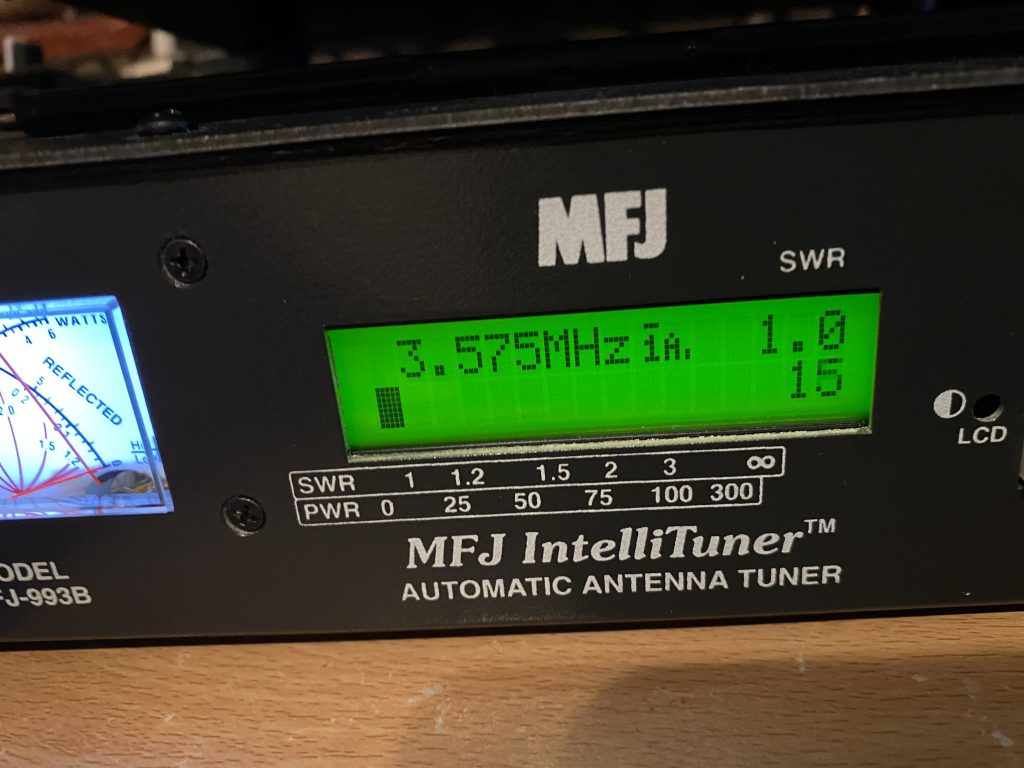
SWR Readings good 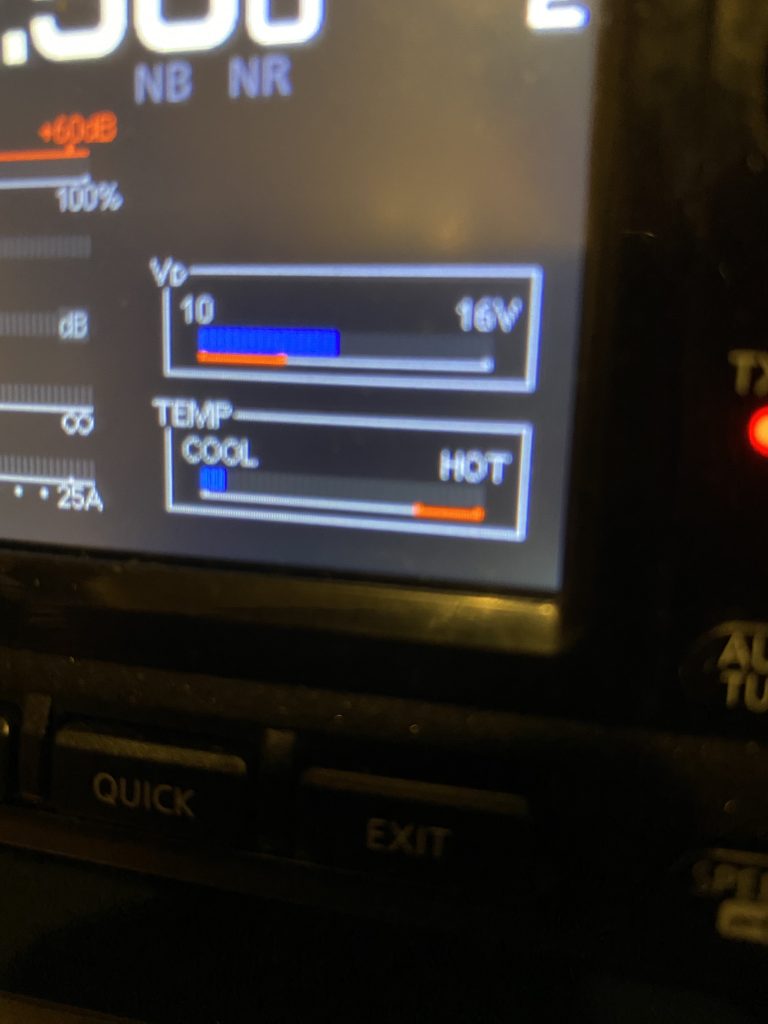
Temp and Power good 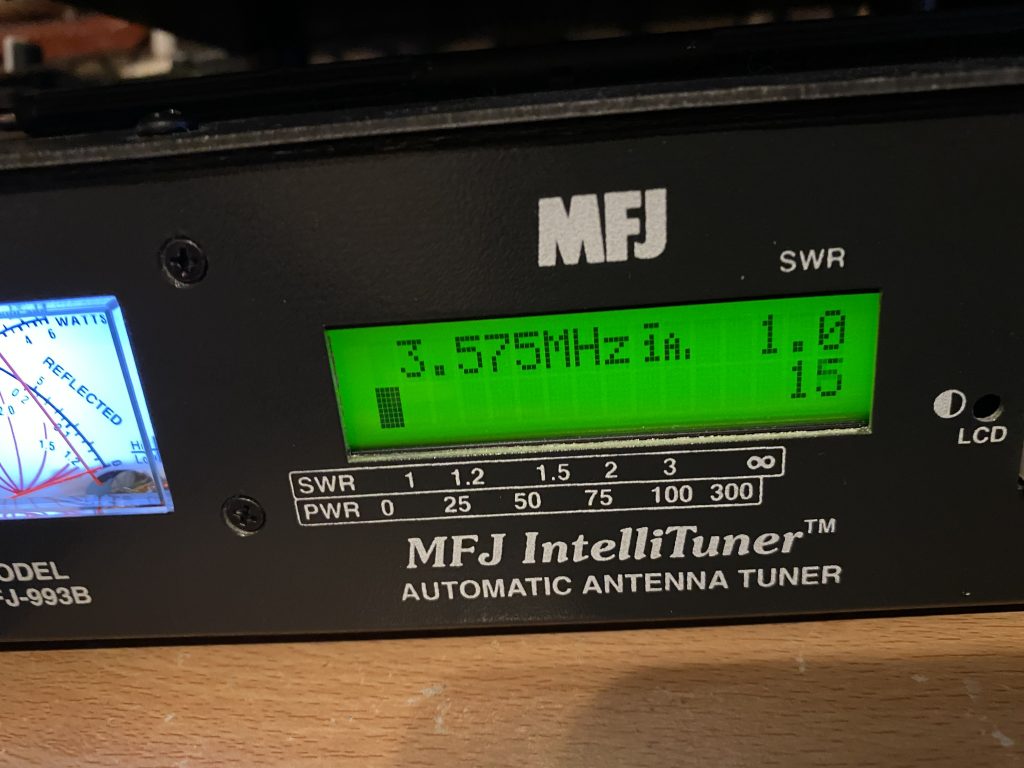
1:1 via ATU 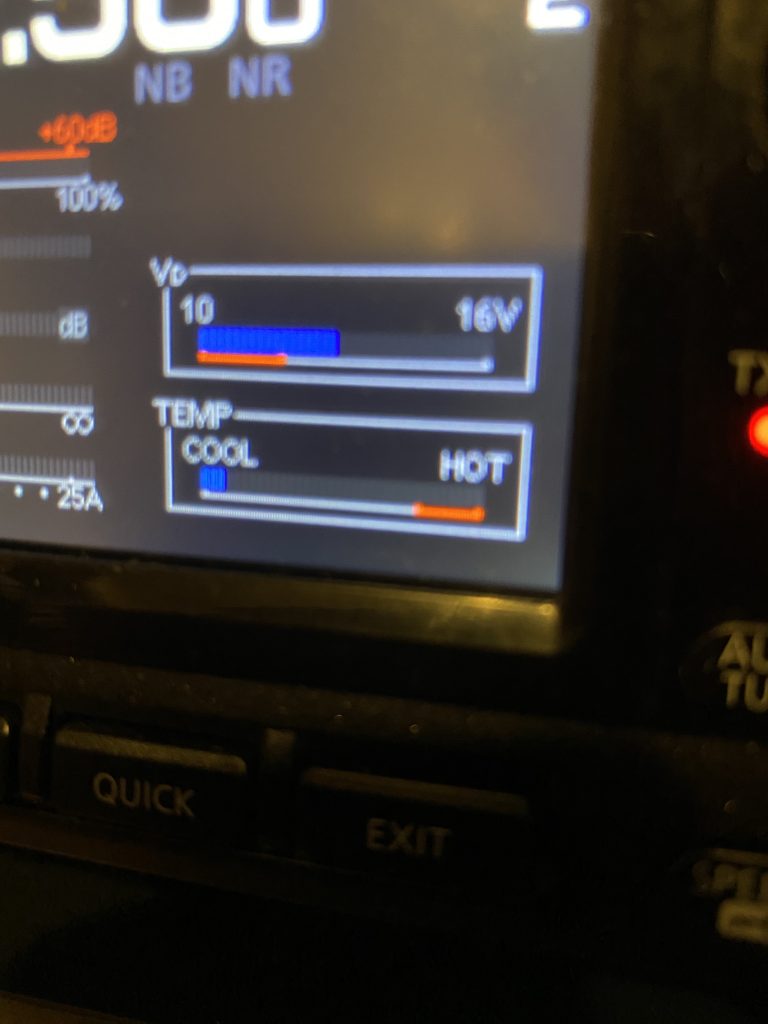
No increase in temp = fan good
I attached the external ATU via the power and re-routed the antenna feeds to go via the ATU. I kept the RX tap still in a close loop to ensure my previous setup was working correctly.
I was pleased to see that I was reaching Europe on 80m and low SWR, so the transceiver was working well.
I will monitor the fan on the IC-7300 to ensure the the wire between the PCB and the ATU are not being ‘clipped’ or any other damage. Next step is to fit my receive only antenna and test the phasing/nulling of the MFJ-1026.
Until next time, 73.
2E0FWE
