
It has been a lovely sunny down here in Bournemouth and have been able to take full advantage of the good weather by getting on with assembling and tidying the gardens.
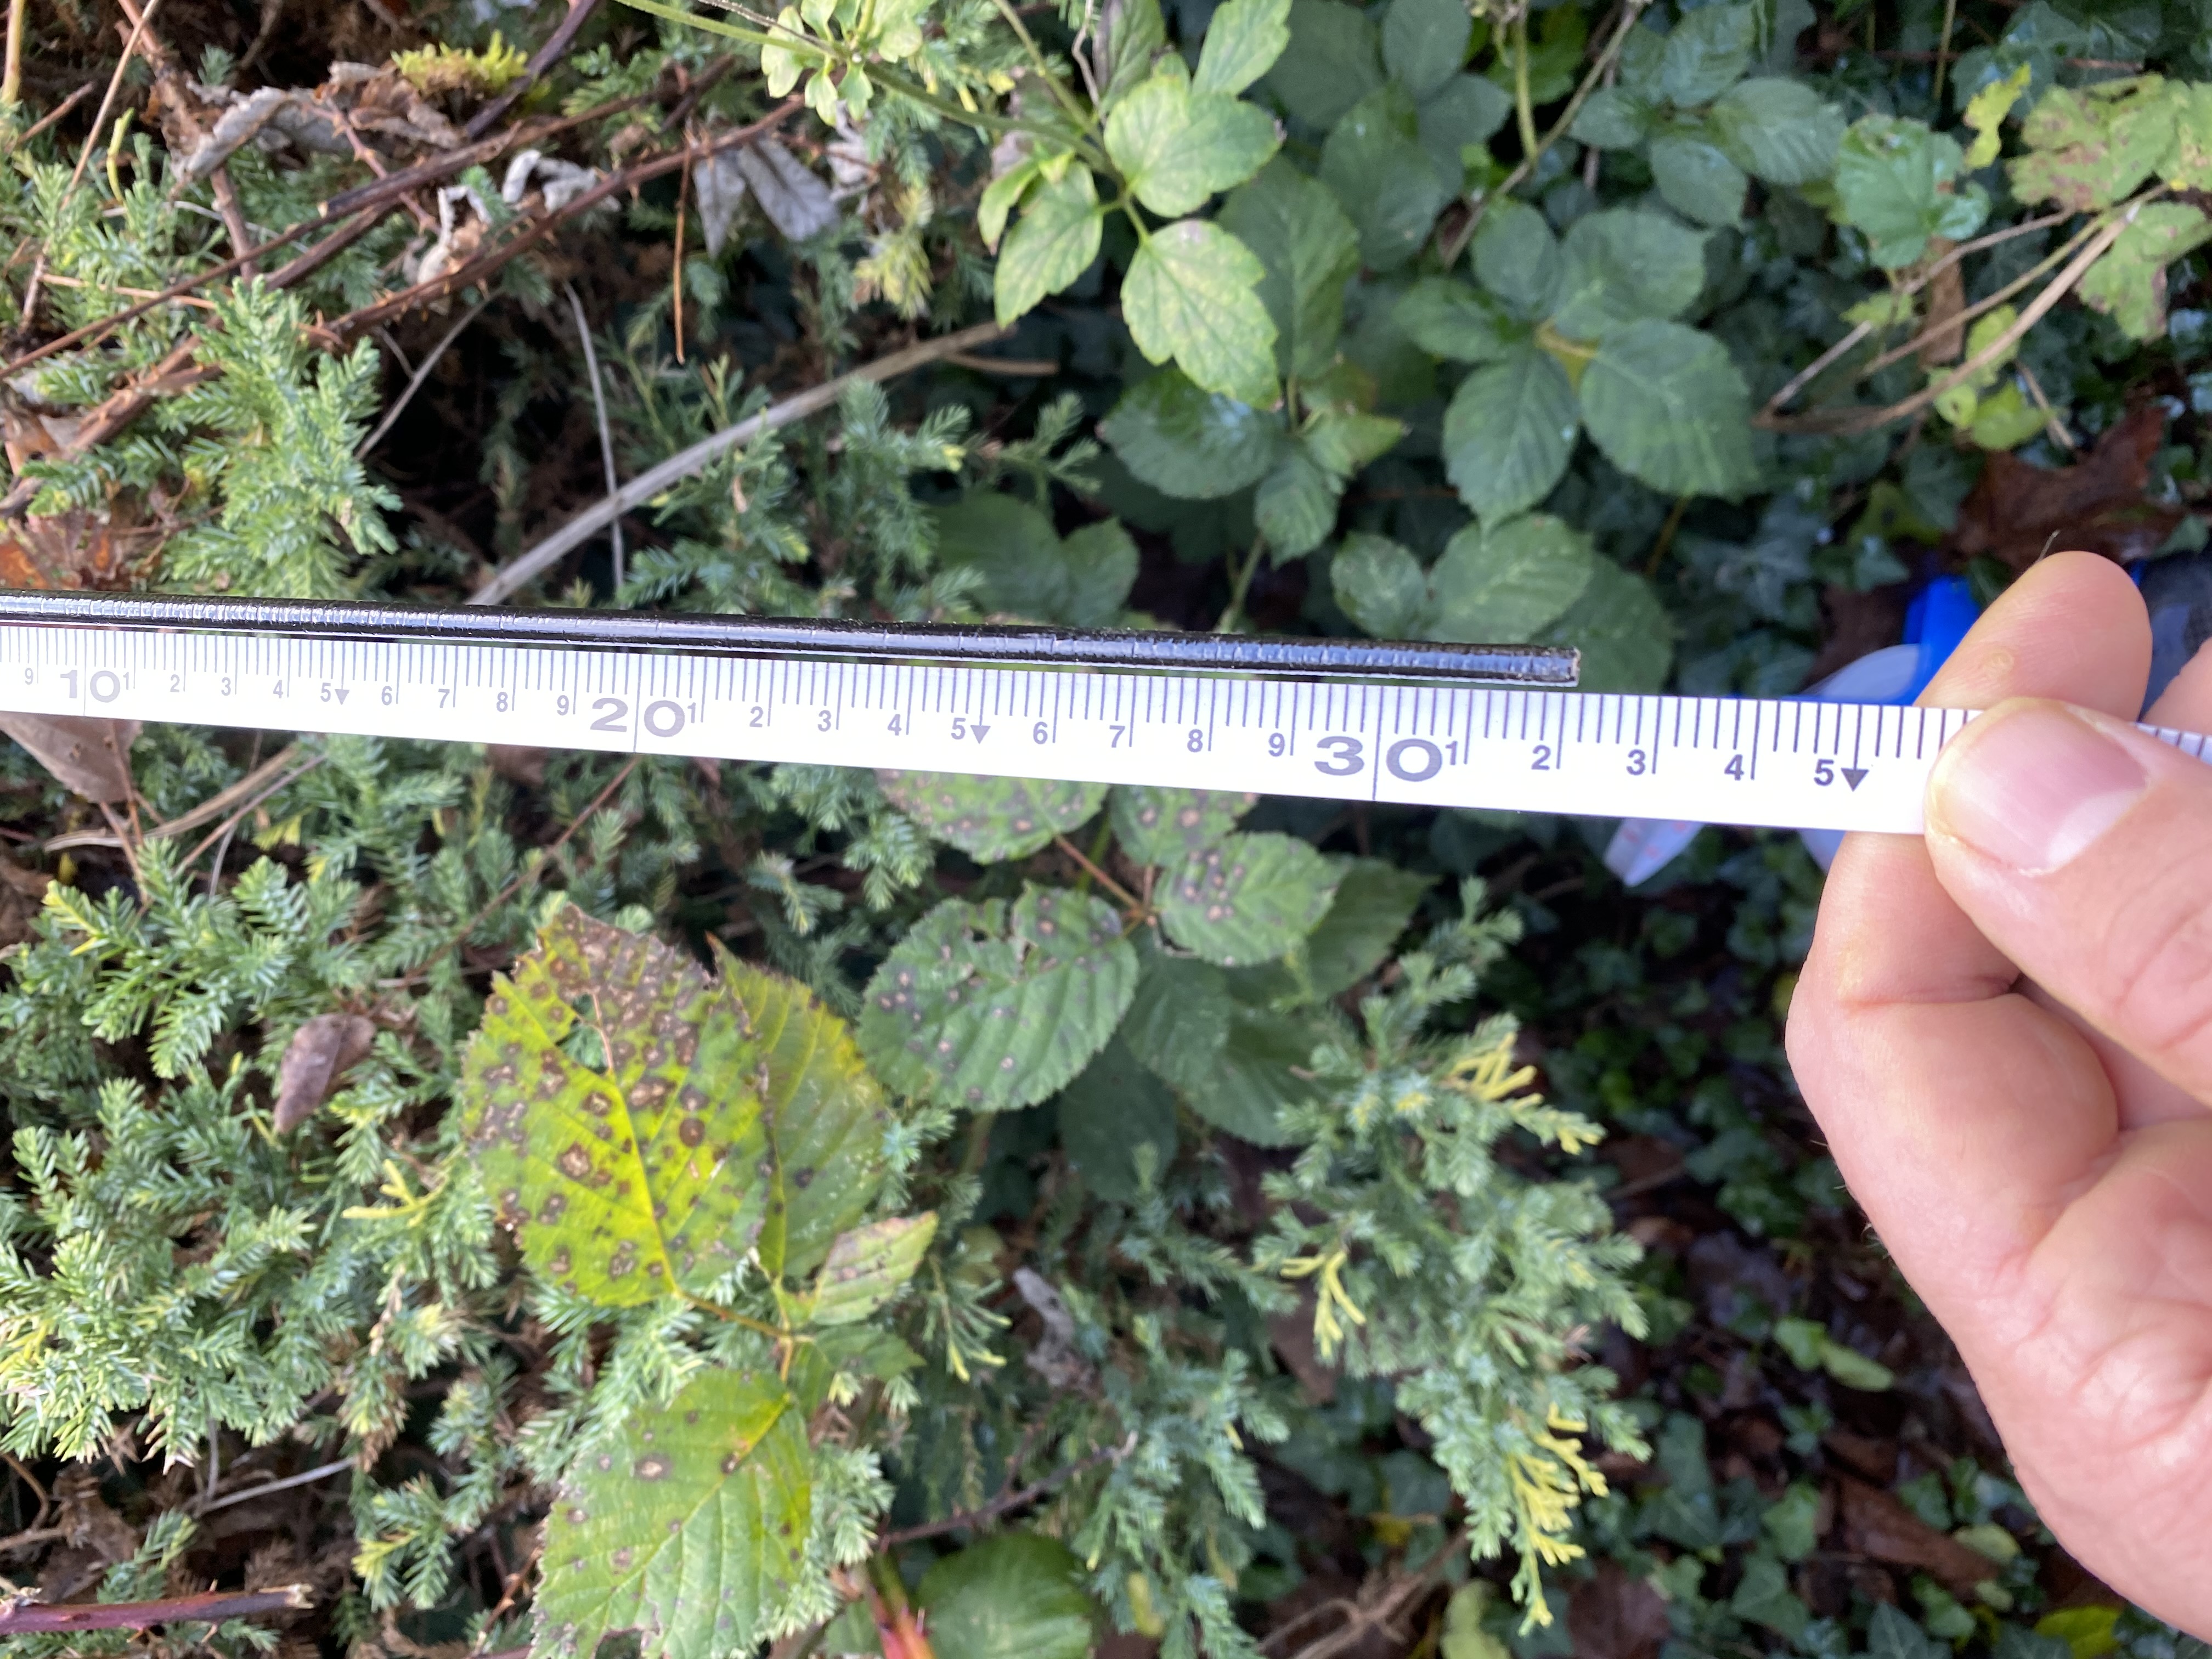
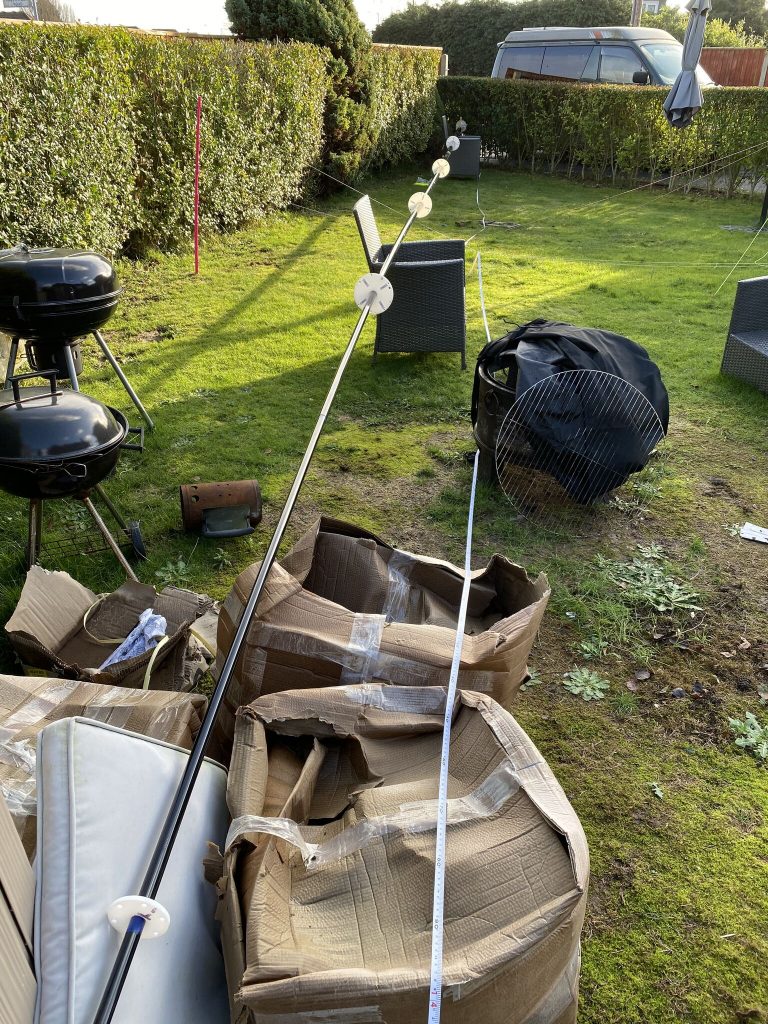
First off i set about extending the Nebula as far as I could on my own. With much twist I managed to get it to 17m32cm, which is what the docs say is ok to use.
I dont mind saying it took me a few times to get the antenna out fully, the first attempt with trying to get it to lock from the bottom-most sections didnt work out, so i put it all back down, then carefully took out the furthest (top) sections carefull and locked each section. There is a fair amount of flex, but I’m stil careful as the top looksl like it could snap if careless exertion took place.
Once extended, i set about putting electrical tape on each joint of the mast, to give additonal support and minimize any tension scratching from the jubilee clips.
with the mast now ready for the plates, i headed back in and started work on those.
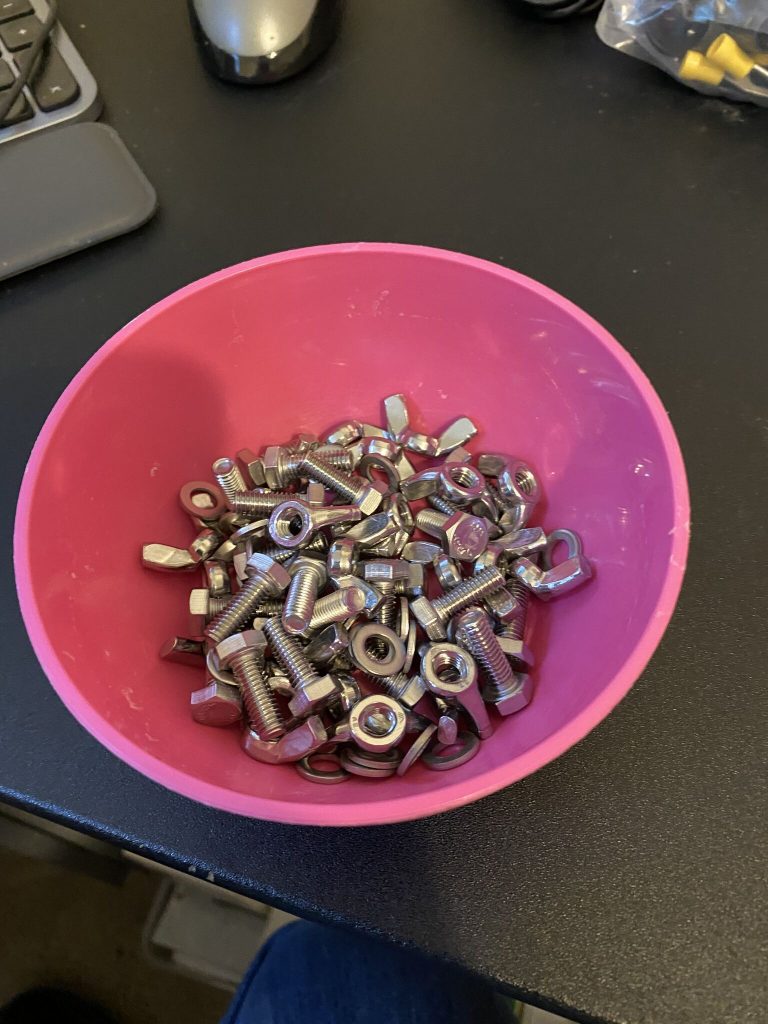
bolts, washers and wings 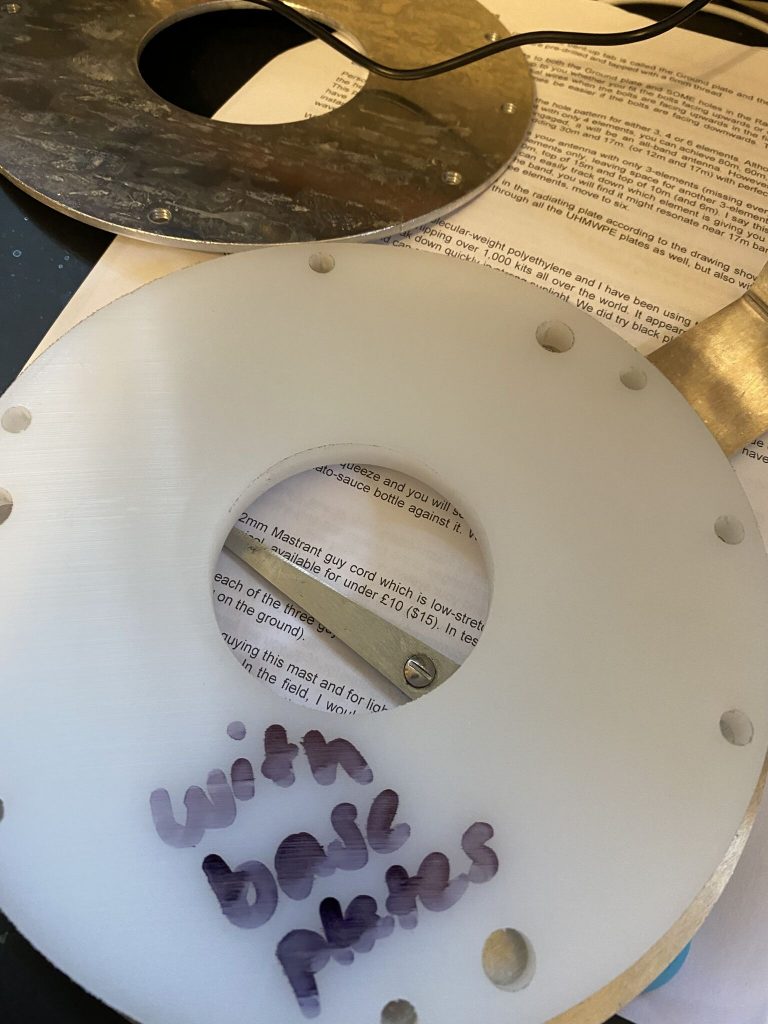
getting the alingment 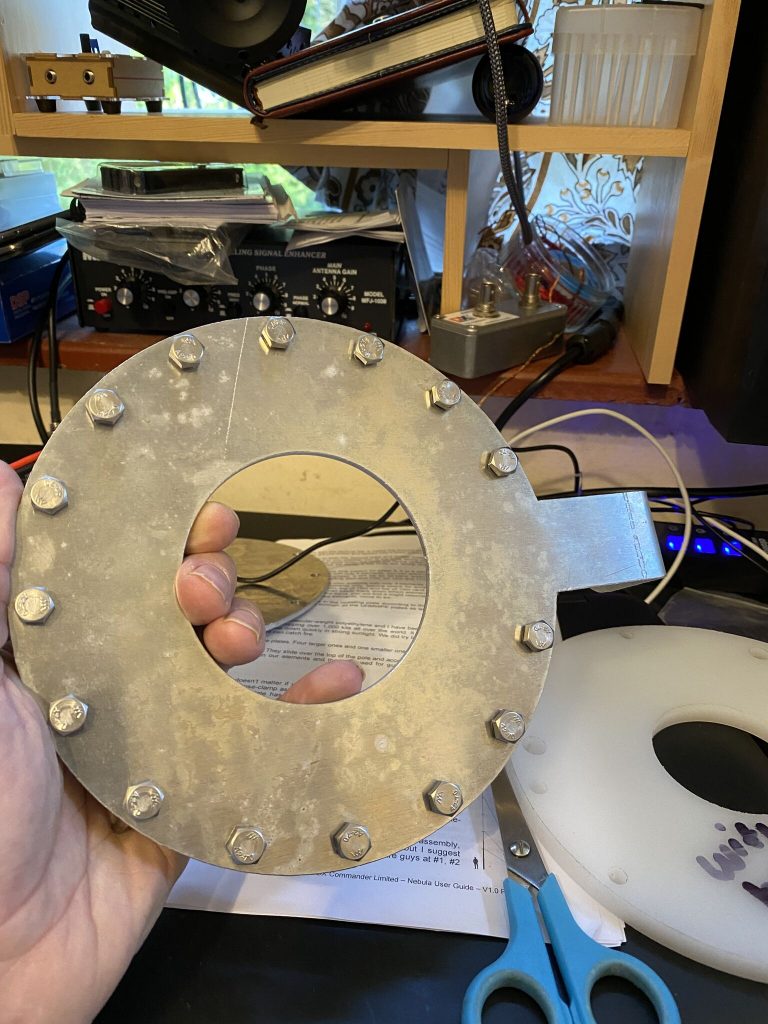
impressive amount of radial connections 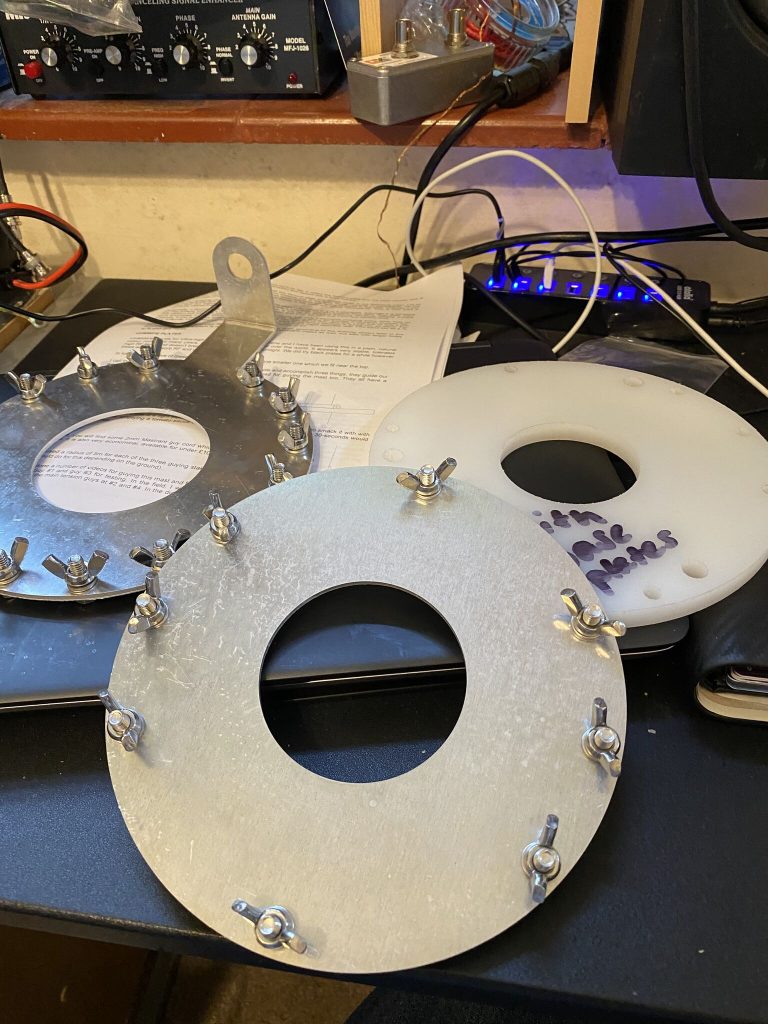
and finally the element plate
Building the radial and element plates was straight forward. The bolts, washers and wingnuts fitted perfectly with little or no resistance going into their thread – good manufaturing process there. The plates themselves look great and built to last. They are considerably bigger than the ‘classic’ plates, the amount of radial mounting points is great – and its those raidals which really helpin with the direction and ability to ‘push’ the transmission out.

dyno label printer 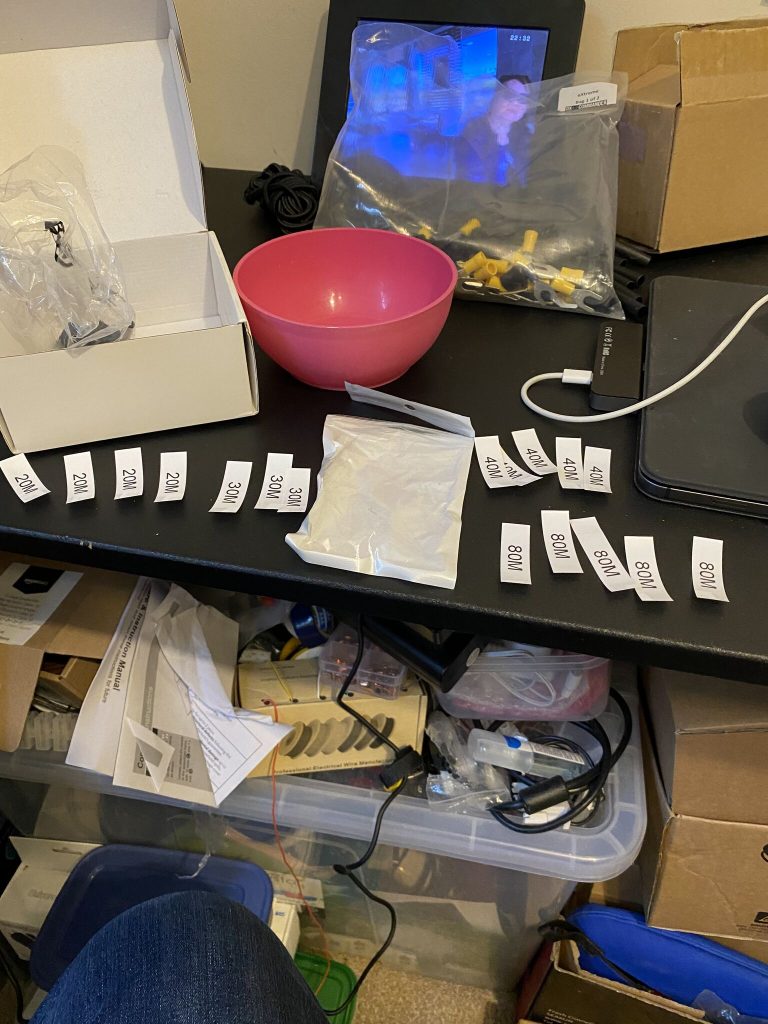
labels at the ready 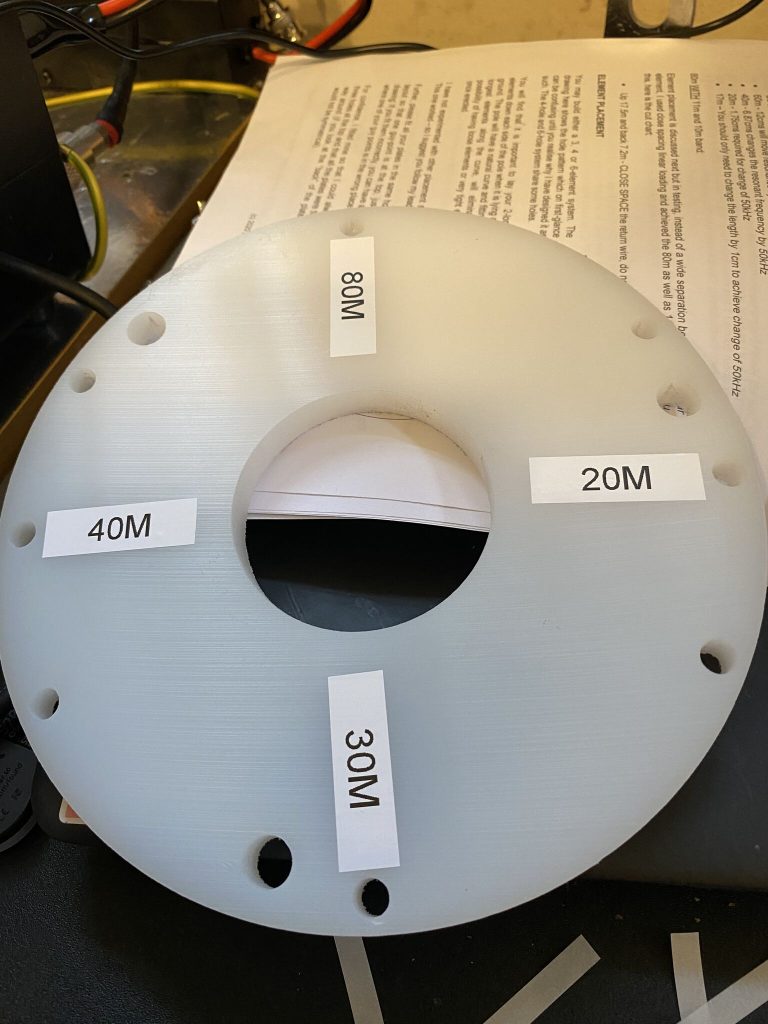
applying labels to the correction positions 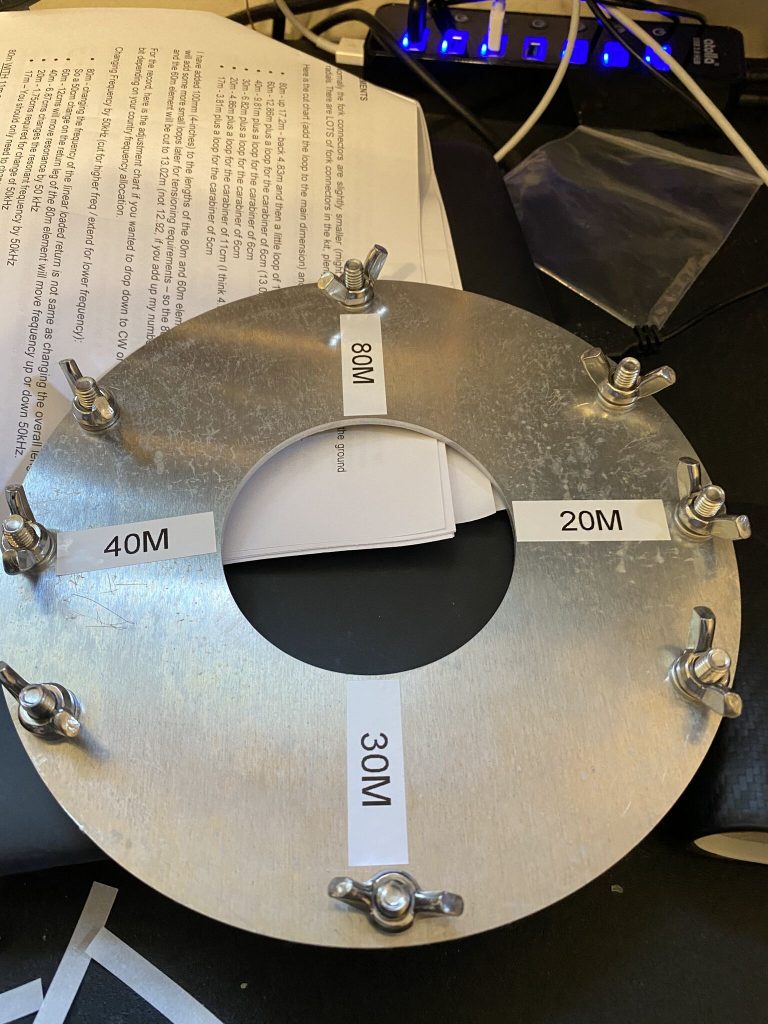
and the feeder plate
I’m going to follow Callum’s advice and start with 3 elements, namely, 80, 40 and 20 – as those are the bands i use the most. When i have all the SWR for each band as good as they should be i will add all the elements for more band coverage, but walk before I can run so to speak!
Alignment by using the documentation provided was easy enough and one less job to do outside. I dont like littering and despite my best attempts previousy the label-backs have flown off after sticking on, theres a fair bit of nature (birds,insects,etc) and I dont want to ruin their habitat with sticky label backings (what a hedgehog makes of an 18m mast has yet to b eseen.. I did have a robin visitor earlier this year tho !).
clamps and splicers on 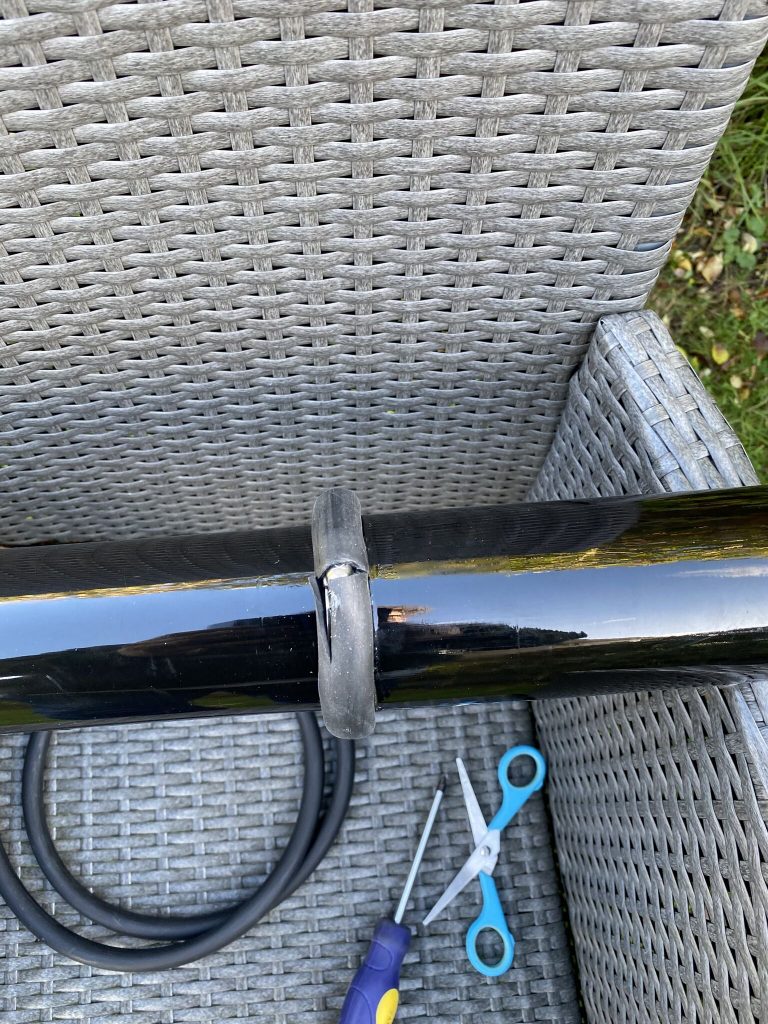
i find these clips fiddly 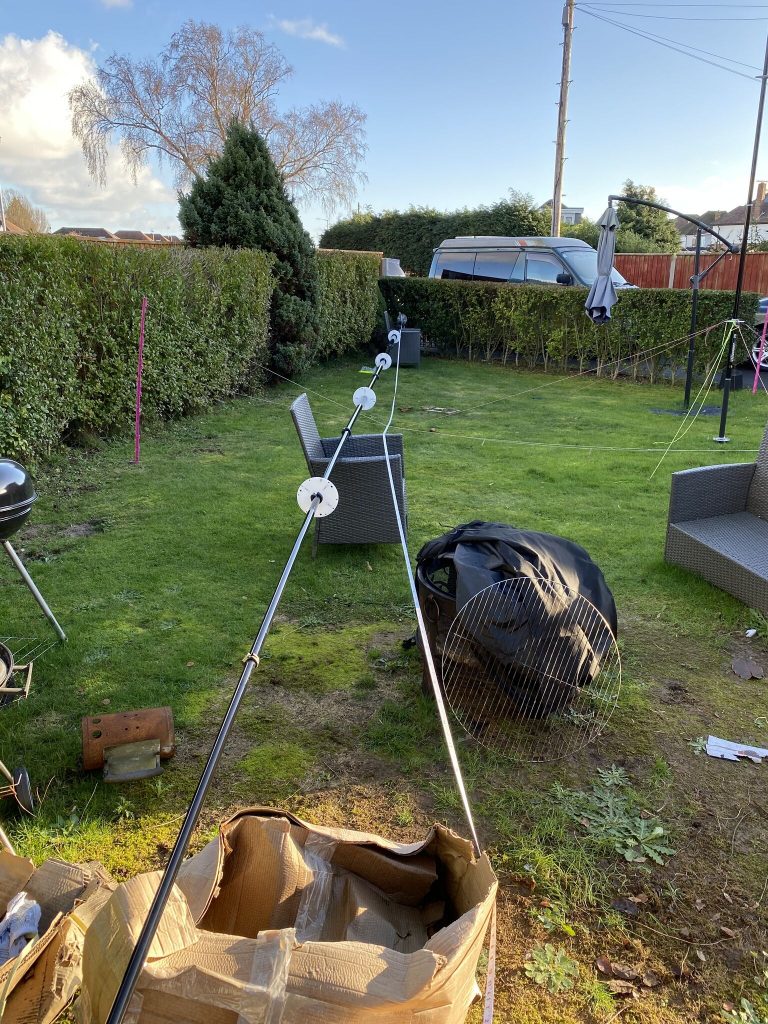
measuring spreader height 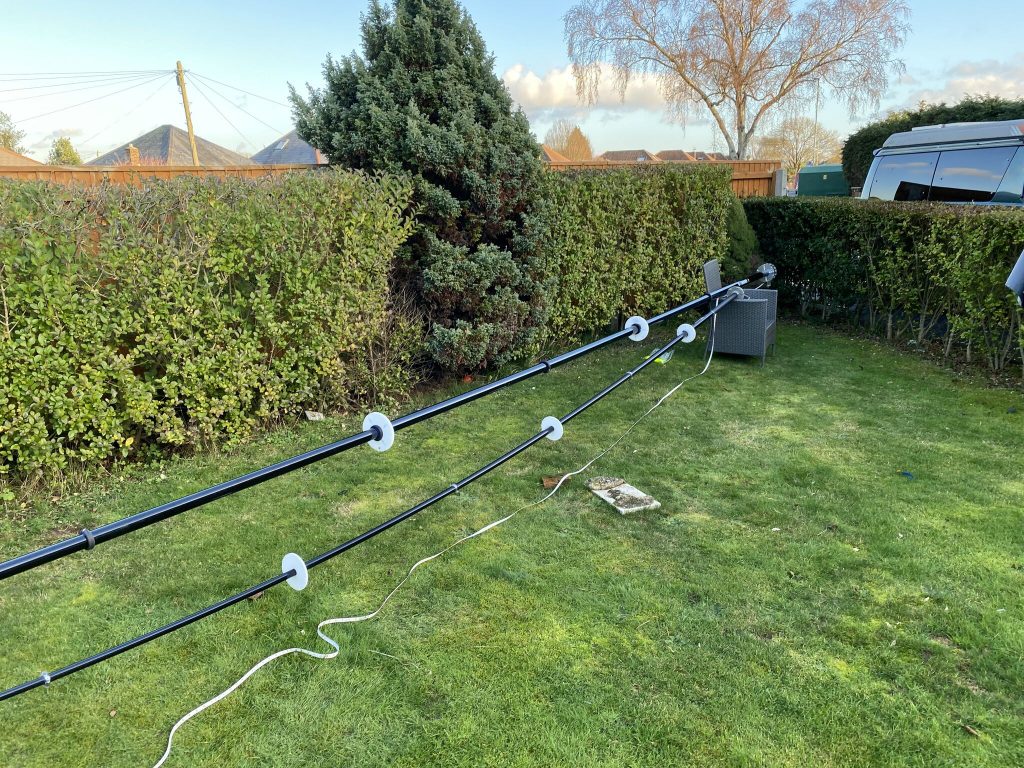
classic and nebula
With the spreaders in place i was able to take the measurements of the heights to calculate the length of the guy wires. I’m going to use (as per doc) 1, 2 4 spreader points for guying, but will start with #1 first to ensure my measurements and cutting are accurate. All values are cm
| Spreader | Height | Time Self | x=(h*h)+(d*d) | sqrt(x) | total rope | |
| 1 | 310 | 96100 | 346100 | 588.302 | ||
| 2 | 580 | 336400 | 586400 | 765.767 | ||
| 4 | 1134 | 1285956 | 1535956 | 1239.336 | ||
| 7780.221 | ||||||
| Diameter | 500 |
I will double check these measurements again, so if your planning to do this between now and tomorrow morning – please do check your measurements as mine havent been applied yet!
I then set about tidying everything up and removing the existing end-fed wire. This took quite a bit of time and the end fed got caught in the tree – thankfully the tree wasnt damaged and a good ‘yank’ set it free ! Here is my video of the tour of the QTH after removing the end fed and the nebula work-in-progress.
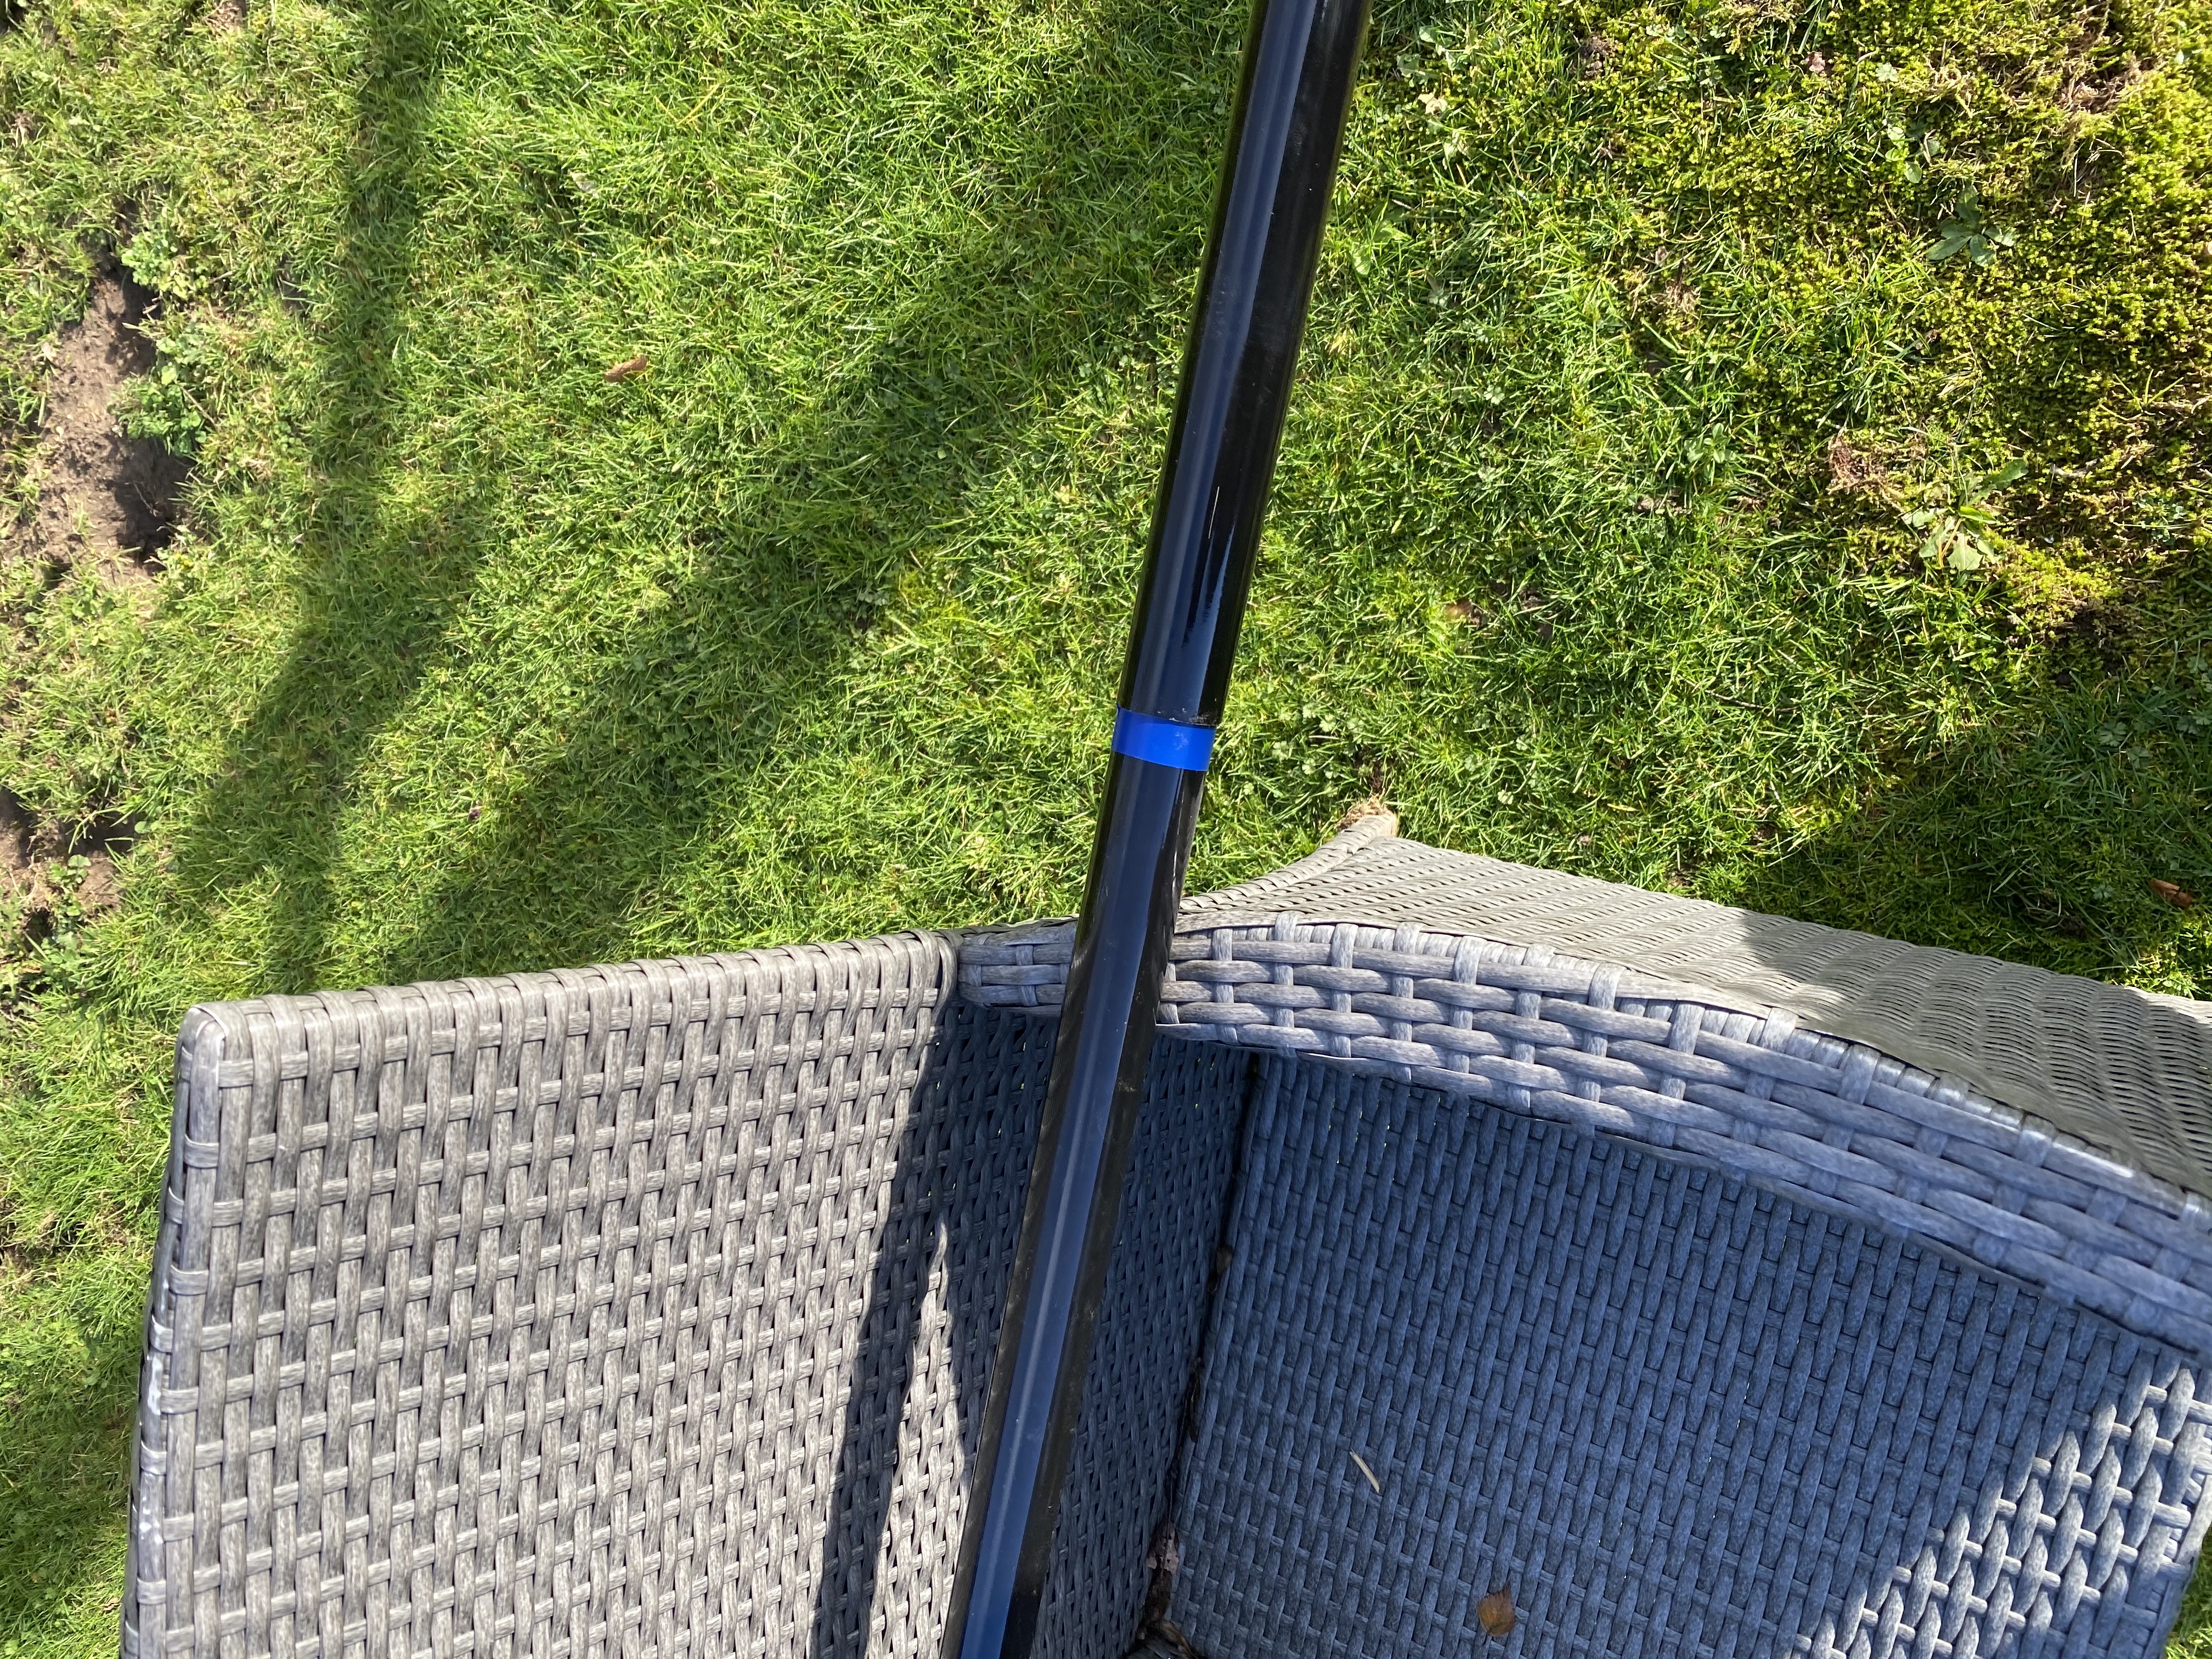
And with that I then moved the nebula to the side garden where it will be erected. It was a real handful to move but i got it around the corner of the house from the front garden to the side eventually and have safely mounted it above ground height.
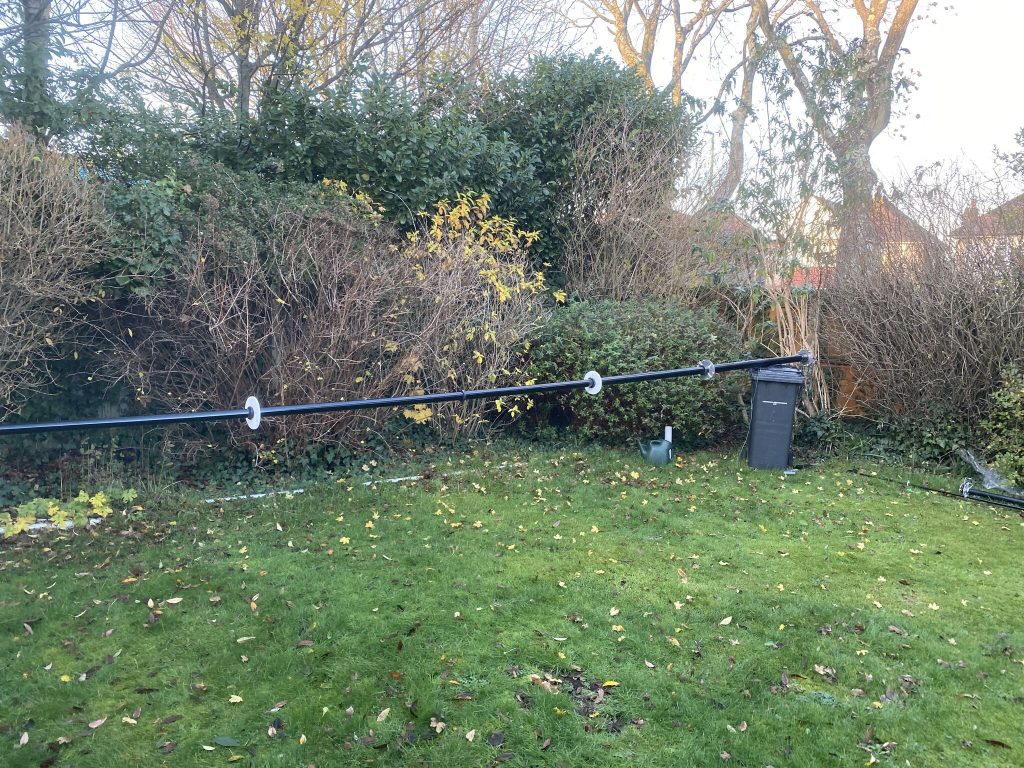
nebula 1 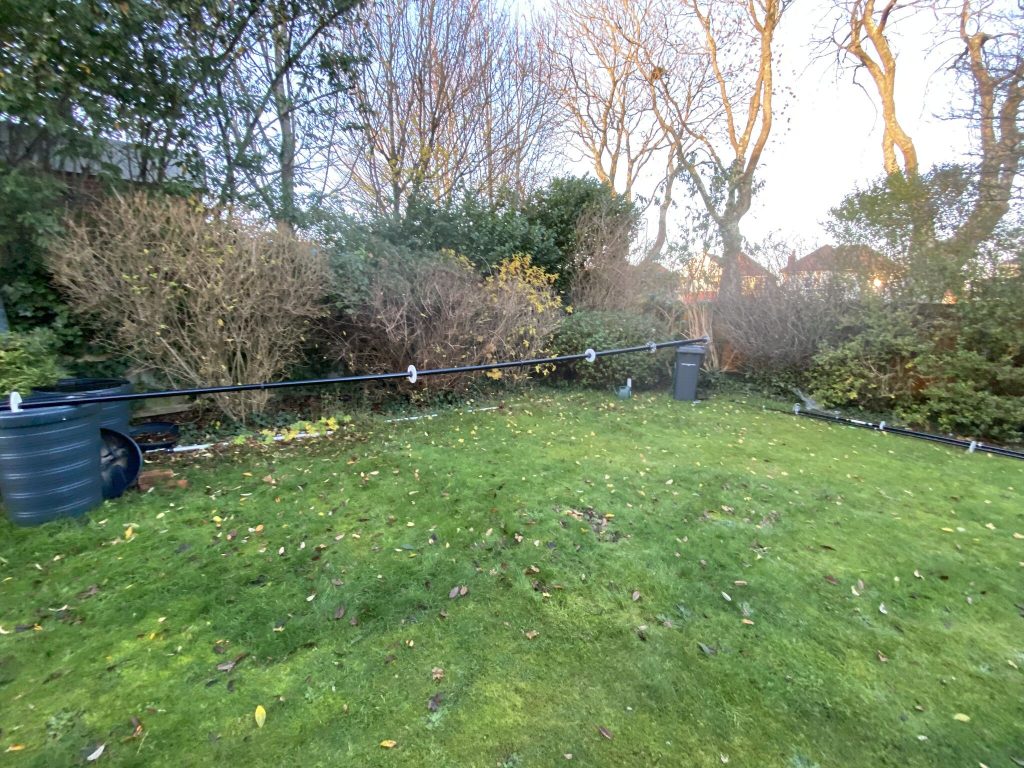
nebula 2 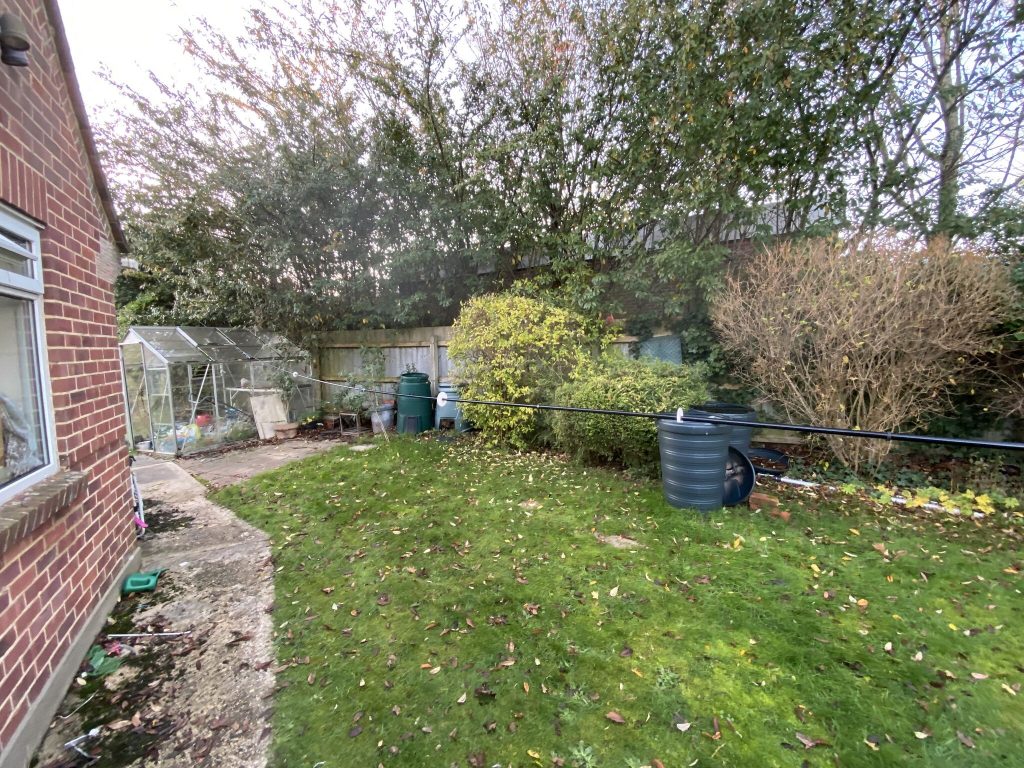
nebula 3
Tomorrows weather doesnt look as good as todays, so progress may be limited, however I’m pleased with what i have acheived so far, and as ever, am greateful for all the hard work Callum has put into creating what I’m sure will become a legendary antenna.
Stay safe and hope to publish more progress tomorrow !
Alan/2E0FWE