
Another sunny start to the day down here in IO90, having started the day early playing catchup to some cool python programming waiting for the sun to come up, i was soon out working on the nebula tilt base as soon as it was light ! (8:30 UTC).
I assembled my progress and tools and looked at the next steps, i always enjoy watching Calum’s videos so I could see where i am upto in the build. One thing stood out tho, there is a plate at the very bottom of the tilt base. See pics below from Callums videos.
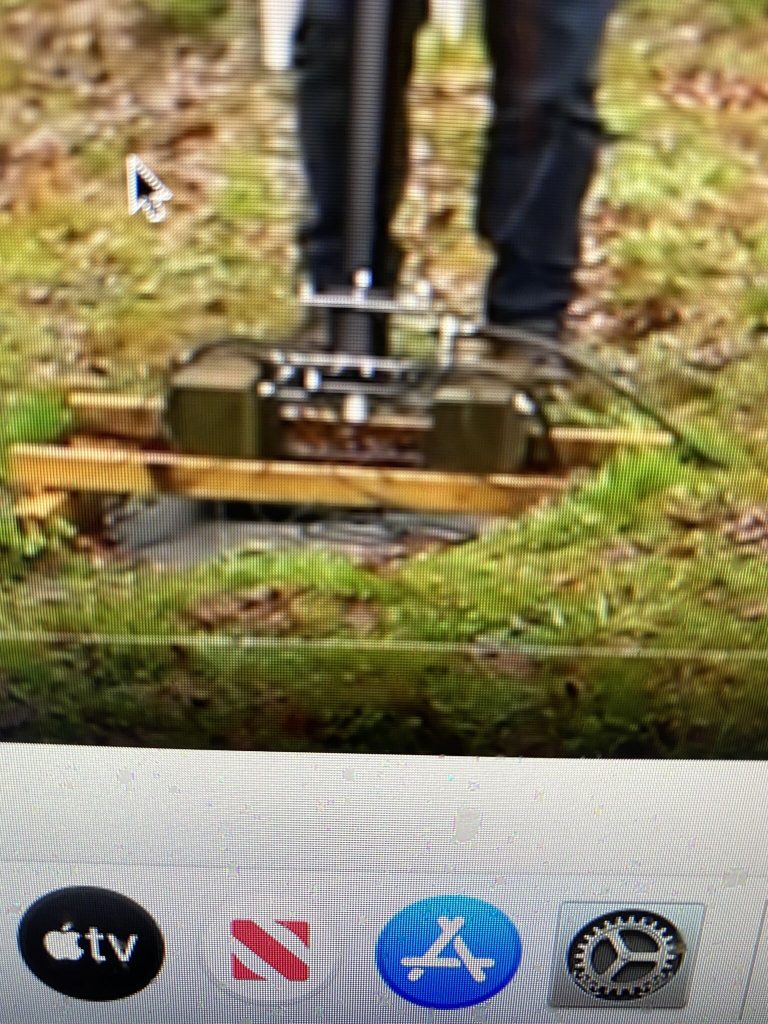
callums tilt base in action 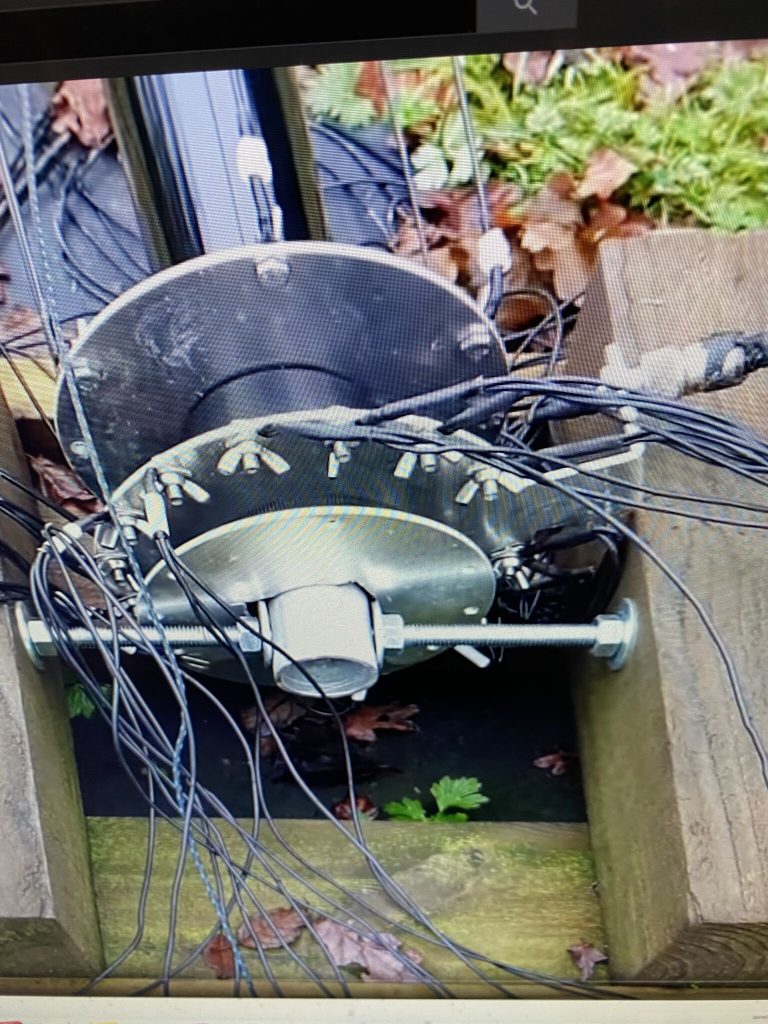
you can see 3 metal plates here 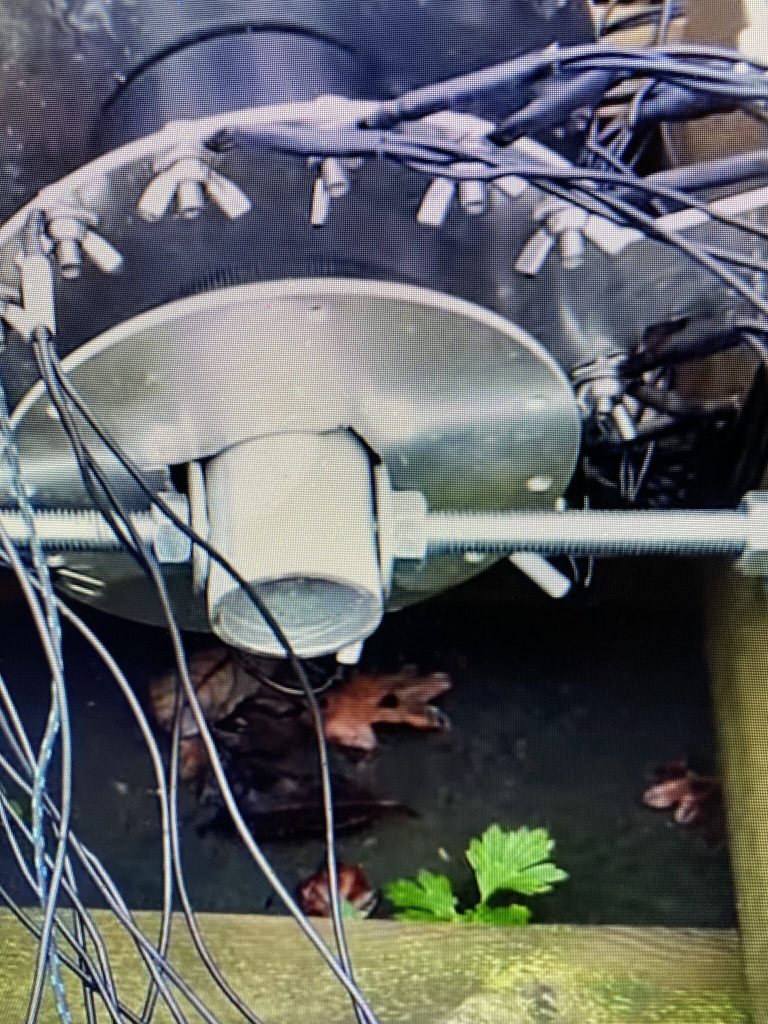
looks a familar part 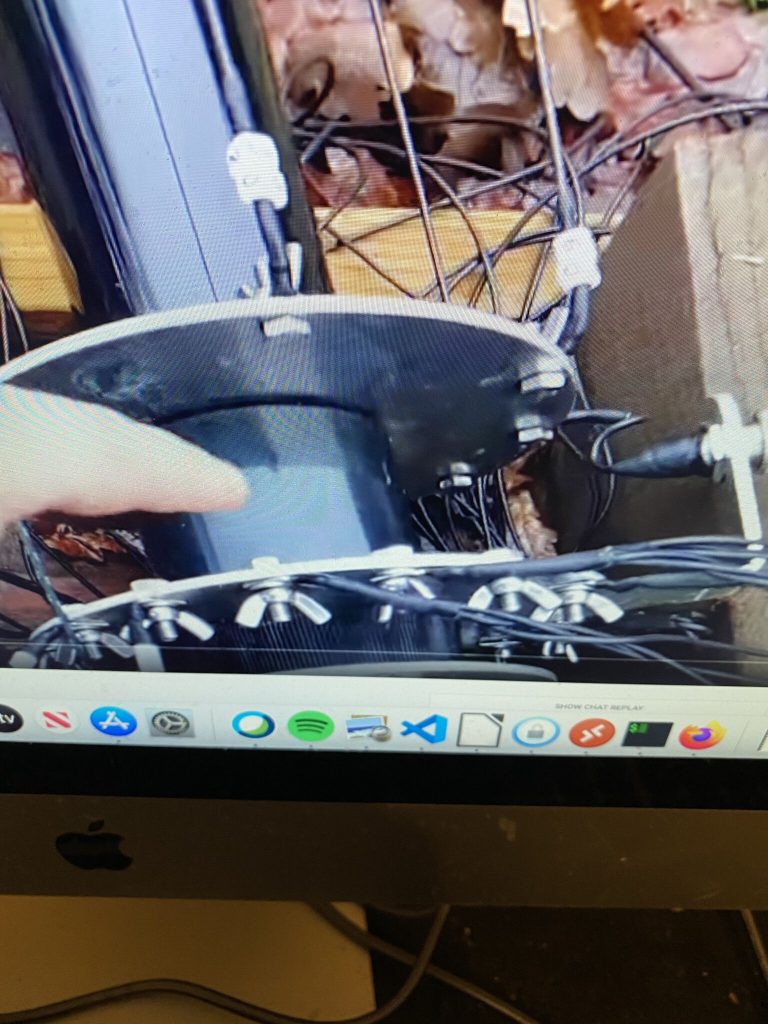
yep, so thats the nebula radiating and ground plate 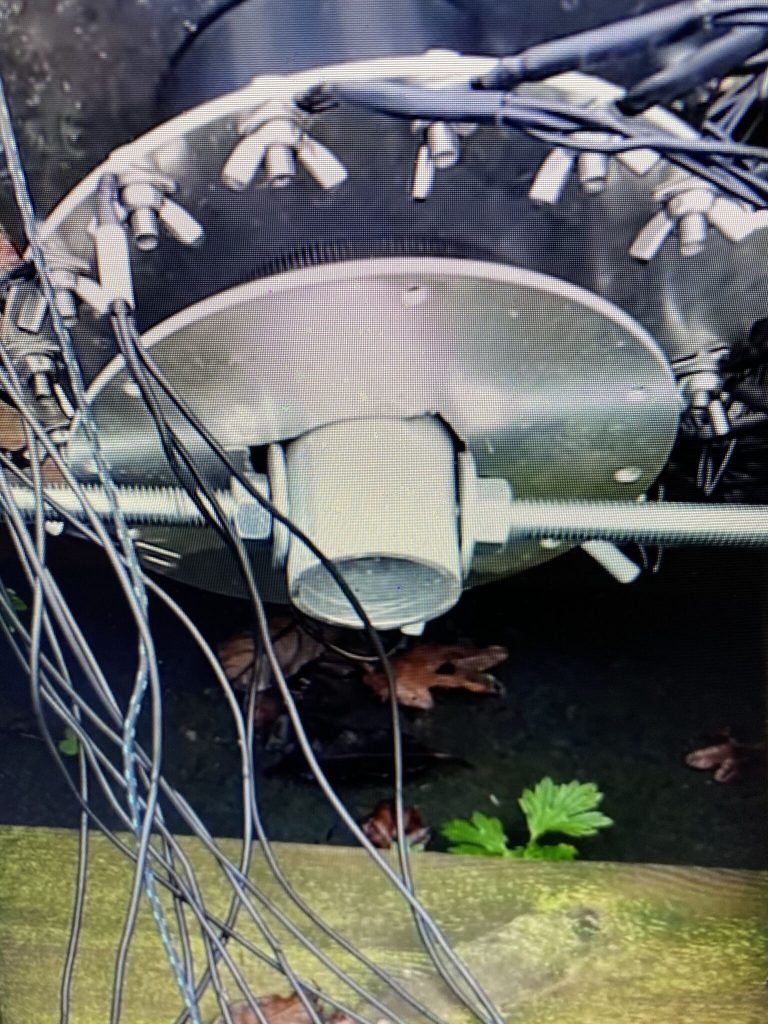
and a nice size pipe..
I’m lucky enough to already own 2* Classic DX Commanders – I’ve used them in a very good parasitic array before, so i could identify the plate calum is using as the radiating plate for the classic. I headed out to the garden to source one !
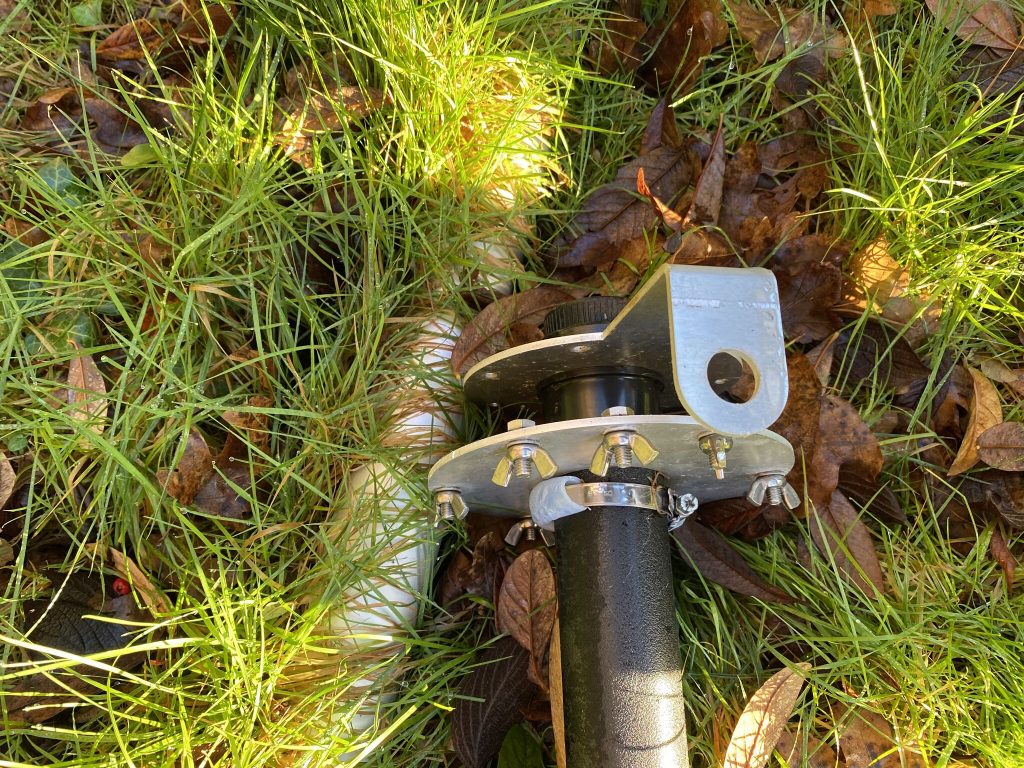
plate on the classic 
disassembled and parts kept safely in a bag 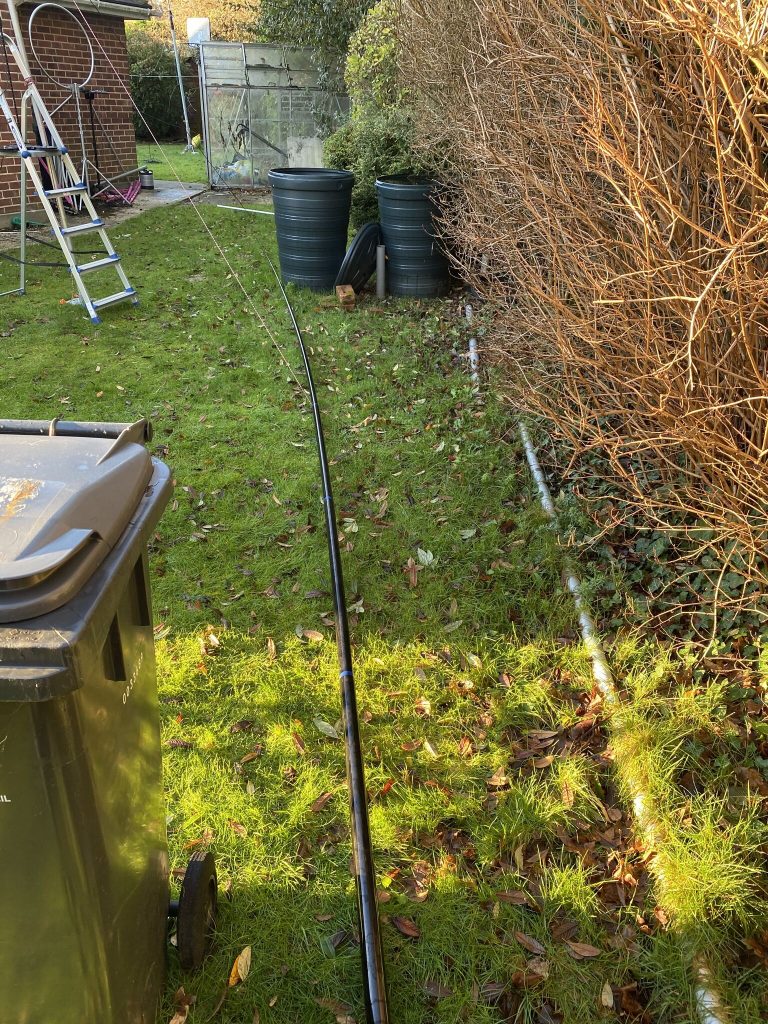
ready for action in the future 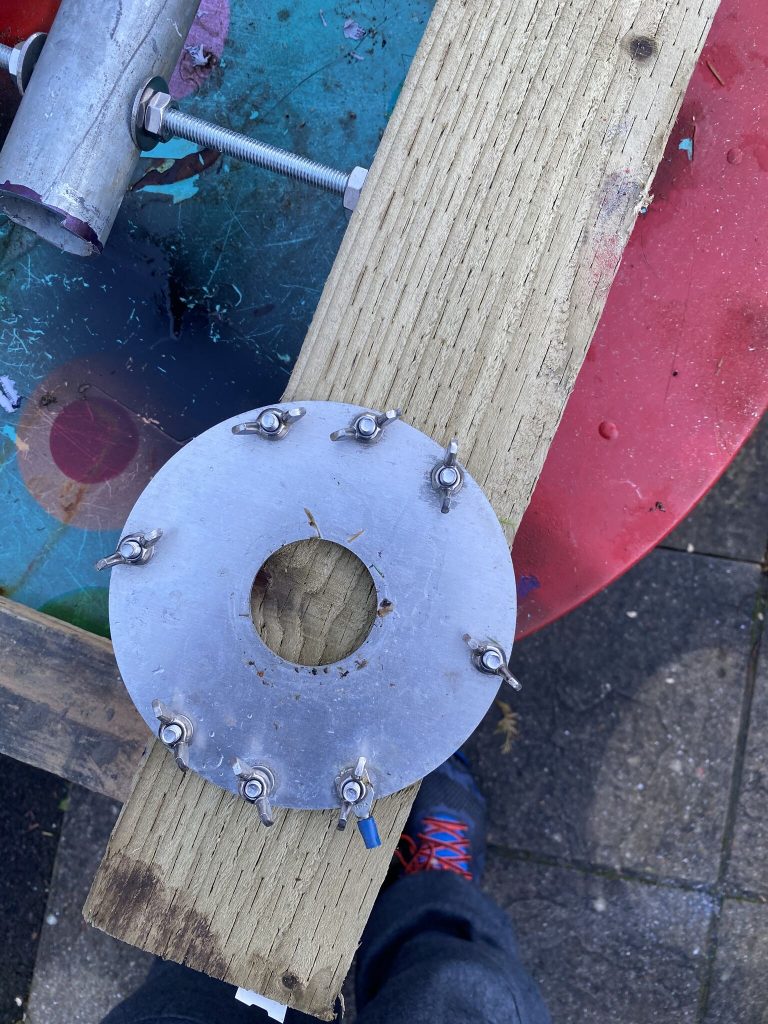
dont need those bolts 
all removed and ready, or…
So having sourced the required plate and safely keepng the parts so I only need another ground plate to get the classic working again, i set about checking that the plate would fit on the scaffold pole. Here I ran into an issue, my scaffold pole was thick in diameter, probably only as much as 1cm but enough that that the plate wouldnt slip over.
fits ok now ! 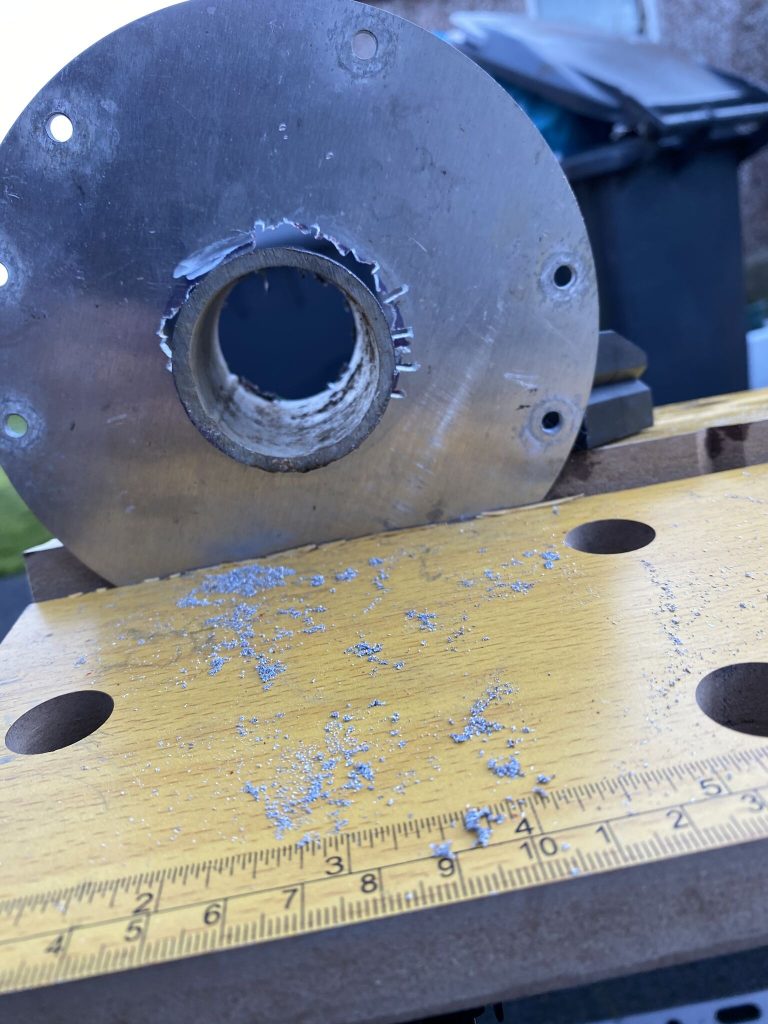
poor plate didnt deserve that punishment!
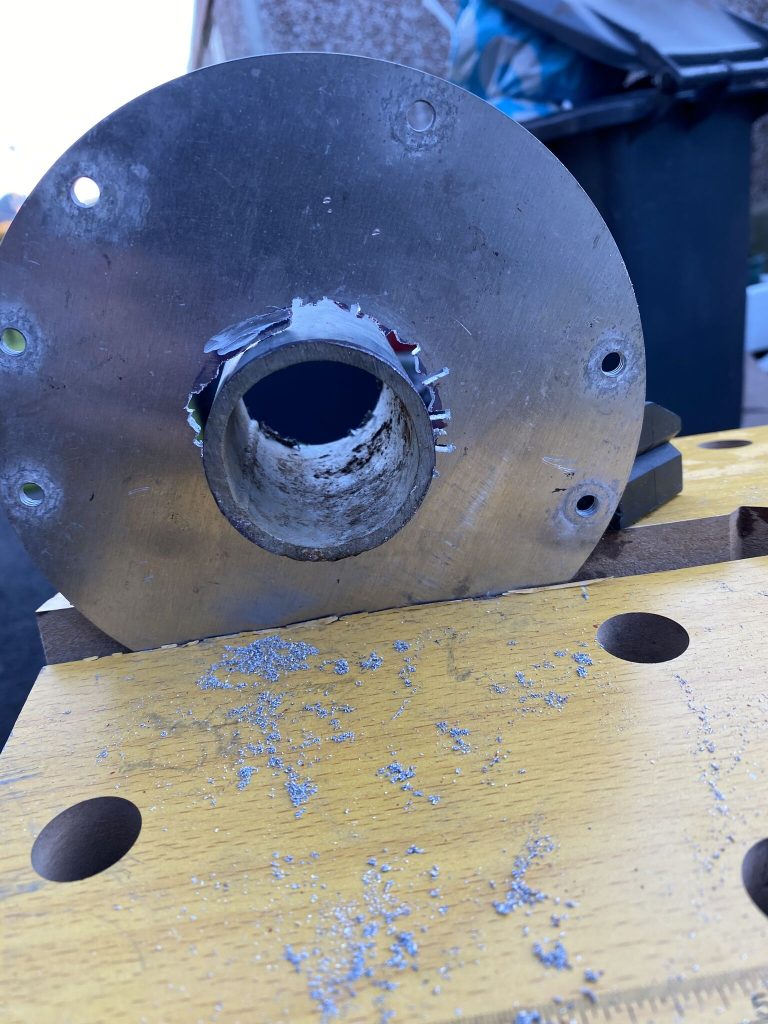
I used an offcut of scaffold as a template and tried to find the best way with the tools i have to cut a bigger hole, but excessively big, so it would still be a reasonable fit. I used the saw with a metal blade to make small 1cm depth cuts the circumference of the inner-circle, where i was then able to cut the ‘teeth away’. Sure enough, although it looked very ugly, it worked !
some more cutting to fit over the bolts 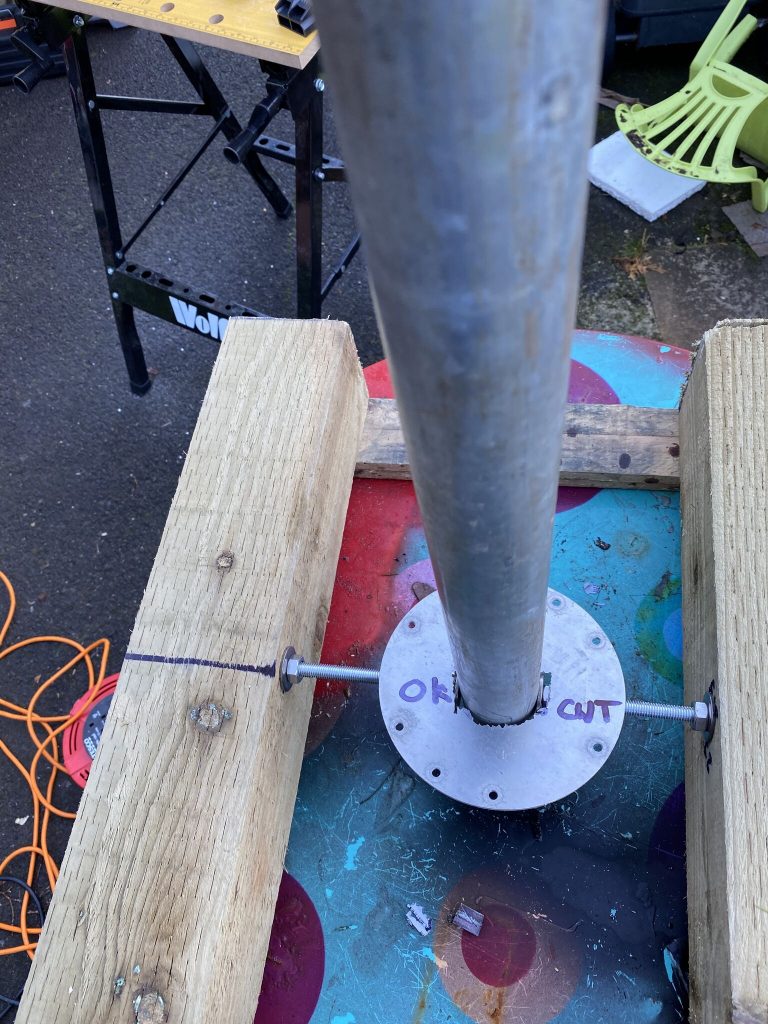
hey up its fits! 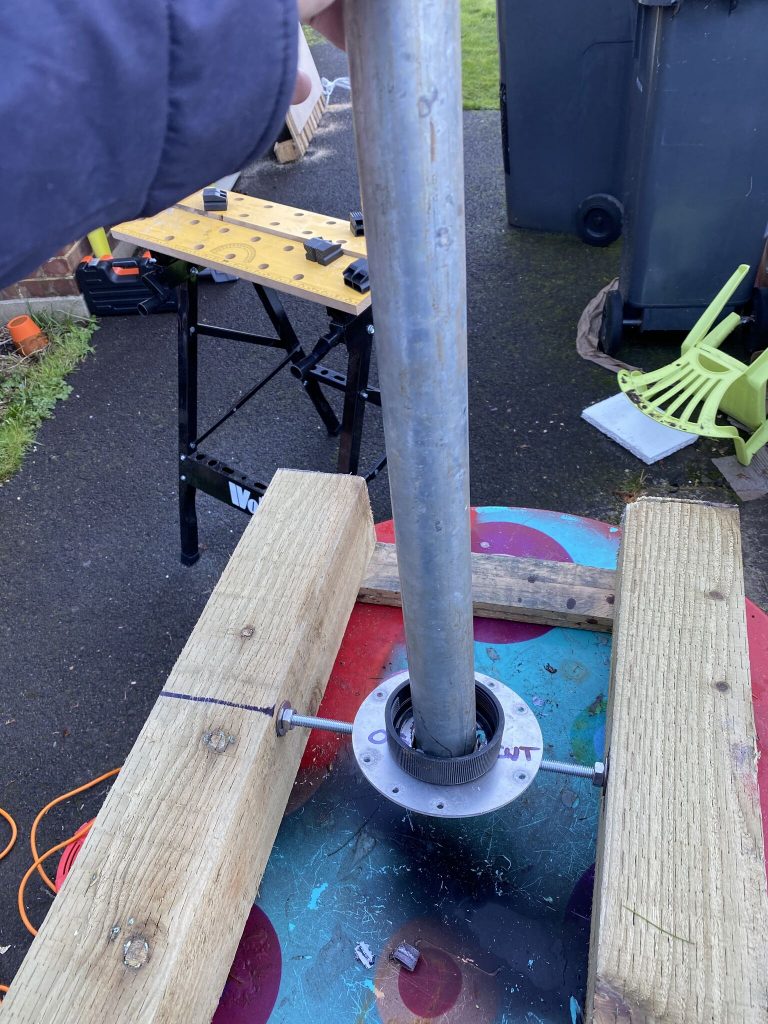
hello nebula base!
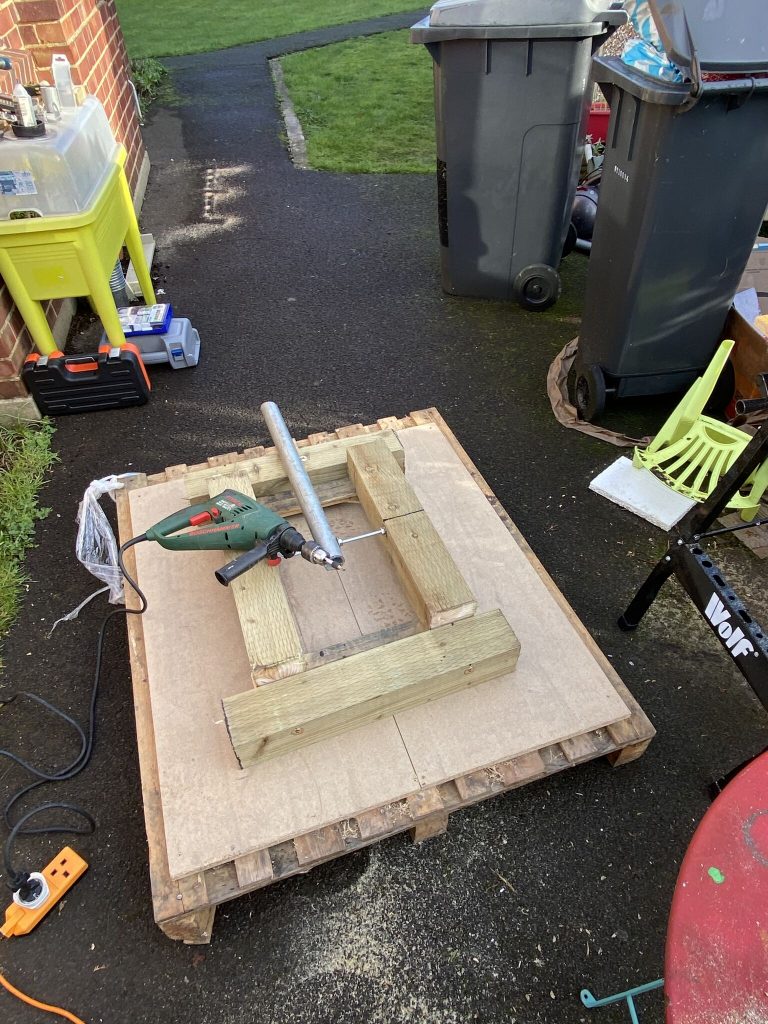
I marked out the part to ‘hack’ out so it fitted reasonbly ‘snug’ to the bolts and tilt, i ‘popped’ the base out the Nebula cap and fitted over. This looked like the same base as Callums ! I was making real progress ! Hurrah ! Now the time came to make the supports. I took the other end of the fence-post and cut it in two. This would give me an ok-ish 6cm either side to play with for supports, but then this is a nice bit of 10cmX10cm post.
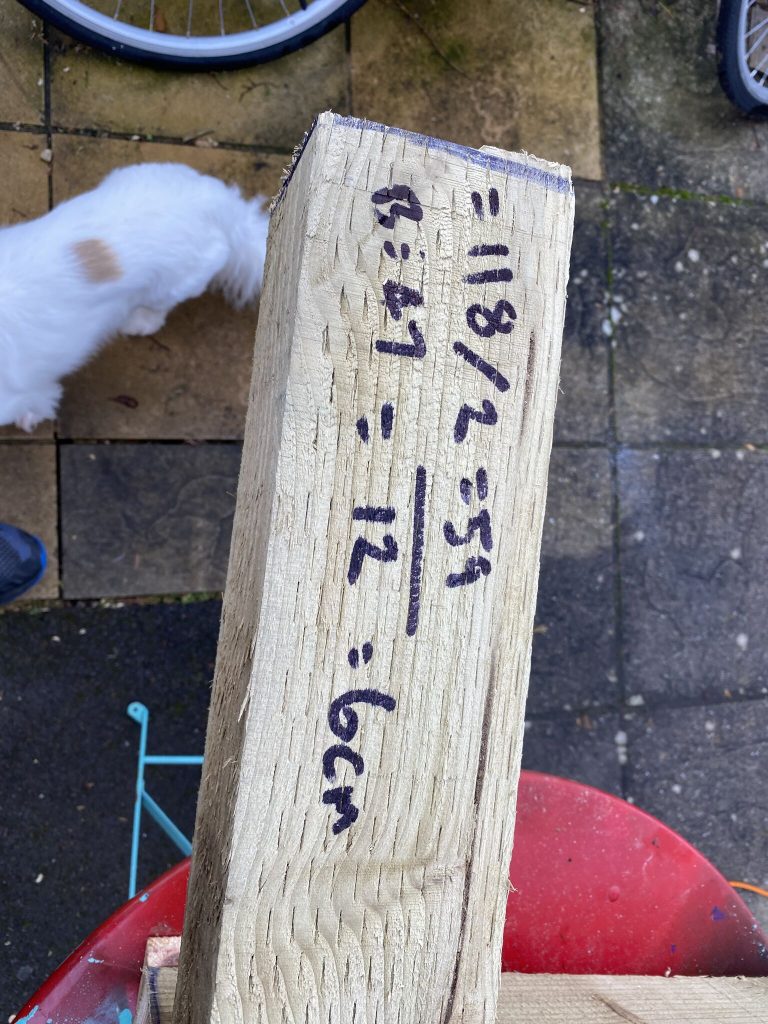
some quick calcs 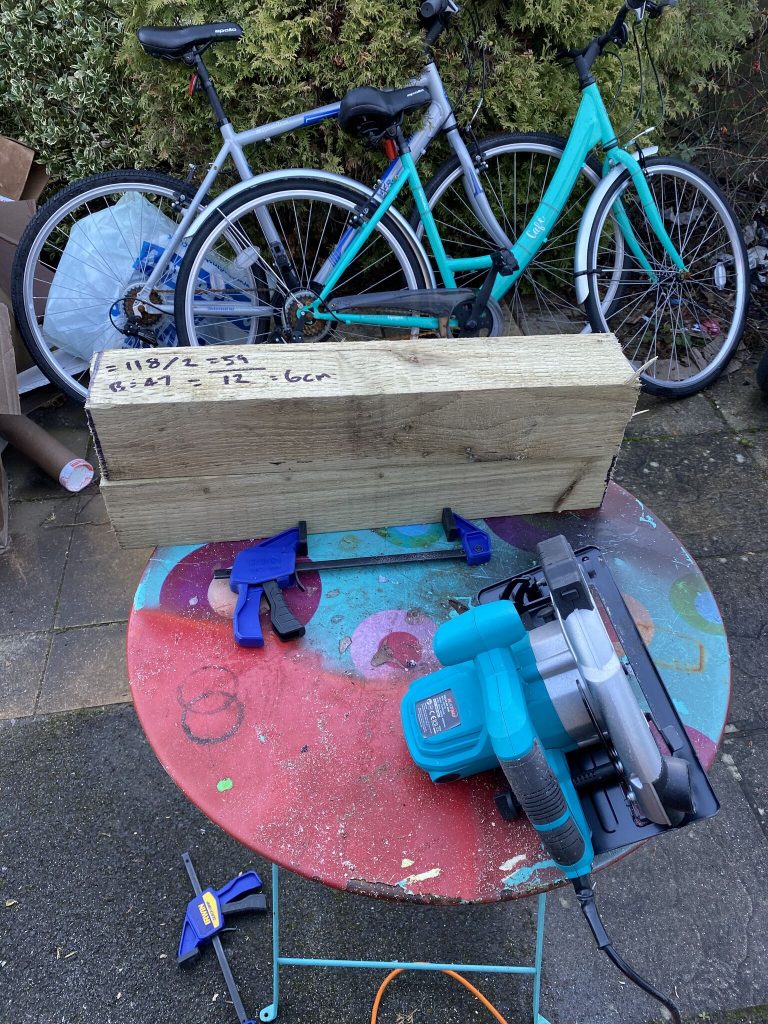
cut the wood 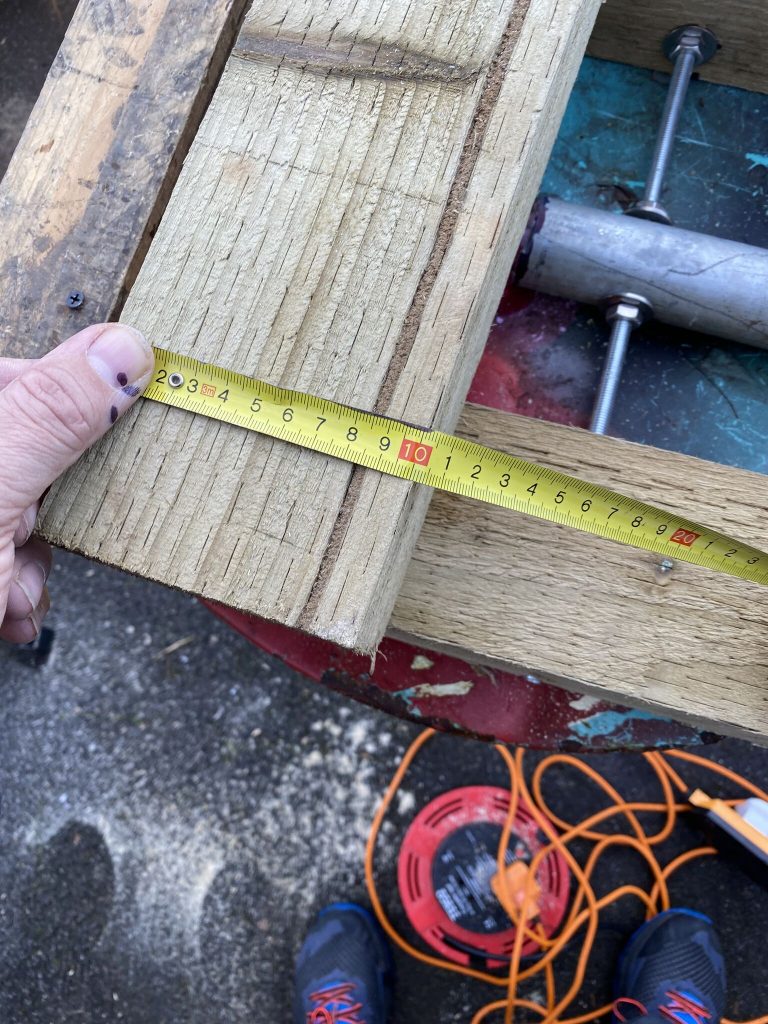
hmm, thats thick…
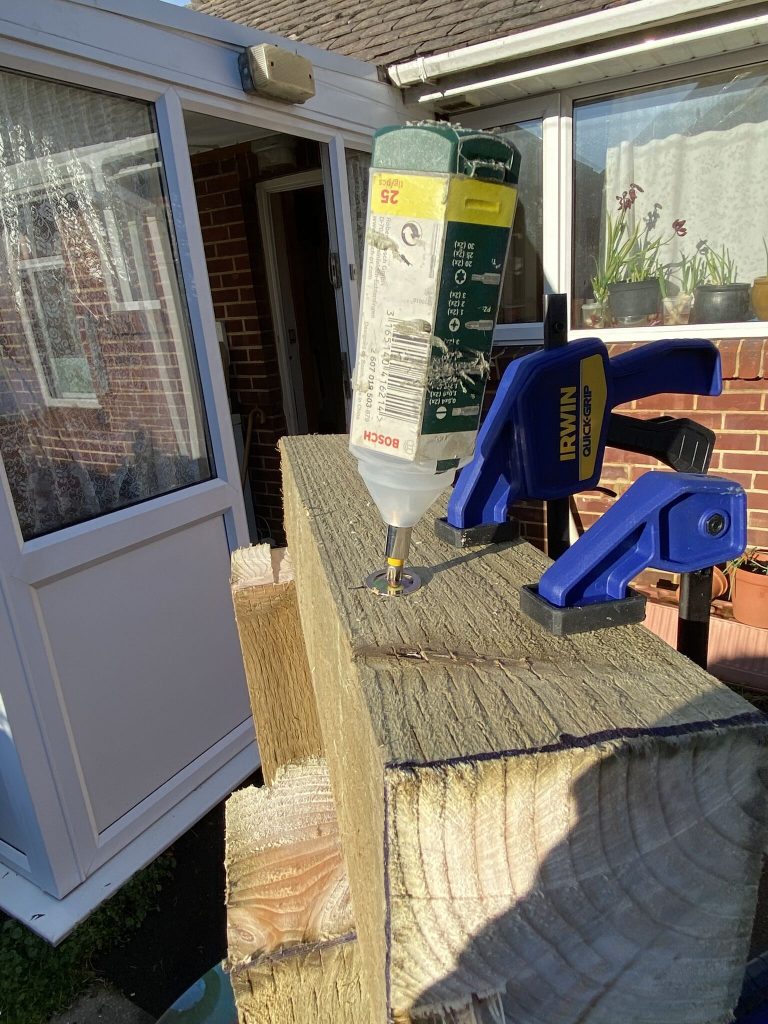
Having made the supports i needed to get them onto the tilt, the wood is 10cm deep, and need about 5-6cm plus to make any kind of secure connection. I had a quick look online, but was coming up with nothing, darn, was making such good progress ! I am very reluctant to goto any shop, but needed to get this done, so headed to B&Q to get some essential screws. I found the staff incredbly helpful in helping me choose the best screw for the job (self-tapping wood, thickness/end screw type) which I wouldnt of been able to do via the internet, so although I was a bit stressed with going to the supermarket, i was glad of the help i got.
when the tools dont have the torque, wrists will do 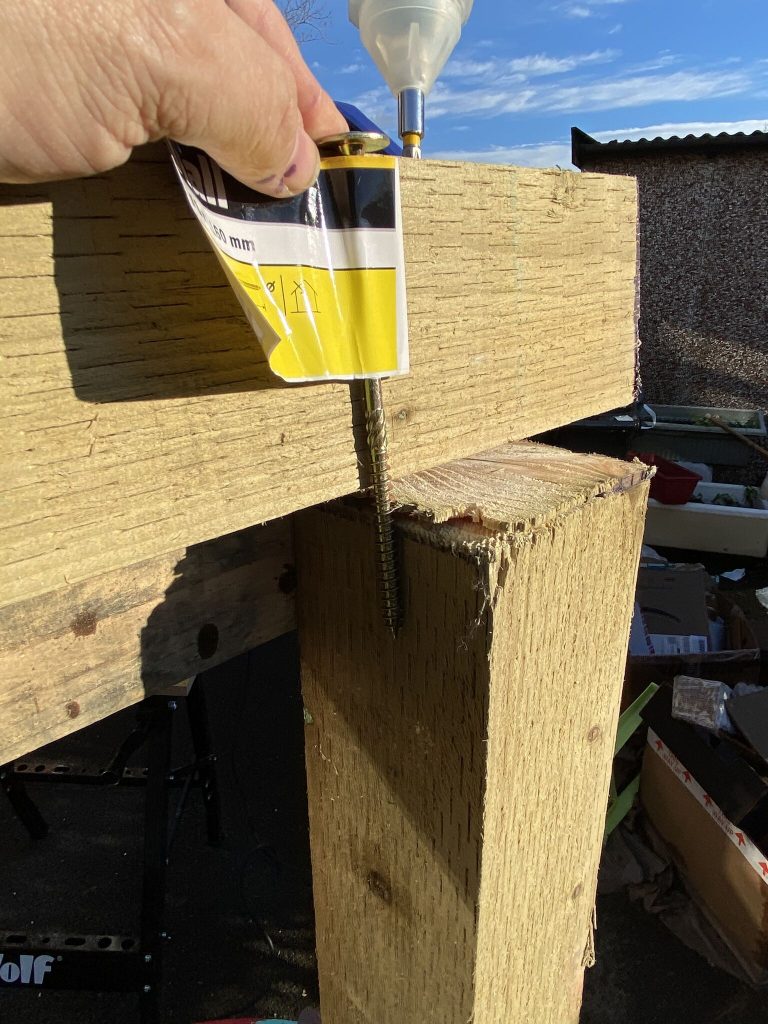
thats a whopper 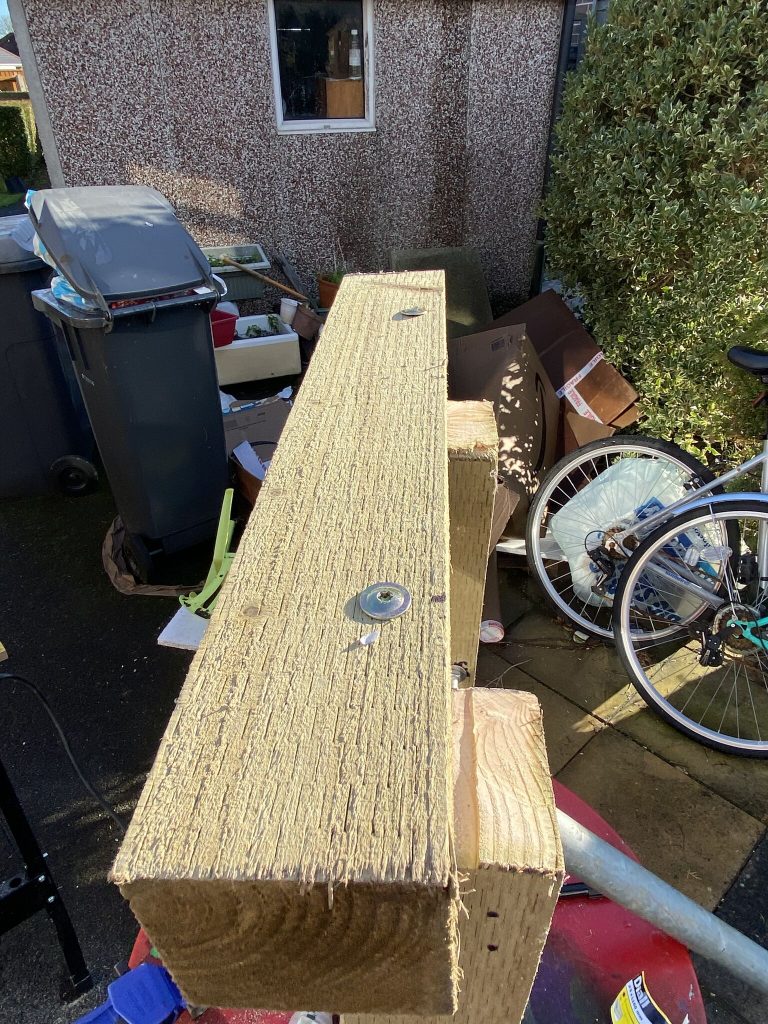
nicely in 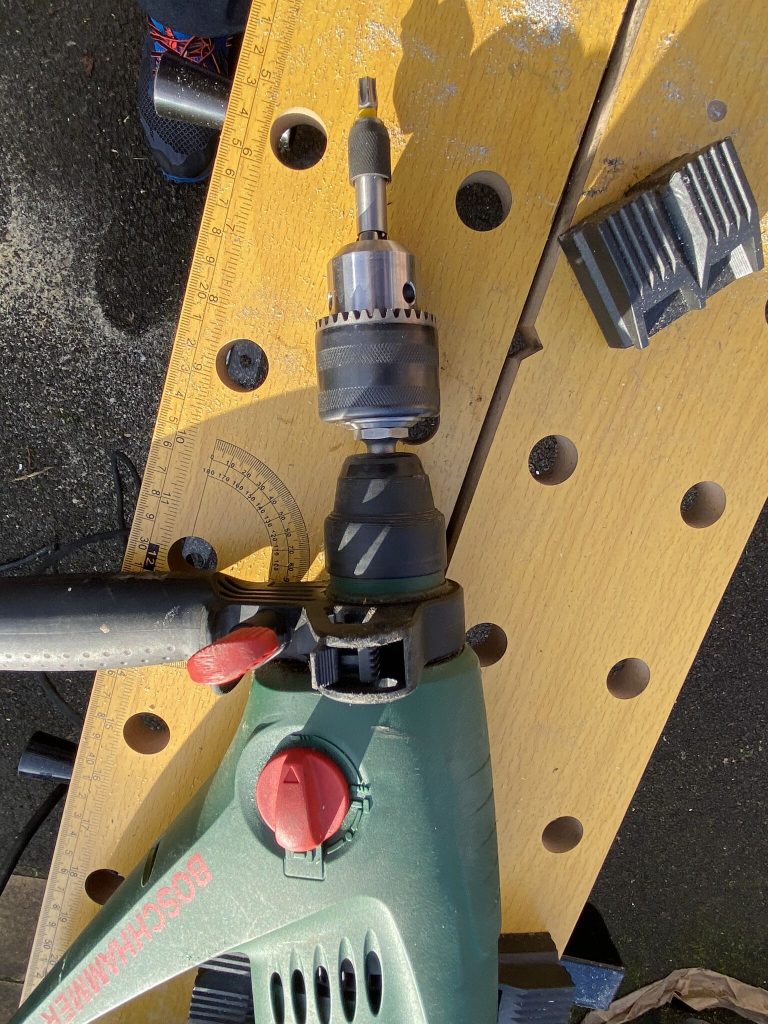
SDS adaptor, screw holder and ‘rtorx’ screw head 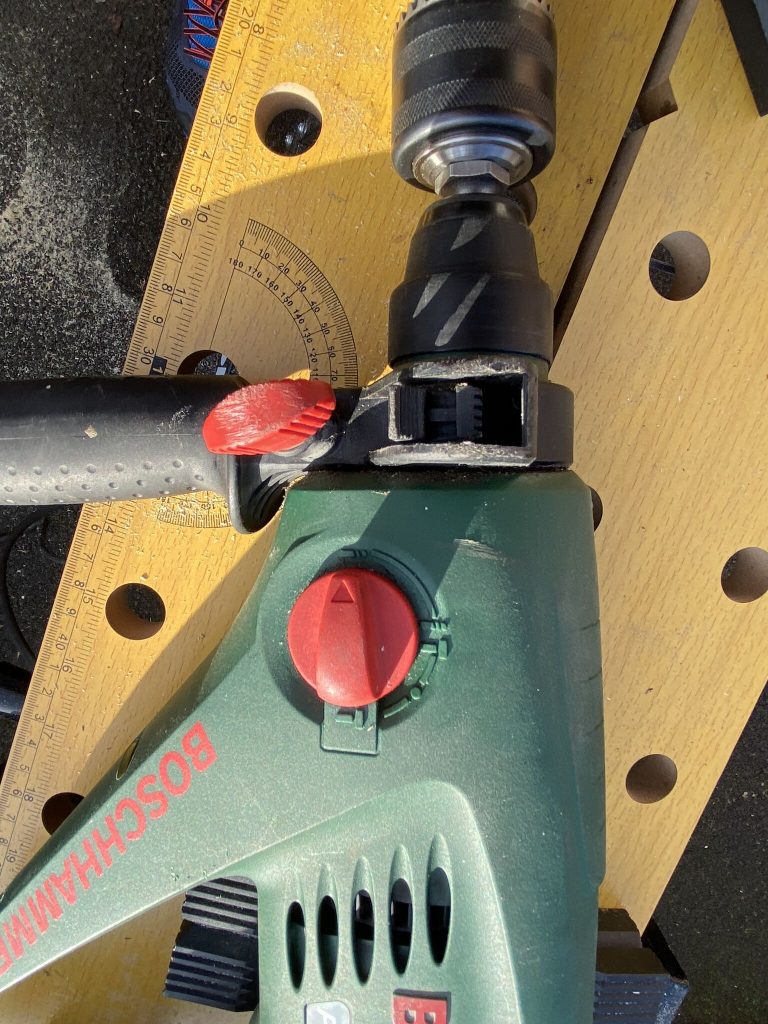
drill, not hammer mode 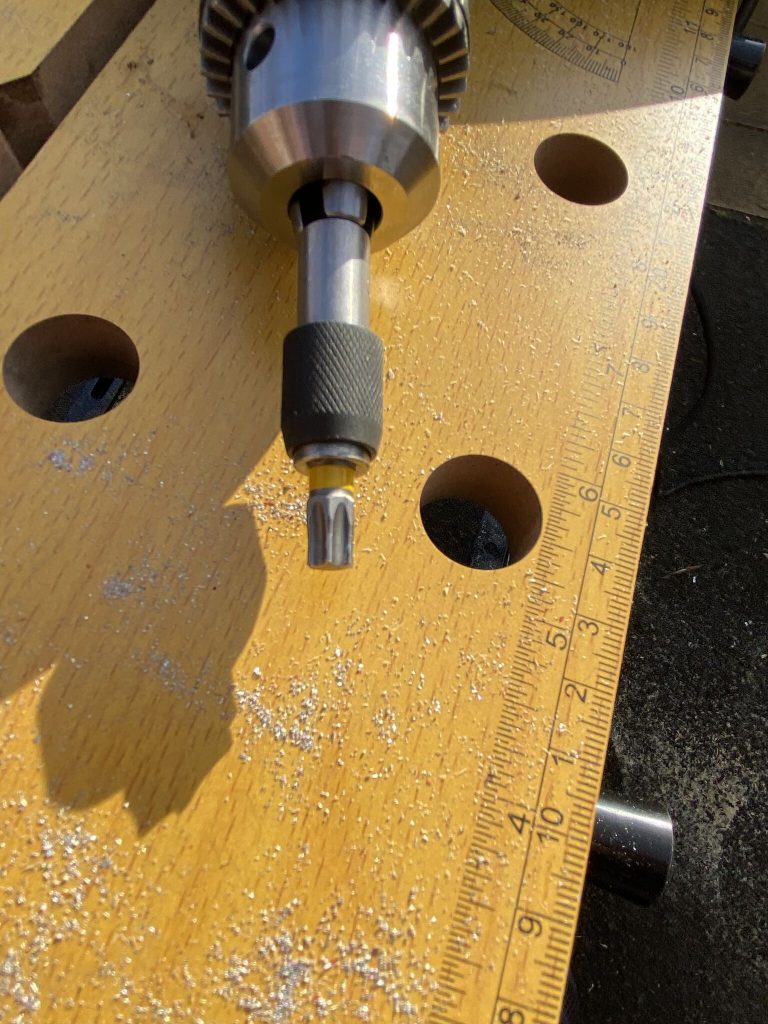
the ‘screw-drill’ 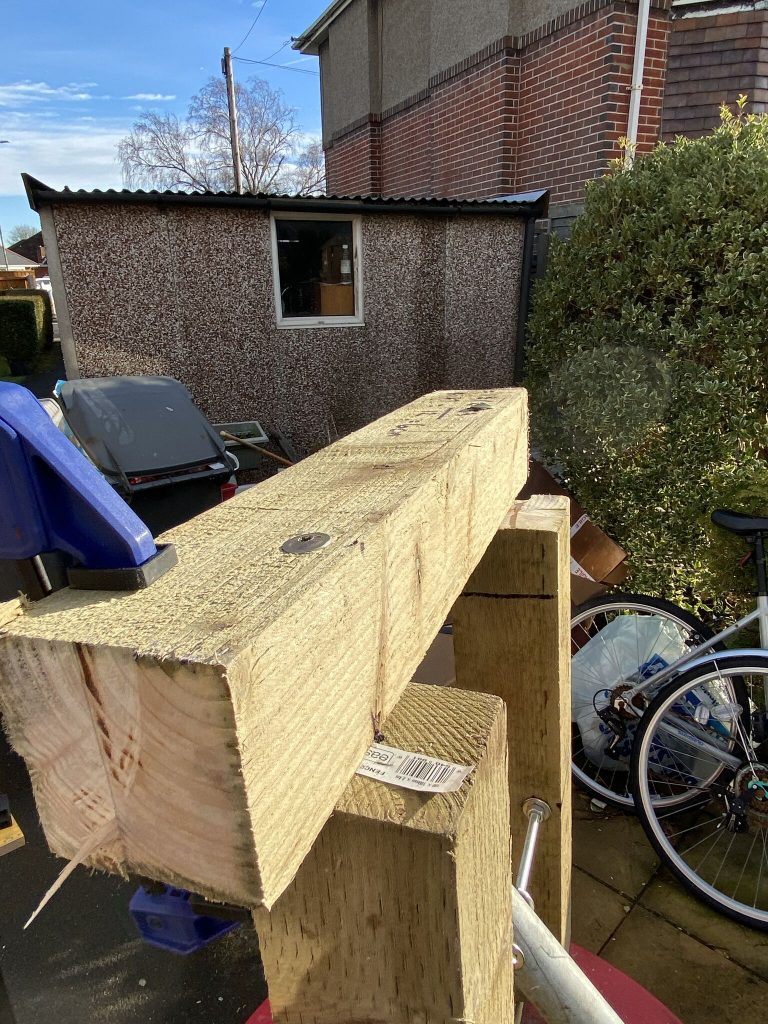
done a good job 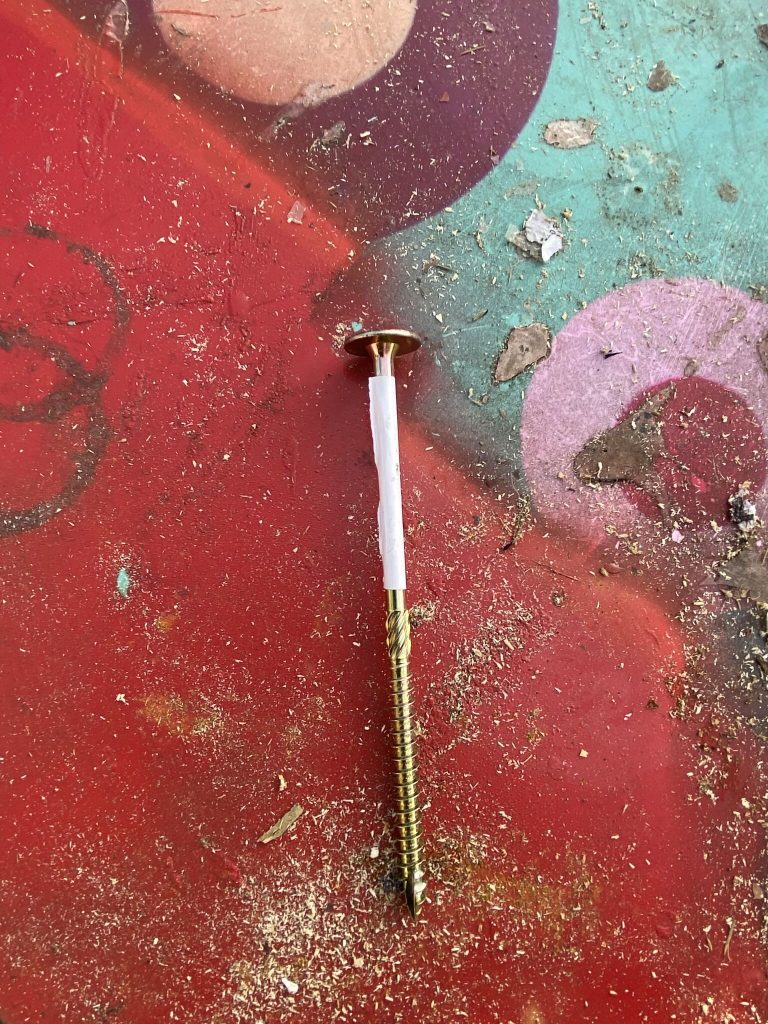
18cm of screw
For the side-supports i used 4 self-tapping screws to start with 2 of them went in very easily, the othe 2 needed a ‘manual’ finish to tighten up. I think what helps the most is doing a manual ‘screw’ for 4-5 turns so the screw is nice and vertical, then going in with the dill. I liked the way the combo of a SDS/Manual chuck adapator worked with a torx screw holder, it saved me a fair bit of work !
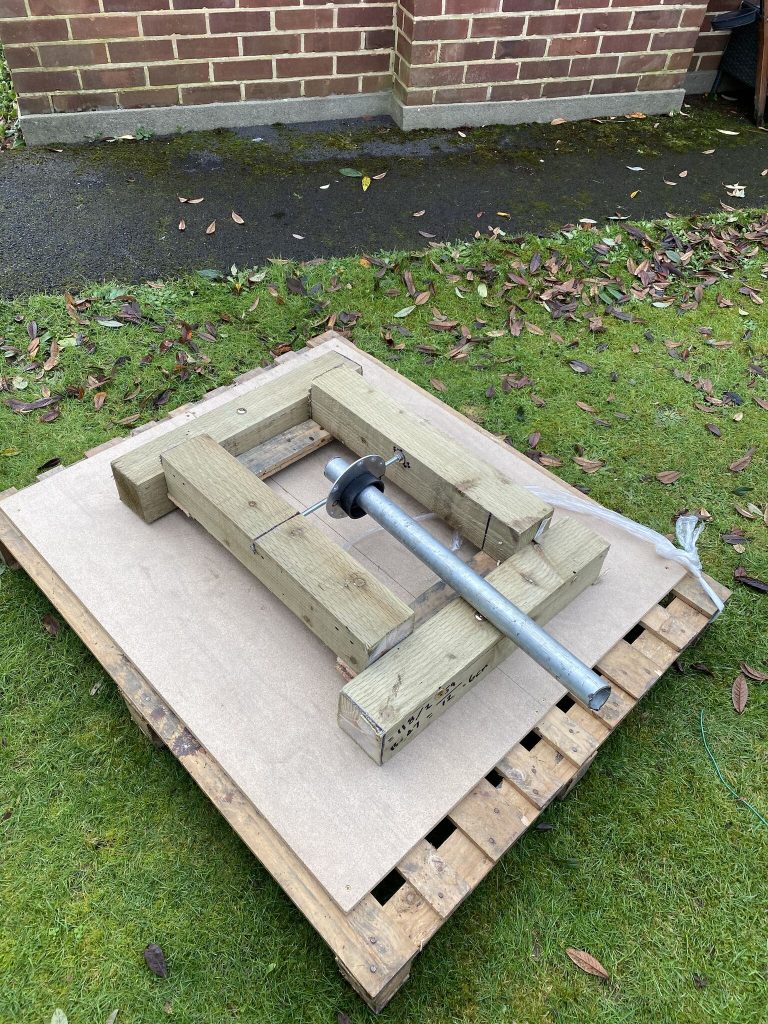
attached to the pallet 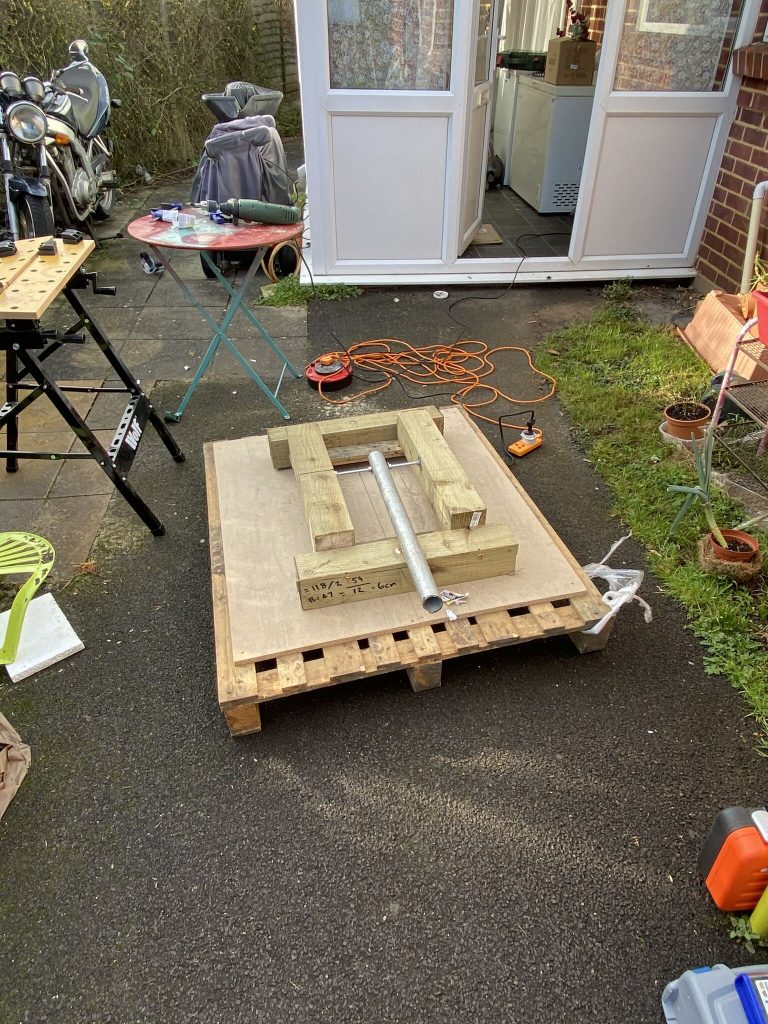
tilt working well 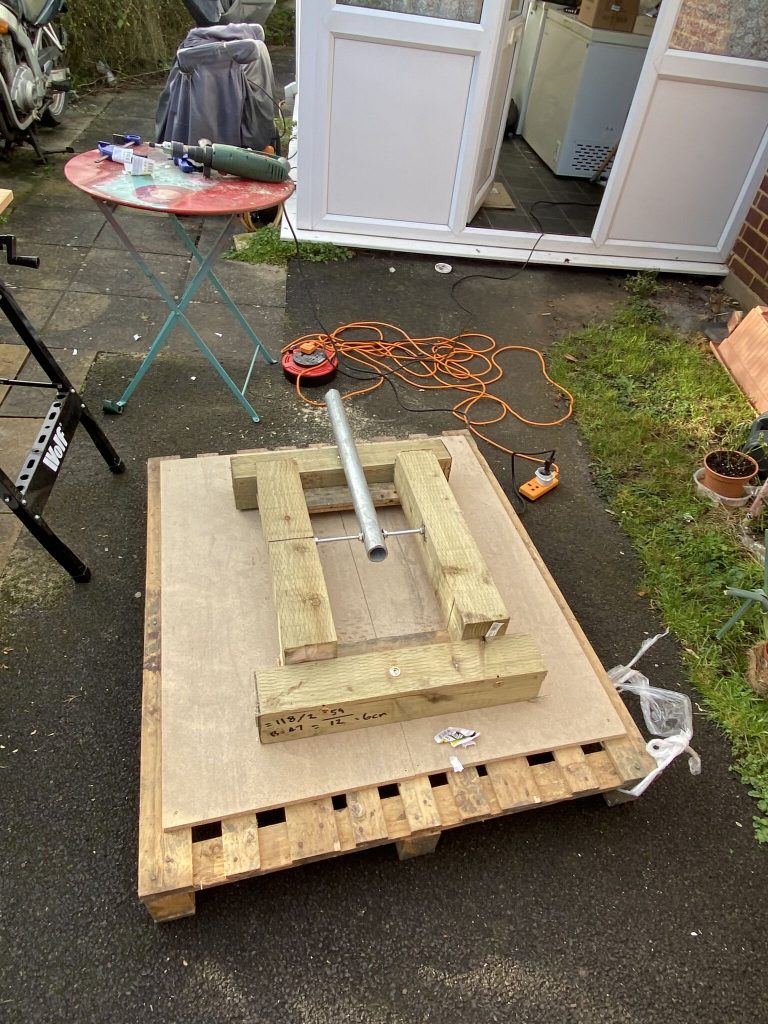
nice and secure
I then used the last two bolts I had to attach the tilt-base to the pallet boad, these went in the easiest by far, and as you can see the result was really good in that the tiltbase had a very secure ‘ground’ to work from on the pallet.
I then moved the tilt base to the ‘antenna’ area of the QTH, pointing it in the general direction of how i will walk it up. I made a short video that hopefully helps in explaning the positioning.
Having spent around 4 hours it was time to take my doggo for a walk !
I’m hoping for more good weather tomorrow and after tidying away the current 40m and 20m antennas to do a ‘test’ erection of the Nebula !
Until then stay safe and 73
Alan / 2E0FWE