Although I enjoy using 10W and can make enough contacts, the thought of getting my intermediate was a scratch I couldnt stop wanting to itch.
So I have booked.a weekend class and exam. I’m now using my commute time to study the Intermediate Study Guide, which I have to say is very accessiable and whilst a step up from the foundation, its the right level of challenging.
I’m looking forward to being able to operate on 50W of power (which seems huge to me right now, given I’m on 10 and less usually !). One requirement of the intermediate is to build a radio related electronic device to show practical skills.
I haven’t done any ‘proper’ kit building since my teens, probably whilst at secondary school. So I thought it best to practice first on a interesting kit, and make sure I build up my skills/knowledge.
I ordered the KKmoon Multifunctional Transistor Tester from Amazon which looked challenging but not impossible. I also made sure i had the best chance of sucssess and got a few helping things.
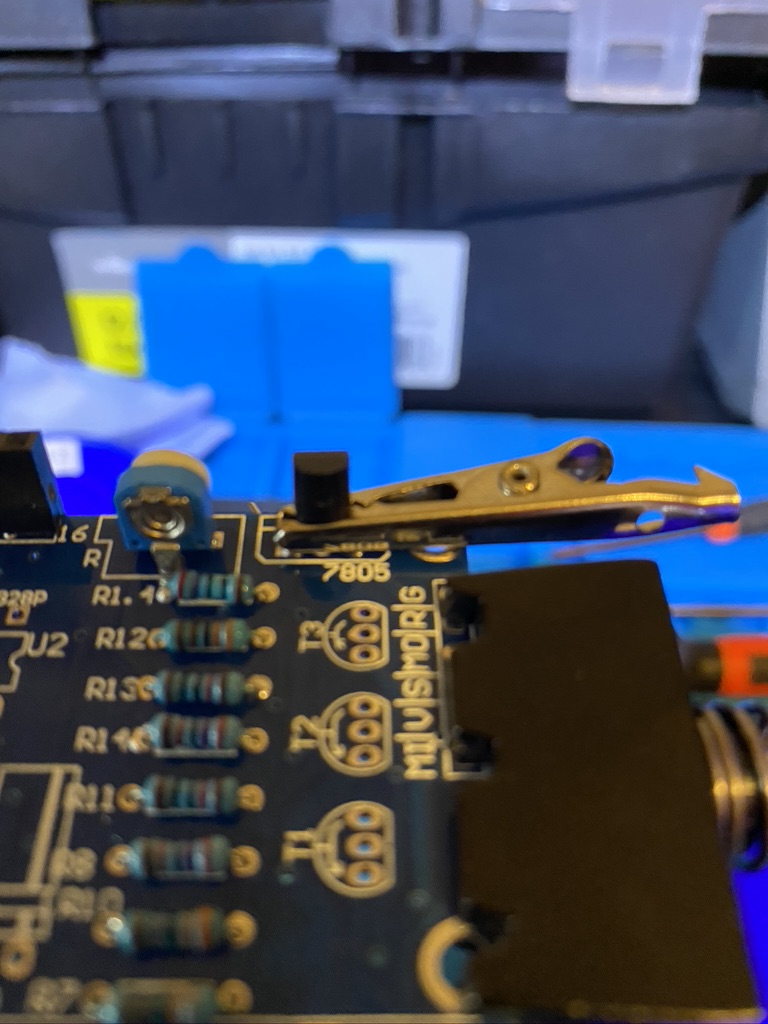
The BURNTEC PCB Holder Clamp, at just shy of 8 quid has been fantastic. Having only used a ‘helping hands’ before, I found this to far superior in bouth build and the ability to flip the board over. It really is a good piece of kit, being both strong and easy to build/configure for various size boards. I think the biggest it would do would be around 7 inches, plenty big enough for type of projects I’m doing currently.
The YOCTOSUN Hands Free Magnifier with Two LED Light has been great for working on the very small parts. As I already glasses, this fitted over everything really well and illuminated the parts perfectly. The strongest magnification has a bit of distortion on it, but otherwise the magnifer combinde with the clamp holder make a far superior fabrication process than the classic ‘helping hands’.
I set about soldering the resitors in first, then checking them all with a voltmeter for the correct levels, i.e. 1) i had read them correctly and got them in the right place 2) they worked. Which amazingly they did. Bouyed on by the resitors i carried on with other components.
Whilst the instructions are sparse, they are practical, giving the best order to put the components in, and also including the direction of how to place them. I did have to google a couple of components (diodes) to verify the right component, but otherwise the electronic build instructions were good.
For the transistors I used a crocodile clip to attach to it so it would draw the heat away from the component. It was funny using a skill i hadnt used for so long again !
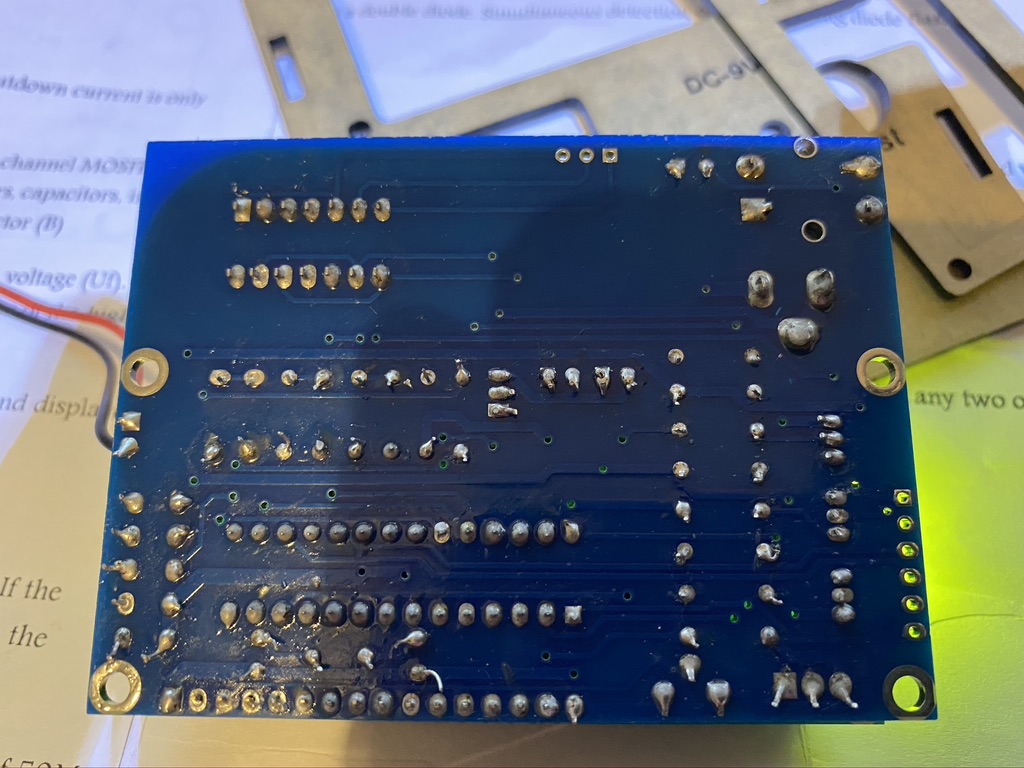
I competed soldering everything in, and I think as i progress, the soldering does get better. A friend has pointed out some which could be improved, but this was my first time in quite a while. Overall I was happy with the results.

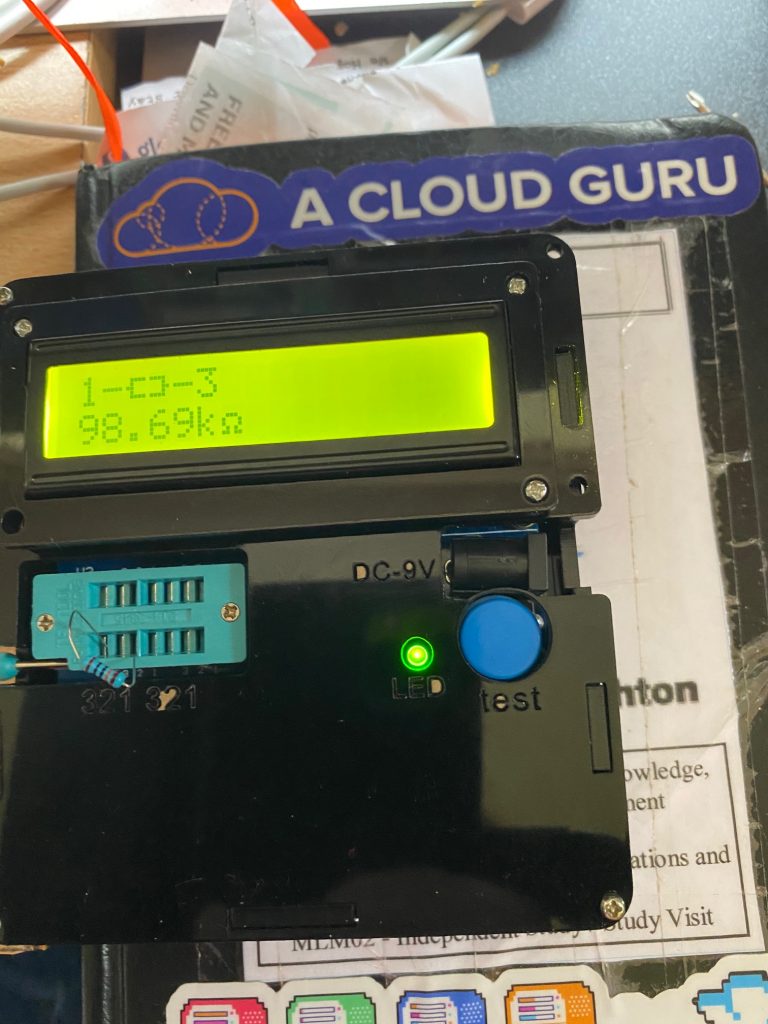
After about 3 hours of building i got to testing, and amazingly it worked first time ! I did have to fettle the display port a little (i.e. wiggle it a bit) to get into the case, but everything did fit and it worked perfectly.
I am very happy with the practice I got and now have a working test unit for various components.
I’m looking forward to building my ‘Kanga DX Direction Conversion Kit’ which whilst still looking challenging, isnt quite as scary as before completing the mutifunctional tester.