
Having an IC-9700 offers the benefits of full fuplex communication on the 2m/70cm bands used by satellites. I previously used two yagis and a rotator with some sucsses in contacting satelltites. The IC9700 with HRD performs excellently in doing the ‘doppler’ tracking, but still found that manually rotating the antennas a distraction when attempting to have QSO’s as the ‘birds’ flew over.
With that early this year I ordered the M2 Satellite Package but due to work and study commitments its been sat in my hallway for several months, waiting to be setup. Well today was that day, with fine weather forecast in the shortening winter months, it was now time to take this on, taking a nice break from my academic and technological pursits also got me outside, albeit just to the front garden !
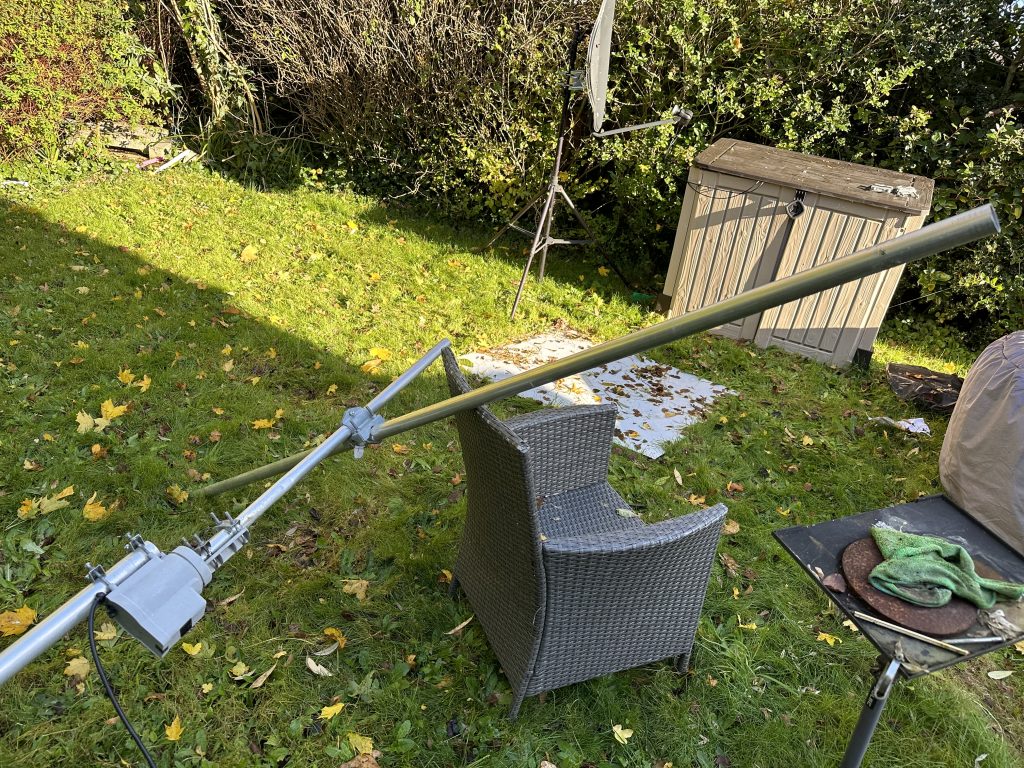
My first tasks was to remove the Yagis from the existing beam (I was later to learn this wasnt strictly necessary), so I took the 70cm and 2m yagis and put them in them in storage. They can probably be well used on the bike stand for /P operation in the future, although I do have the handheld arrrow antenna for that as well.
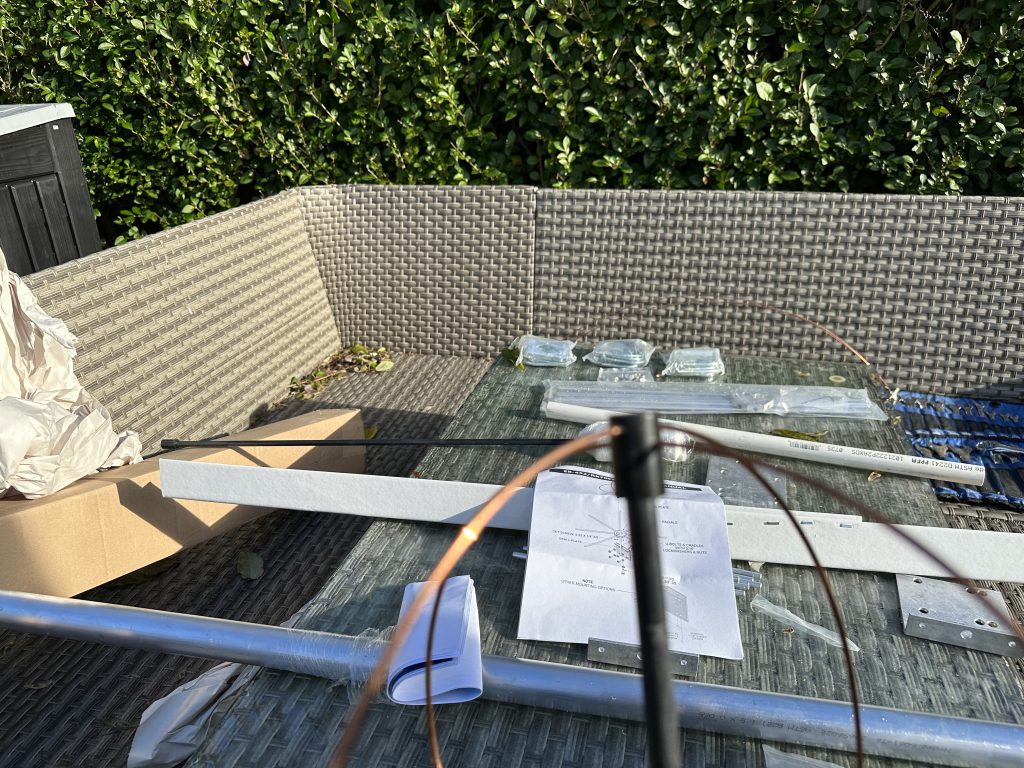
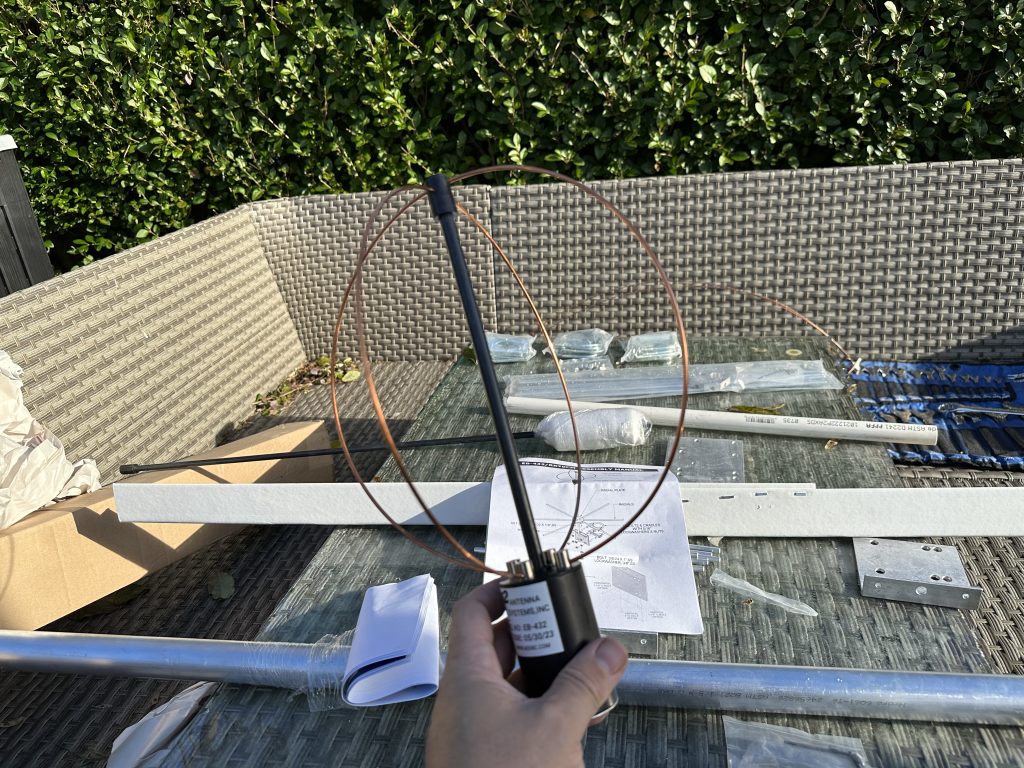
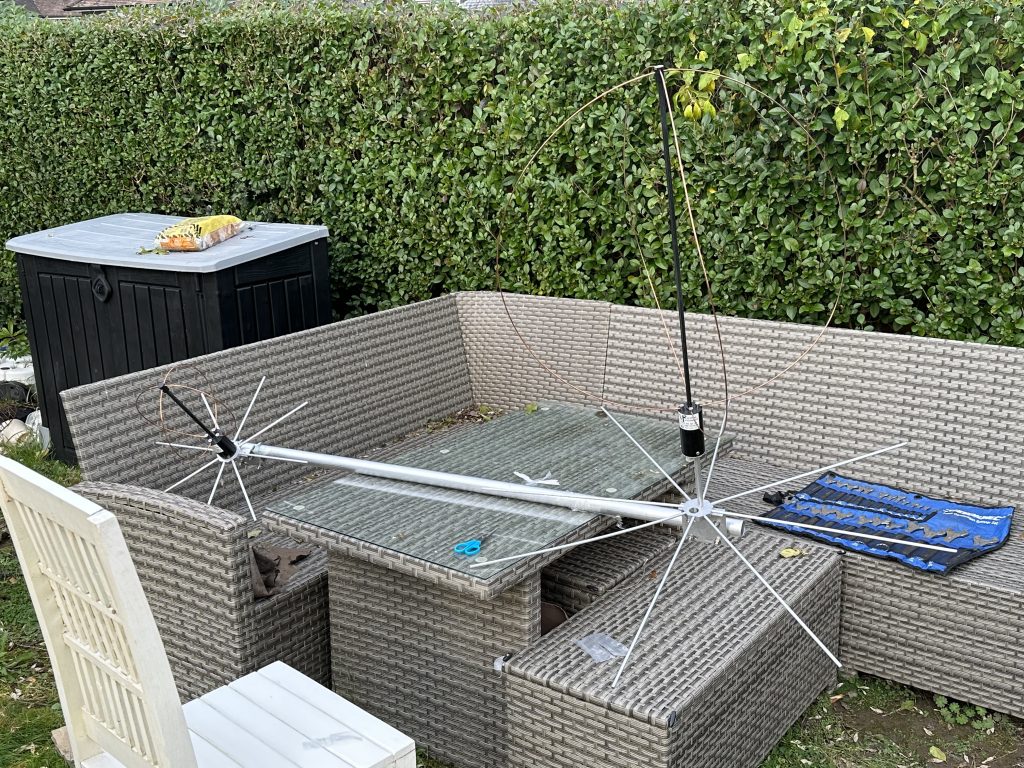
I unpacked the antennas, which had been done very well by M2 in the US, you’ll see more of that on the video once I edit it all together ! I started on the 70cm antenna as it was smaller and easier to handle, and would give me some experience ready for the larger 2m antenna.
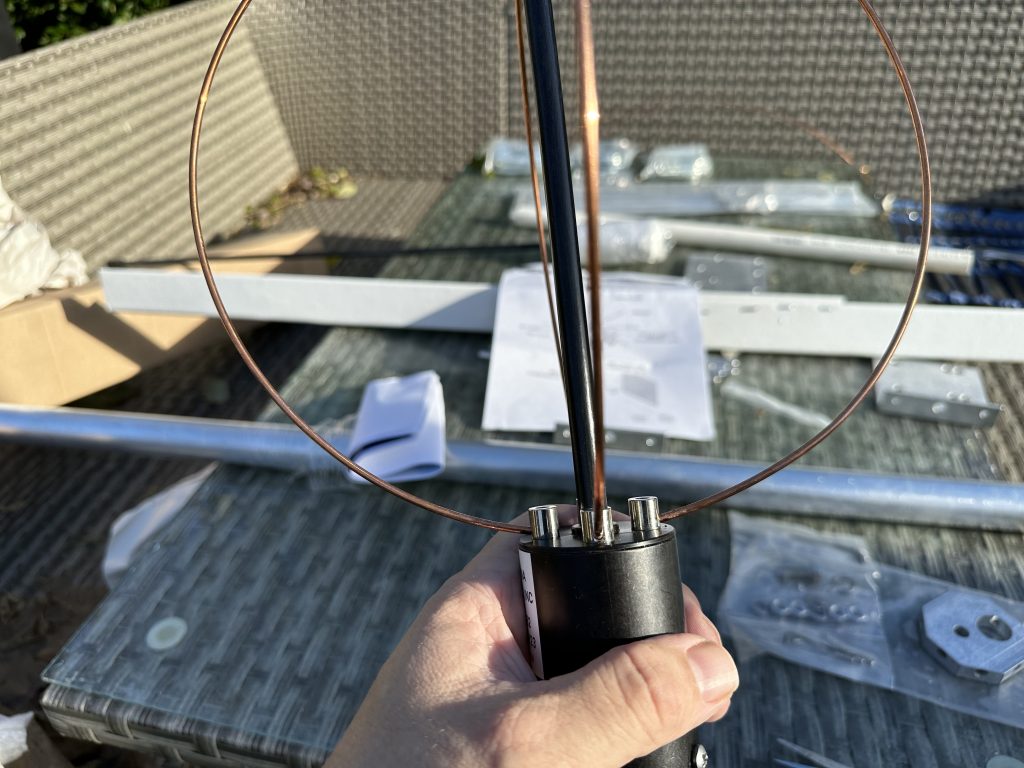
I found that getting the copper into the loop configurations was easy enough, by feeding thru gently into the eyelets and placing into the holders at the base, the small screws were manageable even with my large fingers. I had tightened and then finished with the allen key.
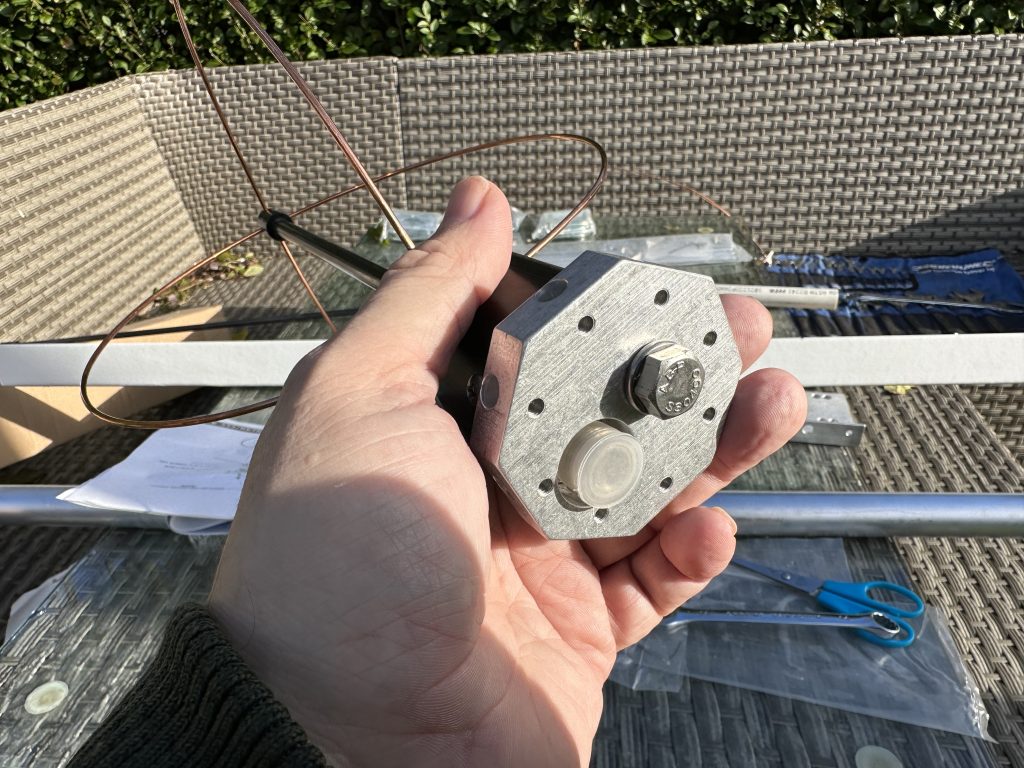
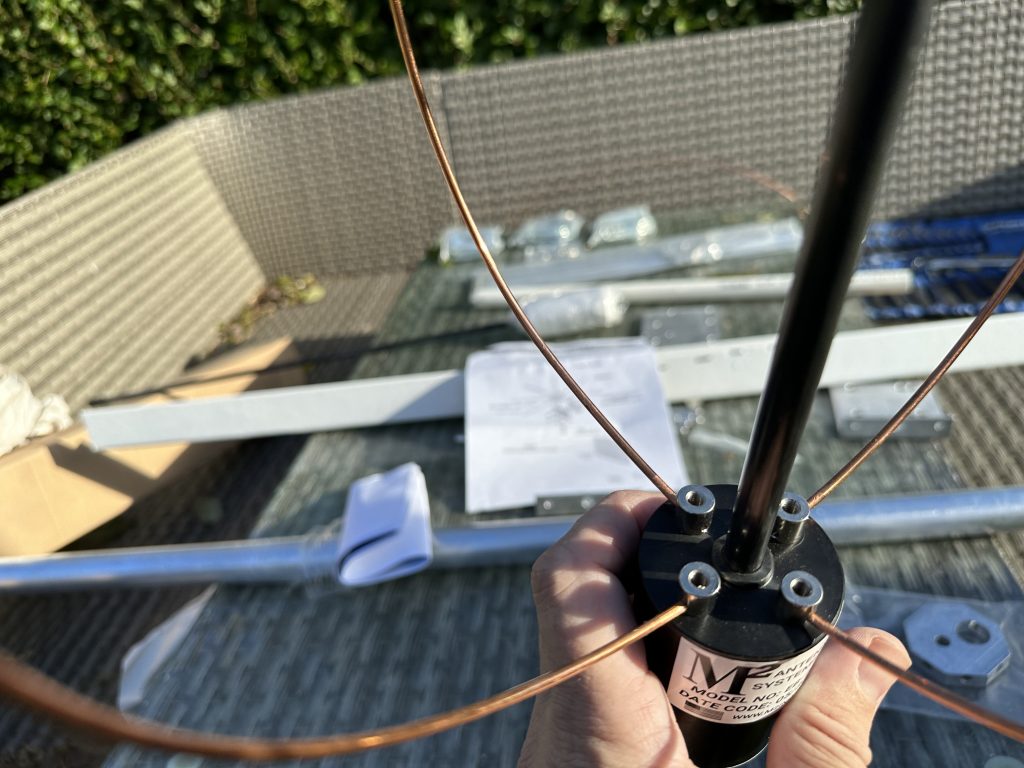
I then started on the base of the radial holder, whilst the antennas can be used without these, for satellitle communicaton they proivde a reflective plan providing gain at the horizon and a null directly overhead, this is exactly what is needed as the time a ‘bird’ is spent overhead is very short, with the tracking previously done via the TV rotator taking the time to get across the sky.
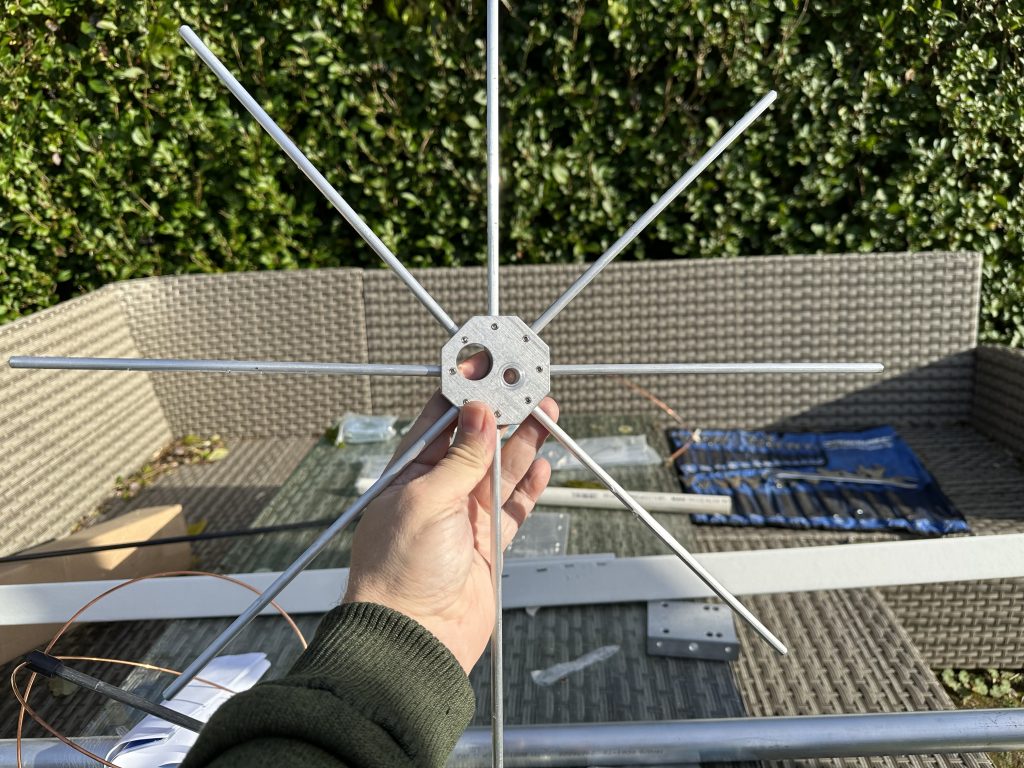
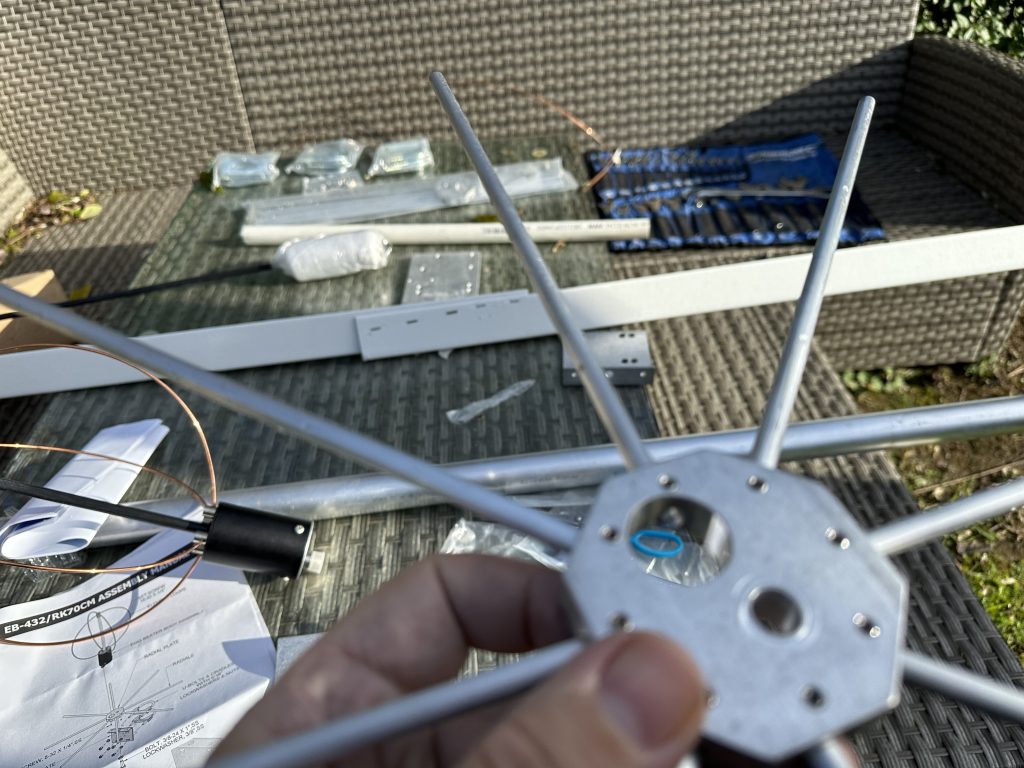
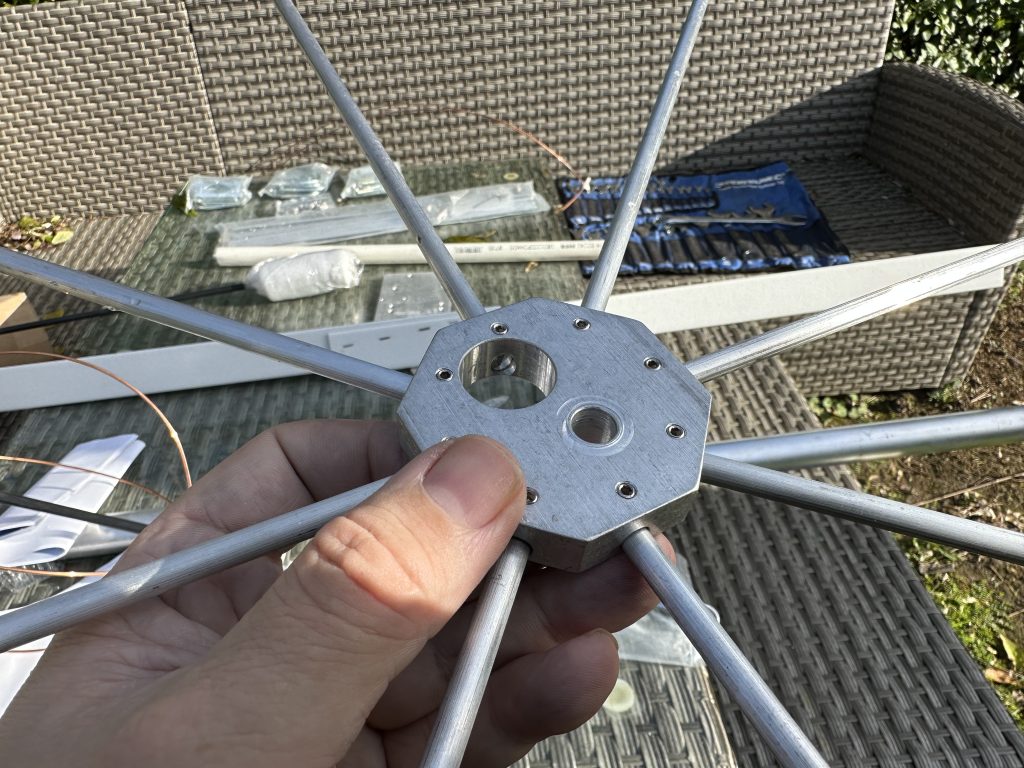
For the 70cm radials one hand holding the radial and another screwing in the bolt was not an issue due to the size of/lightness of the radials. These went in really well thanks to the precision engineering.
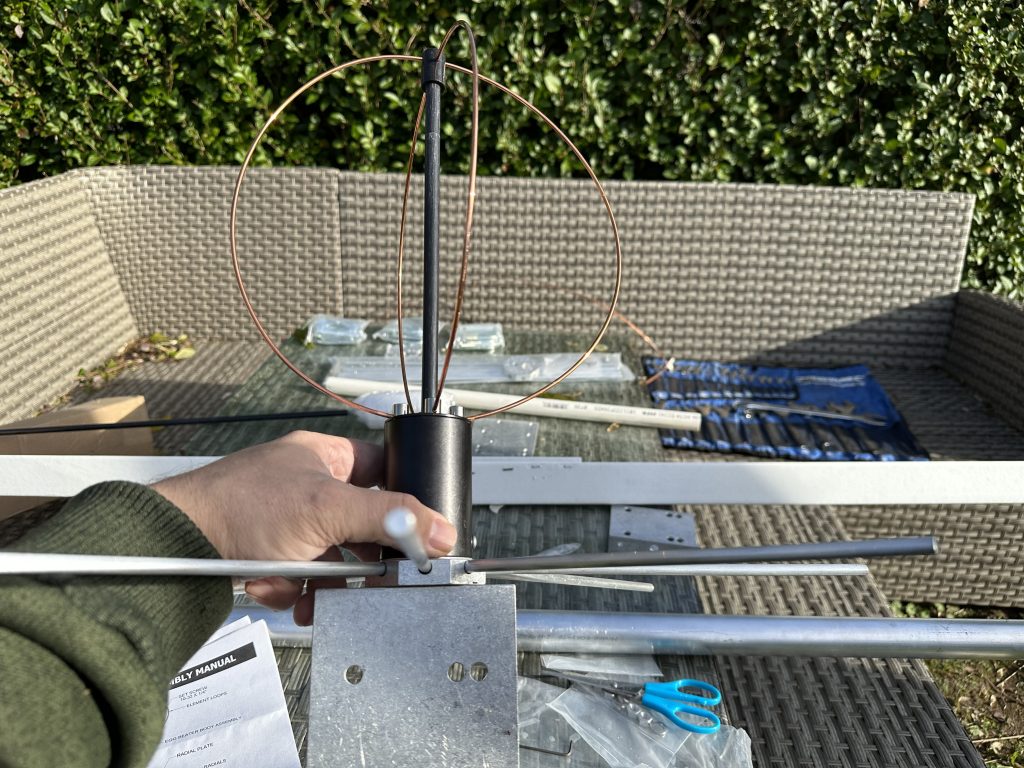
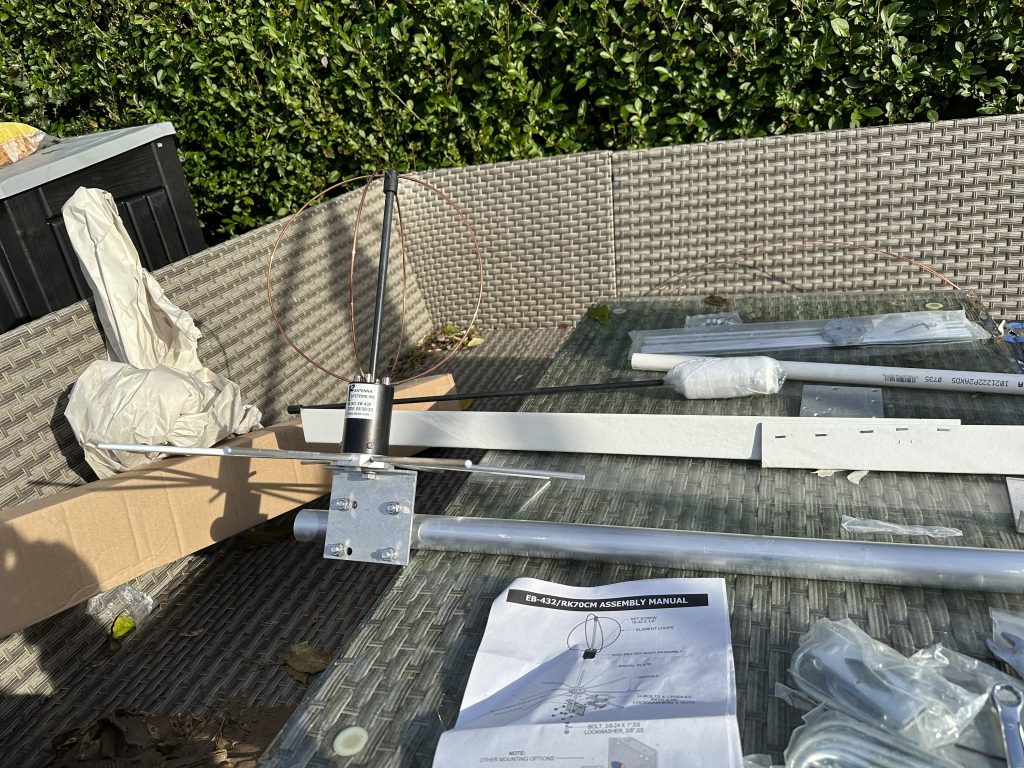
Having completed the main 70cm antenna, it was time to attach it to the supplied beam. I always seem to struggle with getting these U-Clamps on, and it was still no exception in this case, still after a bit of fettling, I had the 70cm nicely installed on the beam, ready for the 2M antenna to go on next. I had a break and a nice cup of tea first tho.
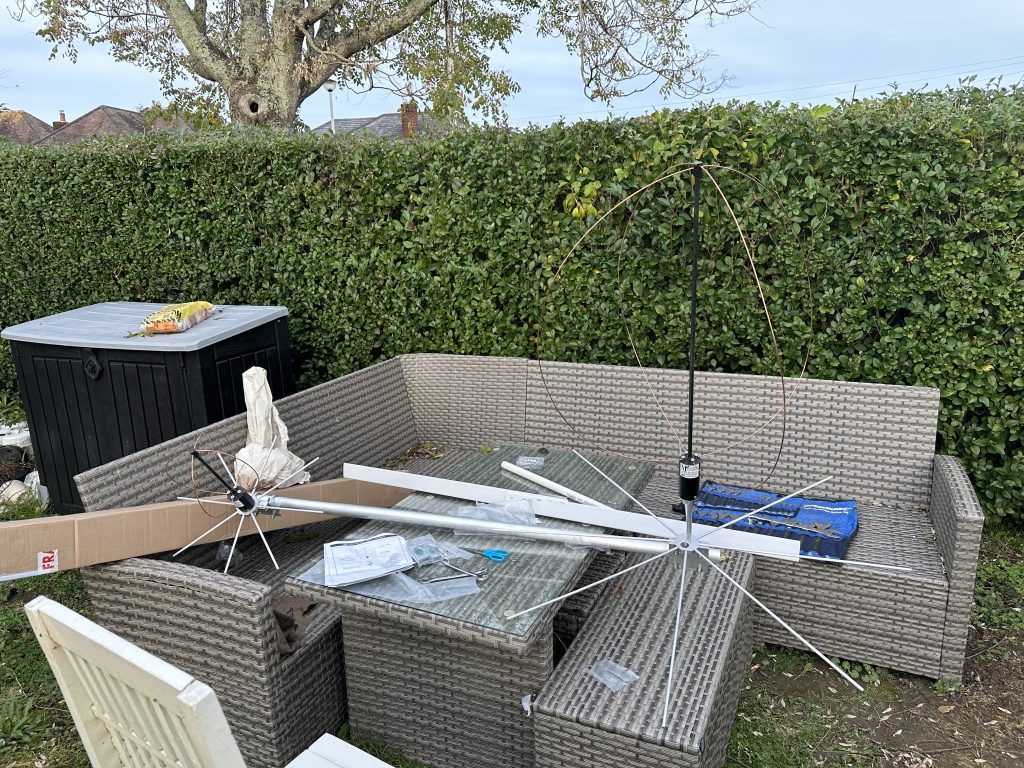
Having had a nice cup of tea and a bit of a break, i then went on to the 2m antenna. This is much larger in size than the 70cm antenna and features a extender bolt. All of the components looked good quality and should provide years of good serivce. I had no problem with the copper wire to form the egg beater. Having taken my knowledge from the 70cm construction, i put the small radial trap-bolts in 90% of the way, then locked in the radials one a time, this really made sure that I wouldnt lose the bolts and the radials had a good girp.
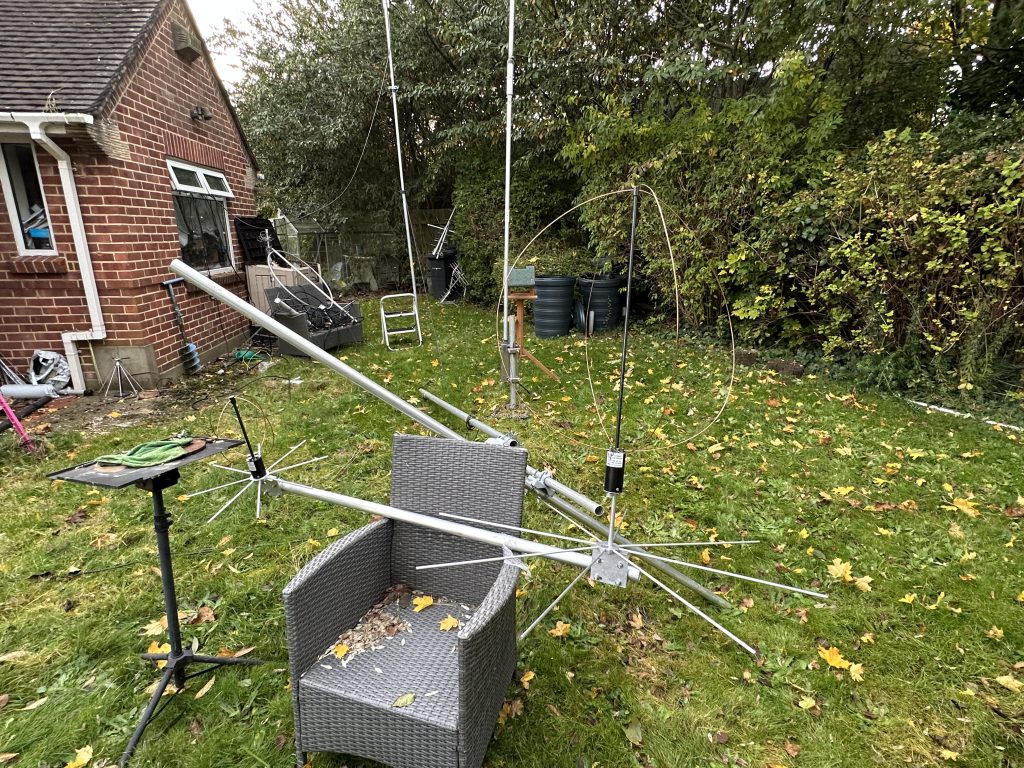
After tidying up, I moved the antenna to where I will try it out first and know I have enough feed line to reach it, it should just about get the roof line of the bunglow in this part of the garden.
Forecast for weather tomorrow is not looking to bad, but not quite as nice as today, hopefully there is a few hours to at least get the feed line and the antenna up. I do have a mast head amplifier as well, but I’m taking it one stage at a time !
Hopefully i’ll provide another update soon !