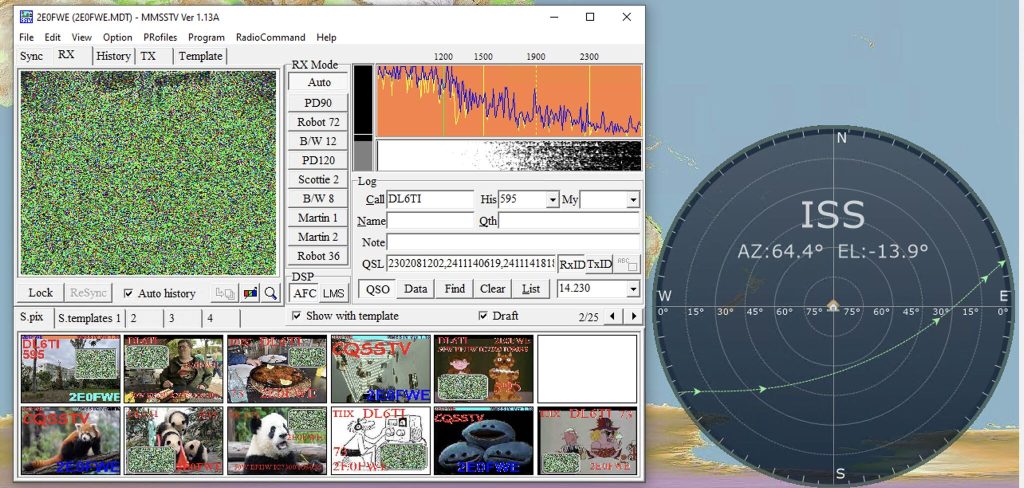
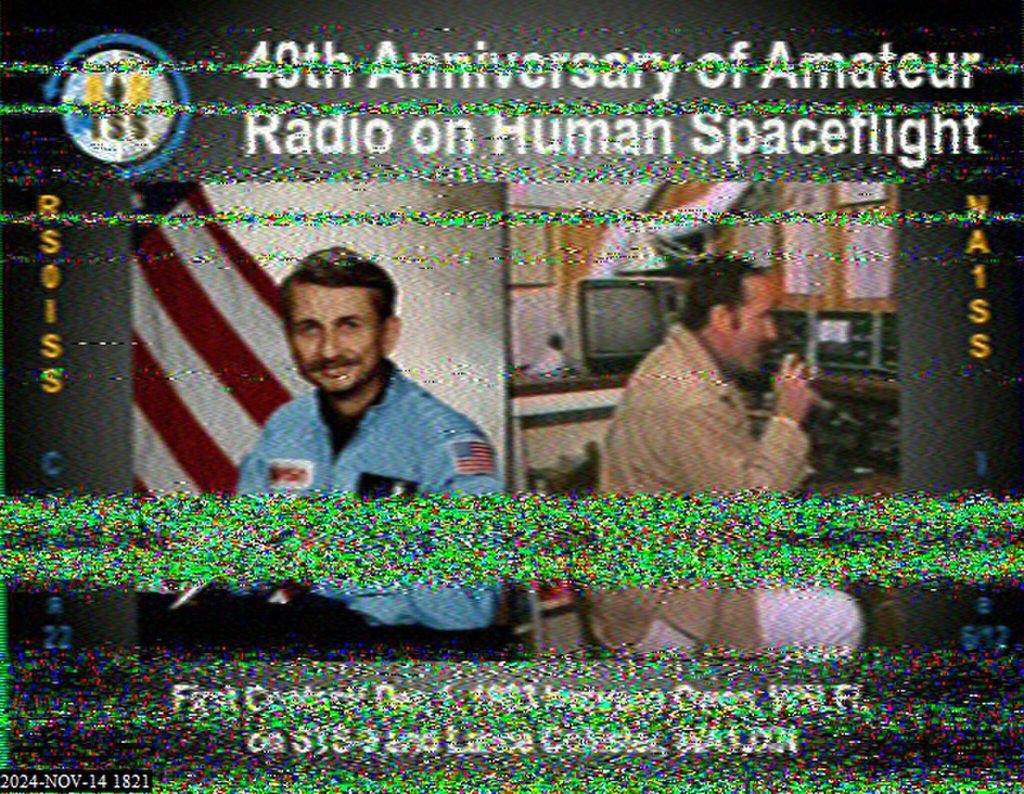
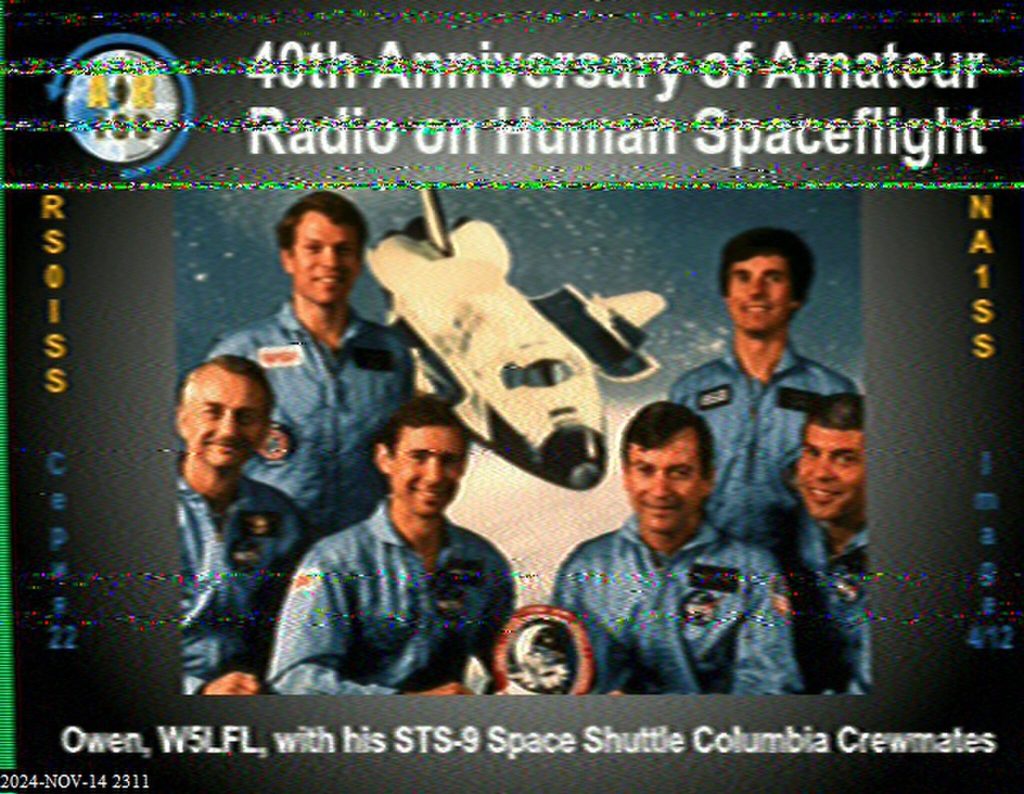
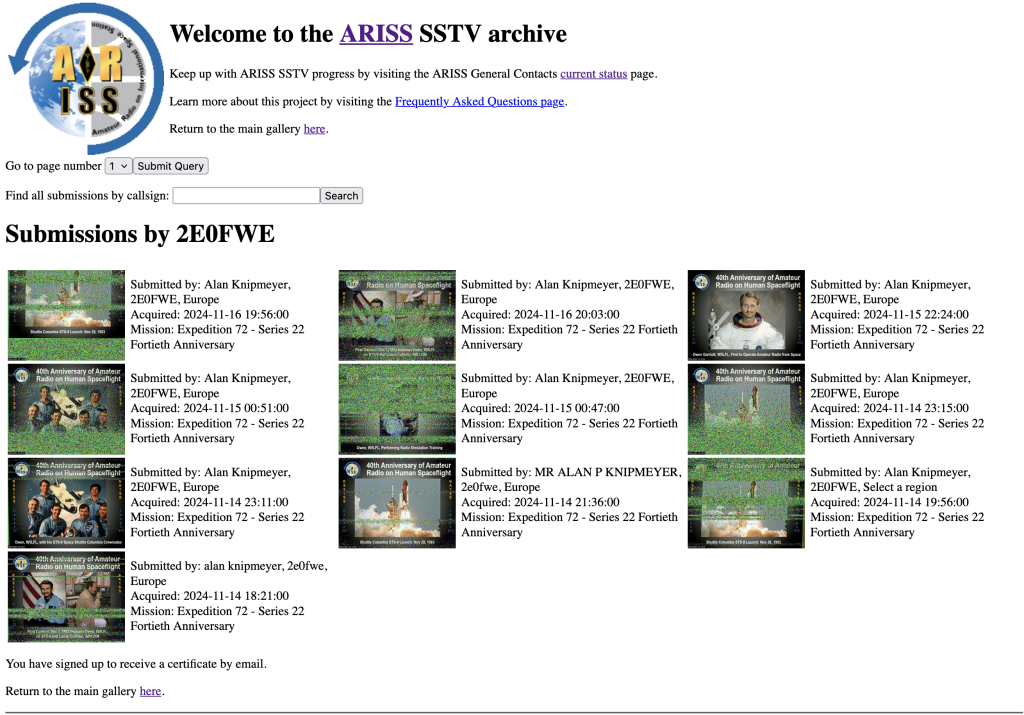
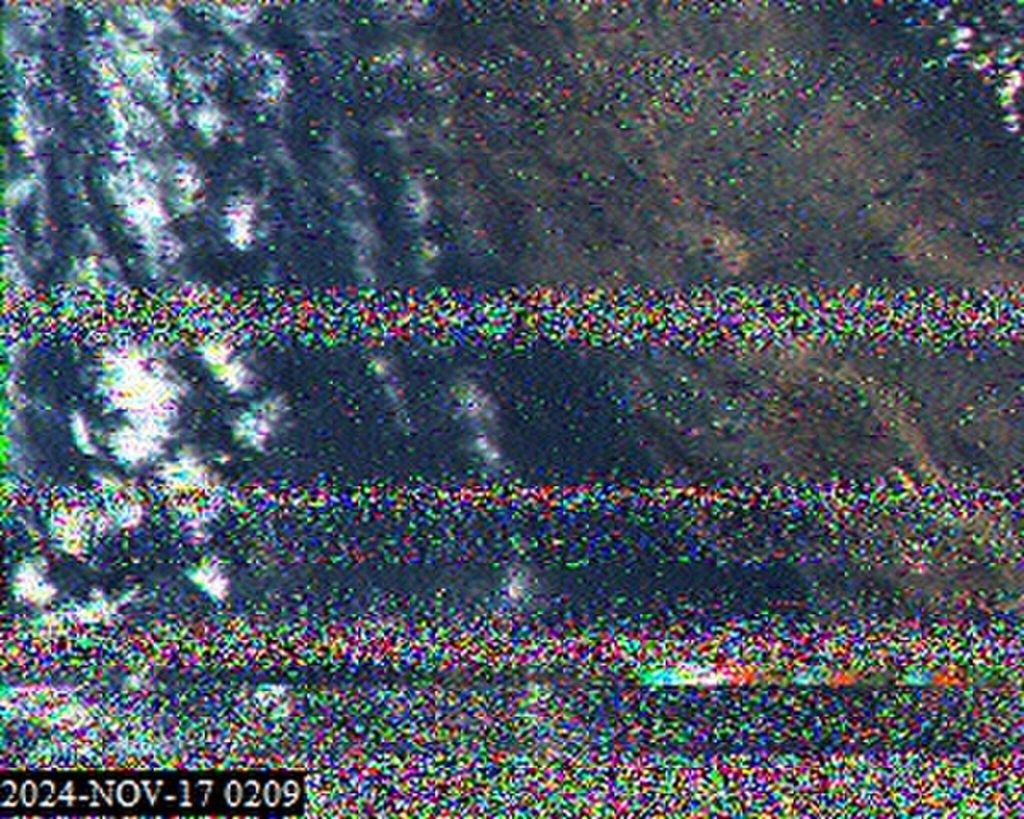
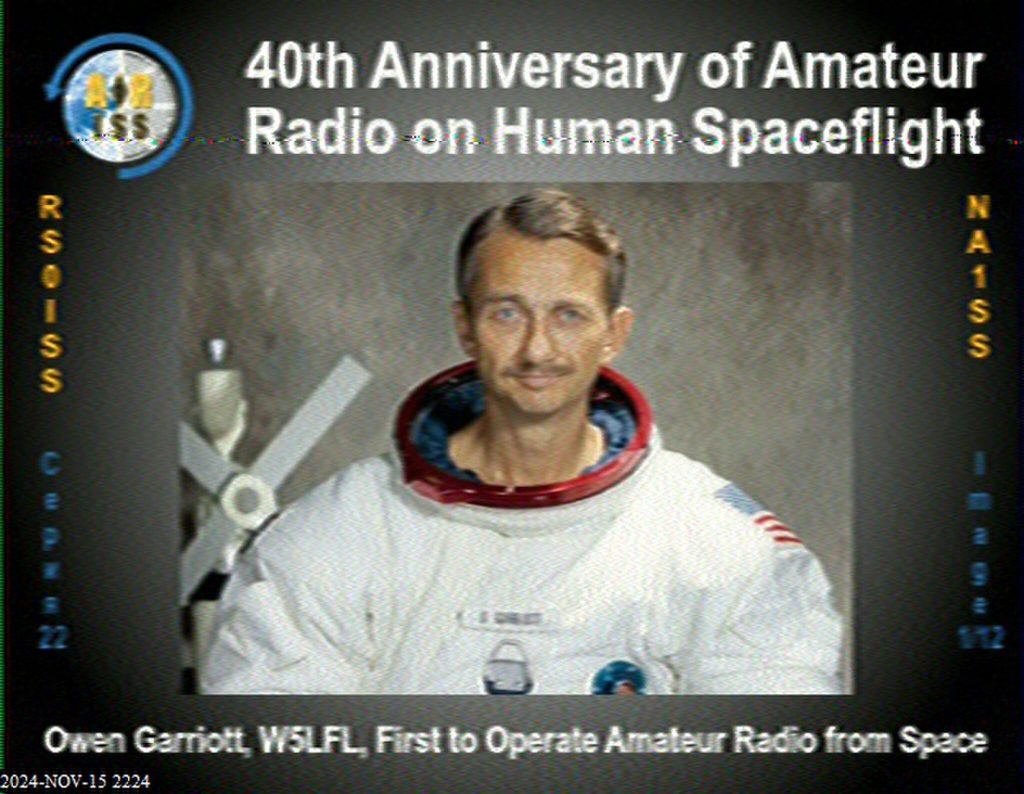
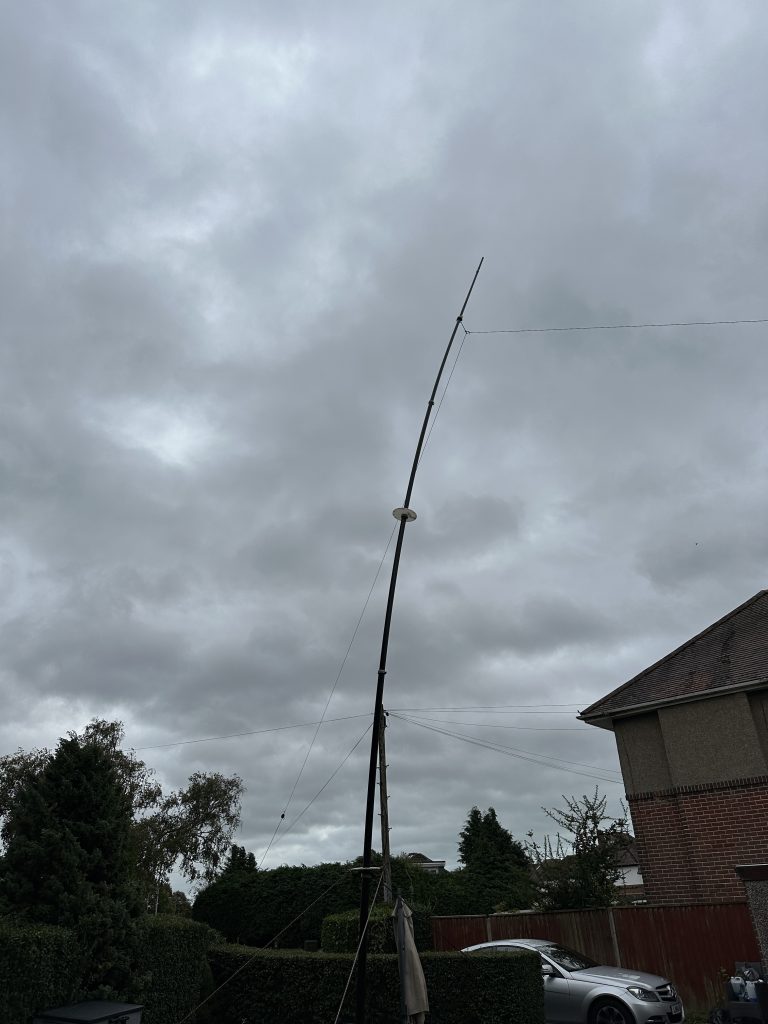
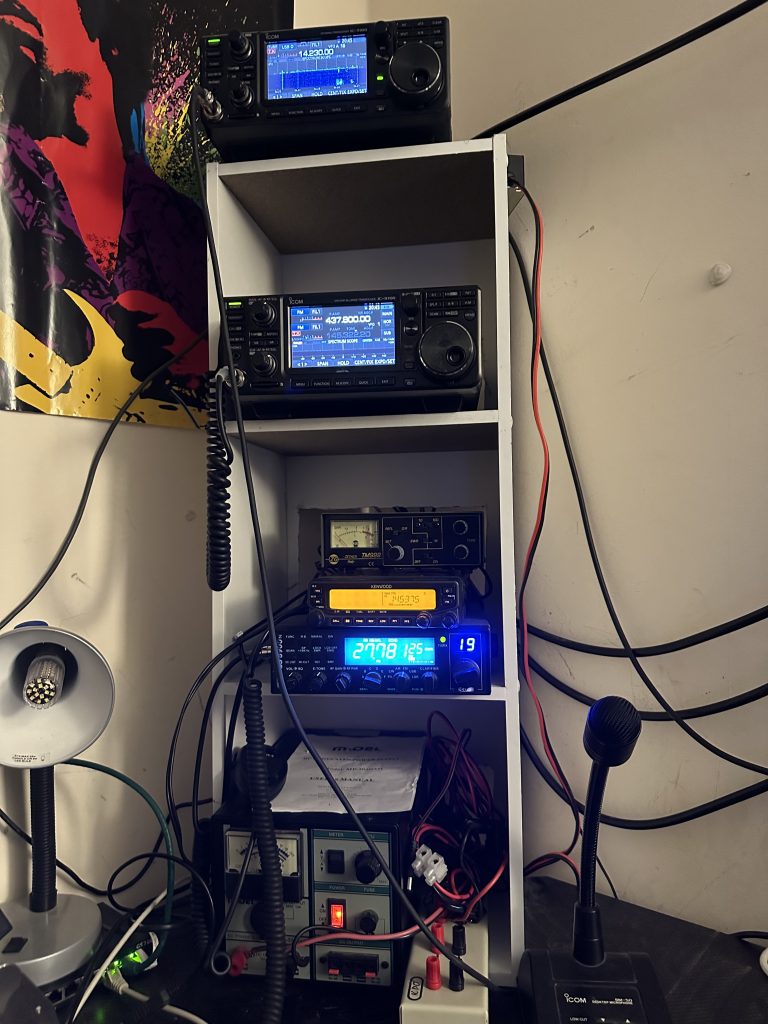
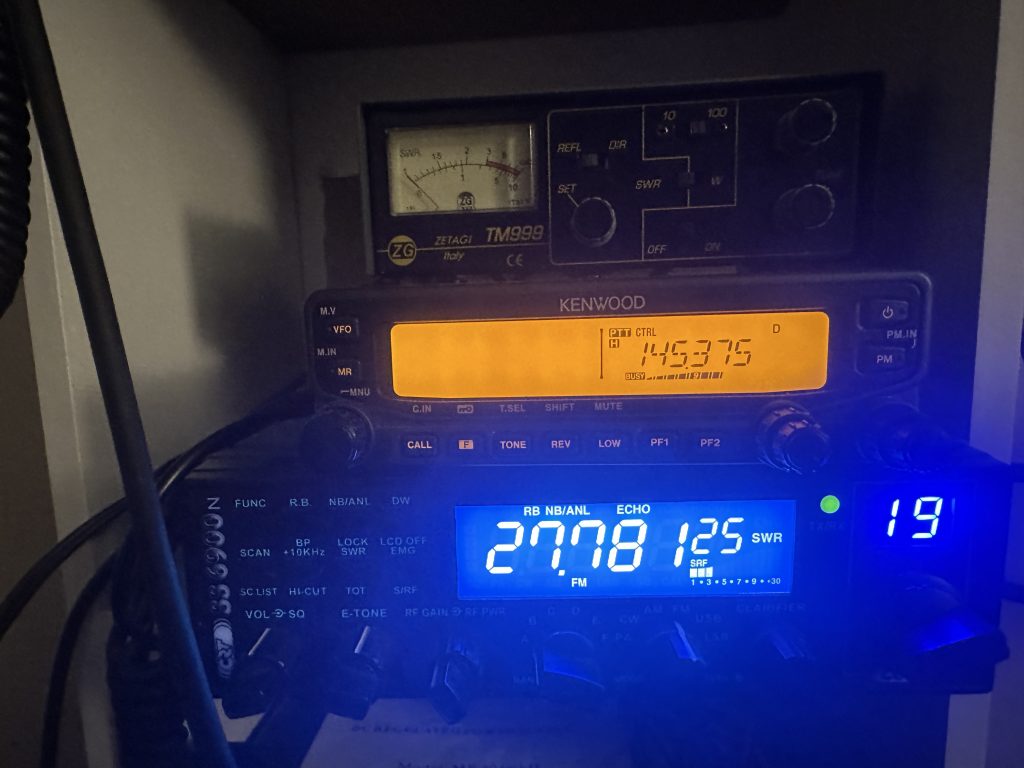
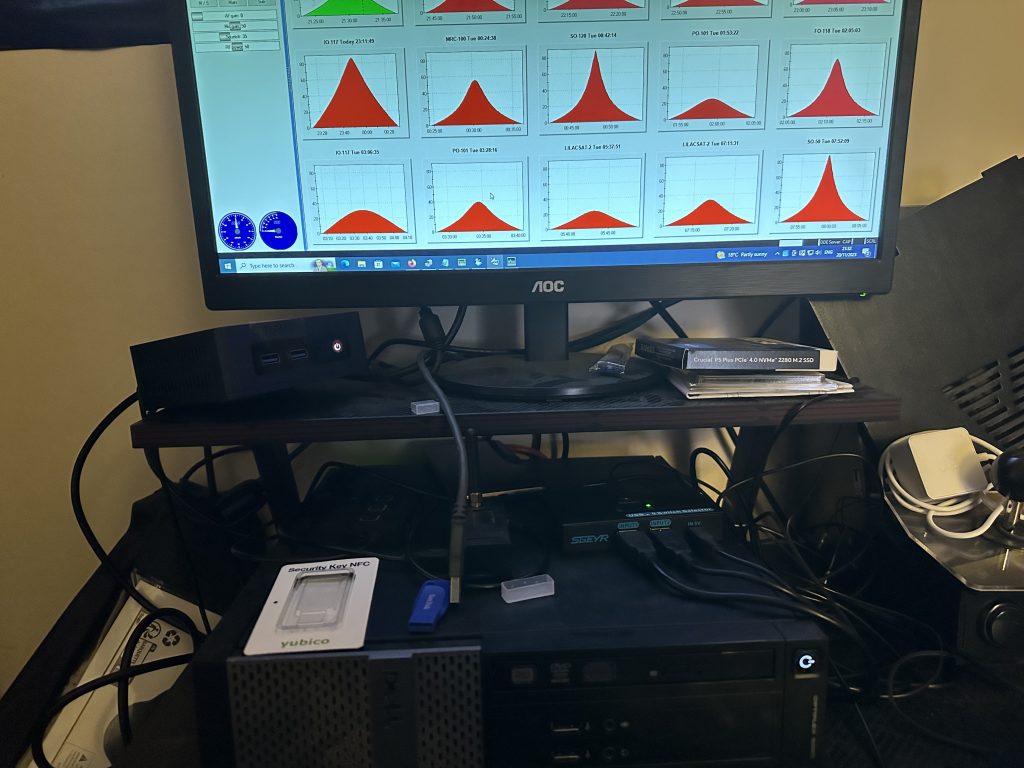
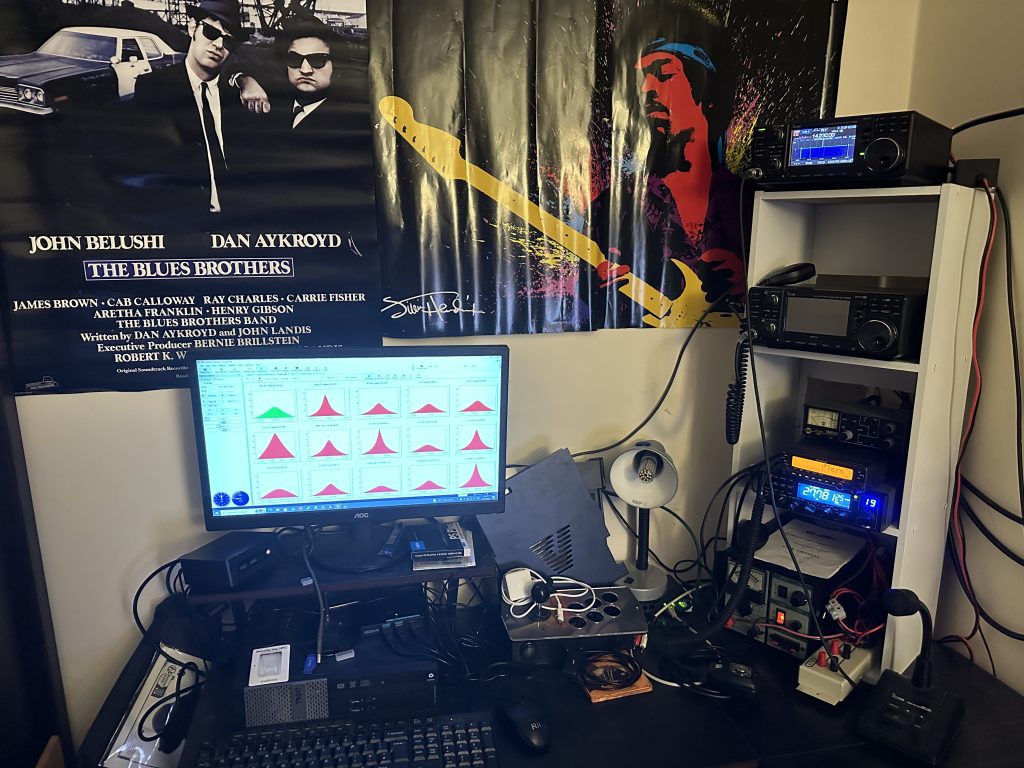
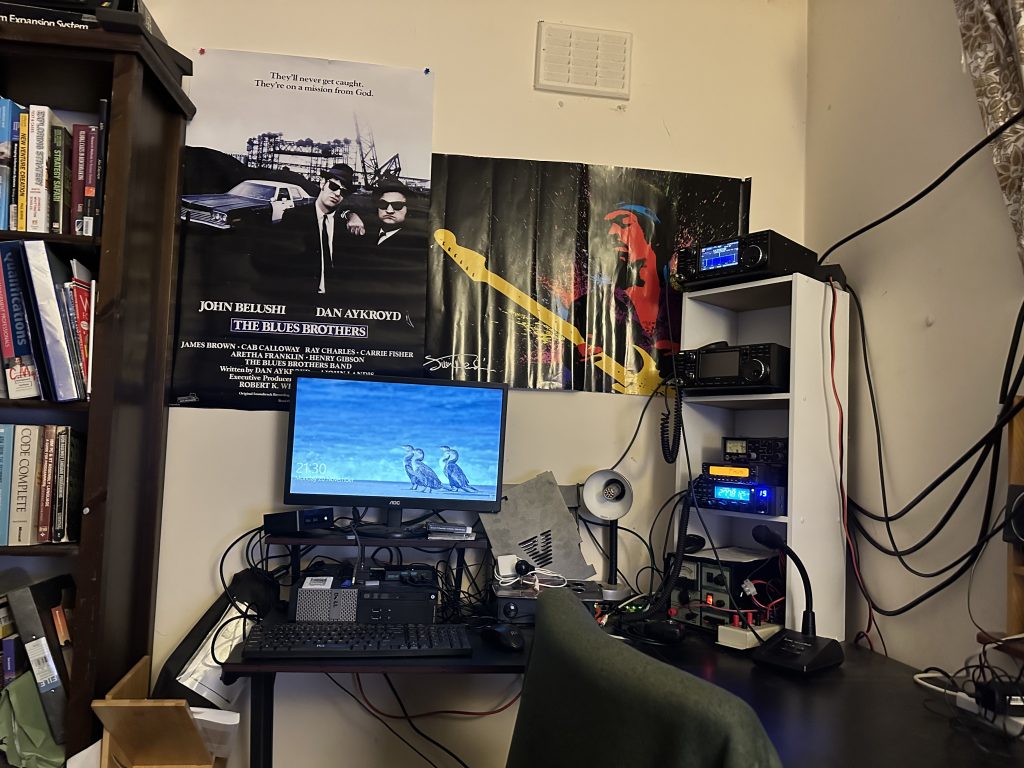
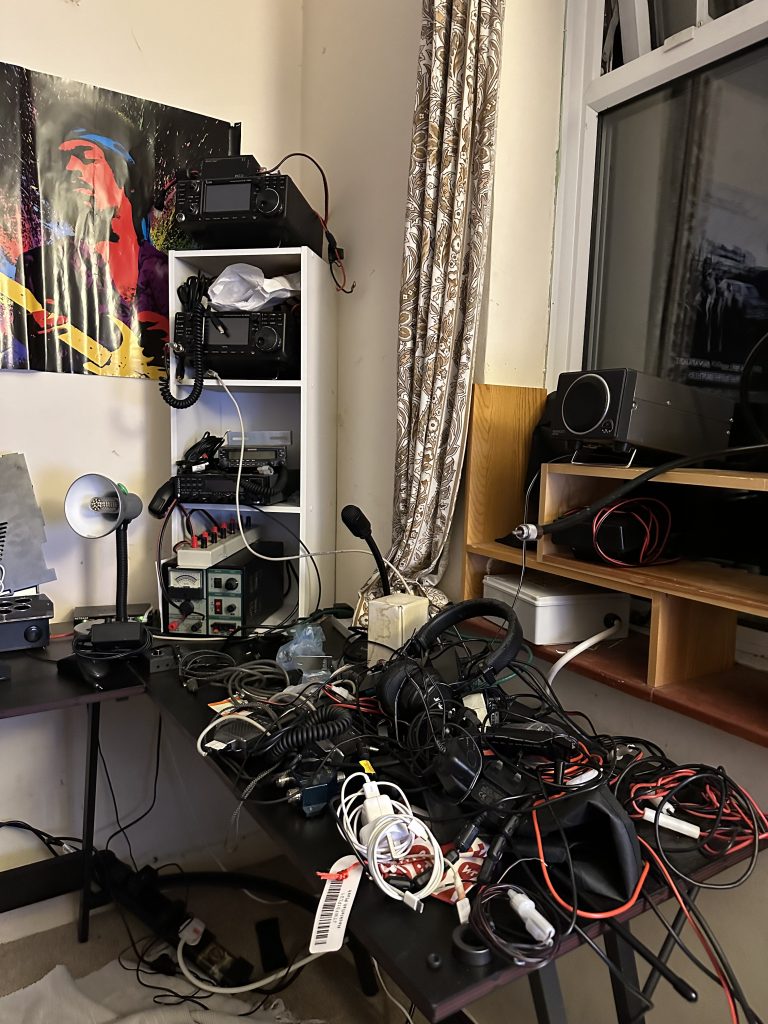
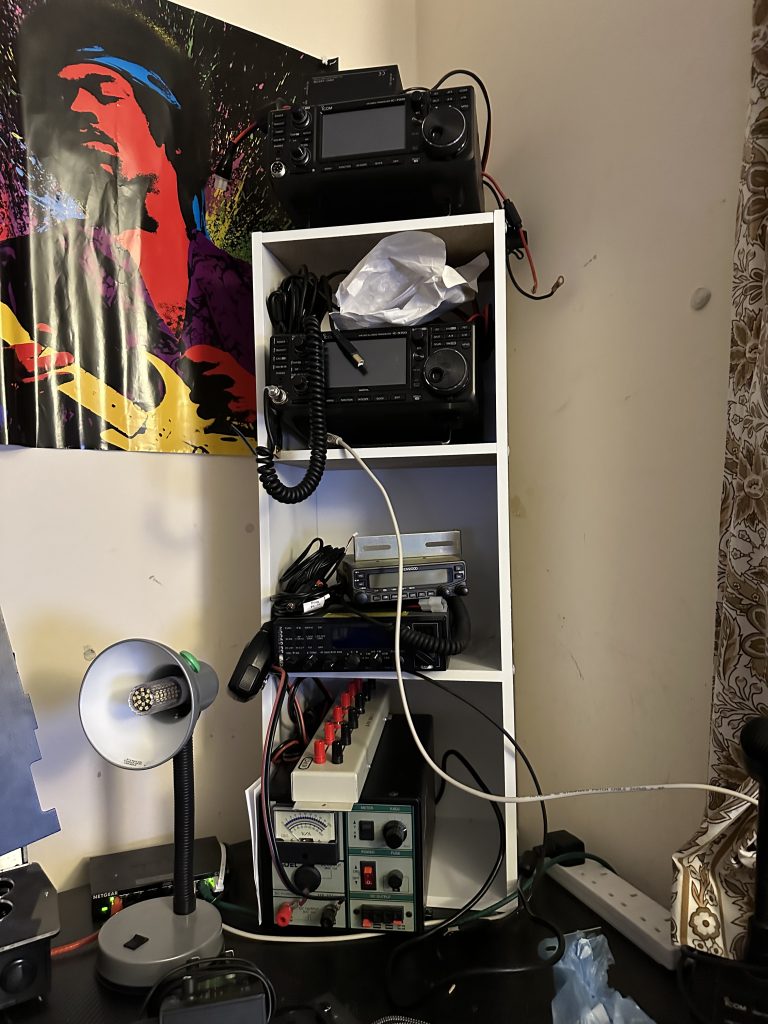
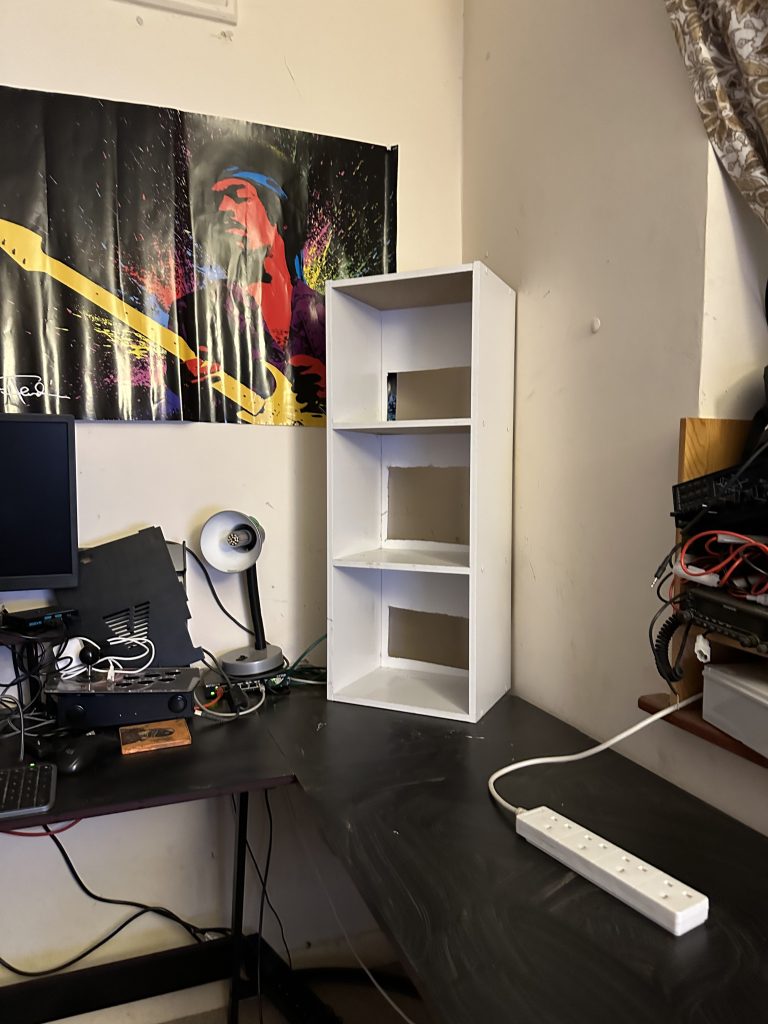
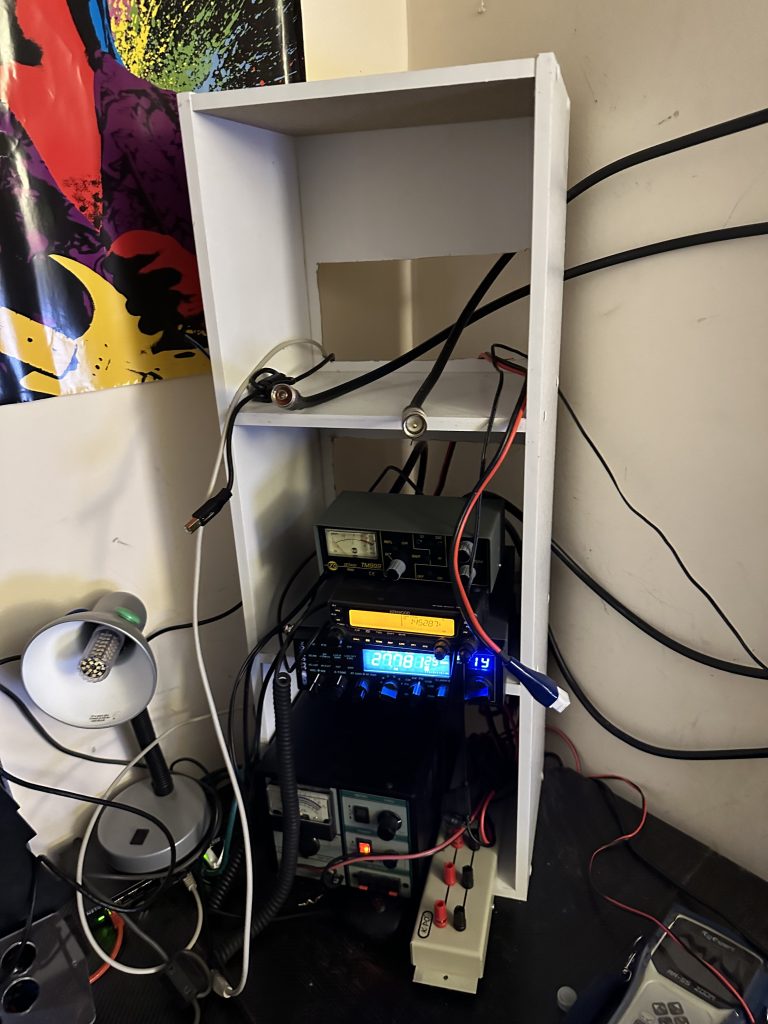
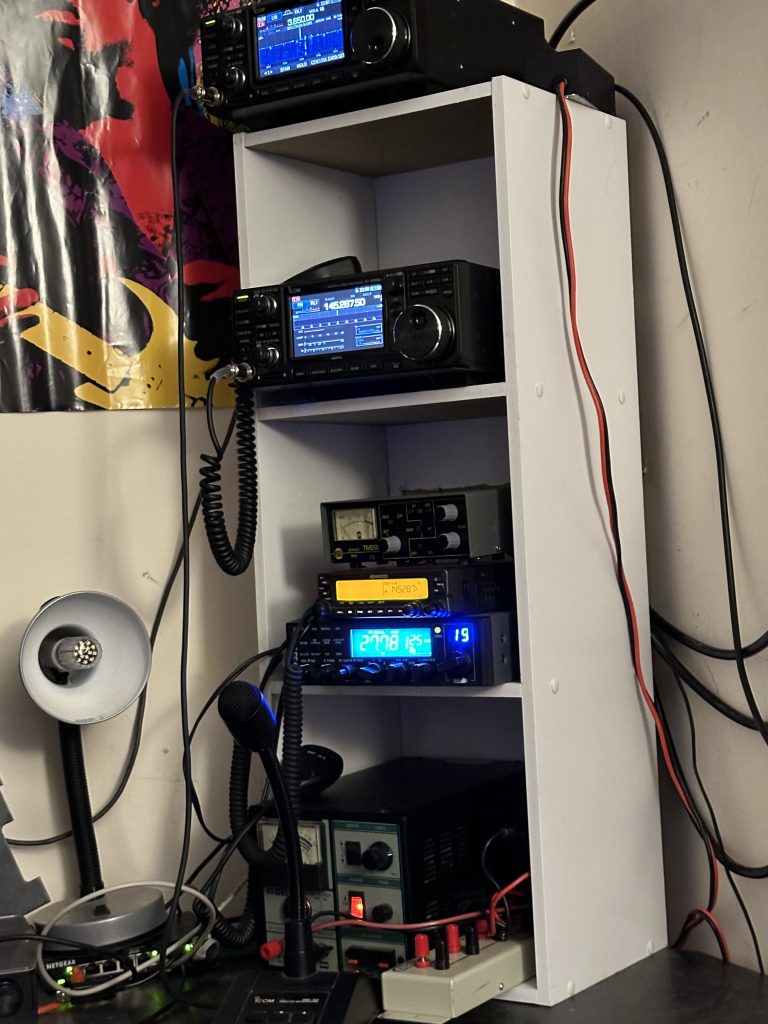
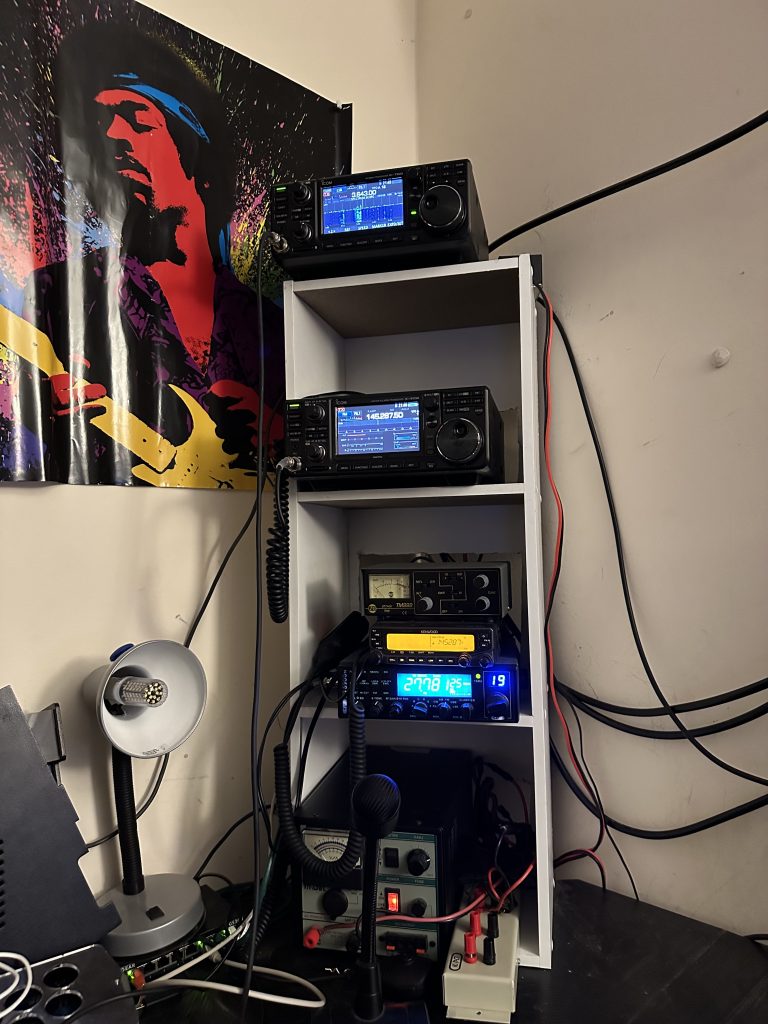
I have been on the airwaves with 10W power from the IC705 at QTH for just over a month now, and I have to say when I’ve been able to get on the air, its been fantastic. I’ve had several SSTV QSO’s with really good signal reports, and I continue to scan and upload pictures from 20m and 80m SSTV CoA’s. I was also impressed that the MAT-705 ATU was able to make the 80m EFHW antenna ‘tune’ to top-band, and I was able to have FT8 QSO’s on 160m.

Whilst do my model train, i’ve also enjoyed just doing SWL on 80m, there are some really good converstaions to be had and being 80m I have no problem hearing both ends of the conversation. I was thoroughly impressed to pick up a DX station from East USA having QSO’s all over Europe, most of which I could easily copy on the IC-70% internal speaker with no need for external DSP and speaker.
NOAA Setup
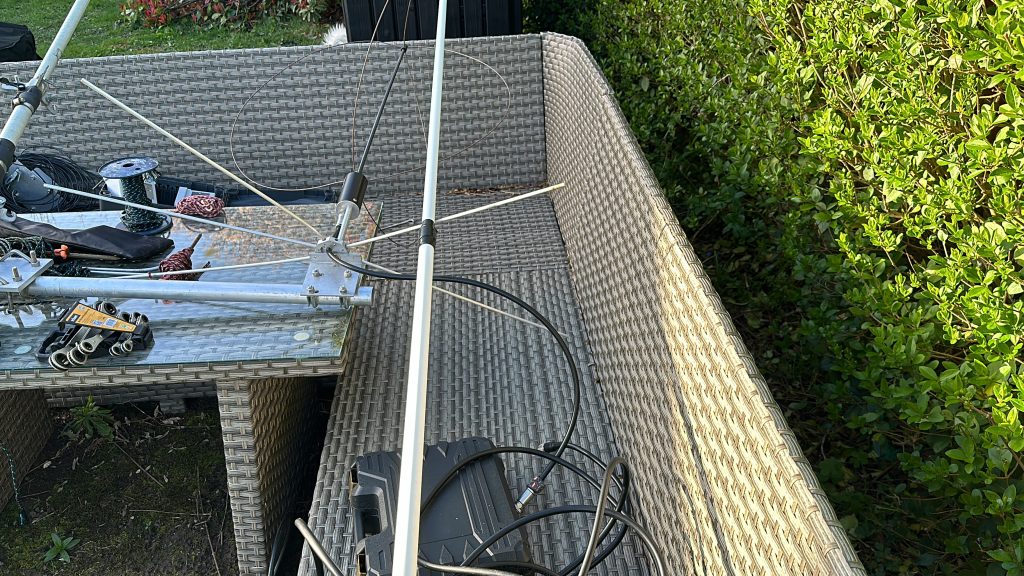
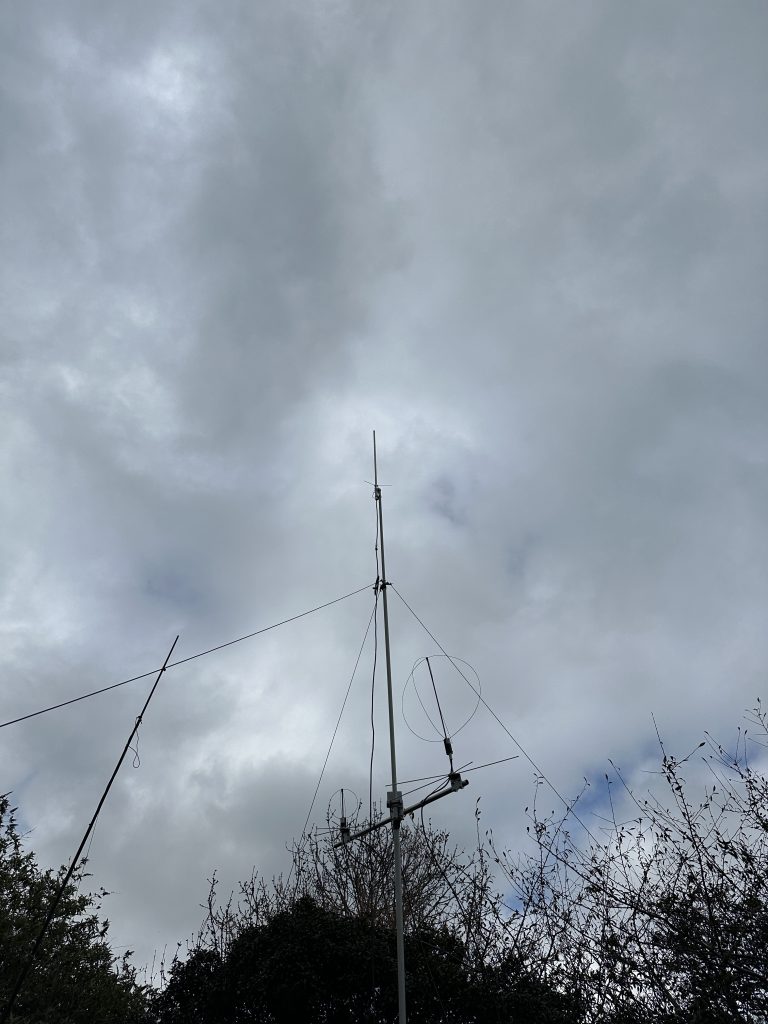
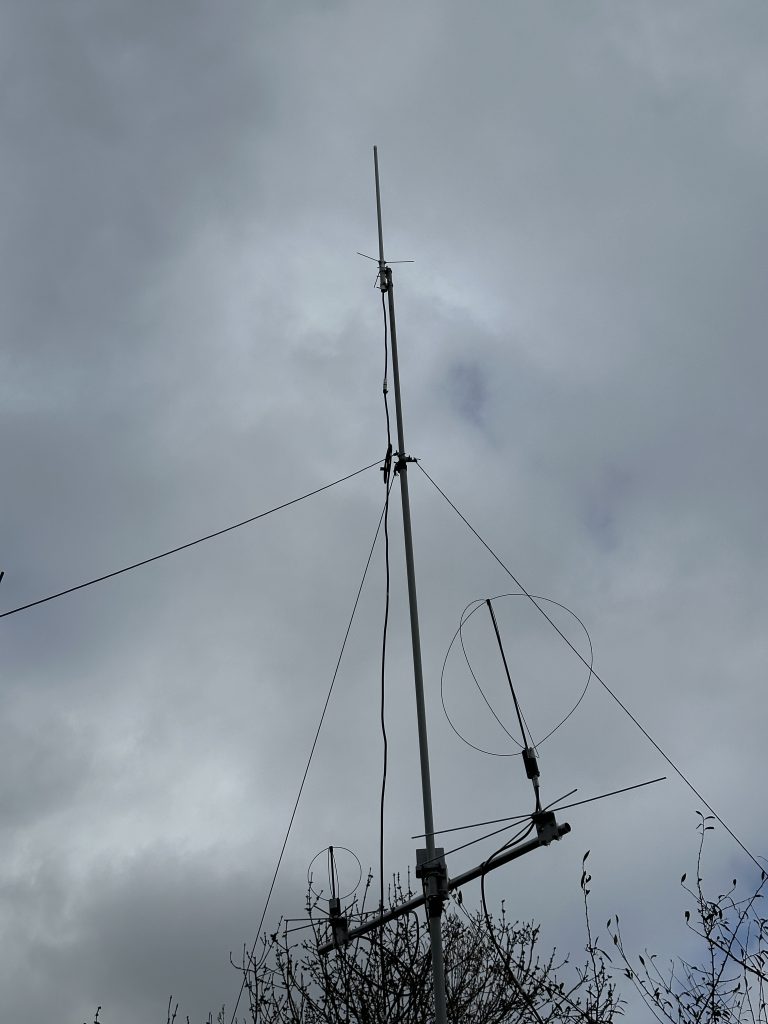
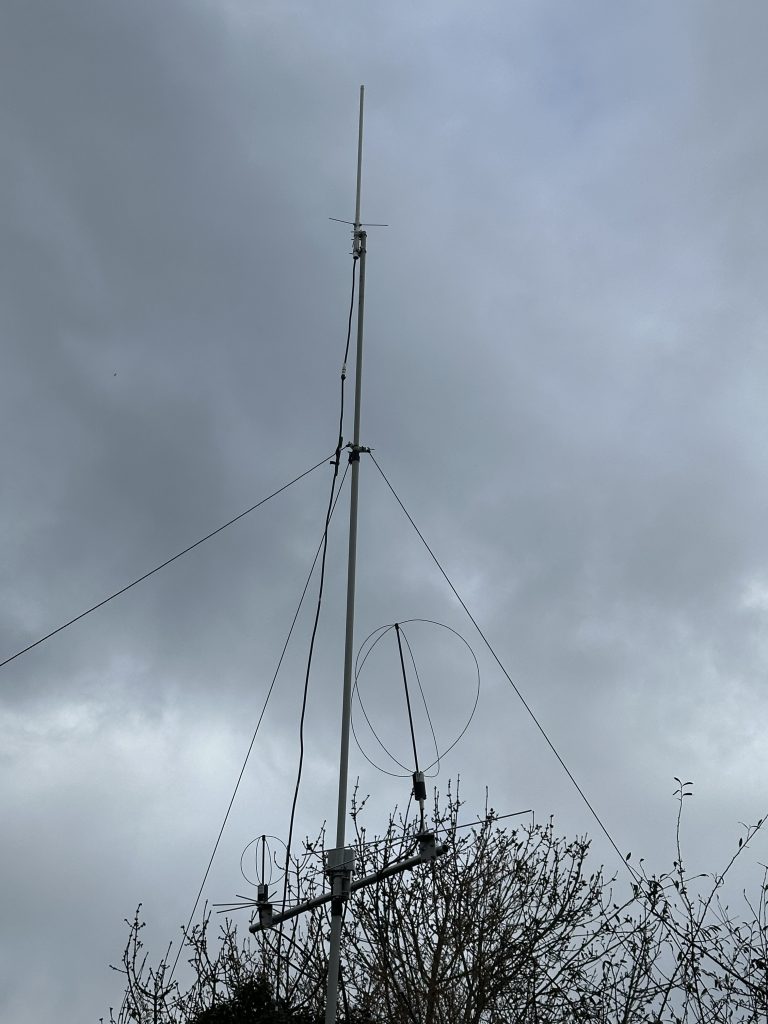
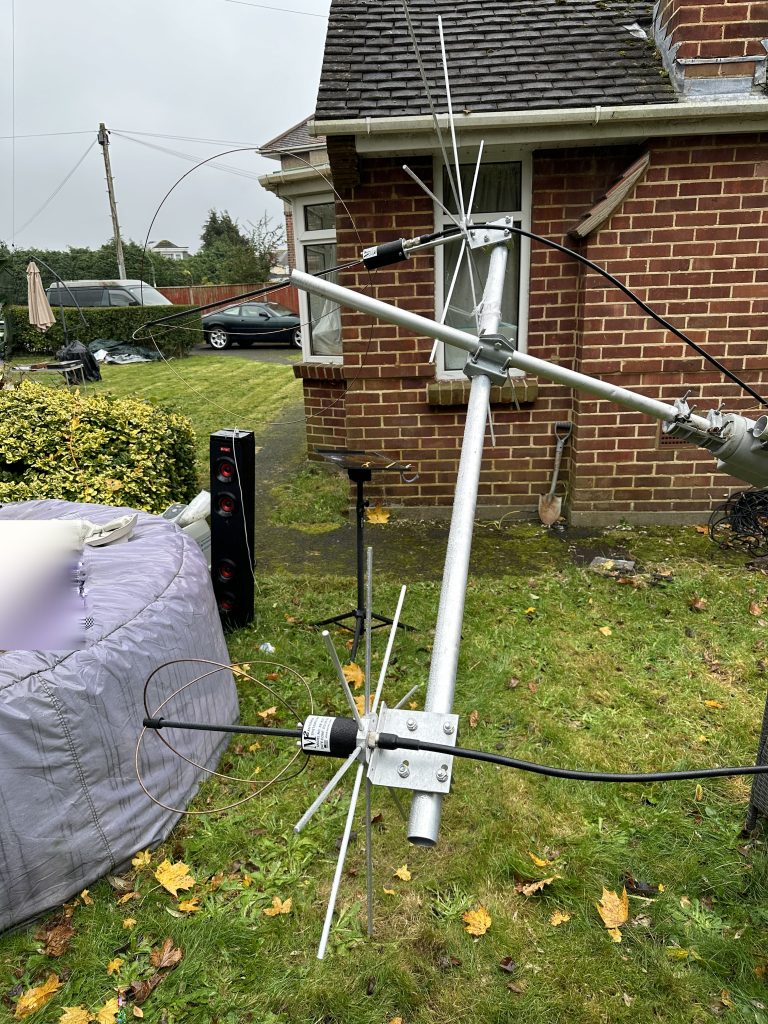
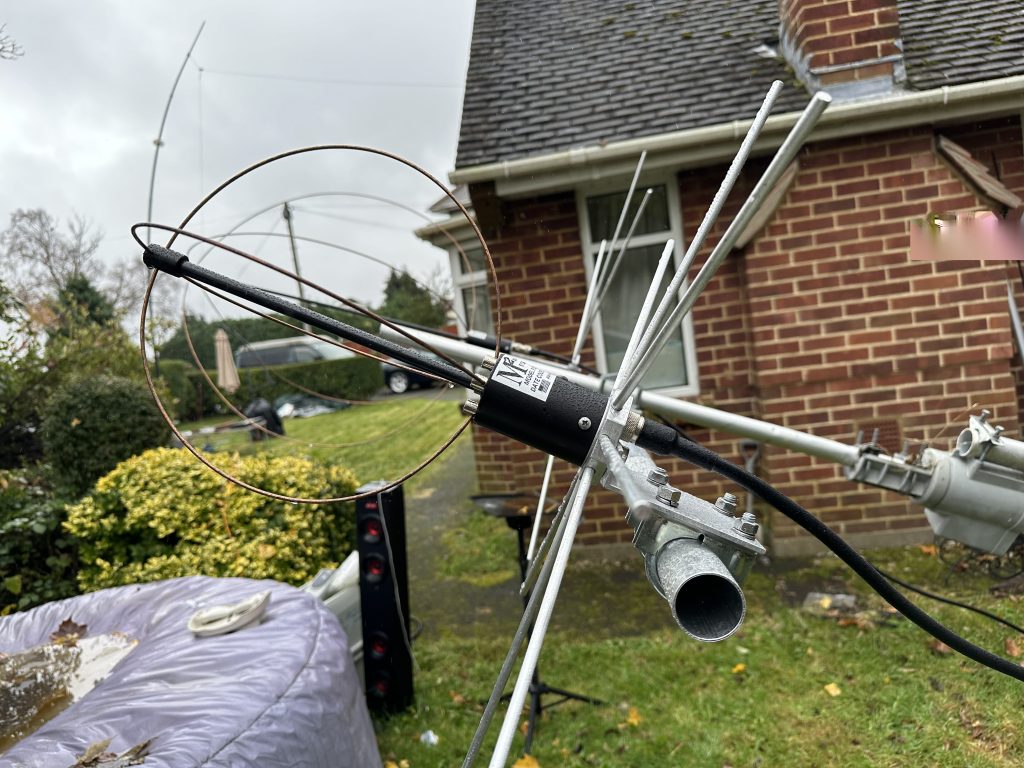
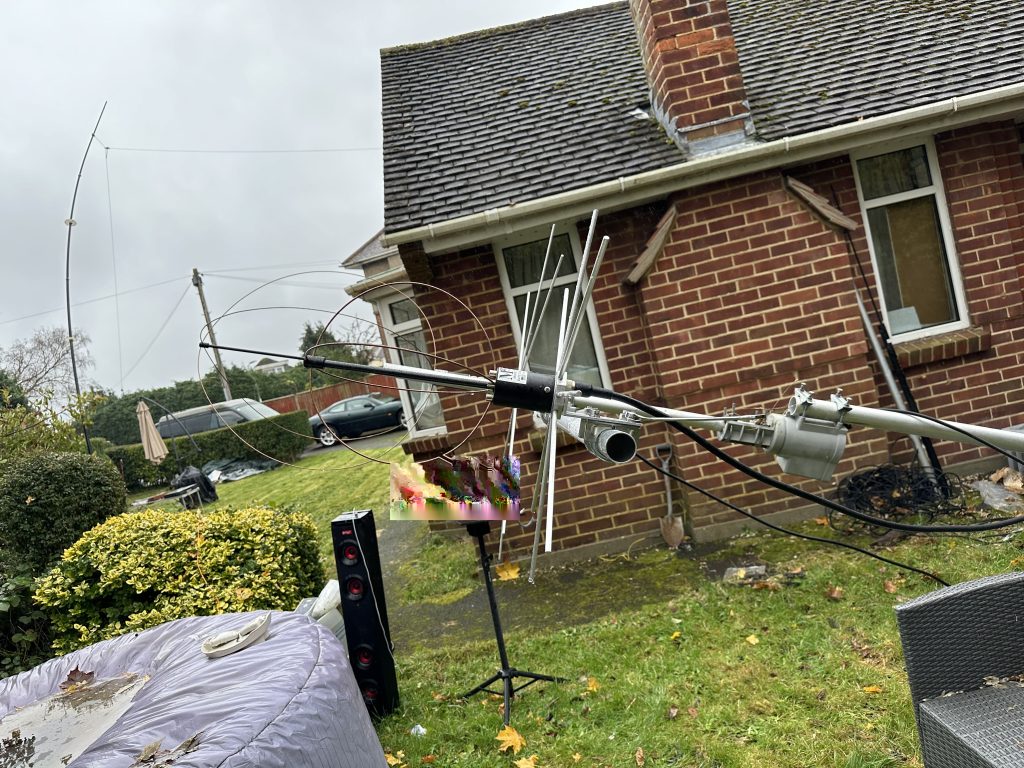
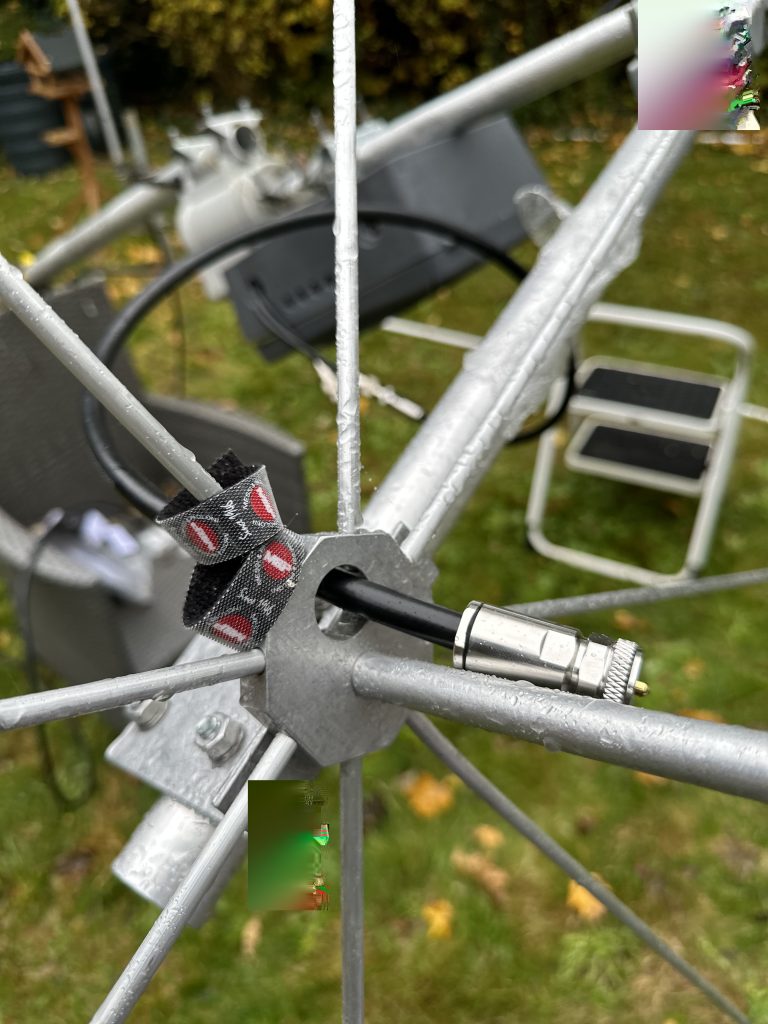
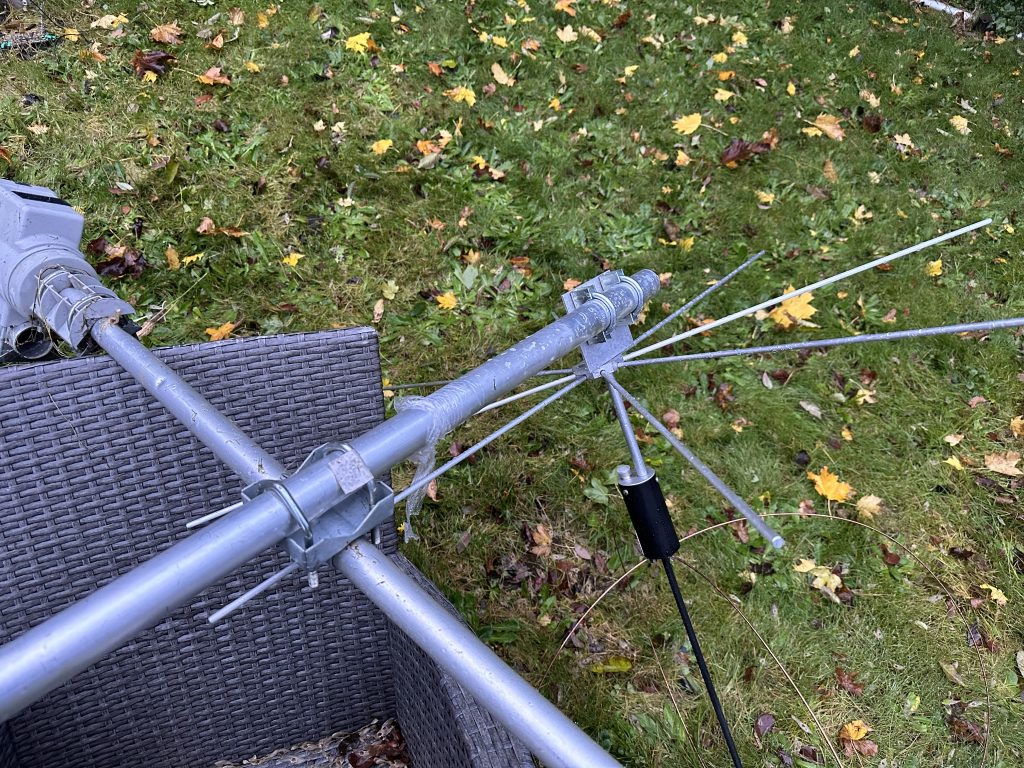
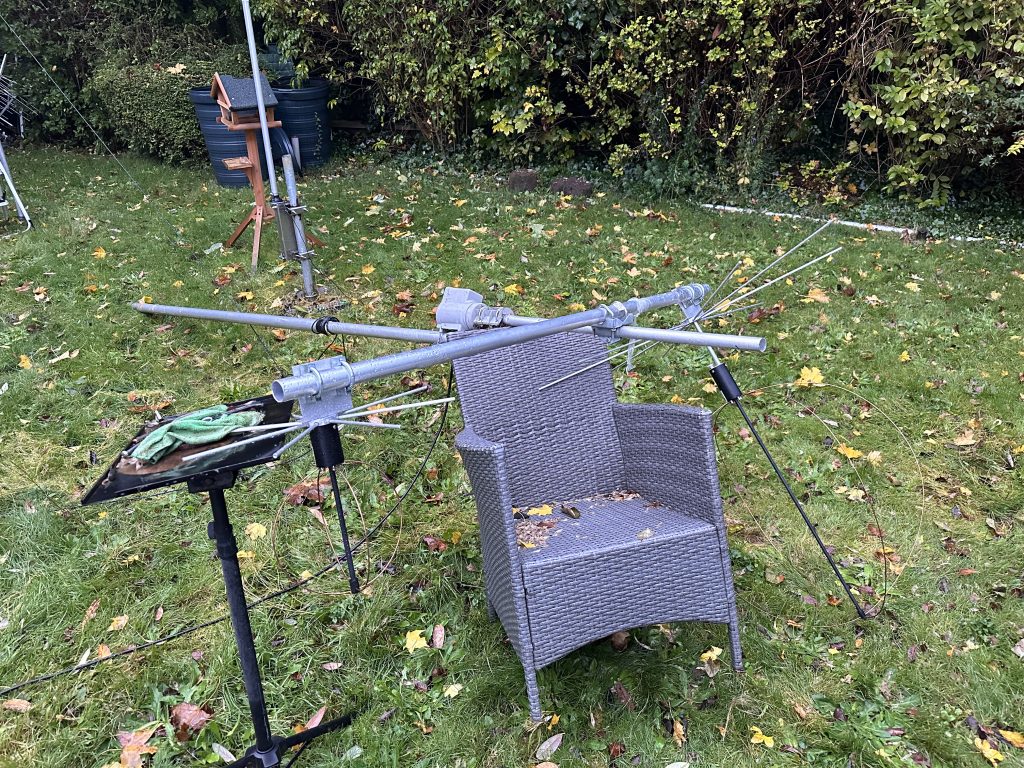
As I dont have alot of time for interactive radio, I wanted to use the equipment I do have. As such my Quadrifilar Helix antenna which was shipped from the USA several years ago had been sat neglected in the garden for many years, as well as the coax (PL259 to BNC).
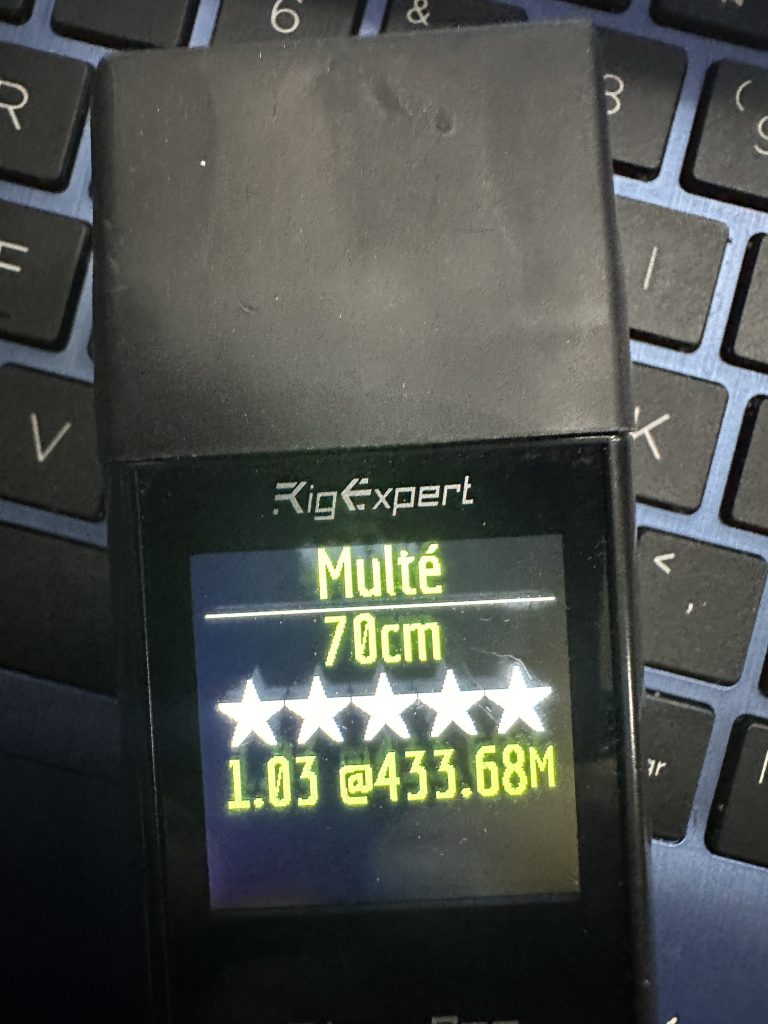
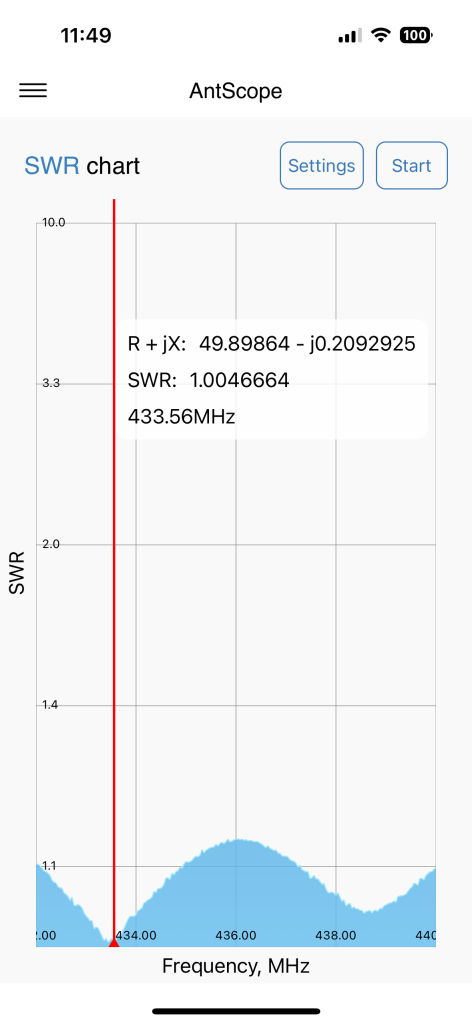
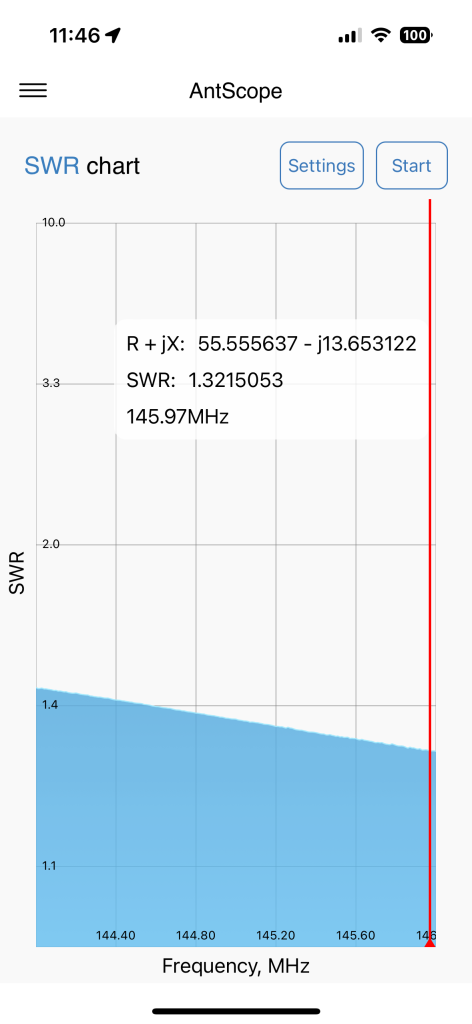
I first set about making sure the antenna was in working condition, I attached it to my Rigmaster which covers all the frequencys, including the NOAA frequency of 137.9Mhz. Sure enough SWR/Return loss on the antenna was fantastic. So I set about restoring the feed line to good use.
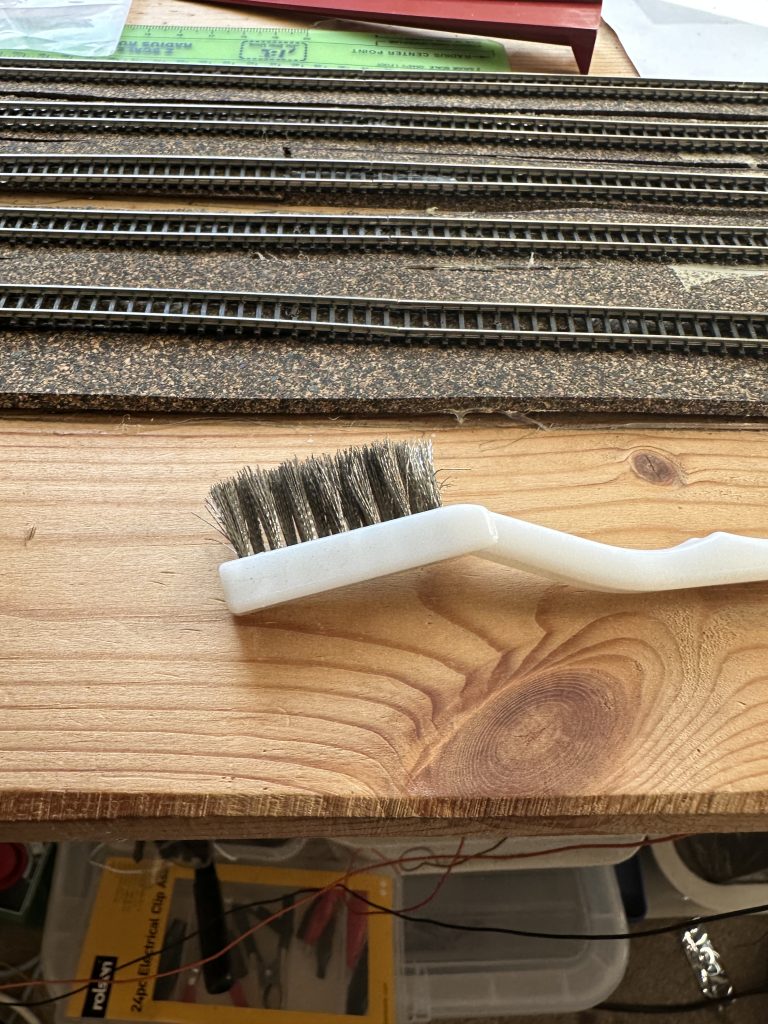

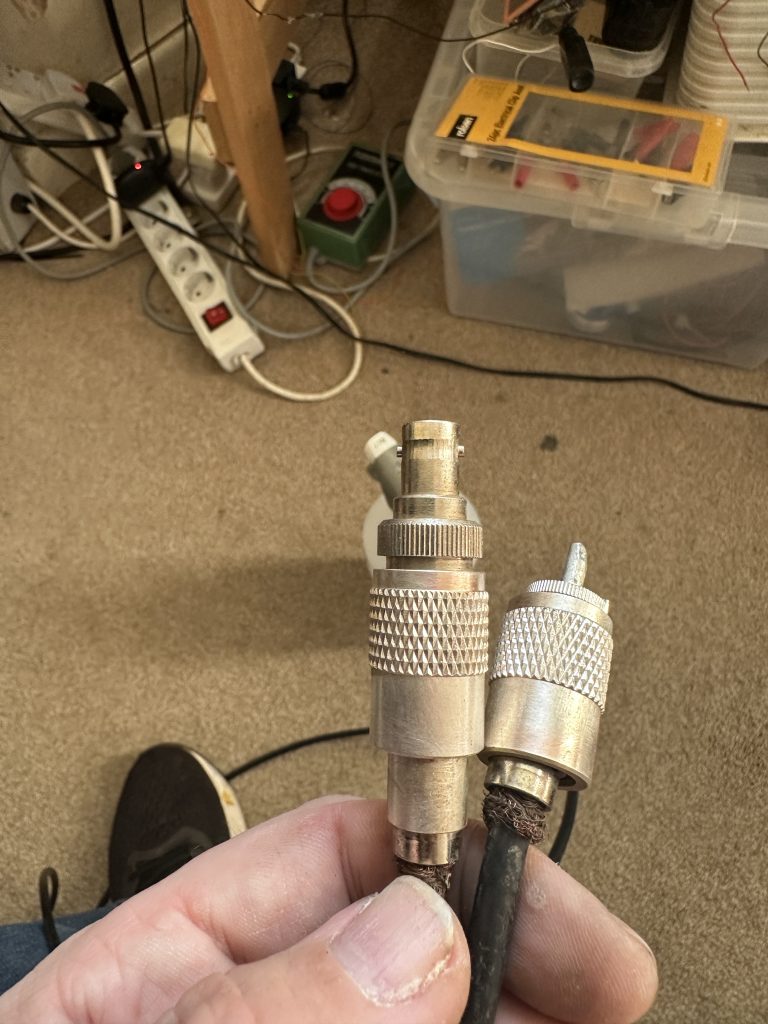
Having used pure alcohol and a metal brush I restored the connectors, getting all the collected dirt from inside the connection joins and external, whislt comestic at this point, it would be important for later when adding tape to protect the connection.
Sure enough after cleaning the connectors I was amazed that the coax had very low (almost nil) reistance between both points, meaning the years of abuse in the garden hadn’t destroyed the cable.
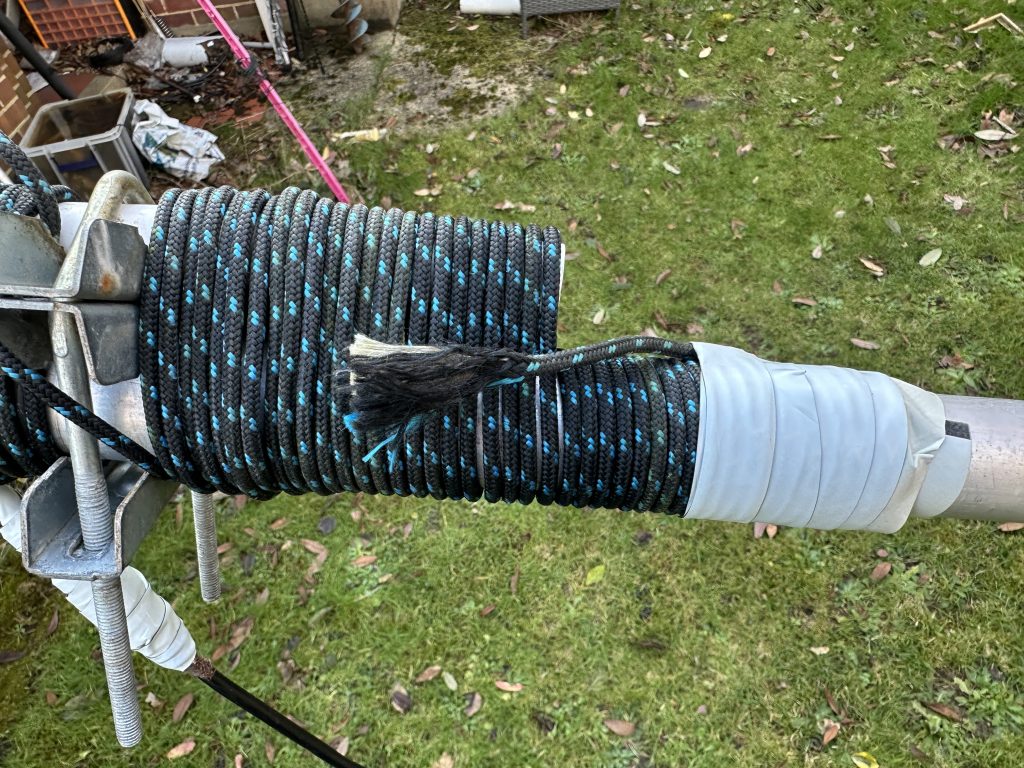
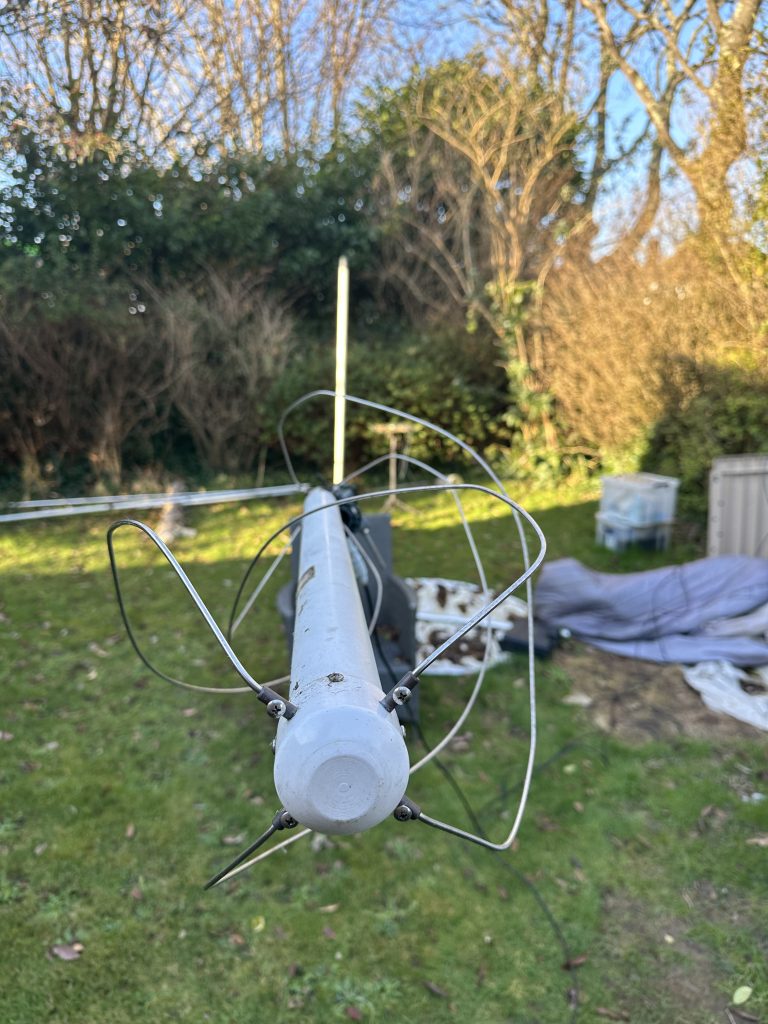

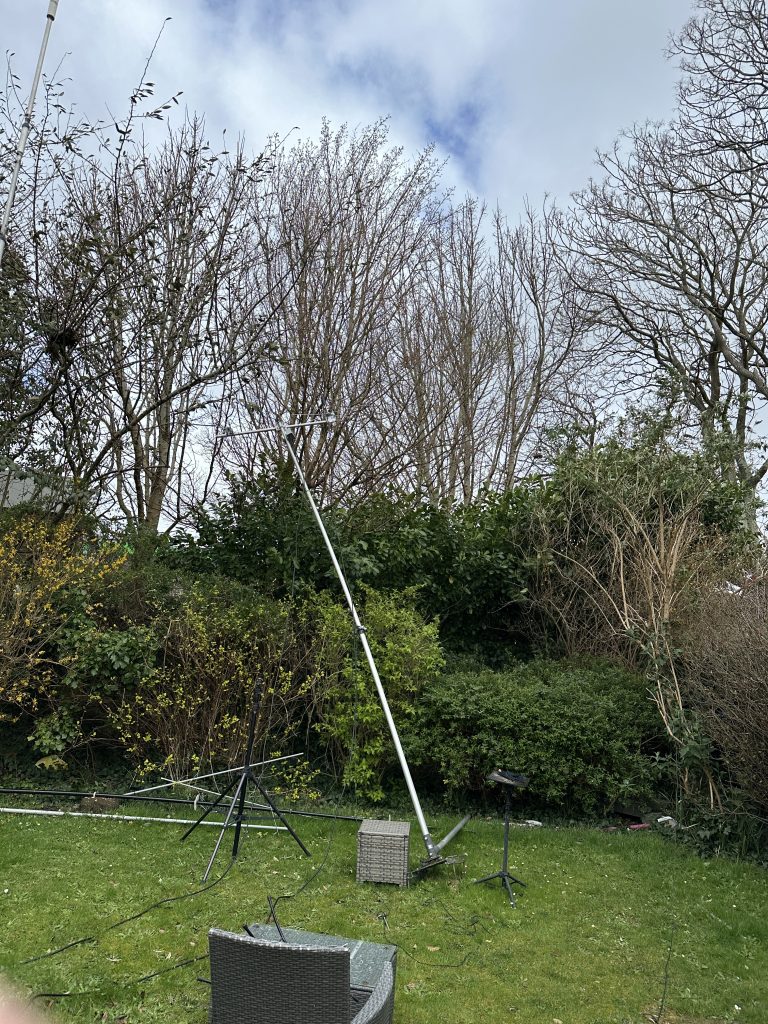
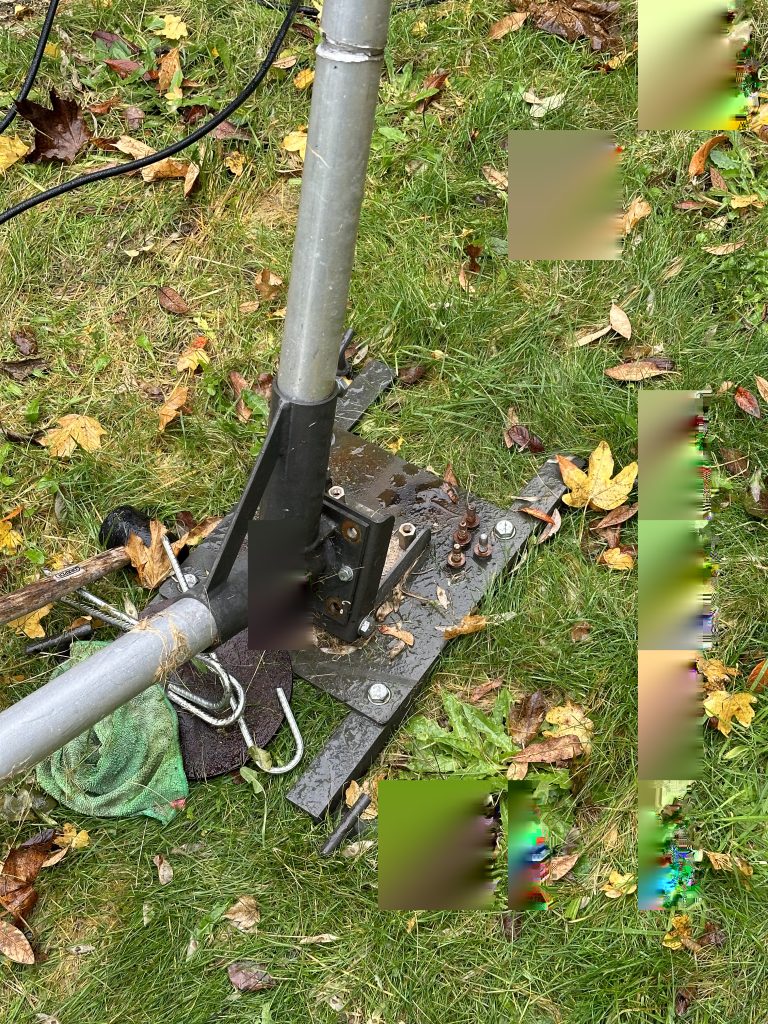
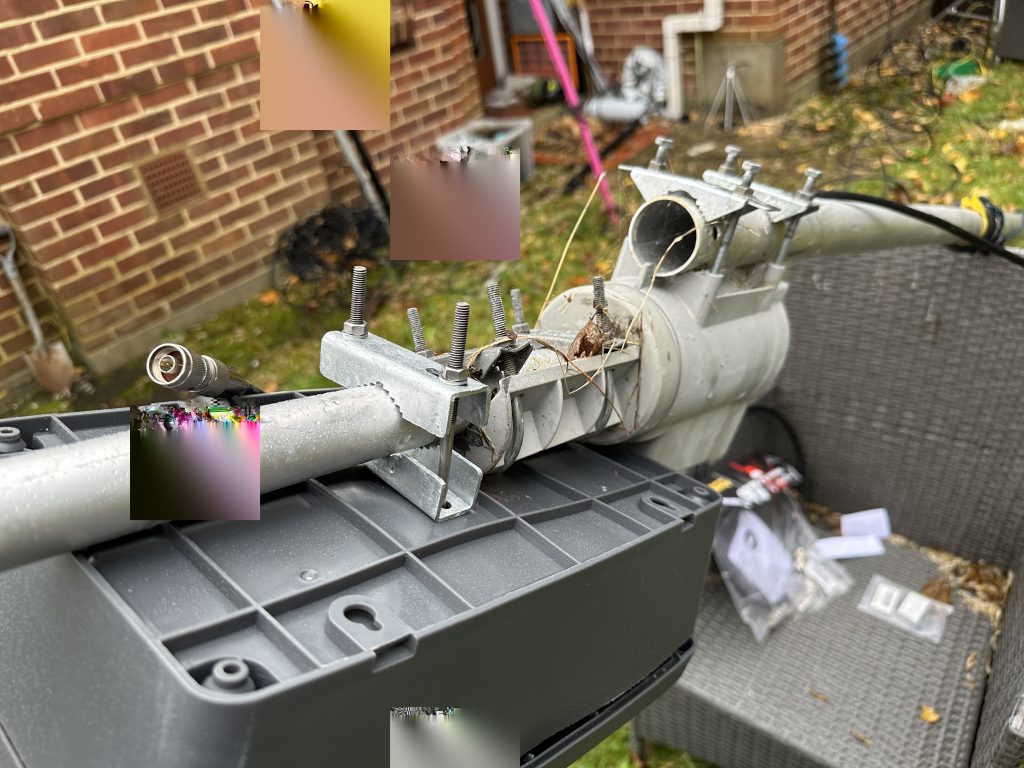
Having checked the antenna and coax, it was left to the elements to get the antenna up. Thankfully there was a brief period of time in Janurary to get outside and so some antenna work, so I binded the antenna to the mast, first with a clamp, then with tightly bound guying rope. That way I can be sure the antenna will stay as close to vertical as the mast allows.
With the receive end complete, it was time to get back into the shack and sort the software defined radio and receive software out. It had been some time since I last used Raspberry NOAA, so downloaded the latest version onto a Raspberry Pi 3b running the 64 bit version of Debian Bookworm.
With Debian up and running it was time to run the Raspberry Noaa install script, and my, what a majestic piece of coding this is. It really is a superb piece of automation, all that is required is to setup the confg file correctly. I give mine below as-is as getting the gain values right was the trickiest part, the install script took care of everything else.
cd $HOME/raspberry-noaa-v2/
./install_and_upgrade.sh config/settings.yml
The config file I used for my location in IO90BS./ Bournemouth is as follow, the coordinates are actually for the center of Bournemouth.
---
# base station configurations
#   latitude: south values are negative
#   longitude: west values are negative
latitude: 50.721680
longitude: -1.878530
altitude: 0.0

#Website language settings
#   lang_setting: see the 'webpanel/App/Lang' folder for available
#                 languages (2-letter filename - e.g. ar, bg, de, en, es, nl, sr, ru, it, hu, gr, lt, kr, ro)
lang_setting: en

# ntp configurations
#   ntp_server - if you have a local server (e.g. stratum1), you can use this setting
#        to specify a hostname or ip address to communicate with the ntp server
ntp_server: '131.111.8.171'

# receiver settings
#   receiver_type - the receiver type which program uses ('rtlsdr', 'airspy_mini', 'airspy_r2', 'airspy_hf_plus_discovery', 'hackrf', 'sdrplay' or 'mirisdr')
#   noaa_decoder - which receiver method to use (either 'wxtoimg' or 'satdump')
#   meteor_decoder - which receiver method to use (either 'meteordemod' or 'satdump')
receiver_type: 'rtlsdr'

noaa_decoder: 'wxtoimg'
meteor_decoder: 'meteordemod'

# test settings when running test scripts
#   test_gain - gain to use for scanner test scripts
#   test_sdr_device_id - device ID of the SDR device to be used for scanner test scripts
#   test_enable_bias_tee - whether to enable bias tee when running scanner test scripts
#   test_freq_offset - receiver frequency offset (PPM)
test_gain: 32.8
test_sdr_device_id: 0
test_enable_bias_tee: true
test_freq_offset: 0

# whether to schedule specific orbiting objects for capture
#   <satellite_name>_schedule - whether to schedule captures for the satellite
#   <satellite_name>_sdr_device_id - device ID of the SDR device to be used for recording for the satellite
#   <satellite_name>_freq_offset - receiver frequency offset (PPM) for the satellite capture
#   <satellite_name>_enable_bias_tee - whether to enable bias tee for the recording of the satellite
#   <satellite_name>_gain - gain setting for specific satellite captures
#   <satellite_name>_sun_min_elevation - threshold for sun elevation for specific satellite captures
#   <satellite_name>_sat_min_elevation - threshold for sat elevation for specific satellite captures
#   <satellite_name>_memory_threshold - for METEOR satellite, minimum free memory (MB) required to store pass in RAM
#   select_best_overlapping_passes - whether to select the best overlapping pass when multiple passes are available, or let user manually delete the passes
#   select_meteor_pass_over_noaa - whether to select Meteor passes over NOAA when both are occuring at the same time
#   use_device_string - whether to use the device string scheduling passes when you have multiple SDR devices connected of the same type (most users should leave it to "false")

noaa_memory_threshold: 50
meteor_m2_memory_threshold: 10

select_best_overlapping_passes: true
select_meteor_pass_over_noaa: true
use_device_string: false

noaa_15_schedule: true
noaa_15_sdr_device_id: 0
noaa_15_freq_offset: 0
noaa_15_enable_bias_tee: true
noaa_15_gain: 32.8
noaa_15_sun_min_elevation: 6
noaa_15_sat_min_elevation: 30

noaa_18_schedule: true
noaa_18_sdr_device_id: 0
noaa_18_freq_offset: 0
noaa_18_enable_bias_tee: true
noaa_18_gain: 32.8
noaa_18_sun_min_elevation: 6
noaa_18_sat_min_elevation: 30

noaa_19_schedule: true
noaa_19_sdr_device_id: 0
noaa_19_freq_offset: 0
noaa_19_enable_bias_tee: true
noaa_19_gain: 32.8
noaa_19_sun_min_elevation: 6
noaa_19_sat_min_elevation: 30

meteor_m2_3_schedule: true
meteor_m2_3_sdr_device_id: 0
meteor_m2_3_freq_offset: 0
meteor_m2_3_enable_bias_tee: true
meteor_m2_3_gain: 32.8
meteor_m2_3_schedule_sun_min_elevation: -6
meteor_m2_3_sun_min_elevation: 10
meteor_m2_3_sat_min_elevation: 30
meteor_m2_3_80k_interleaving: false

meteor_m2_4_schedule: true
meteor_m2_4_sdr_device_id: 0
meteor_m2_4_freq_offset: 0
meteor_m2_4_enable_bias_tee: true
meteor_m2_4_gain: 32.8
meteor_m2_4_schedule_sun_min_elevation: -6
meteor_m2_4_sun_min_elevation: 10
meteor_m2_4_sat_min_elevation: 30
meteor_m2_4_80k_interleaving: false

# how many days to schedule passes - note this MUST be an even integer,
# and the current day counts as "1" - passes will be scheduled until midnight
# of the `days_to_schedule_passes` final day
#
# NOTE: If you want to set this value LOWER than a previously configured
#       value, you must run the schedule script manually and pass the '-x' switch
#       after re-running the ./install_and_upgrade.sh script to align the variables:
#           ./scripts/schedule.sh -x
days_to_schedule_passes: 7

# pruning capabilities - must be configured in cron (see documentation)
#   delete_oldest_n - how many oldest captures to delete on each run
#   delete_older_than_n - delete all images older than this many days
delete_oldest_n: 0
delete_older_than_n: 30

# whether audio files should be deleted after images are created
# if you choose to keep files, they will be automatically deleted after set number of days in delete_files_older_than_days (default is 3 days)
delete_noaa_audio: false
delete_meteor_audio: false
delete_files_older_than_days: 3

# processing settings
#   flip_meteor_image - whether the meteor image should be flipped
#   produce_spectrogram - whether to produce a spectrogram image of the audio recording
#   noaa_crop_telemetry - whether to crop the left/right telemetry in image captures
#   image_annotation_location - where to place the annotation in images - valid options are:
#        NorthWest, North, NorthEast, West, Center, East, SouthWest, South, SouthEast
#   extend_for_annotation - whether to create a black extension on the north/south location of
#        the image to place the annotation into (vs. overlaying on the captured data)
#        (note: this will ONLY work if the image_annotation_location is NOT one of [West|Center|East])
#   produce_noaa_pristine_image - whether to produce a pristine image (unmodified) for larger
#        composite-based use cases
#   produce_noaa_pristine_histogram - whether to produce a histogram of the NOAA pristine image
#   produce_polar_az_el_graph - whether to produce a polar graph that shows the pass
#        azimuth and elevation over the course of the pass, truncated to satellite min elevation
#   produce_polar_direction_graph - whether to produce a polar graph that shows the pass
#        direction over the course of the pass, including AOS and LOS
#   ground_station_location - free-form text for indicating ground station location in image
#        annotation (leave blank if you wish to exclude the ground station annotation)
#   antenna_information - free-form text for indicating antenna information in image
#        annotation (leave blank if you wish to exclude the antenna information annotation)
#   show_sun_elevation - whether to show sun elevation in annotation
#   show_pass_direction - show which direction the satellite is moving in the image annotation
#   noaa_daytime_enhancements - list of enhancements to create images using during daytime captures
#        (note: default value seen includes list of ALL supported image processors excluding 'avi' which must be explicitly added when opting to 'enable_animation' below )
#   noaa_nighttime_enhancements - list of enhancements to create images using during nighttime captures
#        (note: default value seen includes list of ALL supported image processors excluding 'avi' which must be explicitly added when opting to 'enable_animation' below )
#   noaa_crop_toptobottom - whether to crop the top and bottom noise out of the noaa capture
#   noaa_interpolate - whether to interpolate and oversample the images (larger images produced)
# settings for thermal map output for NOAA captures
#   noaa_thermal_temp_overlay - whether to overlay a thermal map for color codes to temperature
#   noaa_thermal_temp_overlay_location - where to place the thermal map in images - valid options are:
#        NorthWest, North, NorthEast, West, Center, East, SouthWest, South, SouthEast

# noaa map configurations
# http://usradioguy.com/wp-content/uploads/2020/05/wxtoimgcommand-line.pdf
#
# note - colors are in format 0xRRGGBB (only applicable when the
#        feature is enabled), where:
#   RR: Red hex value
#   GG: Green hex value
#   BB: Blue hex value
# Colors can alternatively be specified as one of the following:
#   black, white, gray, light-gray, dark-gray, red, pink dark-red,
#   light-red, # green, light-green, dark-green, black-green, blue,
#   light-blue, dark-blue, black-blue, yellow, light-yellow, dark-yellow,
#   magenta, light-magenta, dark-magenta, cyan, light-cyan, dark-cyan,
#   orange, dark-orange, purple, lavender, violet, navy, turquoise,
#   aquamarine, chartreuse, gold, beige, tan, brown, and maroon
#
#   noaa_map_crosshair_enable - whether to place a crosshairs on the base station location
#   noaa_map_crosshair_color - color of base station crosshair
#   noaa_map_grid_degrees - latitude/longitude lines drawn every grid degrees (default 10.0, 0.0 to disable)
#   noaa_map_grid_color - color of gridlines for latitude/longitude
#   noaa_map_country_border_enable - whether to enable country borders in images
#   noaa_map_country_border_color - color of country borders
#   noaa_map_state_border_enable - whether to enable state borders in images (Americas only)
#   noaa_map_state_border_color - color of state borders (Americas only)
extend_for_annotation: true
image_annotation_location: 'North'
produce_polar_az_el_graph: false
produce_polar_direction_graph: true
ground_station_location: 'IO90BS, Bournemouth'
antenna_information: 'Quadrifilar Helix Antenna'
show_sun_elevation: true
show_pass_direction: true
produce_spectrogram: false    #NOTE: the spectrogram option here is available for NOAA only, and the spectrogrma produced is from demodulated audio, not IQ baseband file

noaa_crop_telemetry: false
produce_noaa_pristine_image: false
produce_noaa_pristine_histogram: false
noaa_daytime_enhancements: 'MSA MSA-precip MCIR MCIR-precip HVC-precip HVCT-precip HVC HVCT ZA therm sea CC HE HF MD BD MB JF JJ LC TA WV NO histeq enhanced-IR'
noaa_nighttime_enhancements: 'MCIR MCIR-precip HVCT ZA therm NO TA sea histeq enhanced-IR'
noaa_crop_toptobottom: true
noaa_interpolate: false
noaa_jpg_image_quality: 90
noaa_thermal_temp_overlay: true
noaa_thermal_temp_overlay_location: 'NorthEast'
noaa_map_crosshair_enable: true
noaa_map_crosshair_color: "0xcc3030"
noaa_map_grid_degrees: 10.0
noaa_map_grid_color: "0xff0000"
noaa_map_country_border_enable: true
noaa_map_country_border_color: "0xffff00"
noaa_map_state_border_enable: true
noaa_map_state_border_color: "0xffff00"
wxtoimg_map_offset: 10.5                    #Change this value only if you see map offsets from the ground on WXtoImg NOAA images

meteor_daytime_enhancements: '221 321 124 MSA MCIR MCIR-precip HVC HVCT ZA therm sea CC HE HF MD BD MB JF JJ LC TA WV NO enhanced-IR'
meteor_nighttime_enhancements: '654 456 MCIR MCIR-precip HVC HVCT ZA therm sea CC HE HF MD BD MB JF JJ LC TA WV NO enhanced-IR'
flip_meteor_image: true
meteor_jpg_image_quality: 90
meteor_draw_map_overlay: true
meteor_draw_cities: true
meteor_map_crosshair_enable: true
meteor_map_crosshair_color: "#CC3030"
meteor_map_country_border_color: "#FFFF00"
meteor_create_rain_probability_overlay: true
meteor_create_equidistant_projection: true
meteor_create_mercator_projection: false
meteor_create_spreaded_images_without_overlay: true

# web server configuration settings
#   web_server_name - server name to use for the TLS certs and web endpoint - this MUST be
#                     resolvable to the IP of this host (if you don't have DNS, simply use
#                     the IP of the Raspberry Pi host)
#   enable_non_tls - whether to enable a clear-text web listener (default port 80)
#   web_port - port to run the web server clear-text (non-encrypted) endpoint on
#   enable_tls - whether to enable the TLS-encrypted web listener (default port 443)
#   web_tls_port - port to run the TLS listener on
#   lock_admin_page - whether to require username/password when attempting to access the admin page
#                     of the webpanel - WARNING: DO NOT SET THIS TO TRUE UNLESS YOU ONLY HAVE A TLS
#                     ENABLED SITE - SETTING TO TRUE AND RUNNING A CLEARTEXT SITE IS ALMOST CERTAINLY
#                     ASKING FOR YOUR CREDENTIALS TO BE STOLEN MID-REQUEST
#   admin_username - username used to access the 'admin' endpoint of the webpanel (WARNING: see 'lock_admin_page' above)
#   admin_password - password used to access the 'admin' endpoint of the webpanel (WARNING: see 'lock_admin_page' above)
#                    NOTE: MAKE SURE YOU SET THIS TO SOMETHING REASONABLY COMPLICATED!
#   web_passes_date_format - format to display the dates in the pass list view - note that this MUST conform to
#                            https://www.php.net/manual/en/datetime.format.php or else bad things will happen
#   web_datetime_format - format to display date and time in the web interface for captures - note that this MUST conform to
#                         https://www.php.net/manual/en/datetime.format.php or else bad things will happen
web_server_name: noaa-pi
enable_non_tls: true
web_port: 80
enable_tls: false
web_tls_port: 443
lock_admin_page: true
admin_username: 'admin'
admin_password: 'changeme'
#web_passes_date_format: 'm/d/Y'
web_passes_date_format: 'd/m/Y'
#web_datetime_format: 'm/d/Y H:i:s'
web_datetime_format: 'd/m/Y H:i:s'

# log level for output from scripts
log_level: DEBUG

# whether to enable the satvis visualization for satellite tracking
# in the passes view - note that this iframe-driven visualization is
# by default disabled on "extra-small" devices such as phones due to
# the processing and space requirements
enable_satvis: true


# whether to enable the "Coronal mass ejection activity" display
# in the passes view - note that the GIFs can be ~70 MiB and not cached
# thus they slow down the page & can lead to quite big data usage
enable_coronal: false

# whether to enable the image video in the passes view - note that this
# is by default disabled on "extra-small" devices such as phones due
# to the processing and space requirements
enable_animation: false

# operating system configurations
#   disable_wifi_power_mgmt - if running wireless internet and you want to
#       disable "sleep" mode of your wifi device (assuming it's wlan0), set
#       this to true (note: updating this requires a reboot)
#   disable_at_mail - if you do not want "at" to send mail after job execution
disable_wifi_power_mgmt: false
disable_at_mail: false

# push processing settings for sending images elsewhere
#   * NOTE: Make sure you set up your ~/.msmtprc file before enabling email push!
#   enable_email_push - whether to send all images to an external email
#   email_push_address - if enabled, address to send all images to
#   enable_email_schedule_push - whether to email an image of the nightly-created
#       pass-list schedule to the email destination
#   enable_discord_push - whether to push images to a Discord channel
#   discord_webhook_url - webhook url for the Discord channel
#   enable_twitter_push - whether to push images to a Twitter feed
#     * see docs/twitter_push.md for instructions
#   enable_matrix_push - whether to push images to a Matrix room
#     * see docs/matrix_push.md for instructions

# Whether you want to contribute to creation of community created Meteor and NOAA composites gathered from RN2 stations from all around the world
# We do not collect any personal data
# Thank you very much if you choose to contribute :)

contribute_to_community_composites: false
contribute_to_community_composites_url: 'https://voxgalactica.com/upload'

enable_email_push: false
email_push_address: change@me.com
enable_email_schedule_push: false
enable_discord_push: false
discord_noaa_webhook_url: 'https://discord.com/api/webhooks/1135901731918717068/ZELG3Sv1fRxQ8KgoYtMMOBYM07az0yIkzeLdad-8WxxhV-F8LhPQdZFFon044awMvLsD'
discord_meteor_webhook_url: 'https://discord.com/api/webhooks/1135901731918717068/ZELG3Sv1fRxQ8KgoYtMMOBYM07az0yIkzeLdad-8WxxhV-F8LhPQdZFFon044awMvLsD'
enable_pushover_push: false
pushover_link_url: 'https://<url-to-webpanel>/captures/listImages'
pushover_apitoken: ''
pushover_user: ''
pushover_prio: 0
enable_twitter_push: false
enable_bluesky_push: false
enable_mastodon_push: false
enable_facebook_push: false
enable_instagram_push: false
enable_slack_push: false
slack_push_url: ''
slack_push_to: ''
slack_link: 'https://XXXX/captures/listImages'
enable_matrix_push: false
The important changes are based on your SDR. I’m using a nooelec SMARTee which produces the bias-t voltage for the amplifier and flamingo signal blocker. Please note I am *not* using a DC Blocker with this configuration as it is not required, you will need to check if your SDR needs a capacitor or Nooelec DC Block if it is not the same SDR as my the I am using
lsusb
Bus 001 Device 006: ID 0bda:2838 Realtek Semiconductor Corp. RTL2838 DVB-T
I attached my original Sawbrid NOAA amplifier and the Flamingo FM band blocker, but my first attempts at receiving the images was disappointing.

I removed other components and directly connected the SDR to the Pi and the anntenna to the SDR. This proudced better results, but nothing as good as the antenna should be capable of. Even tho this is a RPI3b and doesnt suffer from the same Wifi/Bluetooth Issues that the RPI4 does with NOAA reception, I still moved the SDR away from the Pi, as it was geting hot. The resulted in improved signals so I again inserted the Sawbird NOAA antenna.
This resulted in static being received once again, so figured that I had blown up the pre-amp by supplying it too much voltage, therefore I bought a replacement bare bones amp board from amazon, which at £37 pounds seemed reasonable. I was really impressed that I ordered the amp early in the morning (around 8am) and it was here the same evening by 6pm. Upon arrival I immediatly inserted it in the signal path.
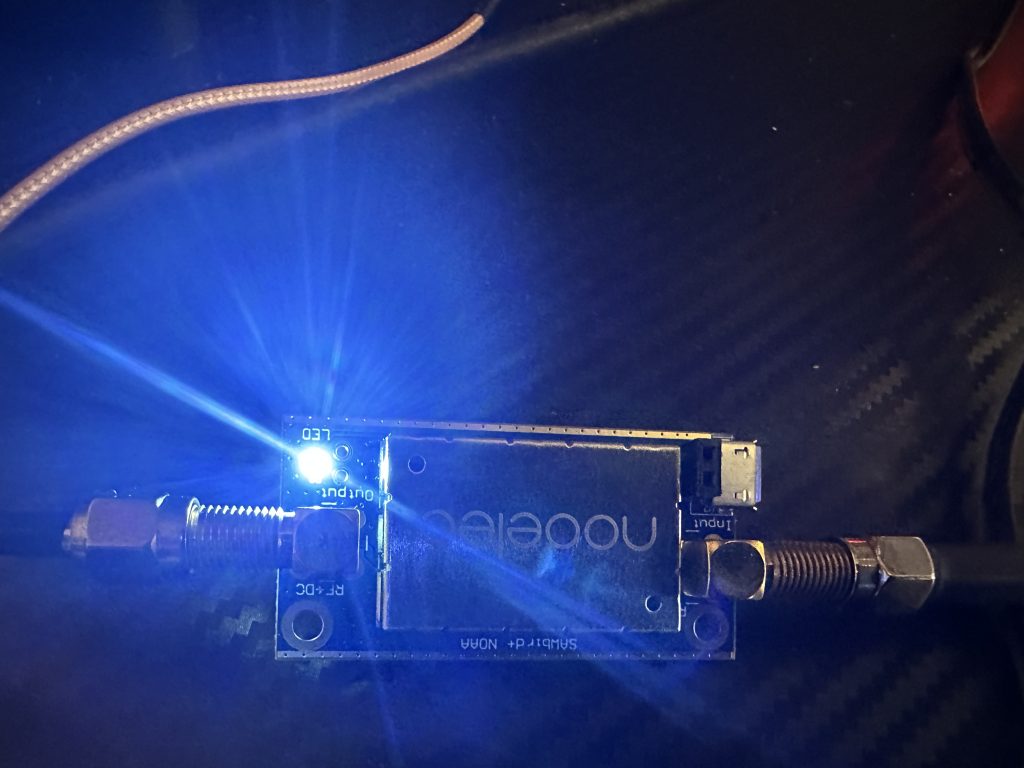

I was not to be disappointed, i was soon picking up NOAA pictures like before, as one of my IRC friends used ‘crisp’ defined the pictures that where now coming through.
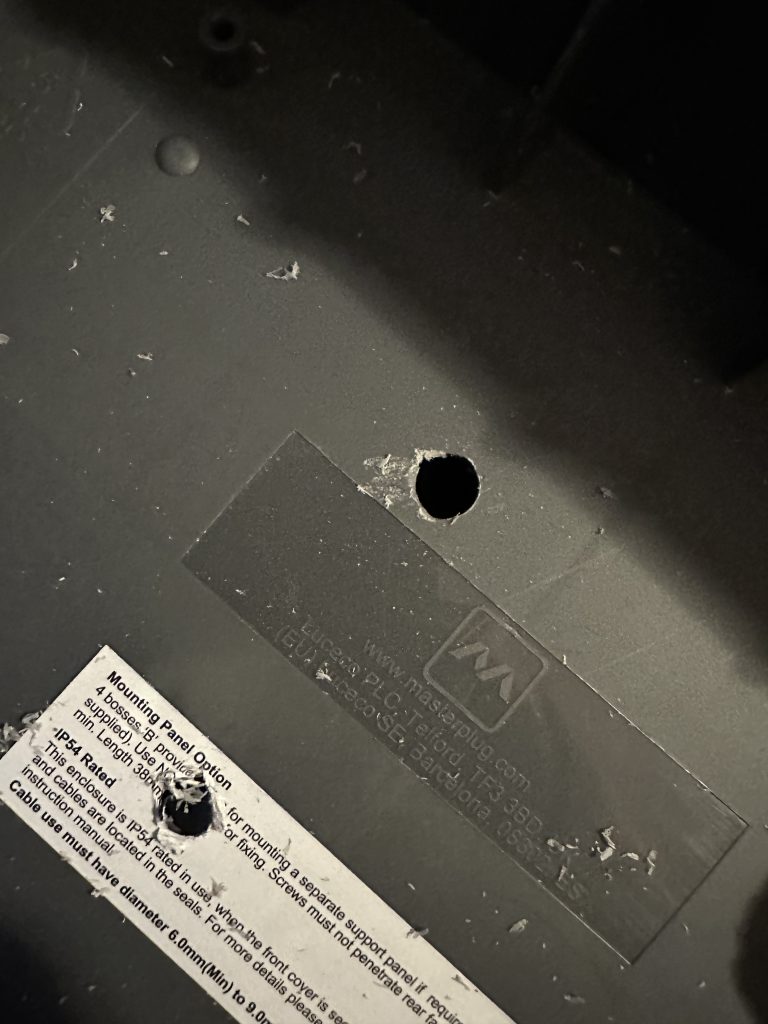
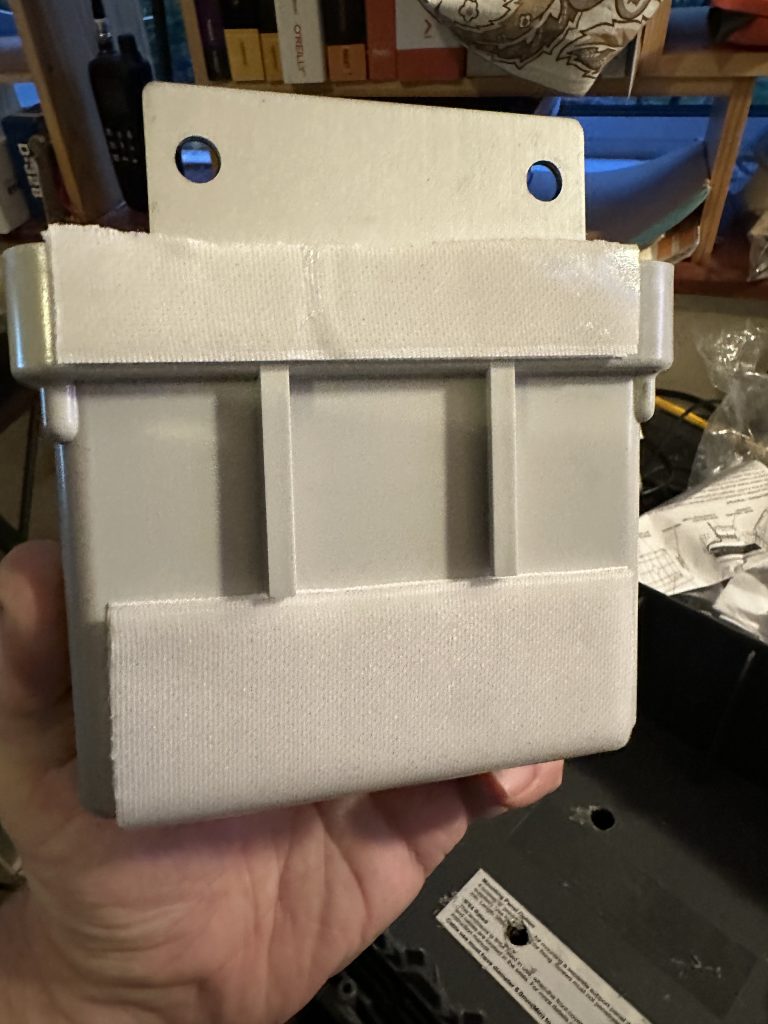
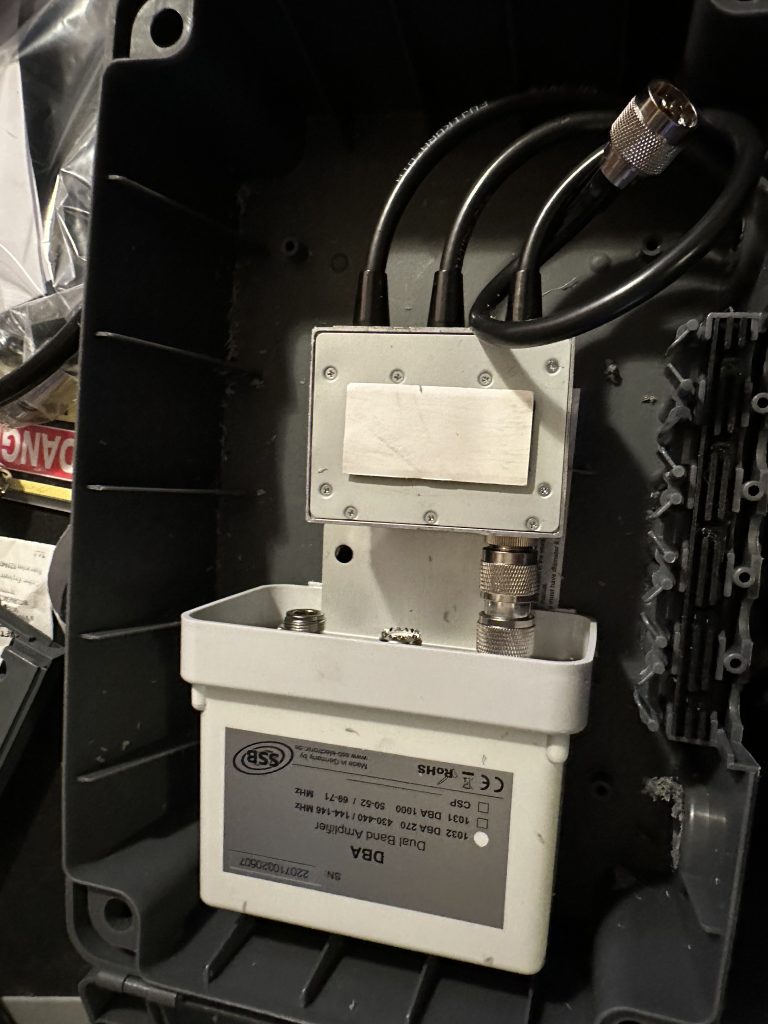
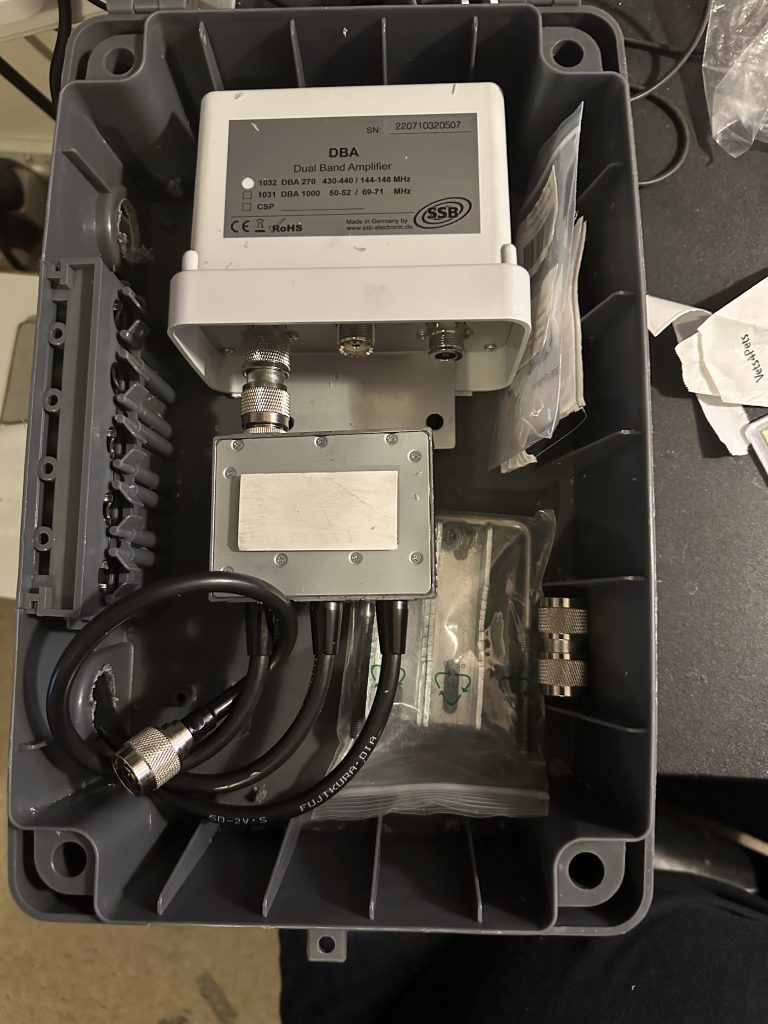
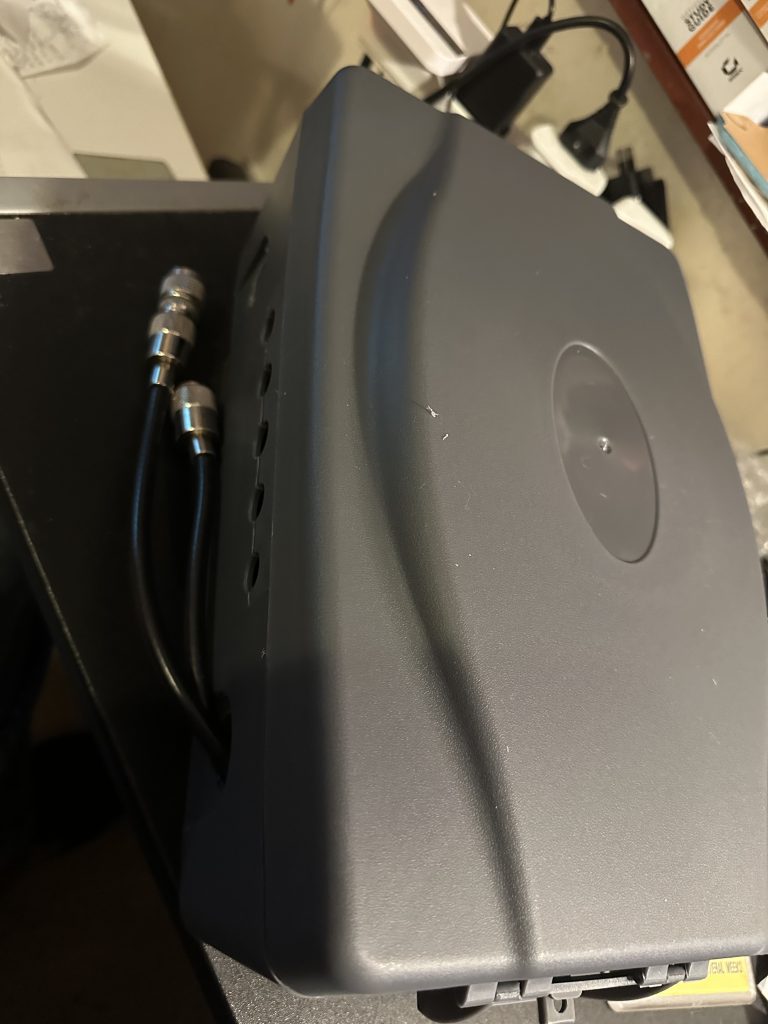
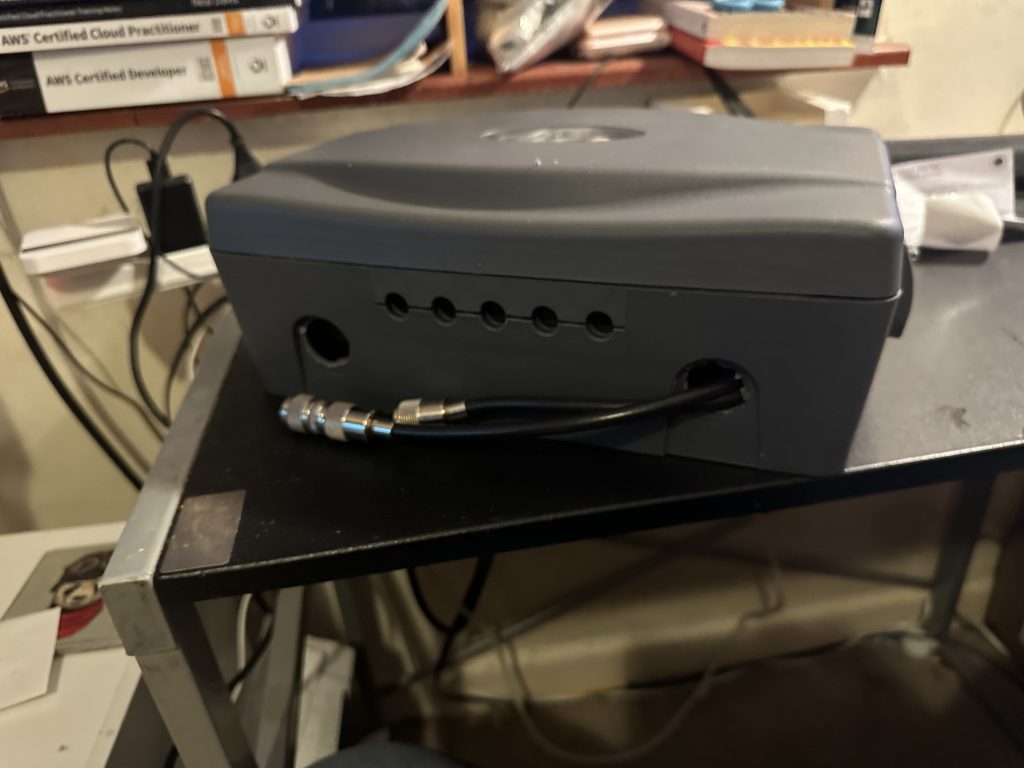
I set about re-housing the amp back in the broken amps container, but imagine i must of connected something wrong as the signal was again reduced to static.
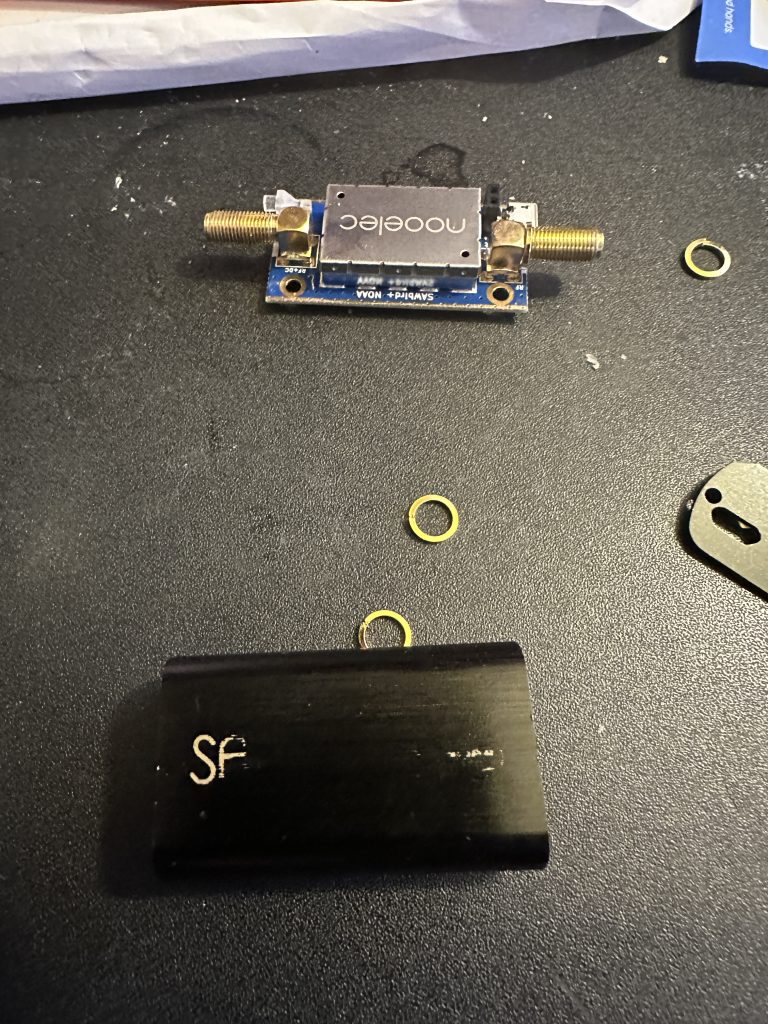
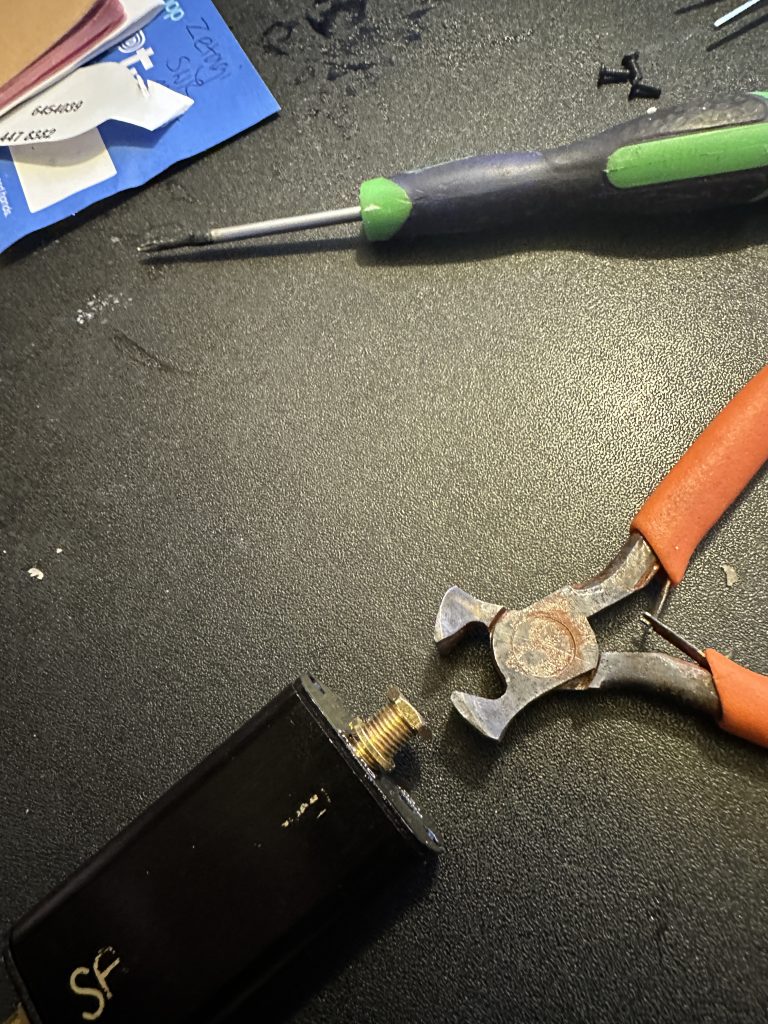
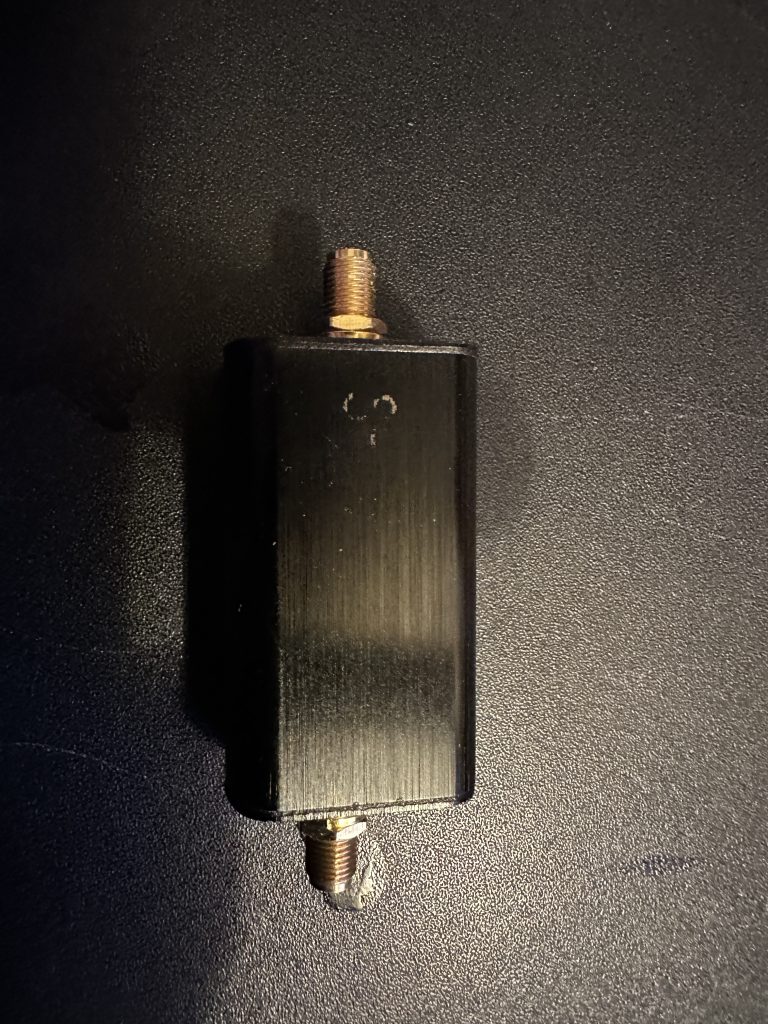
It was a quick enough job to remove the casing and restor the amp to its ‘naked’ form, then continued to receive NOAA images and METEOR that where fantastic. I modified my config so the static was clipped from the images, resulting in even more presentable images.
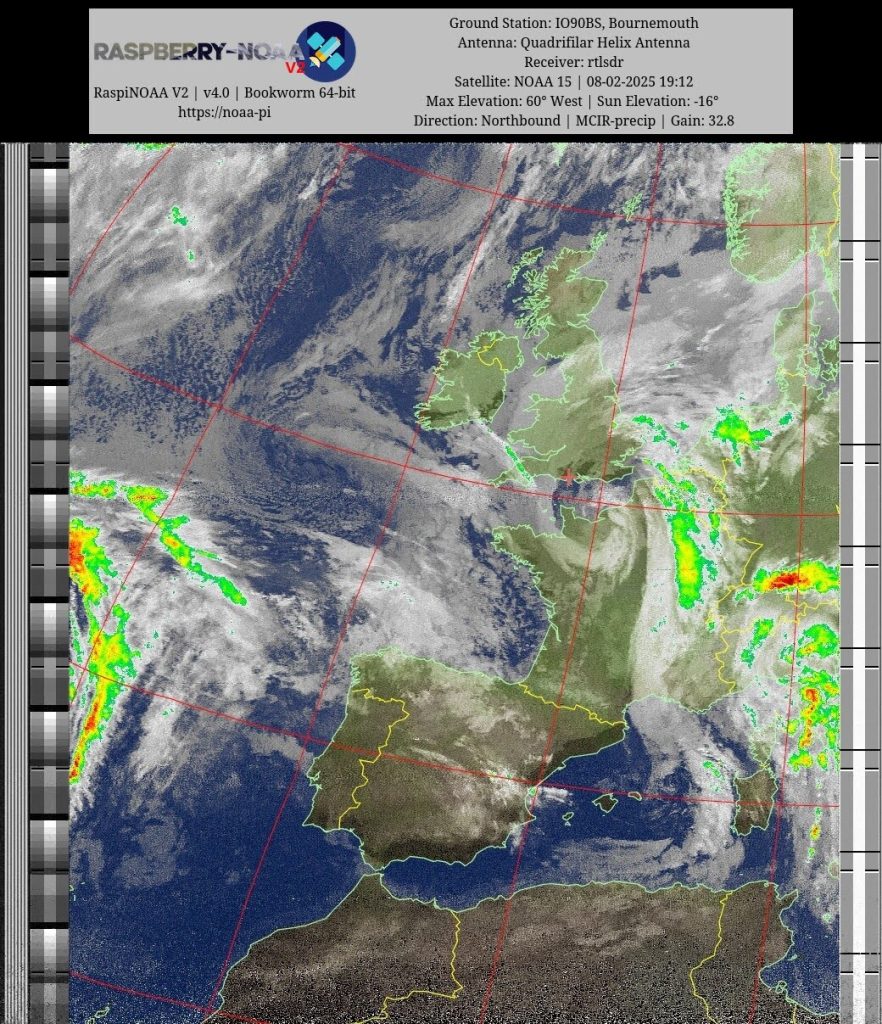
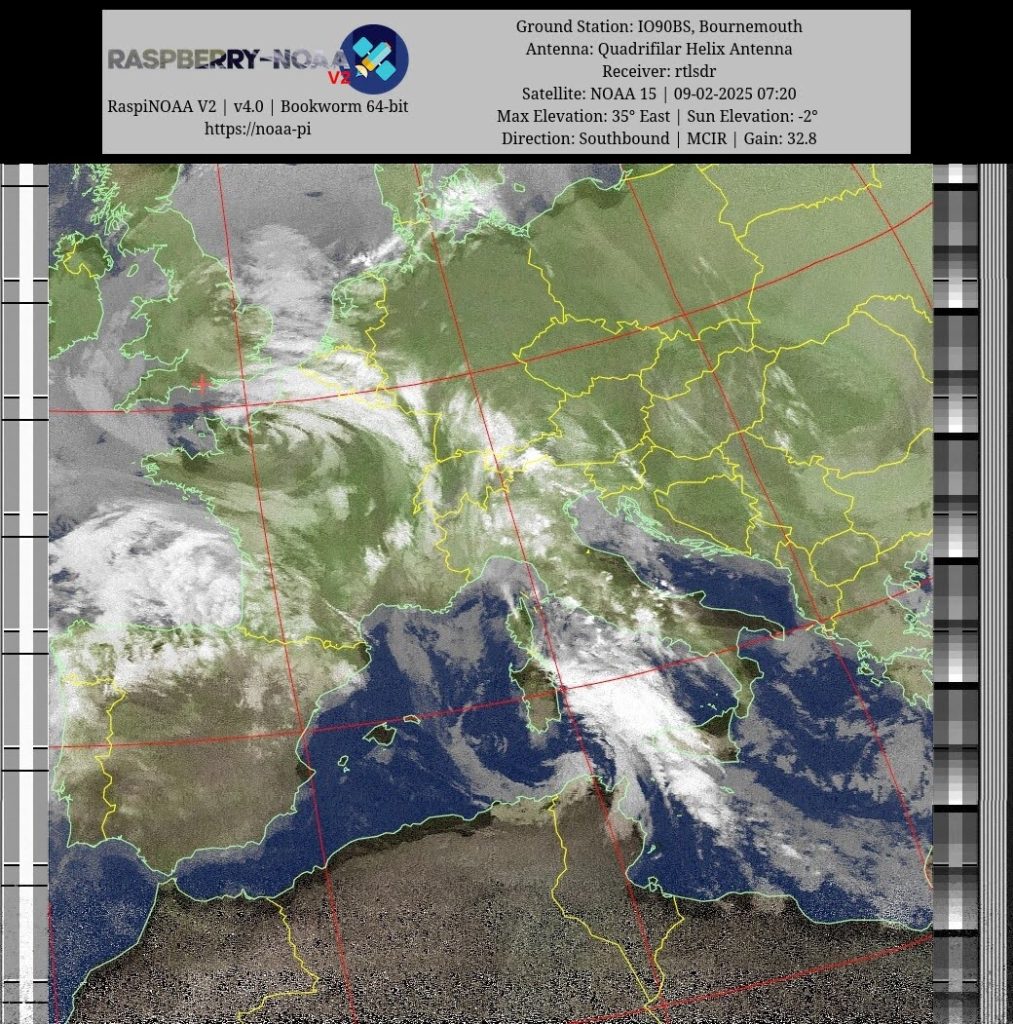
I set about making a better home for the SDR and signal chain, what is important is to keep all parts of the input signal away from any interference, espeically noticable is DC supply voltage if the amplifier or noise blanker get near a power supply or power feed wire, the ‘classic’ 50Hz mains hum is very apparent in the pictures.
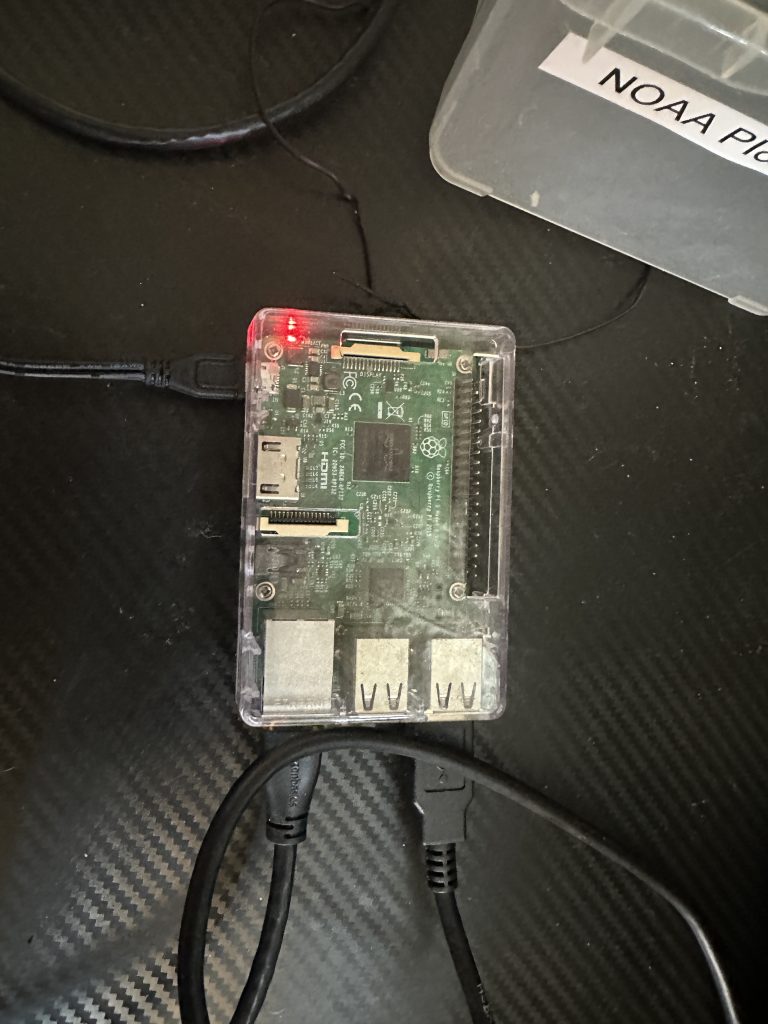
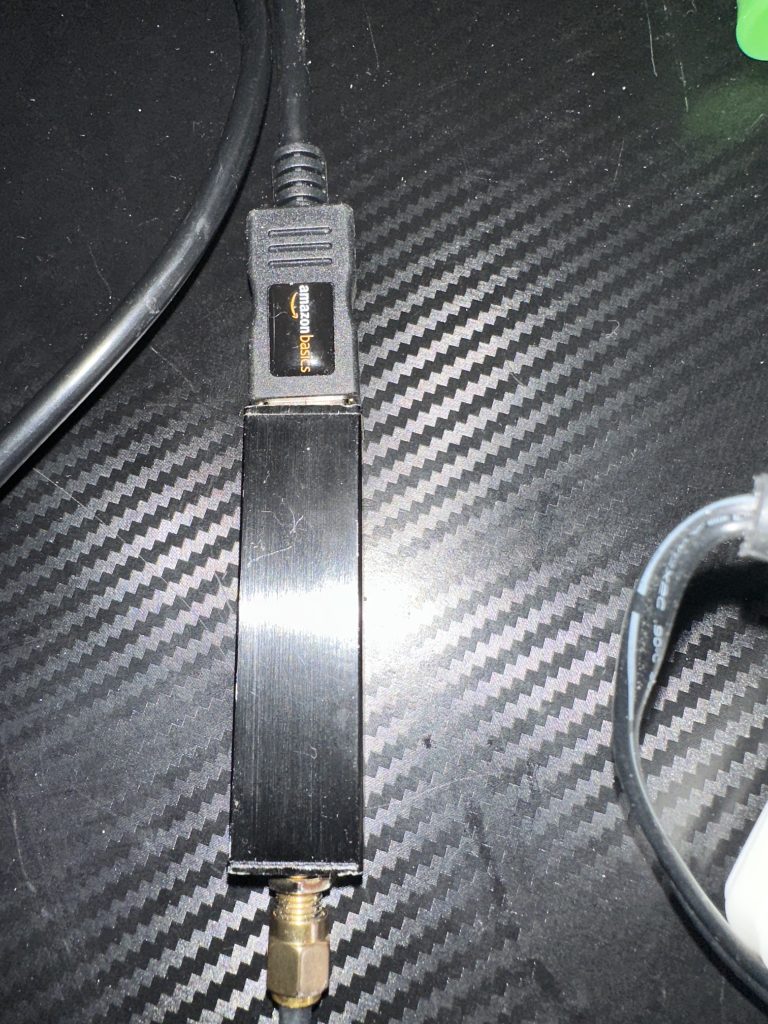
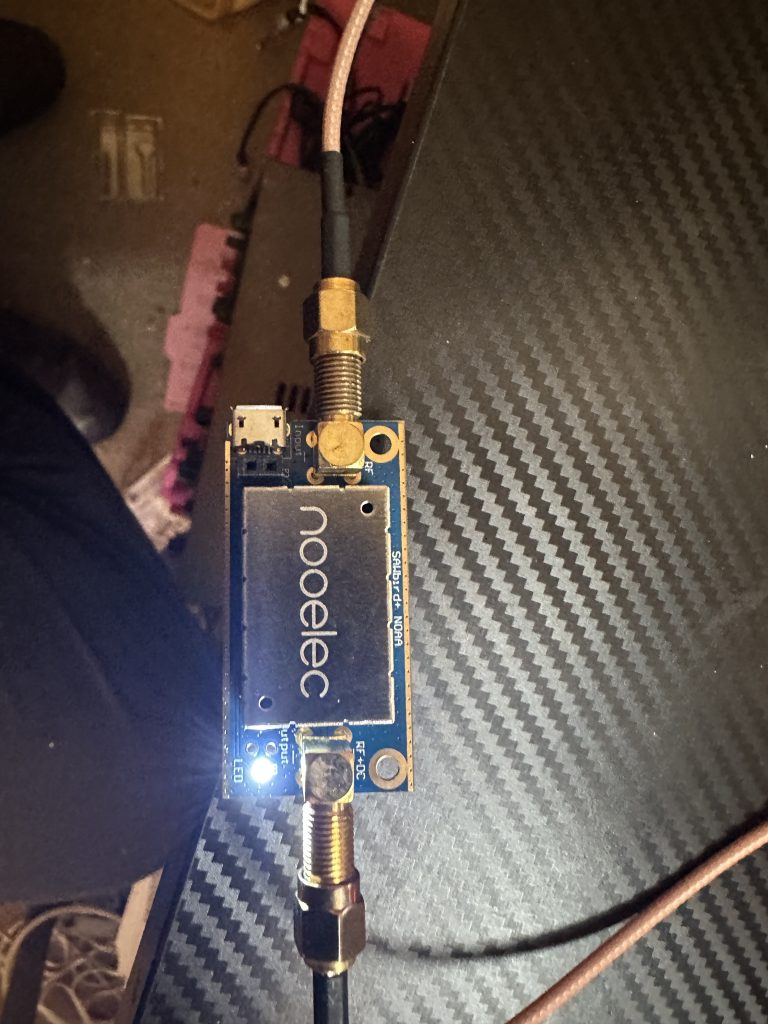
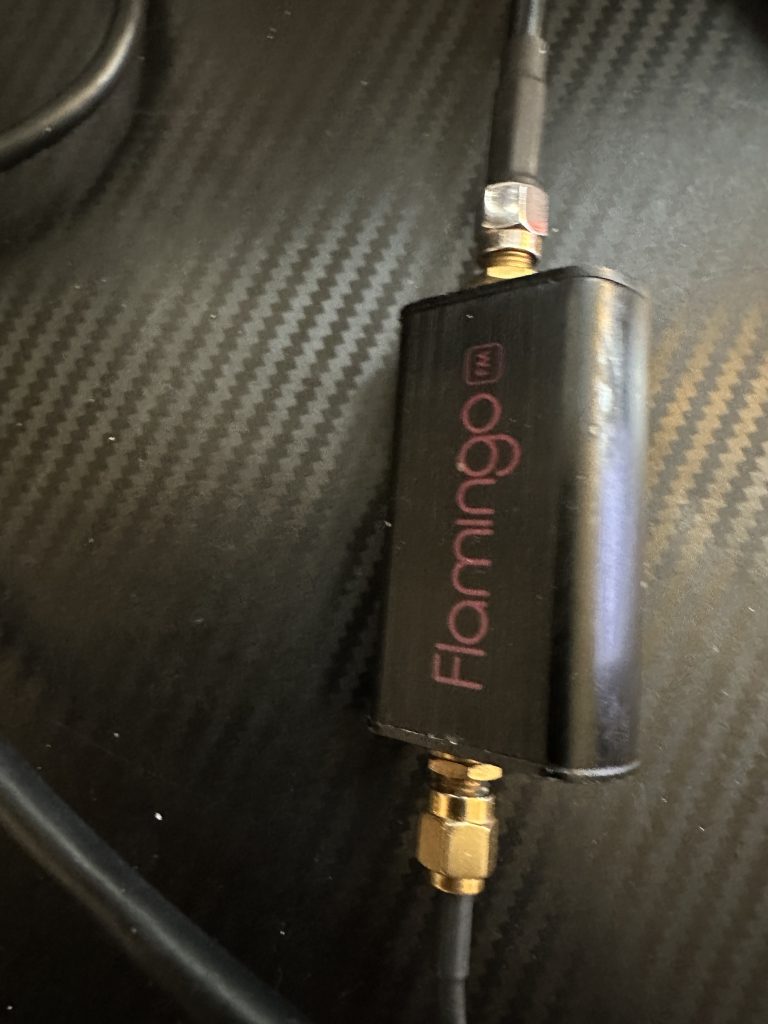
So the feed chain is made totally clear, this is how I have setup my NOAA station.
- Rapsberry PI3b (USB2.0) Ports – Dedicated RPI PSU (full votlage/ampage)
- USB Extension cable to SDR Receiver
- BNC Patch cable to Amplifier
- BCN Patch cable to Flamingo FM
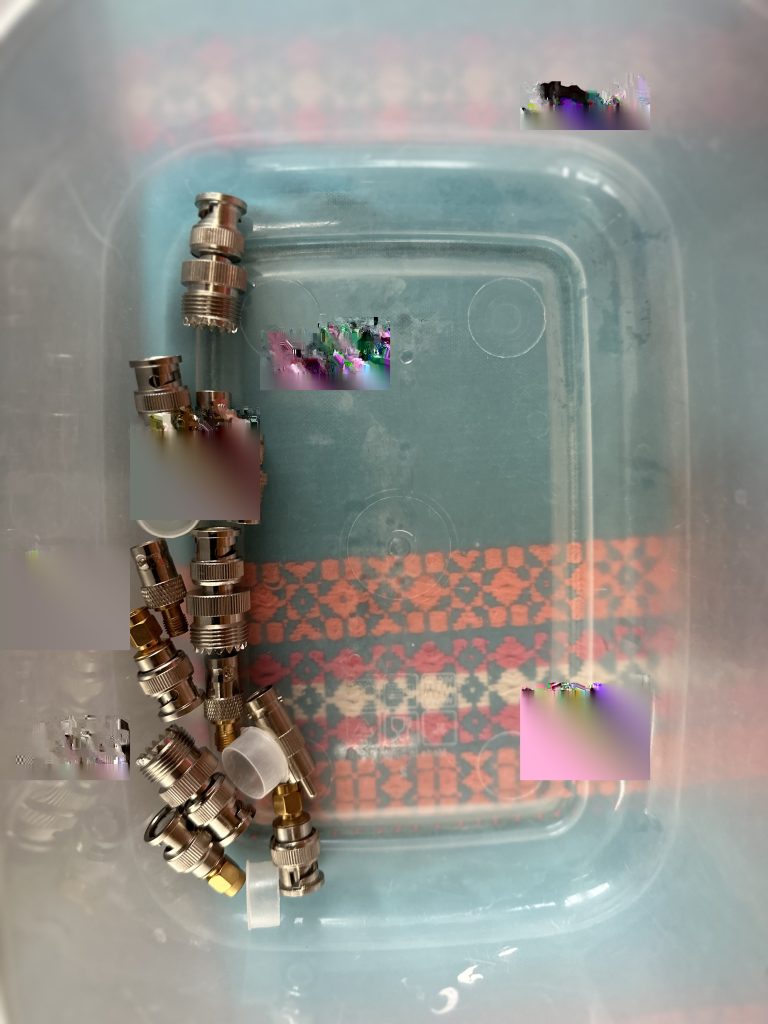
- BNC to SO239 connector for antenna with PL259
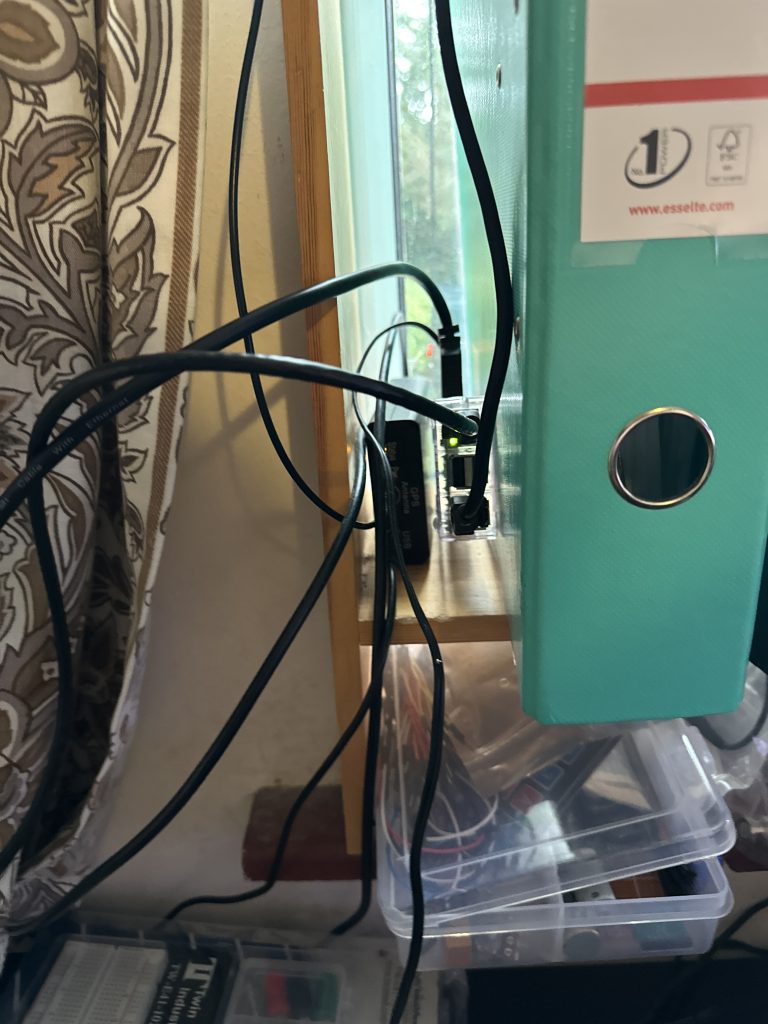
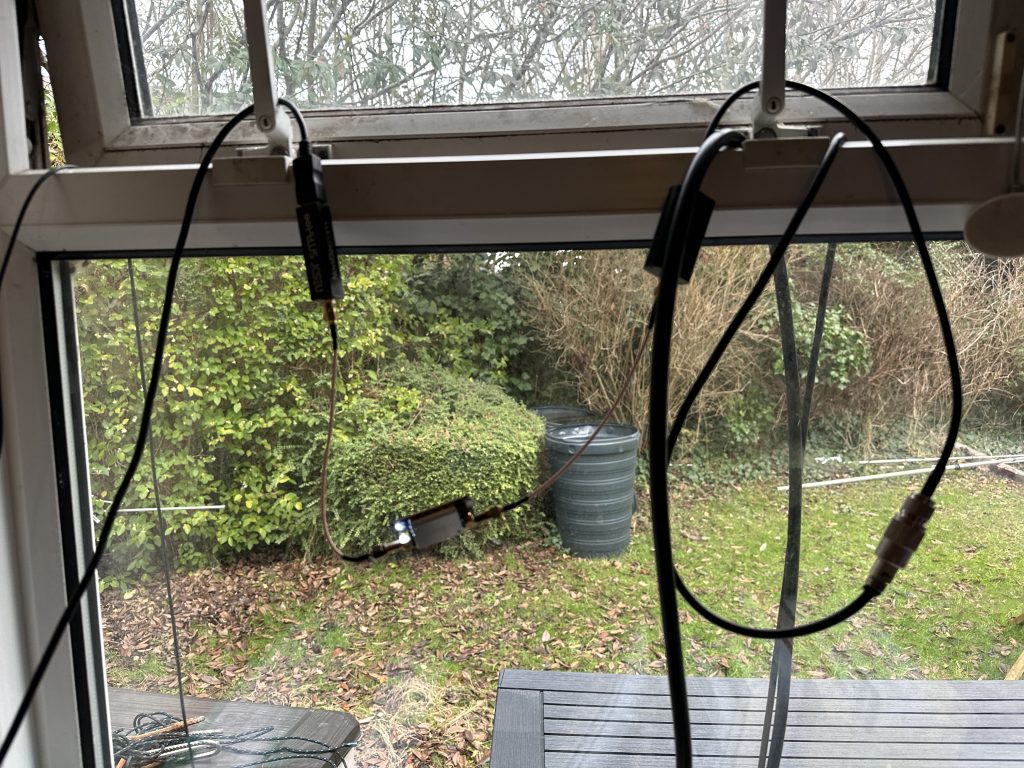
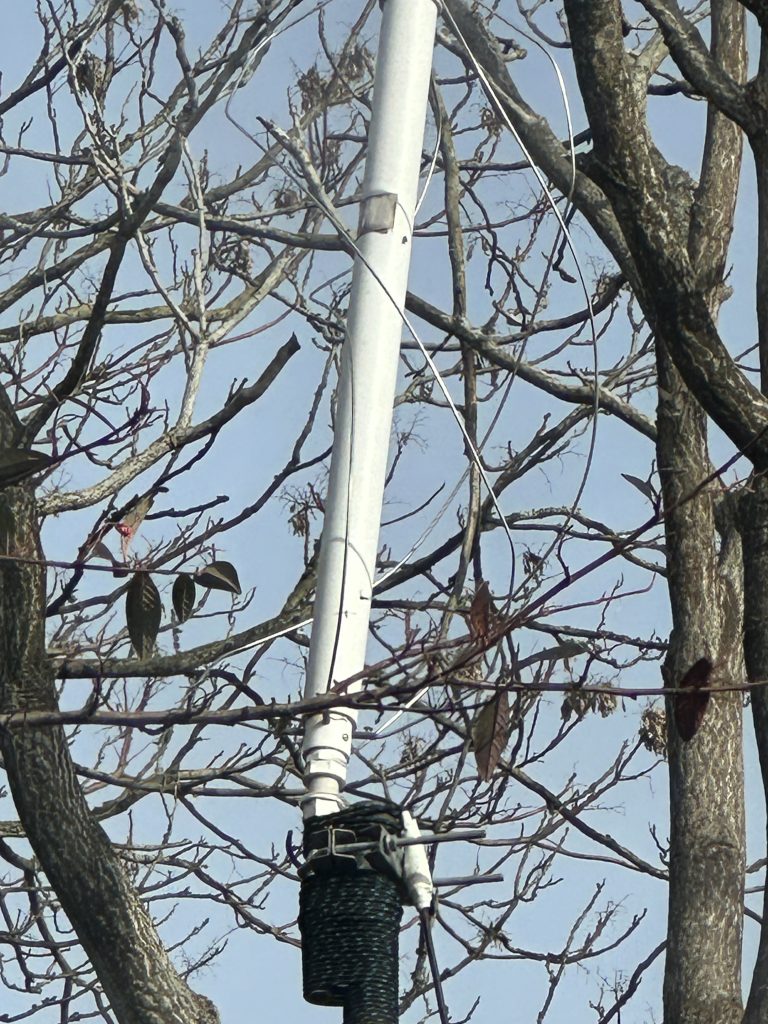
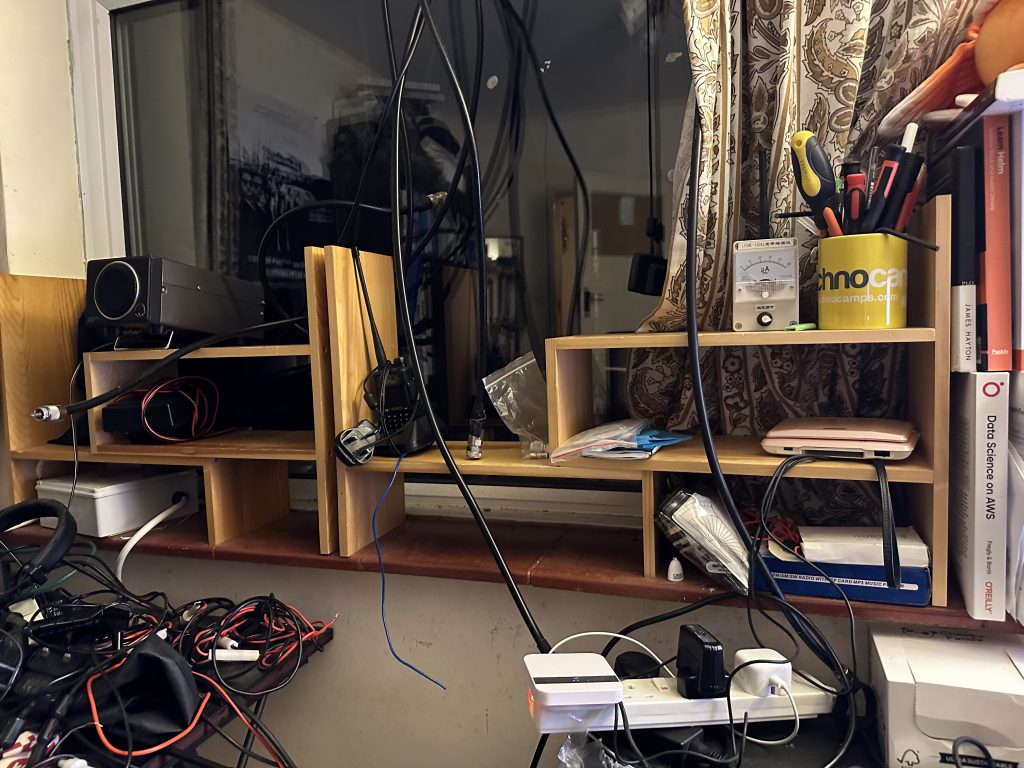
To get the working setup off my desk and reclaim my research area, i have ‘hung’ all the components over my window handles, and this works really well ! The RF signal is well isolated from any interference and the components are well away from any potential sources of damage. I did consider ‘bundling’ them into a box, but thought the sake of a ‘tidy’ solution, it could introduce more issues, this way i have a nice air-cooled working solution and the light on the amp looks really cool as well !

I had modified the date format in the config so it was UK friendly which made the date the usual format (dd/mm/yy, hh:mm:ss). With that the pictures kept rolling in. It needs a degree of patience to get the settings right, your more than welcome to copy my gain settings if you have the same setup, even if not, just turn off the bias-t and see what your milage is like !
I was overjoyed at the excellent METEOR pictures, typically there are at least two passes a day of METEOR-M2 sats, and the images are very high defintion.
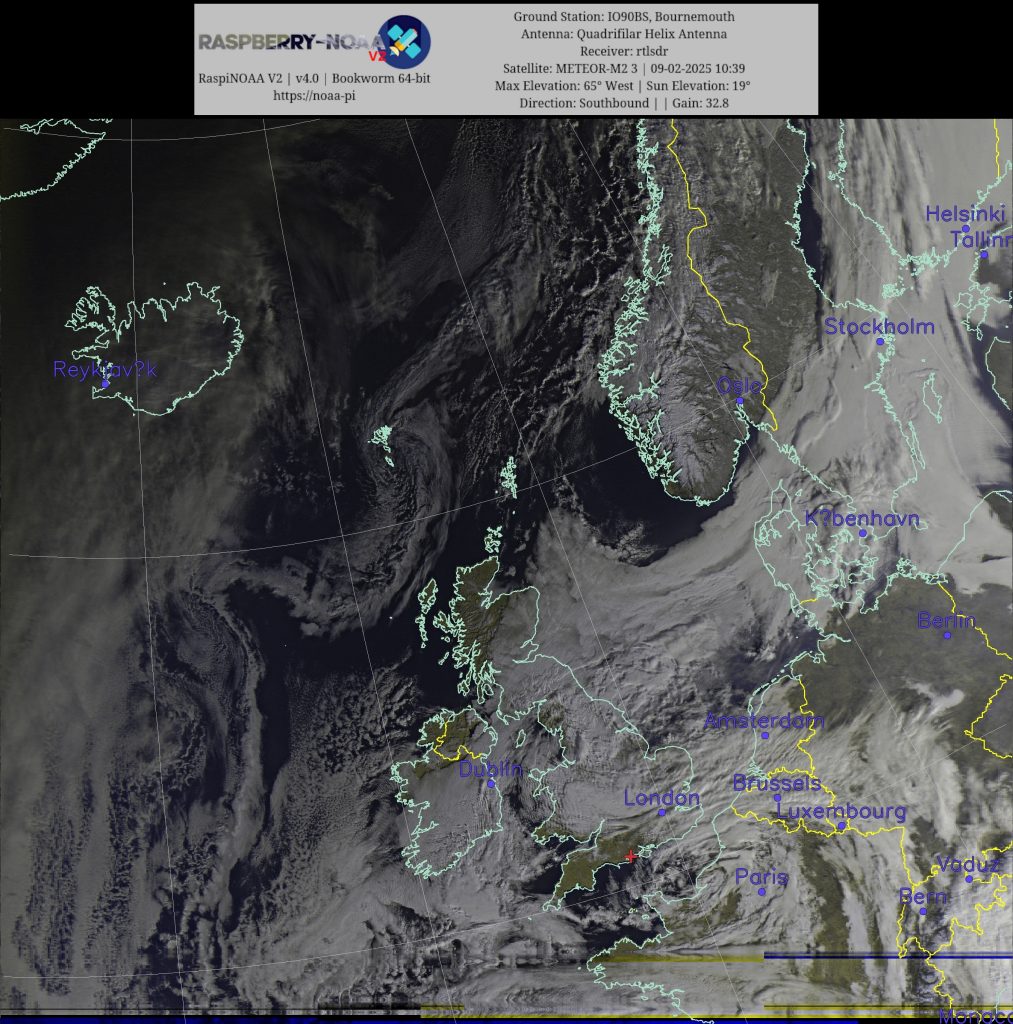
The above image is without clicking to get further detail out the picture as shown below..
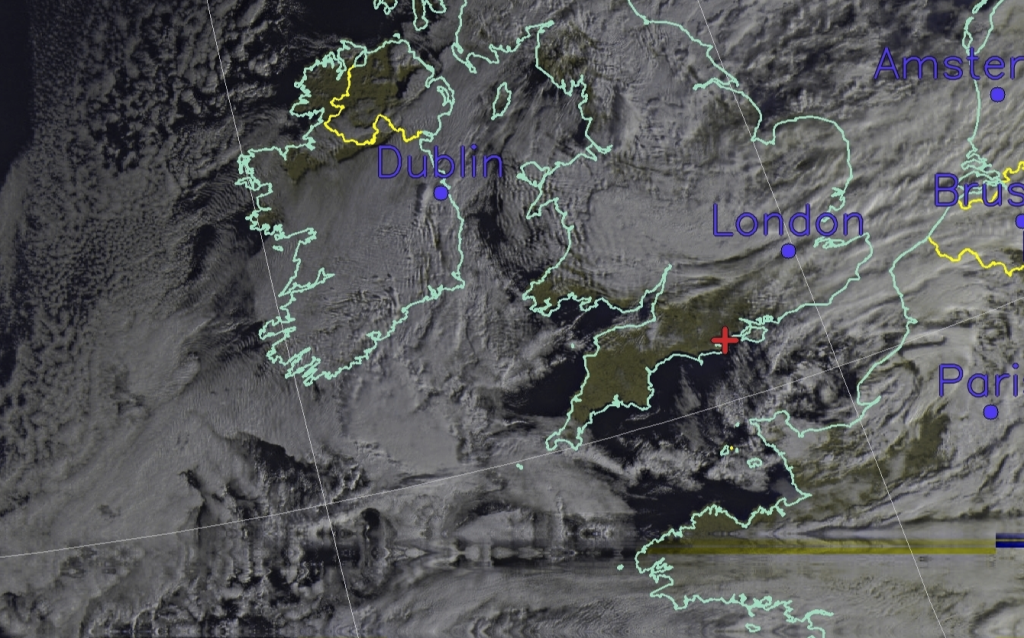
The level of detail from these satellites really blows me away !
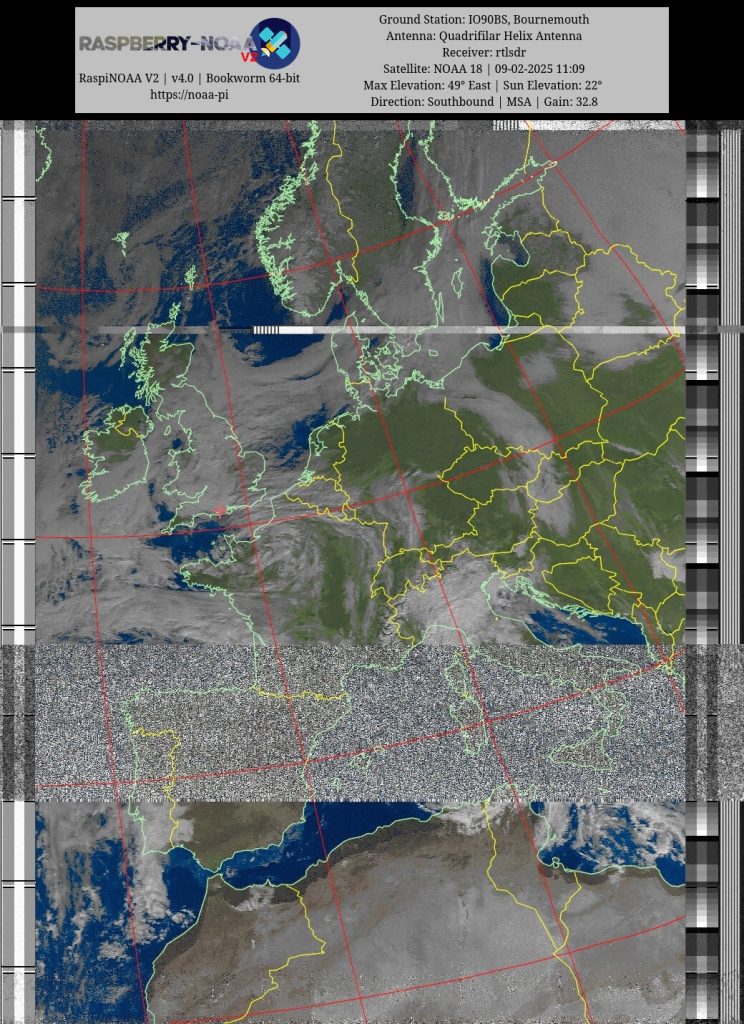
I went about my normal day of study activities and going out and it was always a pleasure to come back to a set of new images avaialble from my very own satellite image receiver ! Whilst the image does have a band of static across it, i was astounded that I still pick up the signal whilst the satellite went across Northern Africa ! Not sure if propergation had change, but I was really impressed with the setup and that the time spent on setting it up and now just letting it run was worth all the effort !
I will still get on the air in the evening and am setting up other SDR’s for the SSTV repeater and Wellbrook antenna to have a TCP controlled SDR I can listen to from my desktop .
Thanks again for reading my blog and I hope this inspires/helps others to enjoy other aspects of this amazing hobby that is radio.

