Nebula tilt base progress 3/1/2021

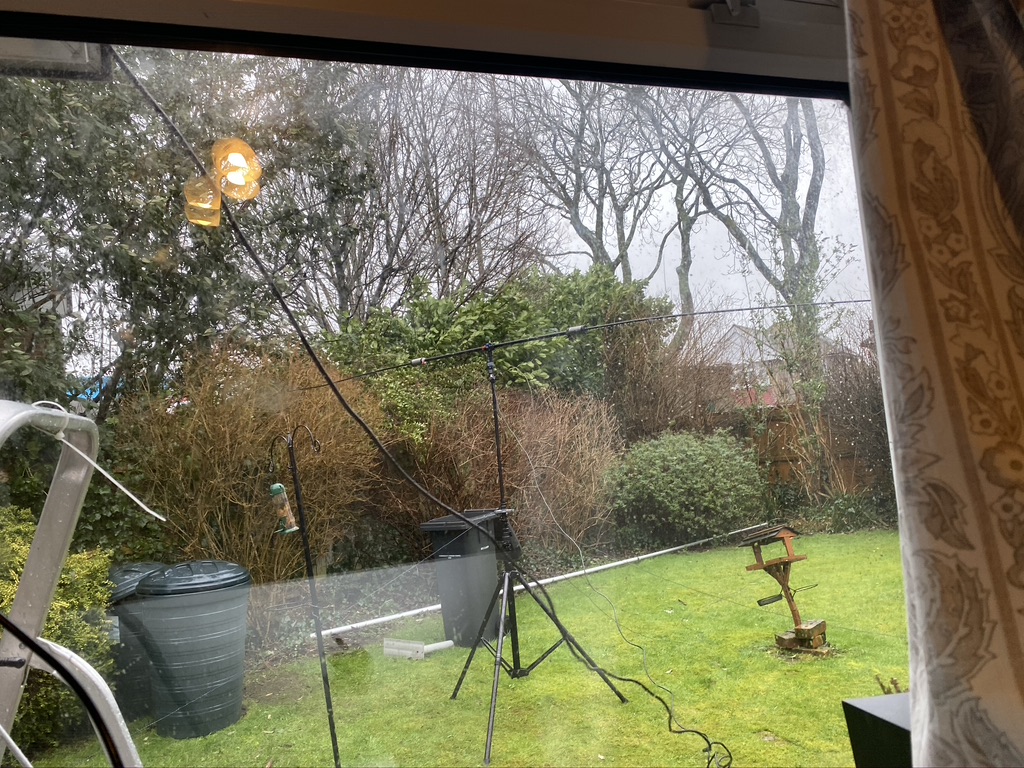
So an early start pondering more programming and exam revision – have to say that I dont write a MSc blog, maybe i should… hmm. Anyhow more work on the Nebula today as soon as the sun came up and i could safely work in the daylight. First job, take down the 40m and 20m antennas I have been using for the last few weeks.
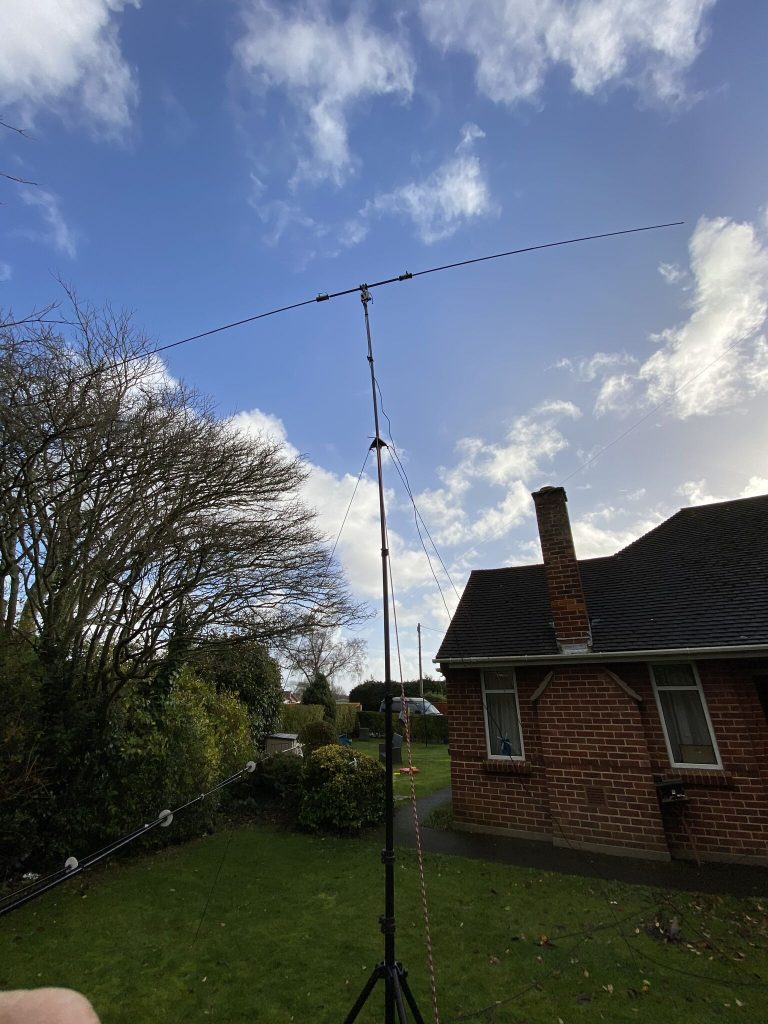
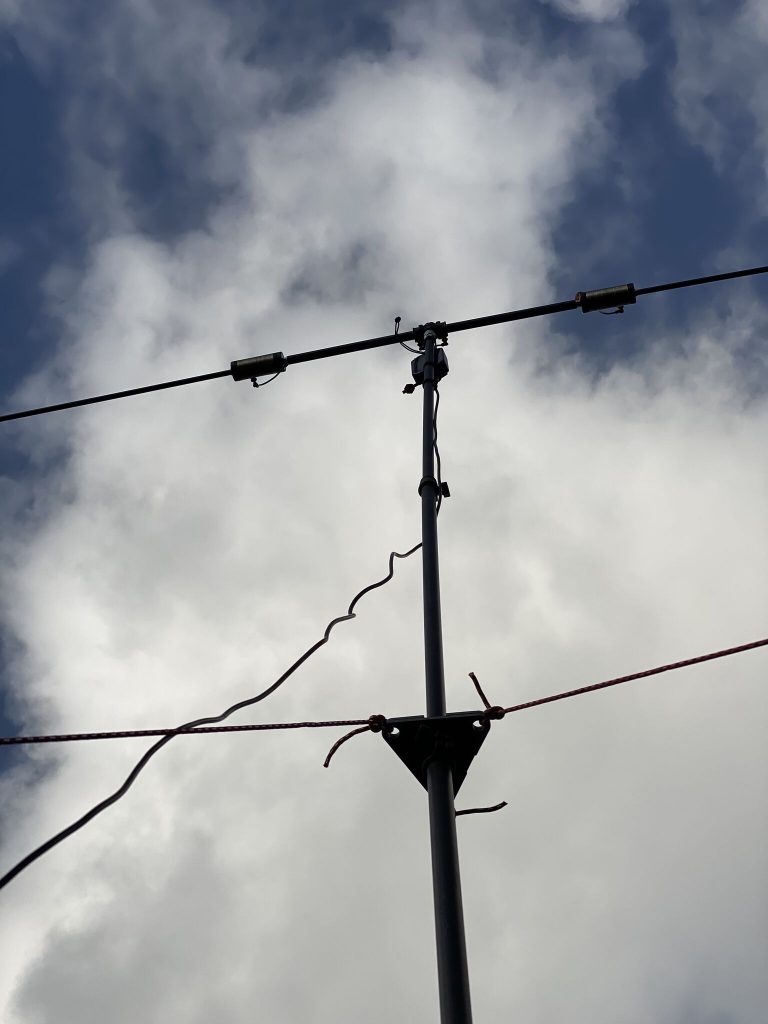
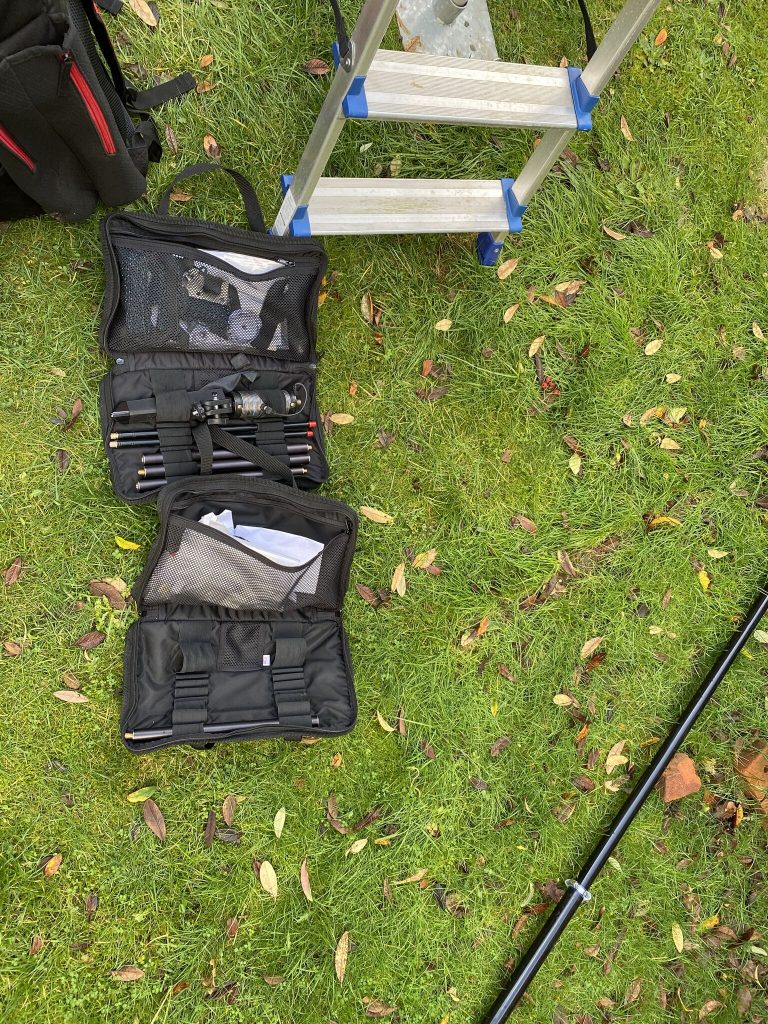
I was really happy how well both the dipole 40m and the buddipole vertical on 20m worked the last few weeks, they was quite quick to setup and kept me able to do the things I enjoy, also making telphony SSB contacts on 40m was great as well. I was glad that the buddipole went up with no damage and came down equally as well – I have packed it up nicely (as always!) for its next outing.
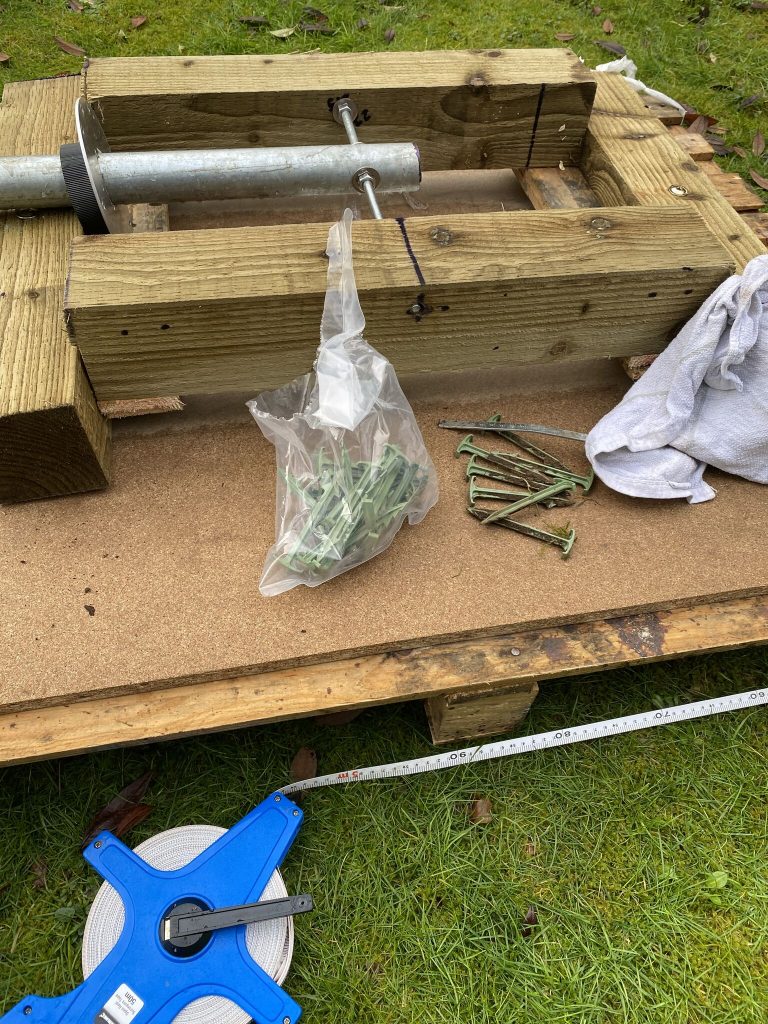
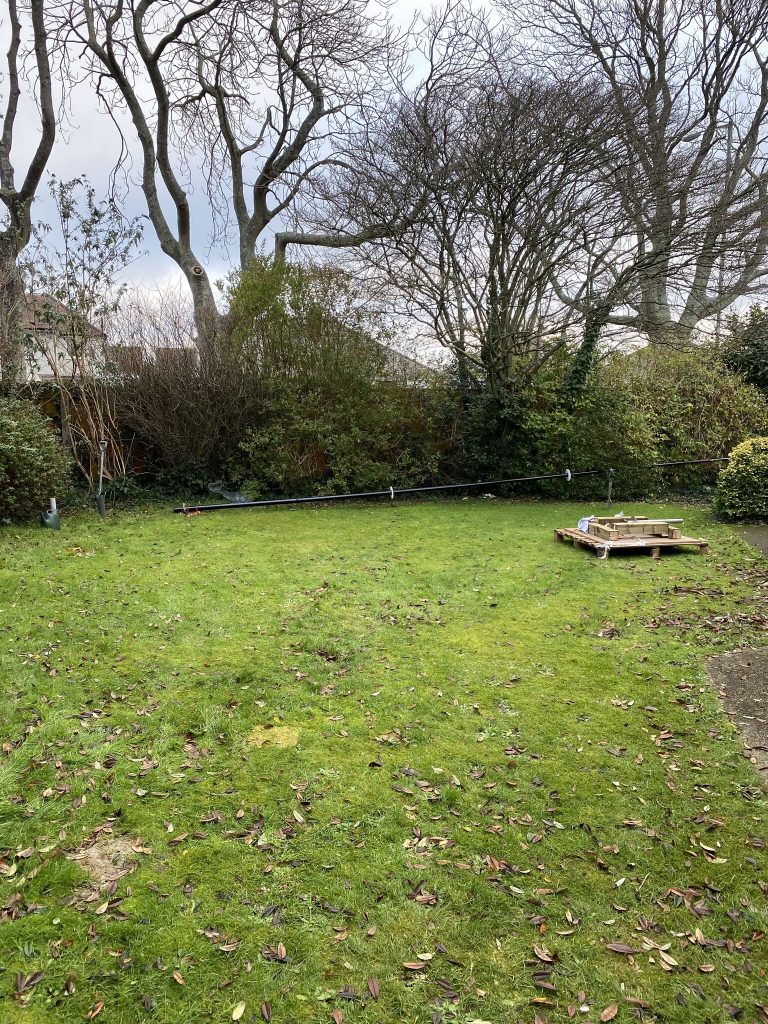
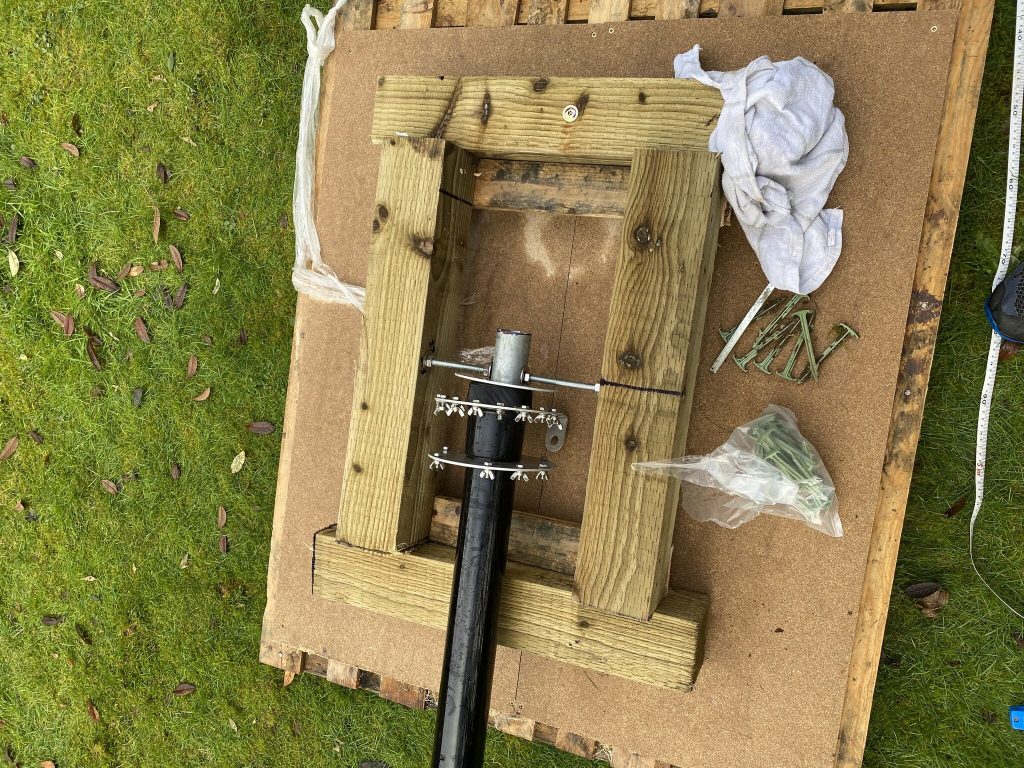
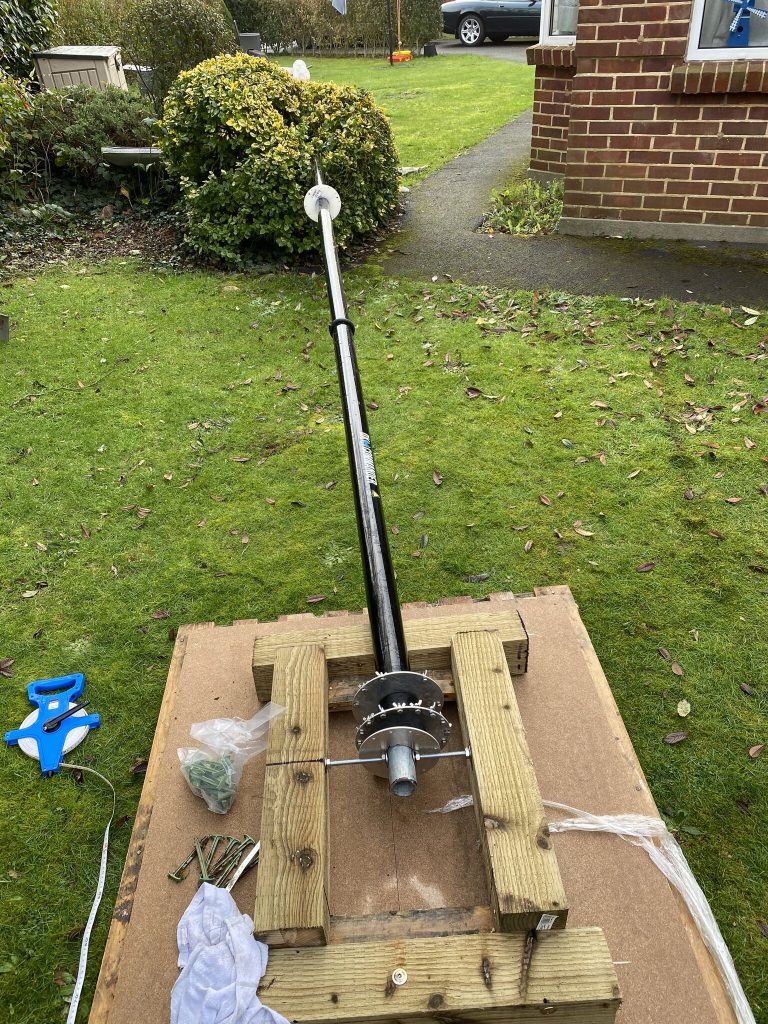
Having a free area to work in I started to measure up 5m diameters for the guying stakes to go in the ground. I started with the measurement from the guy I would ‘walk’ i.e. attach the last rope to, then work out the other angles/positions for the two attached. I was able to mount the nebula with relative ease onto the mast base, the scaffold diameter and length being ideal and not having any lateral movement.
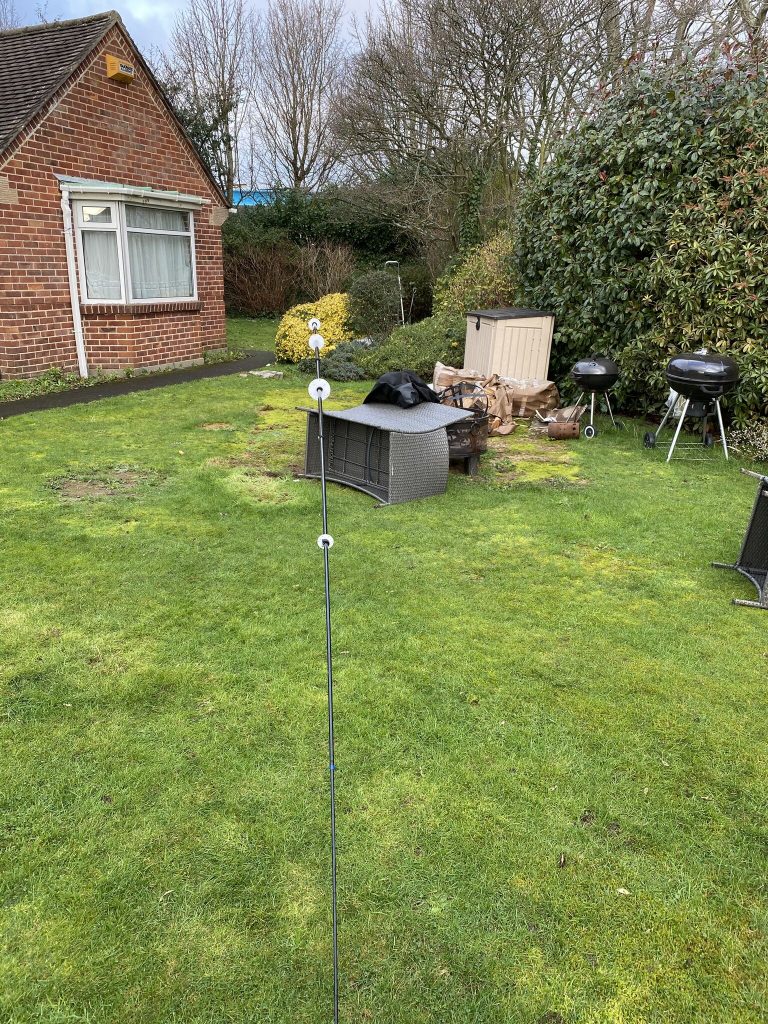
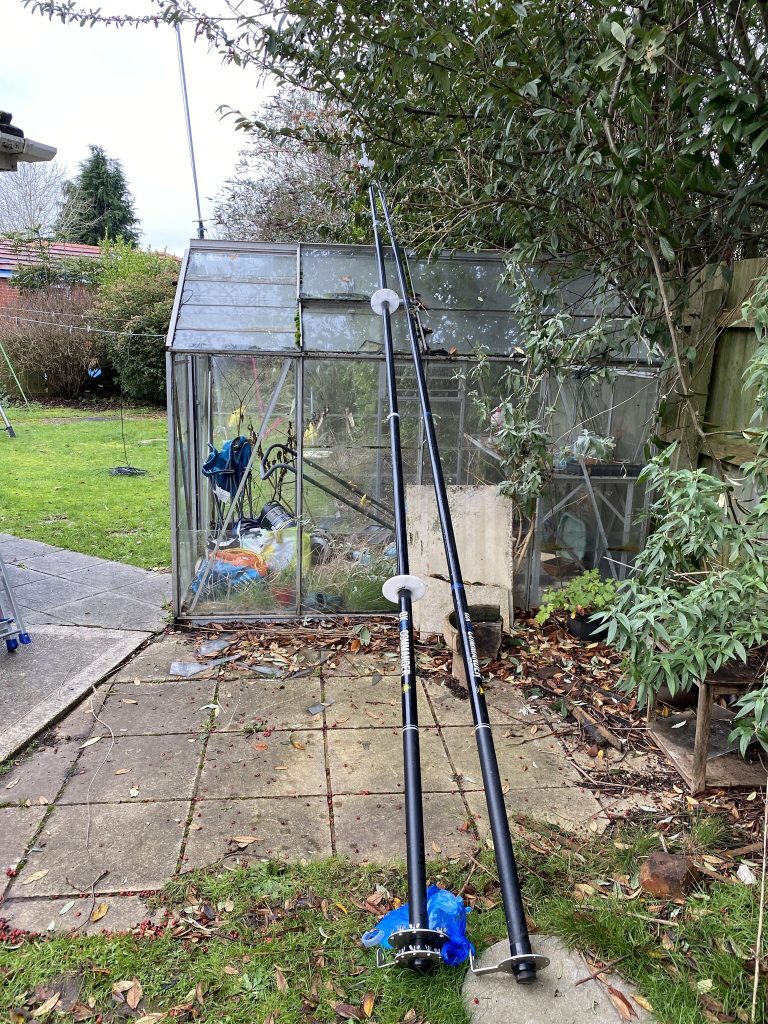
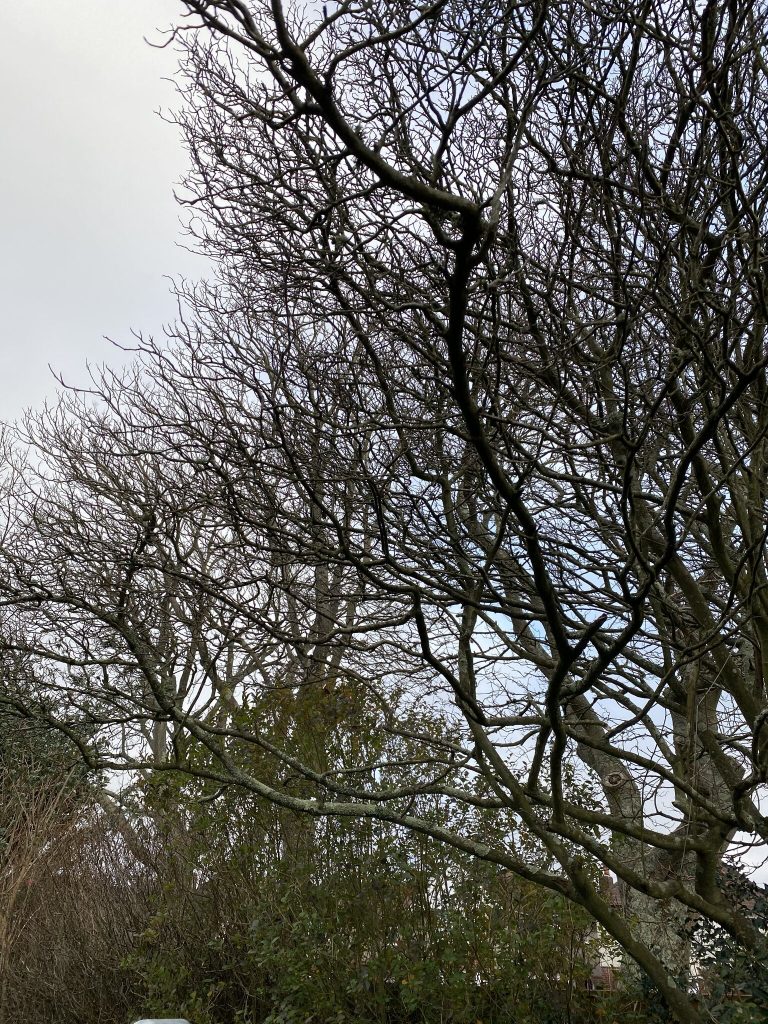
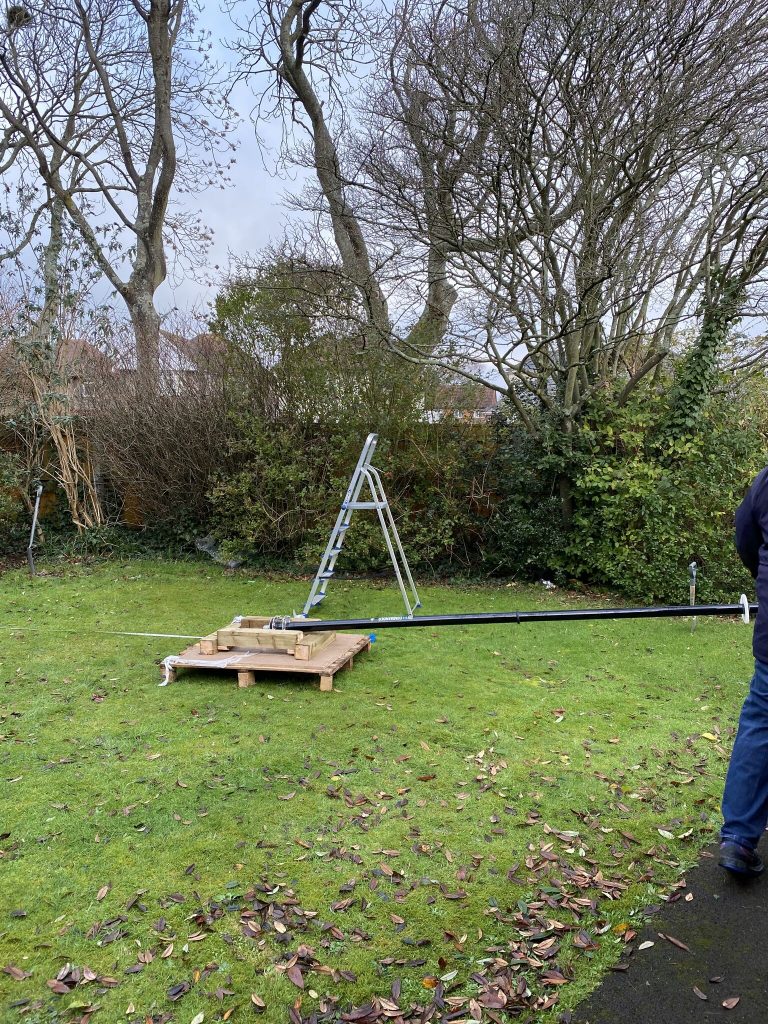
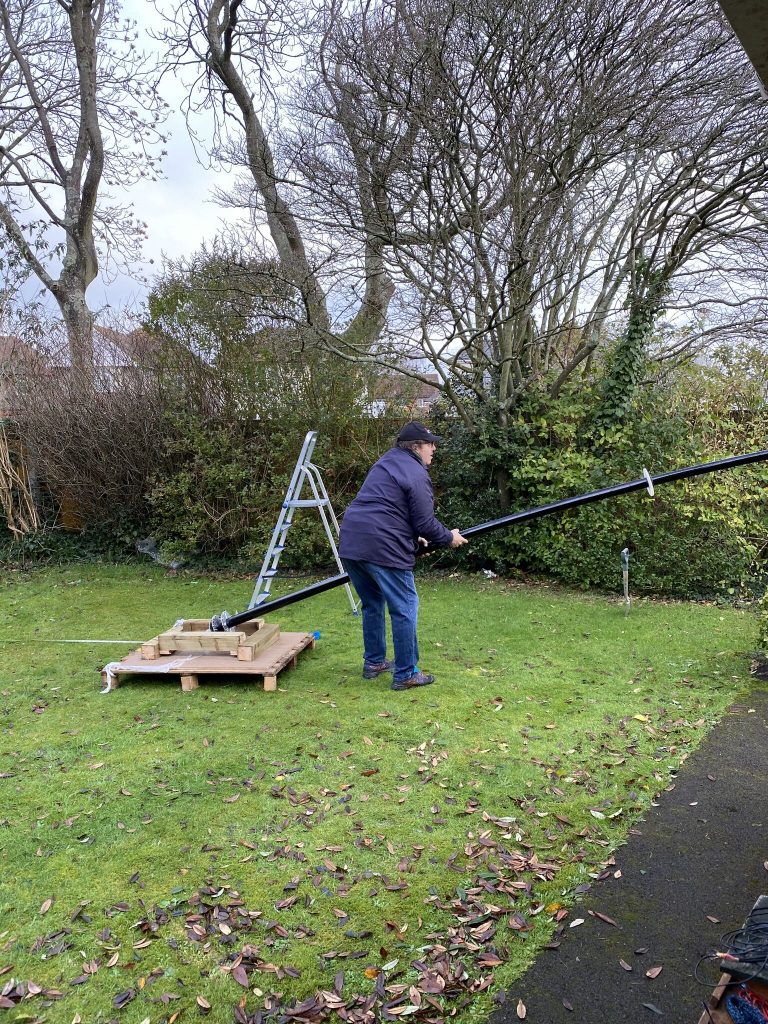
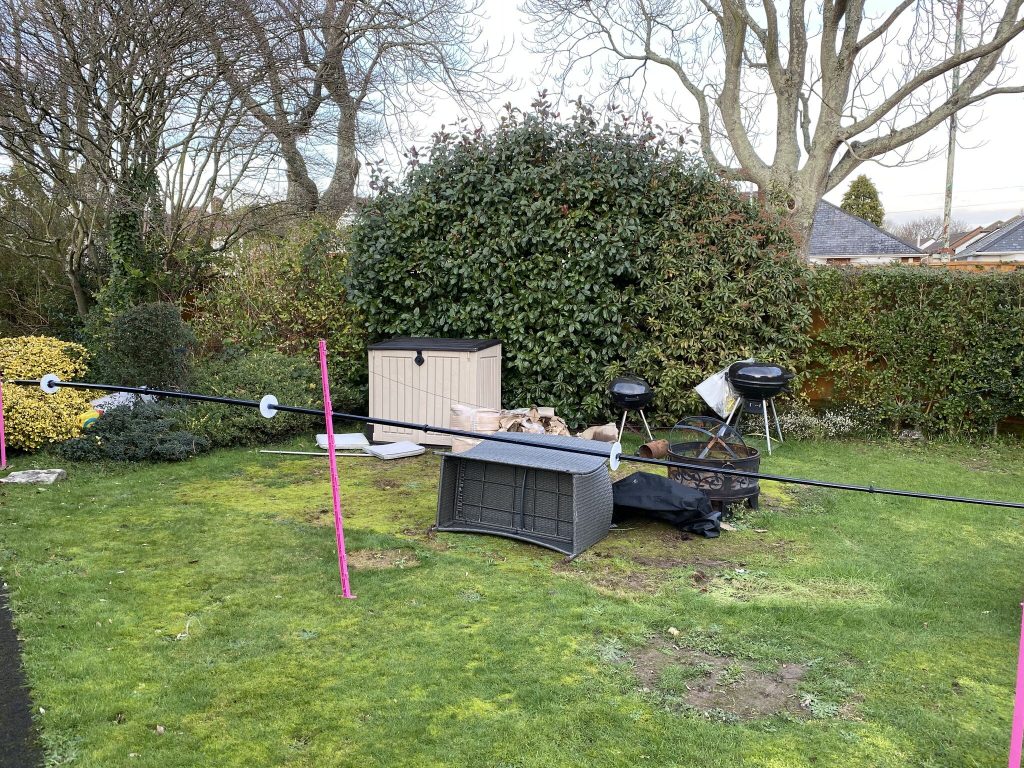
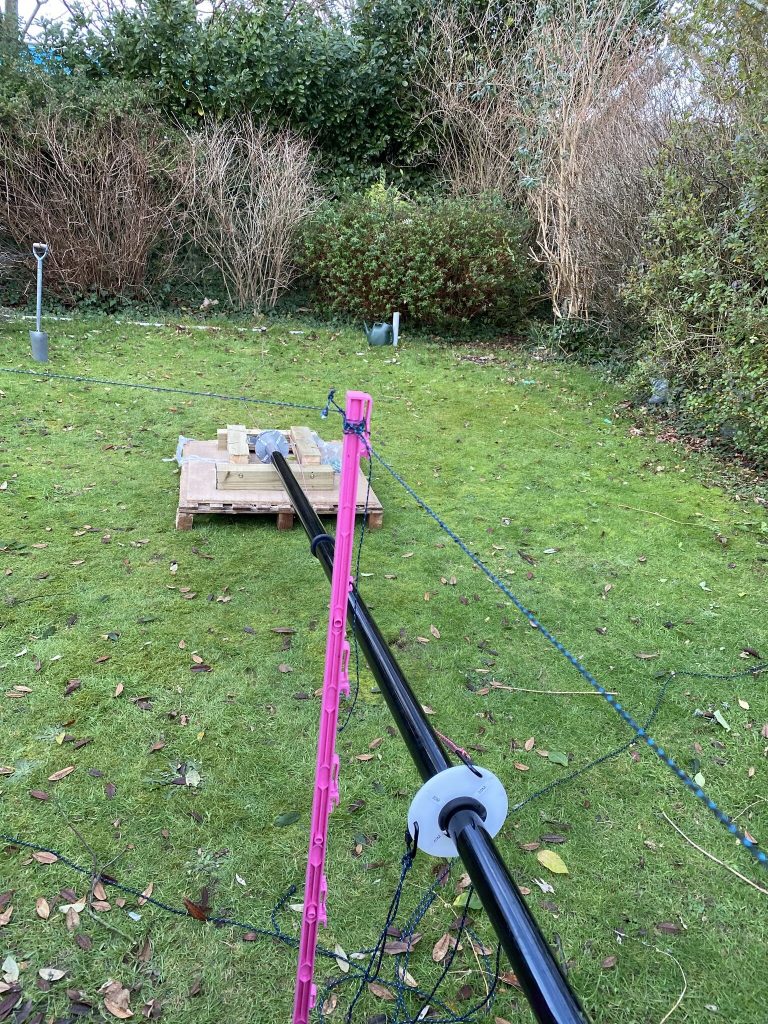
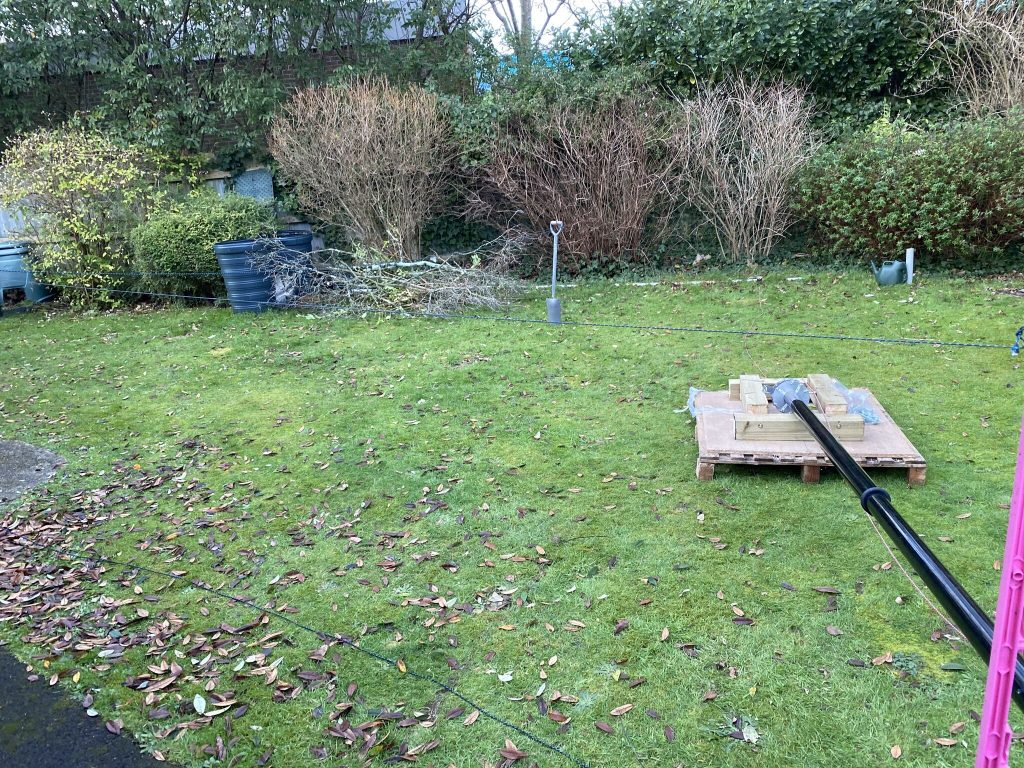
I had not guyed any points yet as i wanted to be sure that the bolts and pivot action worked correctly. I created some temporary supports from the garden furniture we have, which proved to be an ideal height for the mast at rest. I noticed that the position of the mast the trees to the right would need some trimming back as not to catch the elements on when they was attached to the nebula.
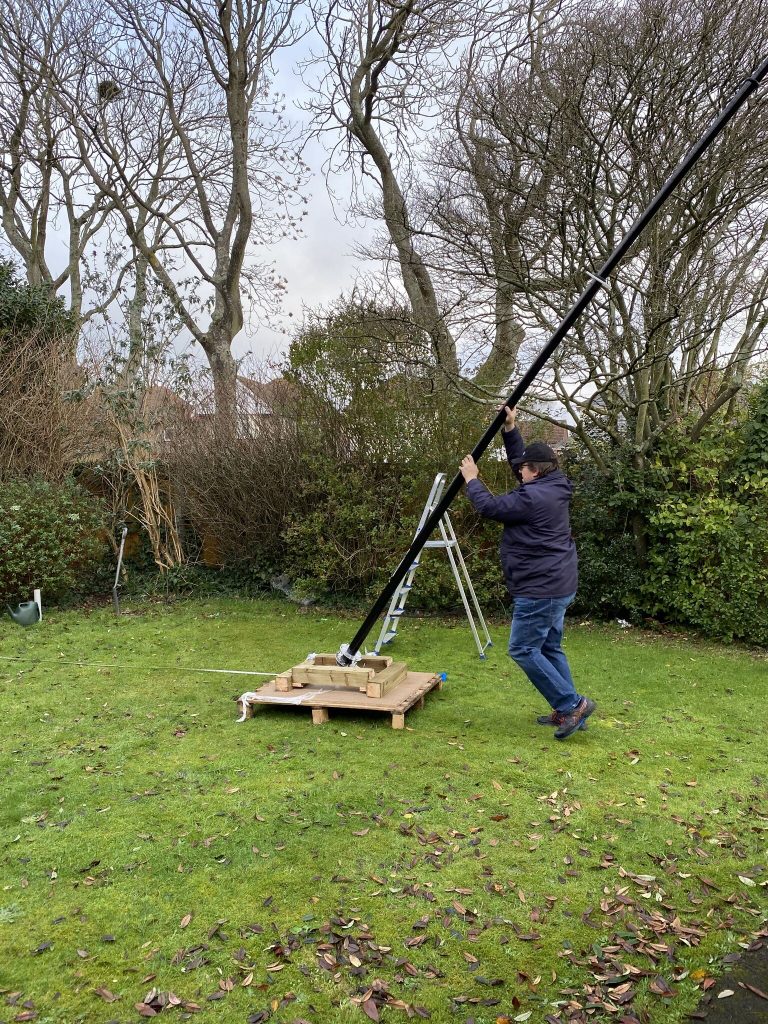
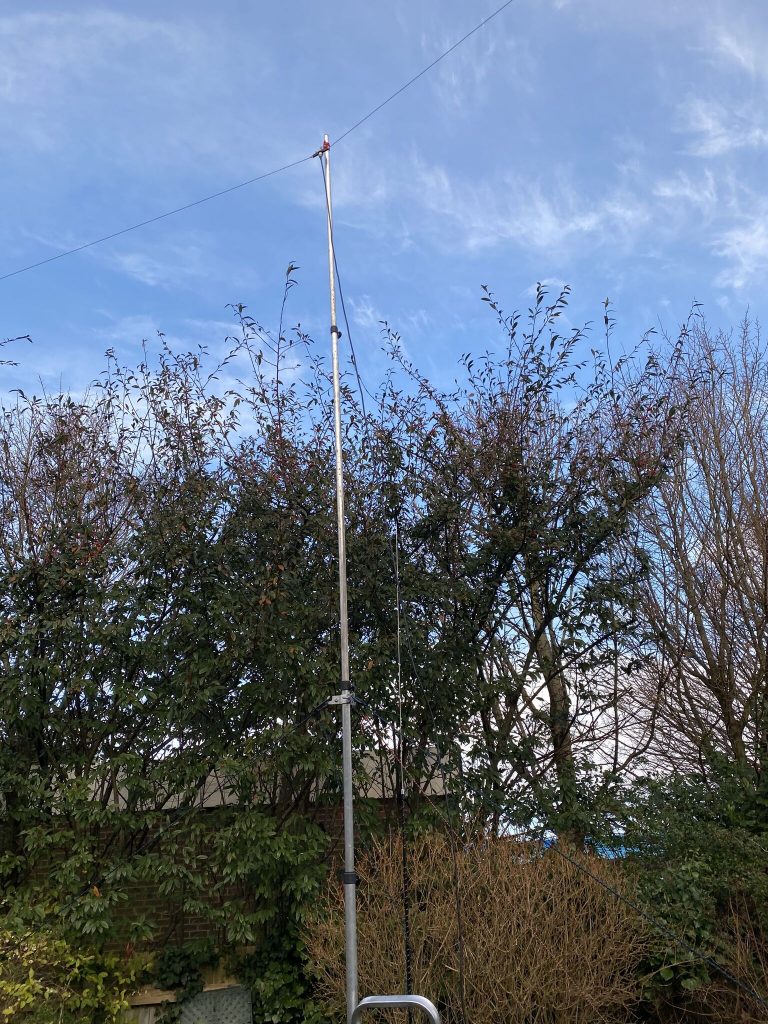
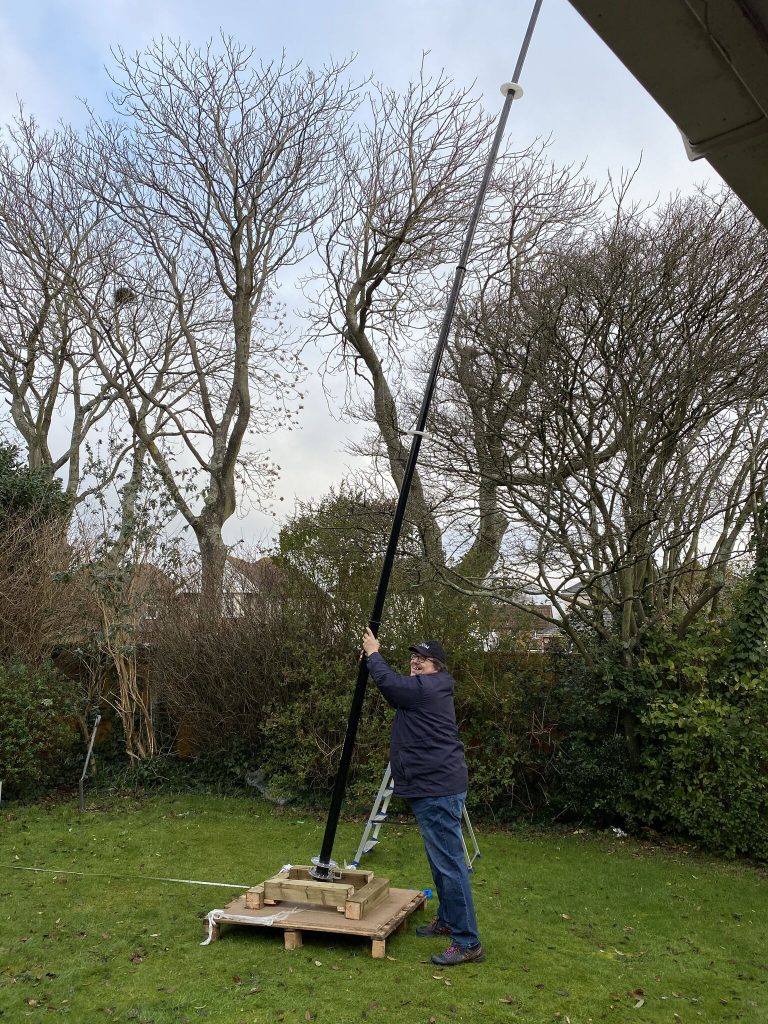
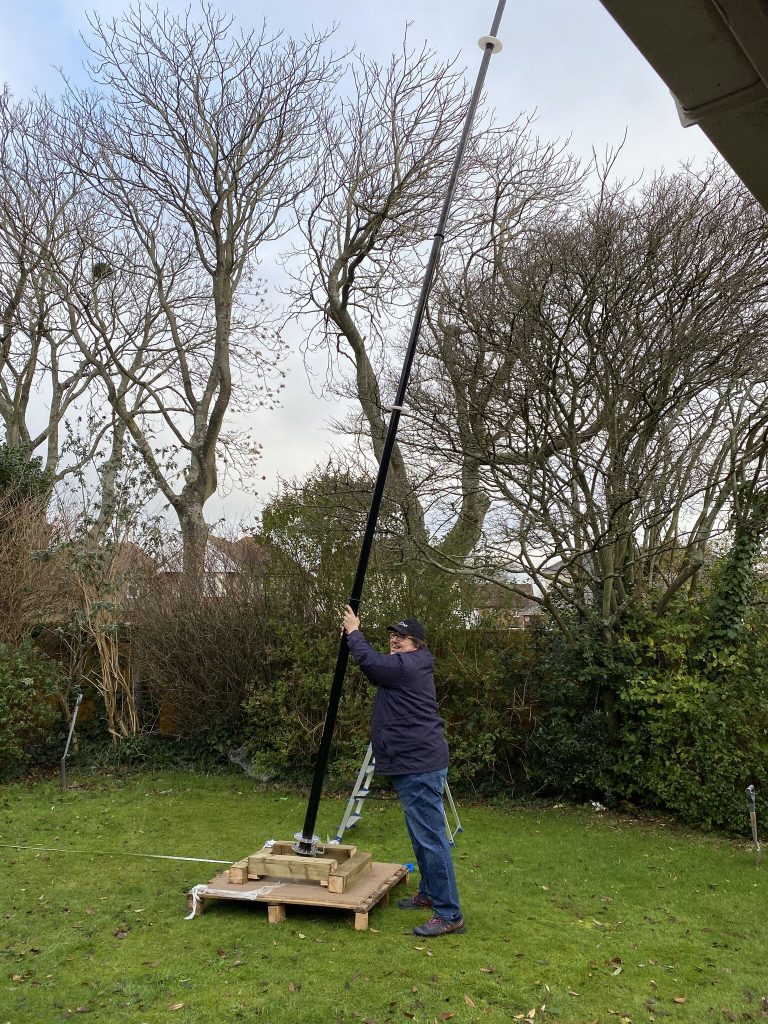
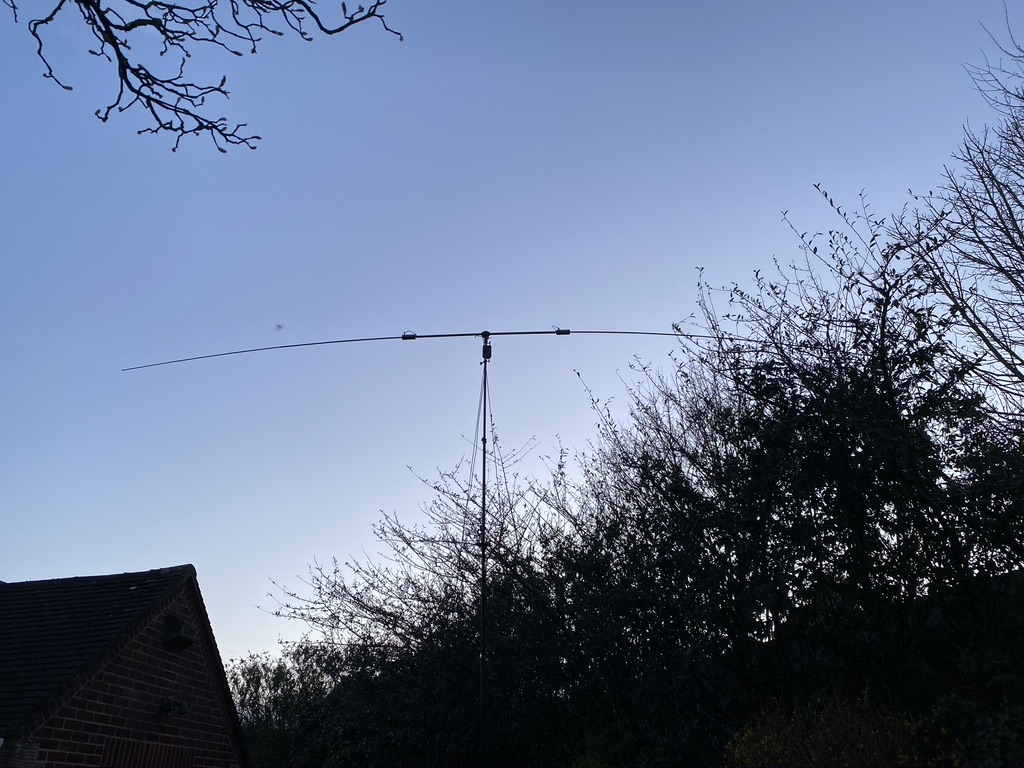
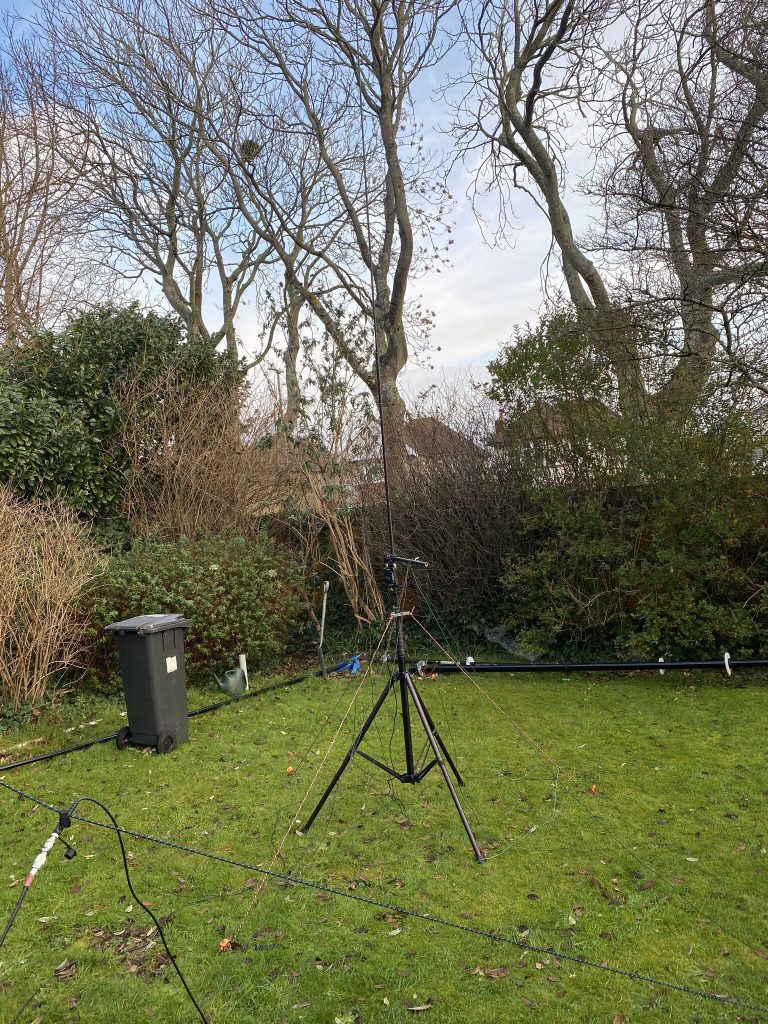
I had already done one test run, but I asked my good lady to take some pics of me raising the nebula up, as you can see here, the tilt base is doing an excellent job and it makes raising and lowering the mast no harder than the ‘classic’.
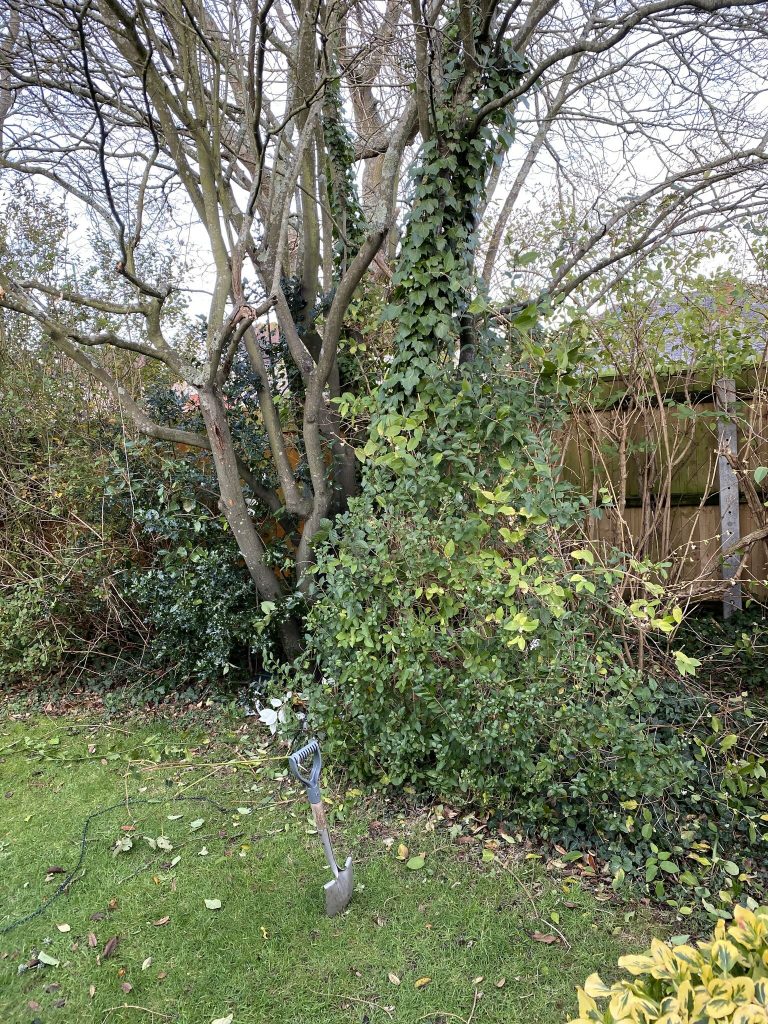
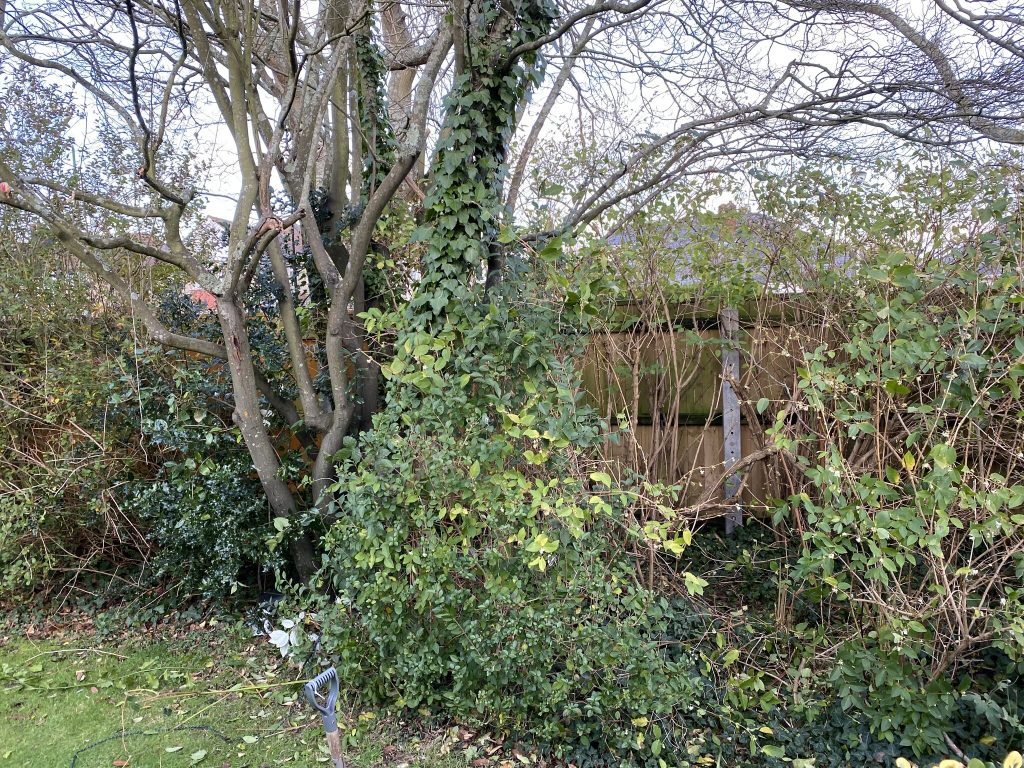
Next i measured out the necessary positions of the guying stakes, i had enough room in all directions, but would require some pruning of the trees/bushes to allow access. The electric saw I used to cut the base-posts made light work of that and I was soon able to access the 5m distance from the mast to where the guying post is located. I also took down the other branches which would interfere with the mast as when doing the ‘test’ push could see they would constantly be tangled if I left them.

It took about 4-5 attempts to get the guy ropes the right lenght. I opted to use Mastrant-P 4mm diameter as I have used that in the past and can trust it to keep the mast up. As is I dont have enough to complete all the guying for point 2 & 4, so have ordered 100 meters more to compelete the guying. I will keep the guy rope callum provided for my other SOTA beams.

Having completed the first unsupported upright I then took it down until the additonal guying rope arrives. I’ve put up some posts around the mast to keep people safe and avoid any damage to the mast.
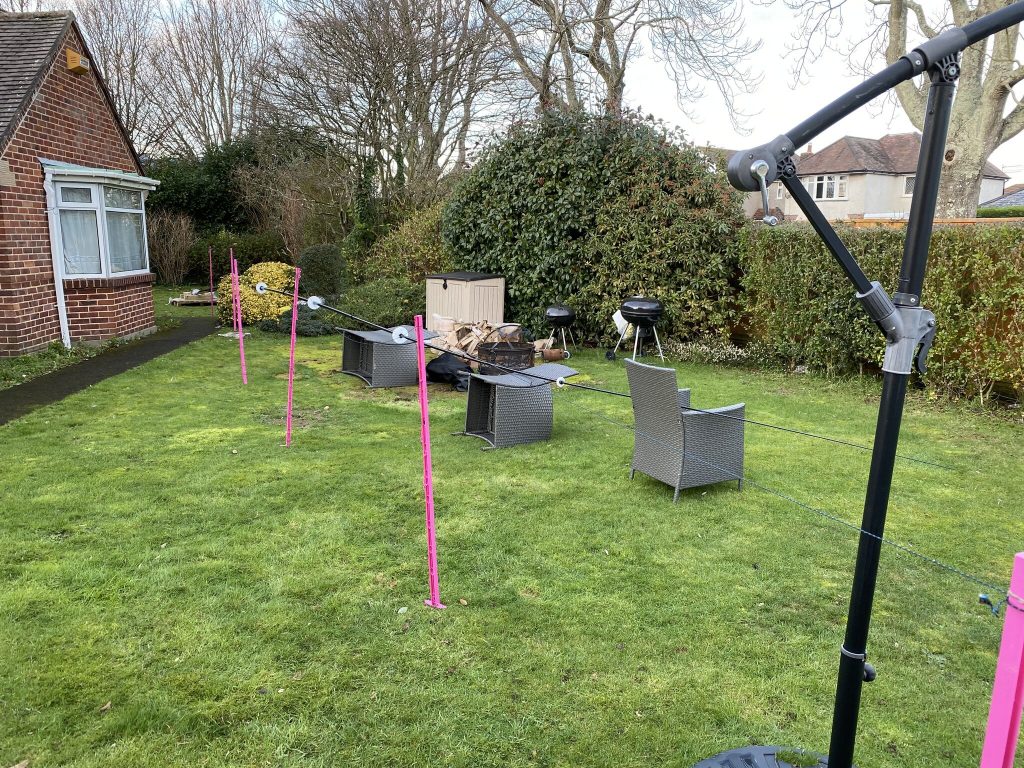
As it gets dark quite quickly here during the week and I have a massive backlog of Uni work to get thru I think the earliest I will have to work on the antenna again is the 9th/10th – my plans are for ‘during the week’

Complete the countersink for the bolt exterior nuts/washers. (A quick drill/cut job)

Waterproof the wood so it lasts as long as possible (due on Wednesday)

Measure 80/40/20m vertical elements and create (measuring outdoors/sun/daylight needed!)

Create radials for 80m (reckong on 8*10m to start with, i have *loads* of radials pre-made)

Then come Saturday/Sunday I should be able to get the 80m wire going vertical attach the radials and see what the initial S.W.R report is like !

Hopefully this will all come to frution, but depends on how well i’m doing with my assignments in the evening and the weather next weekend.

Until then, stay safe and hope to catch you on the airwaves soon !

73

Alan / 2E0FWE

A day of masts.. but 20M fun !

AM450 woes

So i started the day out on really wanting to get my MFJ receive only loop antenna up. I have used it before, but always slightly too low. The mast I purchased to support this is the DIAMOND AM 450, it is designed to hold light antennas such as the MFJ-1886.

As you can see in this video

just twist – yeah twist my a**e

When out with it, i guyed it and twist-locked the mast, but it always came slipping down, most the very top and the 3rd section from the top. I took the antenna down and brought it in for the evening, giving the mast a good clean/dry and seeing if i could get each section to lock in the comfort of my hamshack.

I did have some limited progress but still felt the 3rd section was not tight enough, the others were so tight, they really was an effort to unlock them.

I went out the following day, but again the mast slipped. I stood there trying to tighten each section, for untold time, but it just didnt grip, at all. I was clearly wasting my time with this mast. So if you want my opinion, DONT get the AM450, its dreadful mast with poor locking sections. All my other masts have some form of ‘lock’ or ‘locking screw’ and work perfectly.

Buddipole 20M

So whilst i am enjoying just how good the little mag-mount whip works on 20M with the IC705, i do have a proper, and pretty well equipped, buddipole setup. My problem, and here the blame lays soley with me, is that when ever I use the buddipole a part of it breaks, or gets damaged. I am pleased to say todays work showed that my patience and method have improved and no damage to the buddipole occured (so far..)

I want to put this here as a warning for anyone that buys the buddipole *ALWAYS GUY YOUR MAST* and not just ‘at the end’ when its going up, when ever you are working on it/near it, guy it, you need to concentrate on getting the SWR down and doing the loading on the coils correctly, bumping the mast so it falls over is probably going to hurt you and your wallet when the expensive ‘whip’ antennas snap from the copper screw-ends.

You do not want to rush a buddipole build – much like any other antenna, but there is more to do with a buddipole, hence why I’m always a little bit reluctant to get it out. Compared to a dipole or a random end fed, there is a substantial amount of work (arrange parts, put parts on, tune antenna – reguy for elevation, measure SWR, bring down, SWR..)

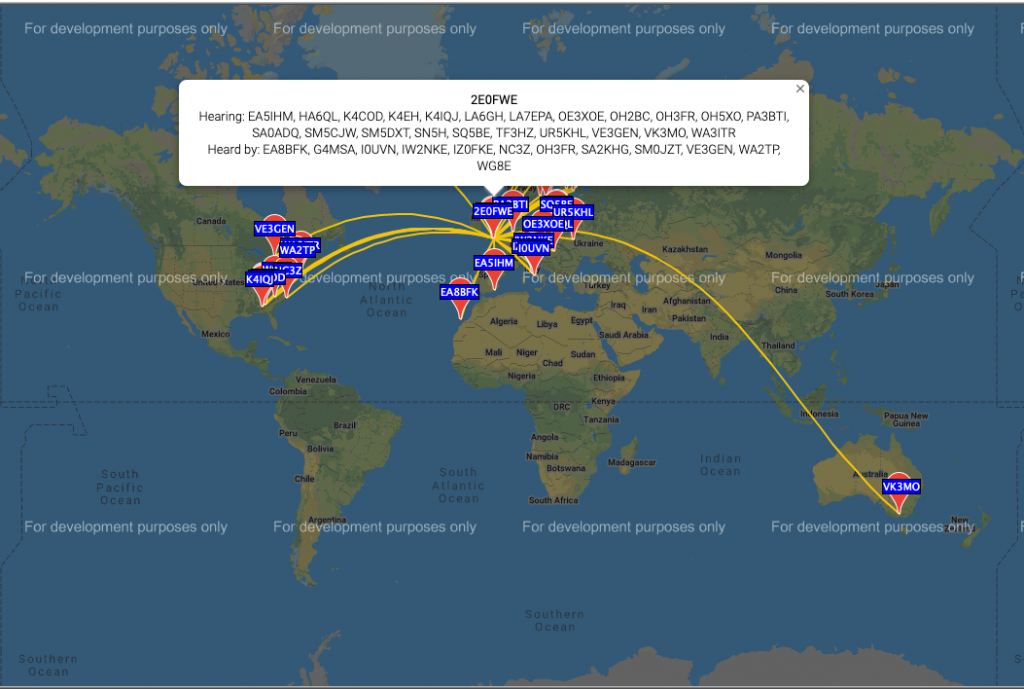
But that said I’m very happy with the gain I’m getting off the buddipole dipole, sure it could jus tbe the conditions, but the antenna is really pulling in the signals. I’m putting out 10mW on WSPR. Just checkout the reports.

WSPR Report on 20m with .1W

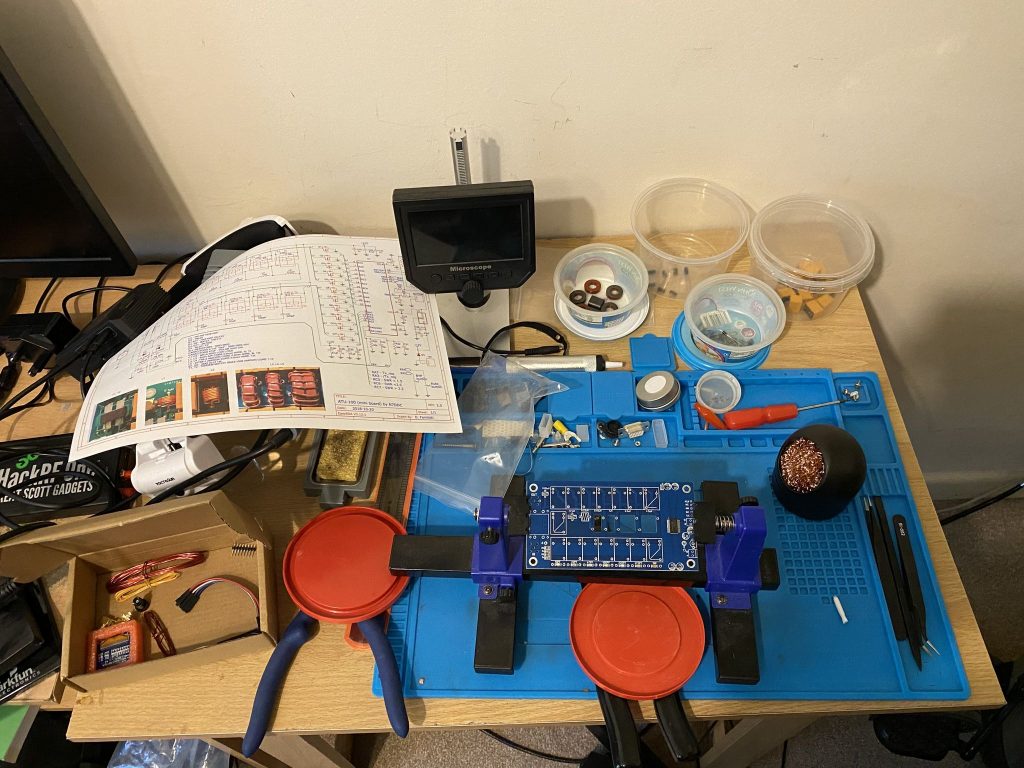
On FT8 the SWR was over 3 on 5W of power, but I’m hoping the kit I’m building will help with that !

It will probably take me a few hours over a couple of days to do all the necessary winding and soldering, but the ATU gets impressive results (when built correctly !)

ATU-100 demo

I’ve ordered some tools (didnt fancy cutting a fence post with a small wood cutter) which will come in useful around the house.

Stay safe and 73 !

Alan / 2E0FWE
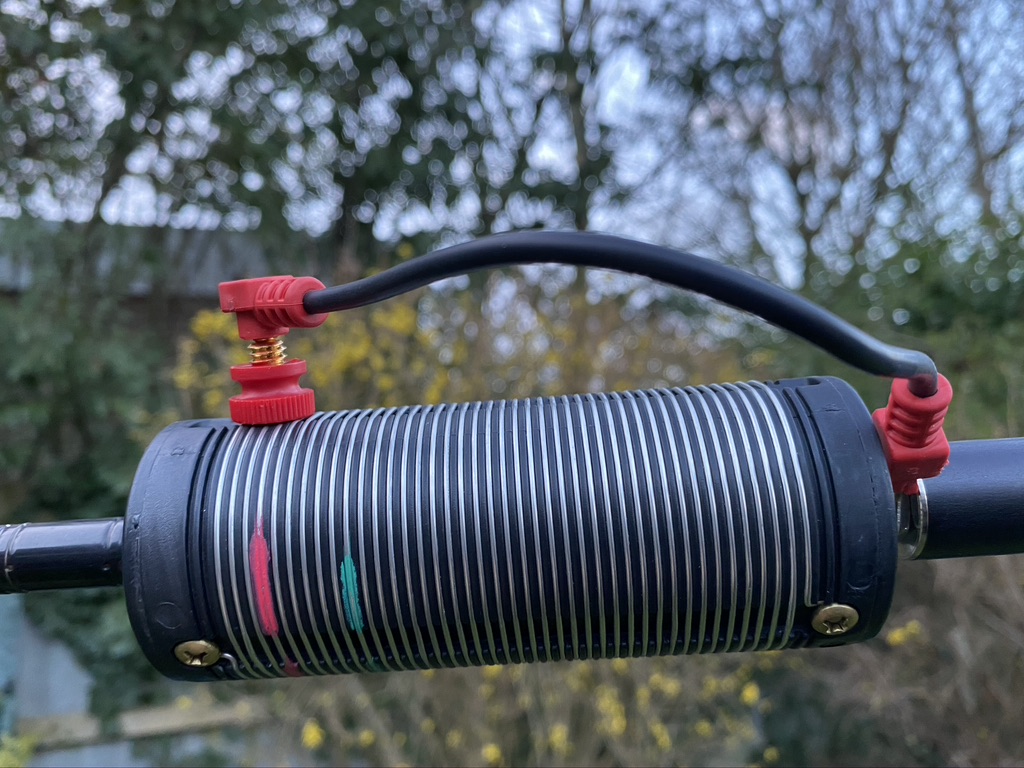
IC-705 + Pistar (MMDVM-HS)

Having got the 705 which is DSTAR capable spent the afternoon/evening with getting this setup. I already had the components, it was a question of getting it all together !

Register your callsign with DSTAR!

To be able to use the reflectors on the DSTAR network, you need to register your ID. This took only a few hours, so if your waiting on your MMDVM, do this now and you’ll hit the ground running when both your registration and MMDVM arrive!

Register here, you will need your email, callsign and dont forget your password !

https://regist.dstargateway.org/instructions/

Once your registration is acknowledge you can then setup your gateways. You should add the ‘Z’ prefix, as this ensures the account will stay open (any left without modification for 2 weeks will be expired).

Add B and C for UHF and VHF frequencies to your callsign (which will be automatically populated)

Dstar personal information page completed

This will take time to propagate across the DSTAR network. For DSTAR Administration this is all I had to do to allow my hotspot to attach to the DSTAR network.

PI-STAR

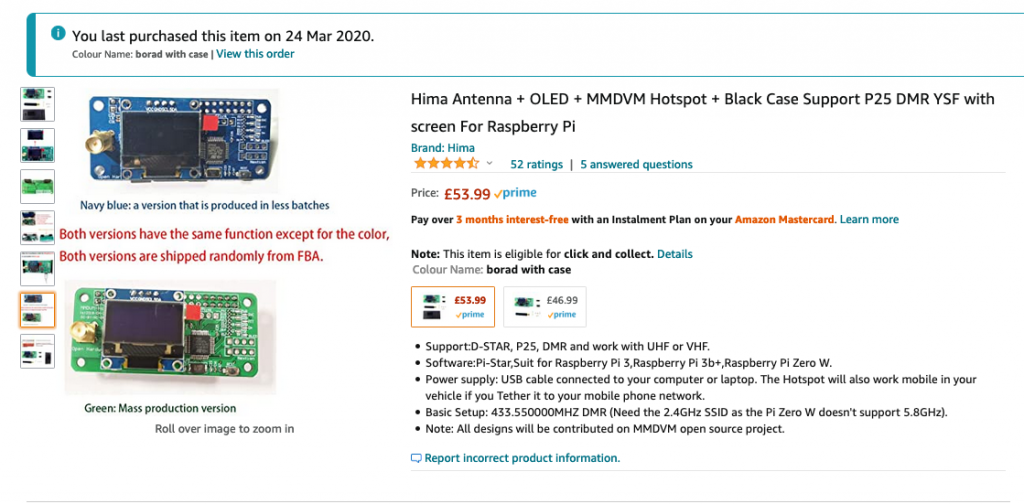
The MMDVM being used is a popular one available from Amazon. This comes as a kit to assemble and includes all the necessary parts to get up and running – although I would recommend getting a dedicated power supply rather than depending on just USB ampage

MMDVM Hotpsot used from Amazon

70cm Antenna using Buddipole

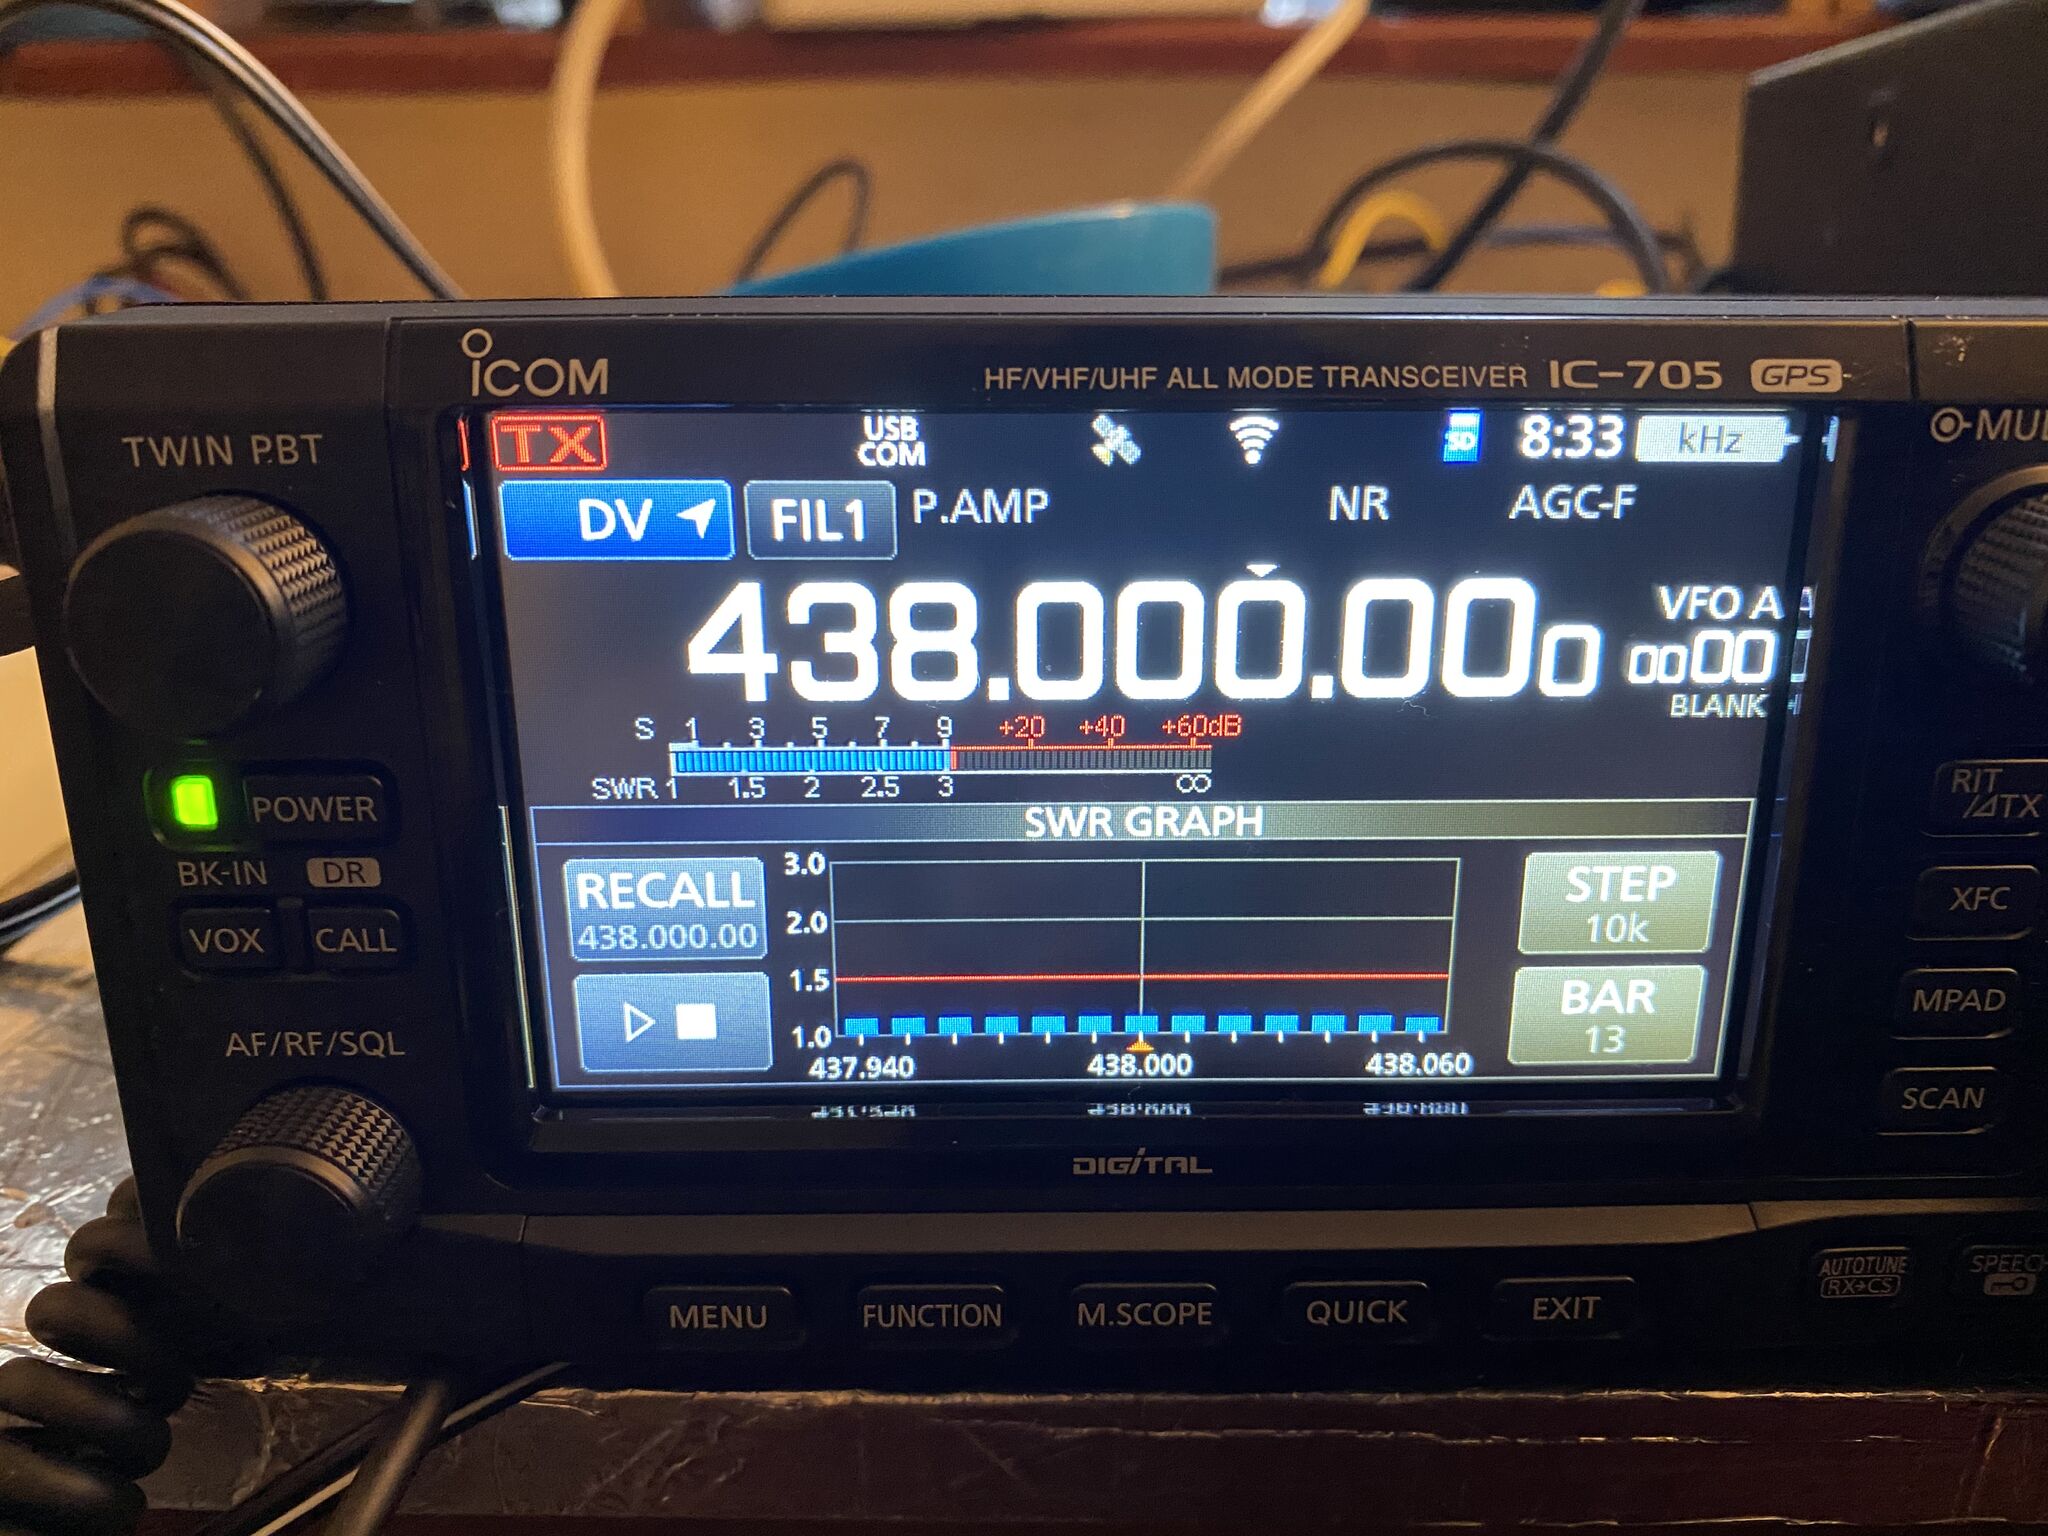
I do have an external 2m/70cm antenna attached to a mast but was unable to get that to work (although later checks via SDR proved it was ok, will detract from the thread). I setup first in 2M configuration then ‘played’ with various lengths to get the VSWR down to 1.1. I used the IC705 internal SWR analyzer.

2M JPole from buddipole – adapted to 70cm

Lengths used and respective colours –

frequencyblackred
2m14.62″43.75
70cm67″32″
Buddipole antenna lengths
VSWR Sweep on 70cm
SWR on 70cm

Configure the IC-705 via Software

I used the IC-705 configuration software on Windows to be able to recreate the configuration steps. I’d advise you to first download your current configuration and save it to ensure you can recover to your pre DSTAR config.

The software is available to download from here – its a simple Windows Instal. The USB cable interface on the IC-705 is located just under the power cable.

This is the full video on how to configure, but snippets of the essentials are shown below.

Configure Icom radio for DSTAR

Once loaded, the essential configuration is the Digital/My Callsign. Although its called ‘your call sign’ it contains anything but (for this configuration). Add in the following table

NoNameCall Sign
1Use RepeaterCQCQCQ
2Unlink Repeater U
3Repeater Status I
4Echo Test E
Essential ‘your call sign’ entry. 7 Spaces for 2/3/4 then the character.

All, apart from CQ, DSTAR commands are 8 Characters long, so where you see the white-space these are created by 7 spaces, then the character, i.e. for Echo Test <SPACE><SPACE><SPACE><SPACE><SPACE><SPACE><SPACE>E

these are the messages you will send to the hotspot

You will then need to configure the radio for the new pistar hotspot

I created a new group called ‘hotspot’

Add Hotspot Group to the Repeater List

I then added the configuration for the hotspot to match the DSTAR configuration and the frequency of the radio (obtained from Amazon page – in this case, 433.550.000)

Configure the hotspot

You don’t need all the entries, the signifiant ones are as follows

NumberTypeNameSubnameRepeater Call SignGateway Call SignOperating FreqDUPtMode
1DV HostpotHotspot2E0FWE B2E0FWE G433.550.000DUP-DV
Settings for my call sign and MMDVM

I then pushed the configuration to the radio and rebooted. This completes the IC-705 Configuration.

Pistar Configuration

The next step is to configure the Pistar for DSTAR. If you havent configured your PI for Wifi yet, you’ll need to do that first. Probably the easiest way is to use the PiStar configuration tool, but that means sending your Wifi username and password, which some may not like, alternatly I connected a keyboard and screen with configuration on the commande line.

https://www.pistar.uk/wifi_builder.php

Once reachable on wifi, you will be able to reach the pi-star administration pages. Most routers running DHCP will allocate a record in the .local’ domain, so simply htttp://pistar.local/ will get you to the portal, default logins are username pistar and password raspberry. I suggest changing this on the admin page right away.

Navigate to ‘Admin’
the password is the very bottom of the page

Restart the pistar and login with the new password.

First configure to use DSTAR. from the panel. For now, keep it at DSTAR only.

Settings #1

If you make any changes, you must click on Apply Changes for *each section* else your changes will be lost.

Settings 2

The essential part here is to get the radio frequency and call sign correctly, i.e. 433.550.000 for frequency and your own call sign in place of 2E0FWE. I’ve removed my exact Long/Lat, but you can put your own in. Once complete, click apply changes. I believe in the UK we are required to put ‘Mode Type’ to Private as we cannot ‘broadcast’ as amateur radio users in the UK (which I think ‘public’ effectively does)

Settings 3

Here we match our hotspot config with the DSTAR network. As the node is on 433Mhz, Channel ‘B’ is the one to use, if it was 144Mhz, then C. Hit apply and that wil complete your configuration !

IC-705 Usage

With the DSTAR Registration, PiStar and IC-705 Configuration complete, its now time to enjoy using the IC-705 on DSTAR via your own hotspot !

DV Mode

PRess the CALL button situated on the left side of the radio and change from FM to DV. To use the hotspot tap ‘from’ on the screen, select ‘repeater list’, ‘hotspot’ then the hotpot added via the configuraiton tool, in my case 2E0FWEB.

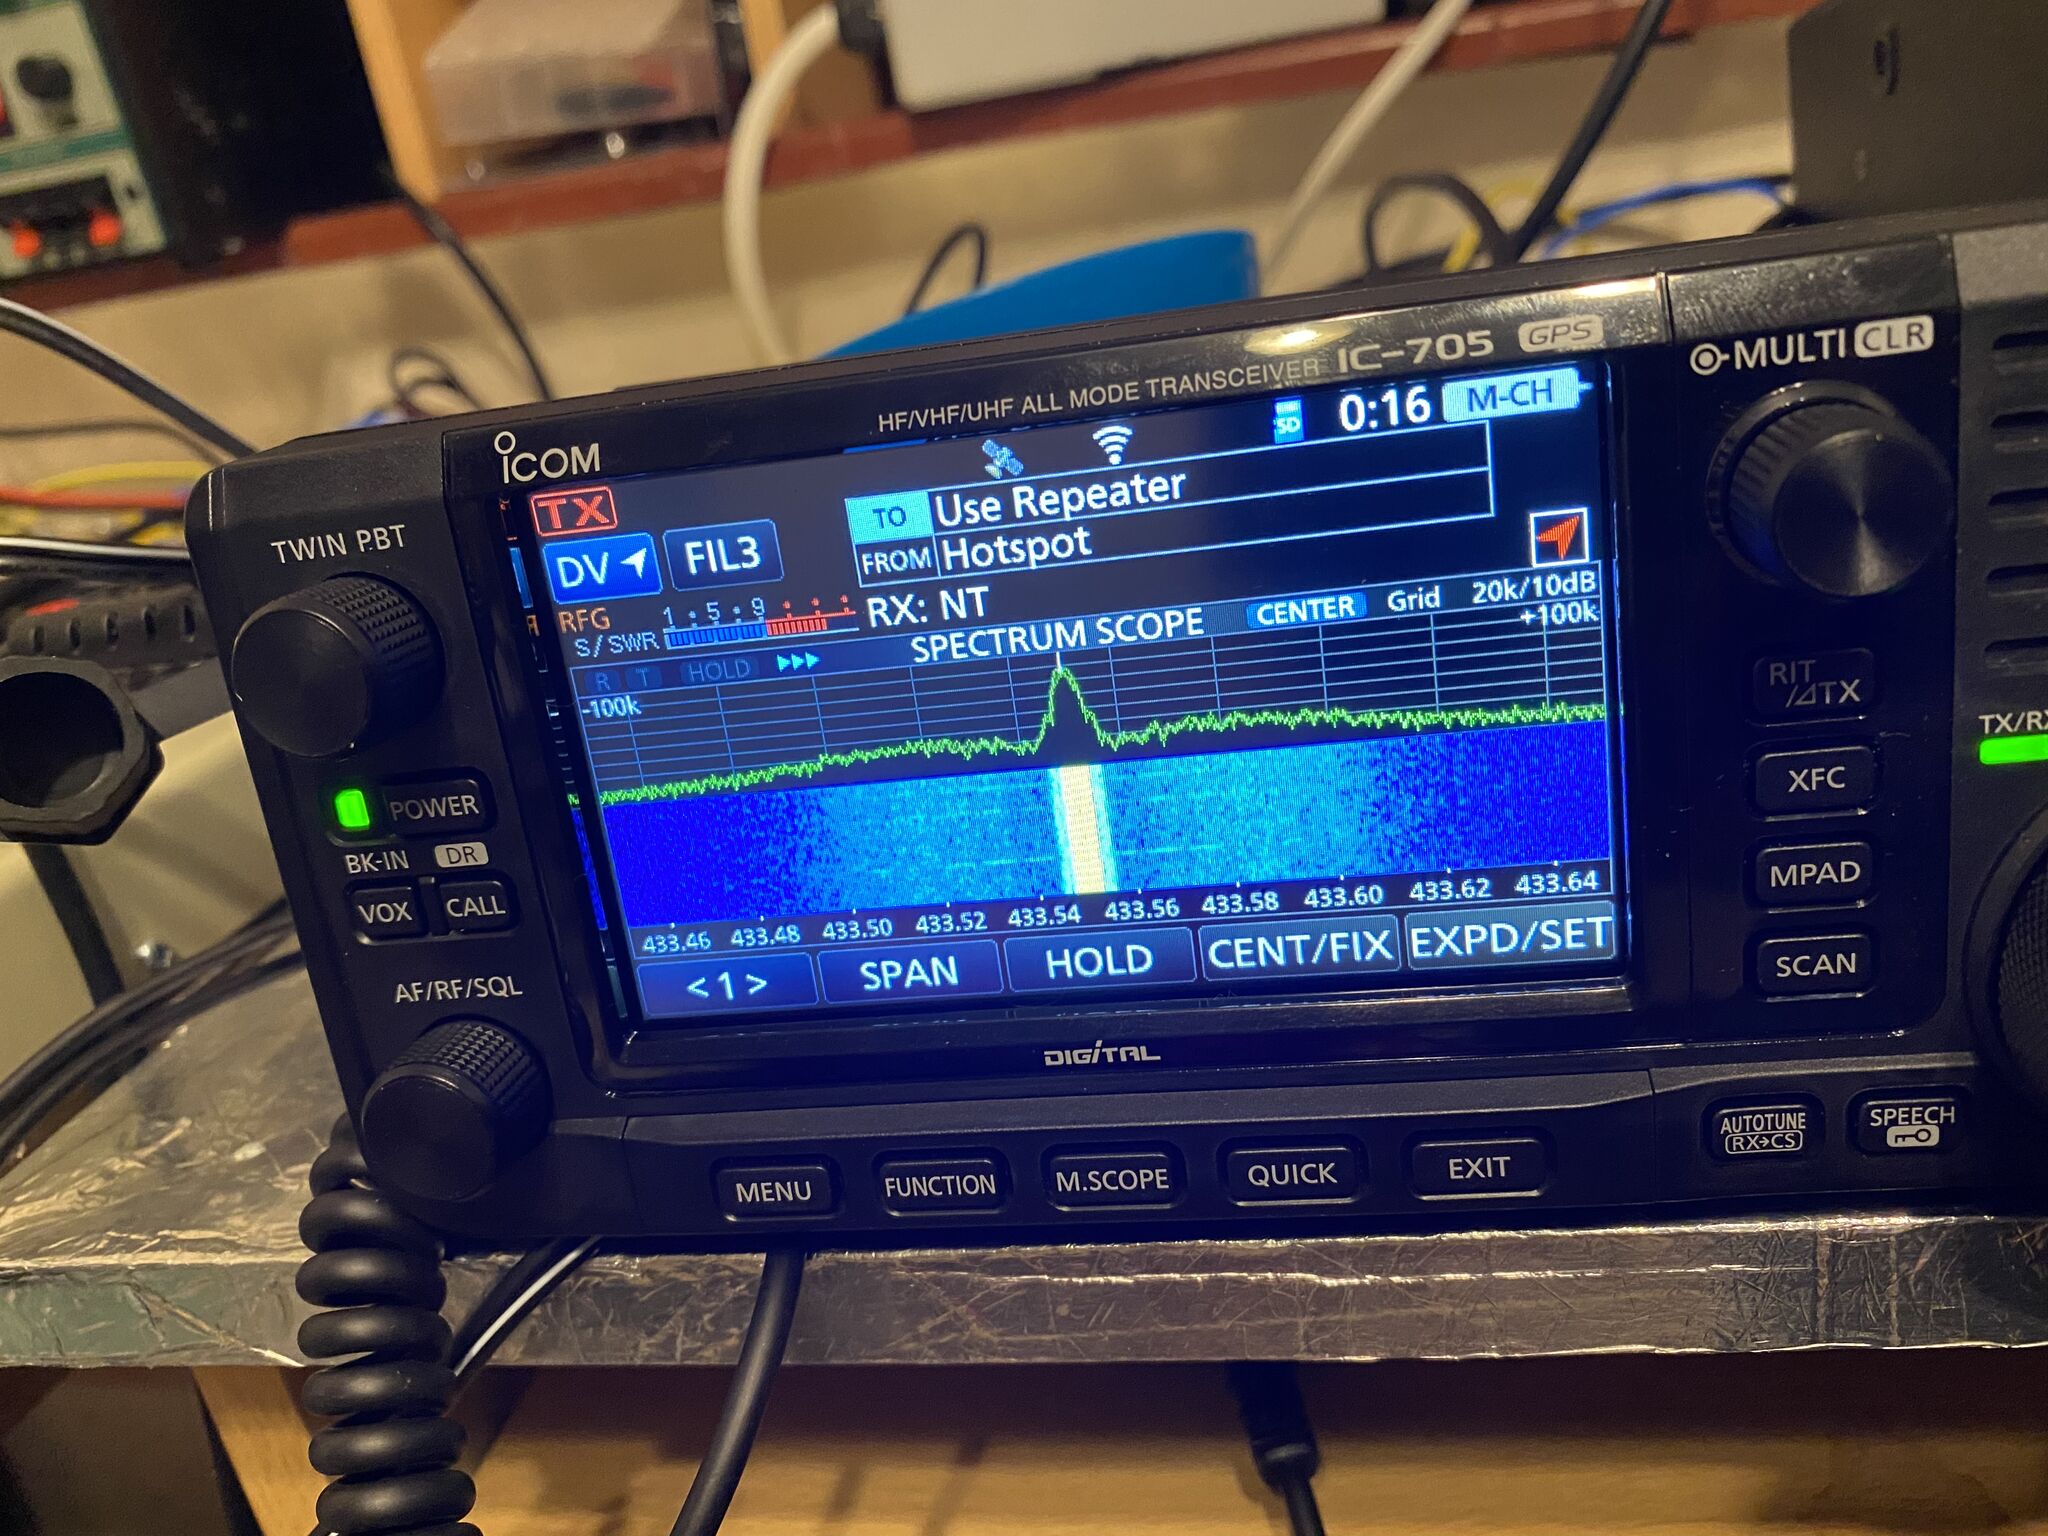
To start using right away, tap ‘to’, select ‘your call sign’ and ‘use repeater’. You should now be able to key-up and call CQ on DSTAR ! Of course you can test using Local Echo and Status commands (just adjust the last step in ‘yor call sign’.

You will be able to confirm your radio is communicating with your hotspot and the DSTAR Network.

Local RF Activity shows our radio is speaking to the hotspot, gateway activity shows others in the talkgroup talking

The DSTAR ‘last heard‘ feature can then confirm you are on the DSTAR network.

Finding talk groups / repeaters,etc.

With your IC-705 now on DSTAR you can choose which Talk Groups and Nets to join. There is an extensive list available on here. You can configure the group via the Pistar admin page and putting or selecting the reflector.

choose your reflector!

I hope this helps people use the IC-705 on DStar, it took me a little while to piece together all the pieces (including the antenna !) to get it working, but is worth the effort. There seems to be an increase in simplex D-Star usage on HF with the IC-705 being able to do the full range of HF, VHF and UHF.

Hope to hear you in DSTAR !

40m with the Buddipole Extended Whip Arms

I set about setting up my Buddipole in a 40M (7Mhz) configuration. For this i added 2 new extended whip arms to my collection of Buddipole parts. The majority of my Buddipole parts come from Radioworld, who I really dont mind promoting in my blog as they are very quick on delivery.

To start with I used the “Buddipole in the field’ setup recommendations, which helped get the physical setup. Of what to plug in where, as I’m still learning it really helps having a printed A4 page with the diagrams on, and I stuff that in my pocket or my external table as I work along.

It took me about 15~20 minutes to get the pole and the whips setup at ground level. The whips are really long at 9ft which is what you’ll need for 40M and they must be fully extended. Take your time pulling them out from the tips and firmly, but gently extending them.

aobe roof level and secure

Now I dont mind saying I have already lost two smaller (5ft) whips with messing up guying and the Buddipole nearly falling on me, so if you are reading this, please, please take your time with guying/rigging your buddipole up. Mine moves around my backgarden, so i dont have a static mount point, I could use Pythagorus equations to work out the technical lenght, but I find that rasing the antenna, checking the tensions and taking it back down and then up as required is the safest. When I’m indoors and it starts getting windy, i want to know that its not going to fall !

Anyhow after guying and getting to an ok height (above the roof line) I started on tuning the S.W.R. inital results were a little disappointing, as I expected some loss on rising, but it got a bit high. So I brought the dipole down again and spent more time on the coils.

hmm, not bad, but not what i was after

Getting the coils setup was a real exercise in patience – having not done this for a specific frequency before, it took a few good attempts of going from left to right coil to get the nice curve I got below.

The S.W.R. on the lower frequencies is a bit high, but as I’m not going to be attempting morse (yet), thats not a concern to me.

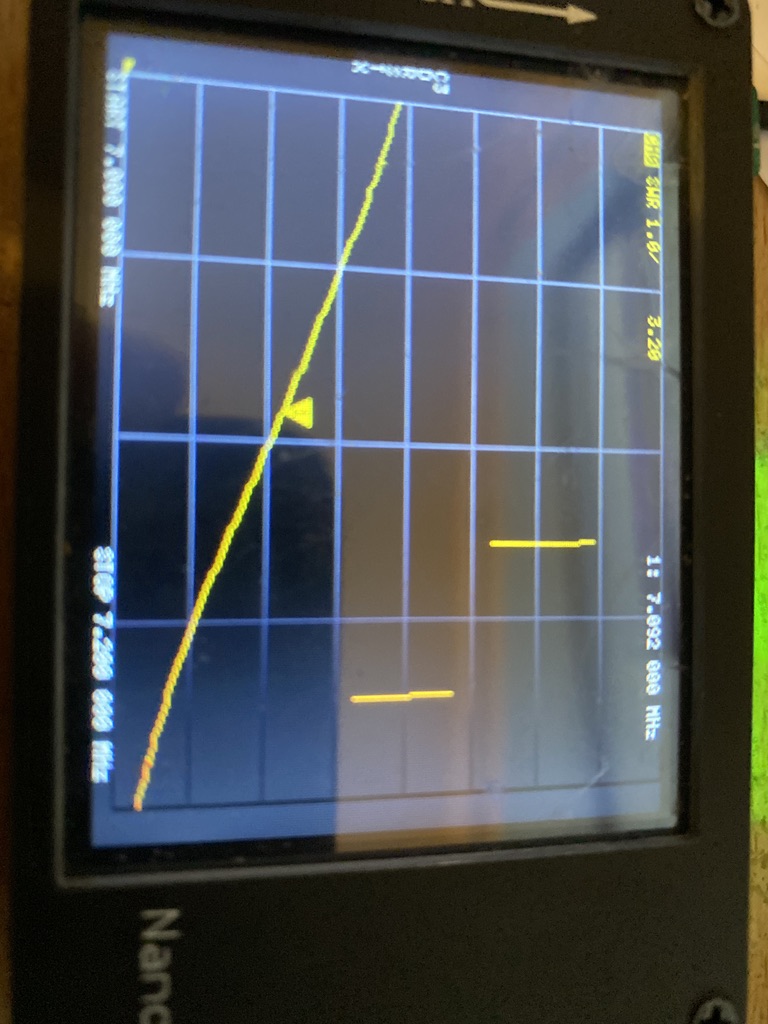
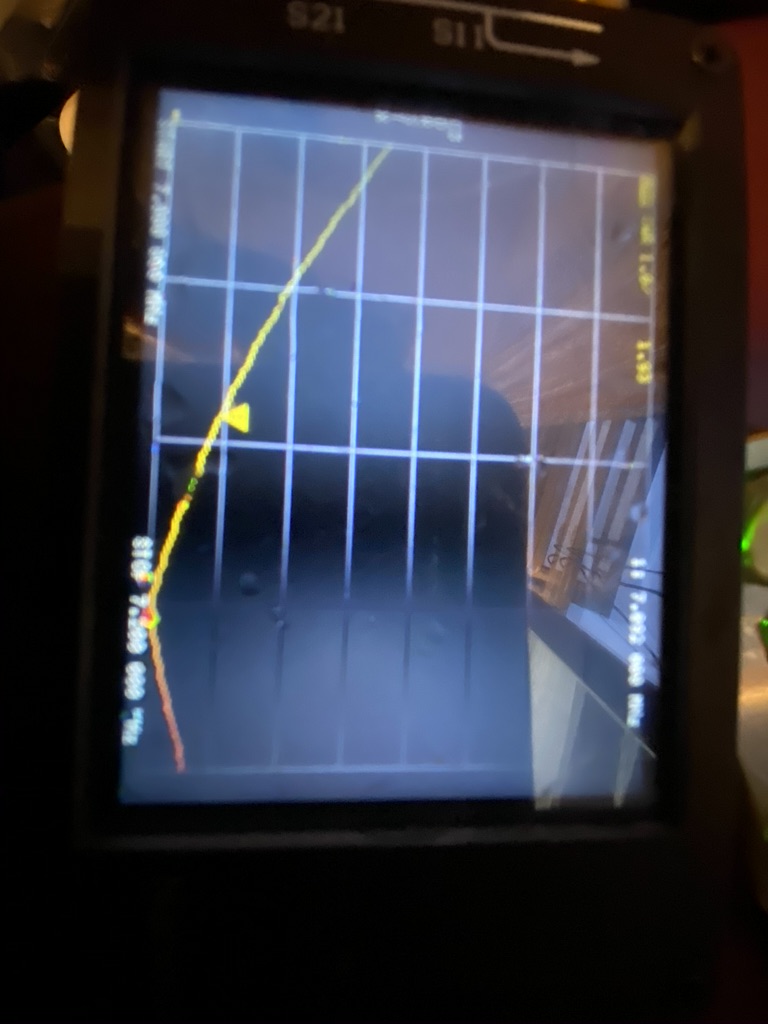
Improved SWR on 40m

I was quick to take some photos of the coils to log where I had put them, maybe next time i can get a better improvement, but this is where I had them this time.

Black coil – almost right to the very end (versatee to the right, whip to the left in this pic)
Whip to the left, versatee to the right in this pic.

I got in and even tho it was getting later and the sun going down had a great time tuning in and listening on 40m. It was very busy on the voice frequencys and finding a gap to transmit and knowing I was ‘spilling’ over to others was a bit nerve racking.

I did try putting a CQ out, but no response, but the SWR reading on the radio was very good, even tho i am only using 10W.

So next time I will show more about the CAT and digital interface I now have, but thats another post 🙂

All the best and 73’s from M7ALU

Wet and Windy – but some action on 40m!

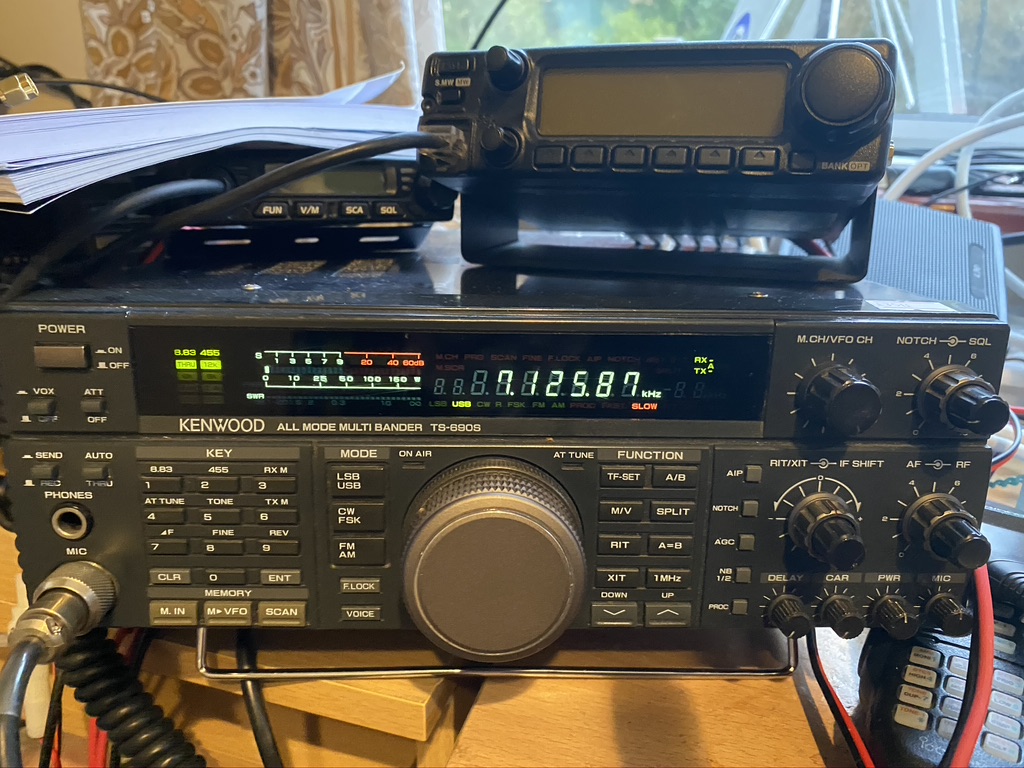
tuned into 40M

So the bad weather continues in the UK, i had wanted to carry on with my 2m/70cm antenna project but with the gales, it didnt seem like a sensible thing to be doing, esp as the mast is tall and heavy – even with a light breeze, it could be dangerous.

Instead I looked thru the Buddipole in the field document and reviewed the 40M section. It said it was possible, albeit with a slightly higher SWR.

its 40m but at about 2m in height…

So with the bad weather I got the buddipole setup, not wanting to lose any more antenna, I kept the height at about 2m verticle and guyed down the mast as usual and also thru the veresatee to give some extra support on the horizontal element of the dipoloe. This worked really well as the winds did pick up and mast held up well in the eright location.

I was only able to get my SWR down to 5, probably due to the height of the antenna, but amazingly I was able to receive ! Given I’ve not had alot of action on the Kenwood I was so happy to tune in and listen in. Some points I could get both ends of the conversation, others just the transmitter, but nevertheless, i found it a worth while excersie in setting up the antenna in inclement conditions and also being to use the Kenwood on HF.

Do some more investigation, one other configuration I could try is a ‘NVIS’ on 40m. This is well documented here and as I’m short one wire and the clearance mounts will probably do it another day (having just got over a bad cold, dont want to risk getting ill again !)

So for now here is a video of one of the many stations I could pick up on 40m. It was great, and amazing to see how the sun going down quickly effected the transmisions ! (80m is popular after sun).