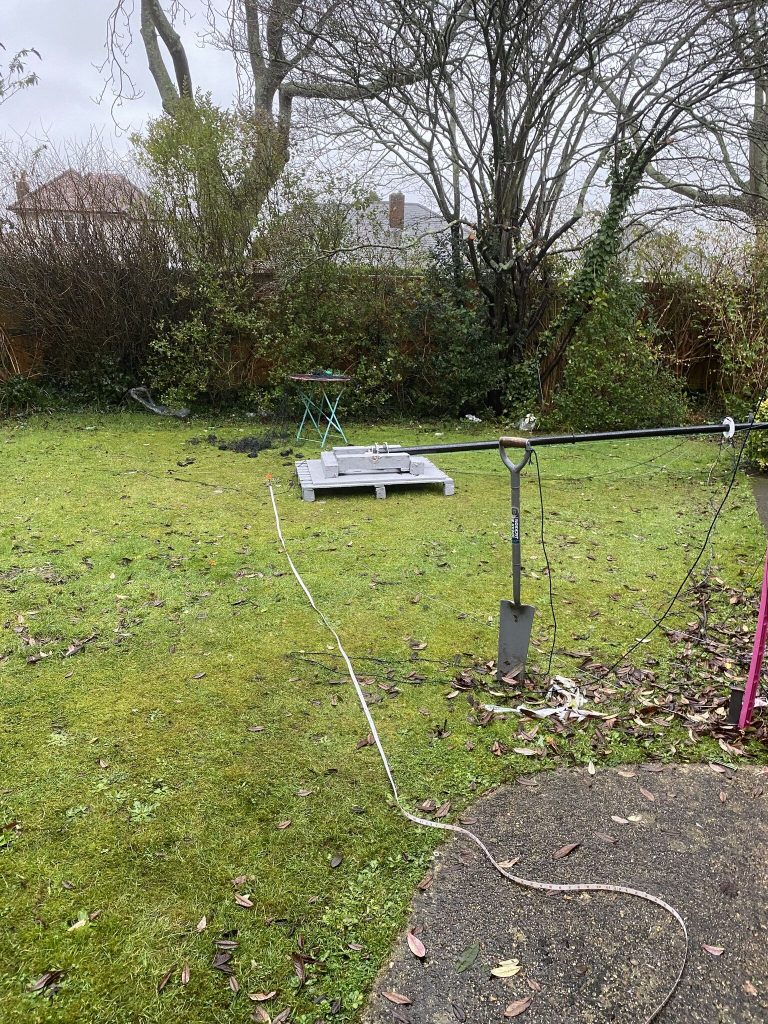
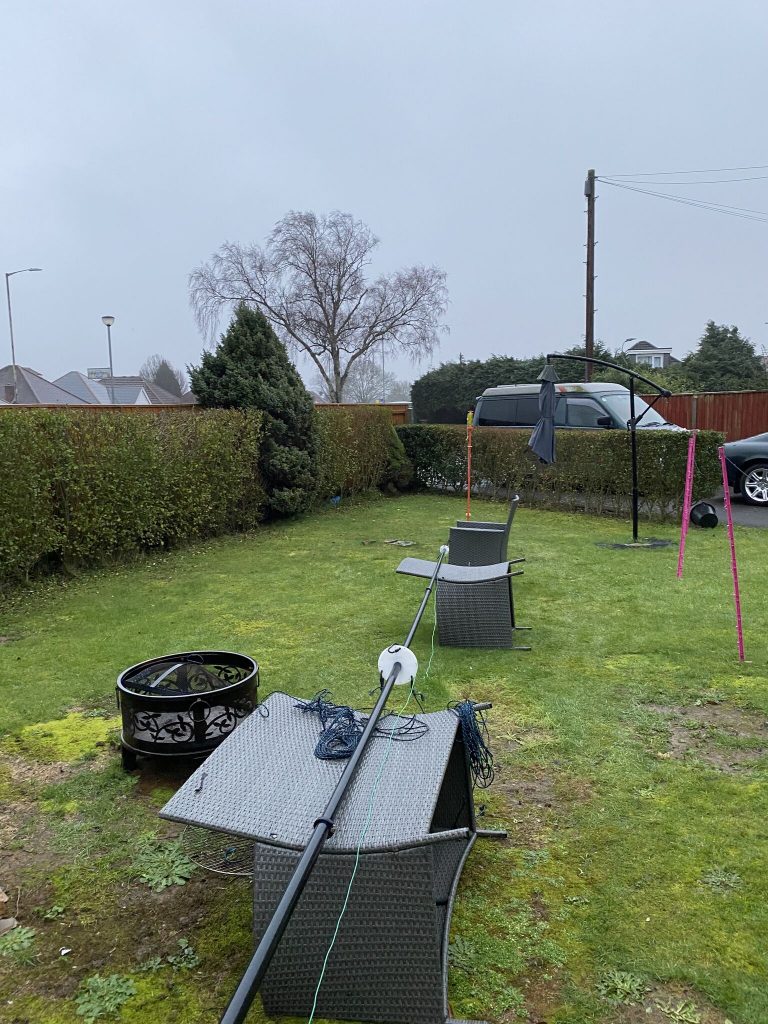
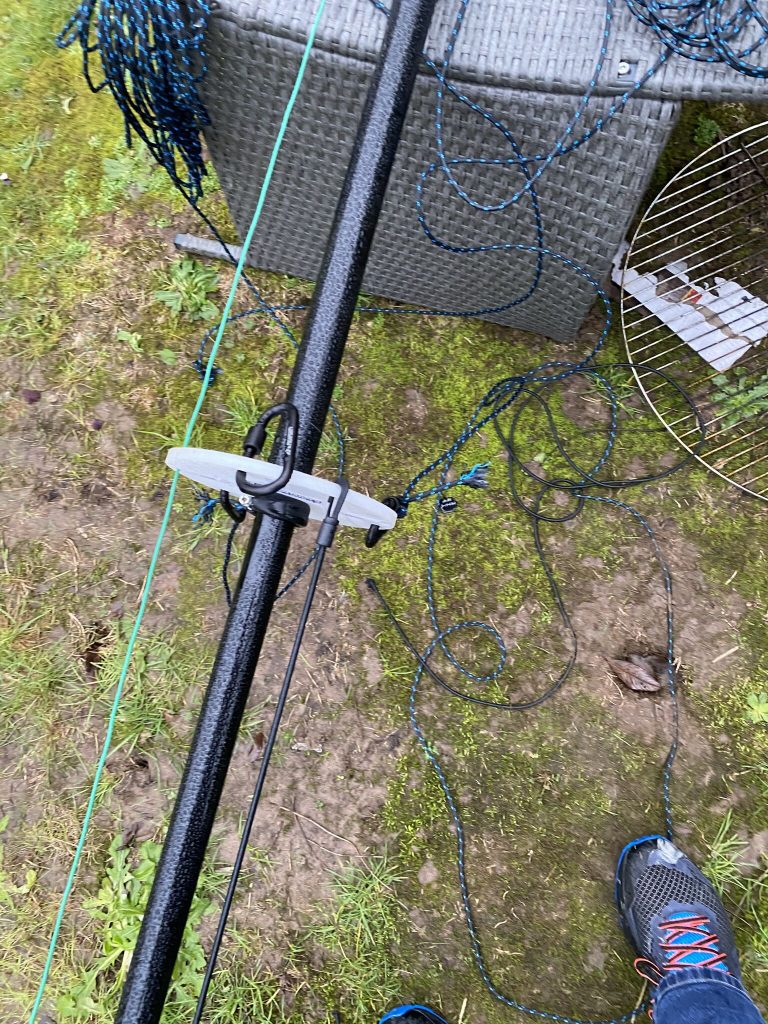
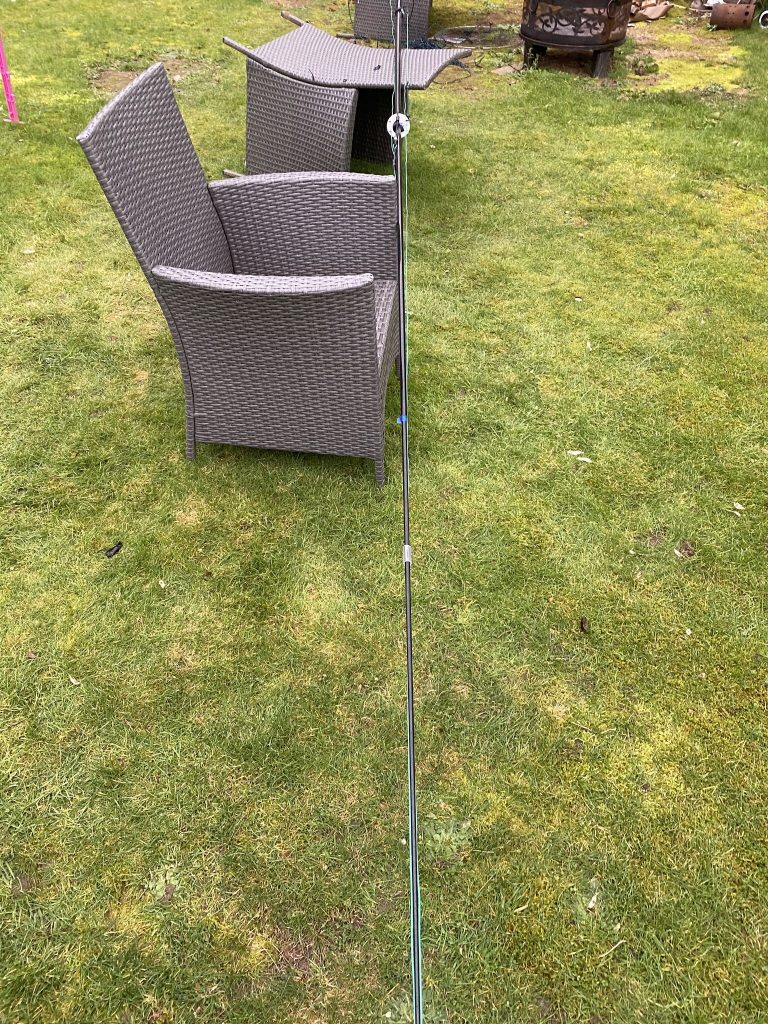
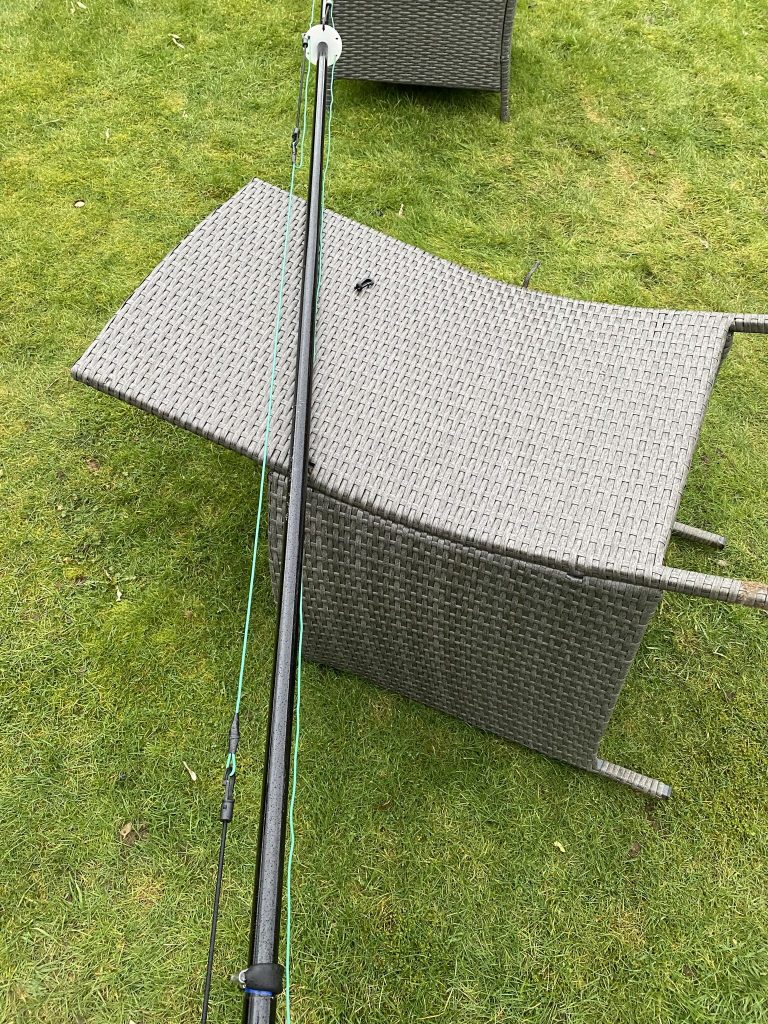
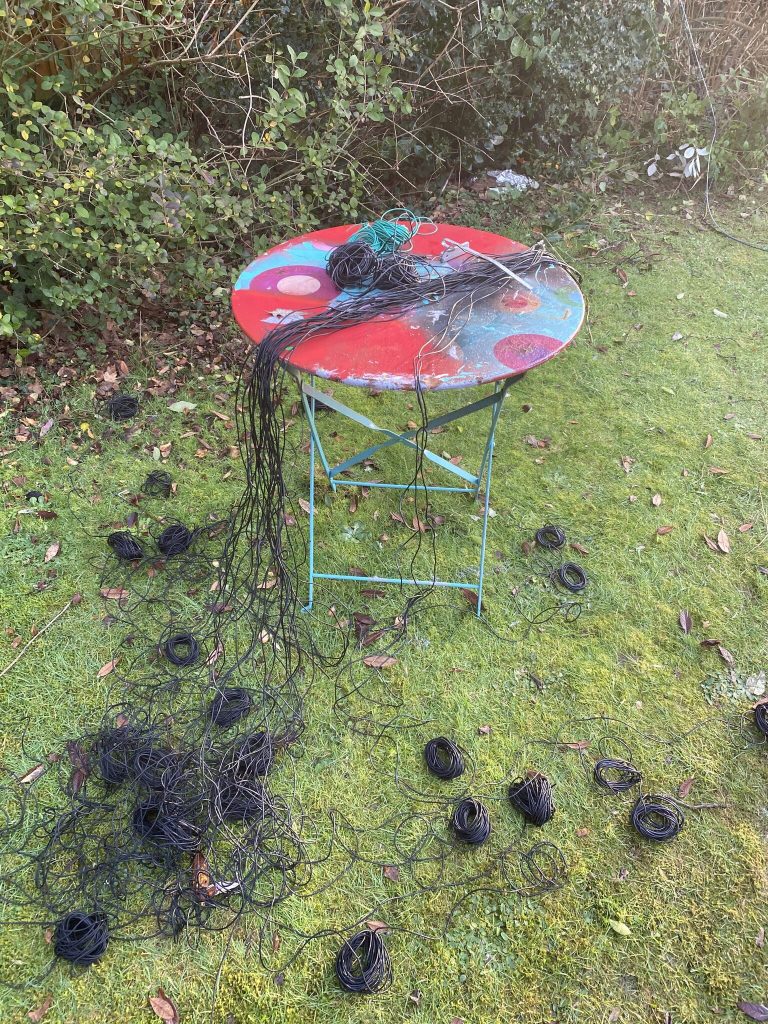
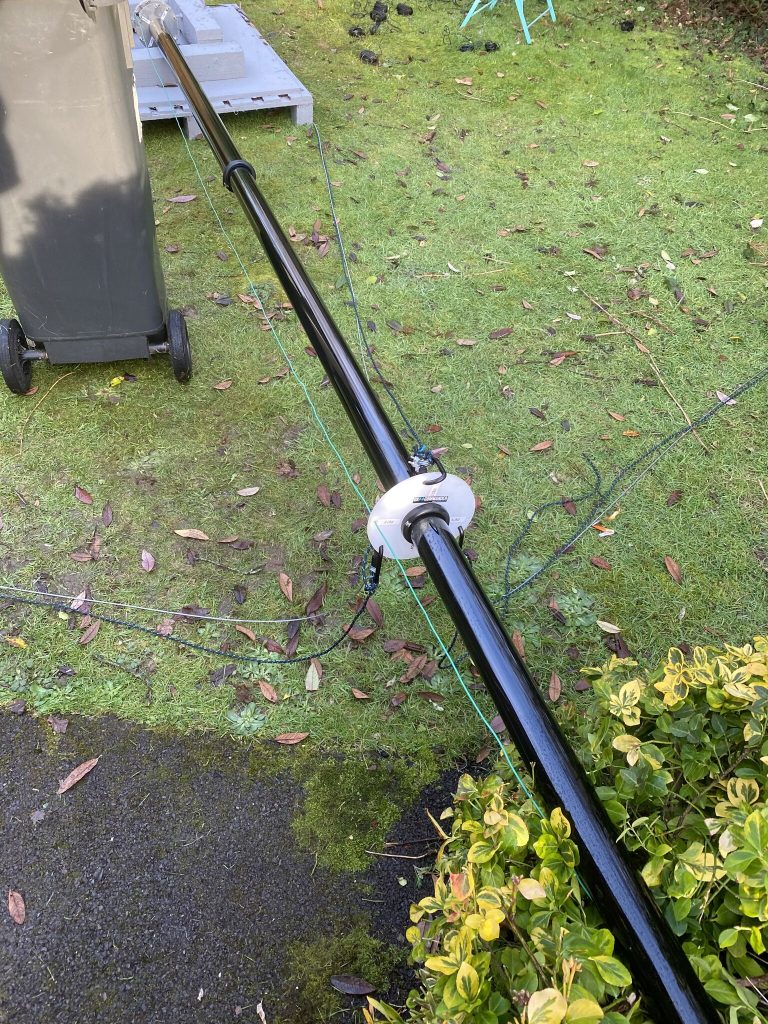
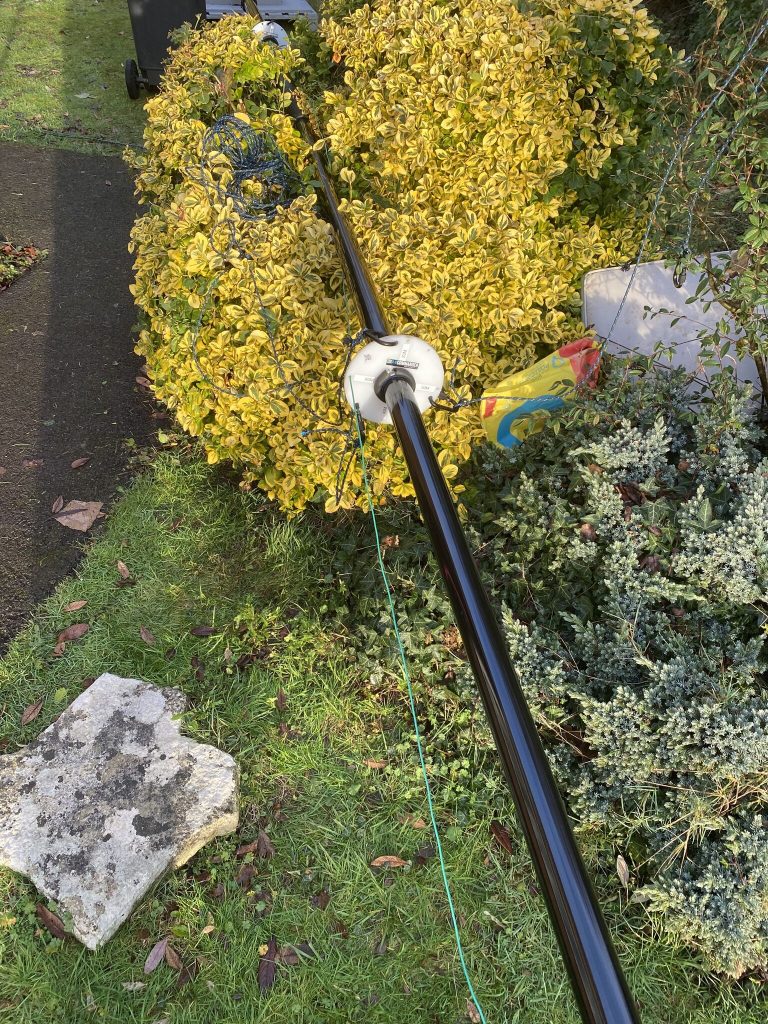
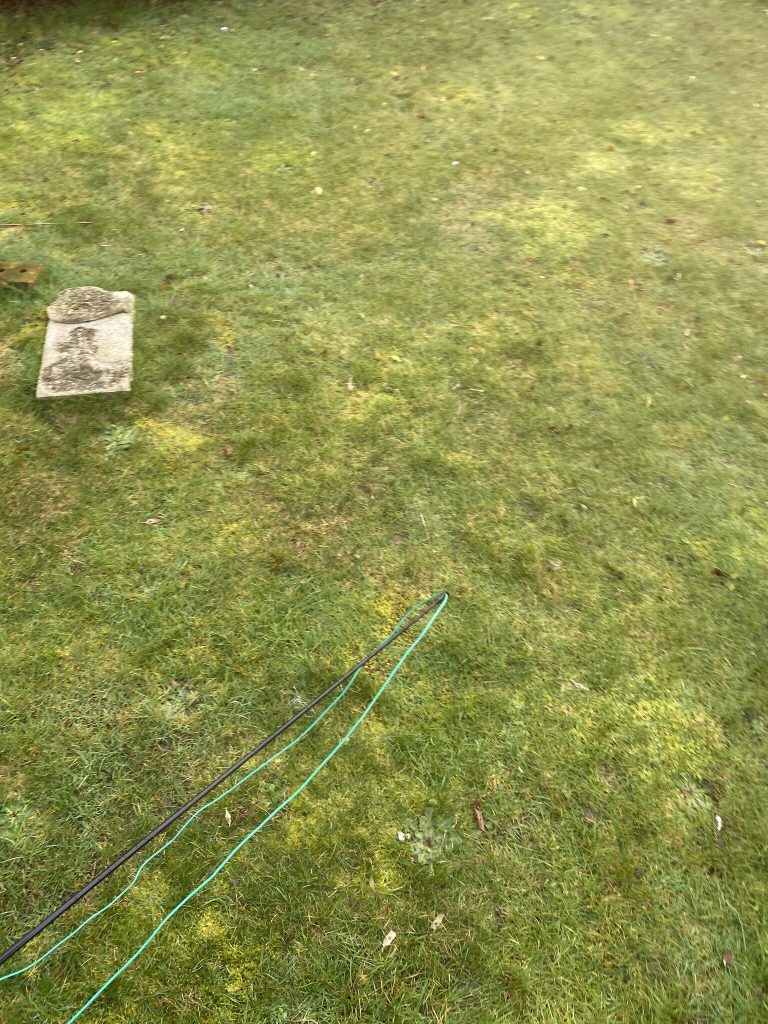
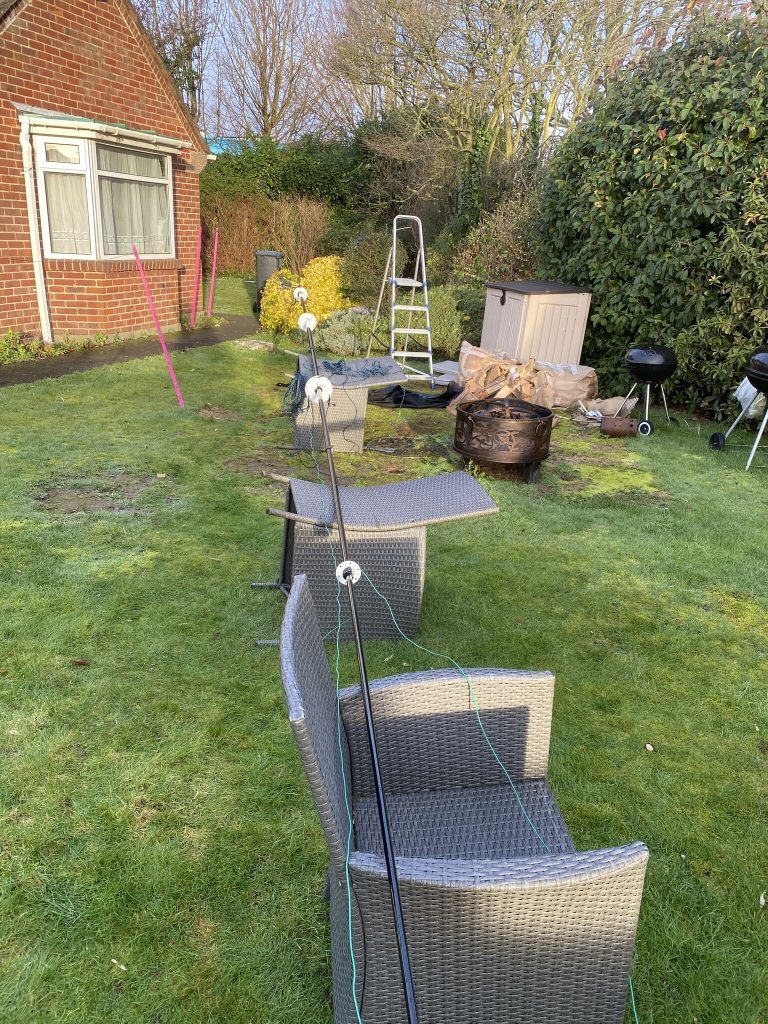
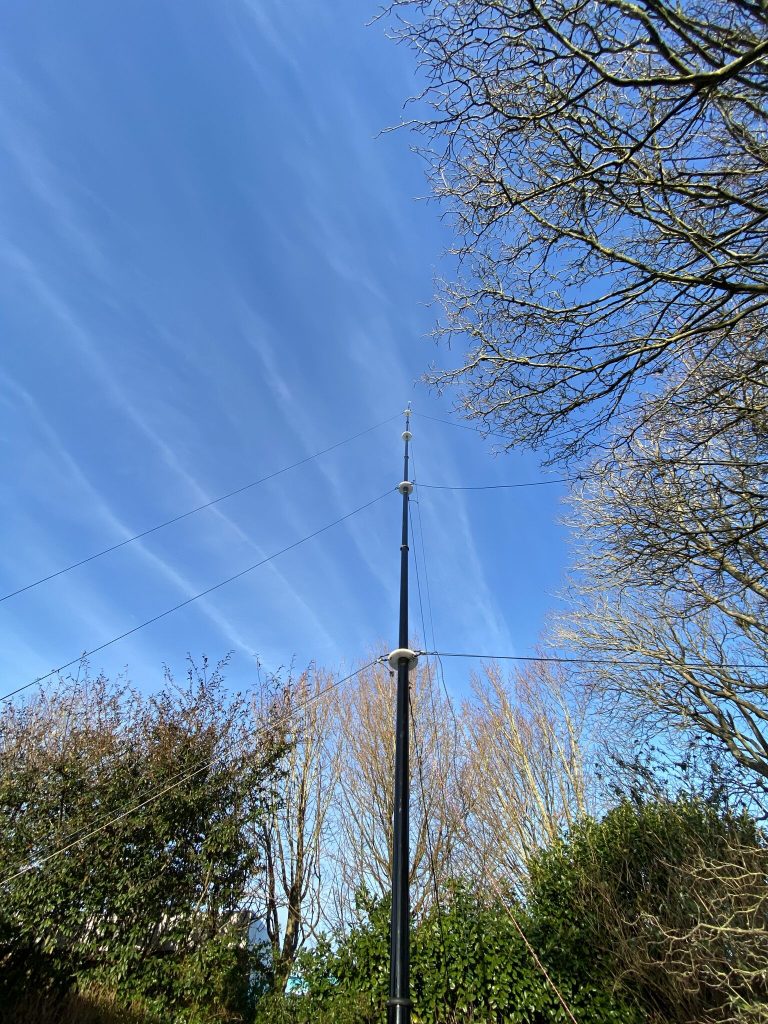
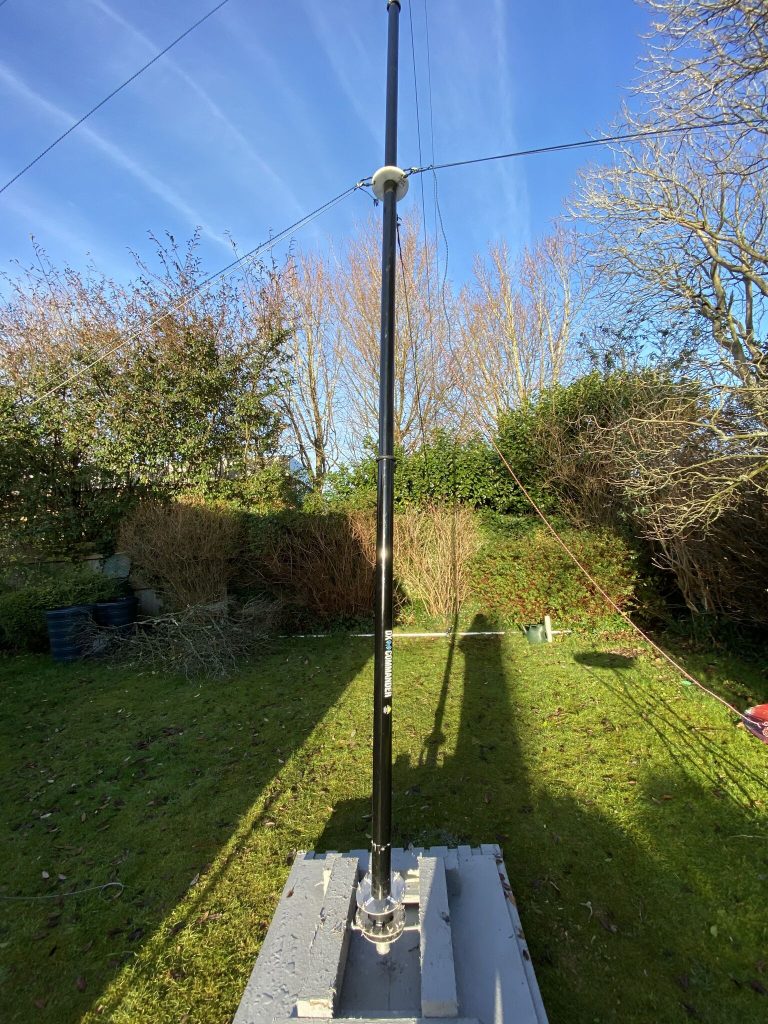
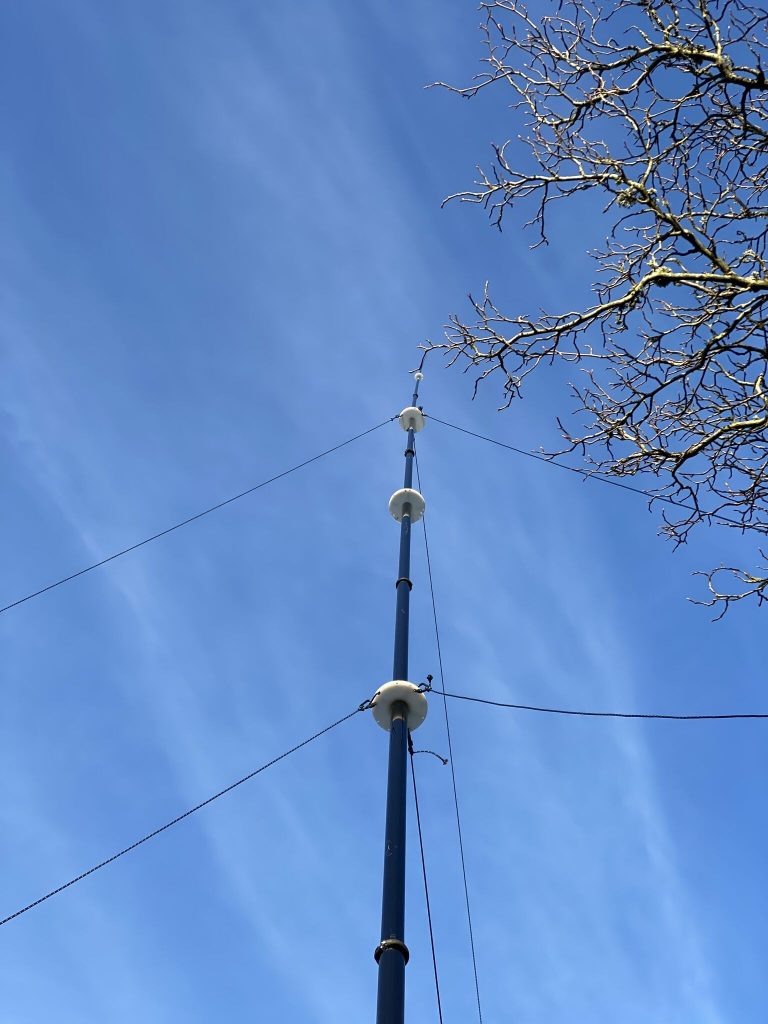
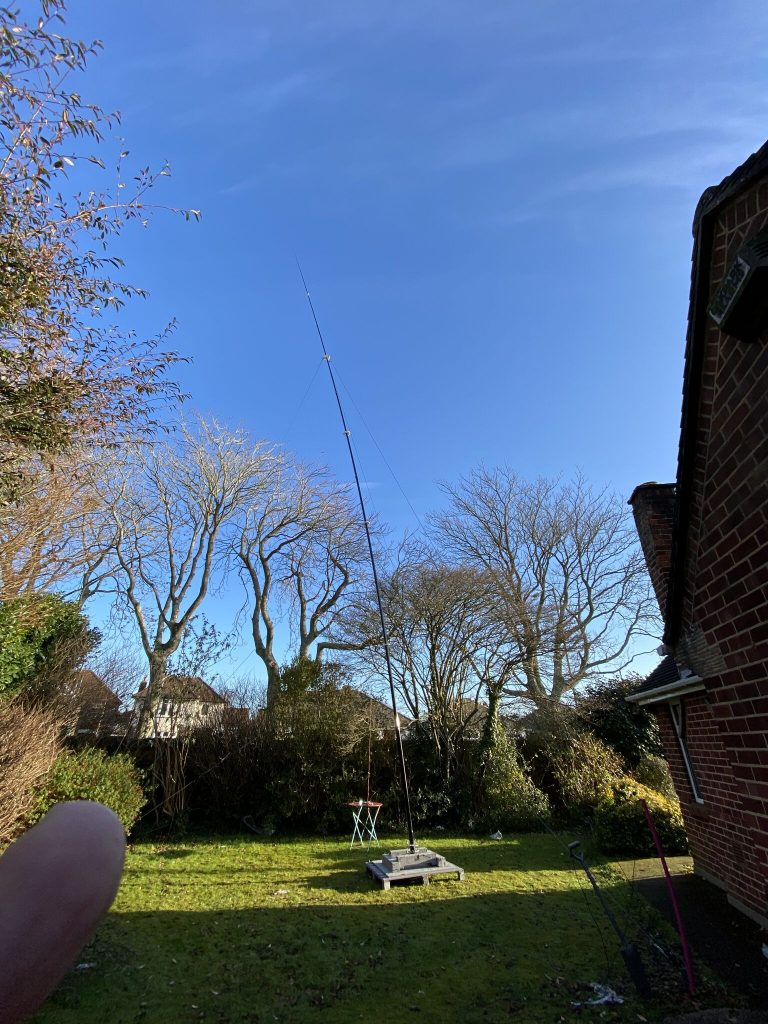
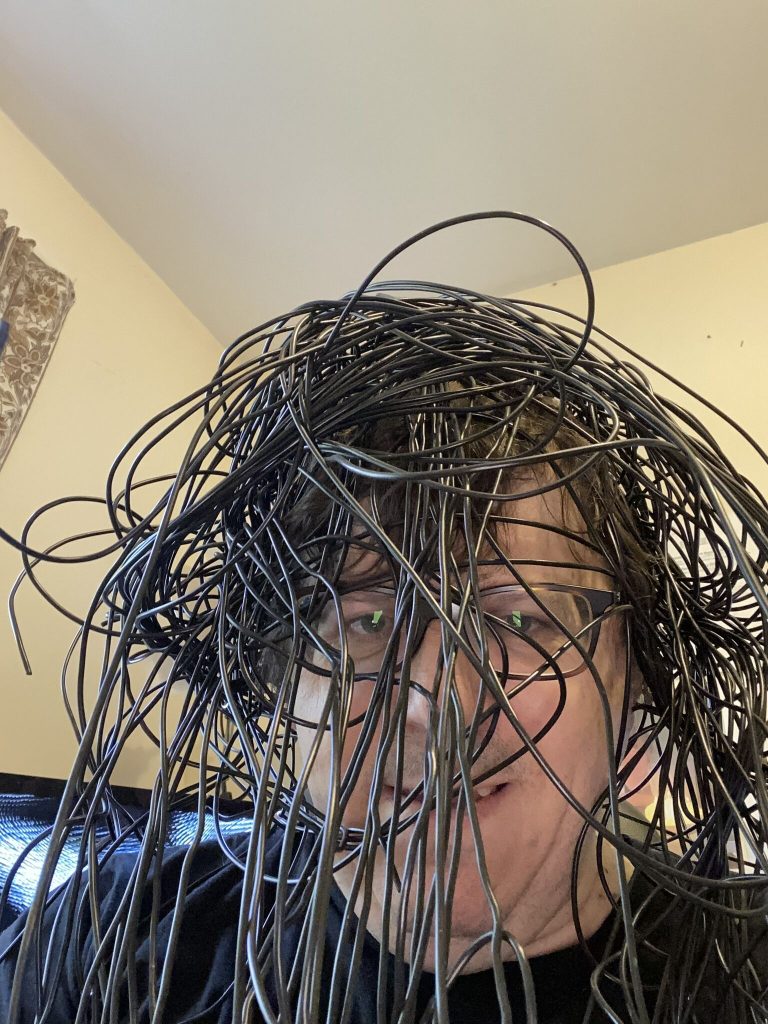
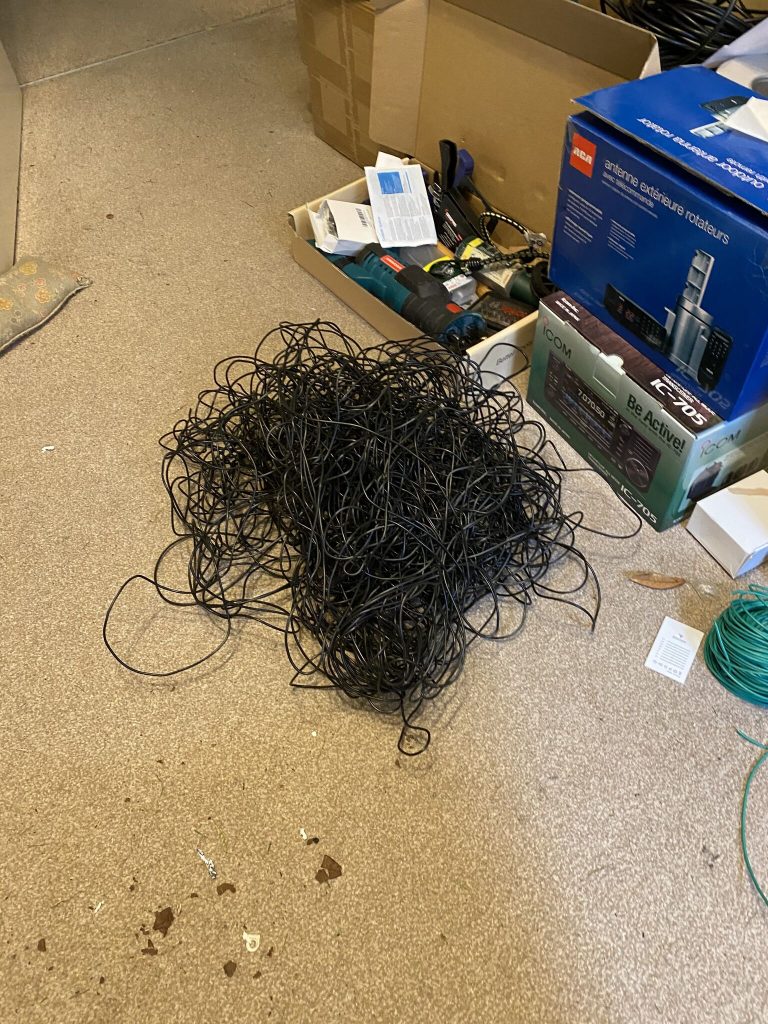
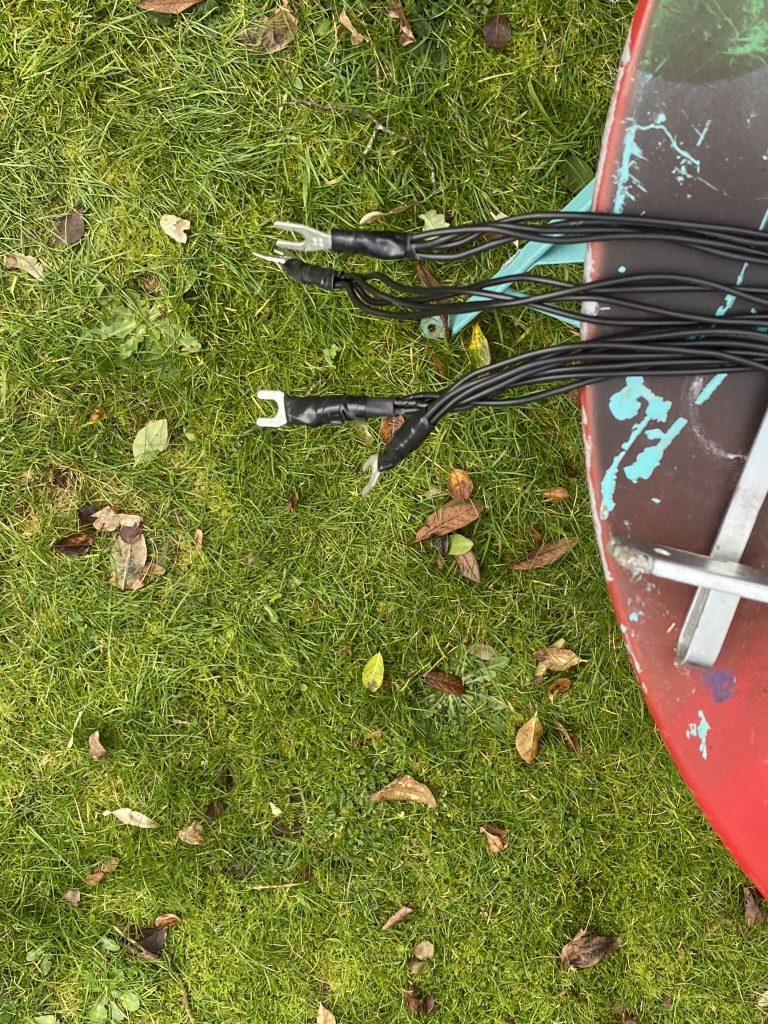
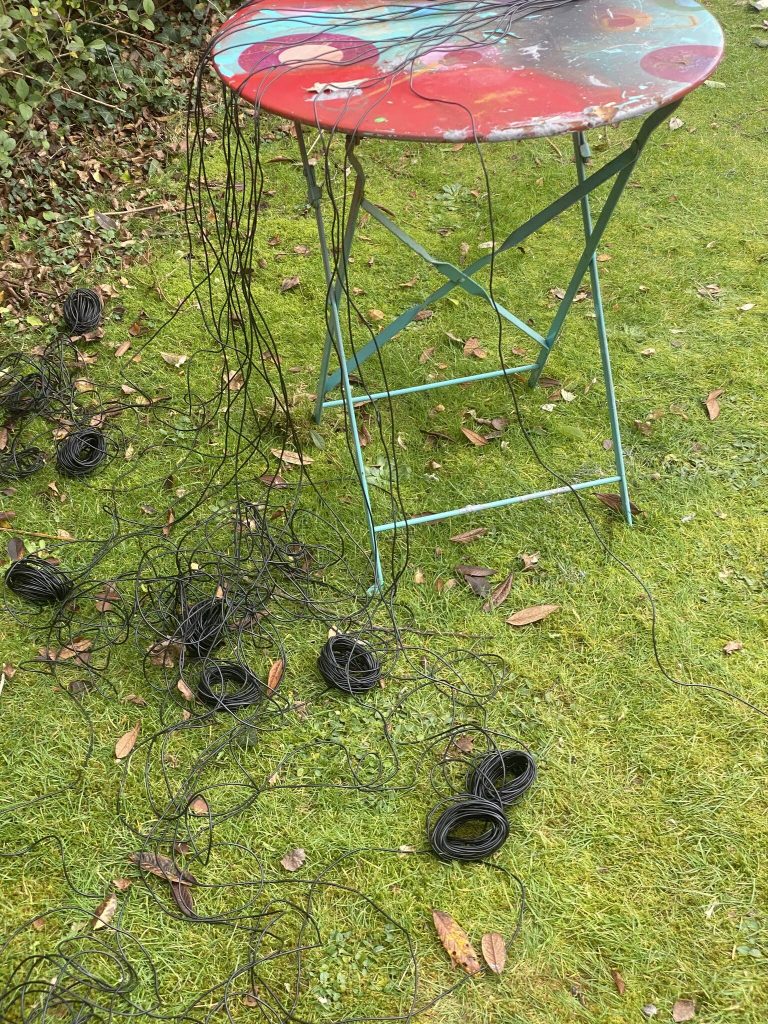
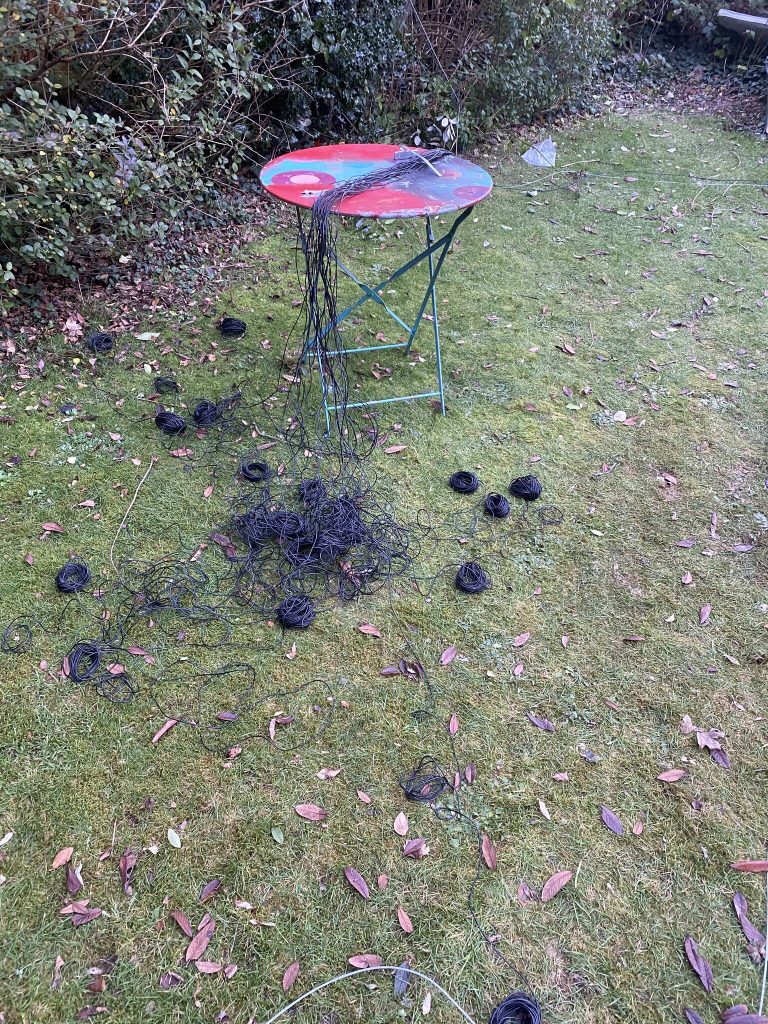
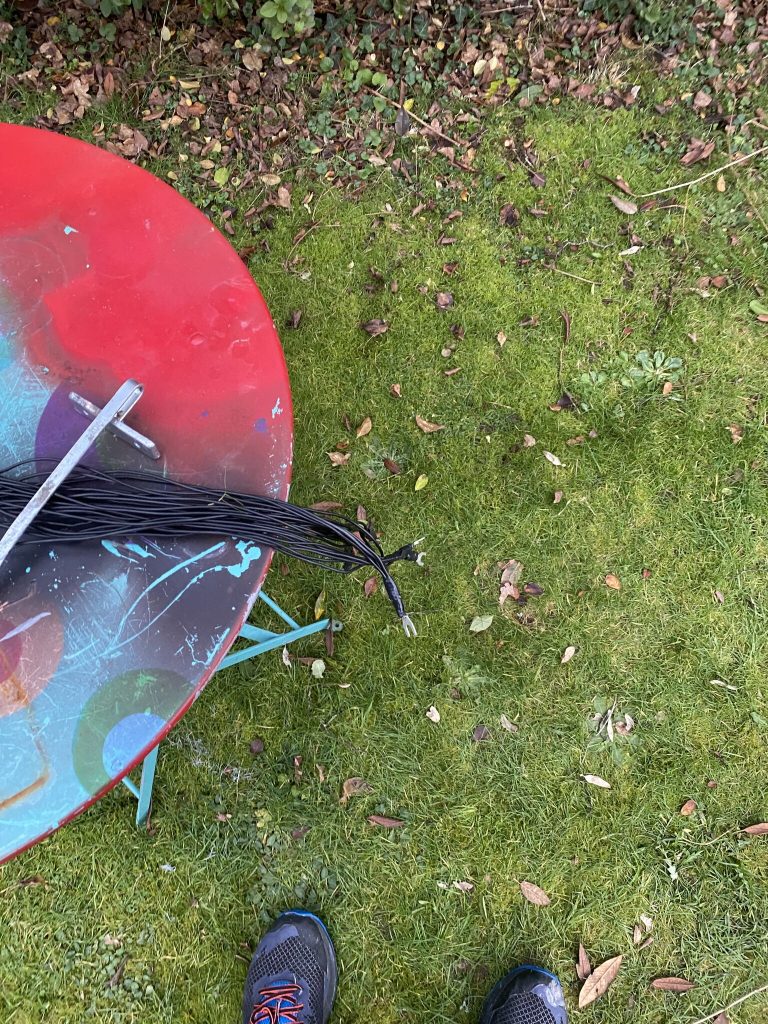
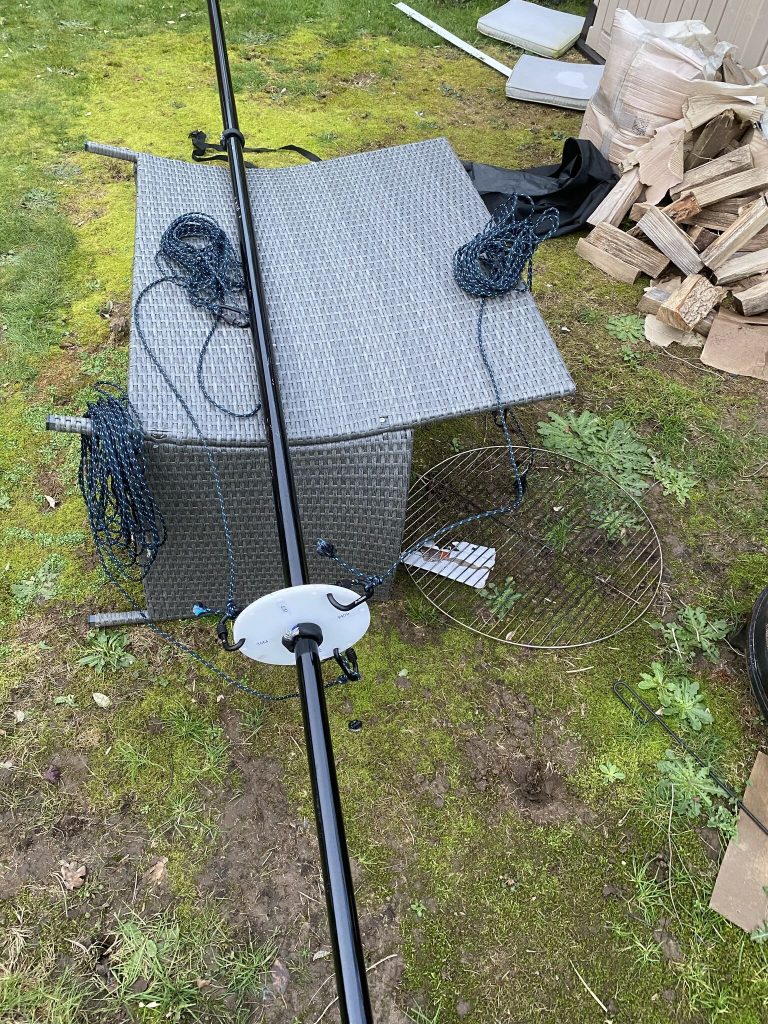
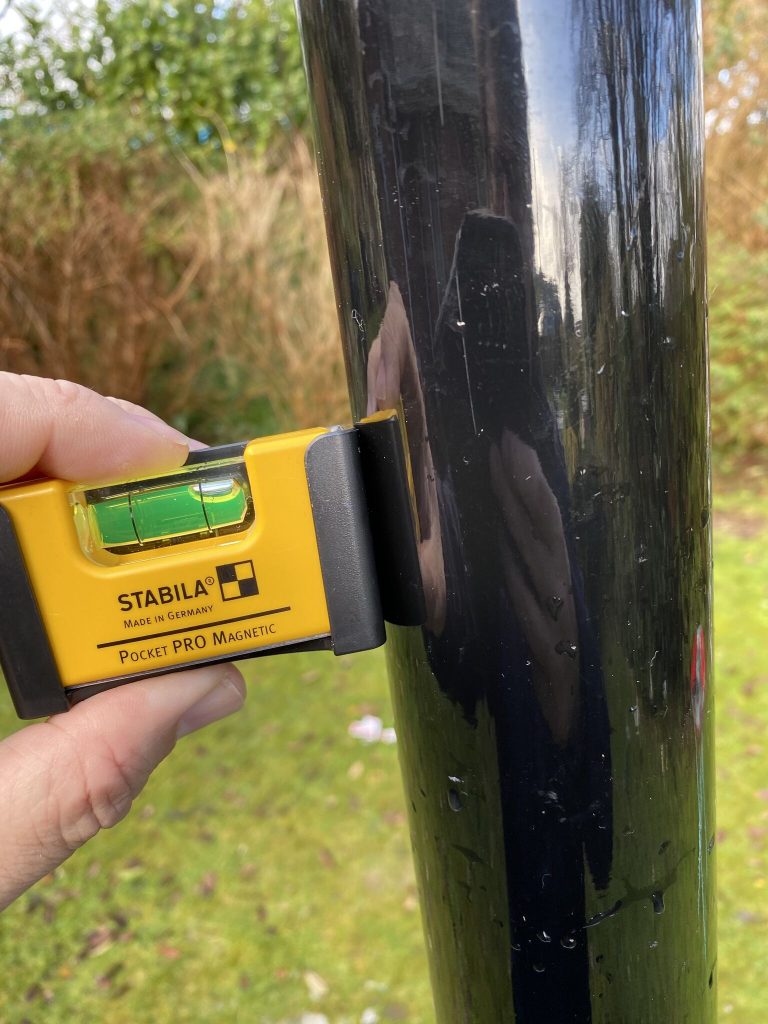
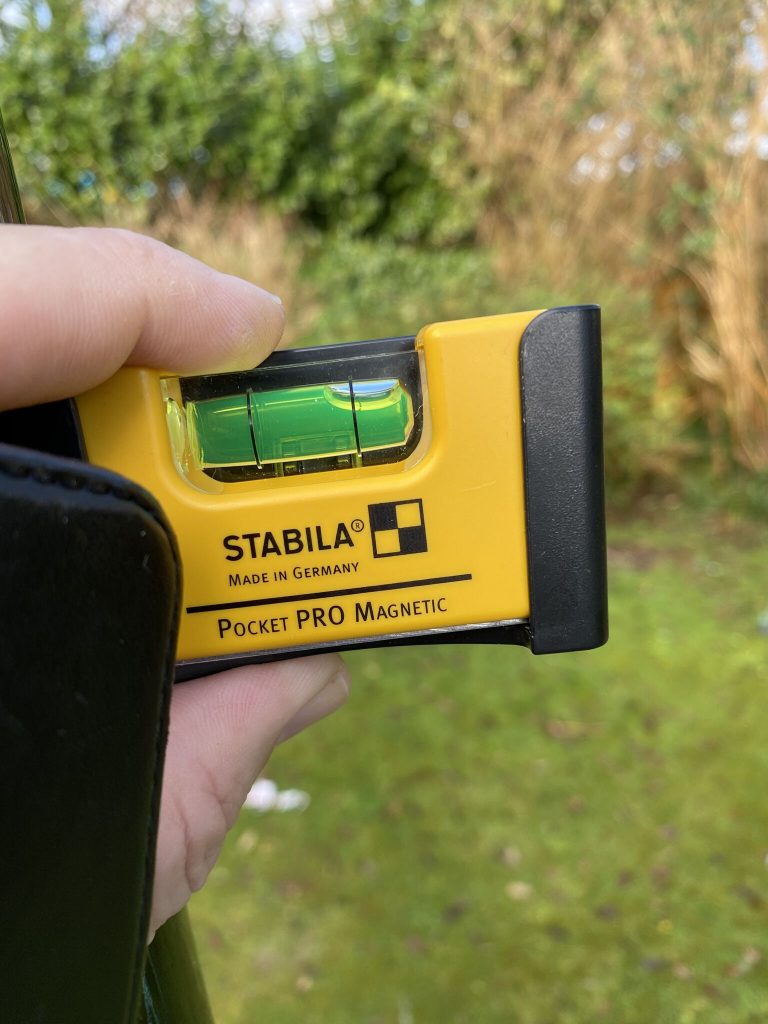
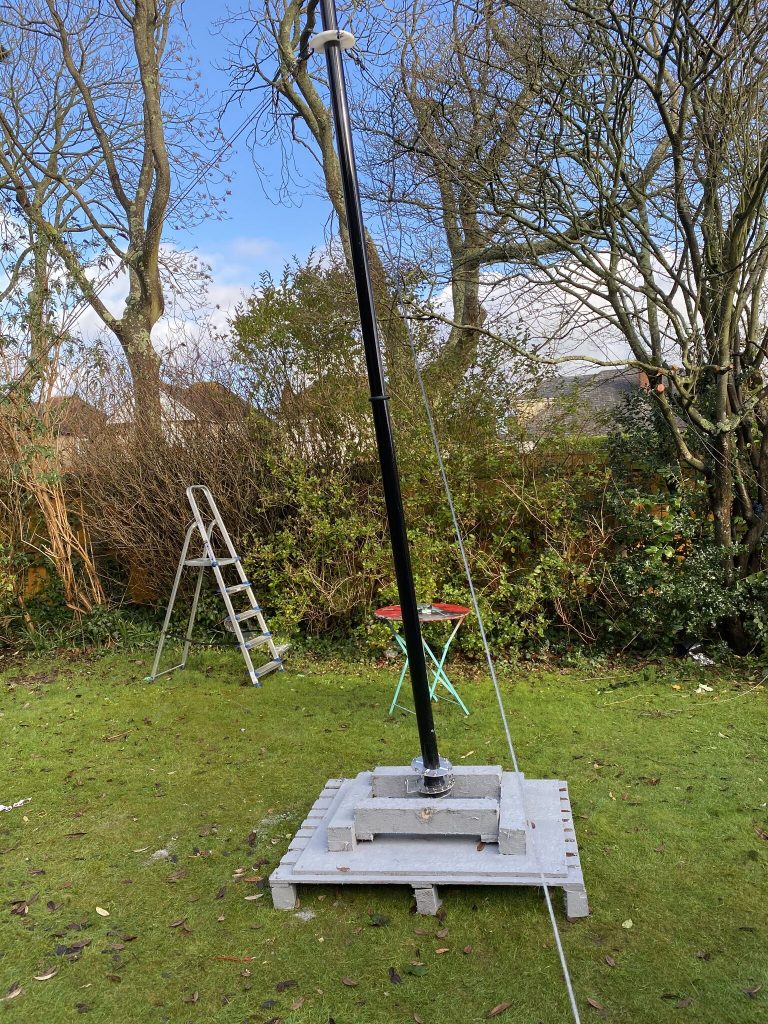
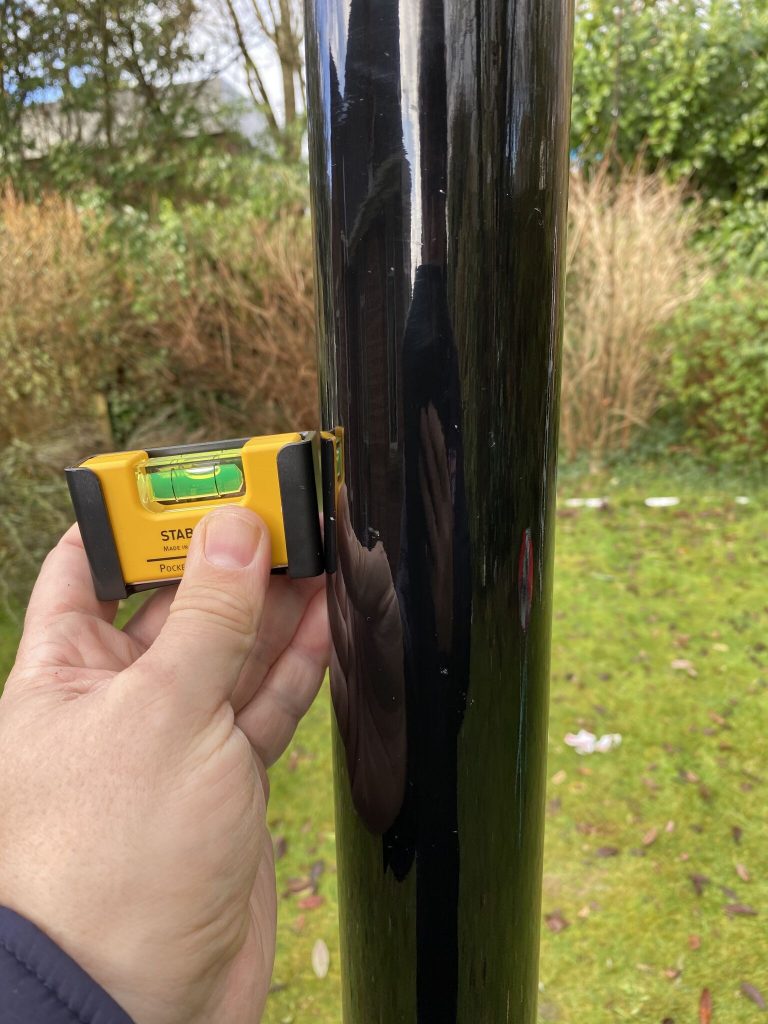
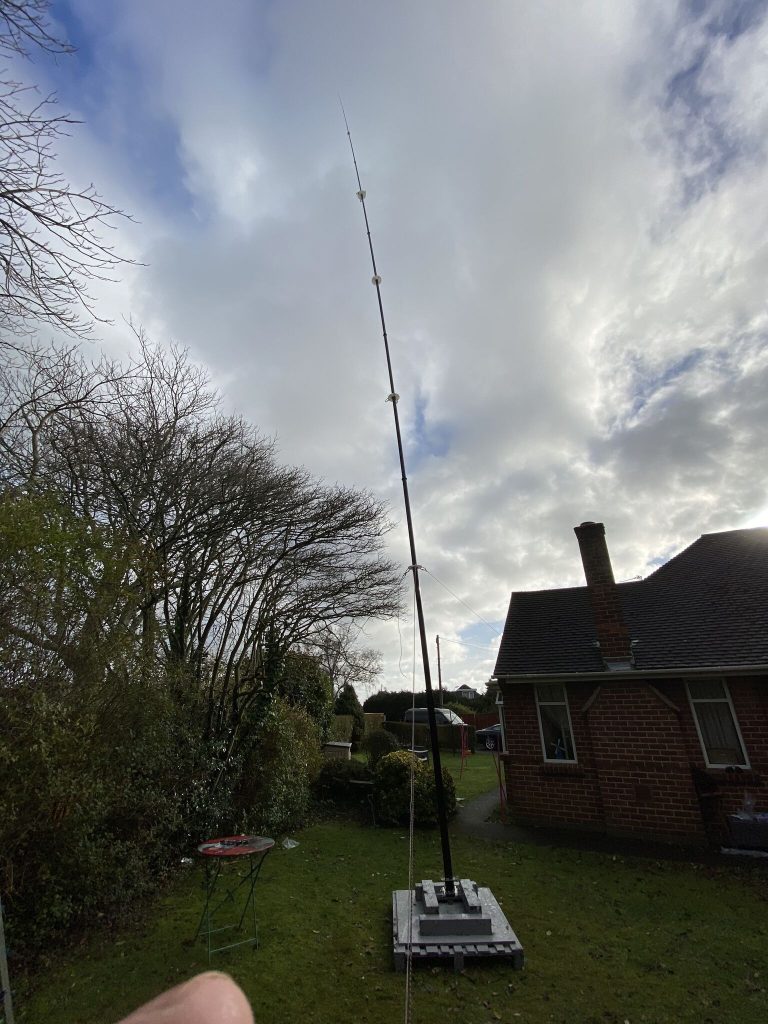
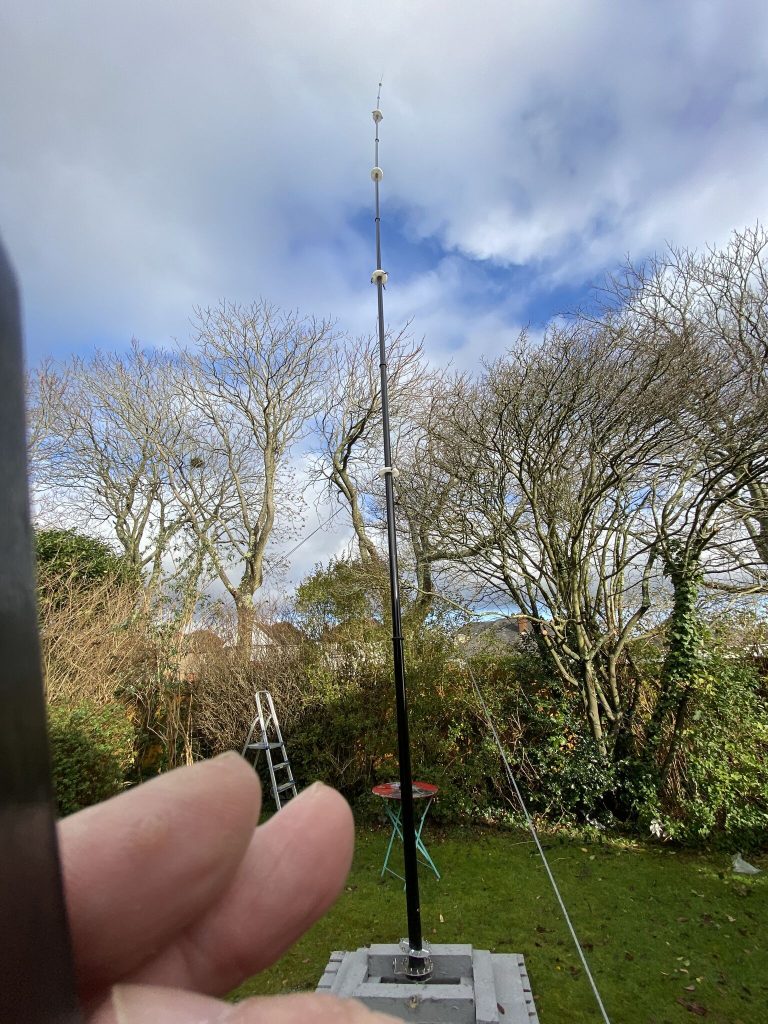
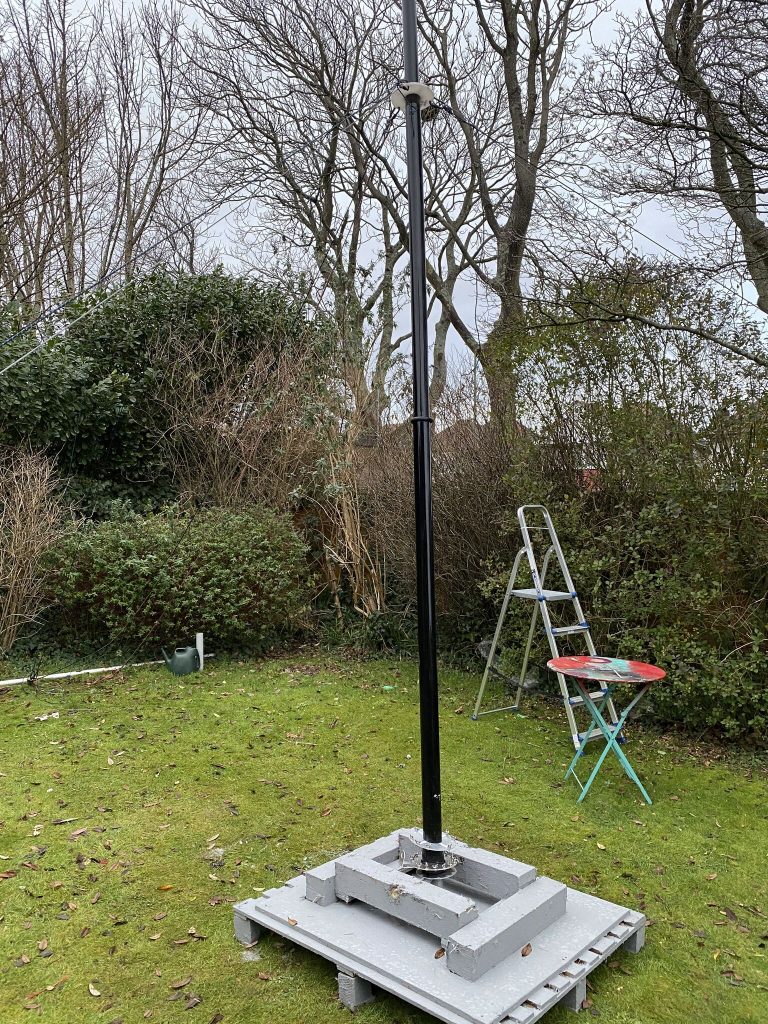
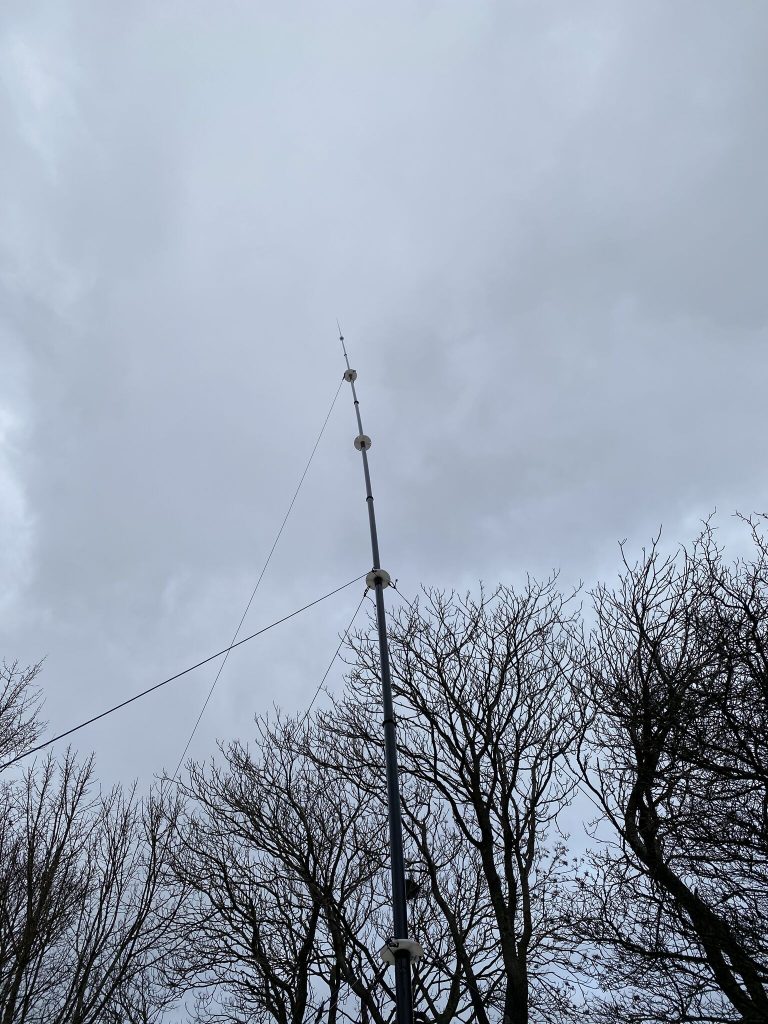
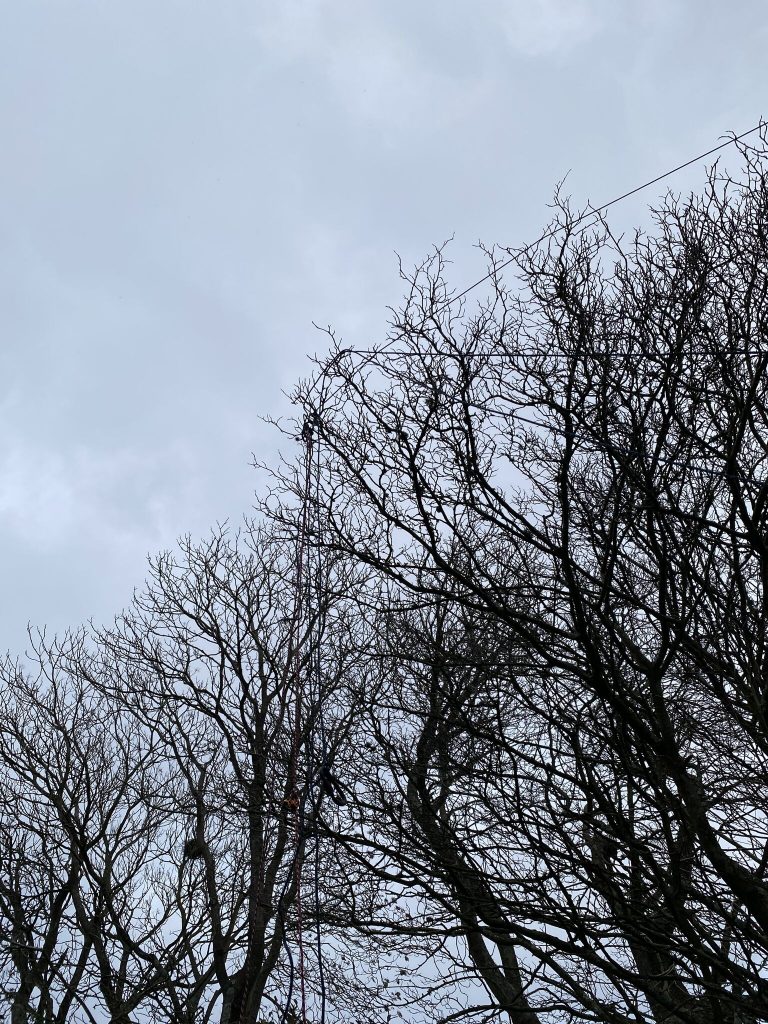
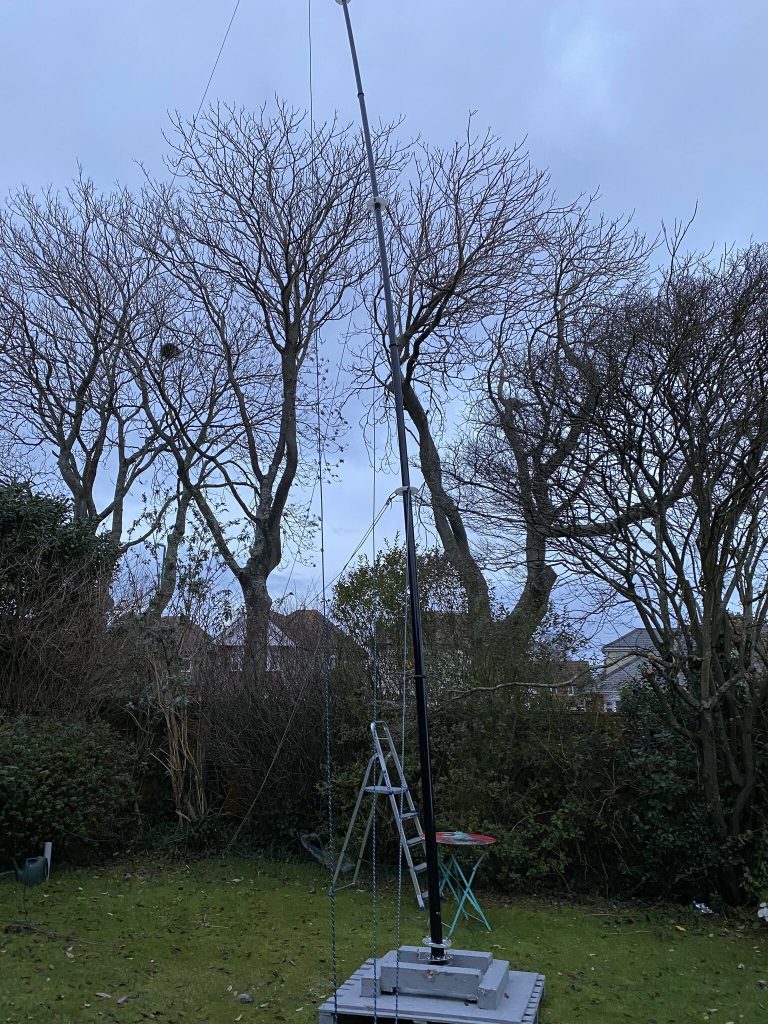
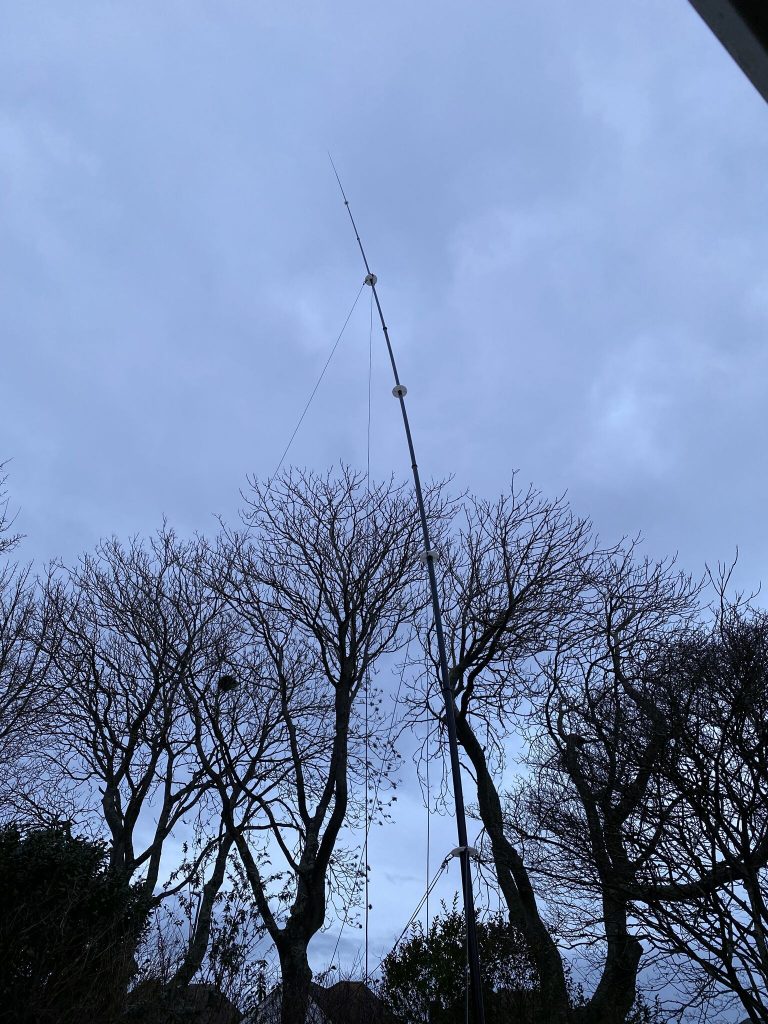
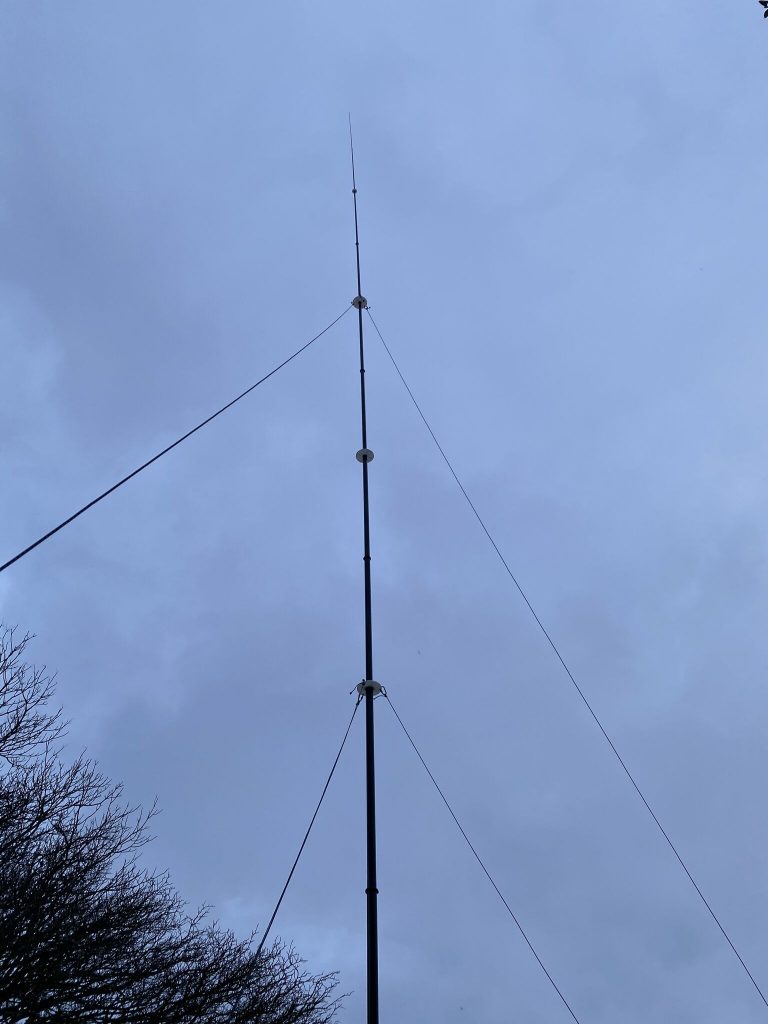
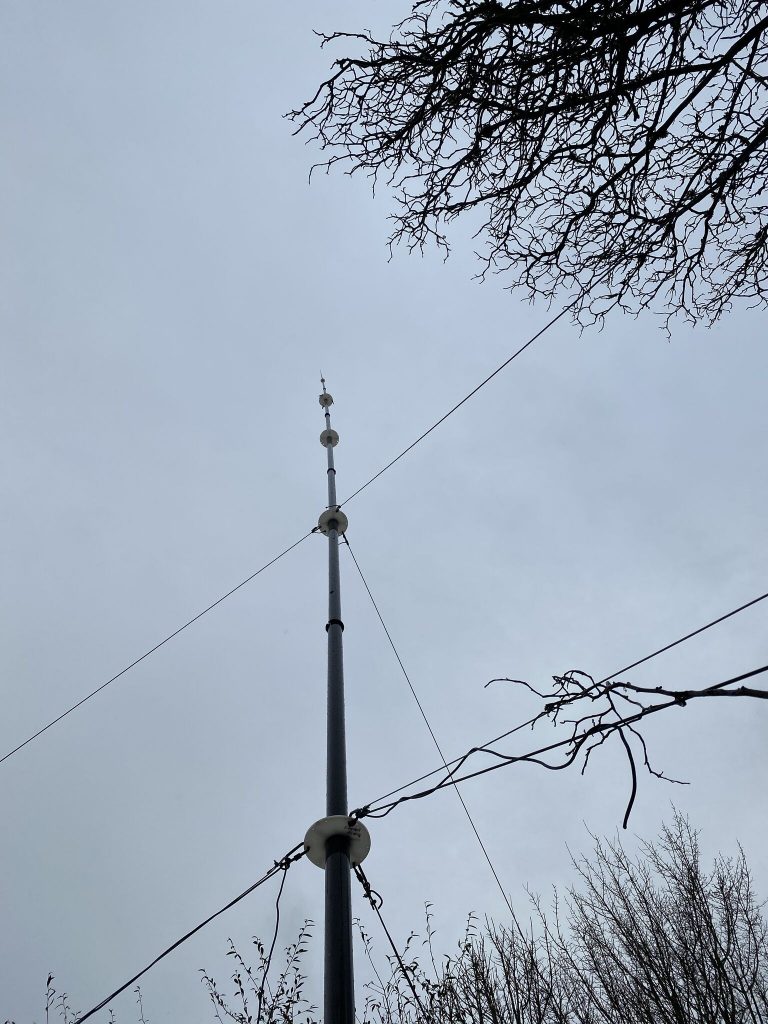
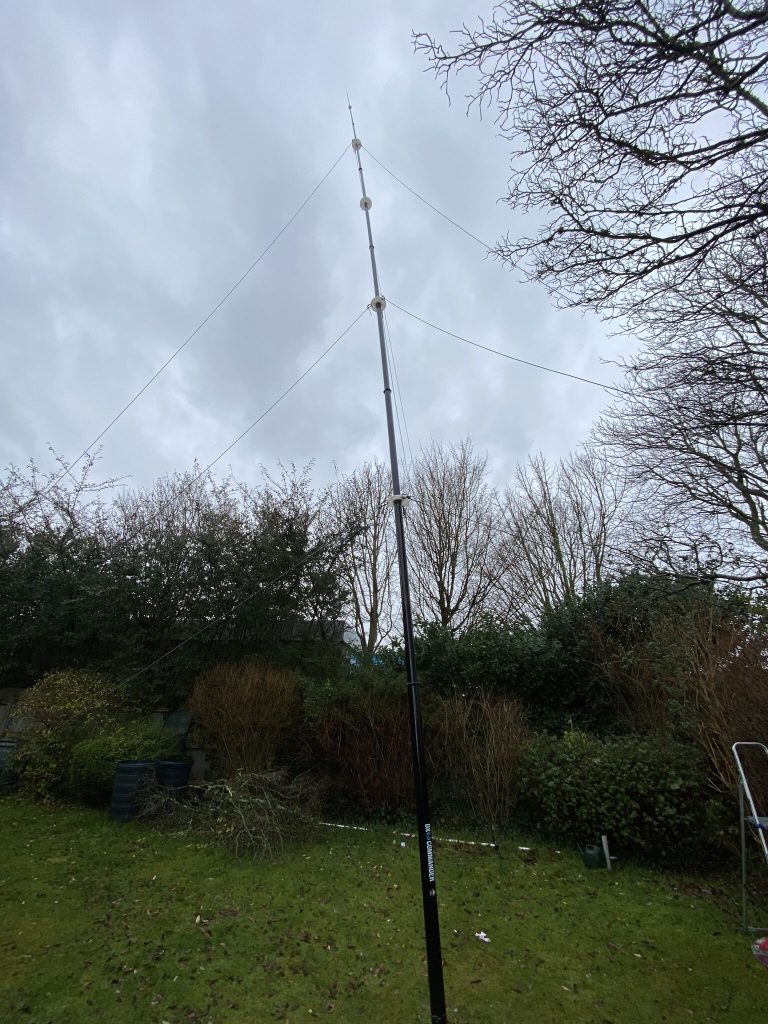
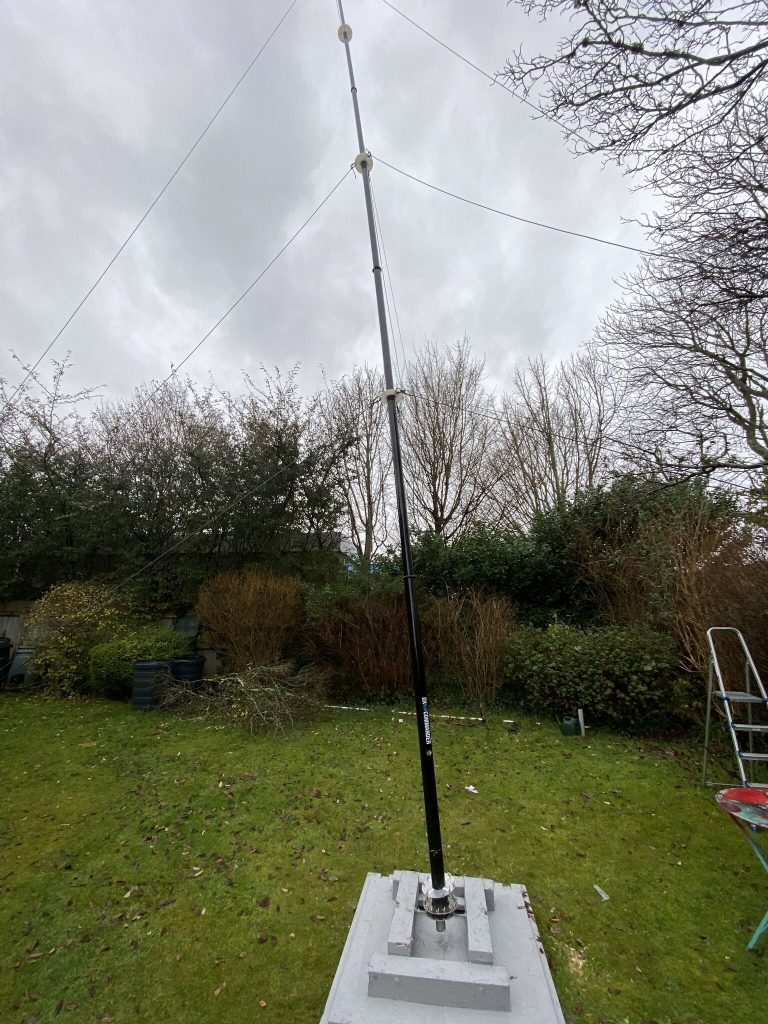
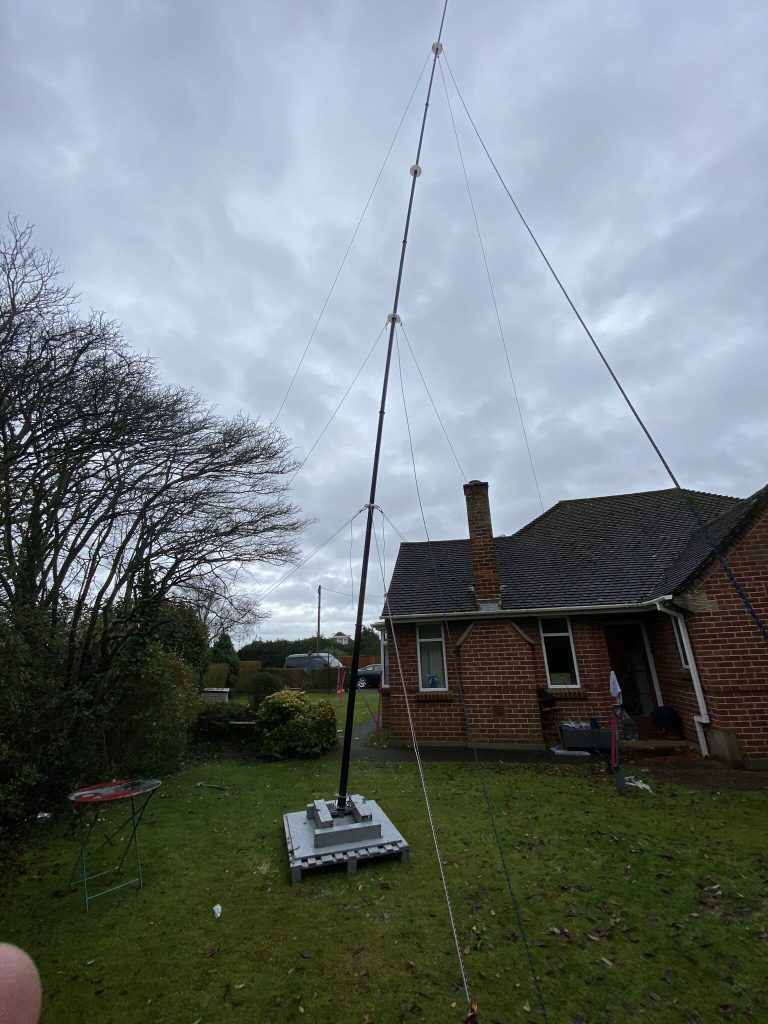
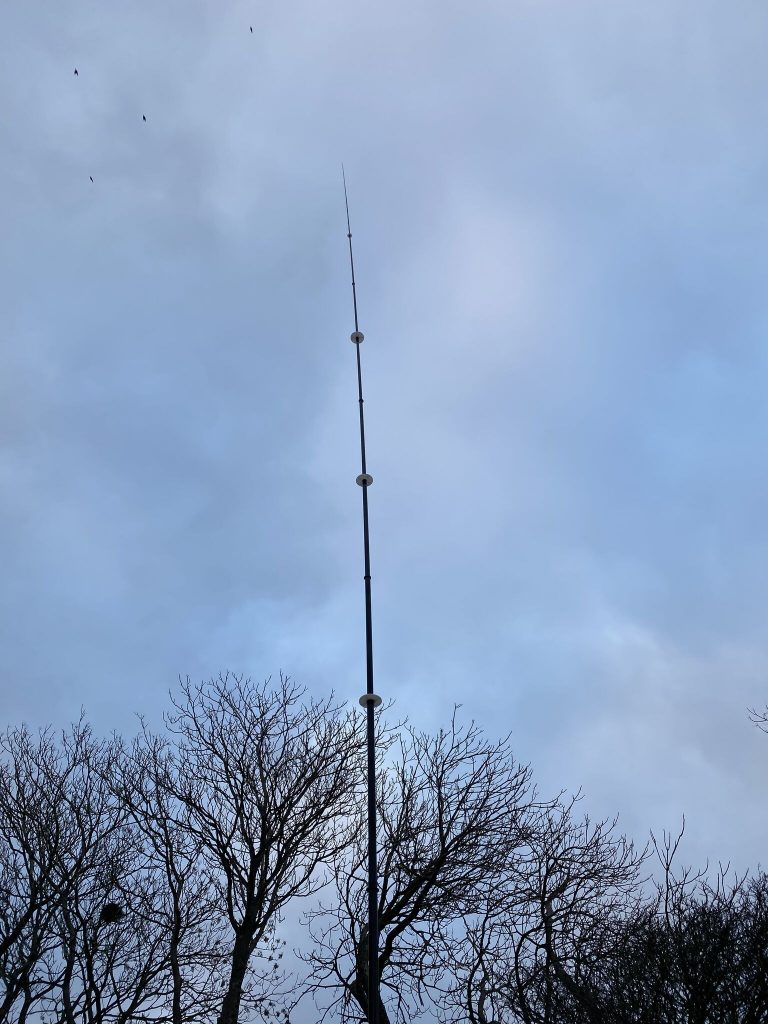
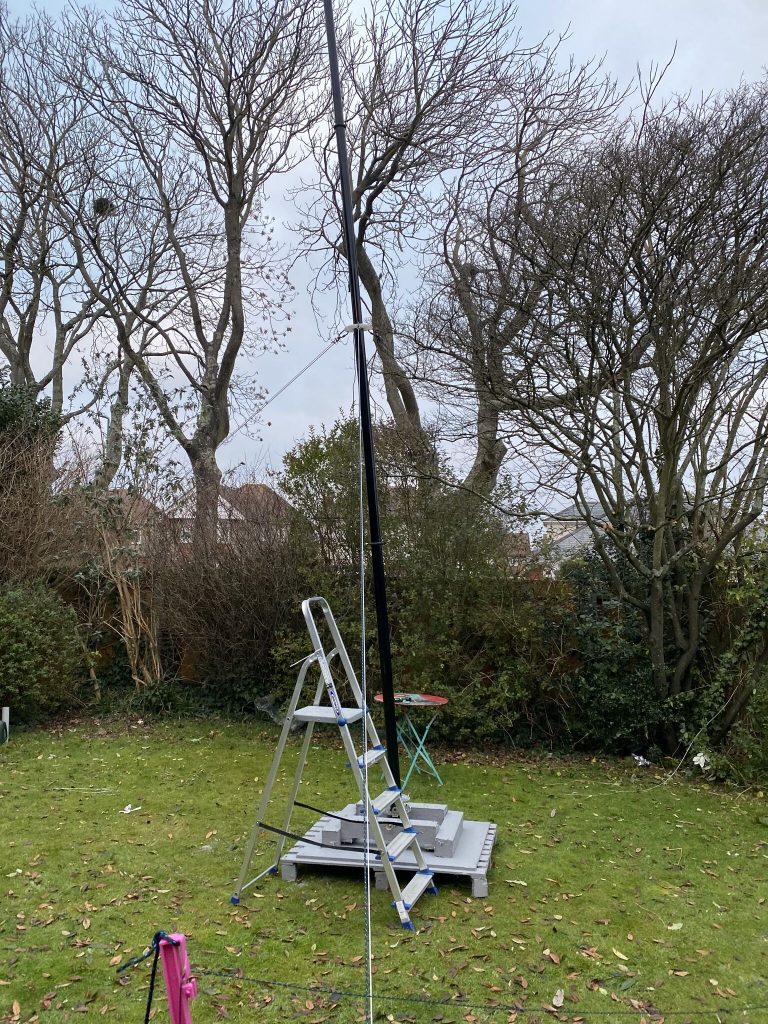
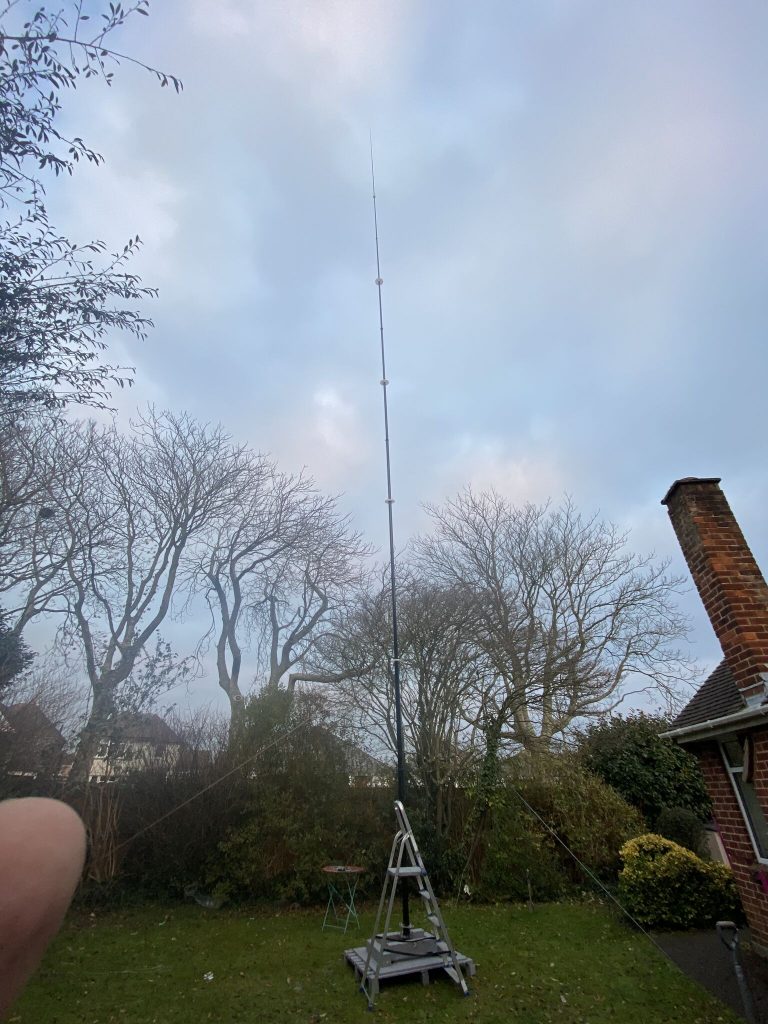
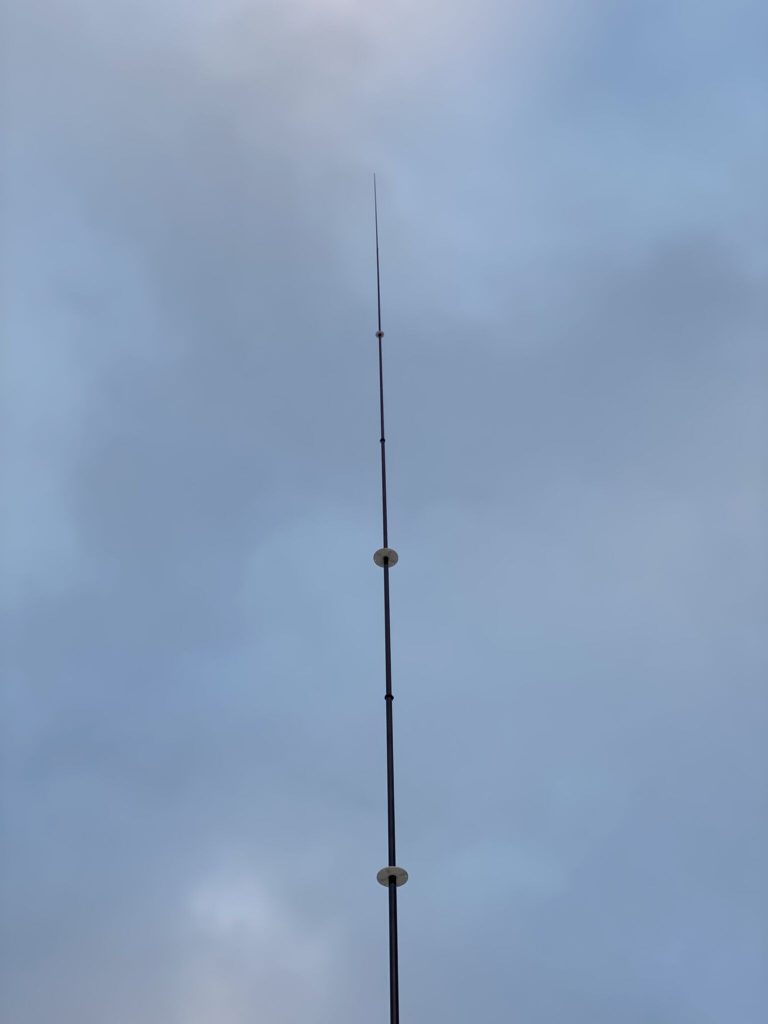
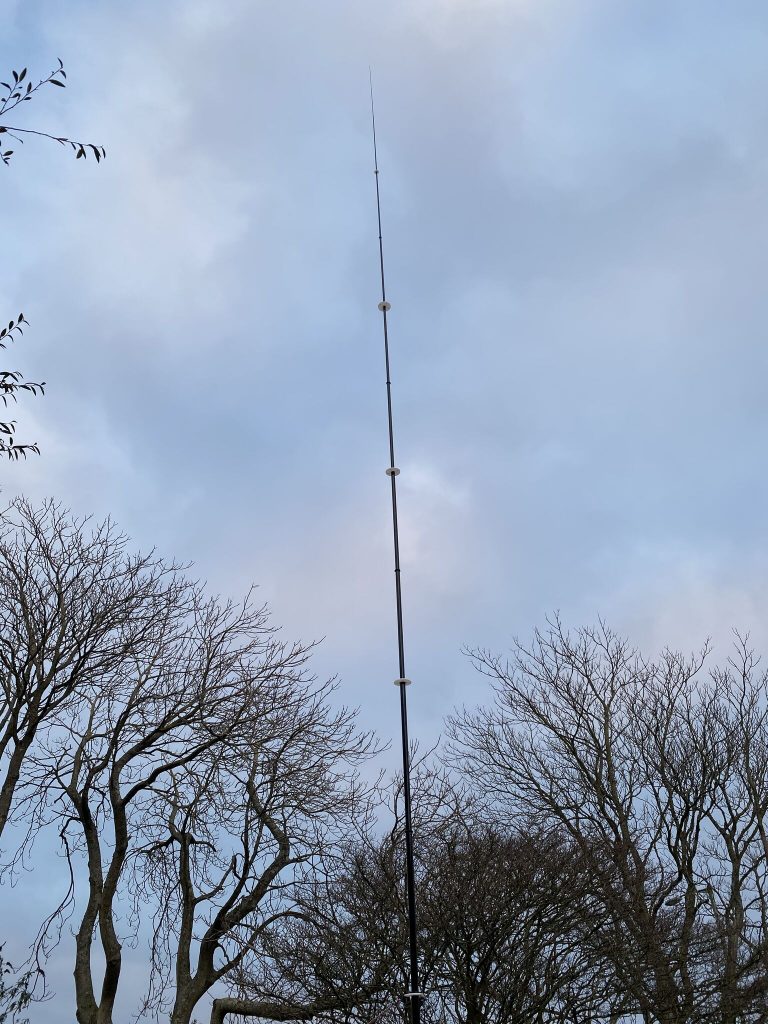
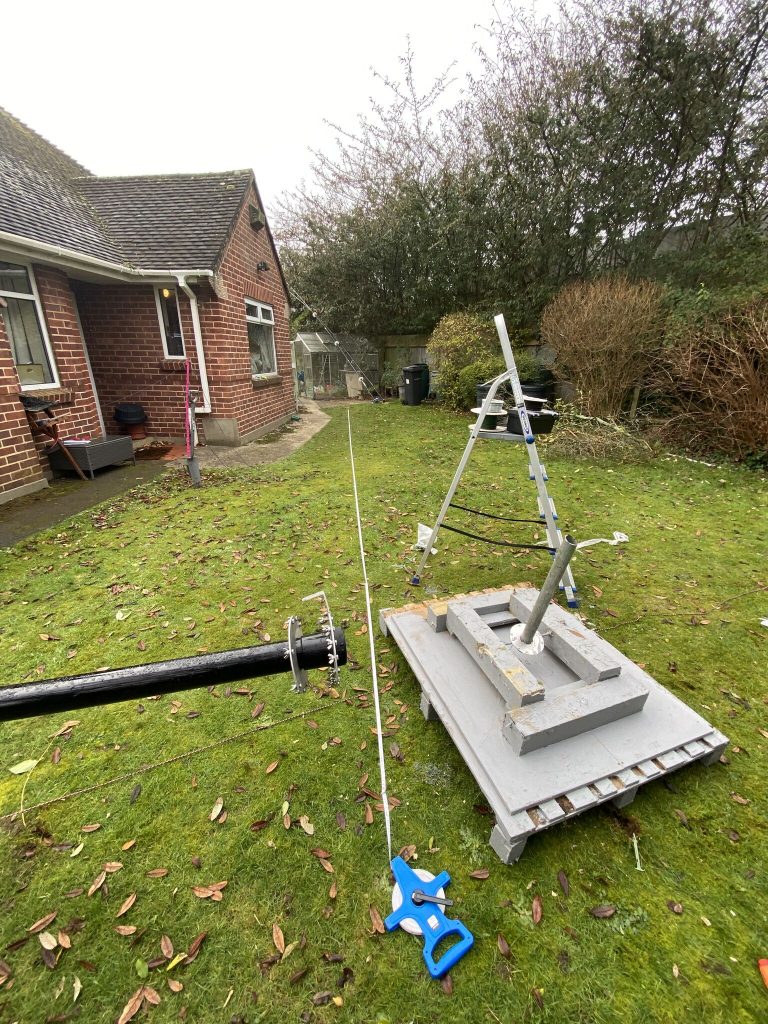
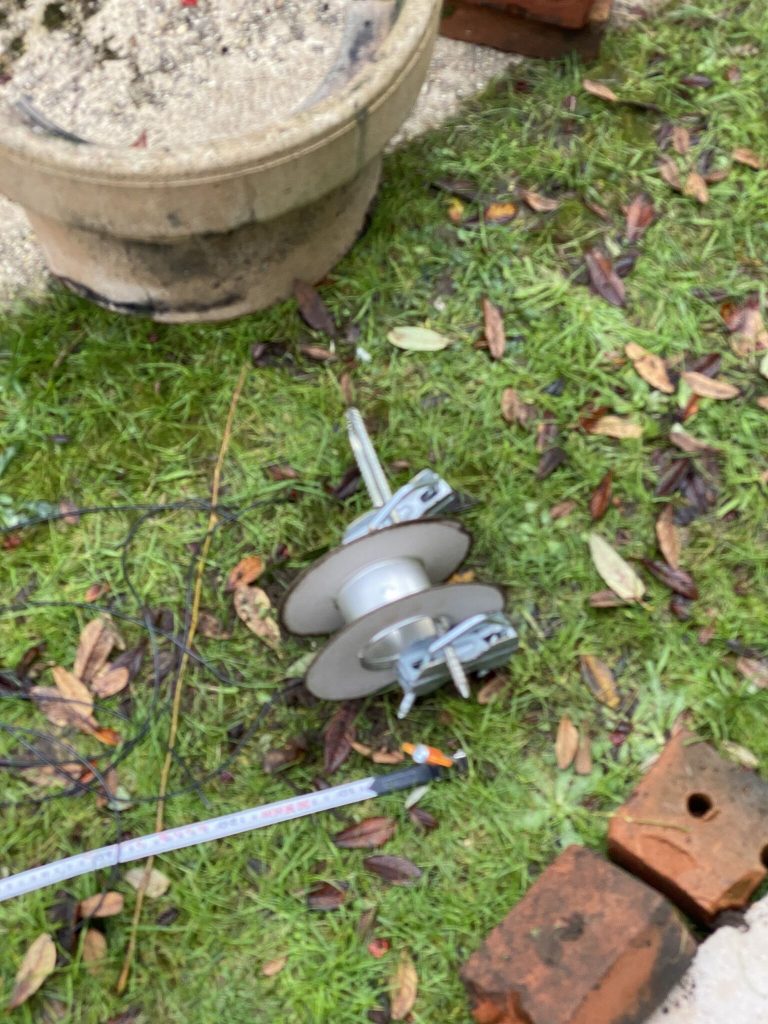
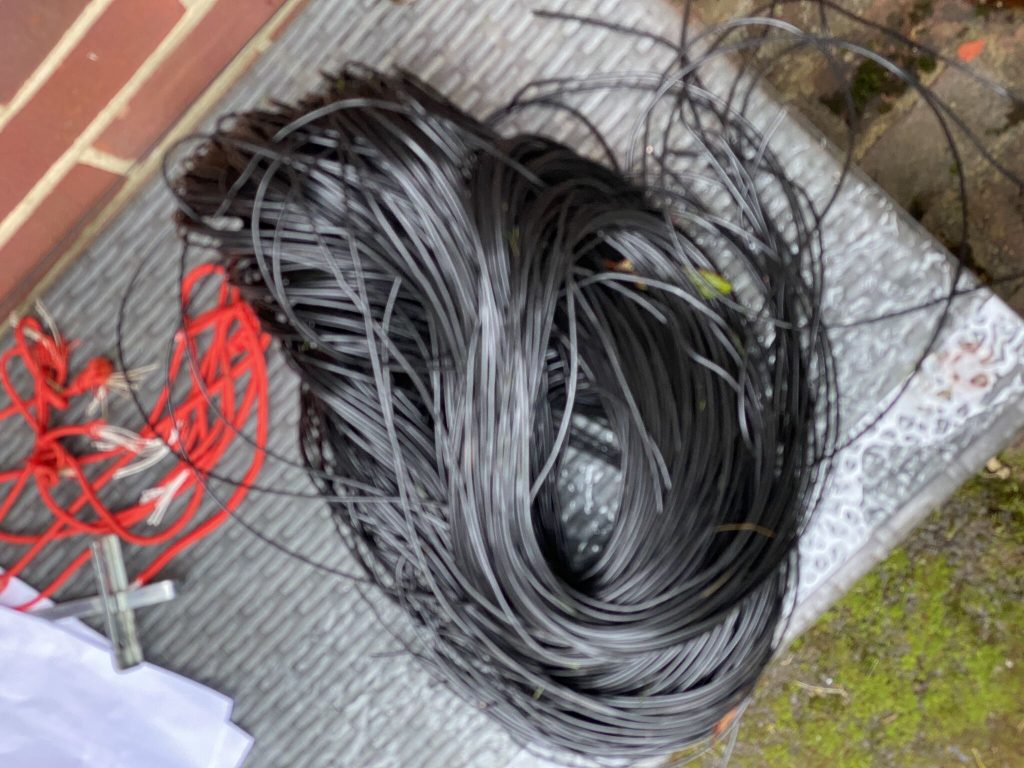
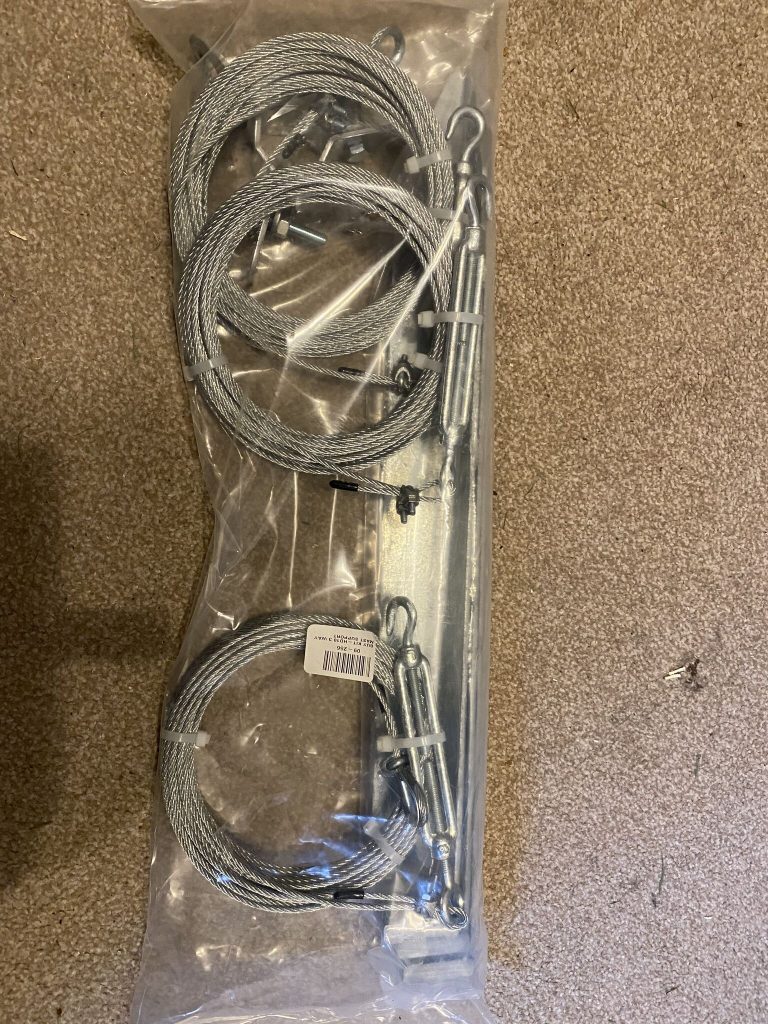
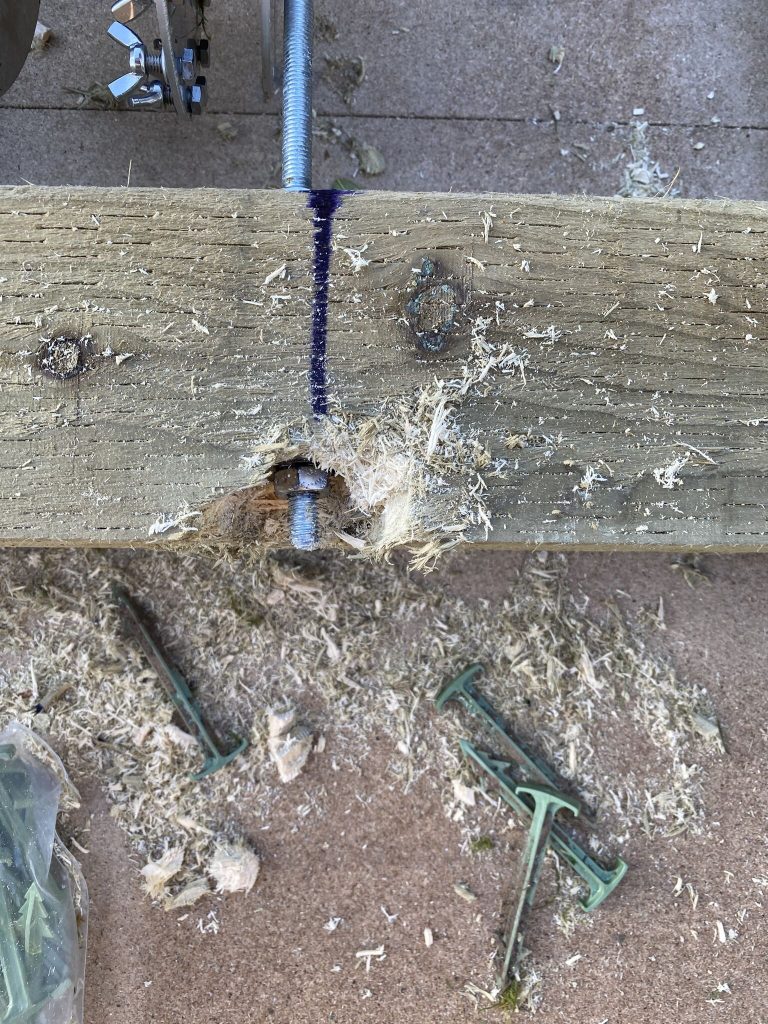
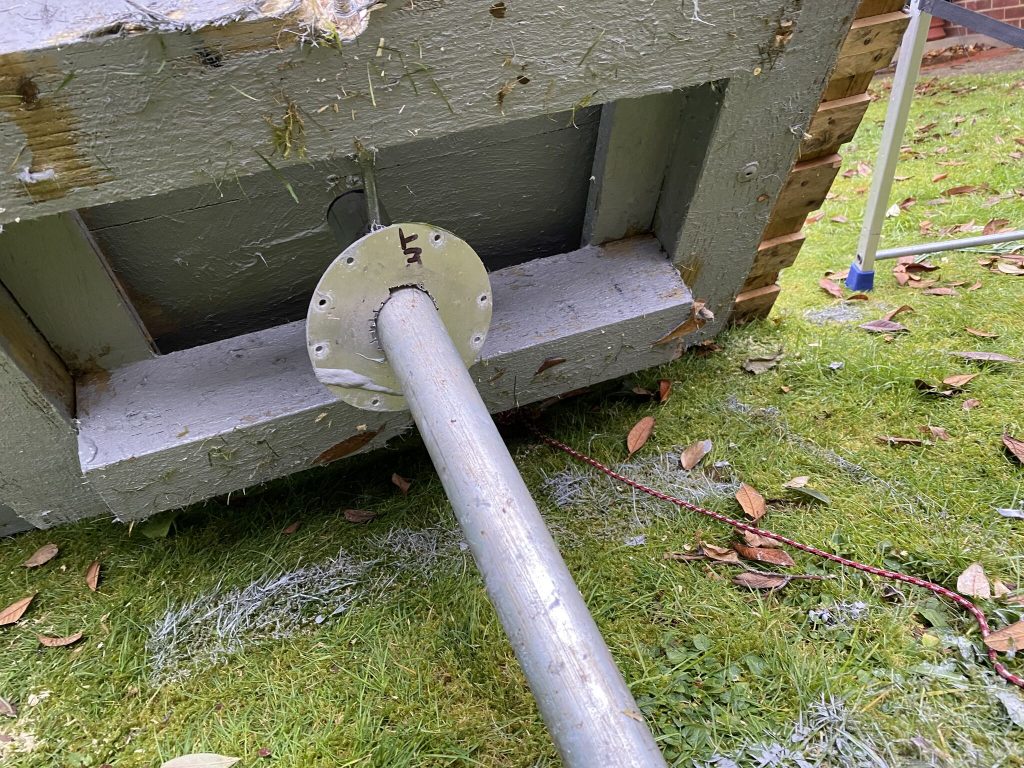
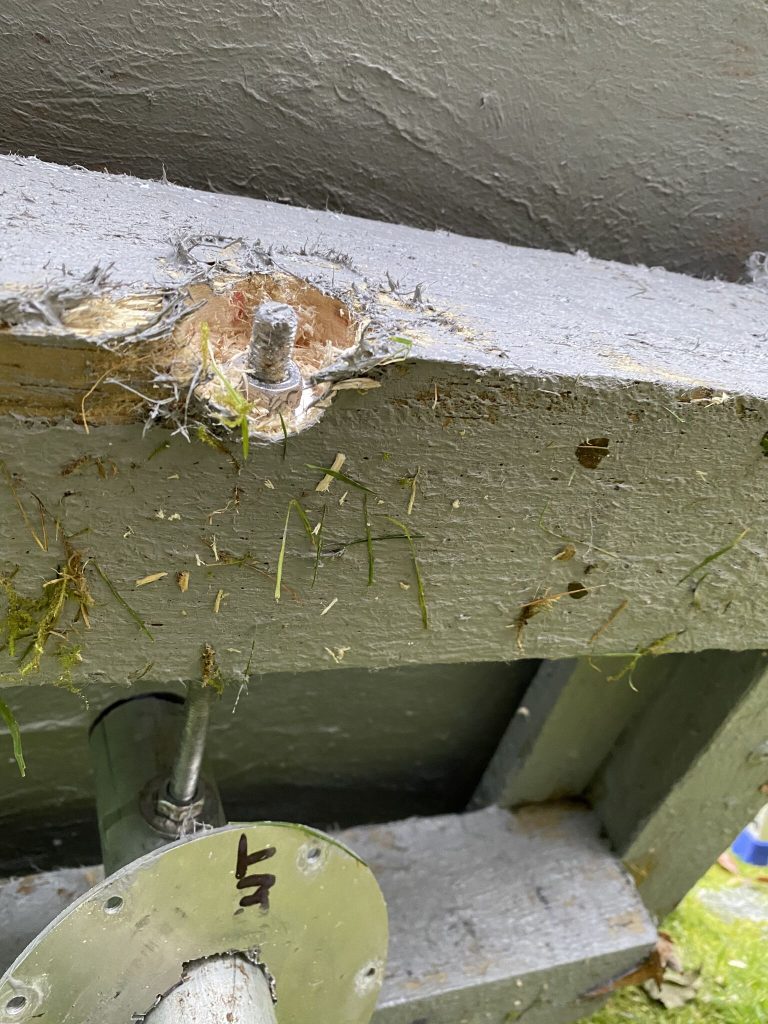
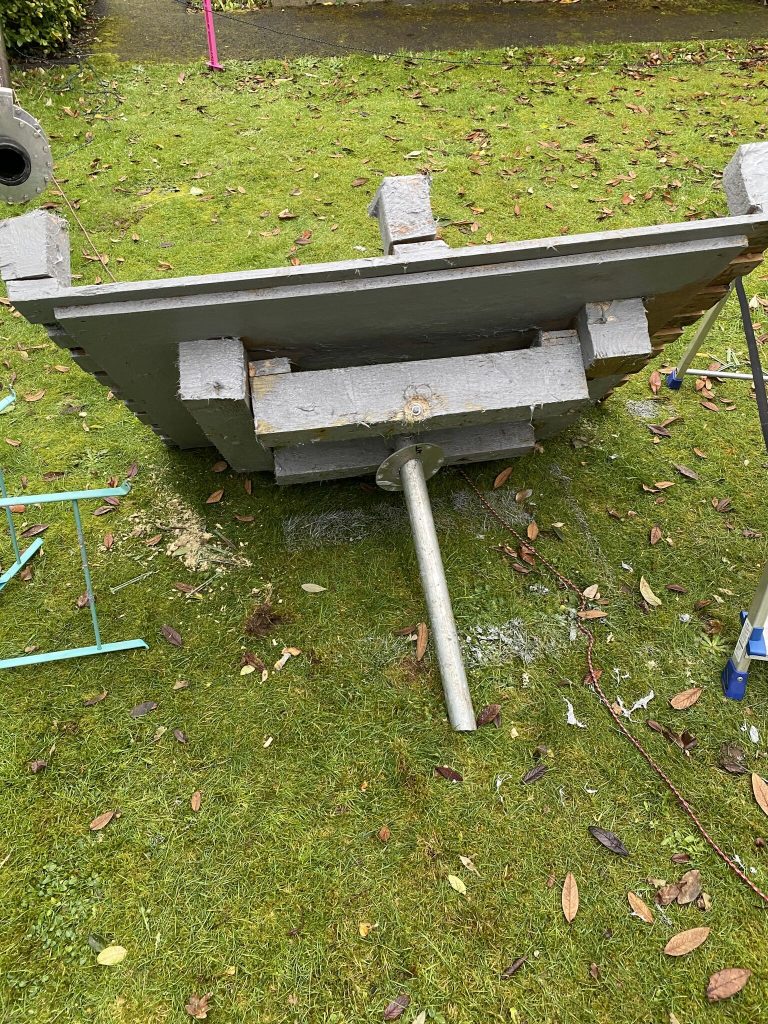
At last the nebula is vertical and with 80, 40 and 20m elements added. I had a very hard time de-tangling the radials and manged to get 3 out of the ‘ball’ of wire i had managed to produce.
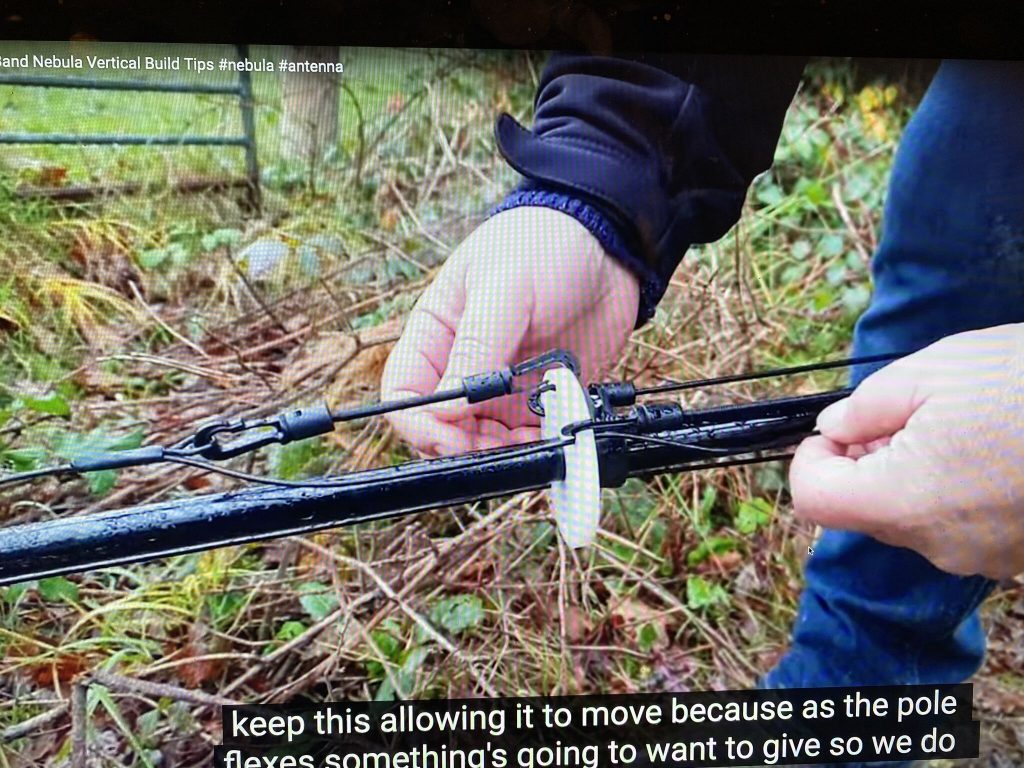
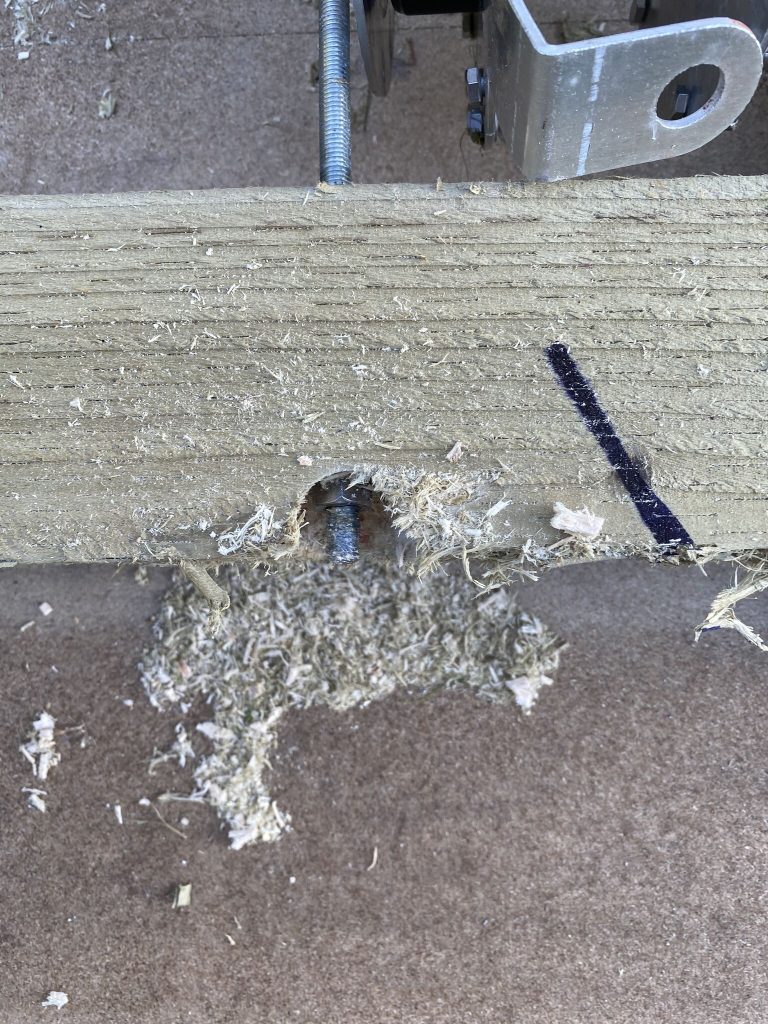
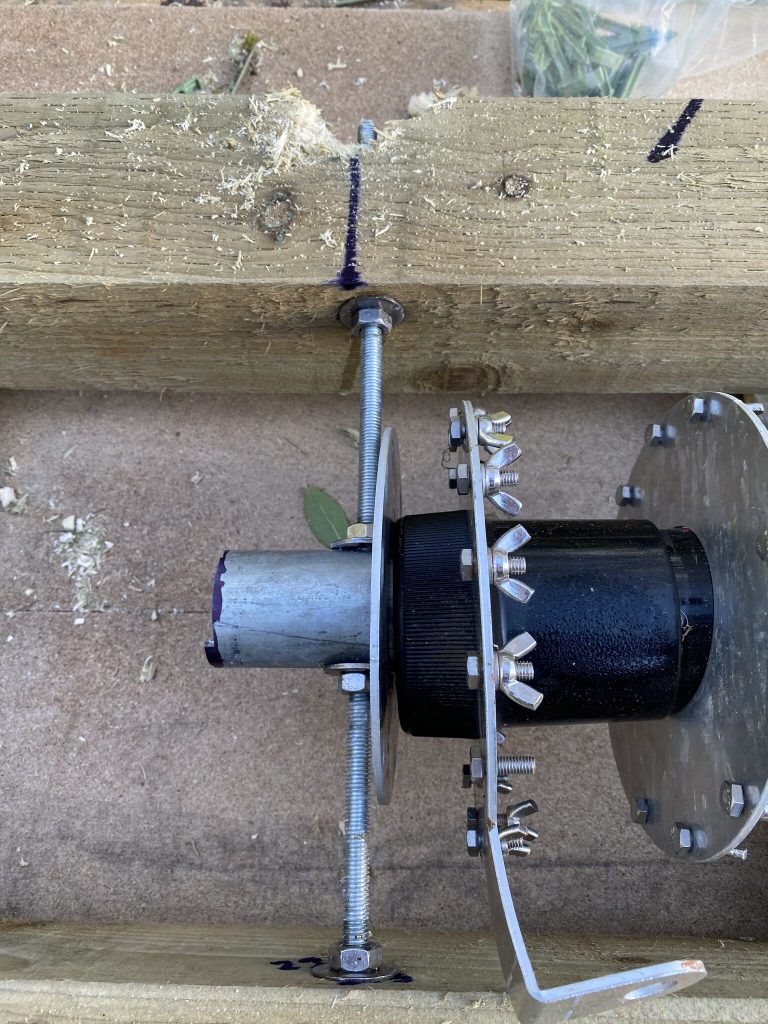
Adding 40 and 20 was quite straight forward and same process as on the classic. I dare say i could re-use the old vertical elements from the classic on the nebula, but its nice to start a fresh.
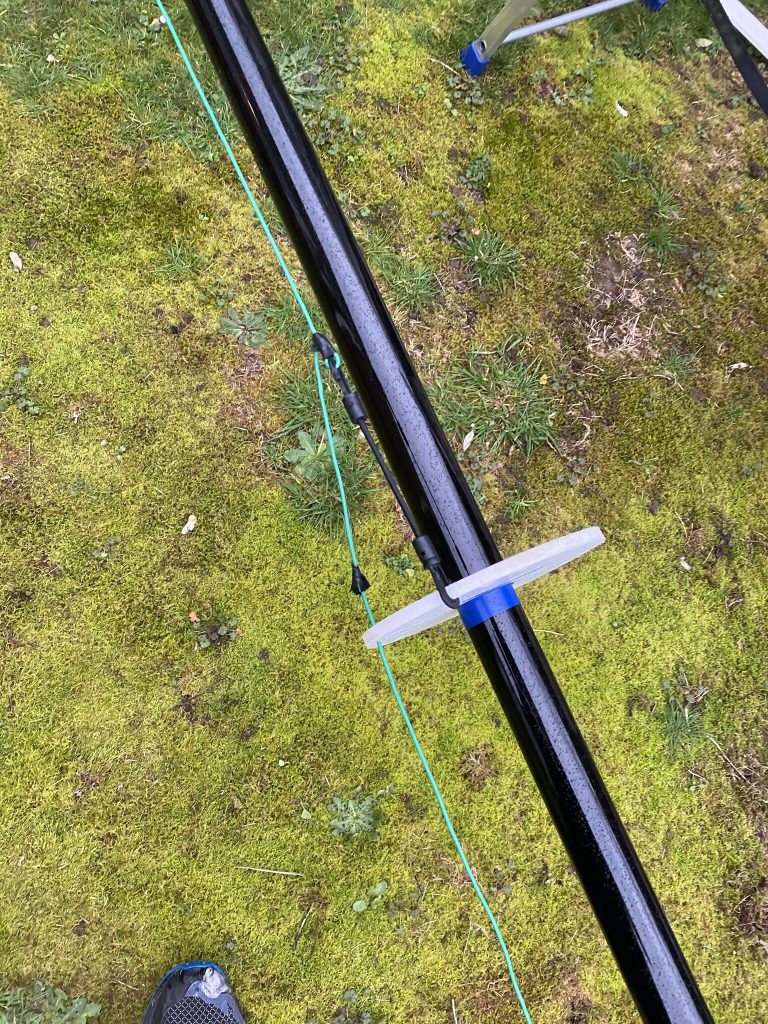
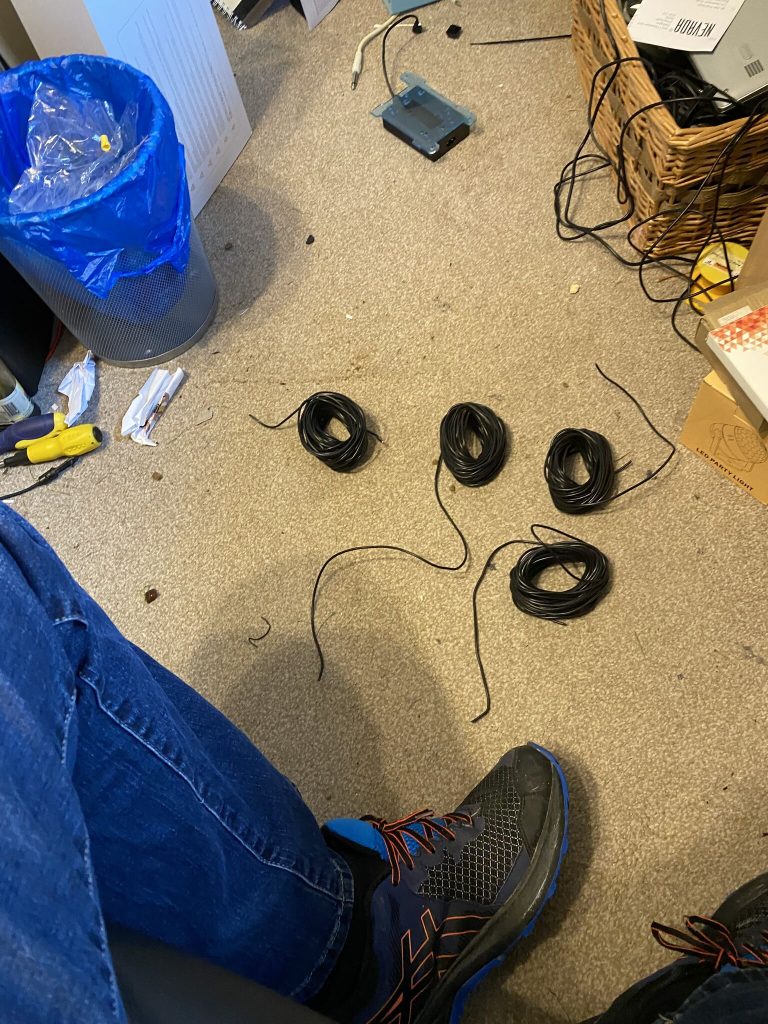
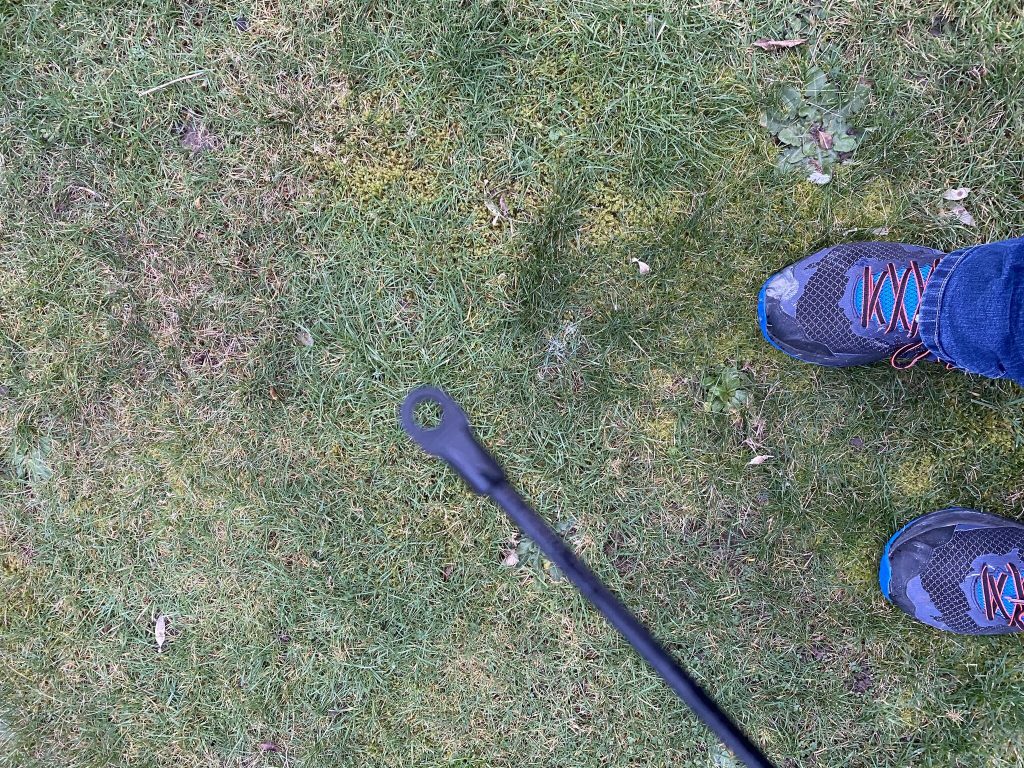
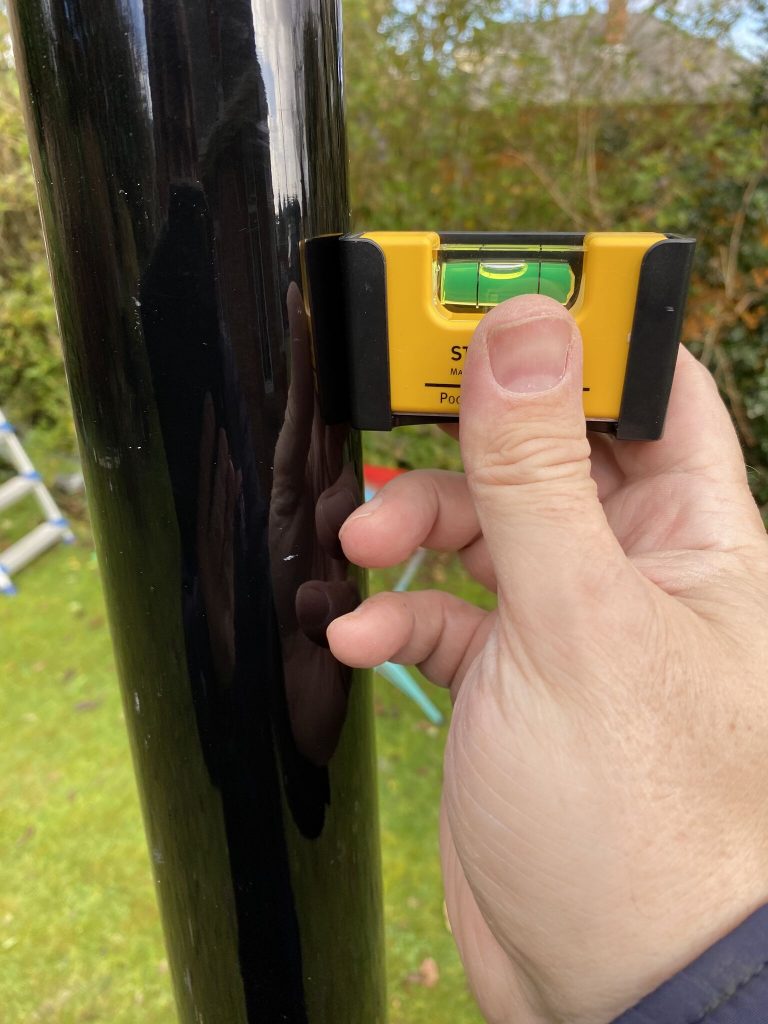
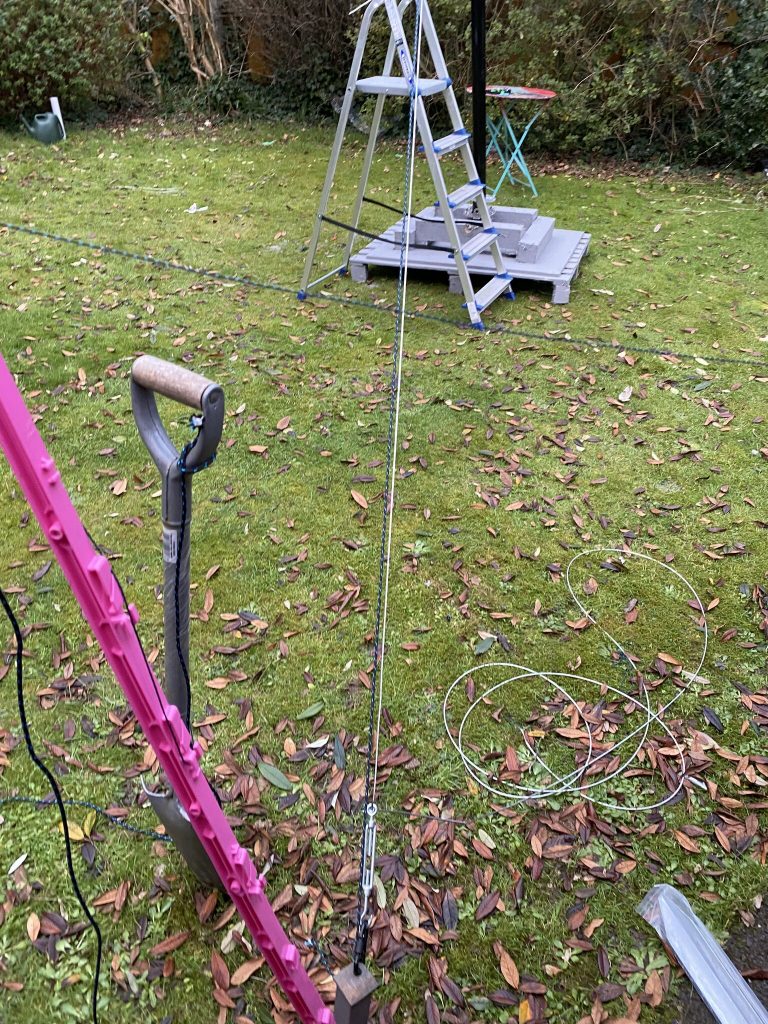
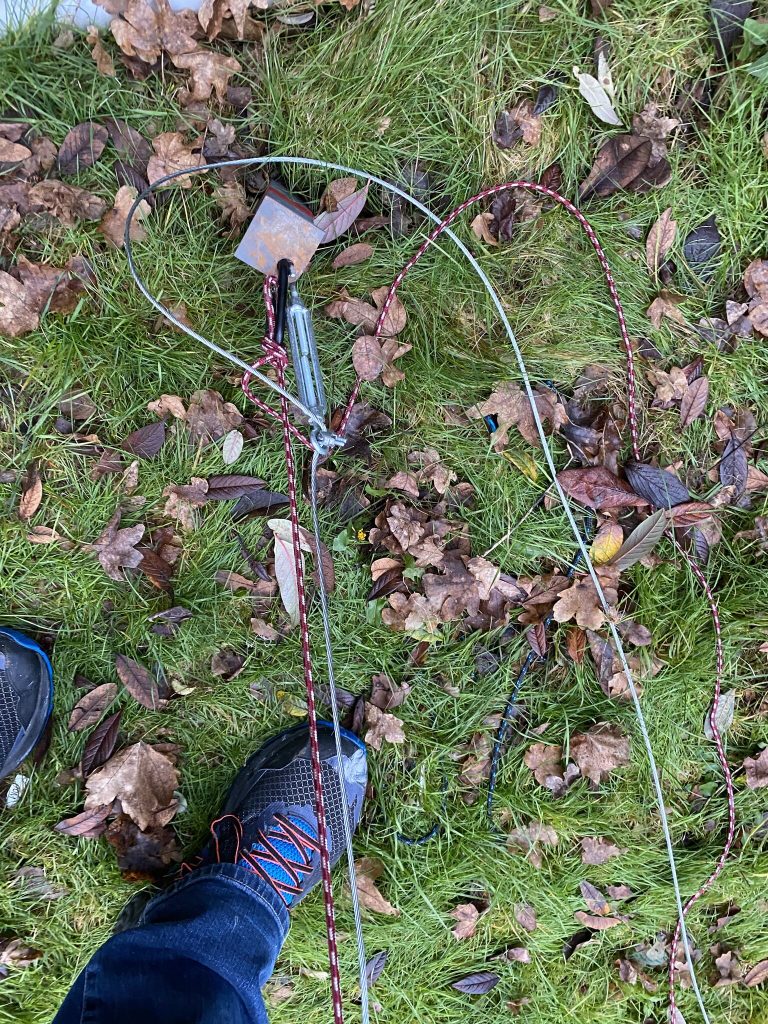
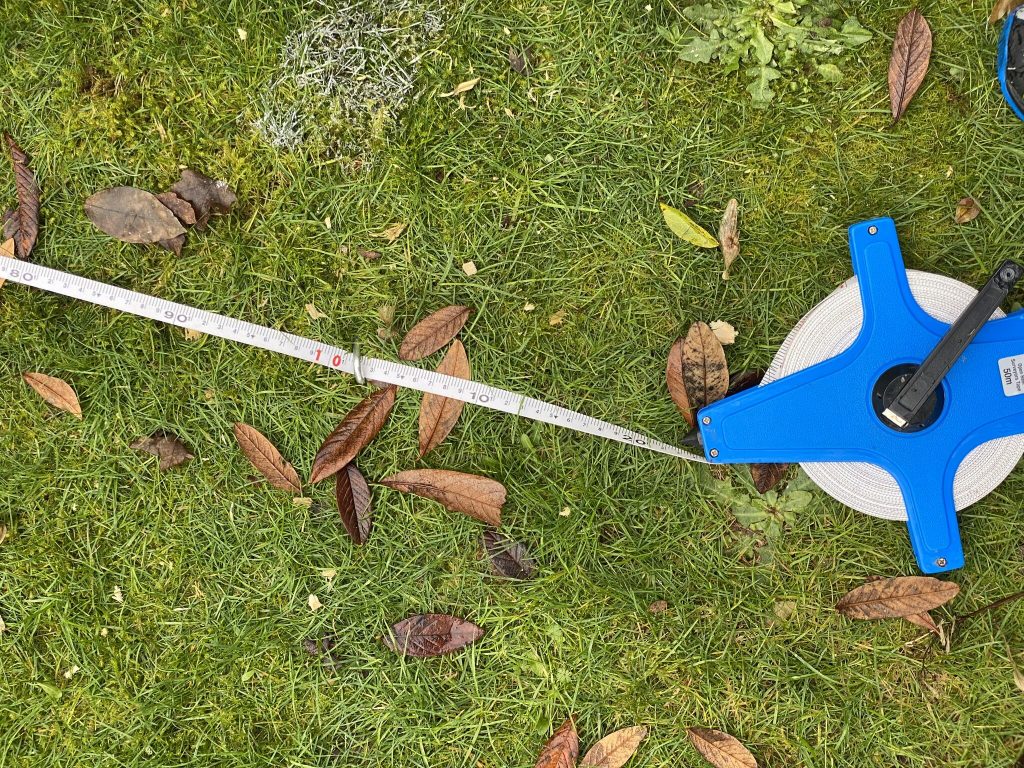
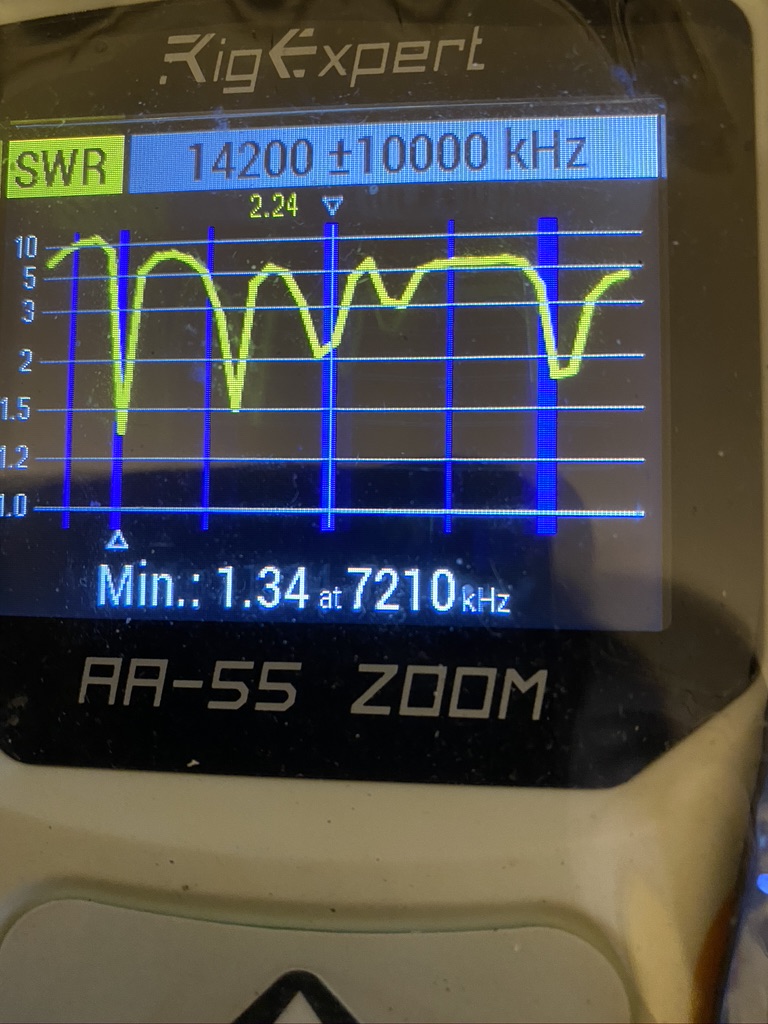
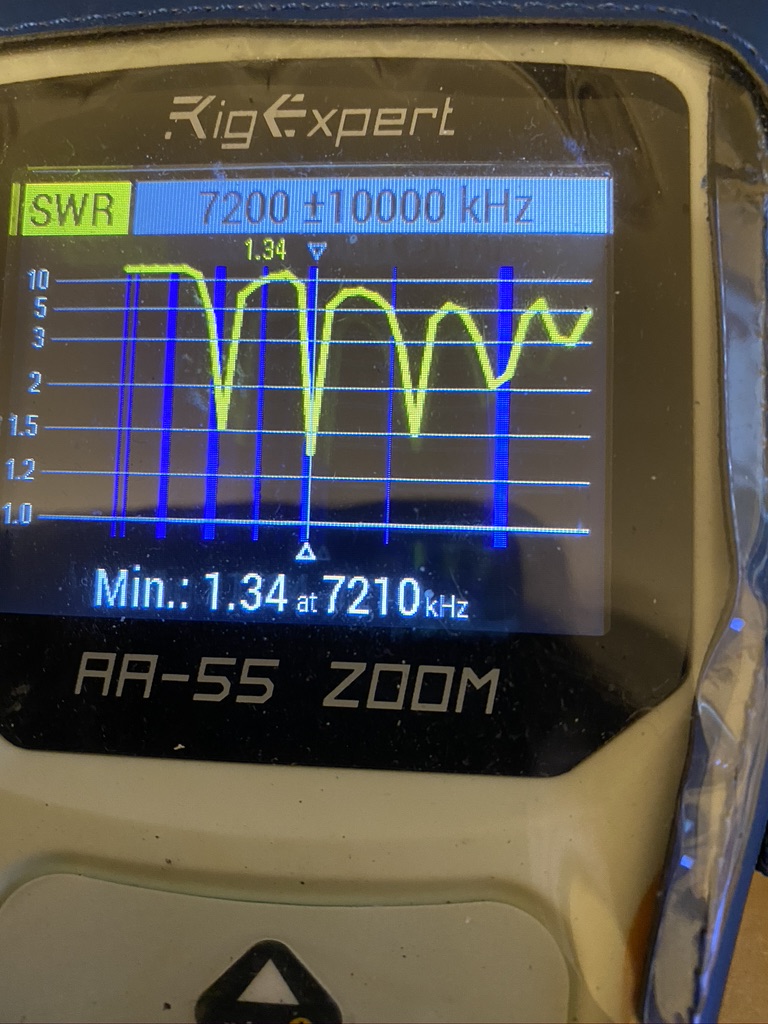
With just 3 sets of radials (4*10m wire each) i set about putting the antenna analyzer to work !
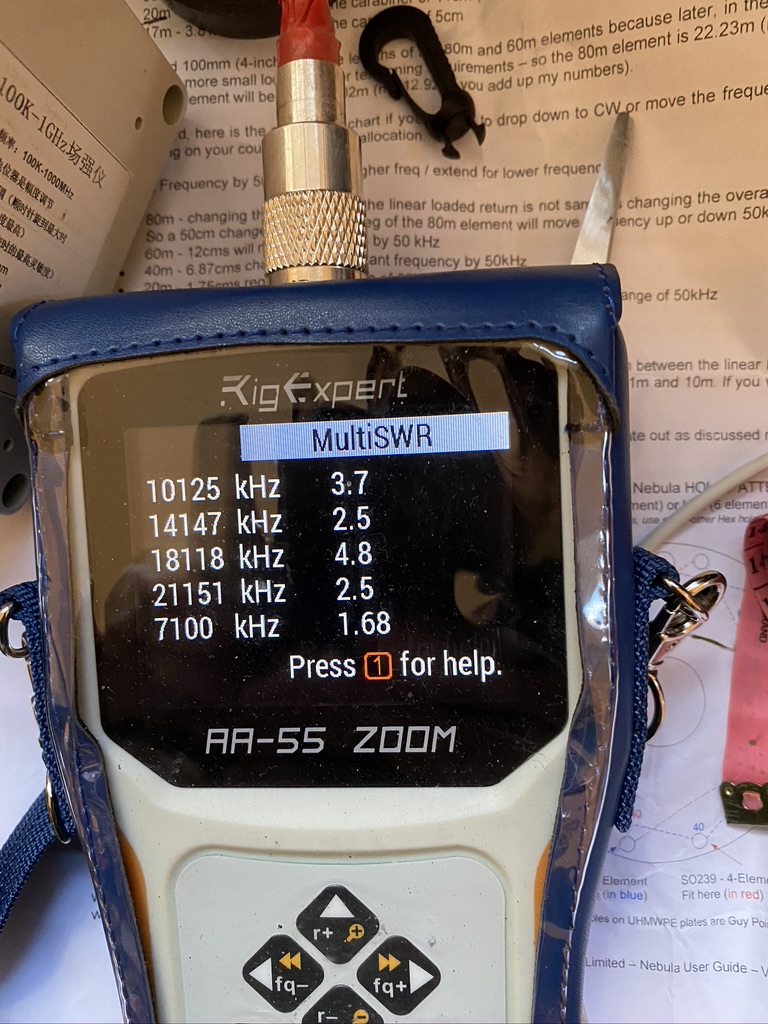
MuliSWR fucntion 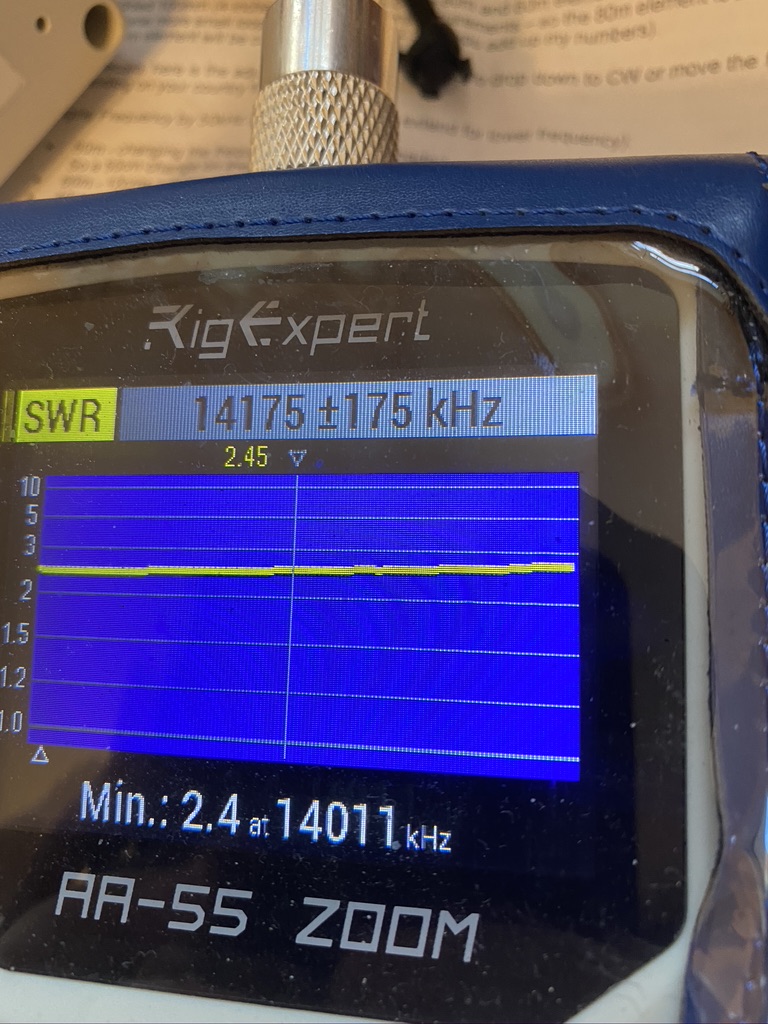
not bad for first attempt 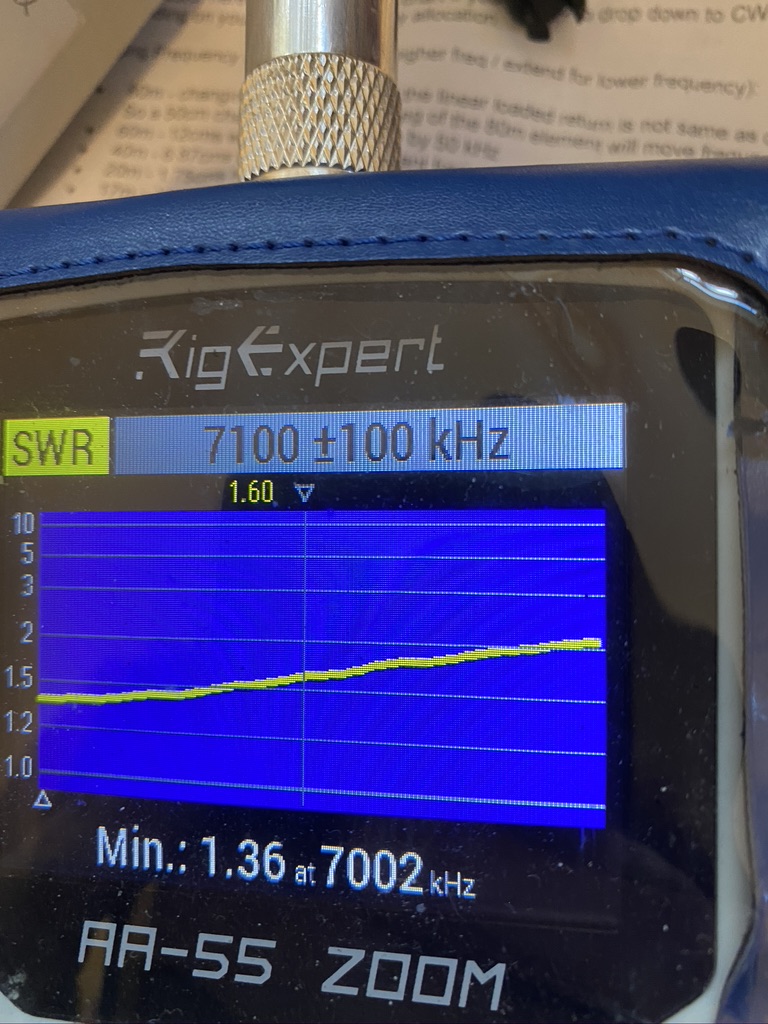
useable 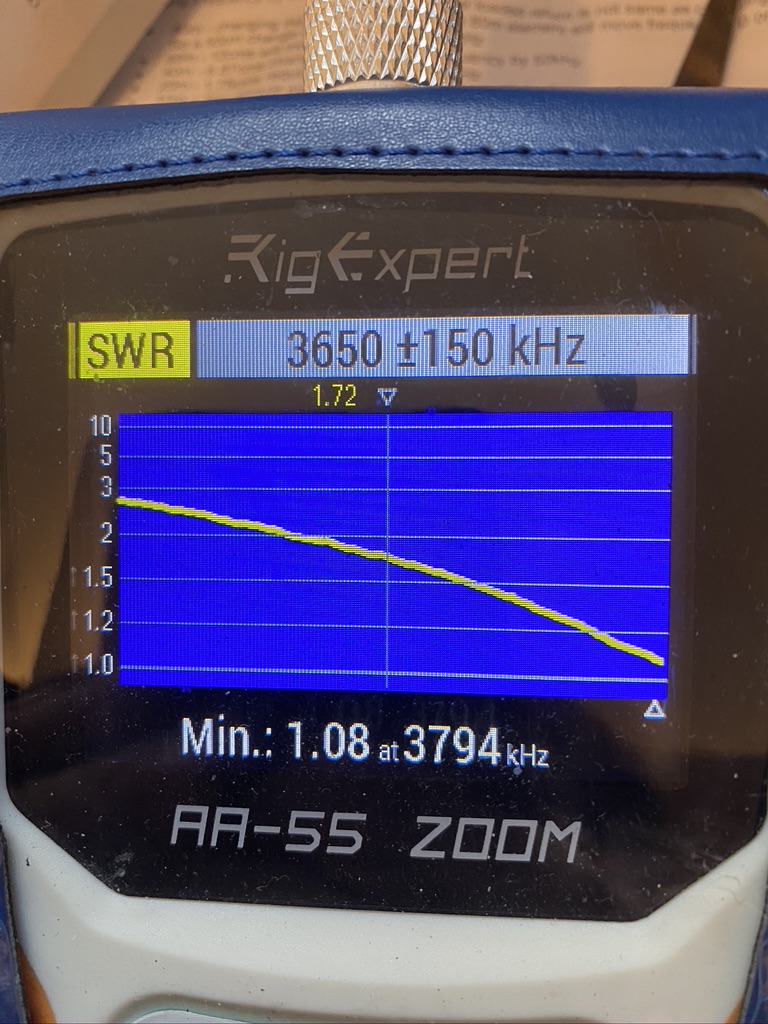
likewise, useable
Initial results are very encouraging, I’m happy that the S.W.R. readings are close to what they should be, esp as the full set of radials isnt in place. I was able to test (and tune) easily on 80/40 and 20, making sucessive QSO’s on FT8 around Europe.
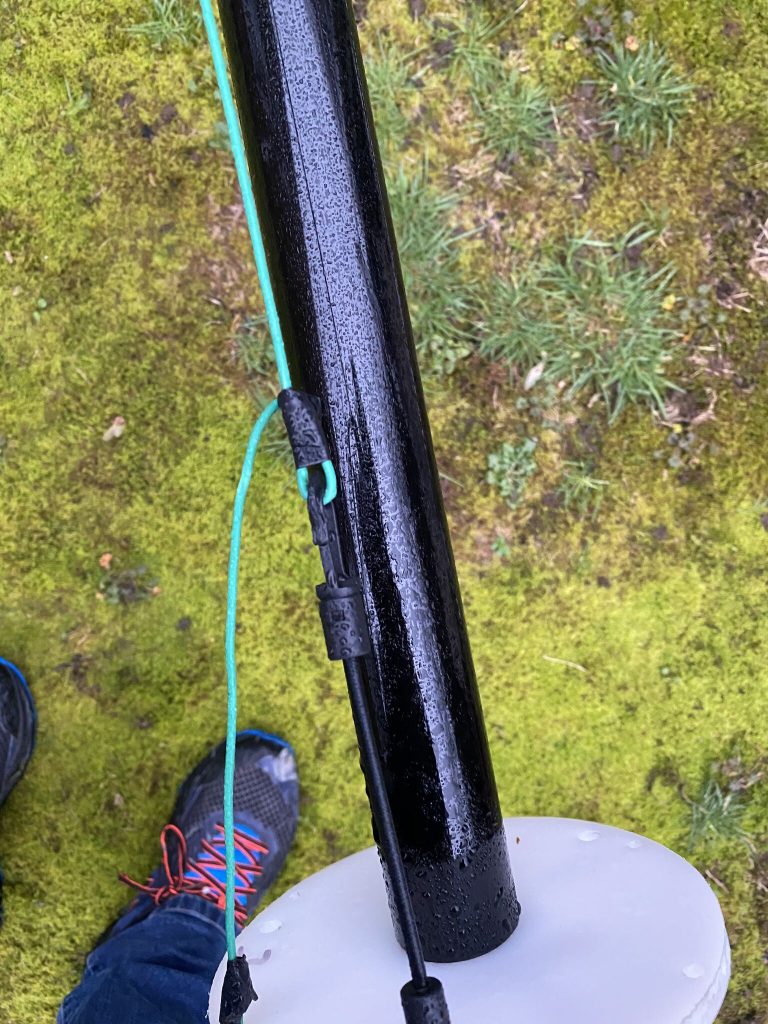
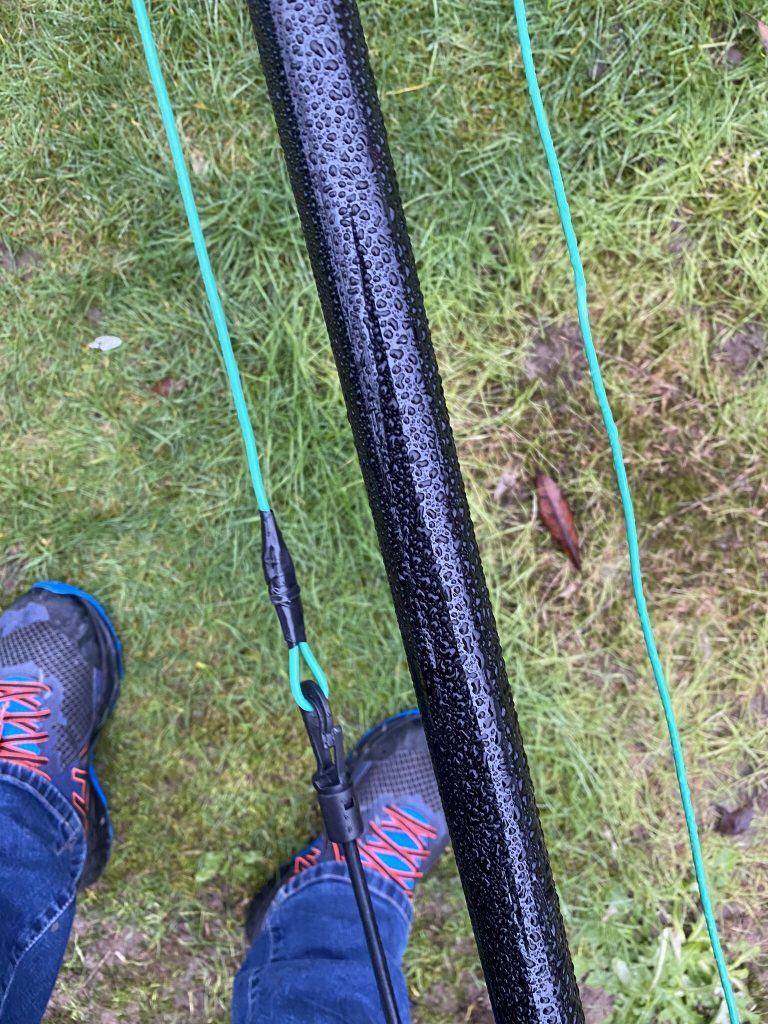
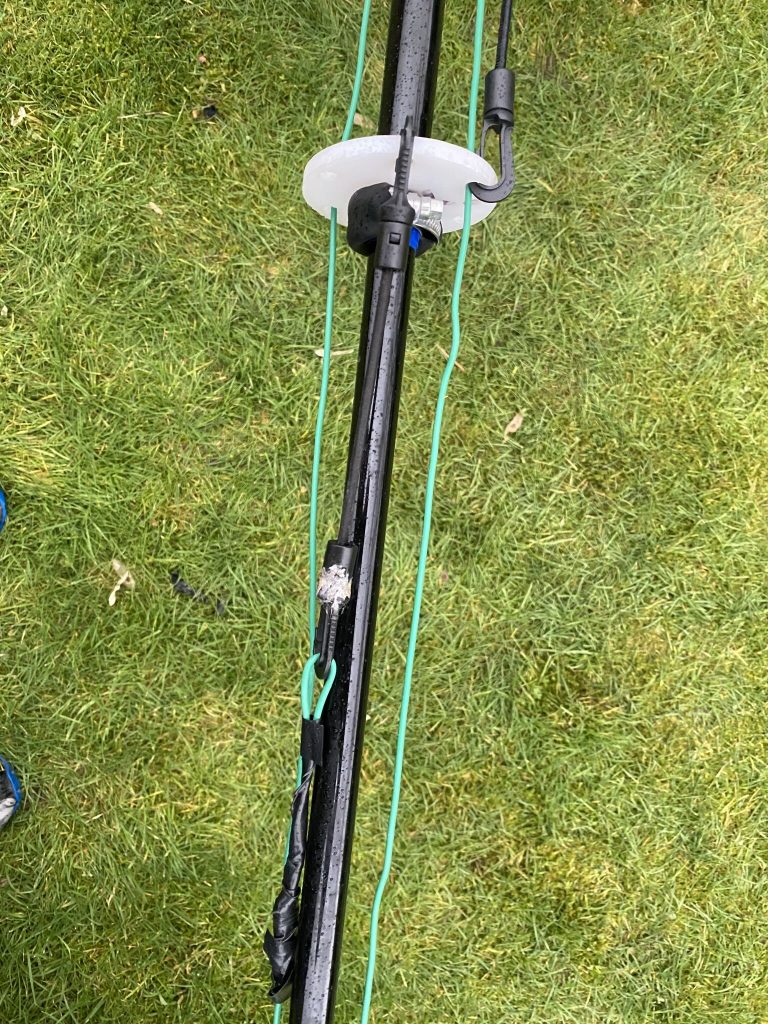
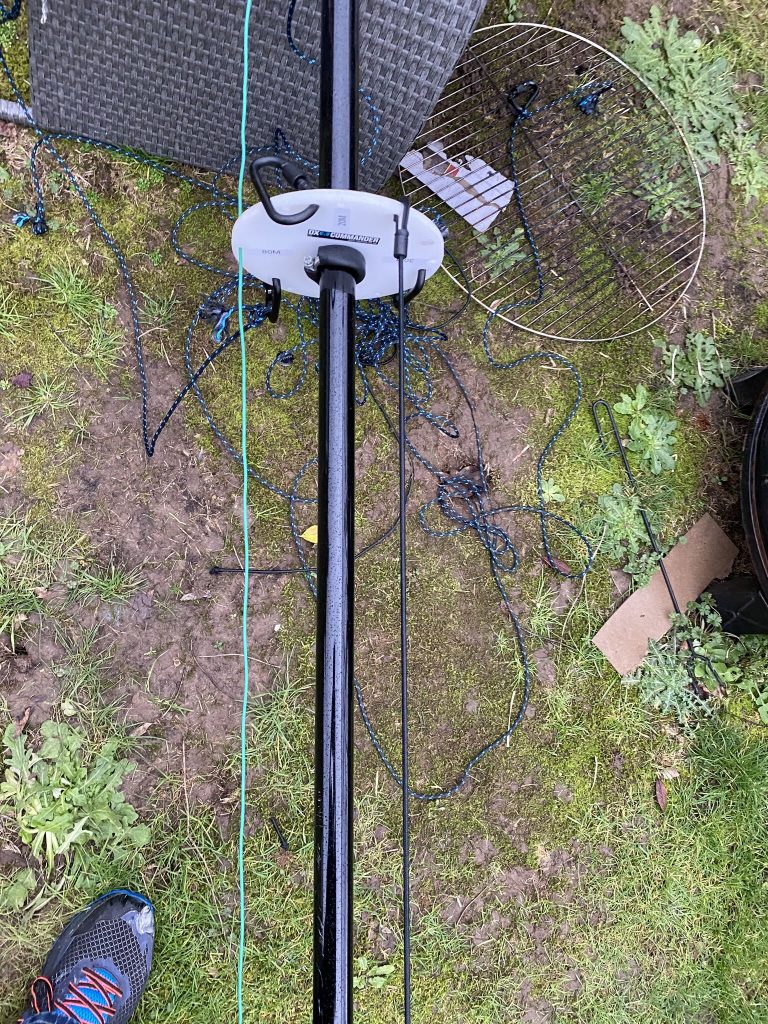
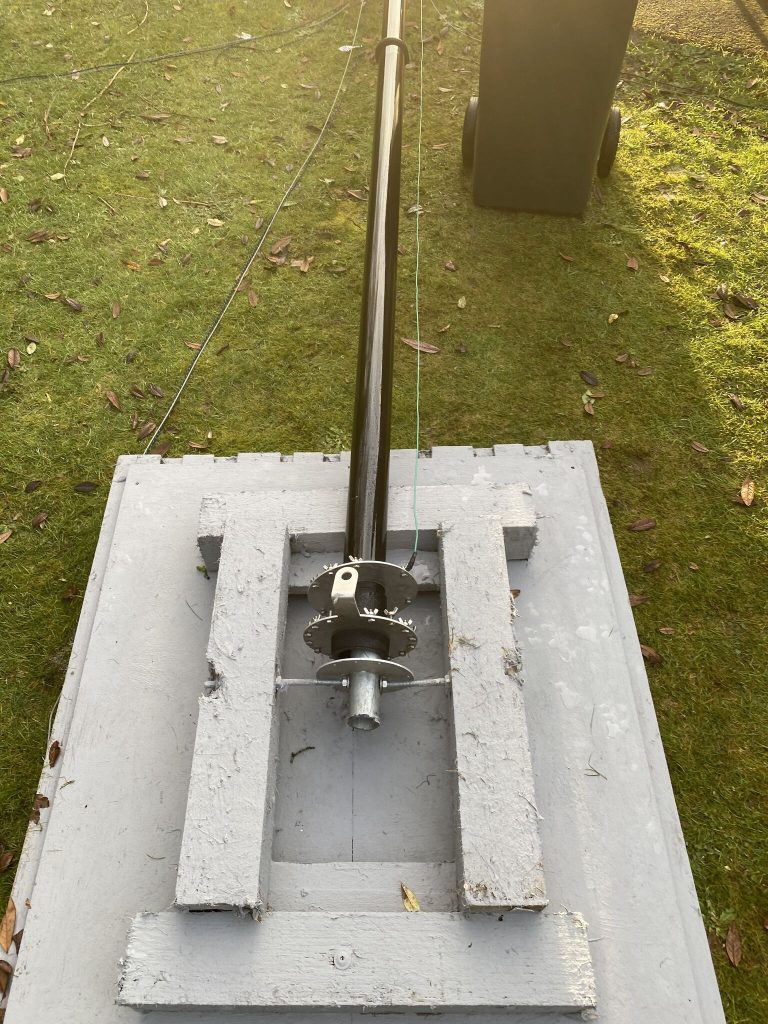
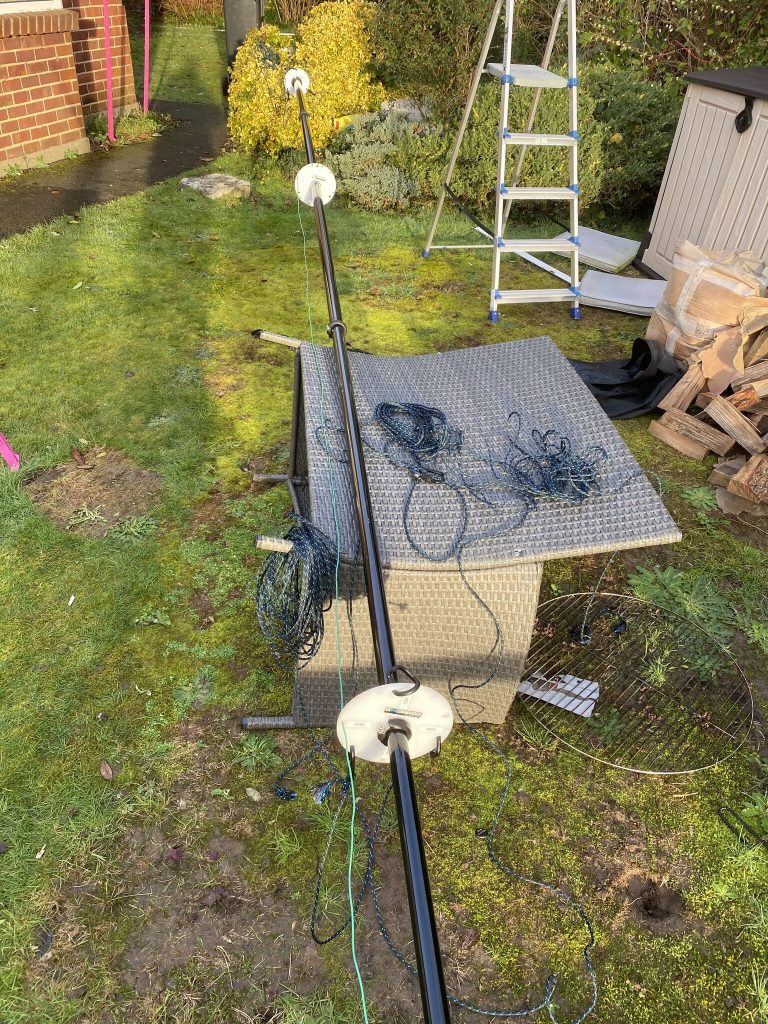
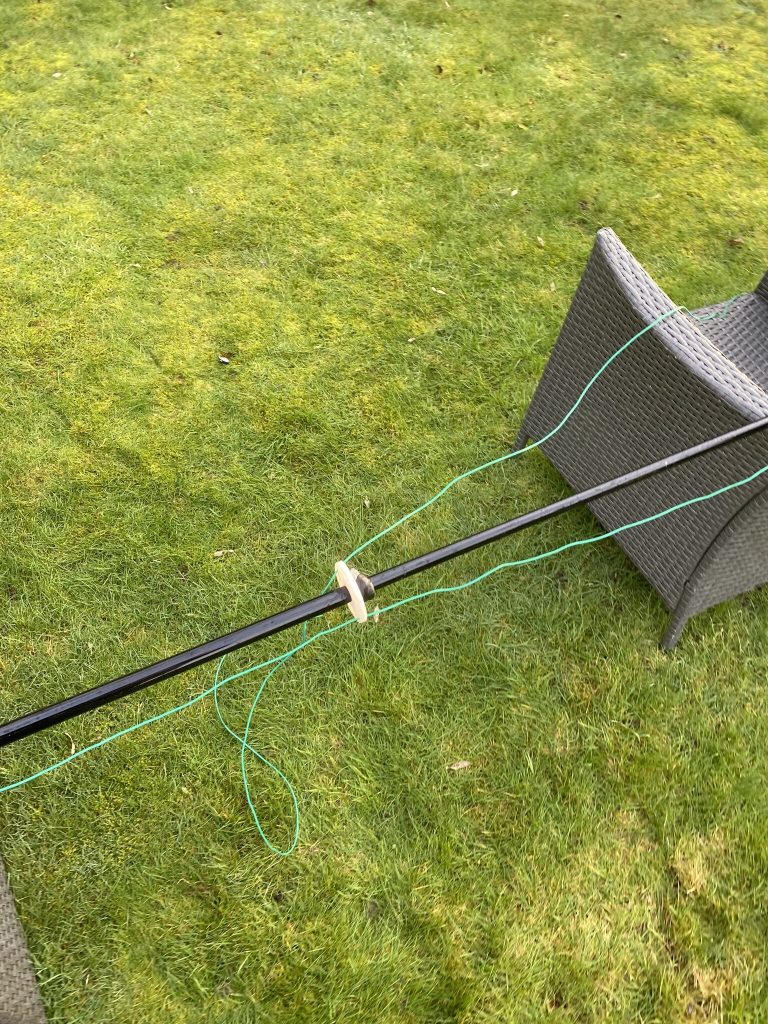
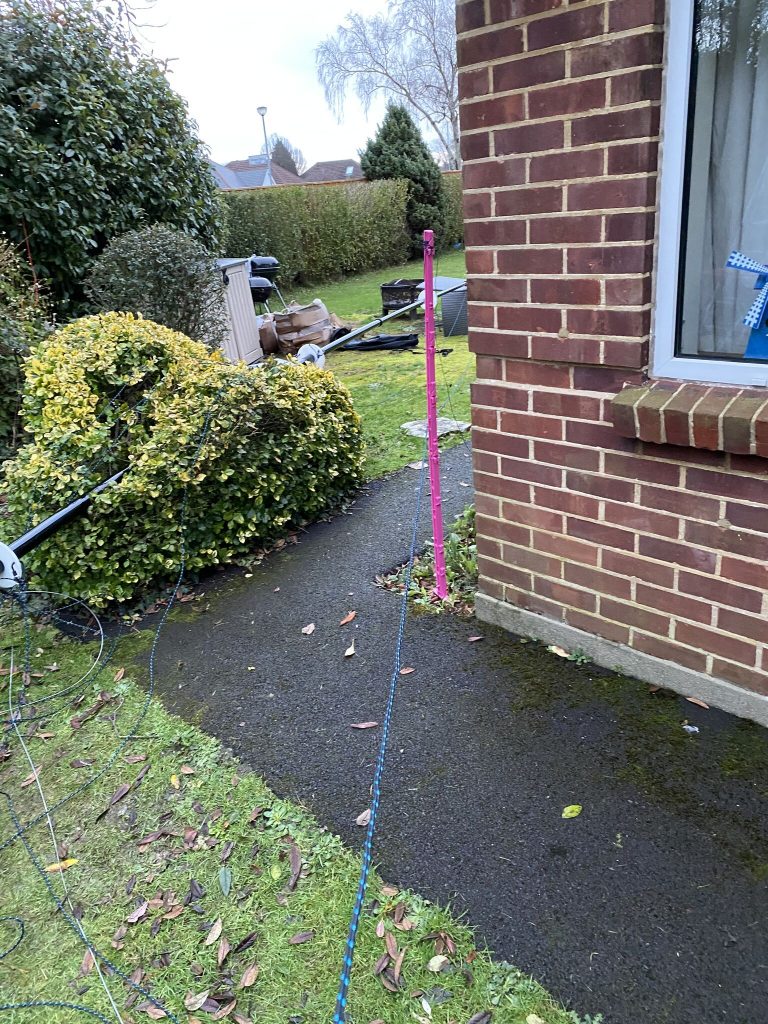
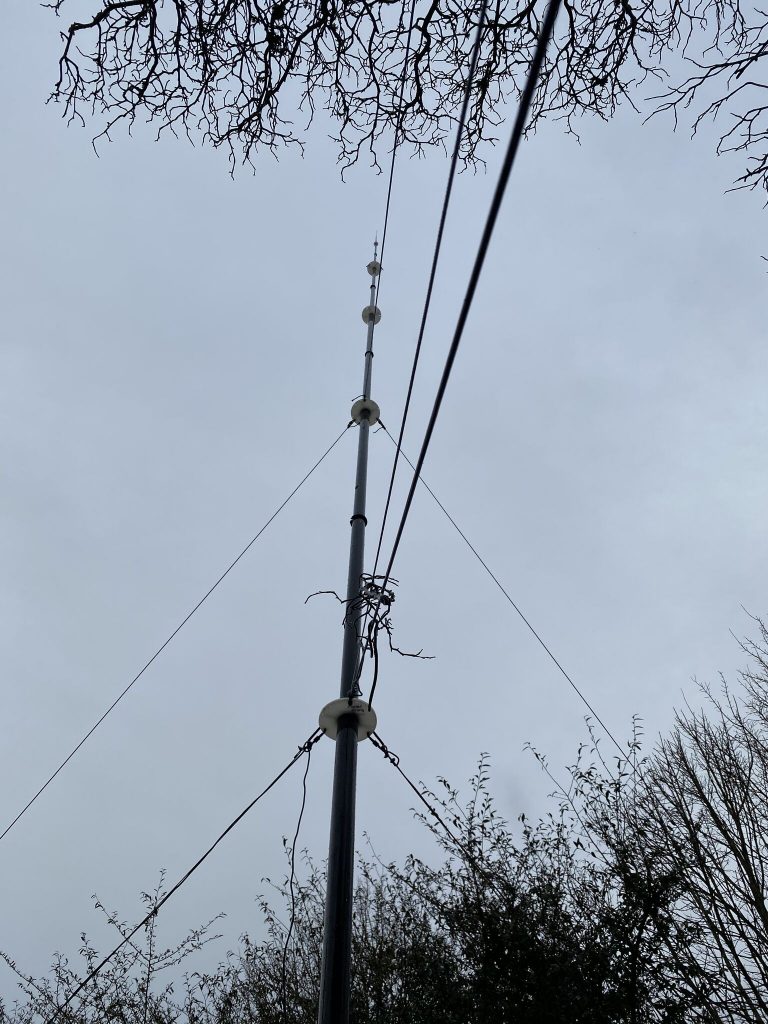
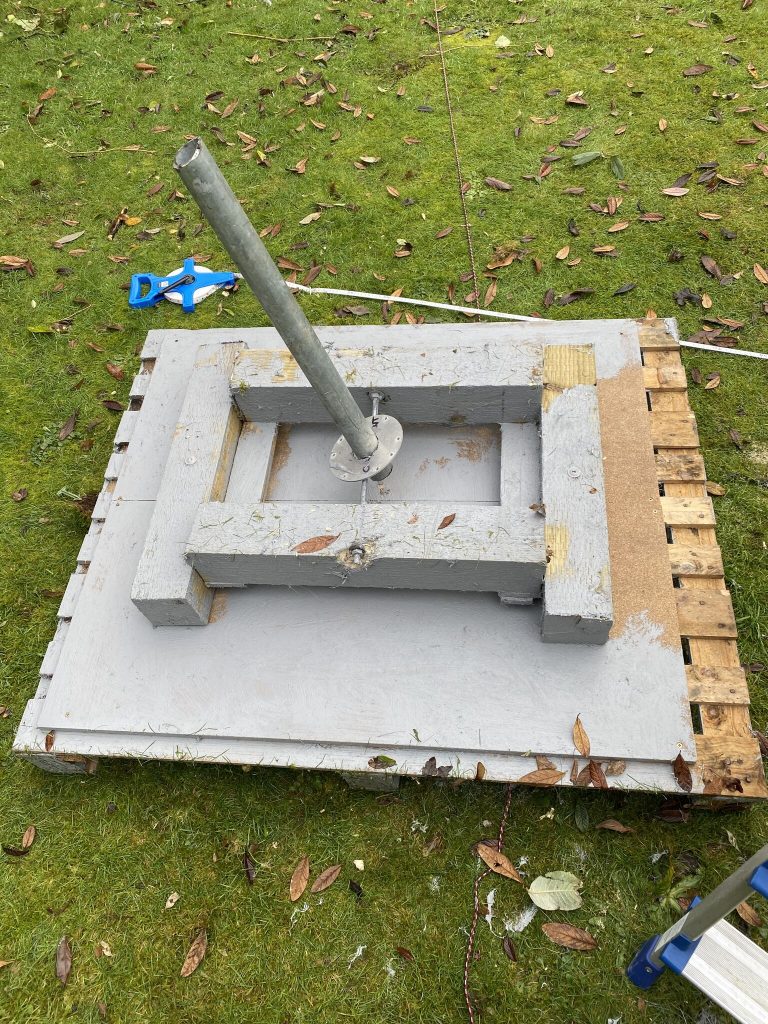
I still have all the radials from the ‘classic’ and these had worked well before on both 80 and 40m, so in the last bit of sunlight added these to tne Nebula. The results speak for themselves
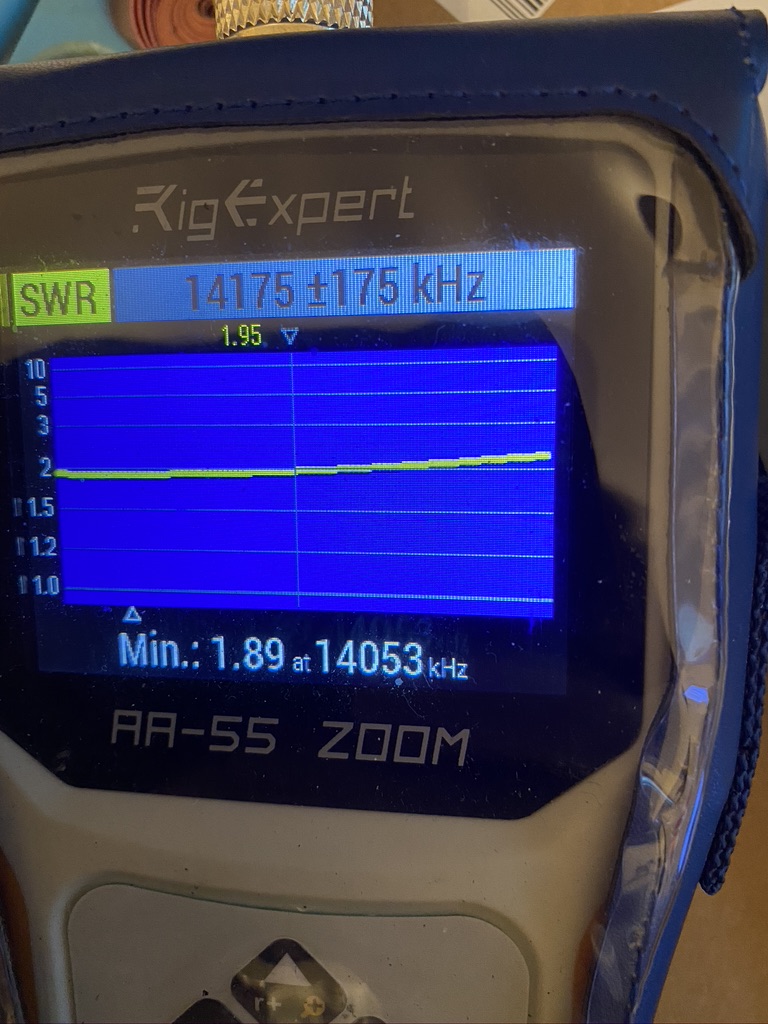
20m down to 1.89 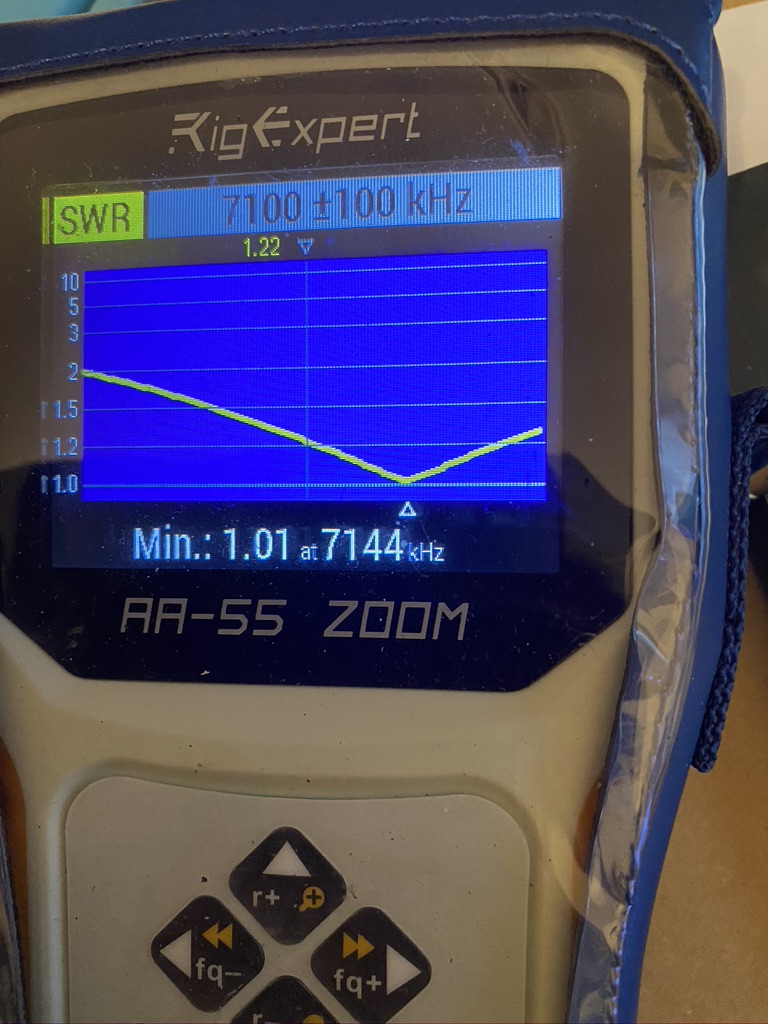
40m down to 1.01 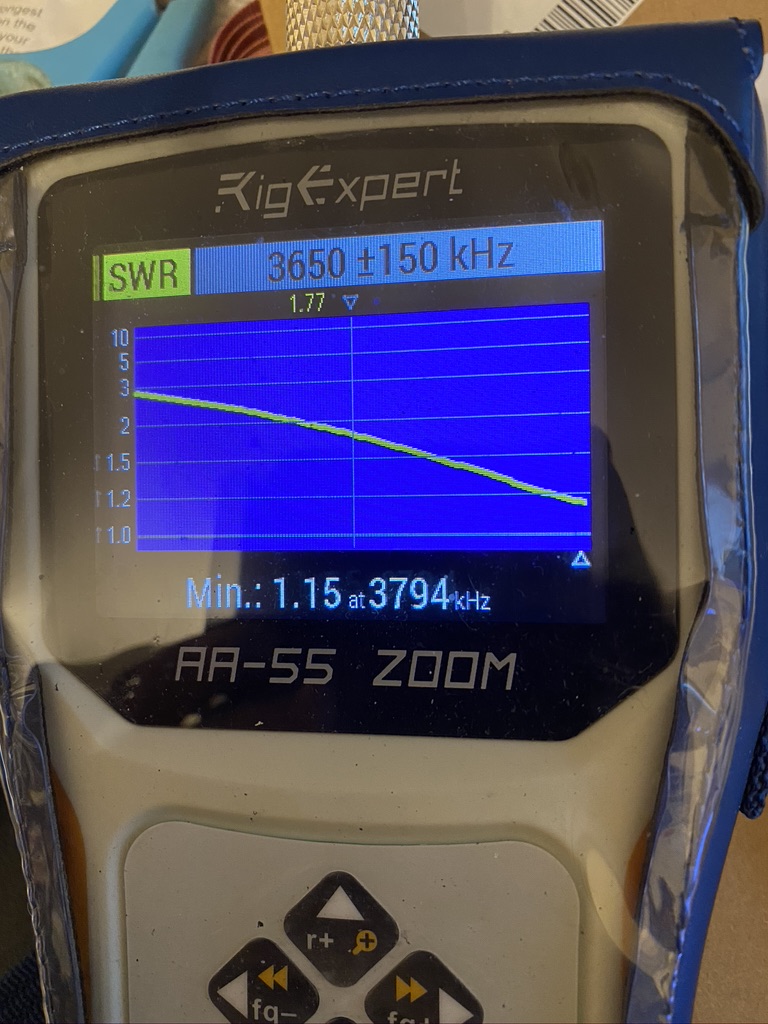
a nice slope on 80
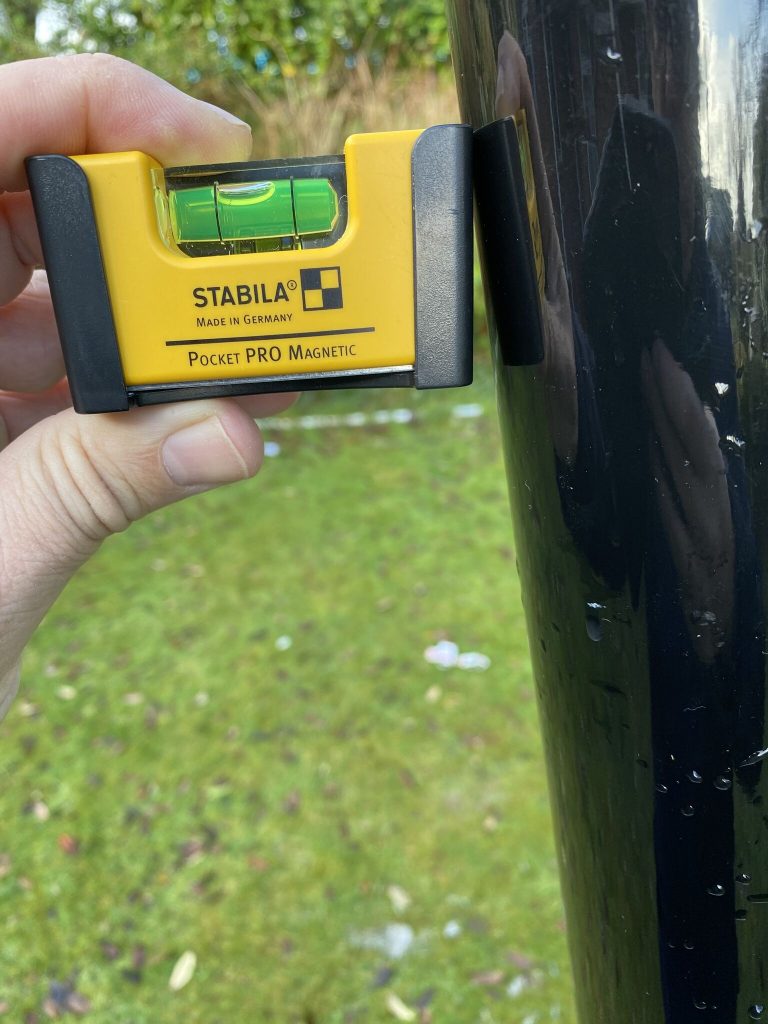
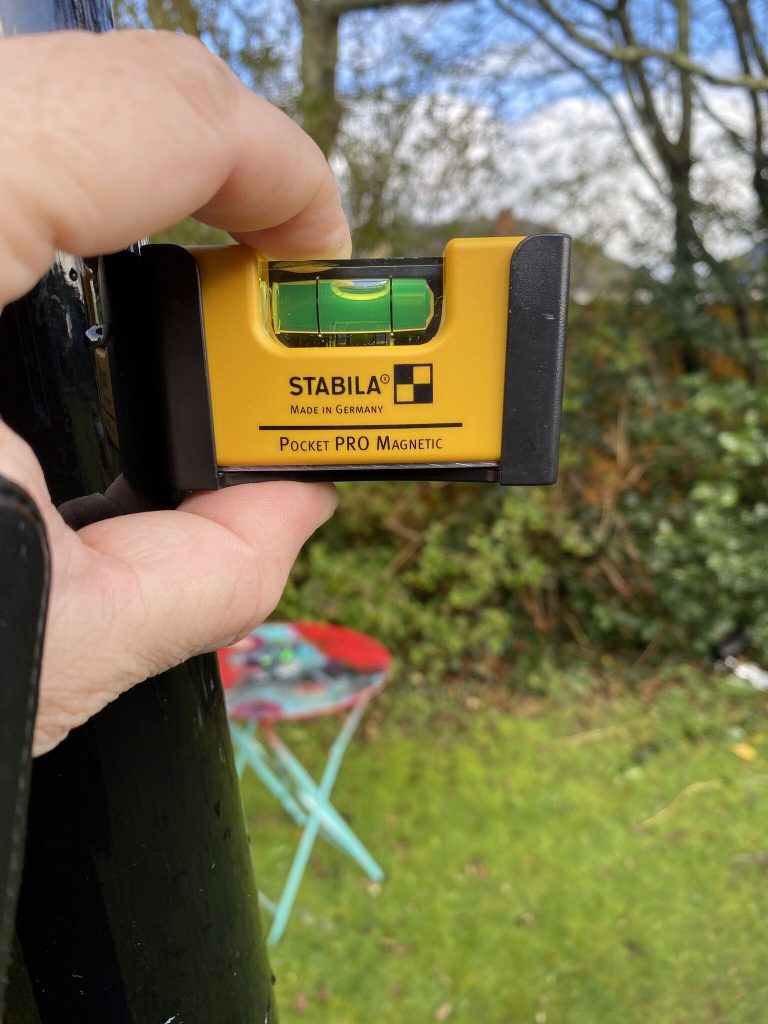
I then wanted to experiement with some of the features of the rig-expert i seldom use, low SWR is often good enough for me, but as I’m going to upgrade the feed cable, went and got more measurements.
40m values 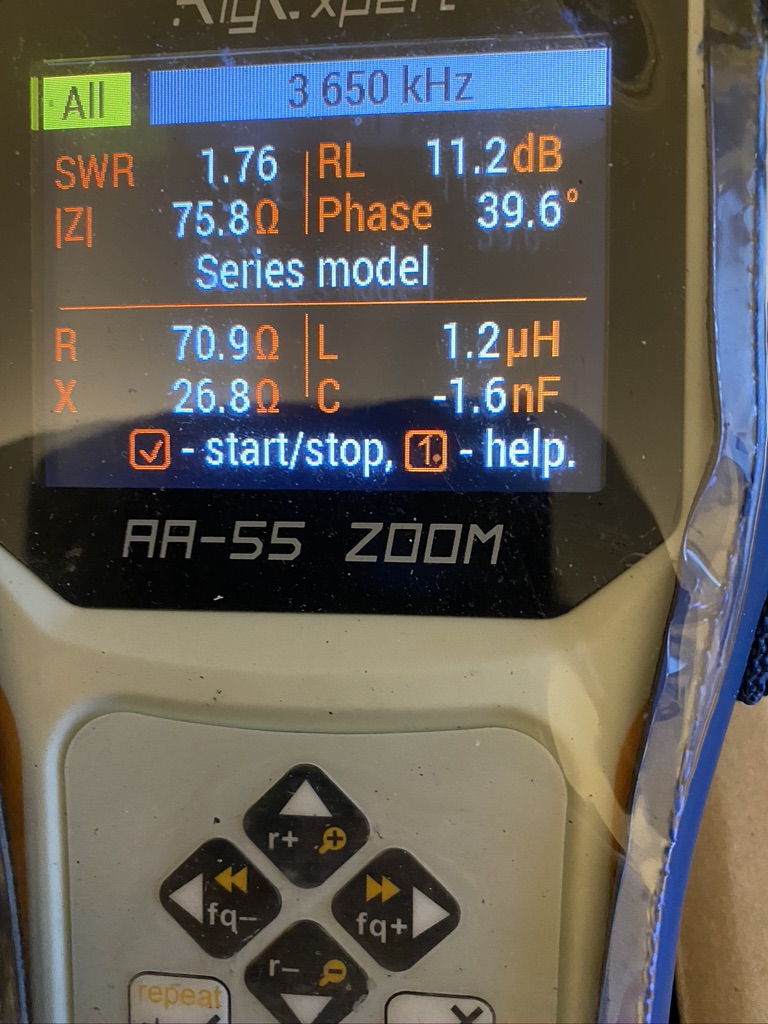
80m 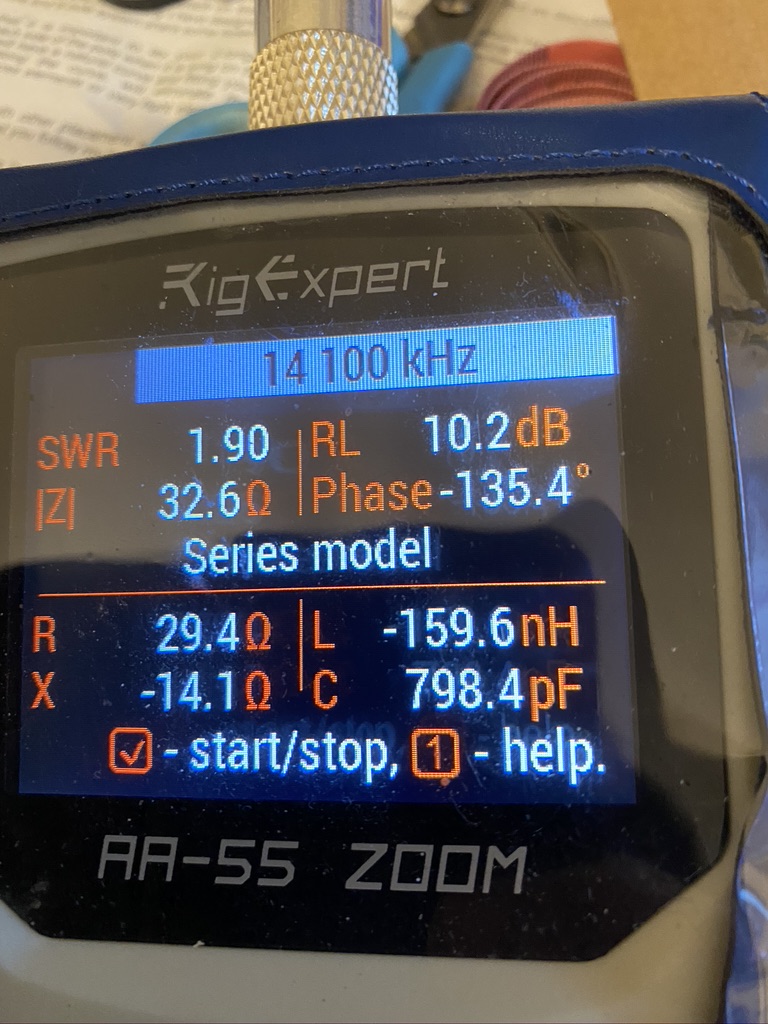
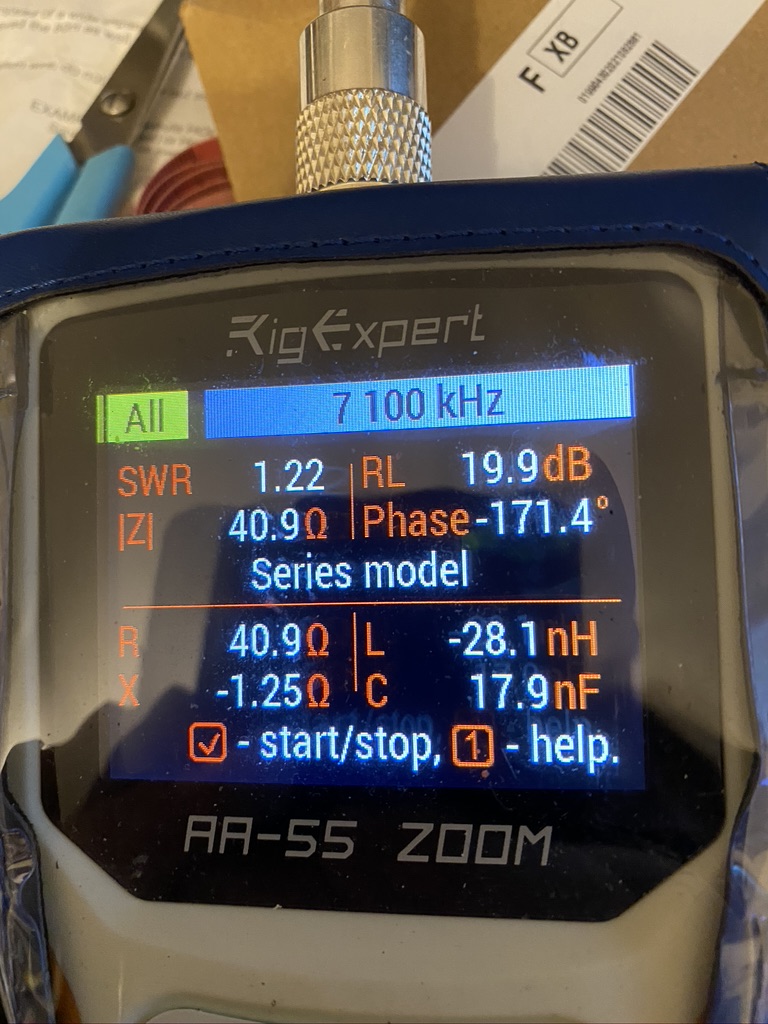
20m
Now I’ll be the first to say I dont understand all the metrics on here, but I know that the return Loss of 19.9dB is very good !, likewise I’m happy with 11 and 10 for 80 and 20 metes as well.
I will find out more on what the other values mean.
20m 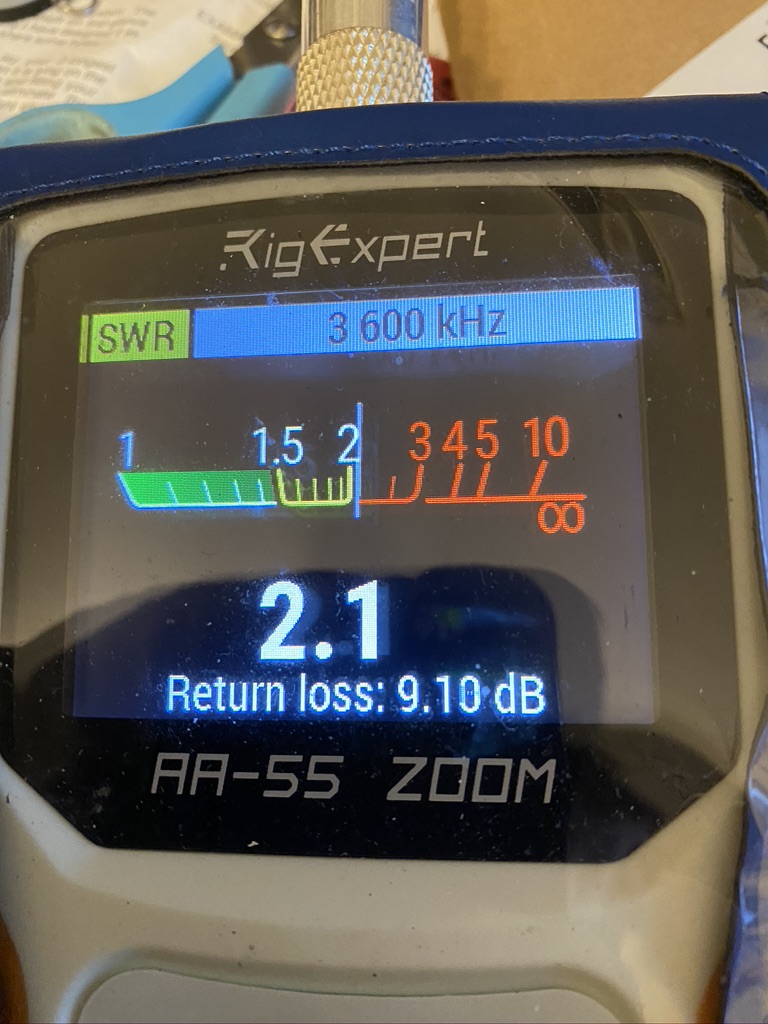
80m 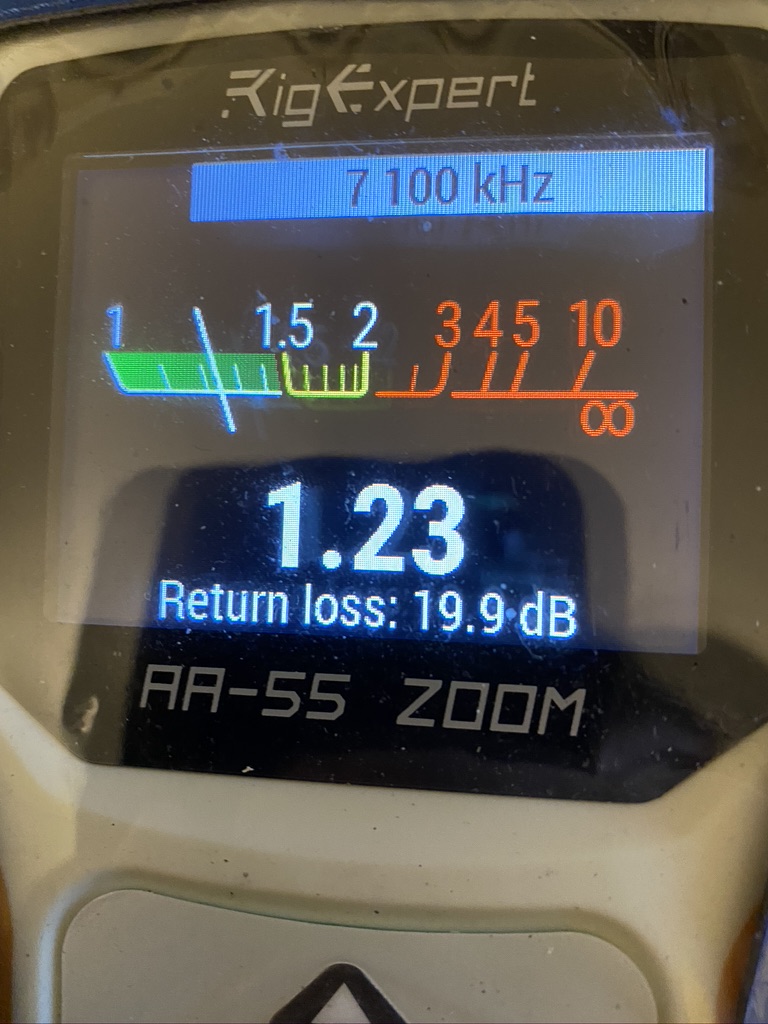
40m
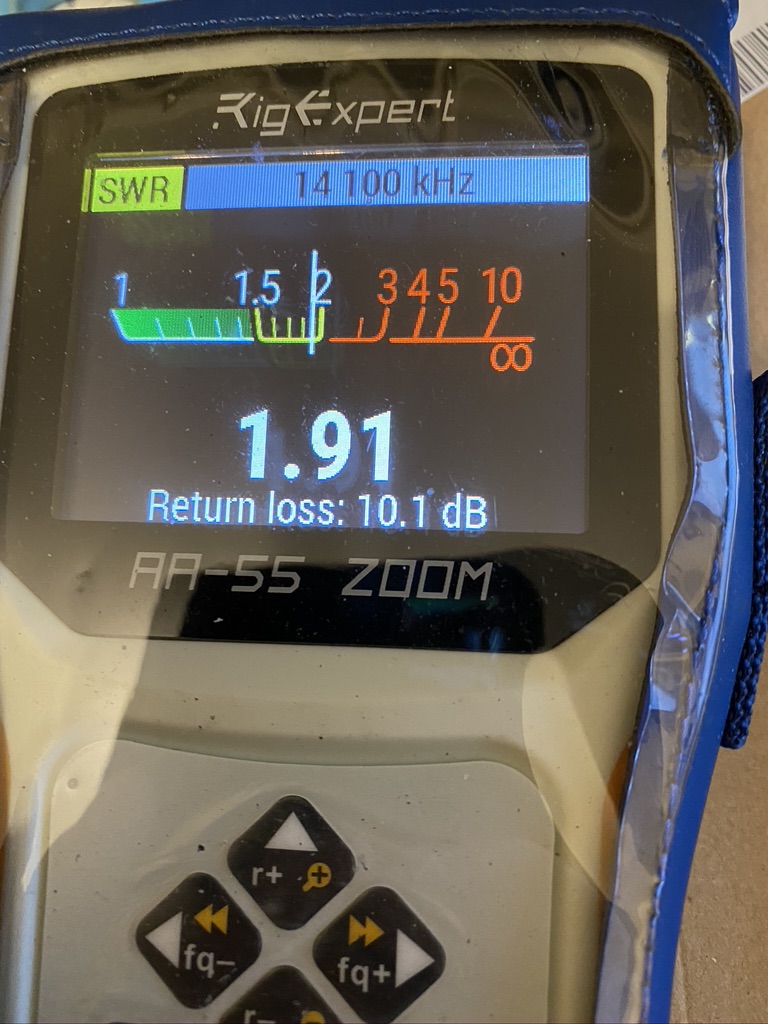
Very happy with the clear reading sfrom the SWR meeter on the Rig Expert. I’m hoping i can get 80 and 20 even lower SWR and better return loss.
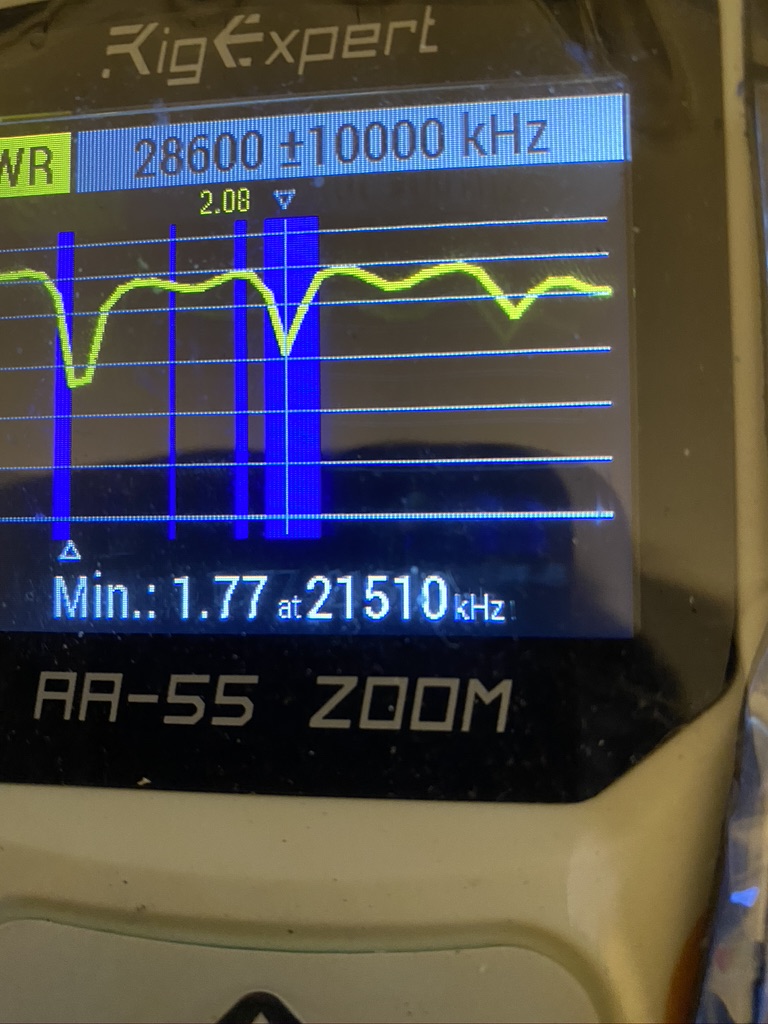
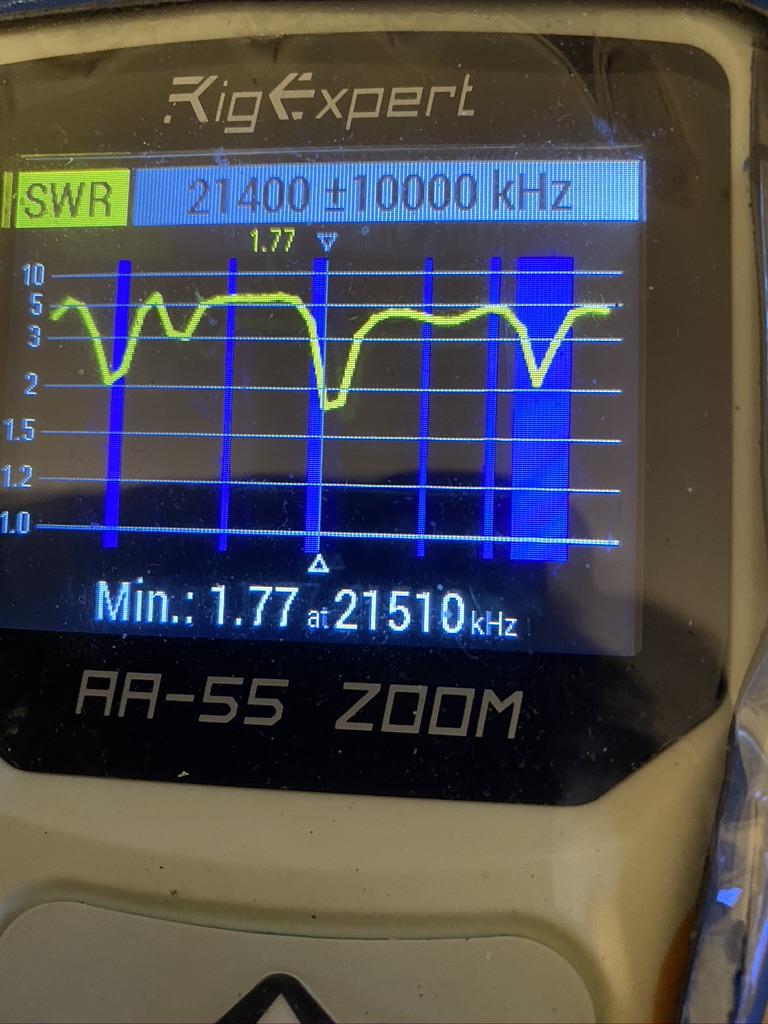

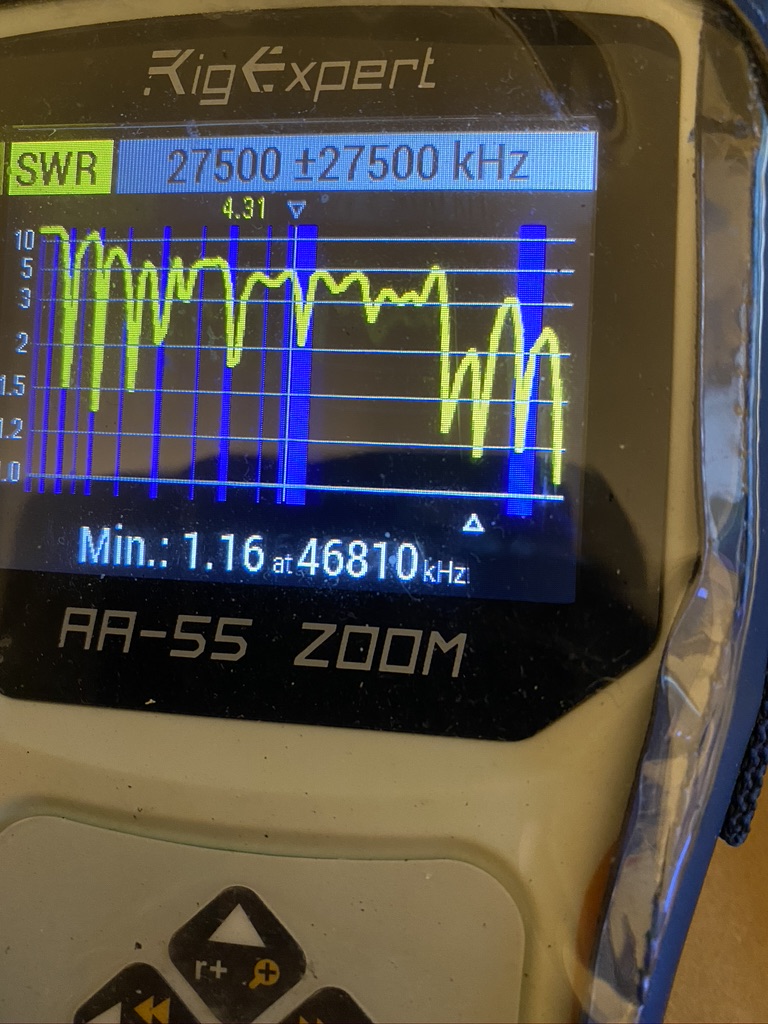
The all band analysis gave me a good visual on where the Nebula was resonant with just 3 elements. I’m looking forward to taking it upto 6, but with just 80, 40 and 20 these ar ethe main bands I use, so am happy with them. I could pull out my MFJ ATU – which I used to use to get me on top-band easily, so will see how i get on.
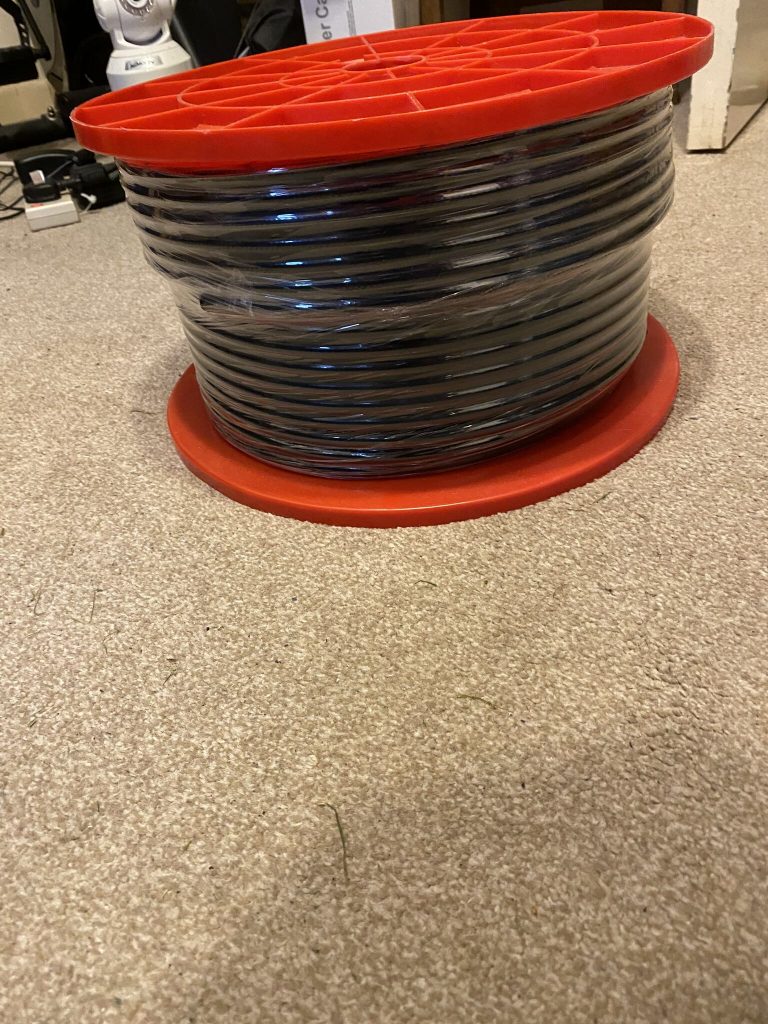
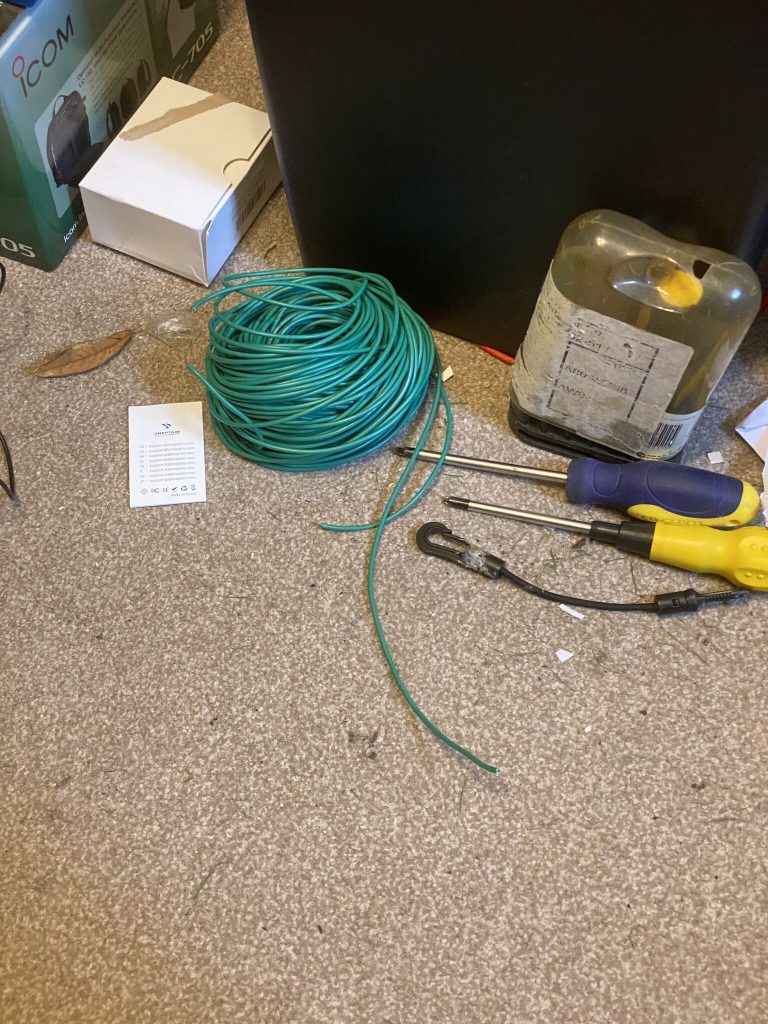
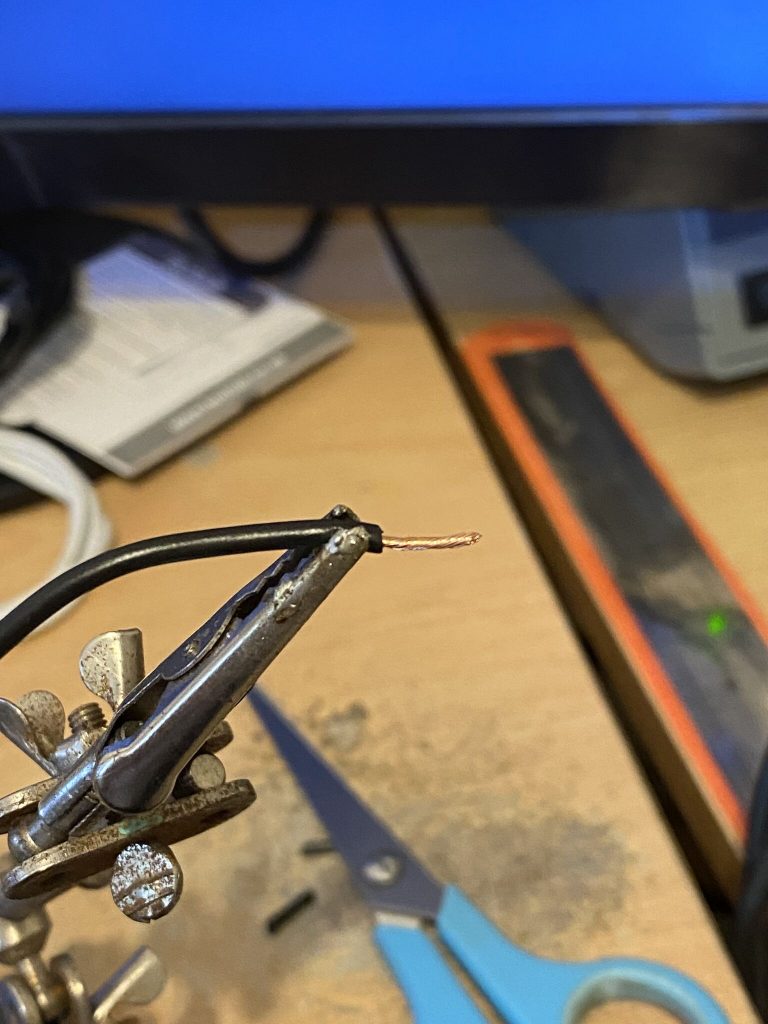
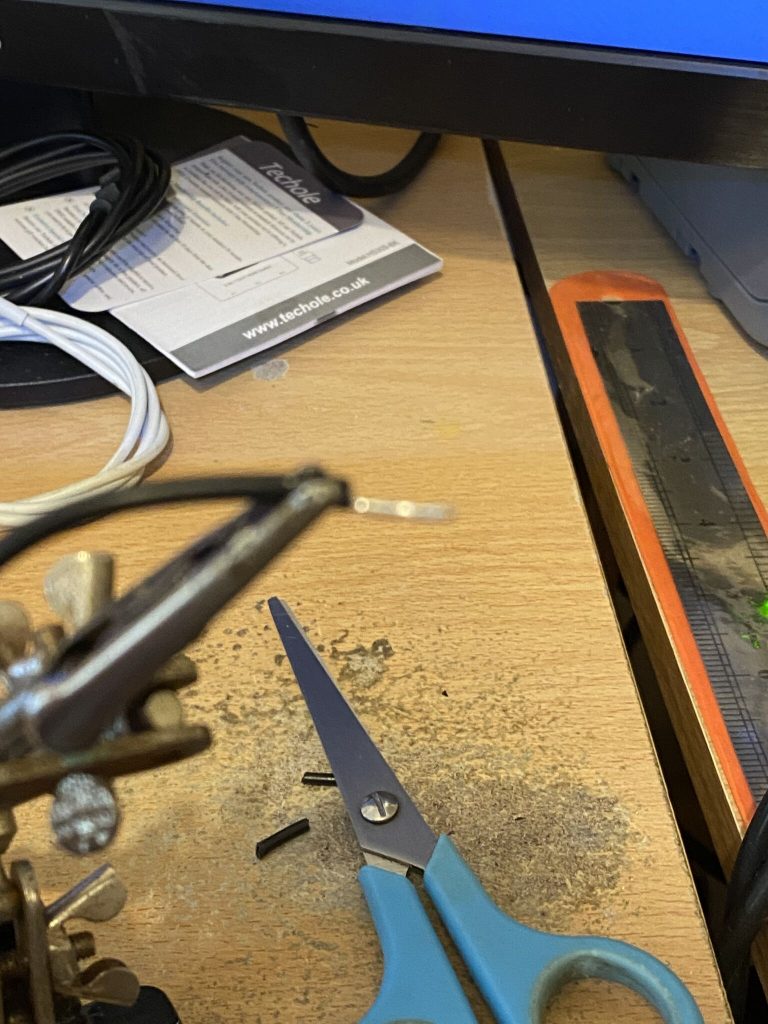
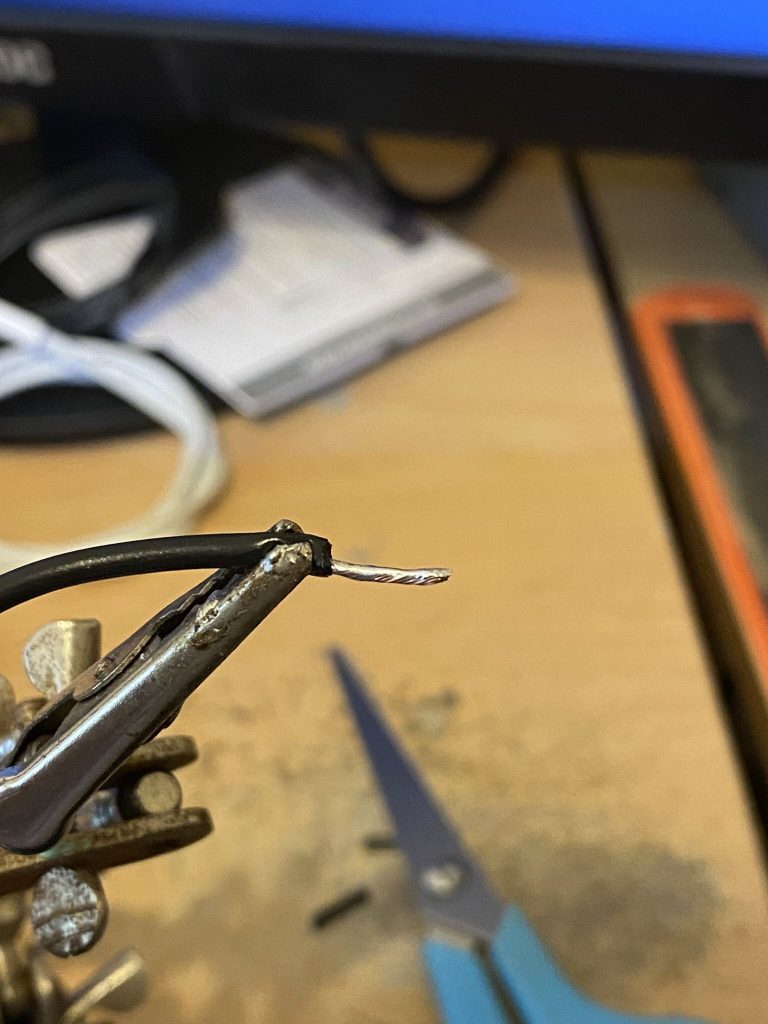
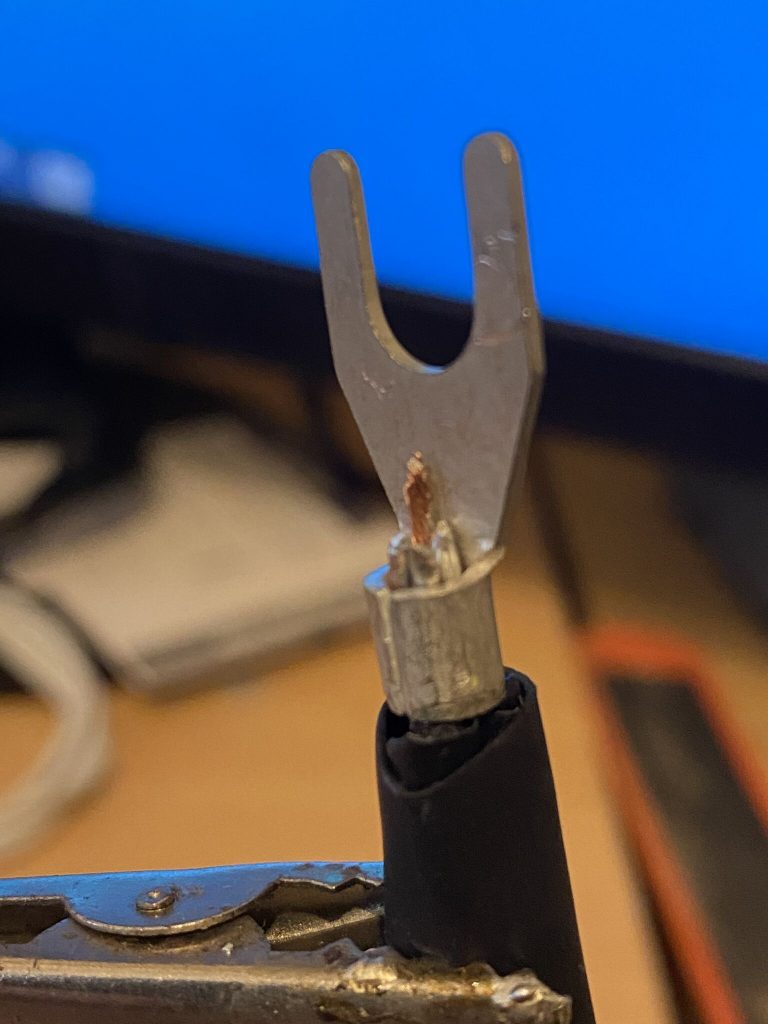
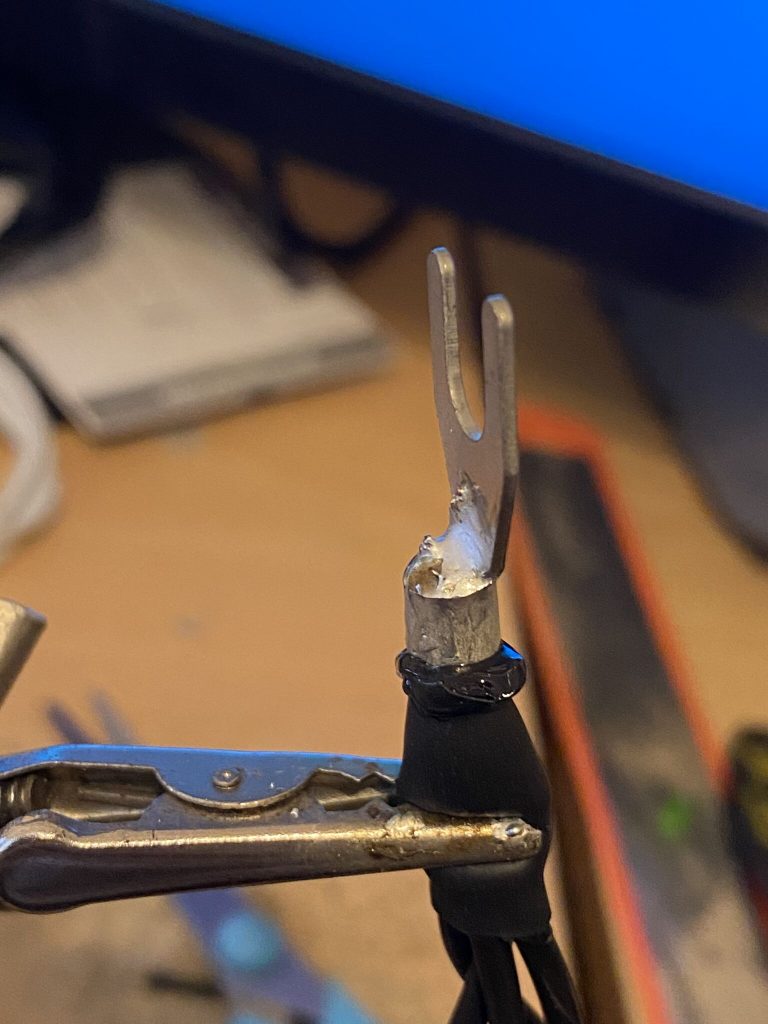
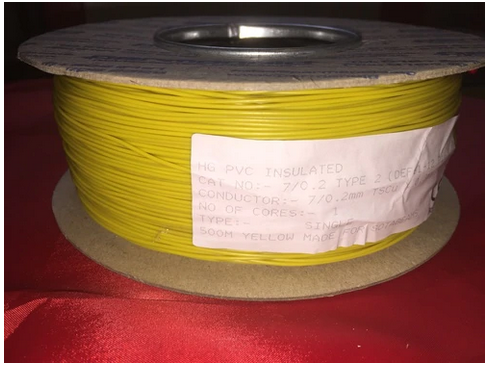
I’m going to manufacture the new feed lines, i’ve heard such good things about the coax and M&P connectors, i cant wait to see what happens.
End of the day I’m hugely satisified with how the Nebula is performing.
Stay safe and 73
Alan / 2E0FWE