My HF Telephony problem
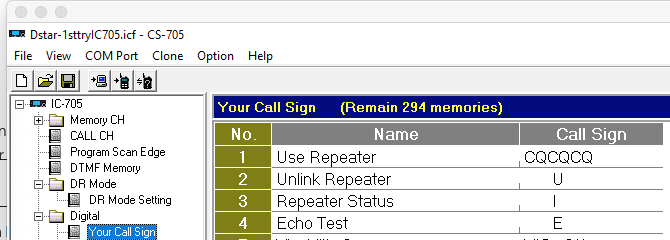
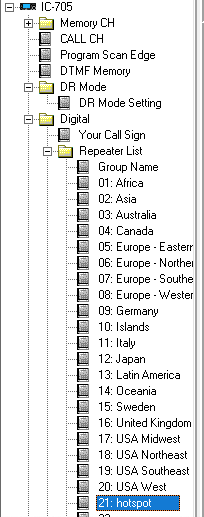
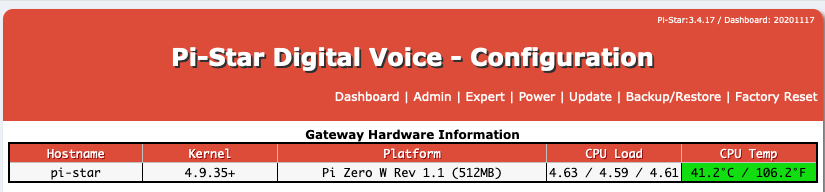
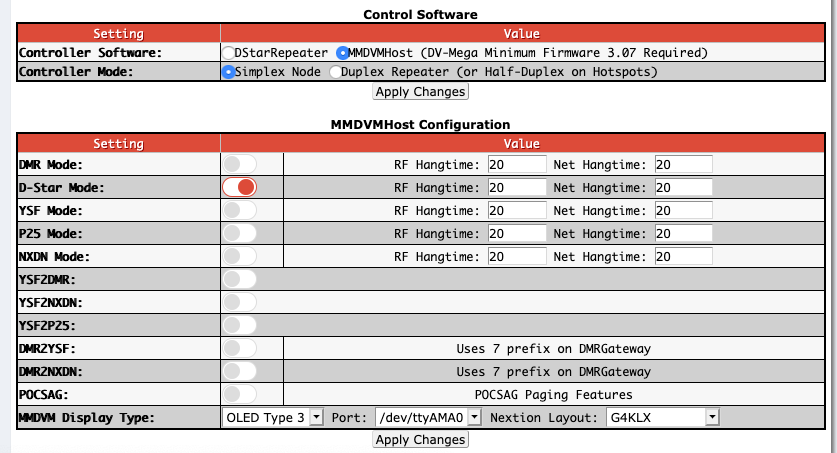
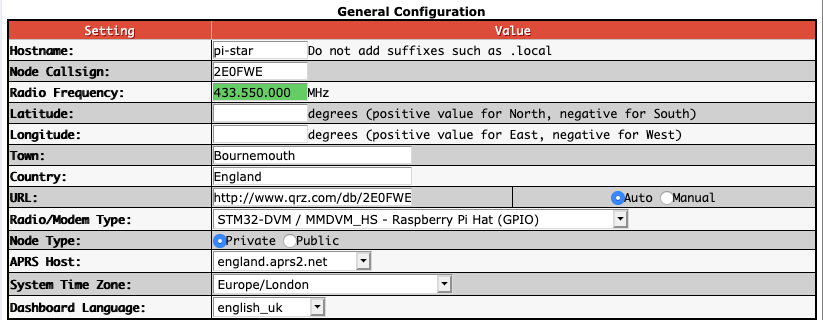
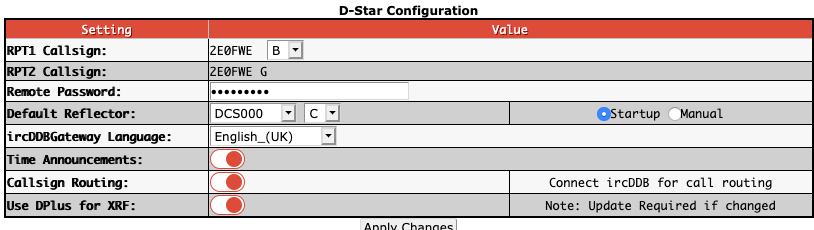
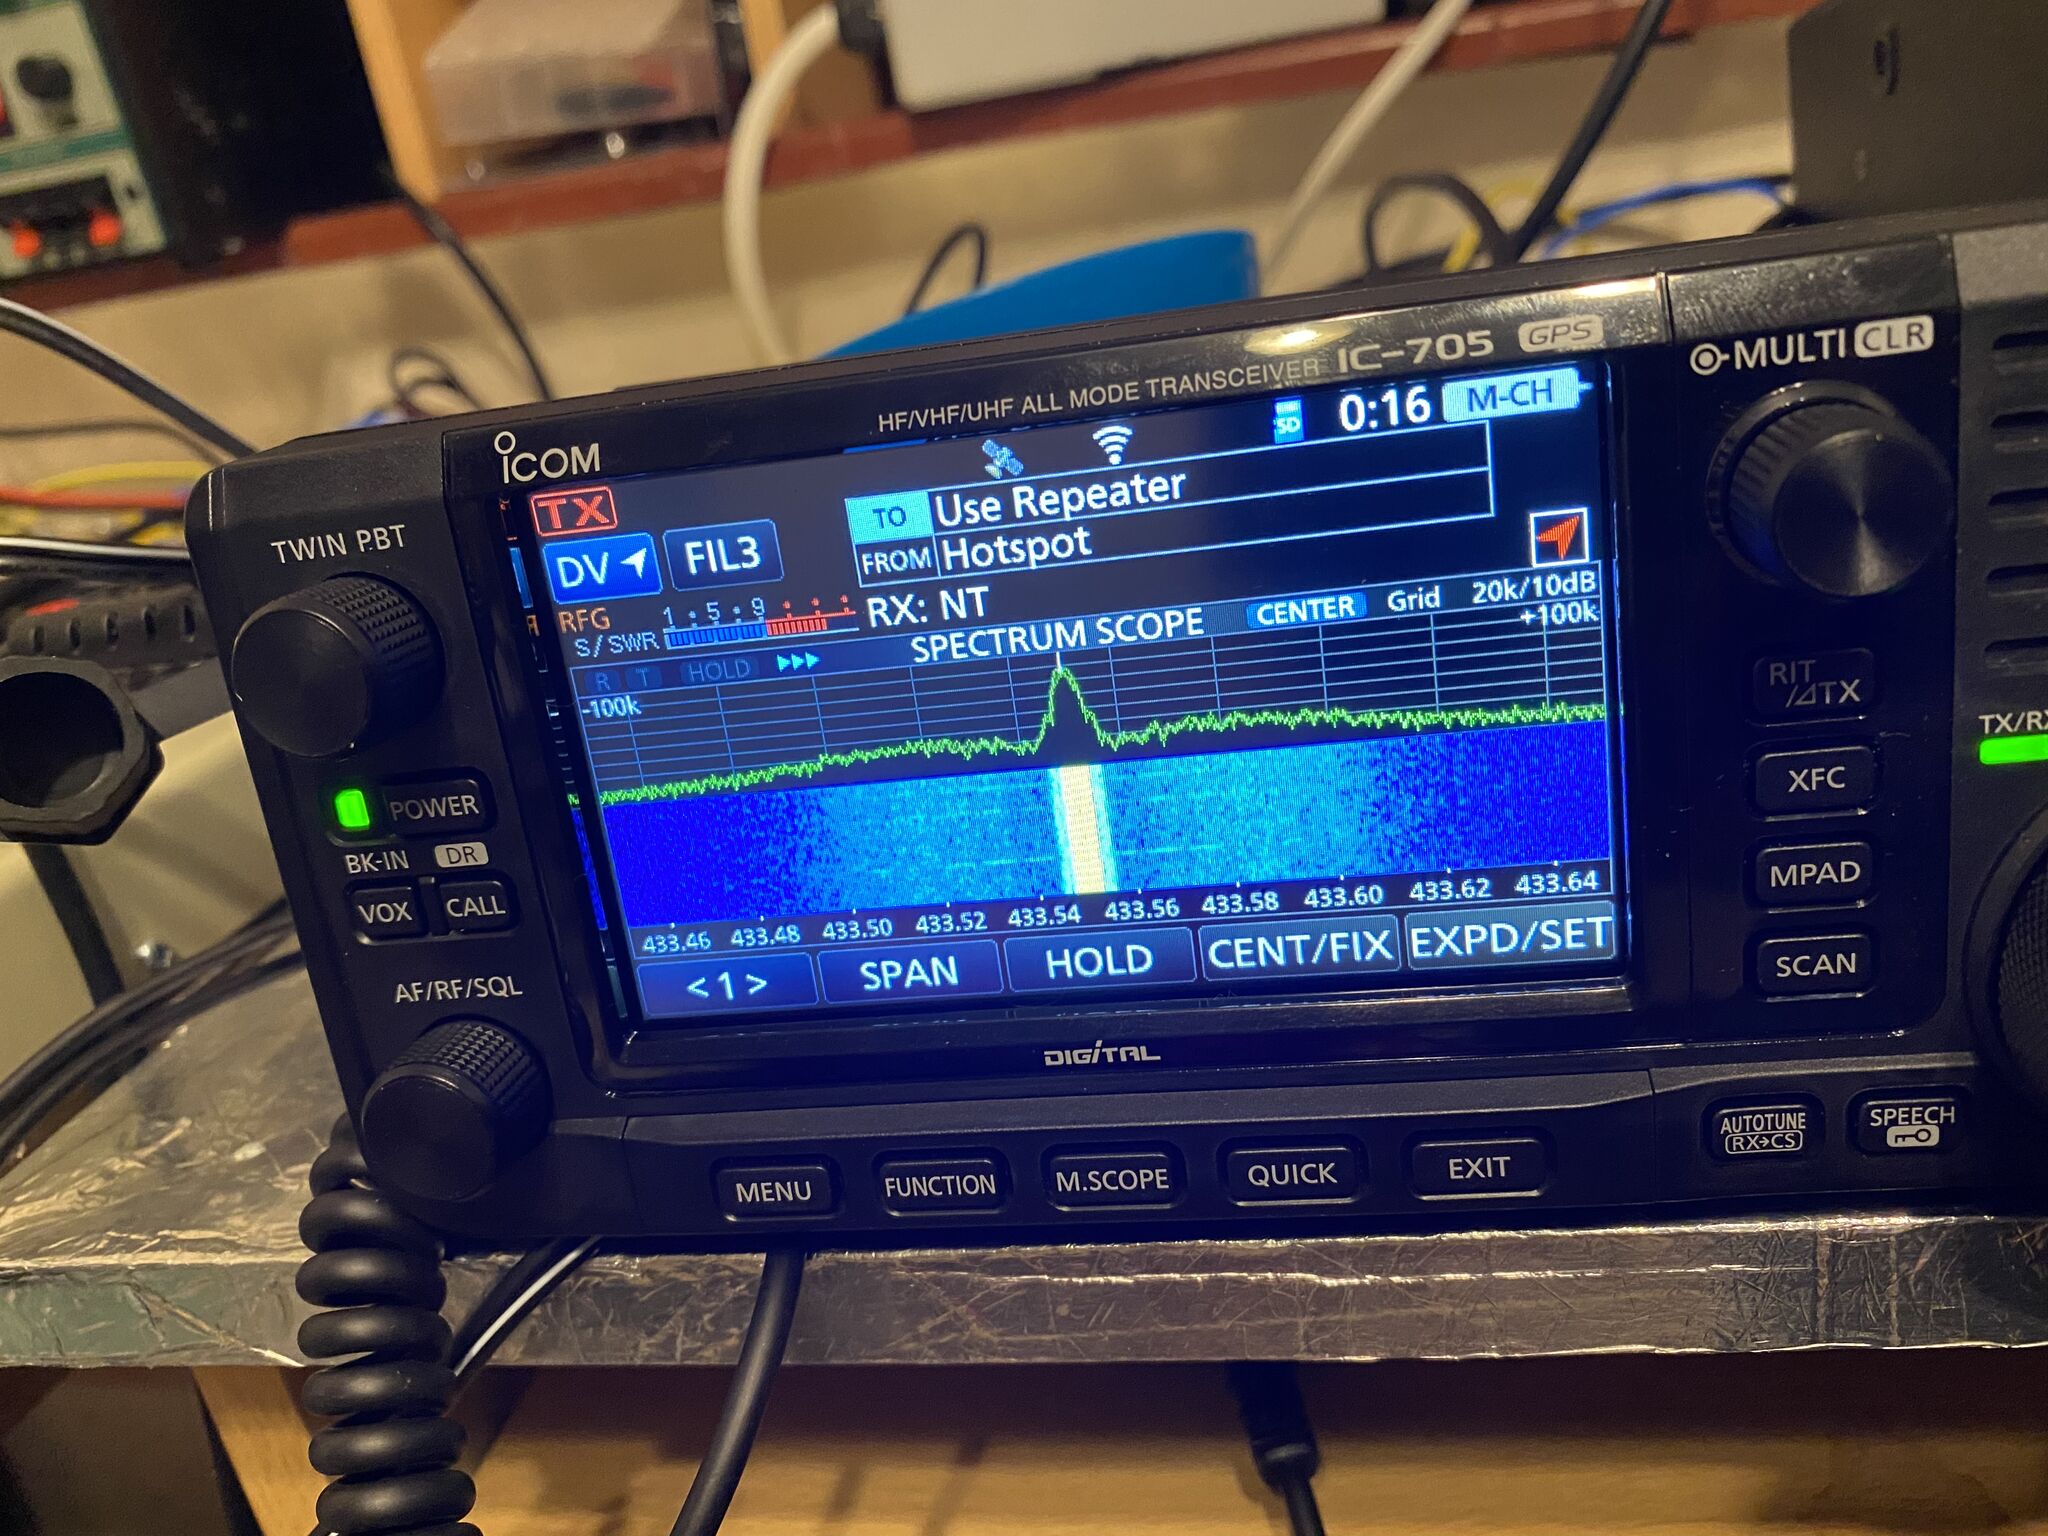
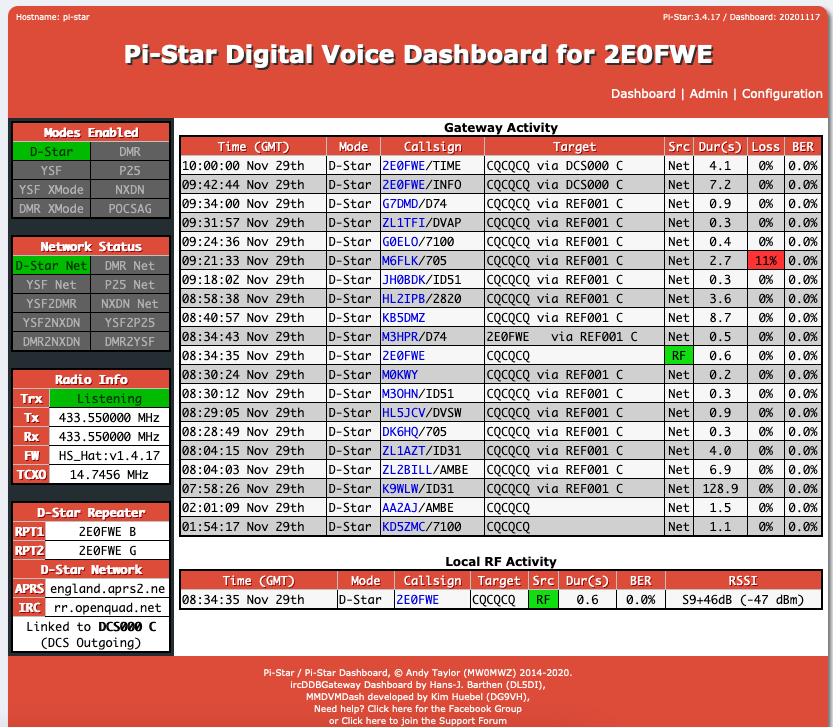
Whilst i enjoy a ‘ragchew’ on the IC-705 via D-STAR, the Internet and ‘Bit Encoding Rate’ (BER) has more to do with the quality of the received signal than an actual radio wave. (I use a Pi-Star hot-spot as there is no DSTAR repeater nearby IO90).
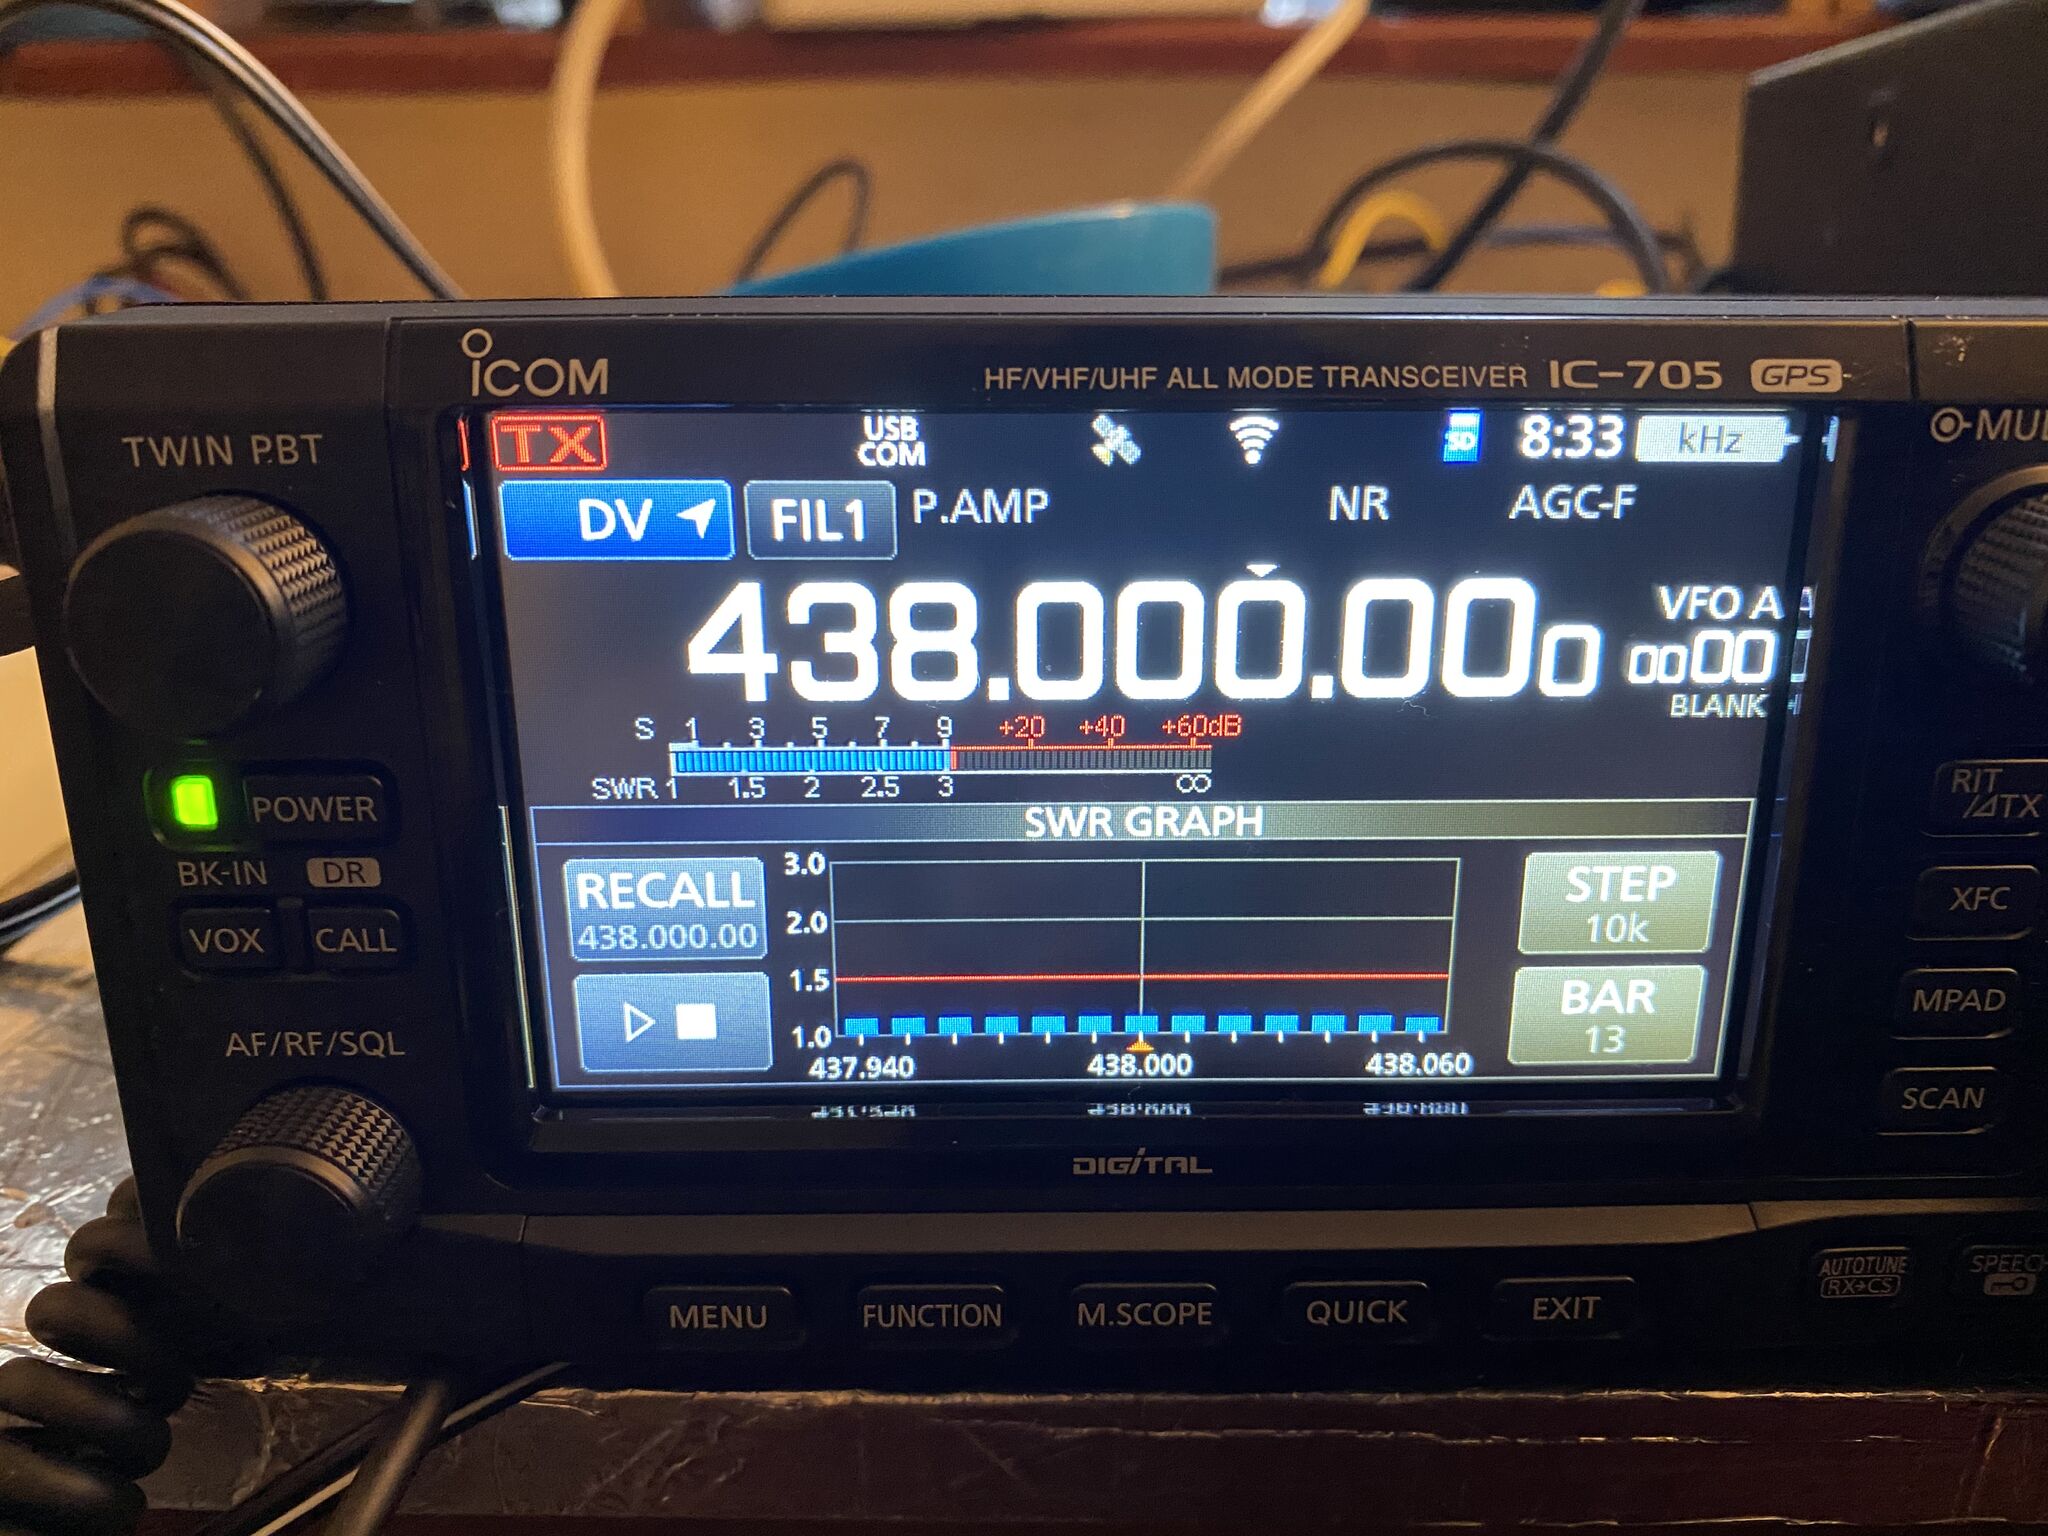
With that I know that the IC-7300 is a very capable radio on its own, but even with previous antennas having access to all bands did I ‘try’ telephony that much, preferring to stick to digital communications via the computer. I thought it was time to give it a try and get used to operating telephony on the IC-7300.
The inspiring video section !
I checked out this video and it gave very good examples of setting up the audio for various transmit types. If you have a 7300 it well worth the watch and I’m sure the same principals apply to other radios.
Tim, G5TM, has a great video on calling CQ. Having watched the video I was up for trying calling CQ on the 40 meter dipole I am currently using !
I started calling CQ not expecting any replies, but amazingly on 50W on a dipole I did ! My first QSO on 40m was with IZ6TGS. He was obivously a really experienced operator and it was amazing to reach him ! I was immeadilty drawn to how unprepared I was to ‘log’ – when doing FT8, its so well setup it make it easy. Suddenly I was trying write down the call sign and any other details. Thankfully Adrio was a patient and great operator, we managed to give a report each way and I had made my first HF SSB contact !
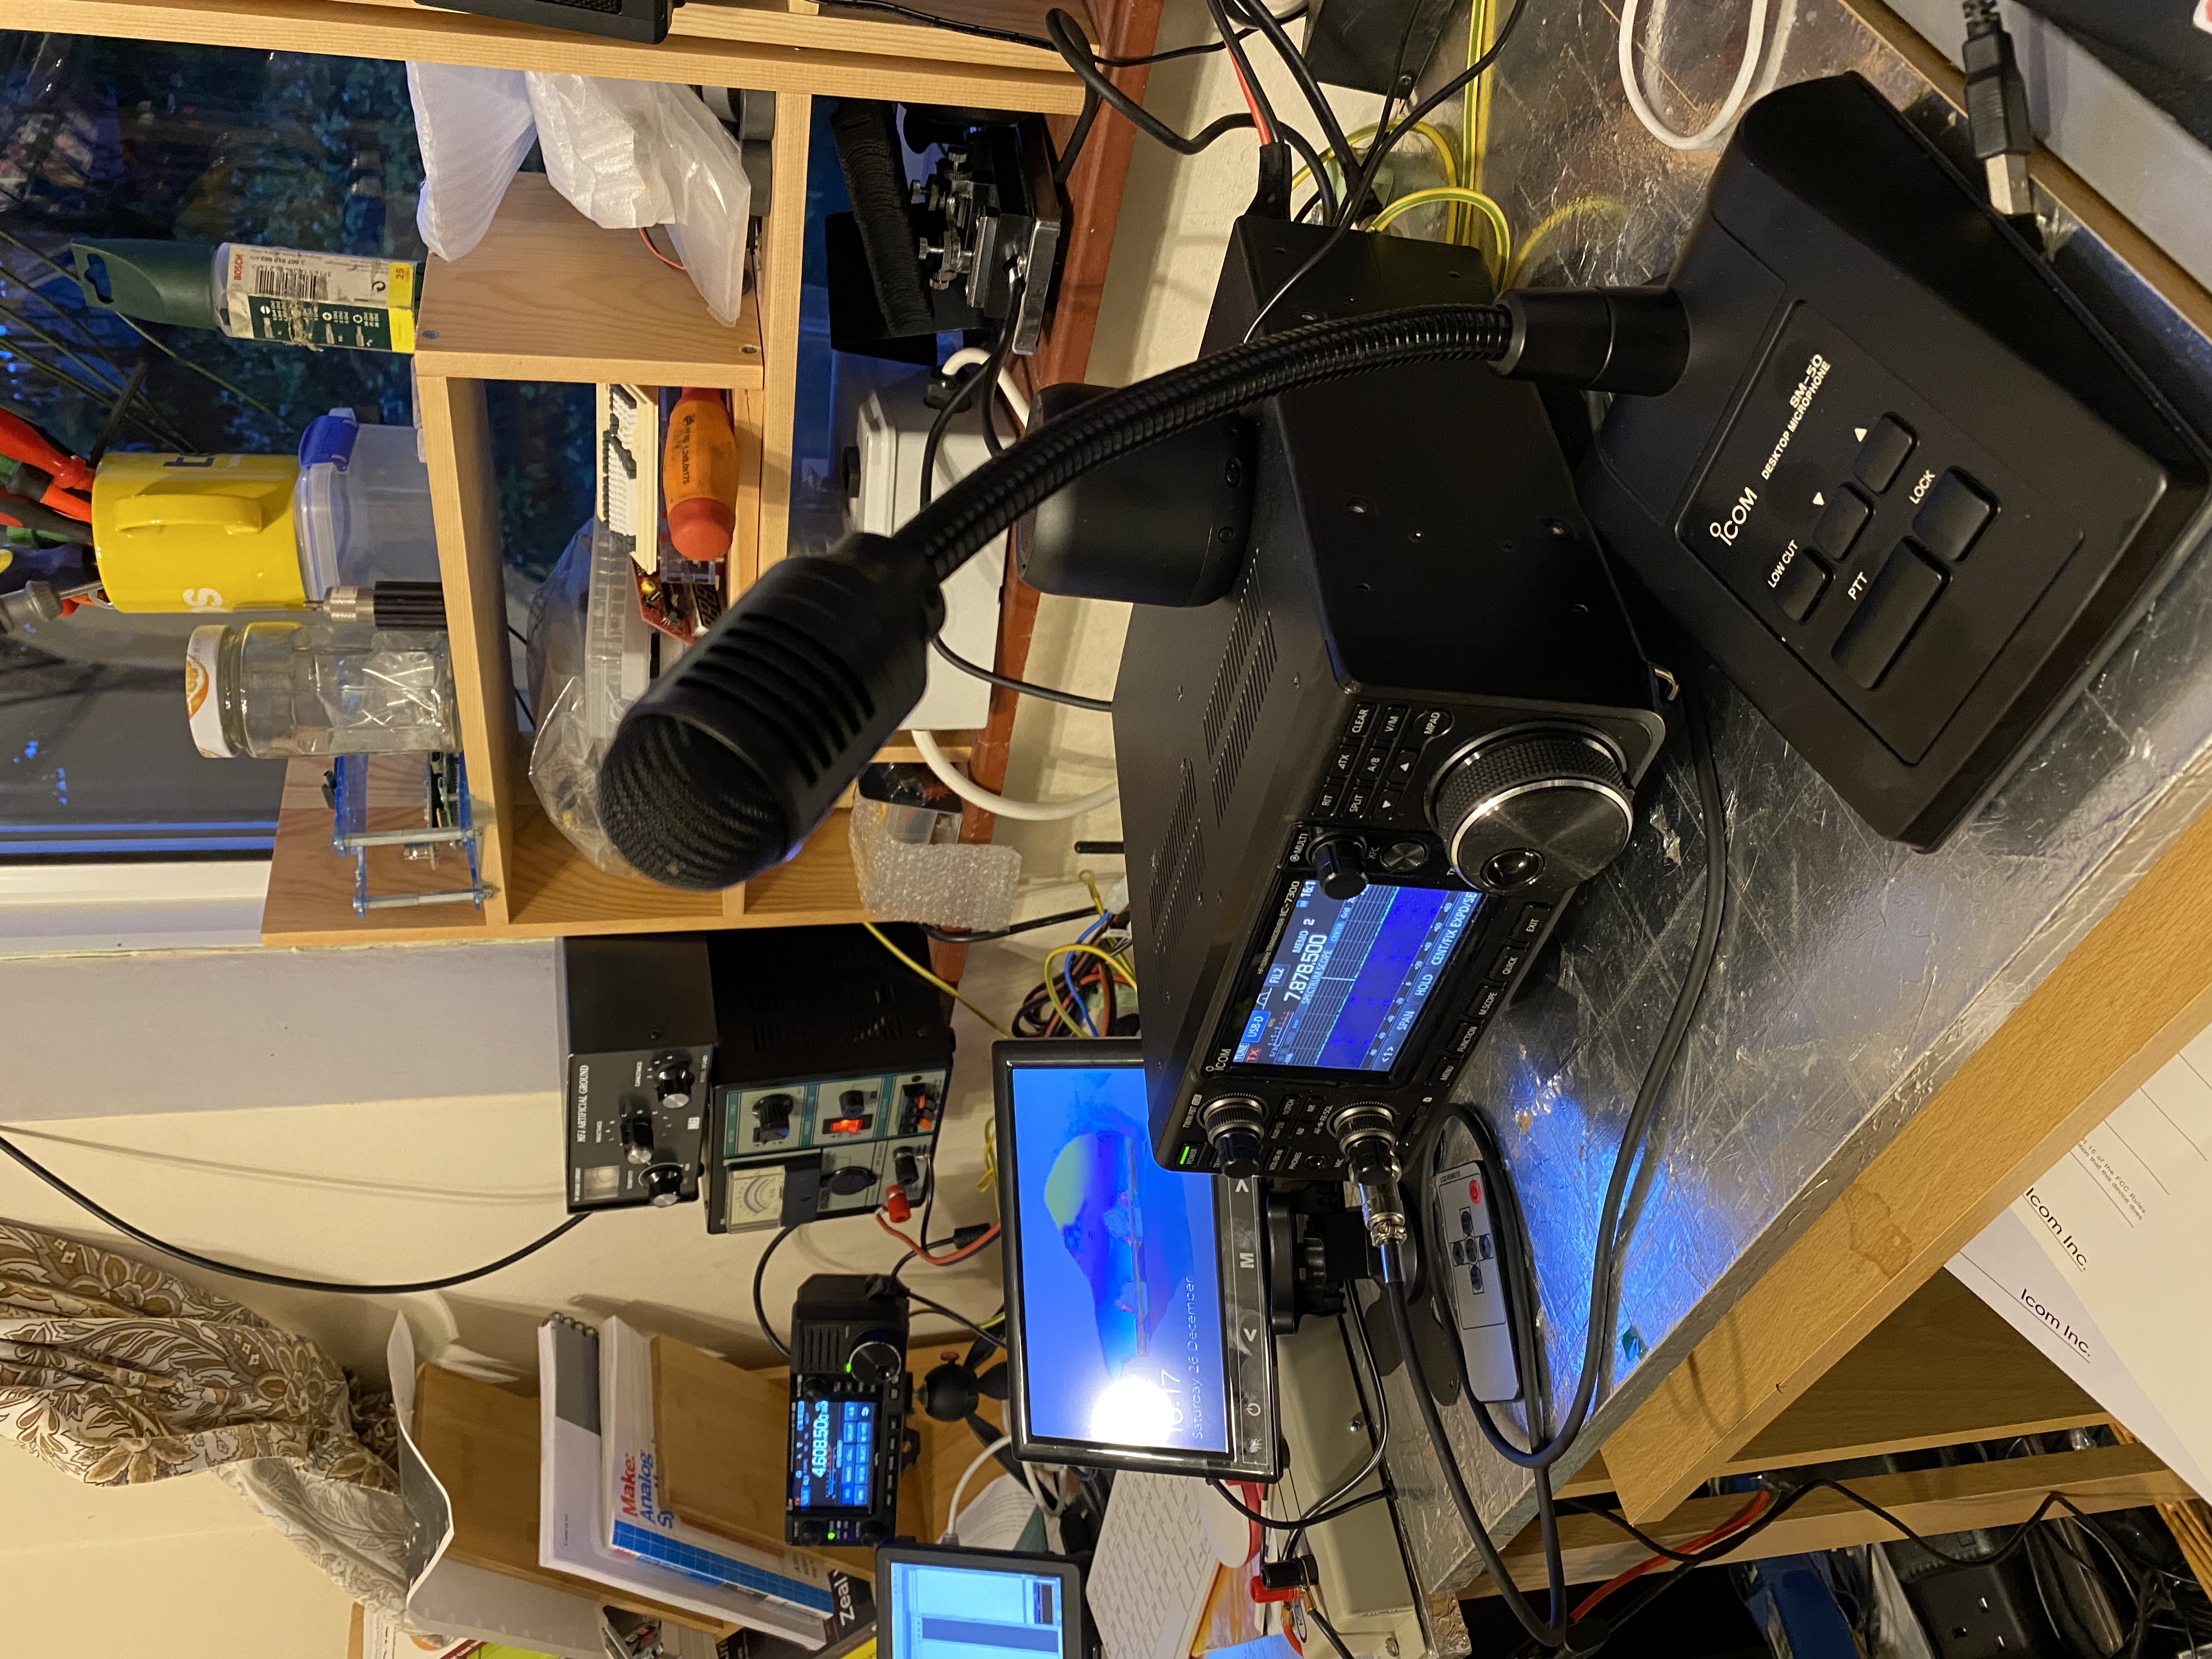
It did really show I needed some ‘help’ with logging and operating. Having seen both M0MCX and G5TM operate live on air (its great watching a live stream!) they use a free piece of software called N1MM Logger. You can see them both as they start the QSO they are typing in the call sign and any details they can garner. My problem was that I was restricted to the hand-microphone and my Windows PC neither has a screen or keyboard attached as I connect via Remote Desktop Protocol (RDP). Whilst having recently tided my shack-tables up, there is still limited space on my 7300 table.
I was able to come up with the following solution !

micro keyboard and microscreen 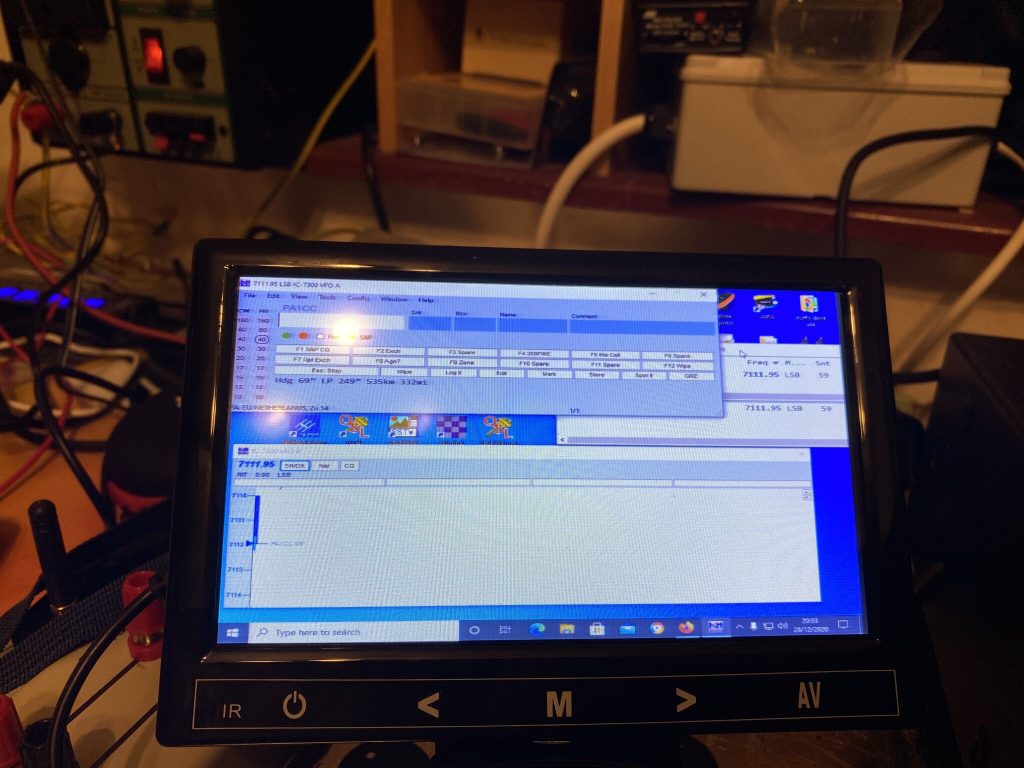
small but clear 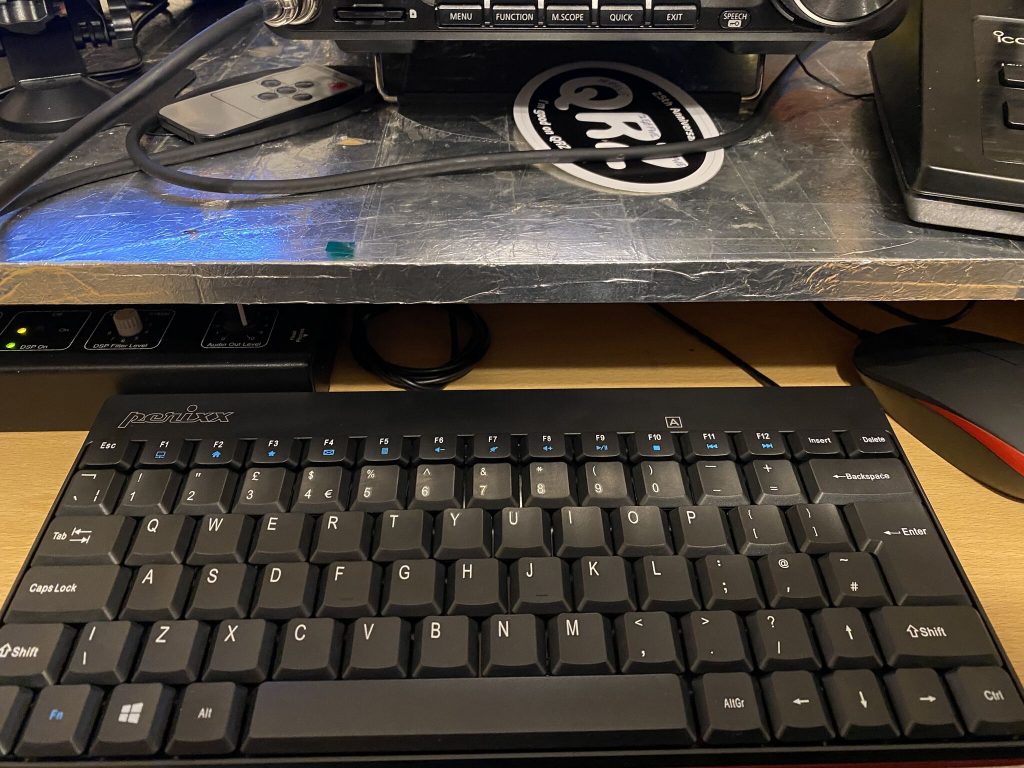
a great keyboard 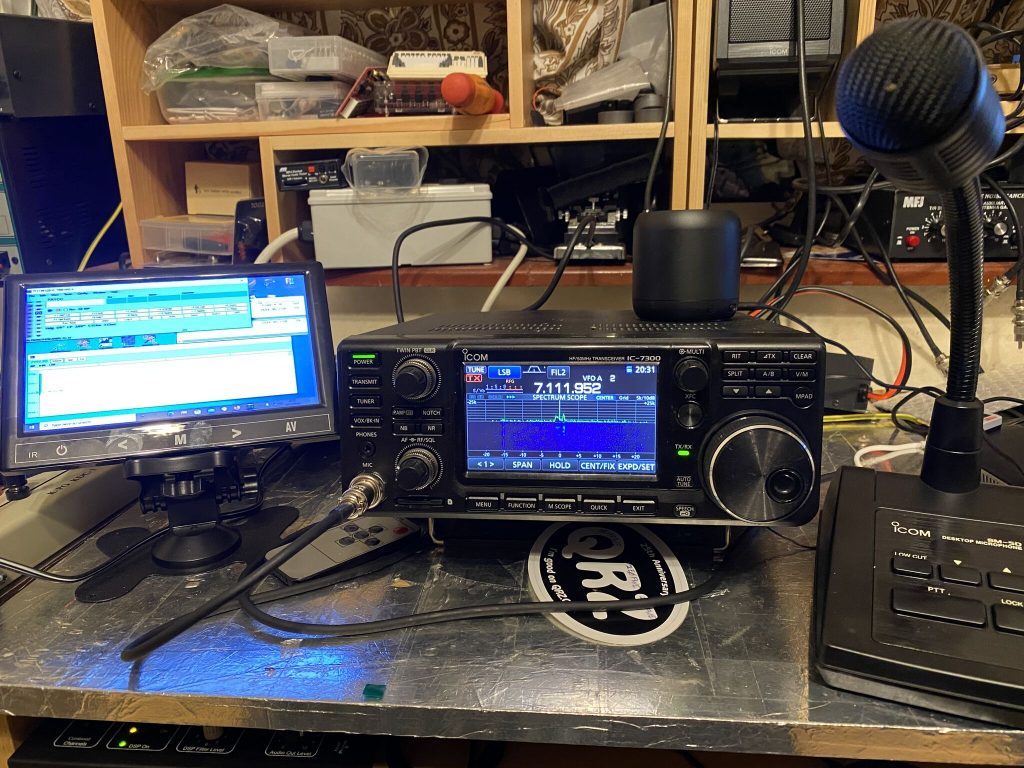
i can type as I QSO
Keyboard and Screen Technology
They keyboard and mouse come as a set from Amazon, the Perixx PERIDUO-212 Wired Mini Keyboard fits nicely on the keyboard shelf under the 7300, along side the BHI Dual In-Line Filter. For £16.99 this was a really good piece of kit, obviousy its not as good as the keyboard i use on my mac, but then i’m mostly using it for typing out call signs and reports, not developing stuff 🙂
I combined this with the 7 Inch Small HDMI Monitor with VGA which cost £36.99. Even at 7 inches and a respectable 1024×600 resolution, I could easily see NIMM with no problem when using my radio. It fits very nicely on the desk and comes with a fairly decent stand. I’ve not even had to fix it to the table and its staying up nicely.
SM-50
The last part of the equation, is no doubt, the most important. Whilst having a QSO i struggled to write down the call sign as my hand had a handmic in it. Whilst there are many microphones out there, the SM-50 is the recommended microphone within the 7300 manual and importantly receives very good reviews on eham. It is not a cheap microphone, nor is it expensive, as my son can attest in his experience of sound engineering, microphones can get *Very* expensive depending on what you want to record and where.
I orderd the SM-50, i was very impressed with how sturdy the base and the flexability of the neck. I could bend this perfectly over to me a few inches from my mouth to make operating alot easier.
I went about setting the 7300 following the videos above and adjusting the microphone gain on the underside of the SM-50 to match the 7300. I also read the manual on how to setup recording my ‘best’ voice for 7300 so i could replay my CQ call.
This also made listening via Wesbree WEBSDR very easy and amazingly i could hear myself ! During this time my CQ call on repeat was picked up by DK4EI. We had a great QSO, his setup amazing, but i was happy with 50W and a dipole to come thru with a 5/9 report into Germany!
Conclusion
If you have been on ‘digital modes’ during the solar minimum, and also maybe slightly nervous of going on HF, i can say its worth putting the effort in to get onto SSB/Telephony.
My key points are
- As per Tim’s video sound enthusiastic/engaging – I took my time and made a ‘good’ recording/playback feature of the 7300 – it works !
- Set up your audio/microphone well and for the audience/conditions, the pileup busting video is really good for this. I’ve not had to change my settings, and i get great audio reports
- Get your logging software, or pen/pad easily to hand, fill in details as you go, it makes the QSO more rewarding and you can spot people again !
- Get a good microphone, for me the SM-50 suited *my* needs and had good reviews. You may want a different type of microphone and use it in a different way (VOX/PTT/Foot PTT, up/down buttons, on a bracket.. SO MANY FACTORS).
I am getting (braver?) better at HF QSOs and am currently limited to 40 meters, so you might hear me put the shout out during the evenings and night. Until then I really hope to have a QSO with you !
Stay safe / 73
Alan / 2E0FWE