Egg Beater Pre Amp – Day 2

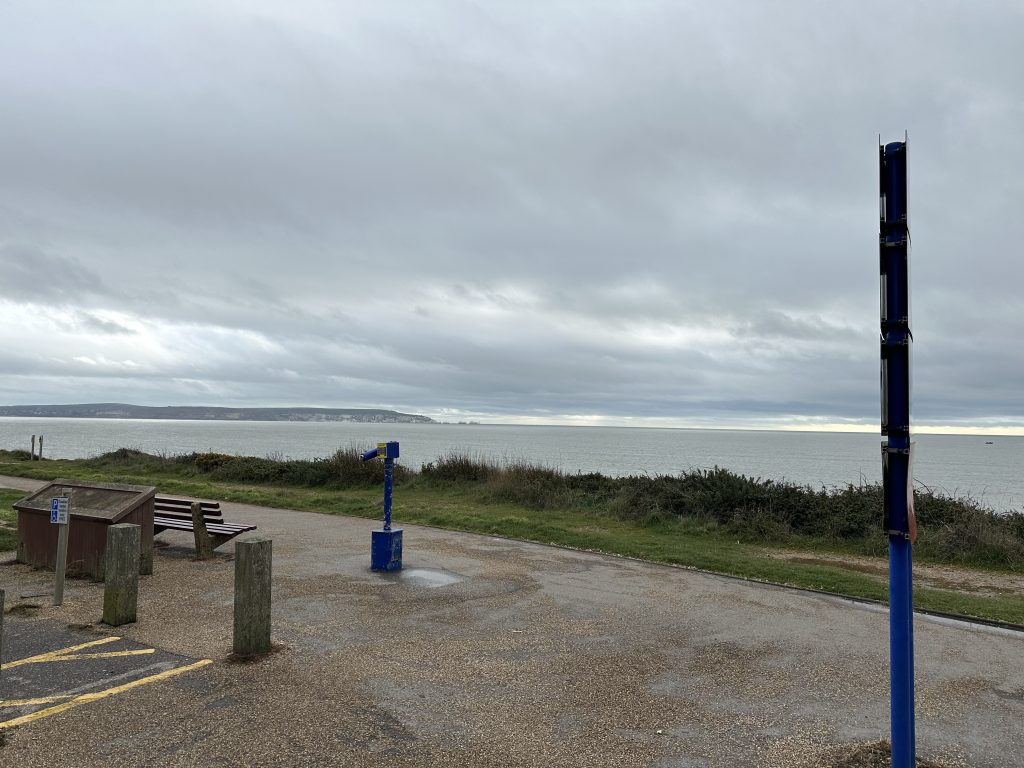
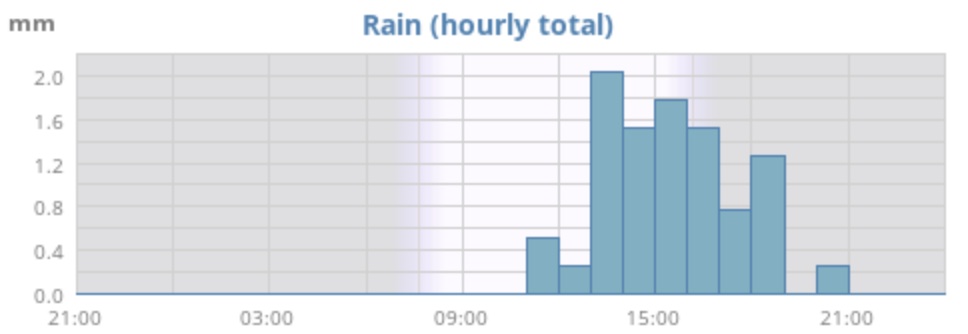
The splendid sunny day of yesterday could of been a whole season away – the weather today (26/11/23), bleak. Drizzle, a slight bit of wind so any gaps in clothing easily penetrated, it was not a good day to be outside, but I wanted to progress the mast head amplifier !

The weather station proving useful – preceptation whilst not heavy, was irritating..

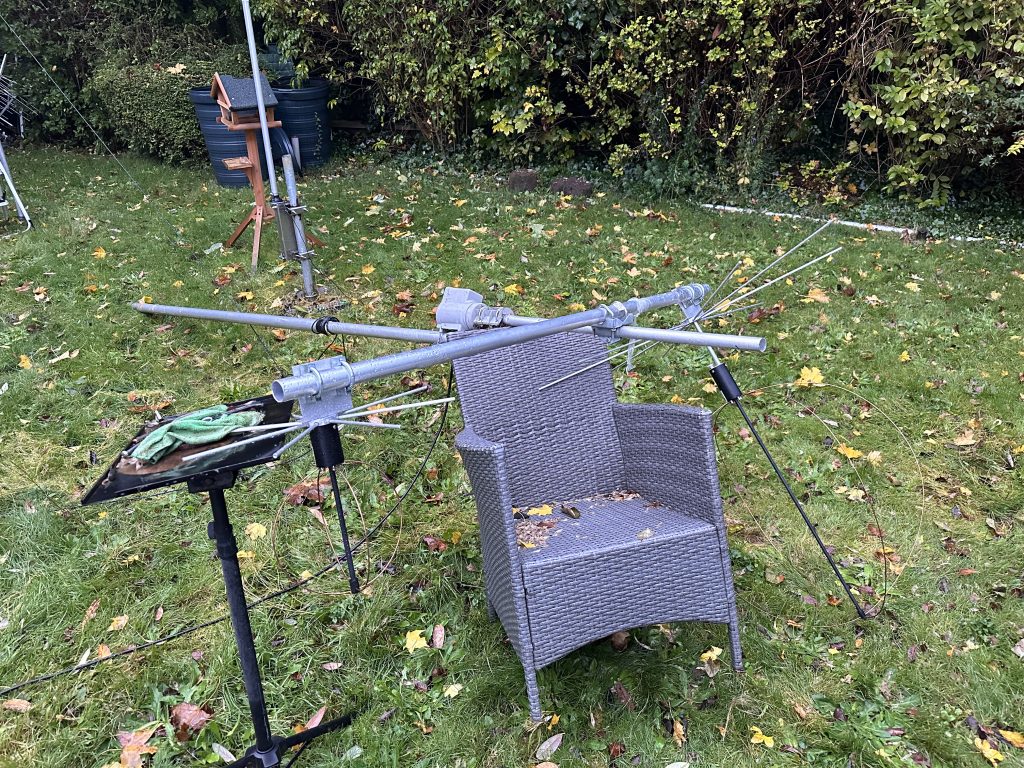
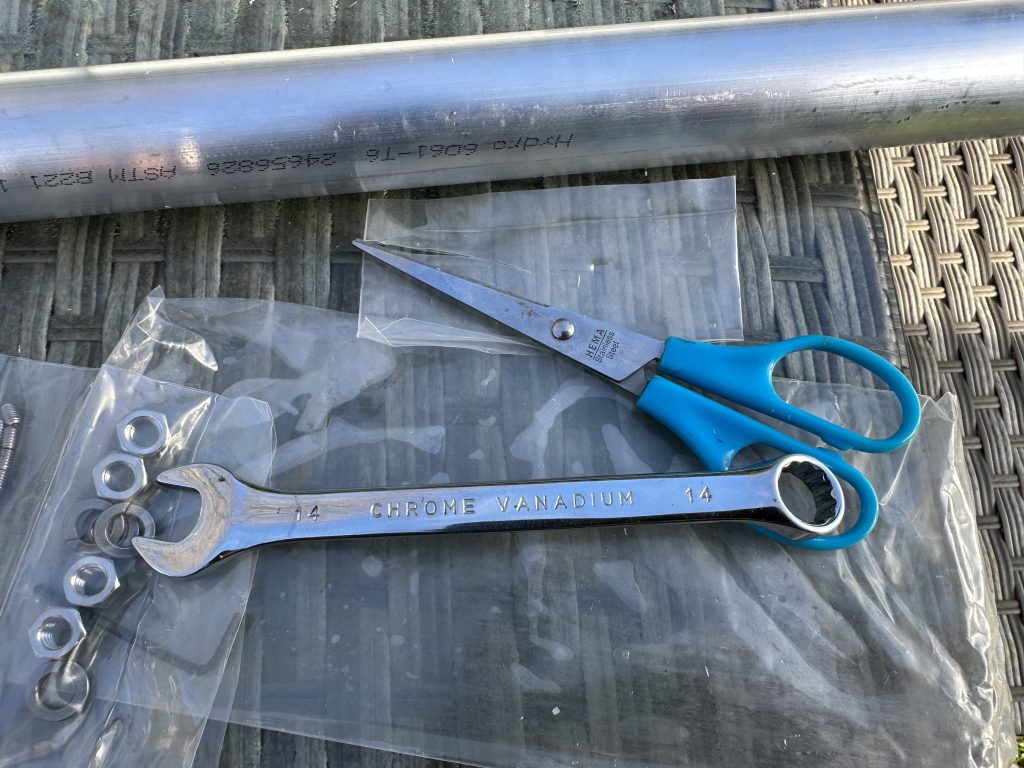
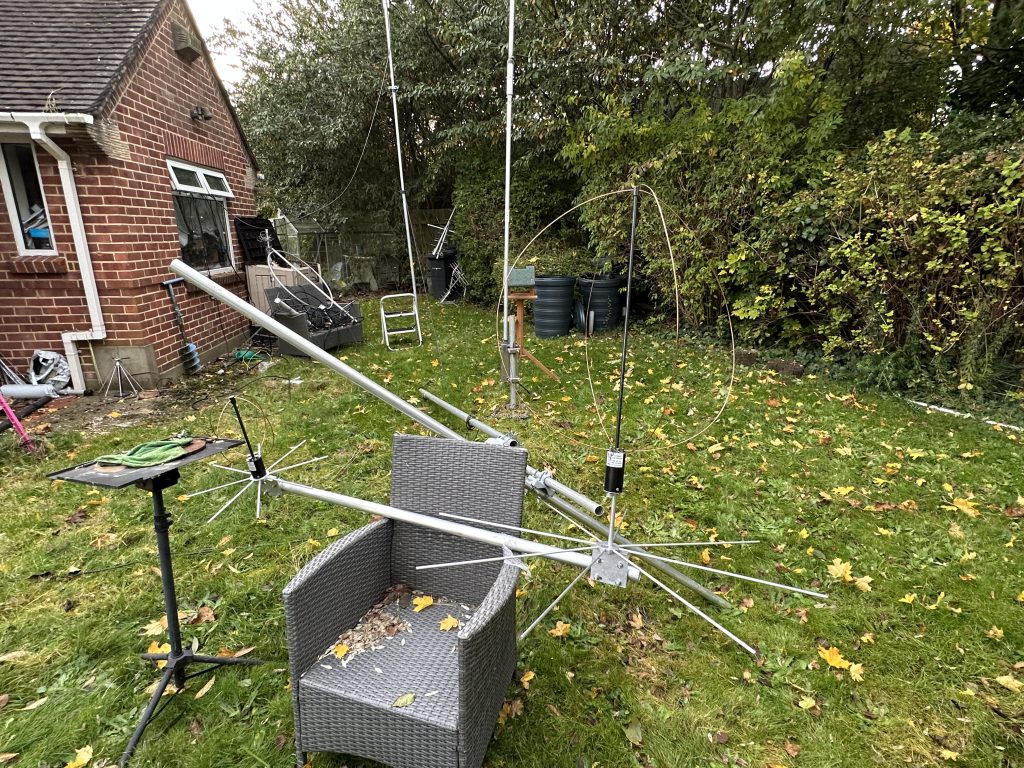
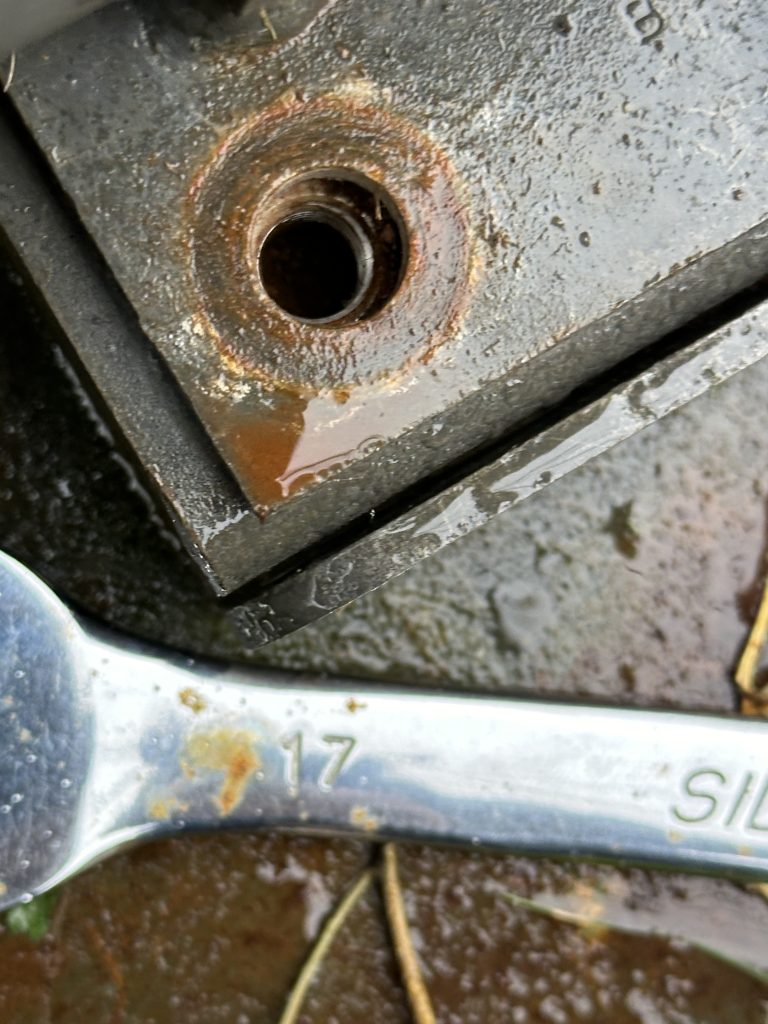
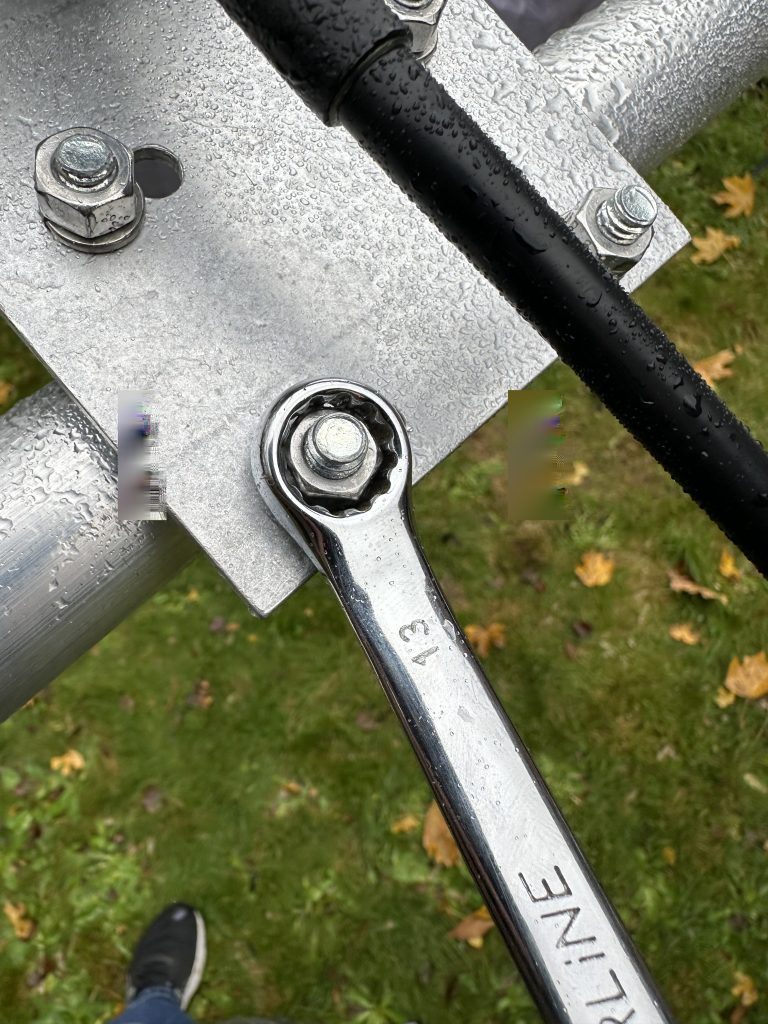
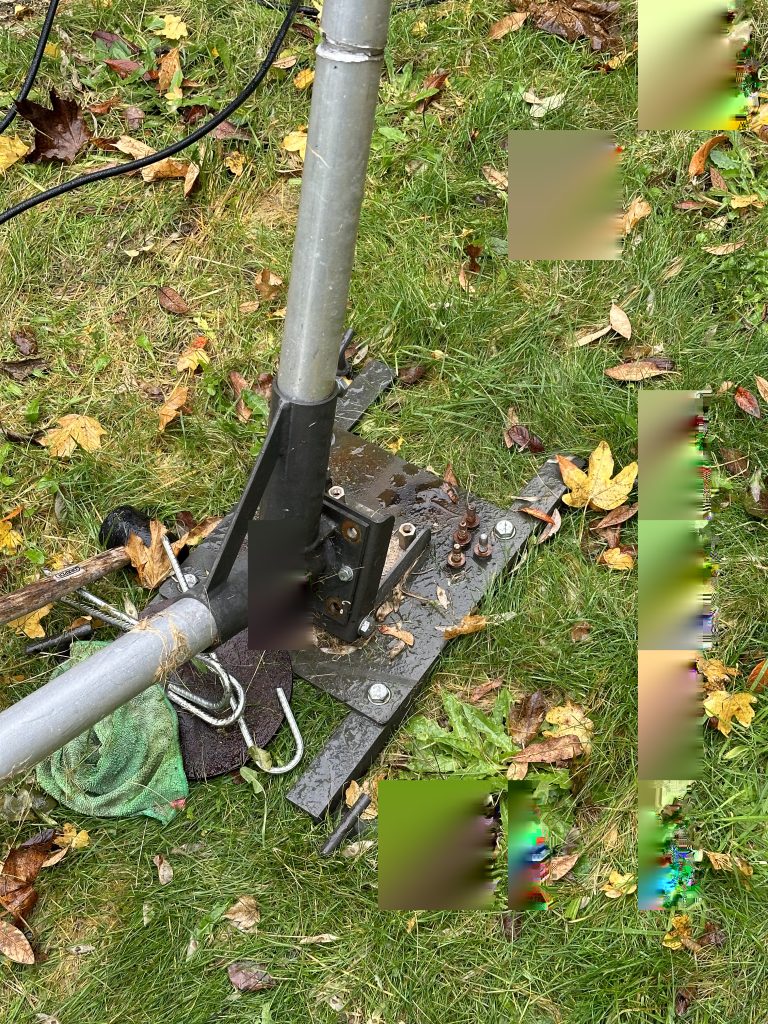
First step was to get the mast down, thankfully the barinco tilt base makes this really easy – having help to raise it first time was ace as getting it into the tilt base is great, but once in its easy enough to do on my own, although my aged bones do struggle with bending over and taking the nuts off. This time out I made note of the different spanner sizes required for each bolt which will be useful in the future.

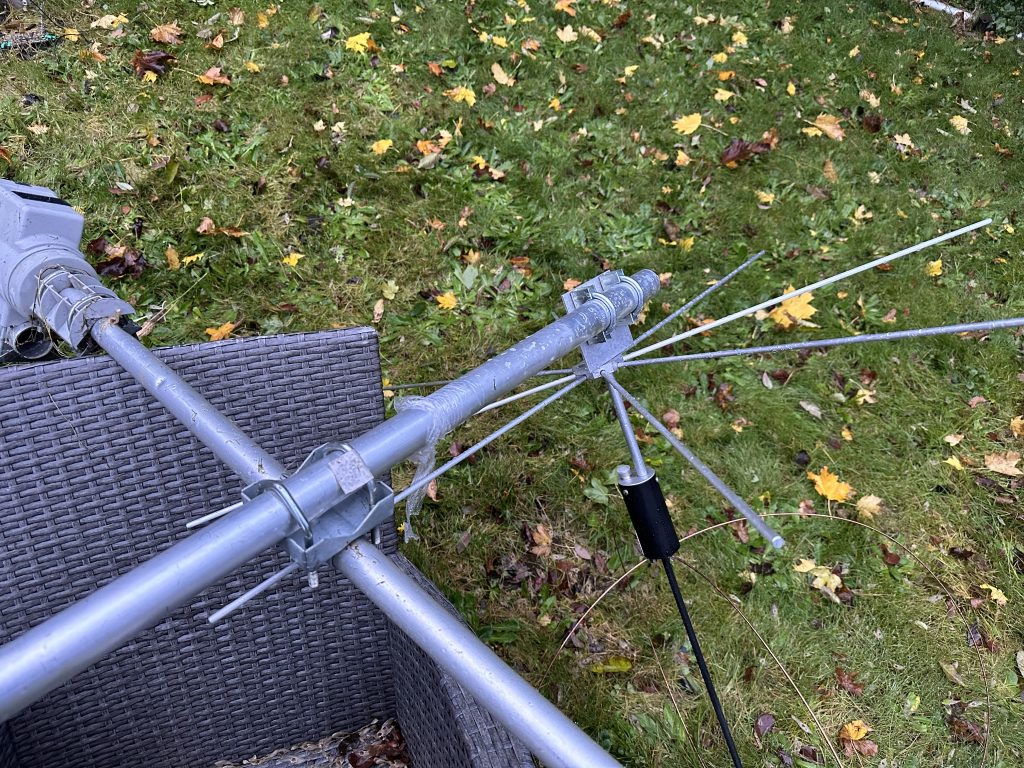
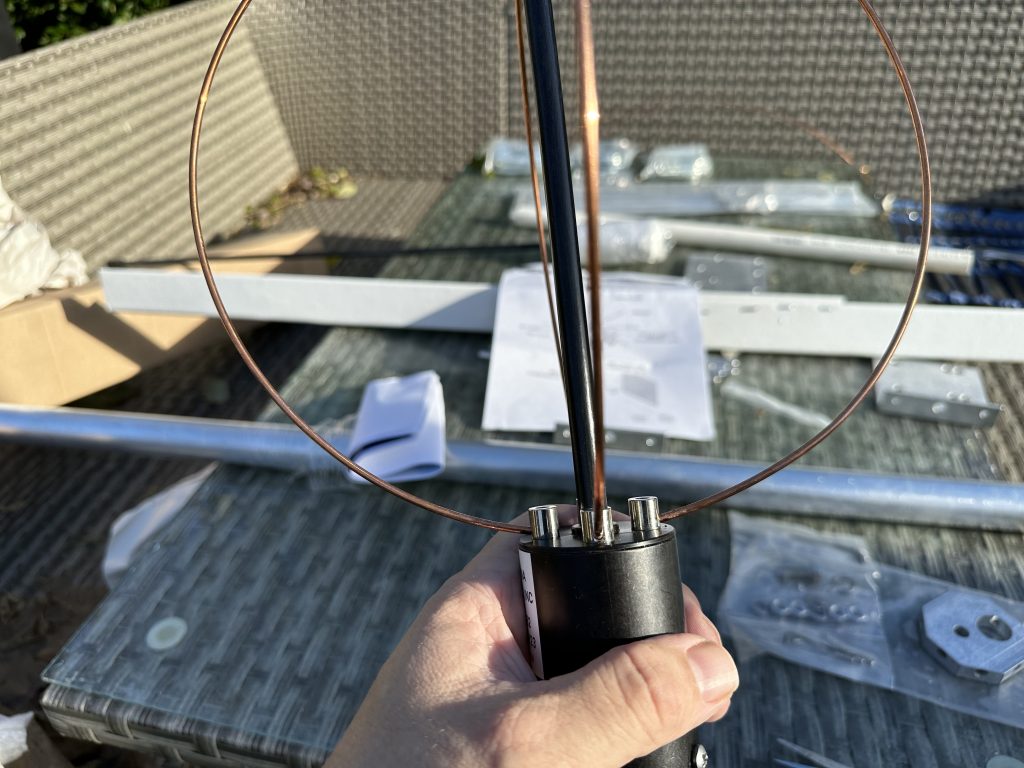
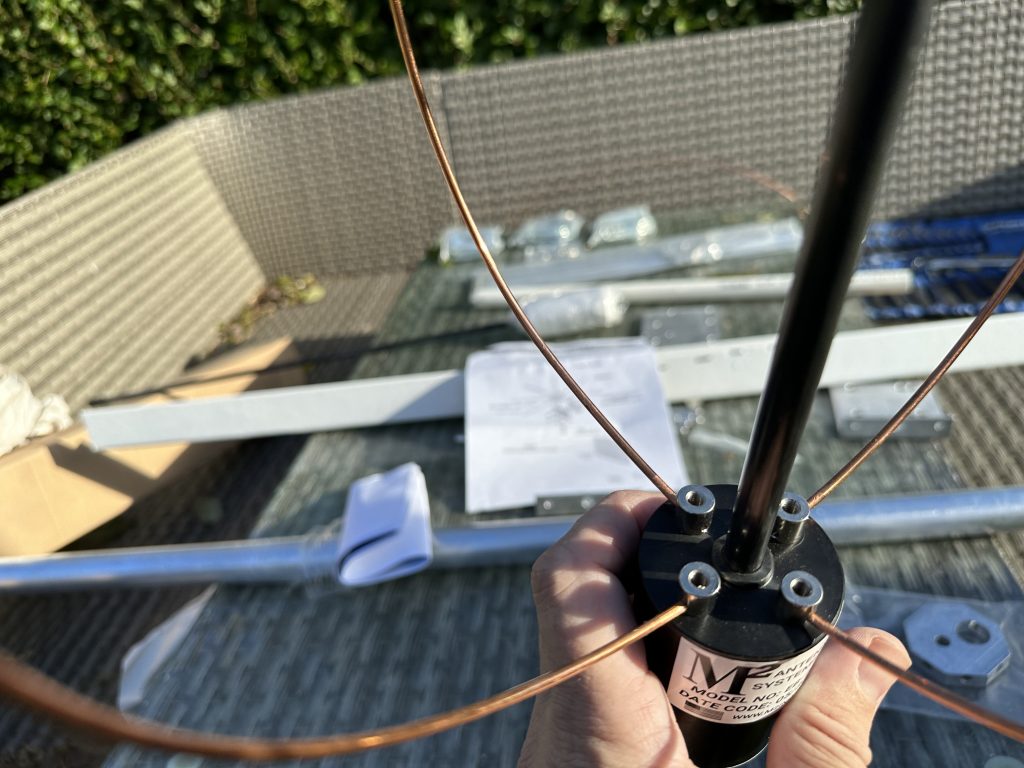
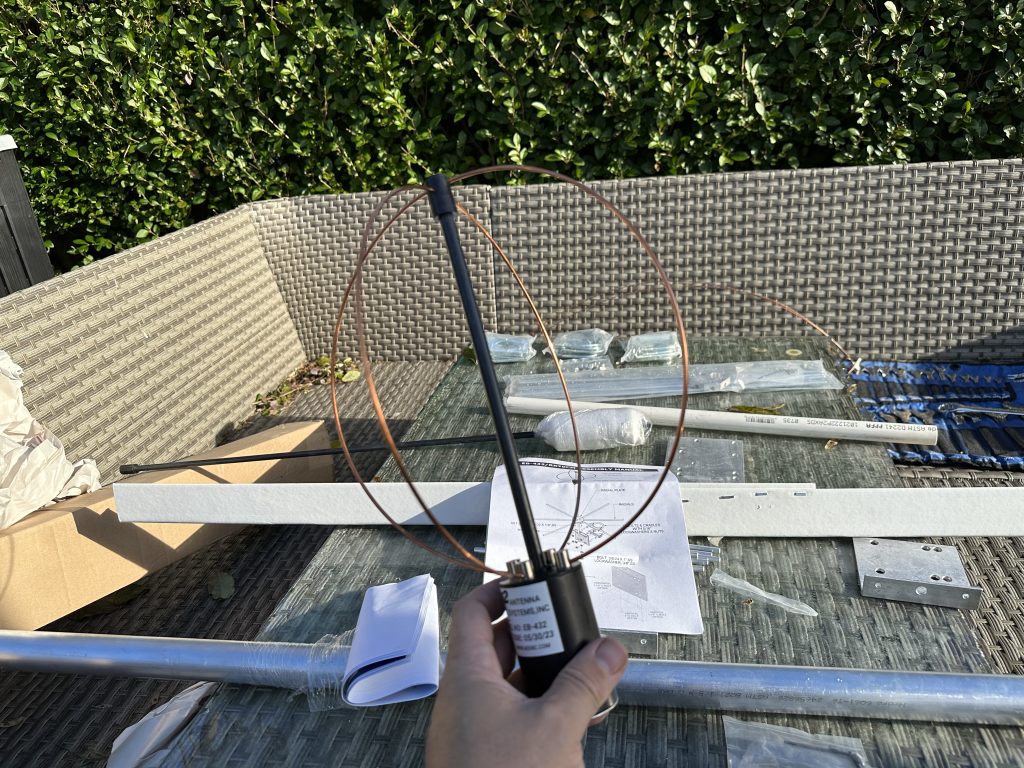
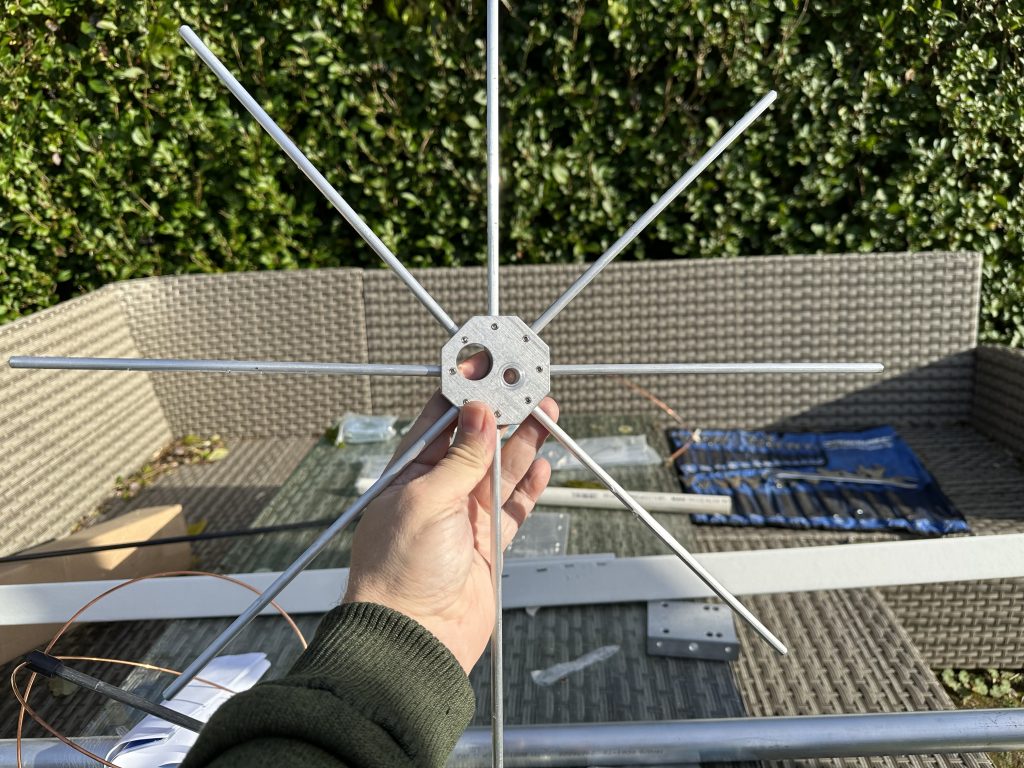
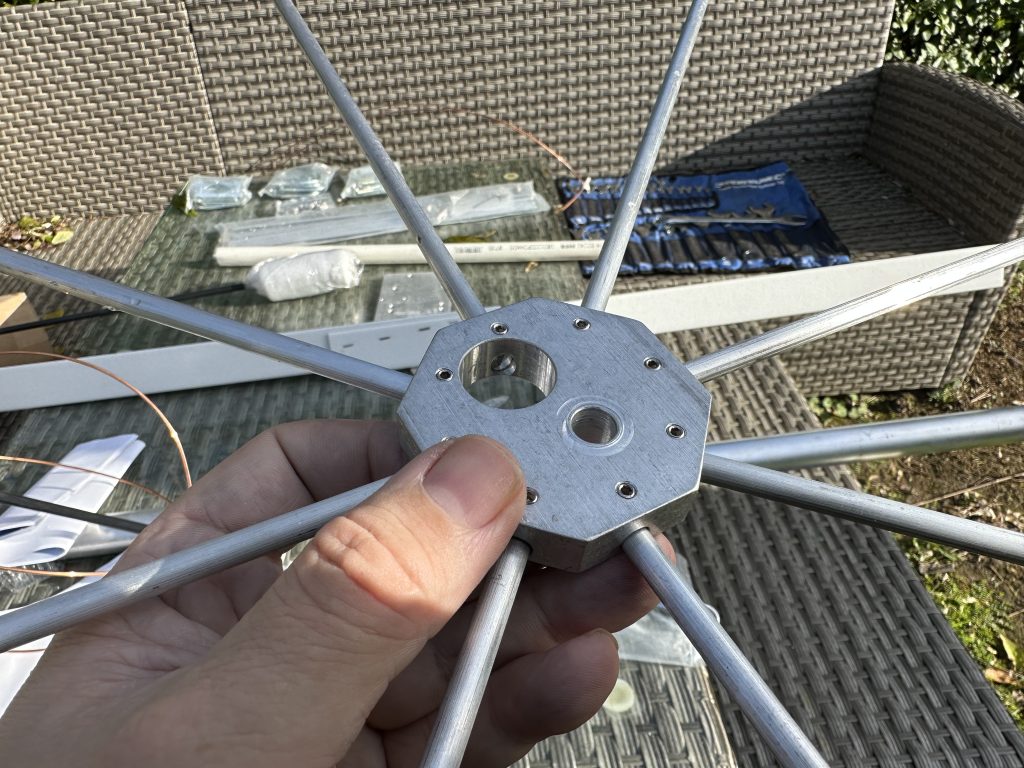
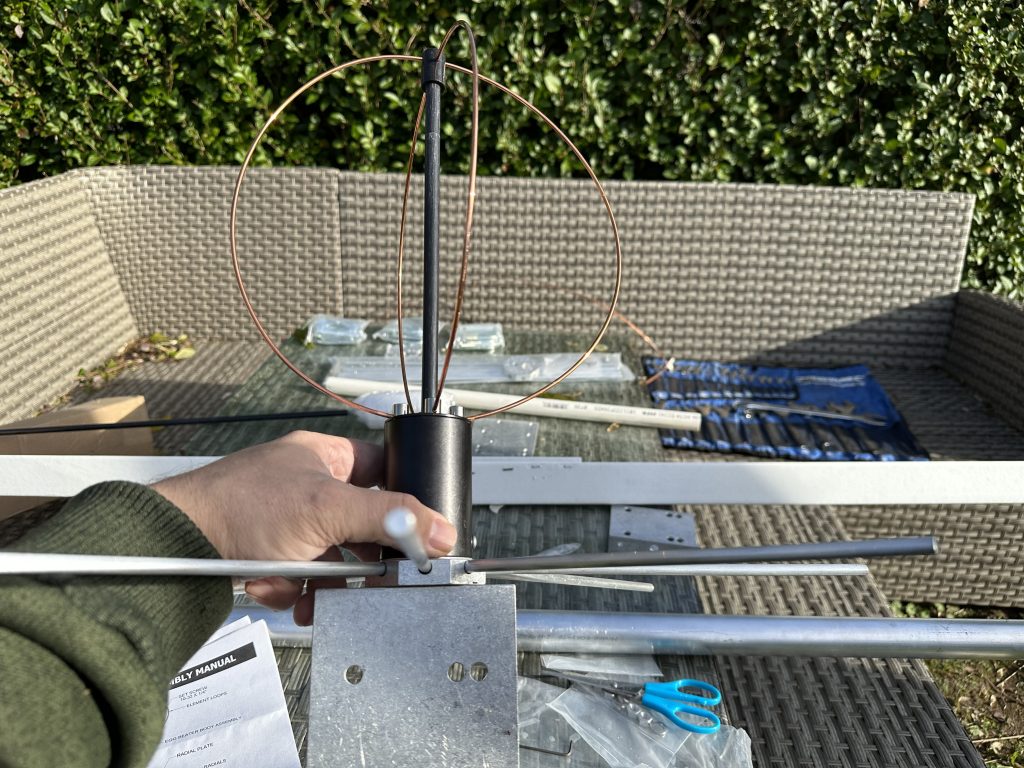
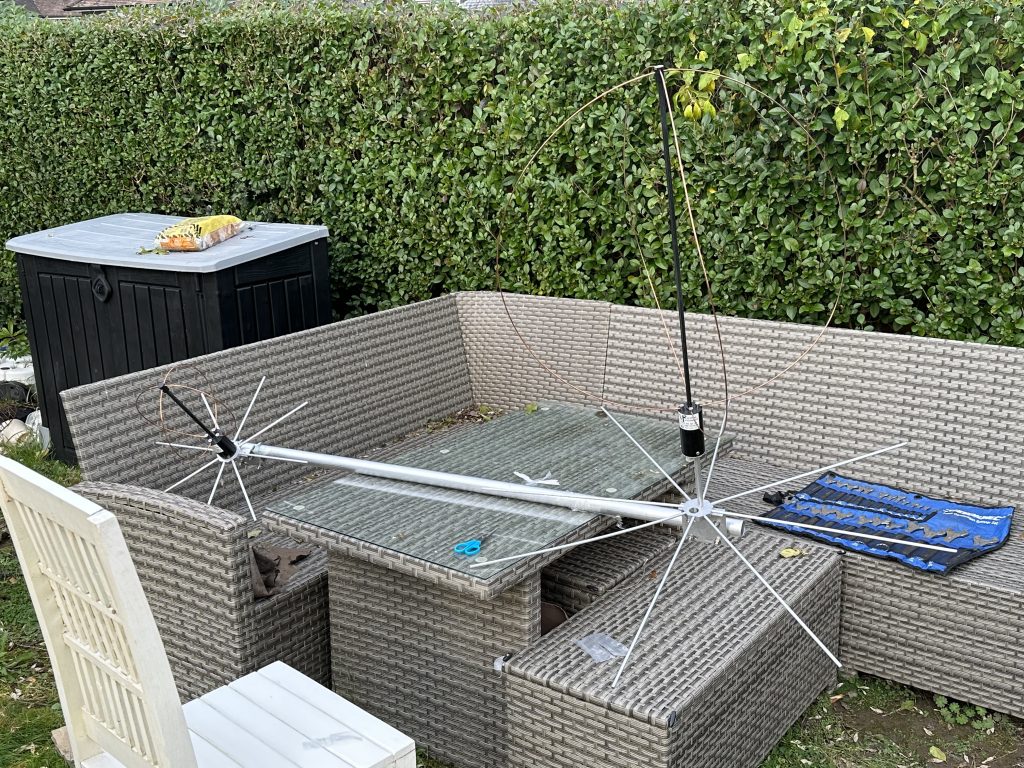
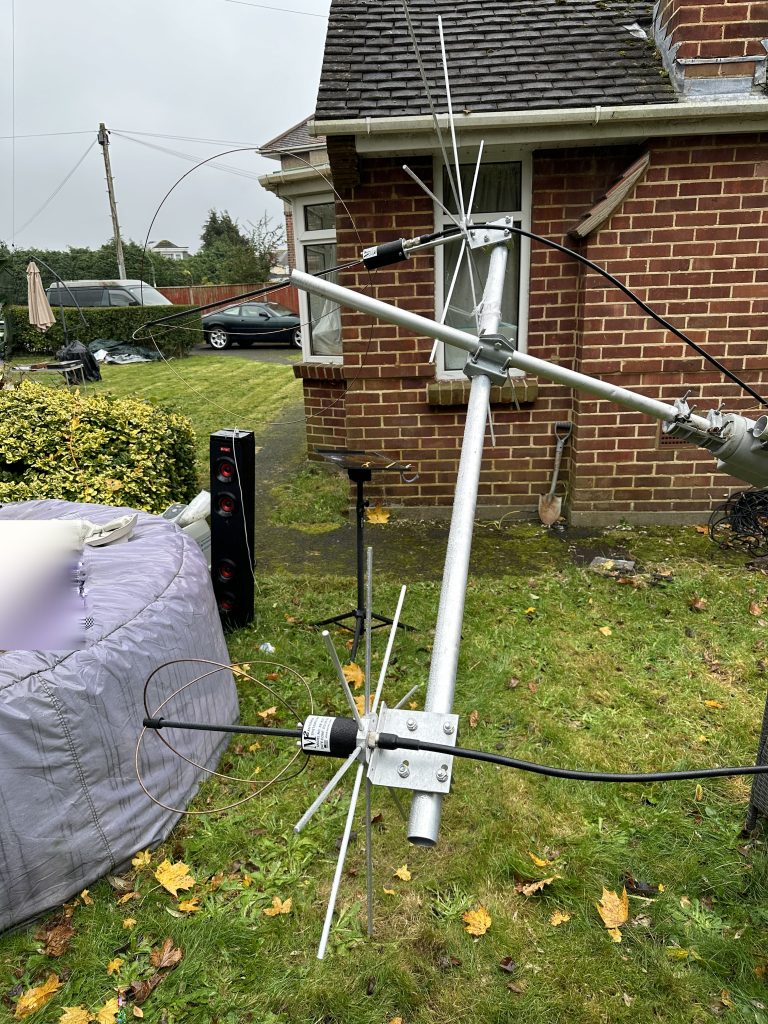
Having got the antennas down, it was time for some ‘fettling’ on the egg beaters – they was slightly off perfect vertical with the mast, so first thing was to straight them up with the rest of the mast. I also moved the 2m antenna further away from the mast so the radials didnt come into contact with the mast.

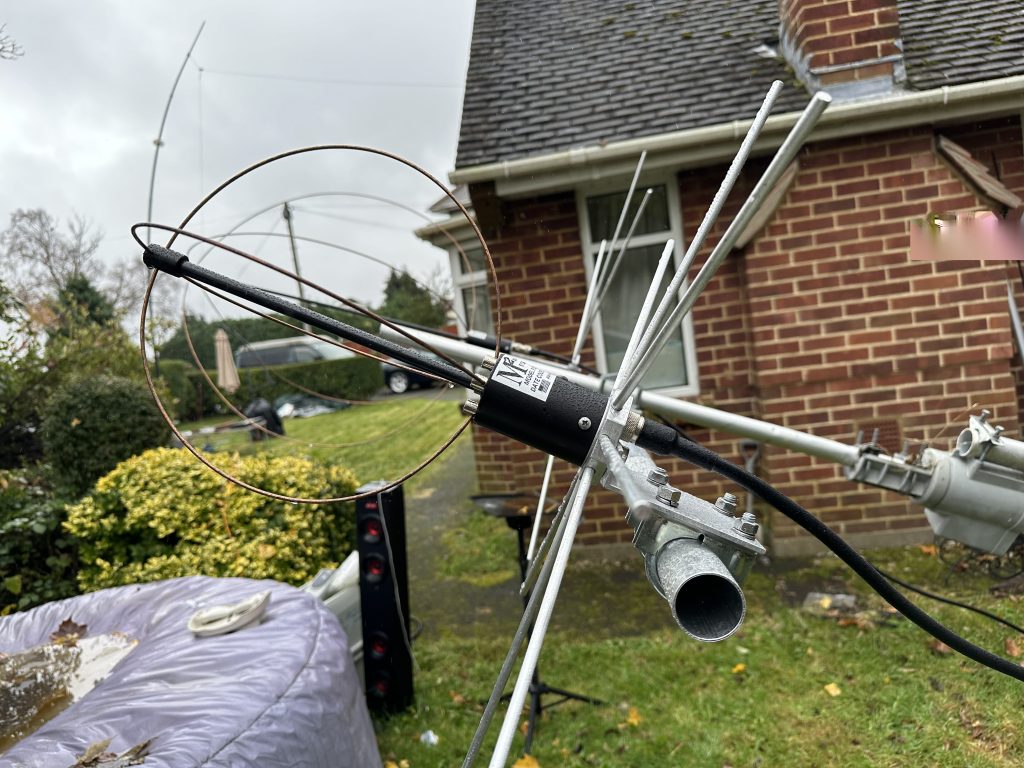
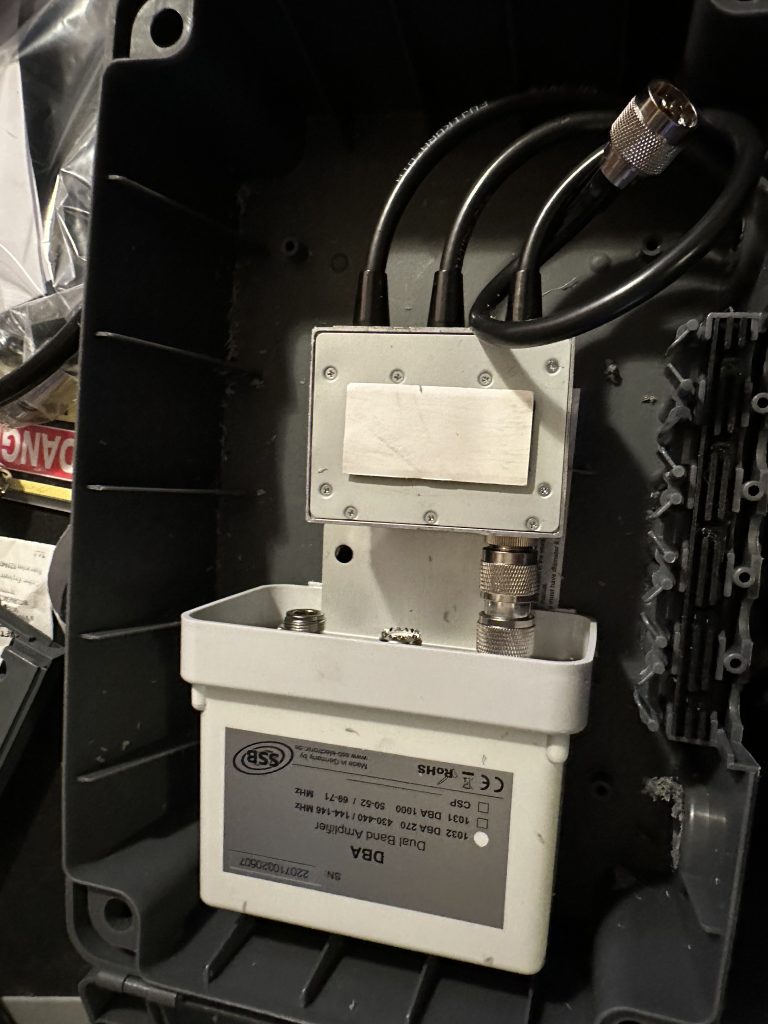
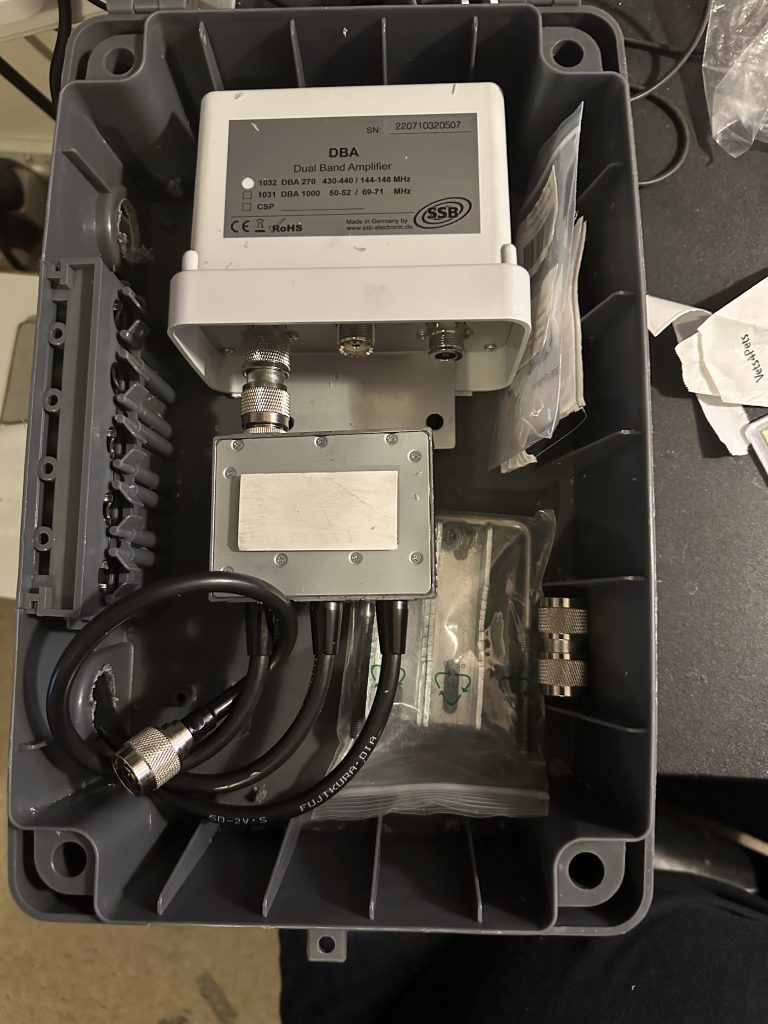
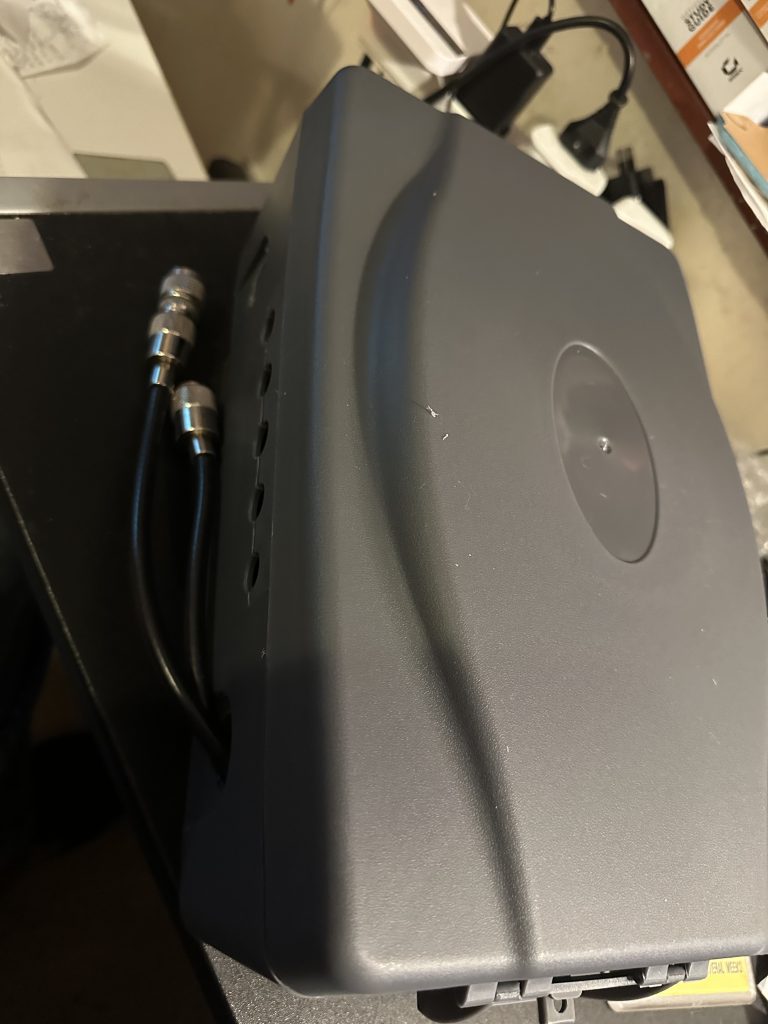
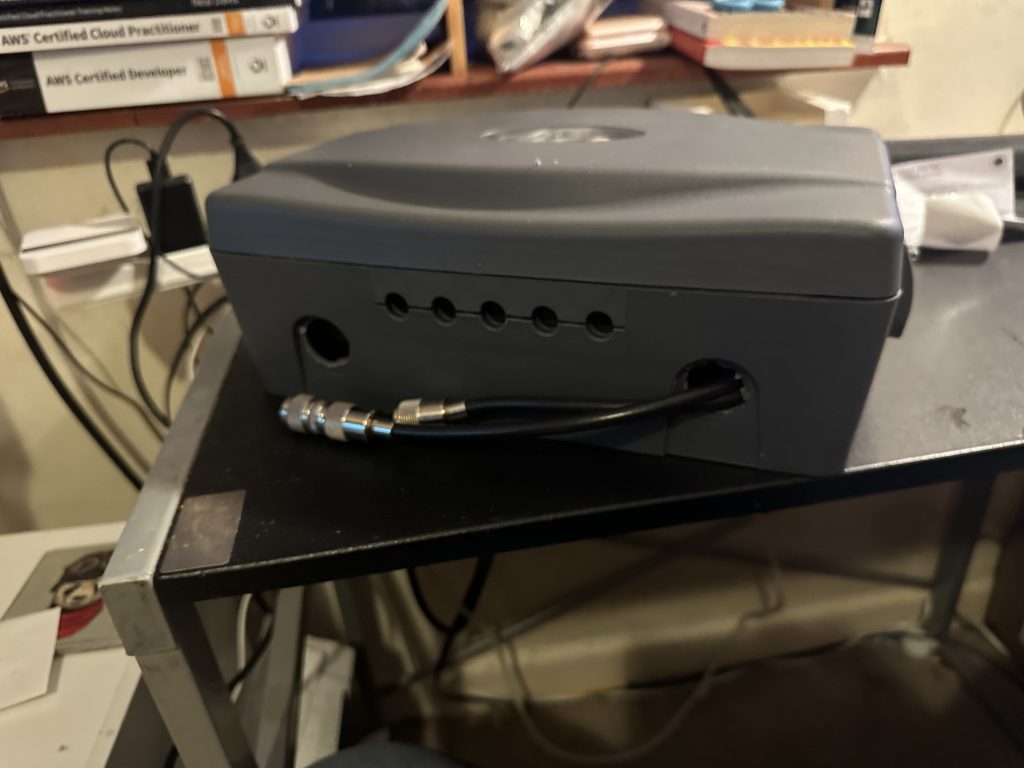
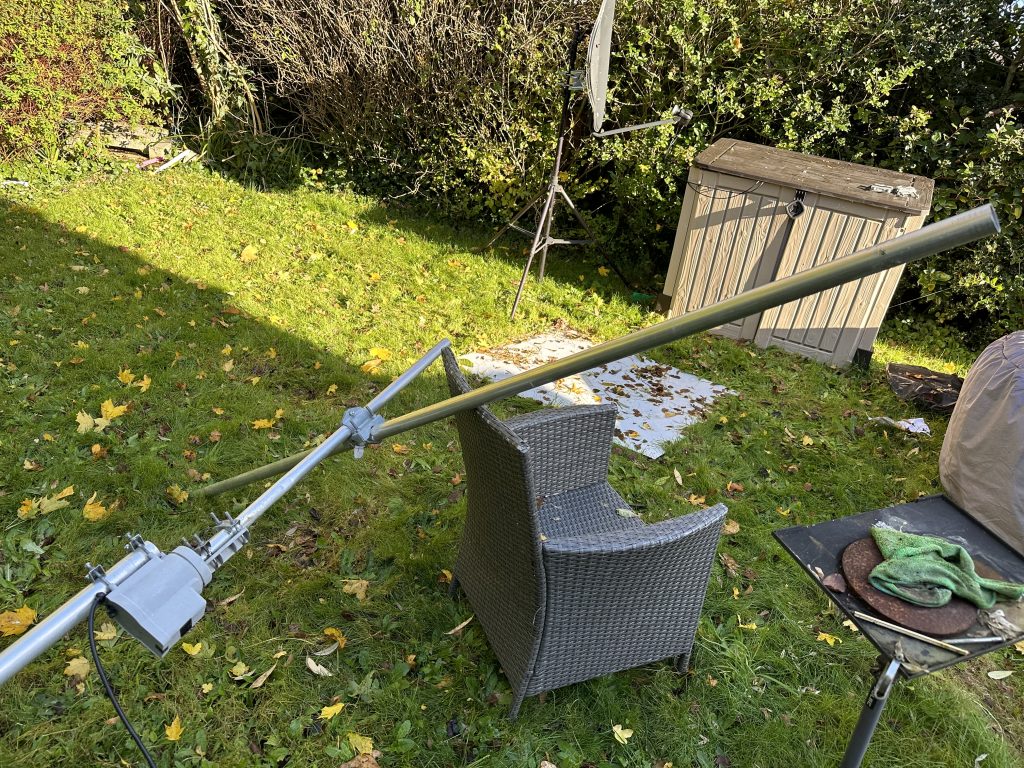
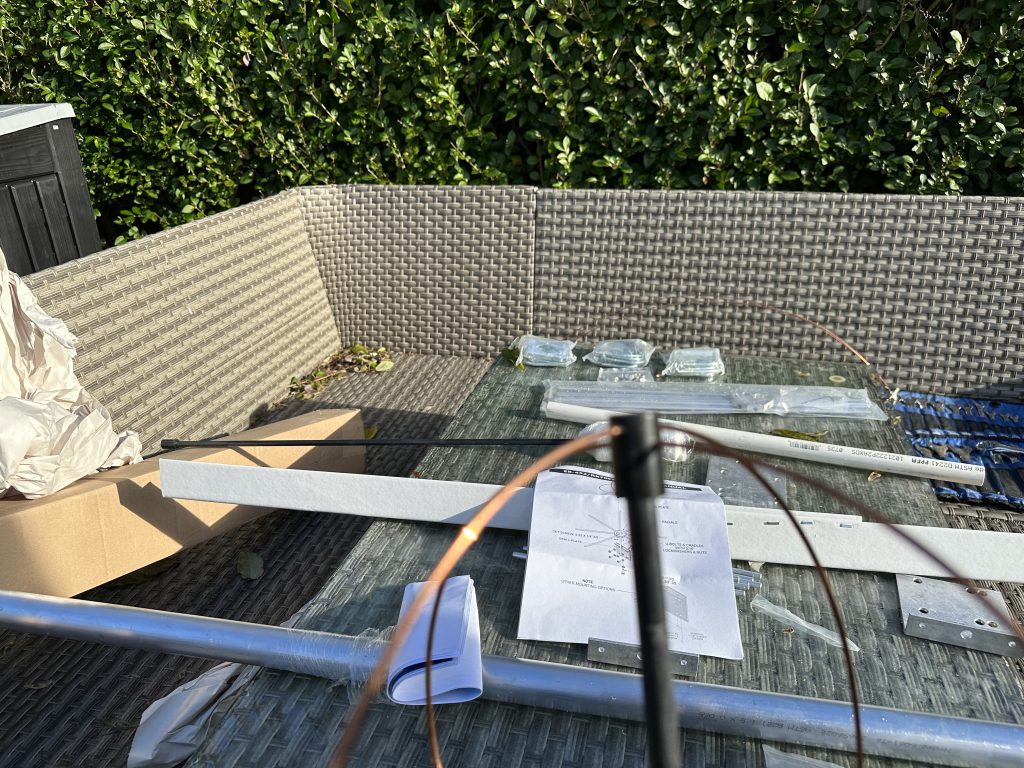
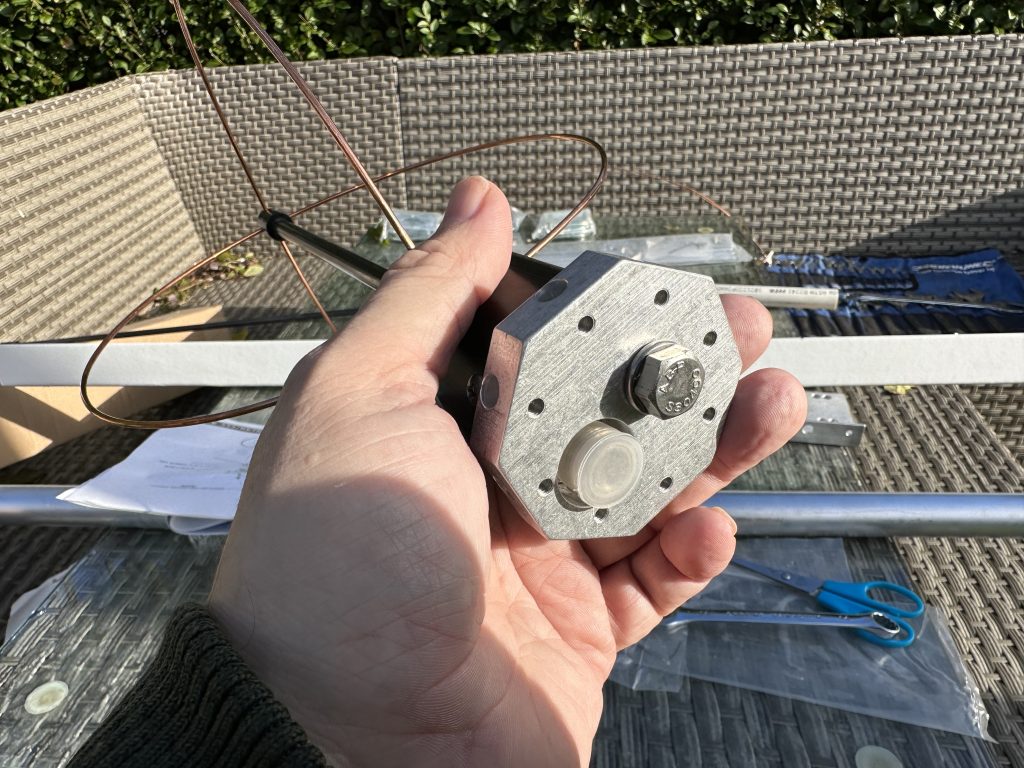
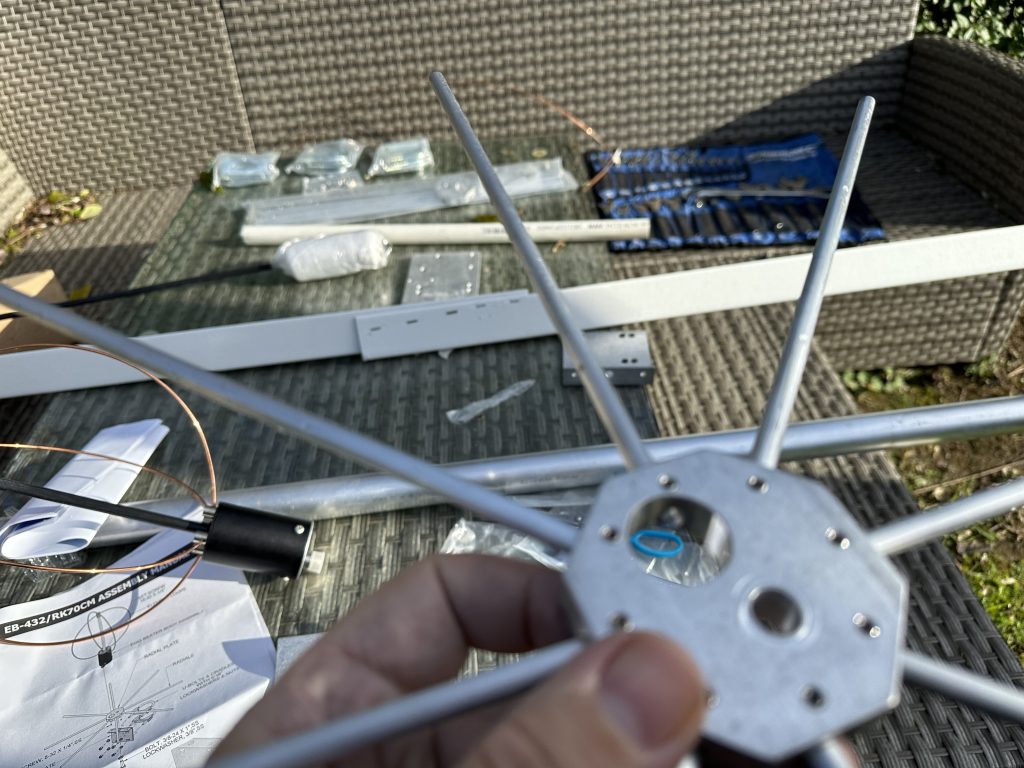
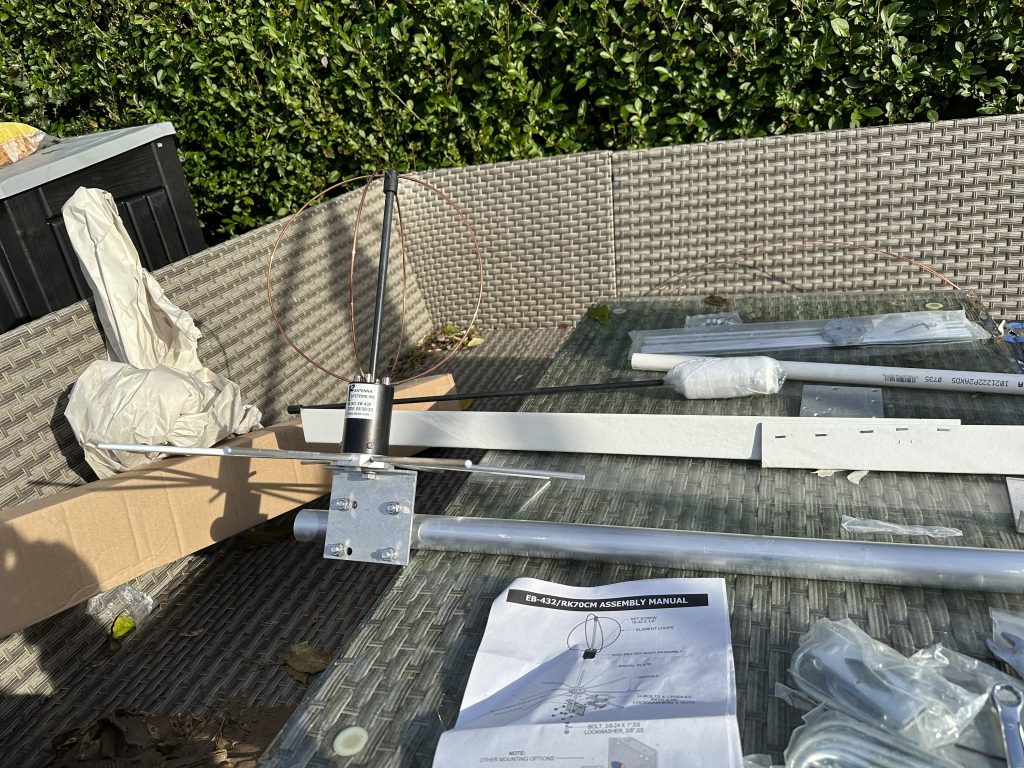
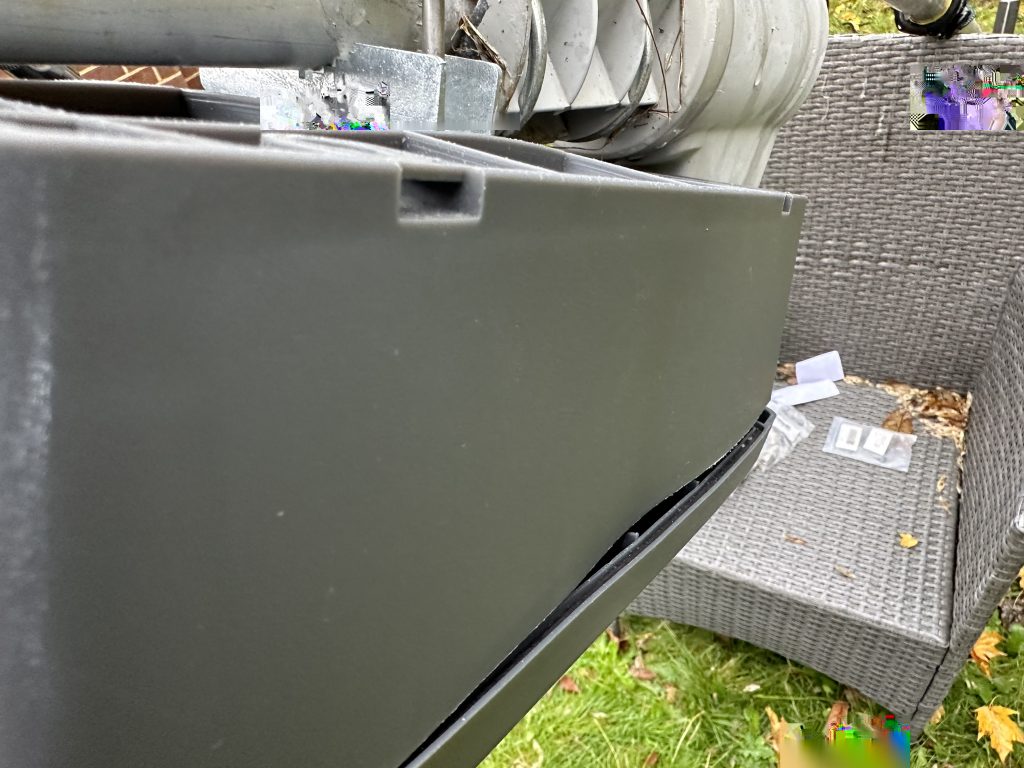
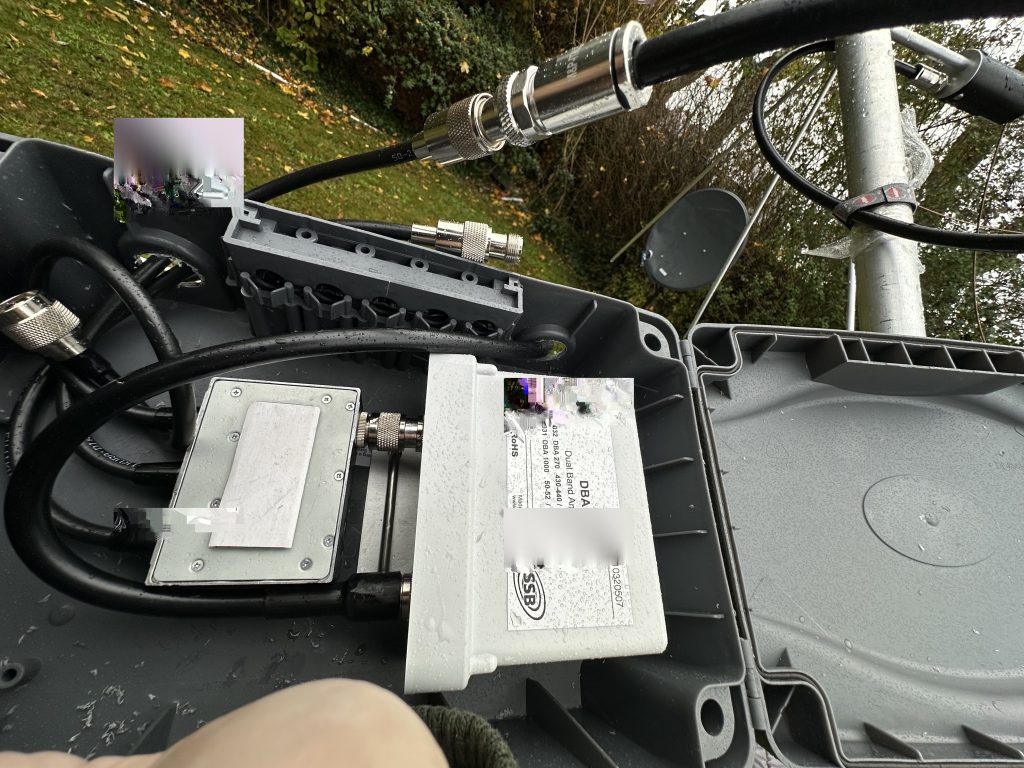
With the pre-amplifier installation work completed, I then set about attaching the amplifer to the mast head. I let gravity help here and attached the amp in a way i wasnt fighting it trying to drop off all the time – this worked pretty well. I had some issues with routing the cables internally, but otherwise got the feedline in nicely.

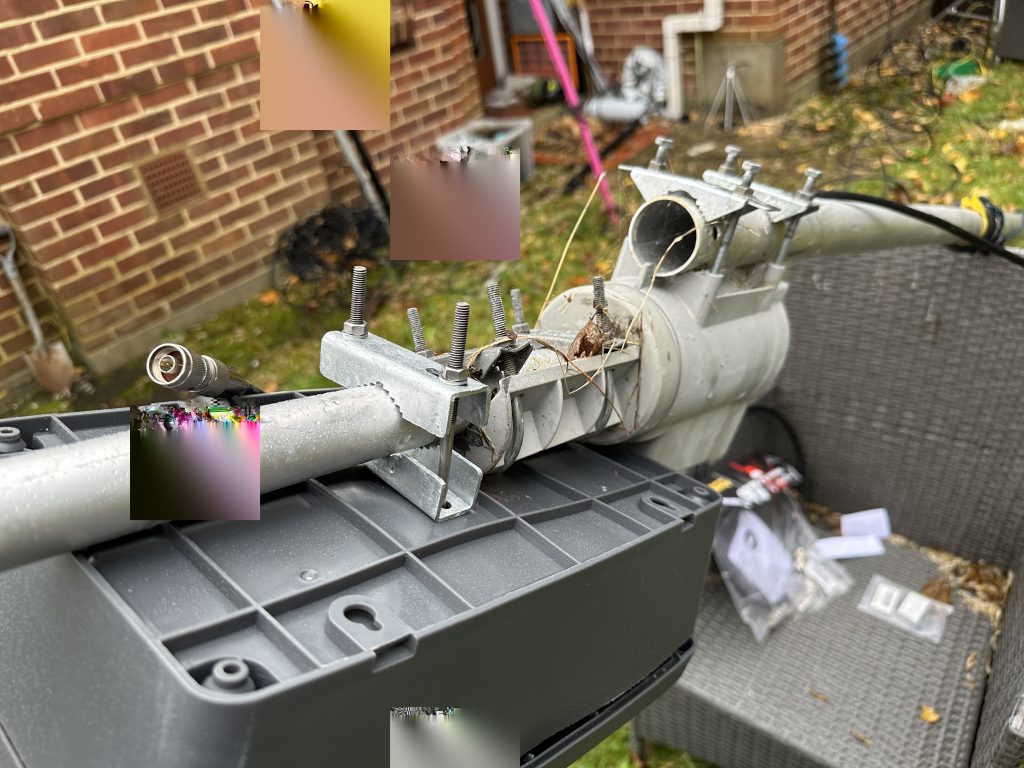
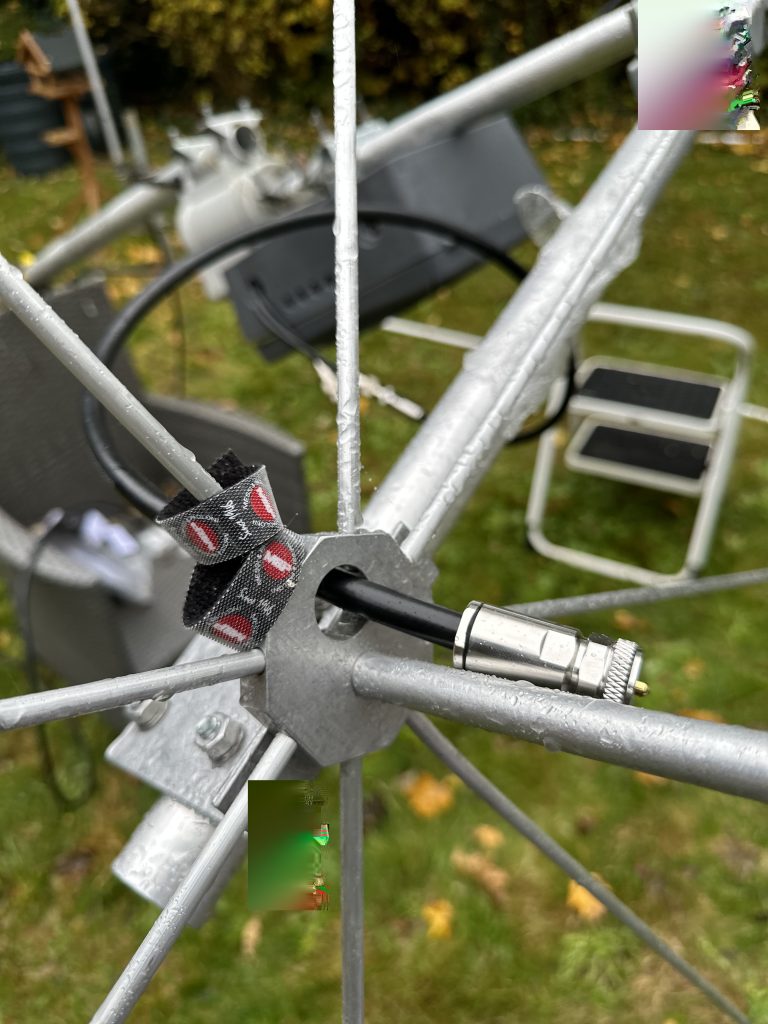
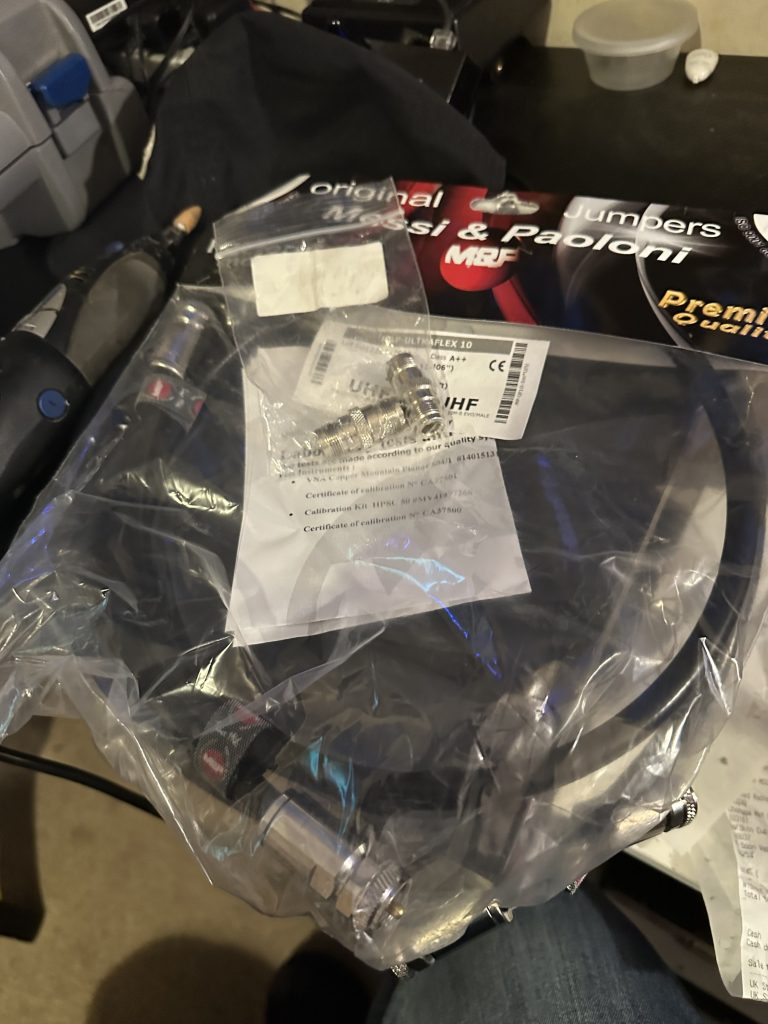
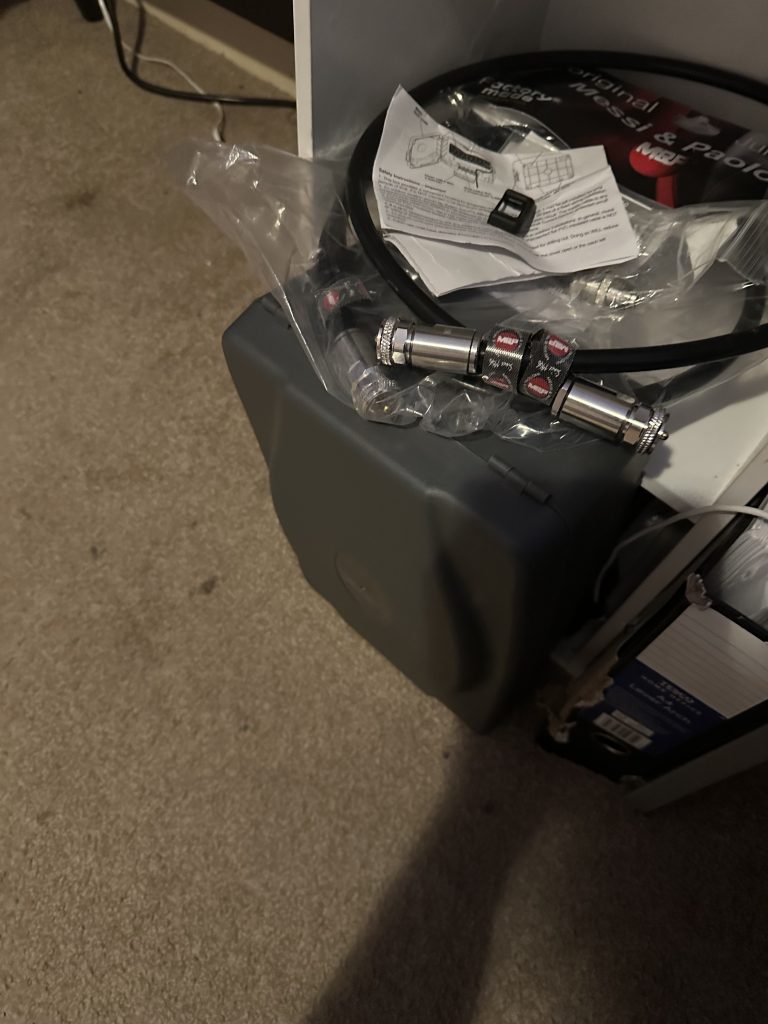
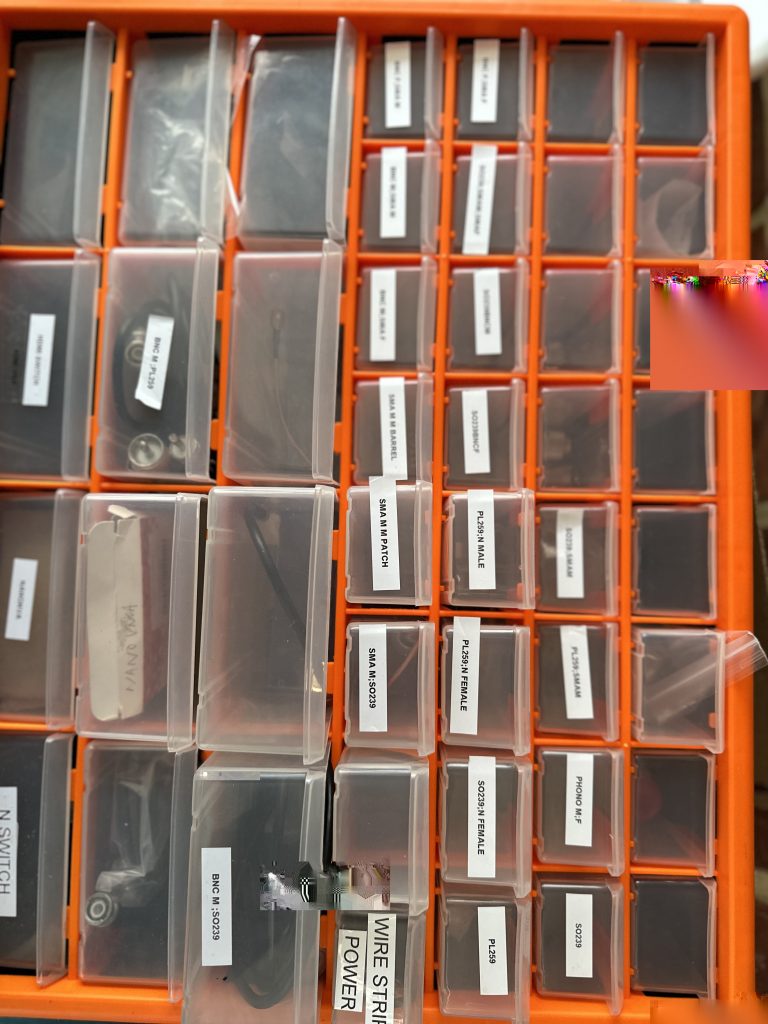
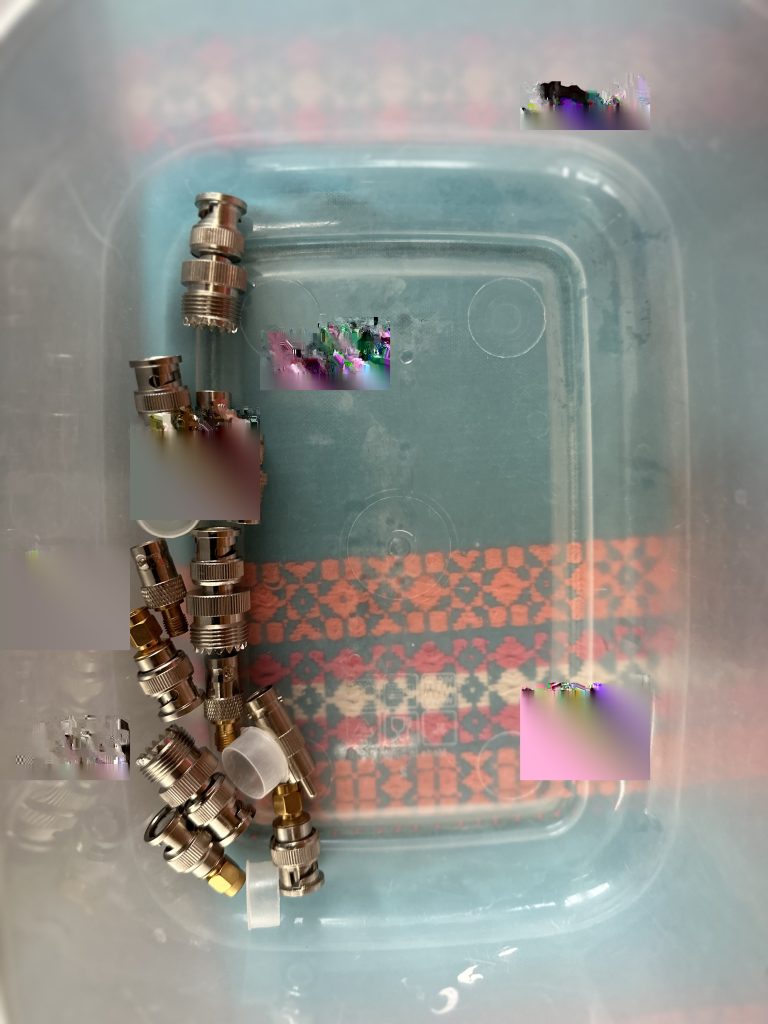
The Ultraflex 10 coax from M&P really looked the business, but it took some ‘convincing’ to go thru the egg beater base. Nothing too aggresive, just a firm push into the radial support, but it did go thru thankfully ! I then had to connect all the relevant ends up, I had pre-ordered some of the connectors I know I would needed but also had plenty to choose from in the shack.

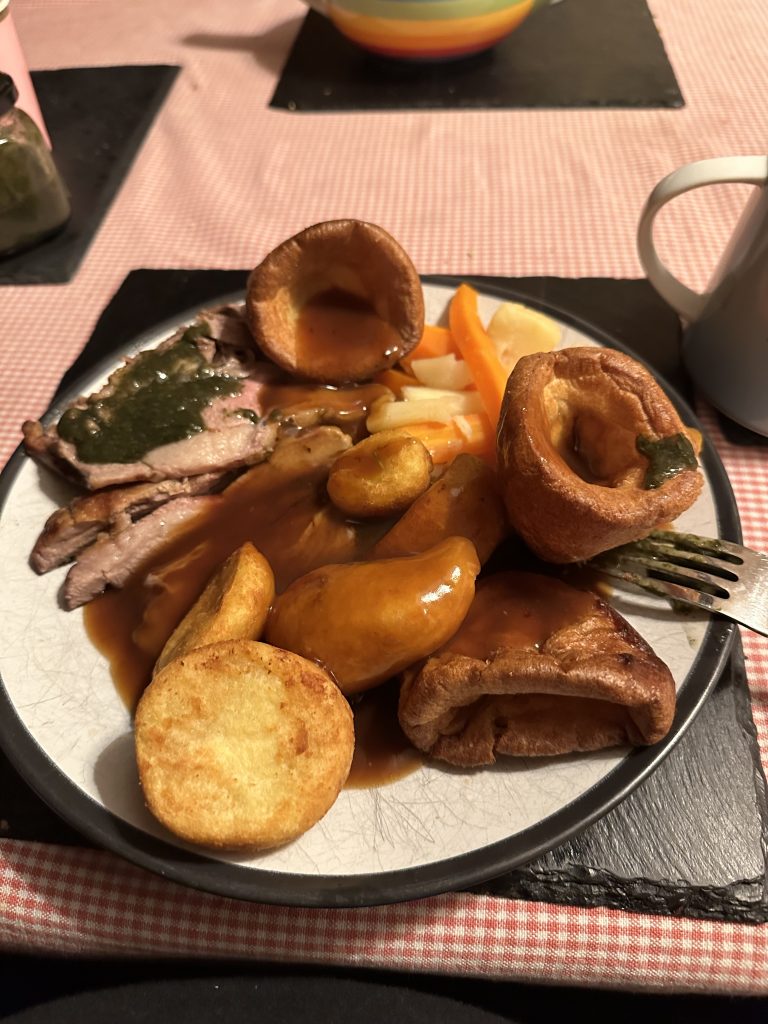
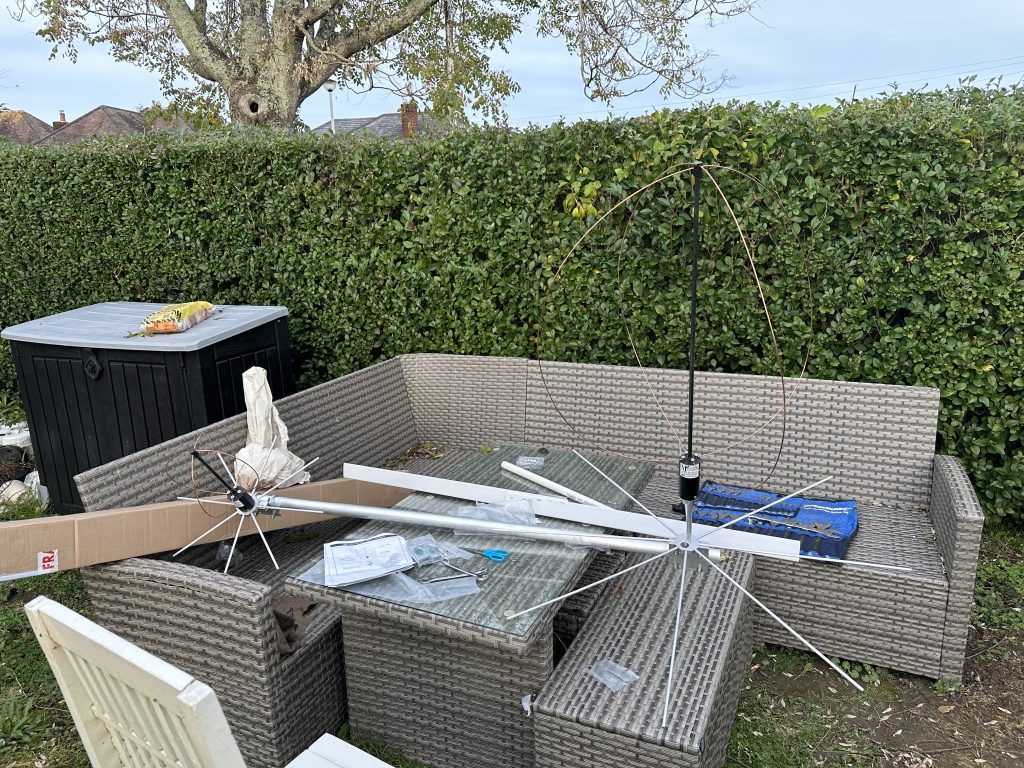
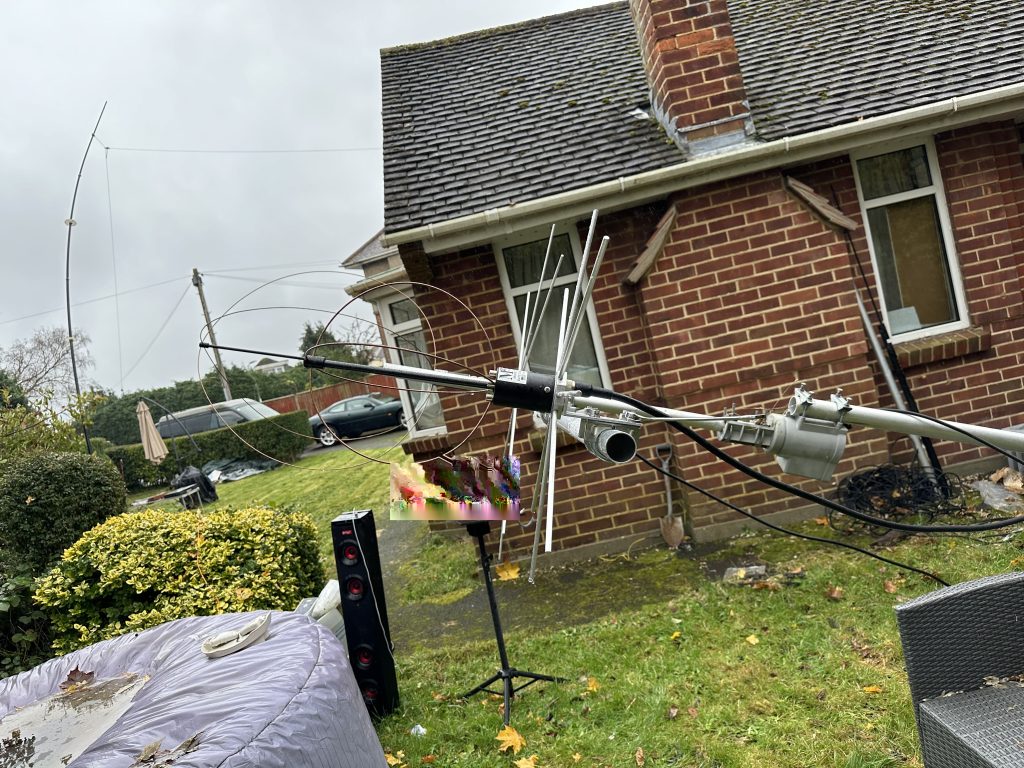
After putting everything together and getting the egg beaters vertical it was time to beat a hasty retreat to the warth and a cup of tea in the shack. The rain wasn’t helping me today !

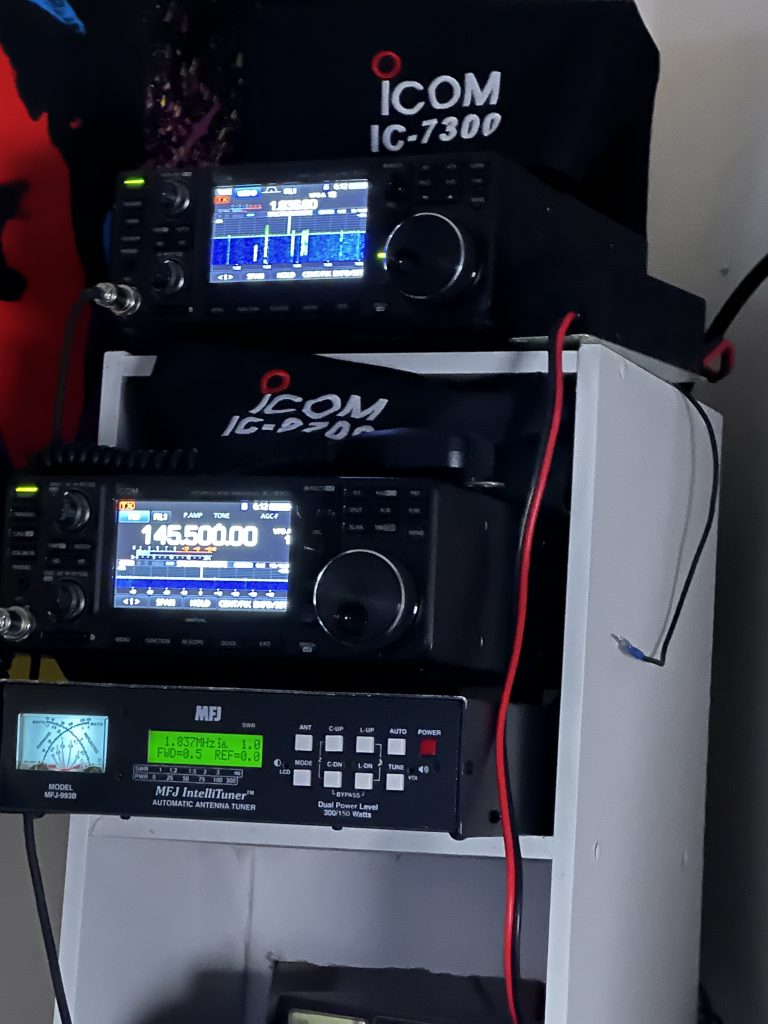
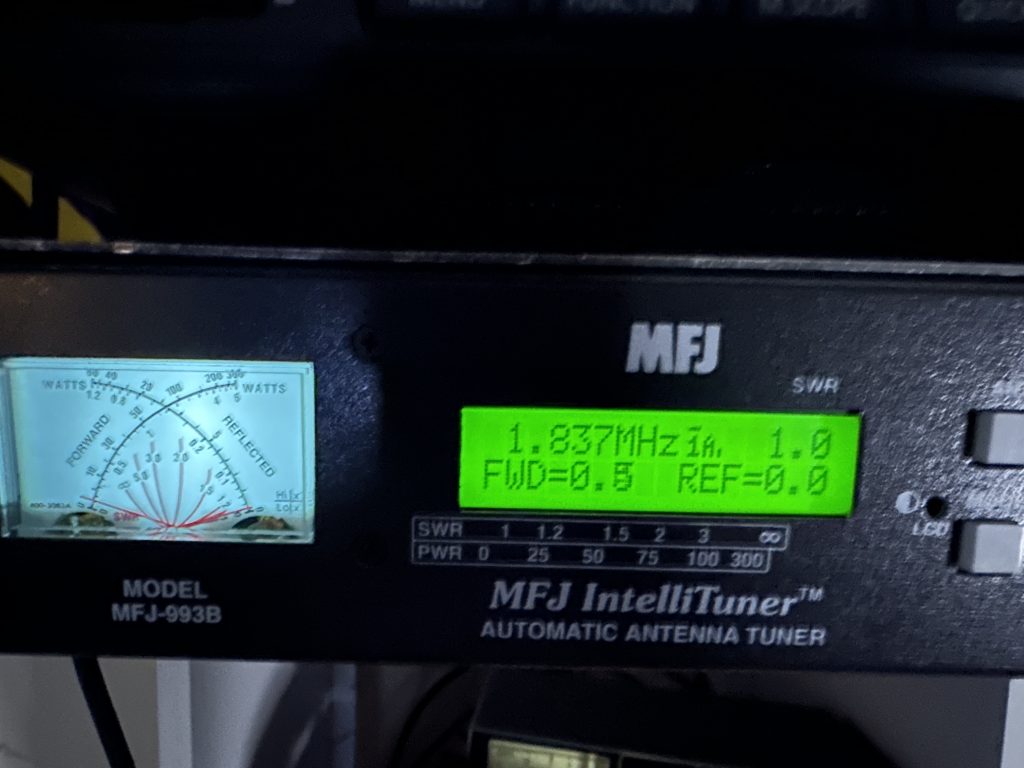
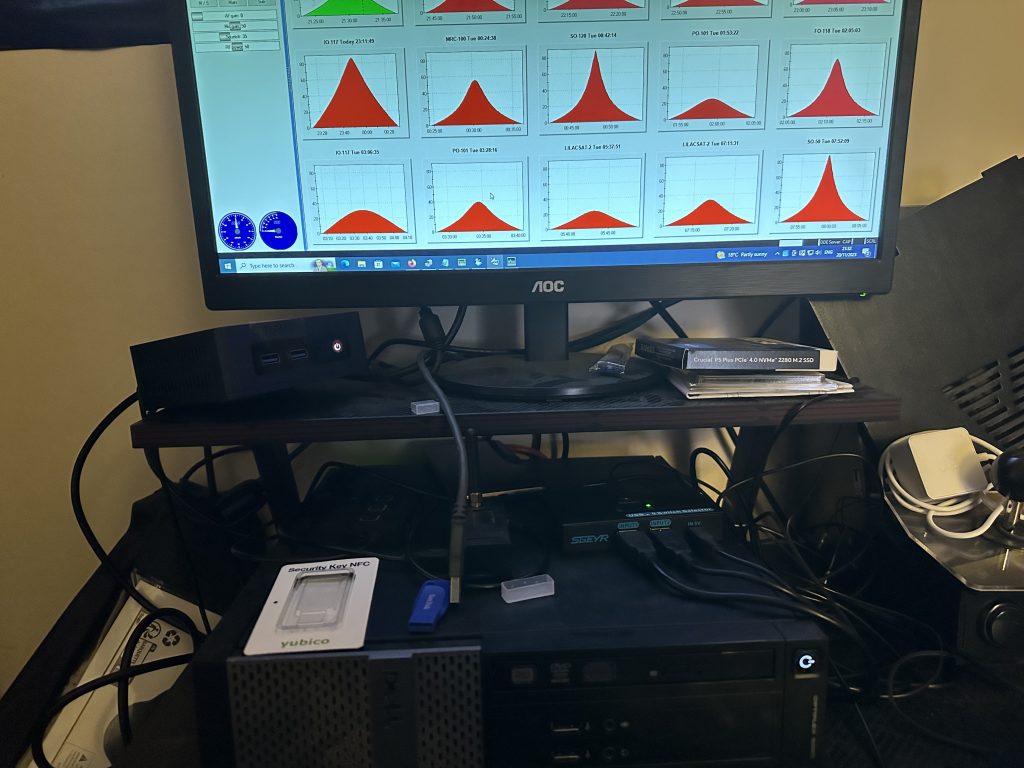
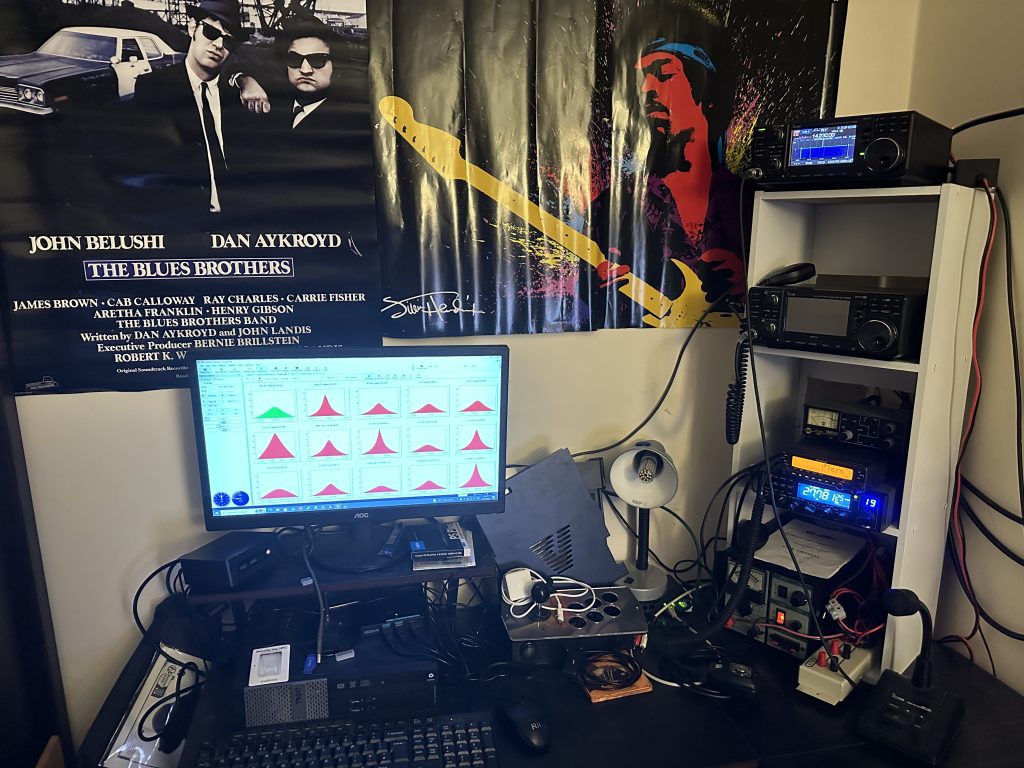
Once back in the shack I tested the SWR on the Rigexpert sitck, which does the majority of bands, alas today wasn’t to be my day as the SWR reports were not looking good.

yikes, thats not good !

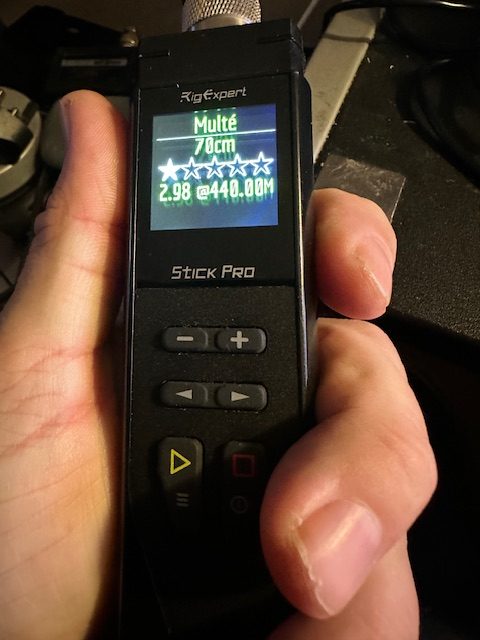
With the WX not improving any time soon and a plethora of other things to do (XYL computer upgrades being one of them) I satisifed myself with at least getting the amp on the mast, I willl have to spend some time in investigating and correcting the connectors to find where the issue is !

Still, I’m exicted to be able to start using the egg beaters with an amp, the work will no doubt be worth the effort to pull out those weak signals.

Until then, 73s !

Egg beater Pre-Amps – Day 1

It has been a splendid sunny day down here in Bournemouth, whilst the tempretures have been dropping, it was nethertheless a fine day. My original plan was to get essential bits-and-bobs done and out the way, so i could spend the afternoon working on the antennas outside, however the week had caught up with me and a much needed afternoon rest resulted in 2-3 hours lost, but at least I felt better 😀

overnight temps from the now working weather station

Having had a rest I started work on the mast head amplifier, collecting all the parts I had stored away and the dremel, ready for making some holes. I had left my 9700 on 145.500 and was very surprised to hear a call out for a radio check ! Funnily this would be my first ‘ground’ QSO via the egg beater antennas and a good way to check that everything was working as expected. I had a great QSO with M0ABI who was portable in Barton on Sea, given I was using an eggbeater antenna for satellitle comms I was very happy to make this contact, and Mike had alot of history/knowledge of Satellites as well, it was a great QSO and I got back to work on my mast head amp.

Having place the mast-head amp in the ellectrial box housing and marking out where the bolts to attach it to the beam/scaffold would go, i then drilled two small holes with a dremel do it would line up nicely once in the box. I attached velcro supplied with the box to the back of the masthead amp. Its incredbly strong stuff and affixed the amp to the box nicely. I then screwed on the triplexer via a N-Type barrel connector.

With the triplexer and amp connected, i dremelled out the side-holes for where the feed line from the radio will come and the outputs of the triplexer, I stowed the 23cm output and kept a N-Type barellel connector on the 70cm output of the triplexer, as these are all PL259, hopefully this will make attaching the correct antenna to the triplexer easier once outside.

I checked out the feedline holes and am quitely confident the LMR coax I have will fit in there quite nicely. I have M&P Ultraflex10 for the feedlines to the eggbeaters between the multiplexer, to minimize the loss as mch as possible. I’m hopng tomorrows weather is at least dry so I can get outside and get the amp on the mast, then see if I can hear those birds just a little bit better….

Back on Top Band – is it worth it ?

Having got the ‘shack’ into somewhat more operational functionality I pondered adding back in the MFJ Auto Tuner – I originally purchased this when I was using home-built vertical antenna and in that it could seemingly tune anything to matching the impedence of the antenna to the transceiver. With the 80m end fed, which does a excellent job across all its designed bands, it became a little redundant and sat in the ‘spares pile’.

With the recent ‘ham shack’ rejig and spotting the tuner, I’d thought Id give it another try, as digital modes on top band can experience some interesting propergation and having recently got the weather station back on line ready to start re-building the webtechnologies for WSPR data, seemed a good reason to at least put it back in place.

MFJ ATU under the IC9700 doing its business on top-band WSPR

Fitting in the ATU wasnt as straight forward as planned – the additonal ‘gaps’ in the bookshelf paying off to allow the ‘sturdy’ coax of the ATU to the 7300 to be in place. I did attempt mounting directly underneath, but it was becoming more of a mess than it already is. With a rejig and some persusasion, the ATU was in place and functioning correctly.

I started out on FT8 – there was plenty of traffic on top-band and managed several QSO’s as well as seeing how well the antenna was doing being matched to 160M with 50W of power.

FT8 on 160M (80m added in for testing)

Having enjoyed a pleasent evening out and the fresh air of Poole Harbour, I resumed my work in the shack and started WSPR transmissions on 160M with 1W of power. I’ve been doing 10M during the day, and its been geat to see the data of how the propergation really varies and almost to immediate effect when the sun goes down, so it would be good to see the inverse of that. I was not to be dissapointed !

WSPR 160M with 1W of power

Suffice to say, the ATU was doing a great job in matching the antenna and still with a decent amount of power being transmitted on WSPR, the MFJ reported between .5 and .7W

MFJ ATU working well on WSPR with 1W

Needless to say, as someone who enjoys digital modes and analysis of the data produced, its great to have this added functionality back. With the steady stream of WSPR data becoming available I’m looking forward to updating the webtechnologies site ready for early next year, so the MFJ will be staying for the foreseeable future ! Yes it is worth it !

A fun evening on G4PRS 2M net

With the 9700 setup on the egg-beater antennas, it was time to test out the TM-V71 on 2M for some Telephony QSO’s using the Diamond X9000. The G4PRS net on Monday nights is on 2M, 145.375, and pulls in a good many callers from around the region, as my QTH is on the aft side of the ‘hump’ between Bournemouth and Poole hearing folk over Swanage and Weymouth way is very rare, but most contacts are very good to at least readable, with only a few which I couldnt make out.

I got in early on the list of callers, (3rd in line I think) and net control (Peter) as G4PRS done an excellent job in getting everyone in. As seen from my ‘scribblings’ there was alot of callers ! I was greatful for the constructive input on my audio and strength, 1st time out was to quote ‘blasting the doors off’ so I got a bit further back from the microphone a second time around, which seemed to help. I will check the manual if there is a in-built setting for microphone amplification to see if thats set, mostly I’ve been using this radio for APRS previously.

It was nice that folk on the net remembered me being in POTA, which sadly I’ve not had much time for this year, but am hopeful in the new year I will be back out again, maybe even December, will see how things go. I’ve packed the 705 in its case for now, so it is a nice ‘go bag’ setup and I do enjoy radio/POTA. Also good feedback on the blog (thanks G6AKJ) and bookcase – its nice to hear that i get at least one reader of the blog ! 😀

I have HRD running on the micropc you can see just under the monitor, the larger PC is a linux box, which I might use for the 7300 to keep the 9700 and 7300 seperate as to avoid any mistaken PTTs,etc.

All in all, the effort to get the radios set back up in the book-shelf-shack has been really worth it, with HRD driving the 9700 and the egg beater setup, as well a nice 2M/70cm radio, I’m looking forward to having more QSO’s on UHF/VHF, as well as digital modes with the 7300, although 80m is very lively of late !

73’s for now and thanks for reading if you got this far 🙂 Hope to catch you on air !

A shack tidy (work in progress)

With my shack getting some actual usage of late, as well as the G4PRS 2M call on Monday nights, it felt like a good time to tidy things up. I’d not been particualy happy with the layout of the radios in the window, in particular it was susceptiable to any rain/water ingress. With that I orderd a budget 3 tier book shelf, having measured the dimensions, it was a nice foot print and my radios should all fit…

Having move the radios from the shelving, I then set about putting them in-situ to see how it worked out – i wasnt 100% sure where I was going to put the book-case radio shack, but the corner seemed a good idea, and put the Apple iPad that was there back into the Alex Loop pack ready for my next /P or /M use. The position worked well, but there was a clear issue of routing power and coax to the radios, so Ihad to do some ‘DIY’ on the shelves. Here goes my warranty…

The cheapness of the bookcase meant the back-walls of the compatments didnt present much work for the dremel, if it was earlier in the day, I would of done this outside tho, it generate a fair amount of dust and smoke, but I kept the windows wide open and also took my time with each section. I didnt need ‘perfectly square’ holes, just enough so that I can route the coax and other cables thru, and as can be seen in the last photo, this worked out pretty well !

The main transformer now had a nice clearance for its rather noisey fan (my only complain of this transformer, its otherwise done an excellent job) then can start placing the radios in place. I started with my 11m CB+manual antenna matcher, this went in easily enough, and then I placed the Kenwood TH-V71E on top of that. I put all the necessary data/audio cables in place in case I choose to use them, but I’m going to be using this as my main 2m/70cms rig. At the moment its using the Diamond X-9000 which has excellent gain on the 2m and 70cm bands. I am looking forward to trying it out on the G4PRS net on Monday night.

I fed in the very chunky cables for the IC9700. Currently I am running a very simple setup, with no mast head amplifier and direct to the satellite egg-beater antennas. This should become a single feed with a splitter both ends once I put the mast-head amp in place.

With the radios all connected and the basic setup up and running, I then set about using the IC9700 for what it was really designed, operating satellites. Luck would have it that the ISS would be passing over, not a particularly high elevantion at 22 degrees, but worth a try. I waited for an hour and was pleased to hear QSO’s from all over europe going into and out of the ISS repeater. I manually controlled the doppler, but there was no need to rotate the yagis liked what I used to have to do. First impressions of the non-amplified eggbeaters is very encouraging and I look forward to continue to setup the annteas and systems in the coming weeks.

Eggbeater progress and 70cm communications

Sundays weather took a turn for a worse, the best part of the day was used to enjoy some time out the shack and with my XYL. We headed off to the New Forest then to Milford on Sea. In the Bongo I have the Kenwood TM-D710GE which I use for APRS on 2M and scan the other bands, GB3IW used to be on 2M, with amazing coverage, being able to reach as far east as Shoreham/Worthing, it was a good way to make /M and /P contacts (as you’ll see in other posts on the blog). I tried out to reach IW from Milford-on-Sea, but no luck, where ever the repeater is now, its a former shadow of its once great coverage, which probably led to its demise thanks to abuse.

We headed back home and whilst there was spatters of rain, there was a time to get out before the sun went down to make some small progress on the satellite antennas.

I removed the previous horizontal beam and replaced it with the one supplied in the kit. I was careful enough, as the vertical holders are only fibreglass, and it would be unwise to knock them and suffer any undue damage! As I had already had a full day, and the next step would be to start erecting the antenna and horizontal fetelling, decided to call it a day, happy at least that the anteannas are in there temmporary mount.

I’m hoping for some good weather today to at least make sure I can locate the coax and get things in place. My son is due to visit this week, so I will put the antenna vertical with him the first time at least, then I will have a better idea of the effort and how easy it is to get up.

I finished the day with a nice meal of roast lamb, which on a cold, wet and rather miserable evening, was a welcome break.

GB3SU + M0DQO 70cm contact

Further to my lack of 70cm contacts via GB3IW, I had a scan thru the bands at the QTH on the IC9700 today (Monday 13/11/23), I was glad to find GB3SU in Southampton. I monitored for a while and was pleased to hear a call out from M0DQO, who was operating portable on his way to work. It was a good QSO and learned about Chris’s setup, which worked really well being /M via Bluetooth controlled PTT Headset. It was a good start to the day and will put the repeater in the D710 to listen to when I’m out and about in the New Forest or en-route to Guildford.

Eggbeater anntennas for Satellite communications

Having an IC-9700 offers the benefits of full fuplex communication on the 2m/70cm bands used by satellites. I previously used two yagis and a rotator with some sucsses in contacting satelltites. The IC9700 with HRD performs excellently in doing the ‘doppler’ tracking, but still found that manually rotating the antennas a distraction when attempting to have QSO’s as the ‘birds’ flew over.

With that early this year I ordered the M2 Satellite Package but due to work and study commitments its been sat in my hallway for several months, waiting to be setup. Well today was that day, with fine weather forecast in the shortening winter months, it was now time to take this on, taking a nice break from my academic and technological pursits also got me outside, albeit just to the front garden !

My first tasks was to remove the Yagis from the existing beam (I was later to learn this wasnt strictly necessary), so I took the 70cm and 2m yagis and put them in them in storage. They can probably be well used on the bike stand for /P operation in the future, although I do have the handheld arrrow antenna for that as well.

I unpacked the antennas, which had been done very well by M2 in the US, you’ll see more of that on the video once I edit it all together ! I started on the 70cm antenna as it was smaller and easier to handle, and would give me some experience ready for the larger 2m antenna.

I found that getting the copper into the loop configurations was easy enough, by feeding thru gently into the eyelets and placing into the holders at the base, the small screws were manageable even with my large fingers. I had tightened and then finished with the allen key.

I then started on the base of the radial holder, whilst the antennas can be used without these, for satellitle communicaton they proivde a reflective plan providing gain at the horizon and a null directly overhead, this is exactly what is needed as the time a ‘bird’ is spent overhead is very short, with the tracking previously done via the TV rotator taking the time to get across the sky.

For the 70cm radials one hand holding the radial and another screwing in the bolt was not an issue due to the size of/lightness of the radials. These went in really well thanks to the precision engineering.

Having completed the main 70cm antenna, it was time to attach it to the supplied beam. I always seem to struggle with getting these U-Clamps on, and it was still no exception in this case, still after a bit of fettling, I had the 70cm nicely installed on the beam, ready for the 2M antenna to go on next. I had a break and a nice cup of tea first tho.

Having had a nice cup of tea and a bit of a break, i then went on to the 2m antenna. This is much larger in size than the 70cm antenna and features a extender bolt. All of the components looked good quality and should provide years of good serivce. I had no problem with the copper wire to form the egg beater. Having taken my knowledge from the 70cm construction, i put the small radial trap-bolts in 90% of the way, then locked in the radials one a time, this really made sure that I wouldnt lose the bolts and the radials had a good girp.

After tidying up, I moved the antenna to where I will try it out first and know I have enough feed line to reach it, it should just about get the roof line of the bunglow in this part of the garden.

Forecast for weather tomorrow is not looking to bad, but not quite as nice as today, hopefully there is a few hours to at least get the feed line and the antenna up. I do have a mast head amplifier as well, but I’m taking it one stage at a time !

Hopefully i’ll provide another update soon !