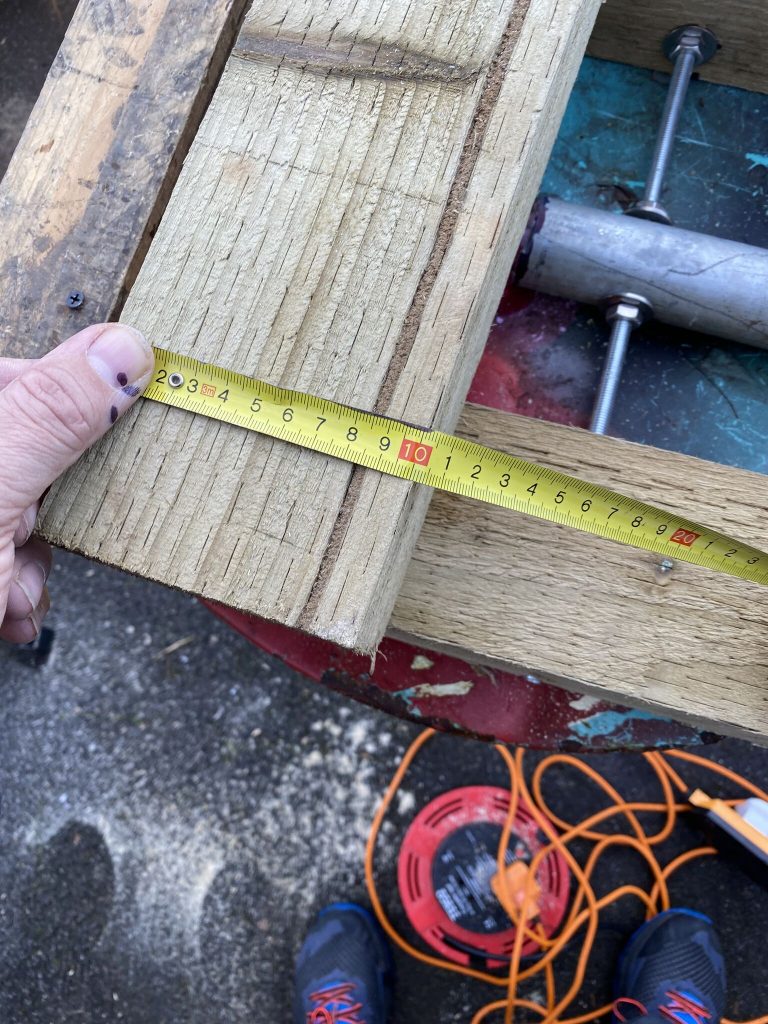
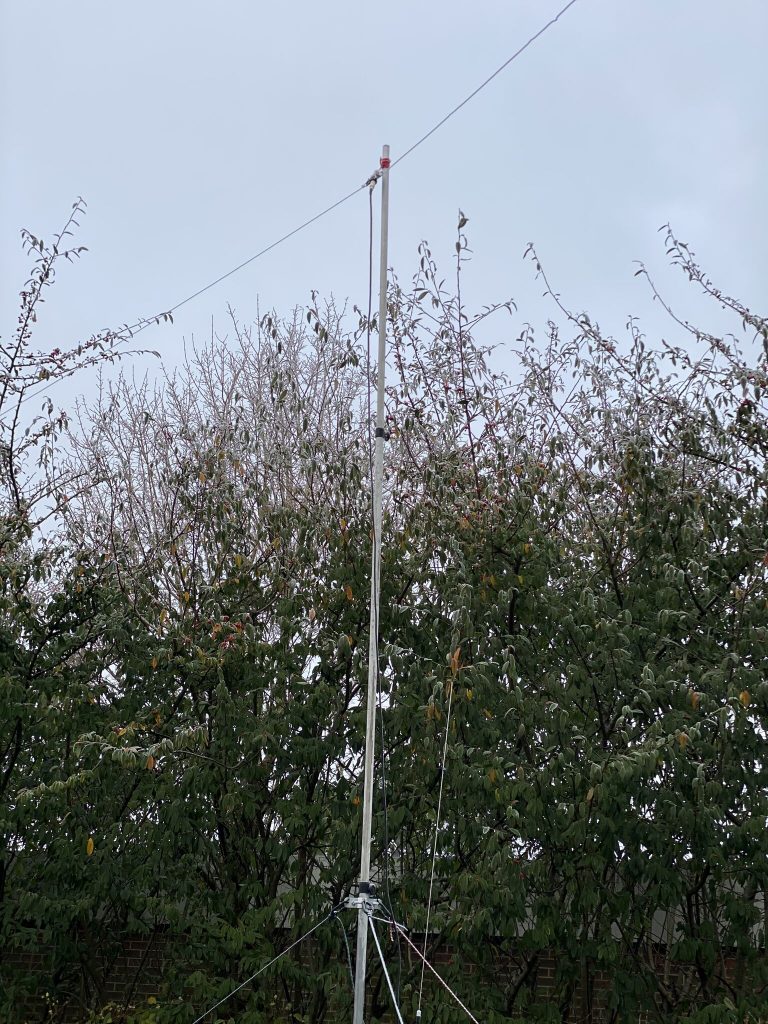
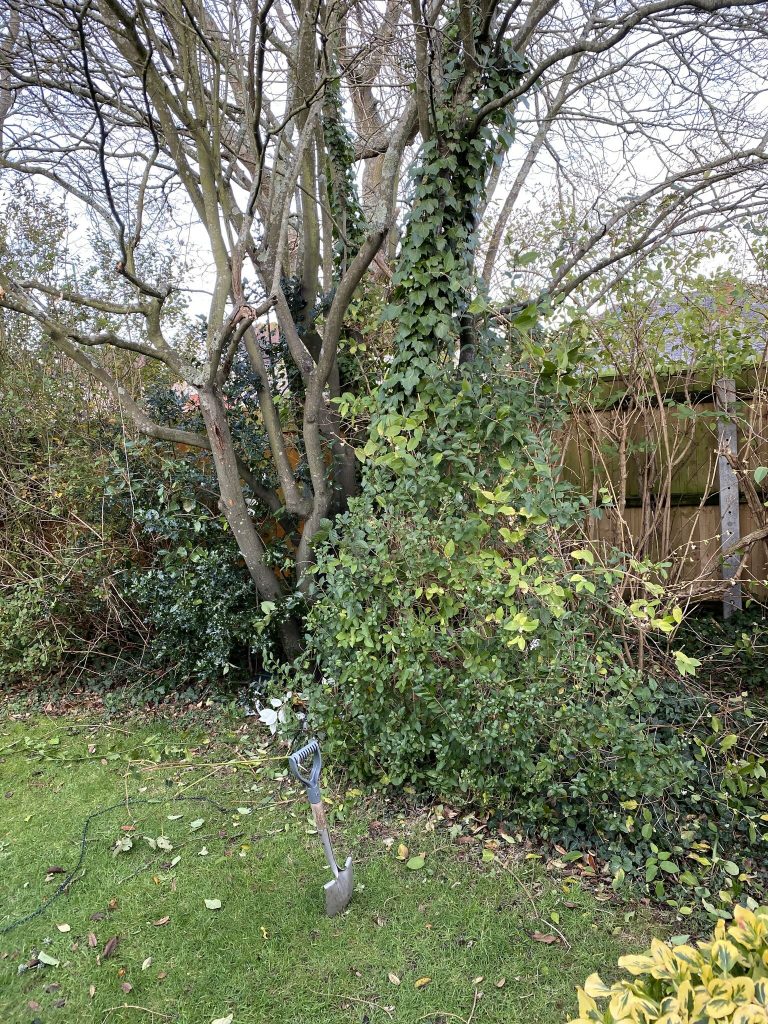
So an early start pondering more programming and exam revision – have to say that I dont write a MSc blog, maybe i should… hmm. Anyhow more work on the Nebula today as soon as the sun came up and i could safely work in the daylight. First job, take down the 40m and 20m antennas I have been using for the last few weeks.
20m buddipole 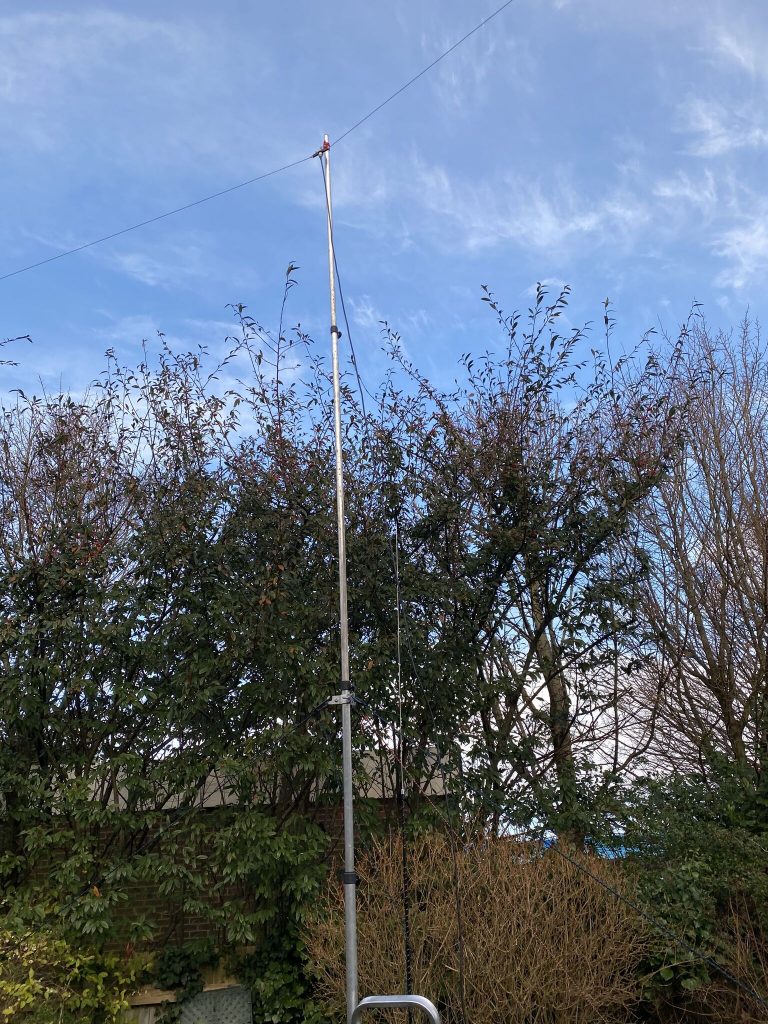
40m dipole 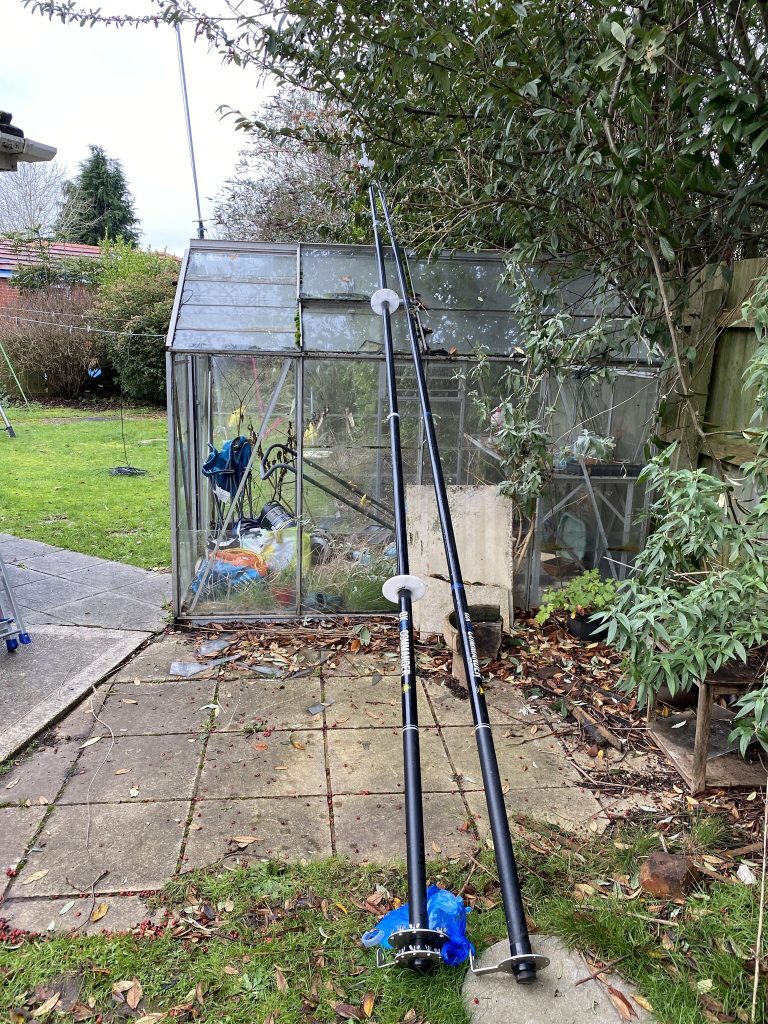
DX Commander Classic 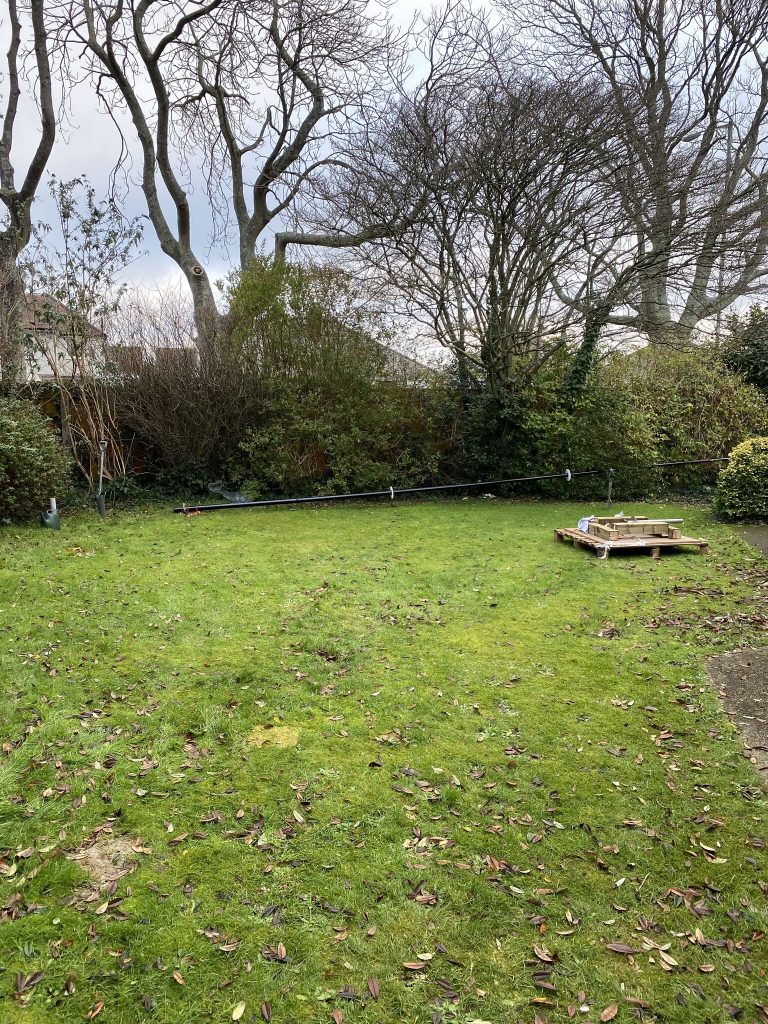
a tidy QTH
I was really happy how well both the dipole 40m and the buddipole vertical on 20m worked the last few weeks, they was quite quick to setup and kept me able to do the things I enjoy, also making telphony SSB contacts on 40m was great as well. I was glad that the buddipole went up with no damage and came down equally as well – I have packed it up nicely (as always!) for its next outing.
5m 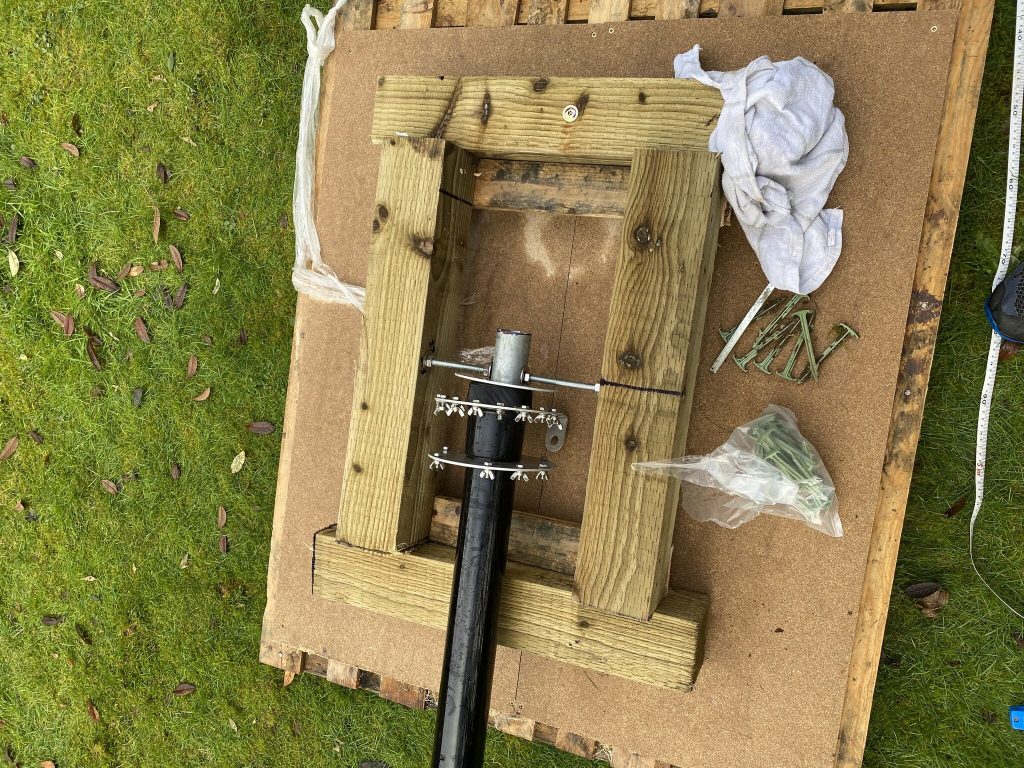
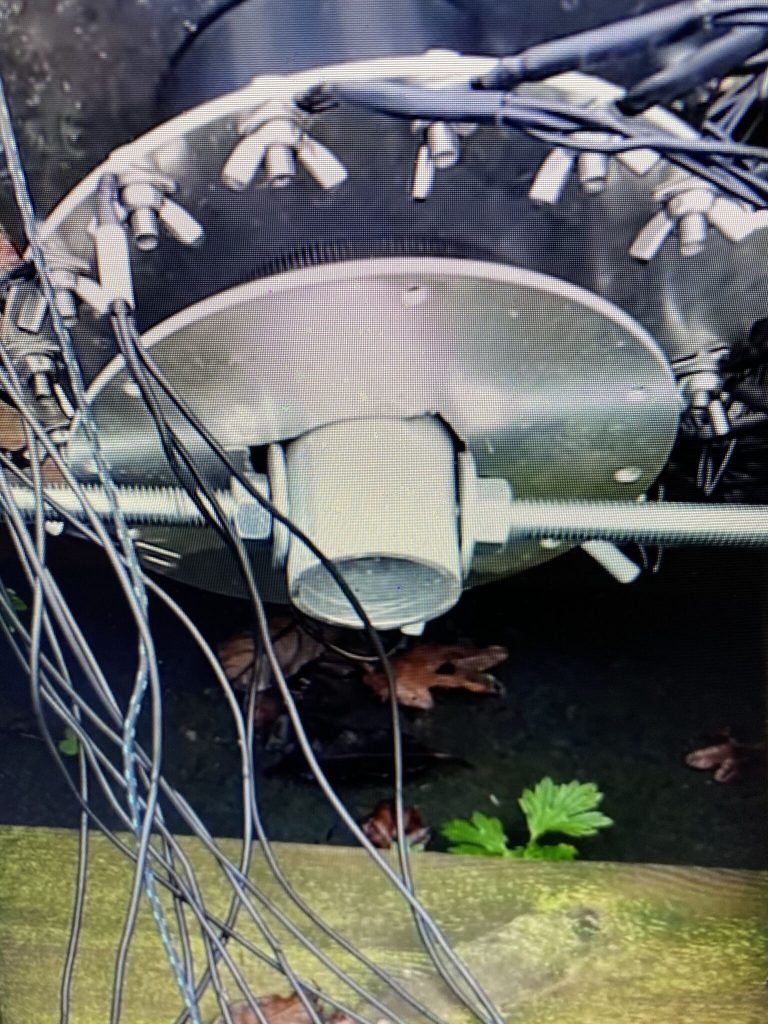
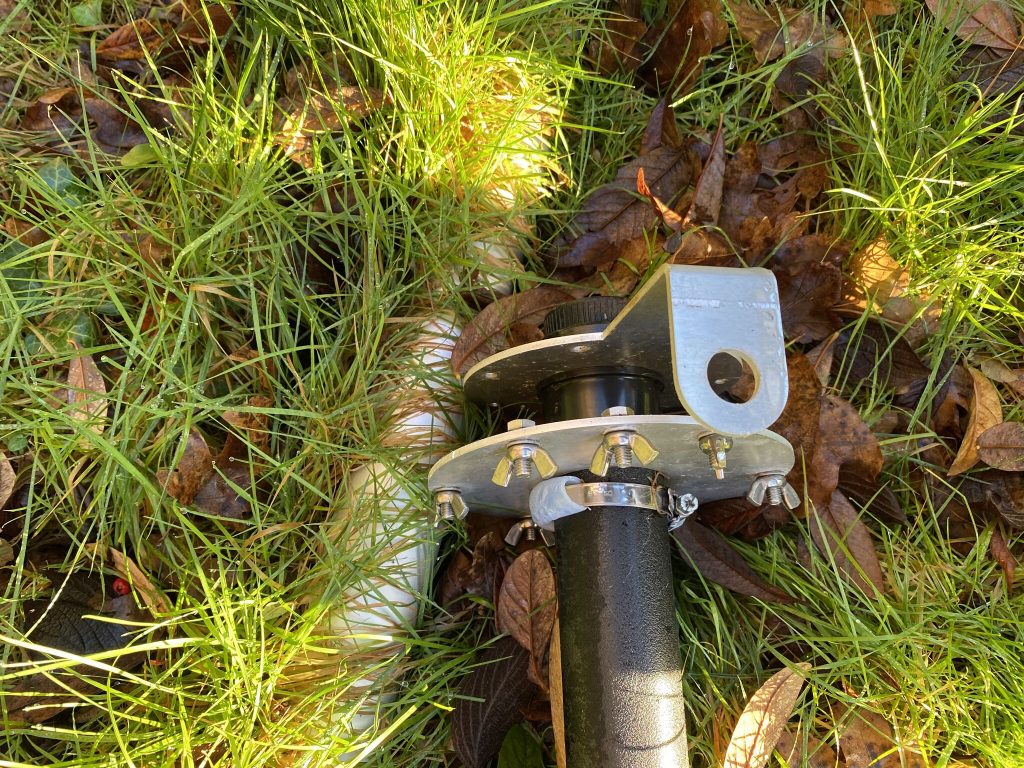
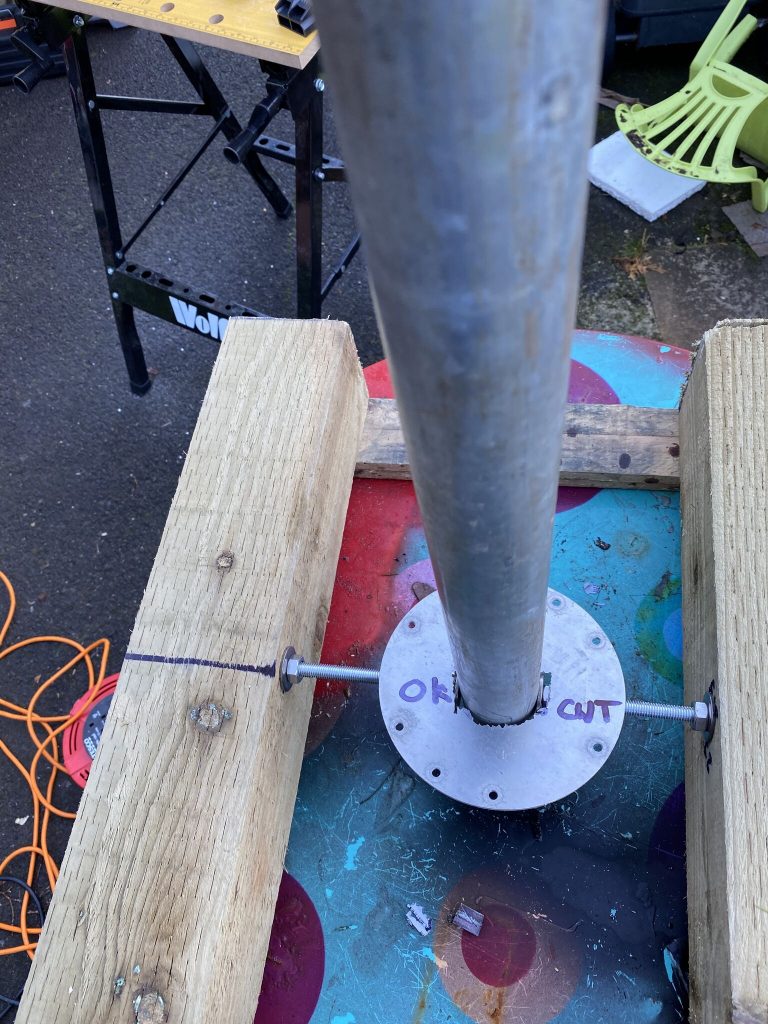
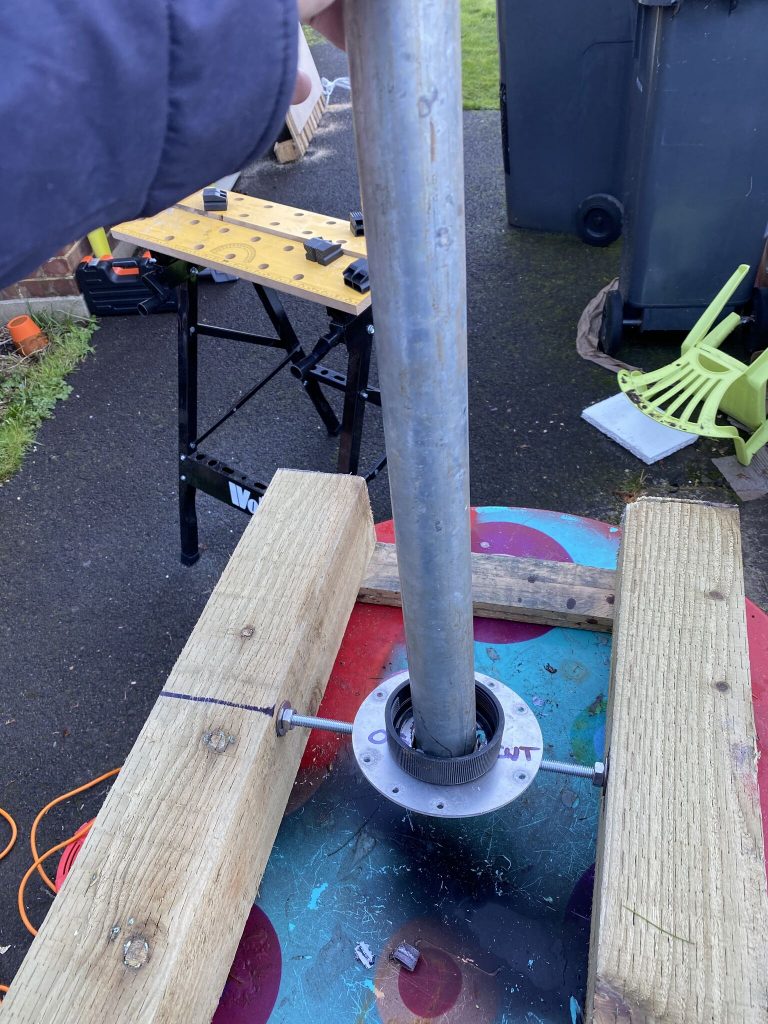
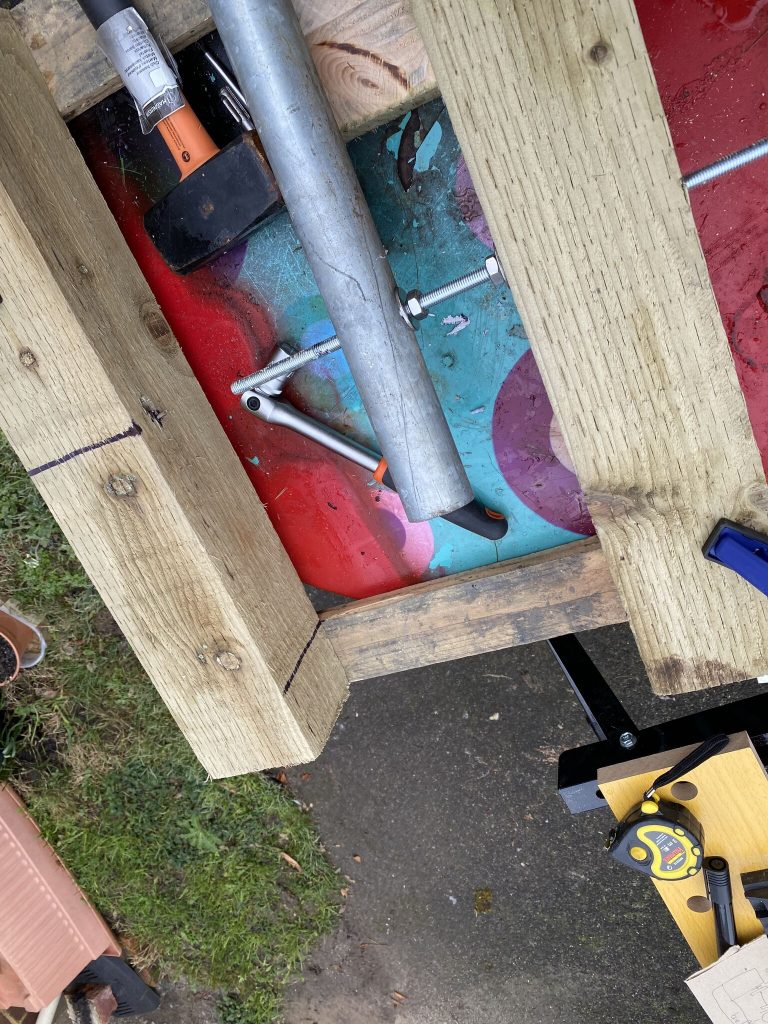
attaching the nebula 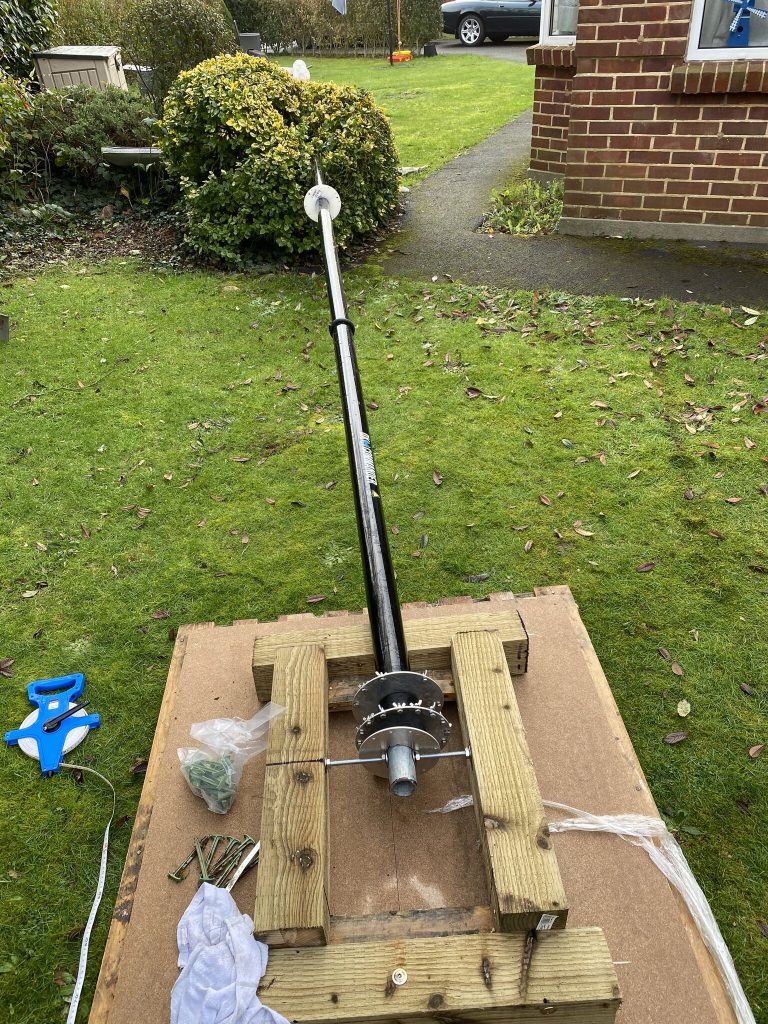
she tilts !
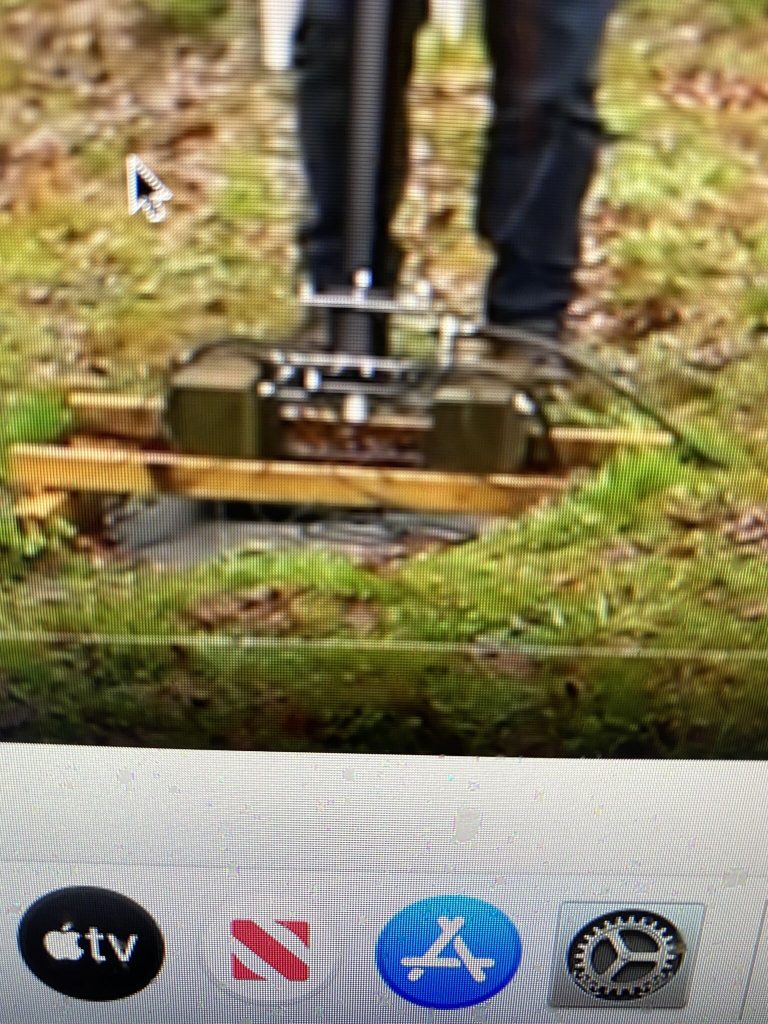
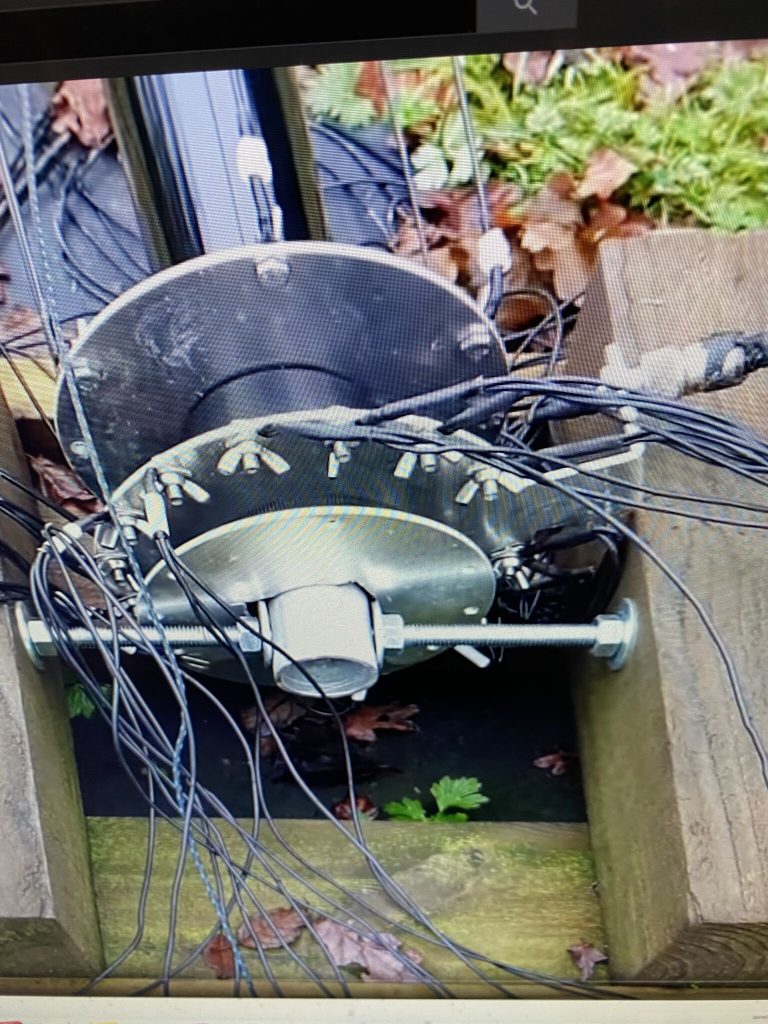
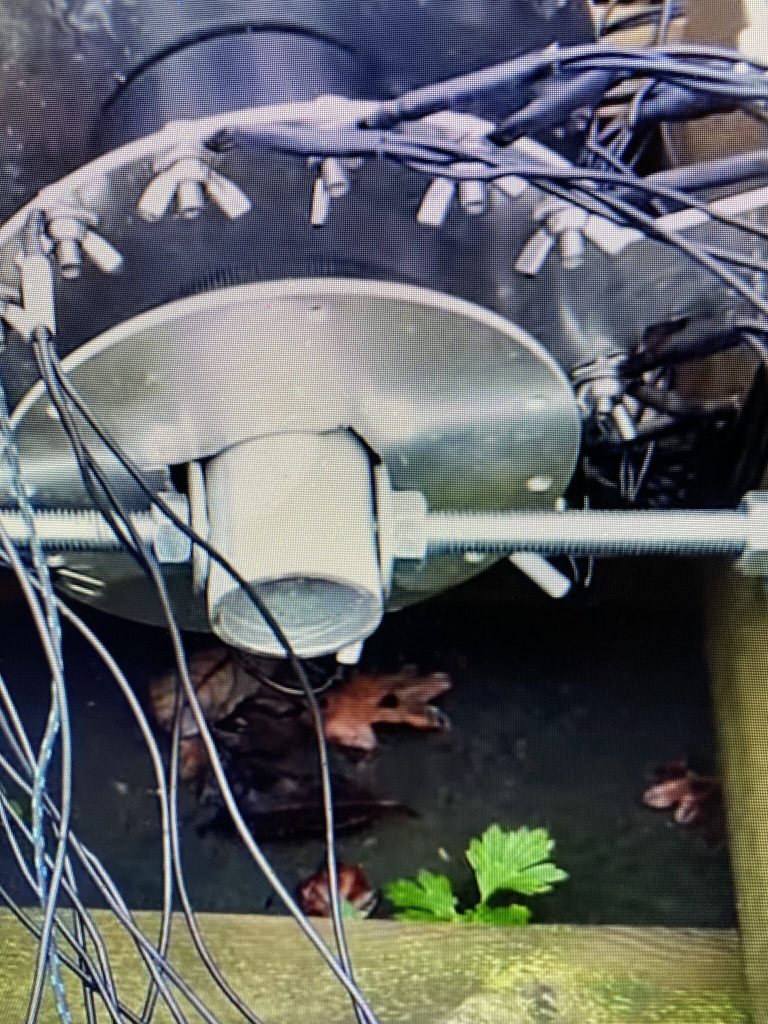
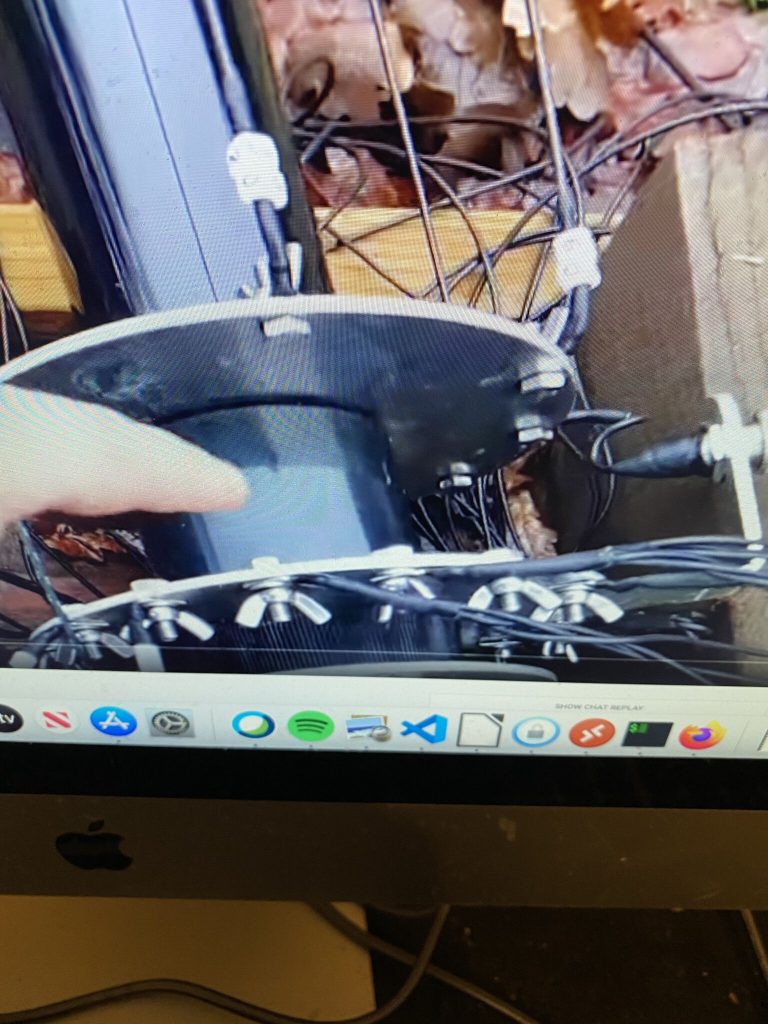
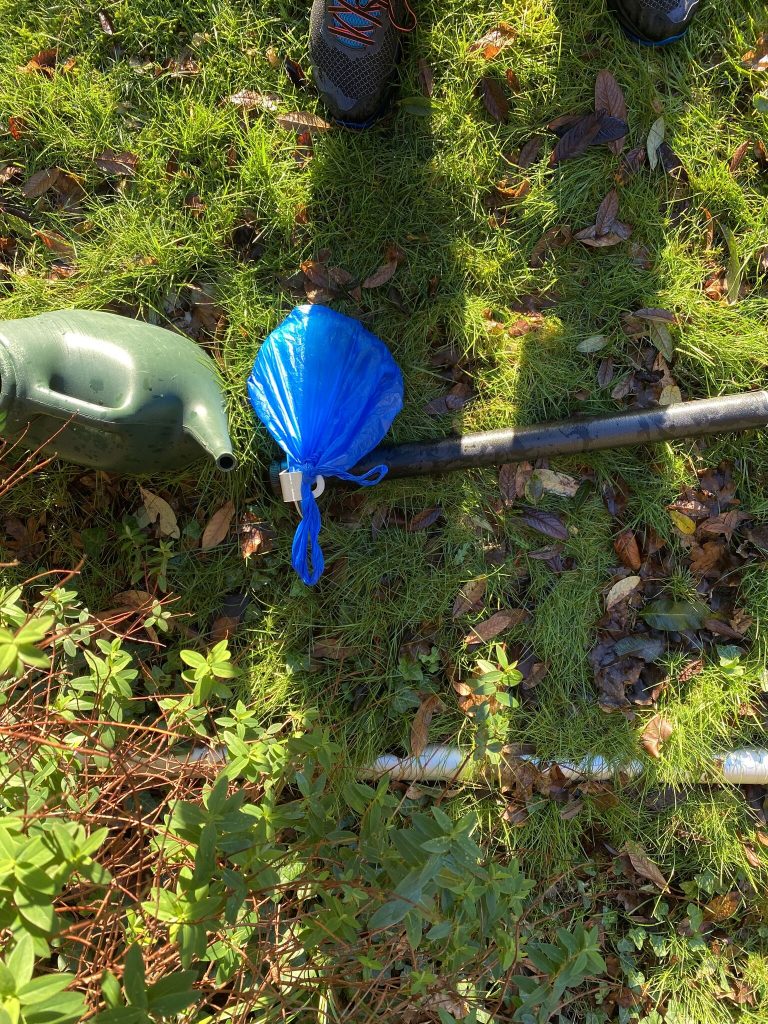
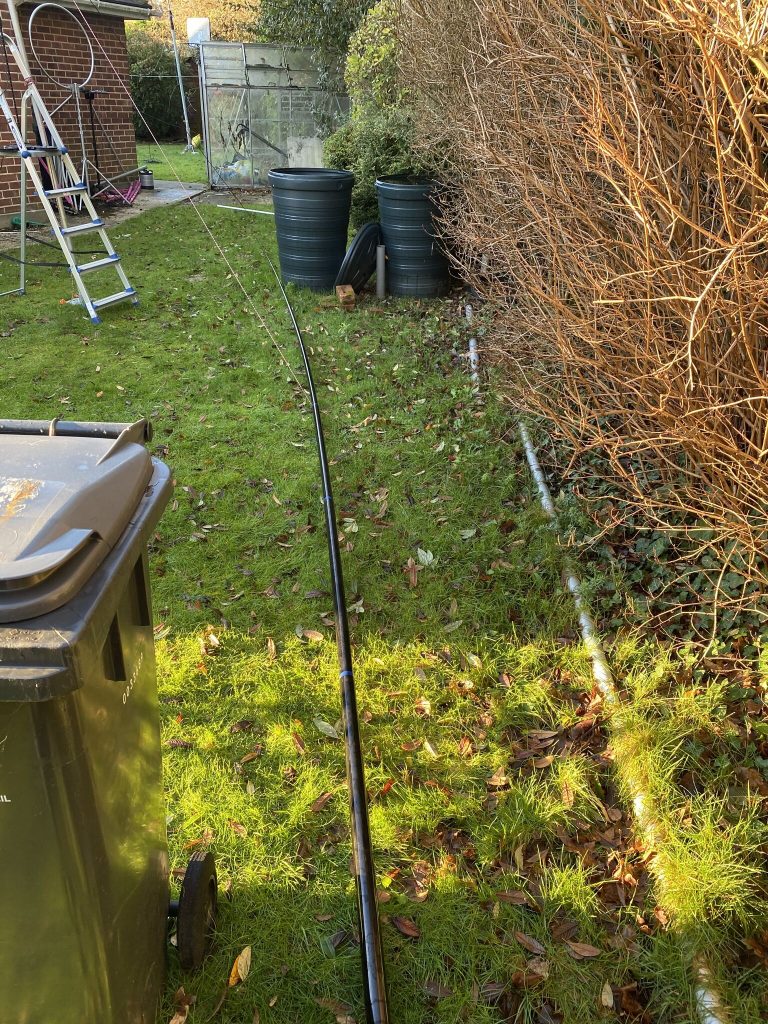
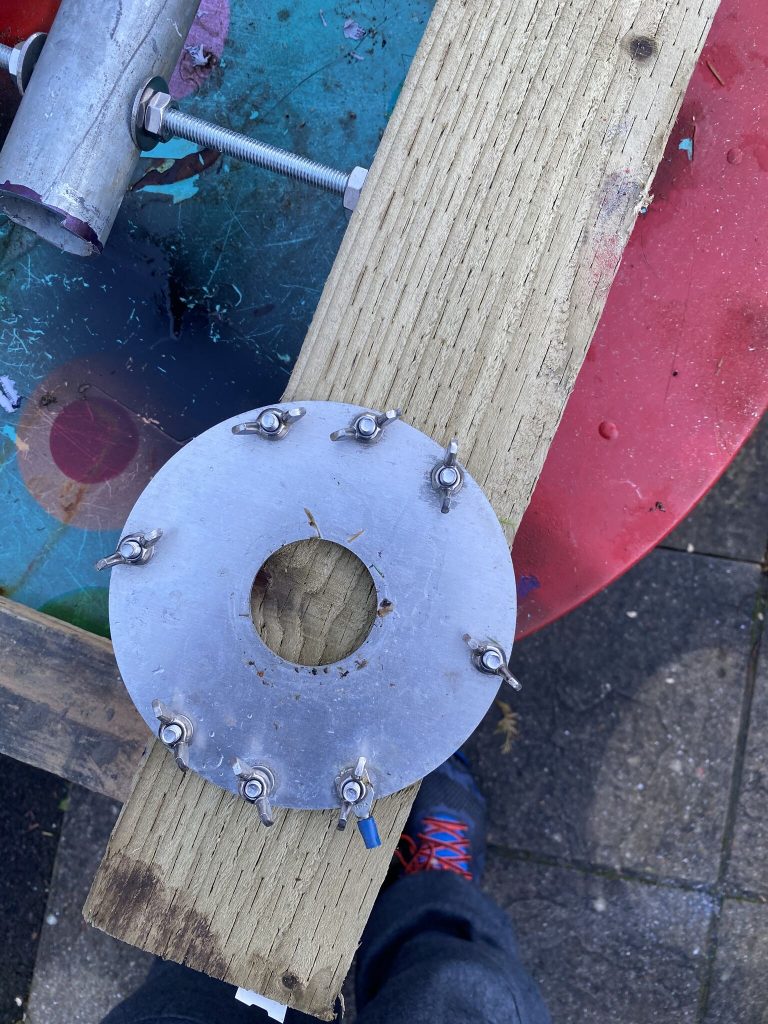
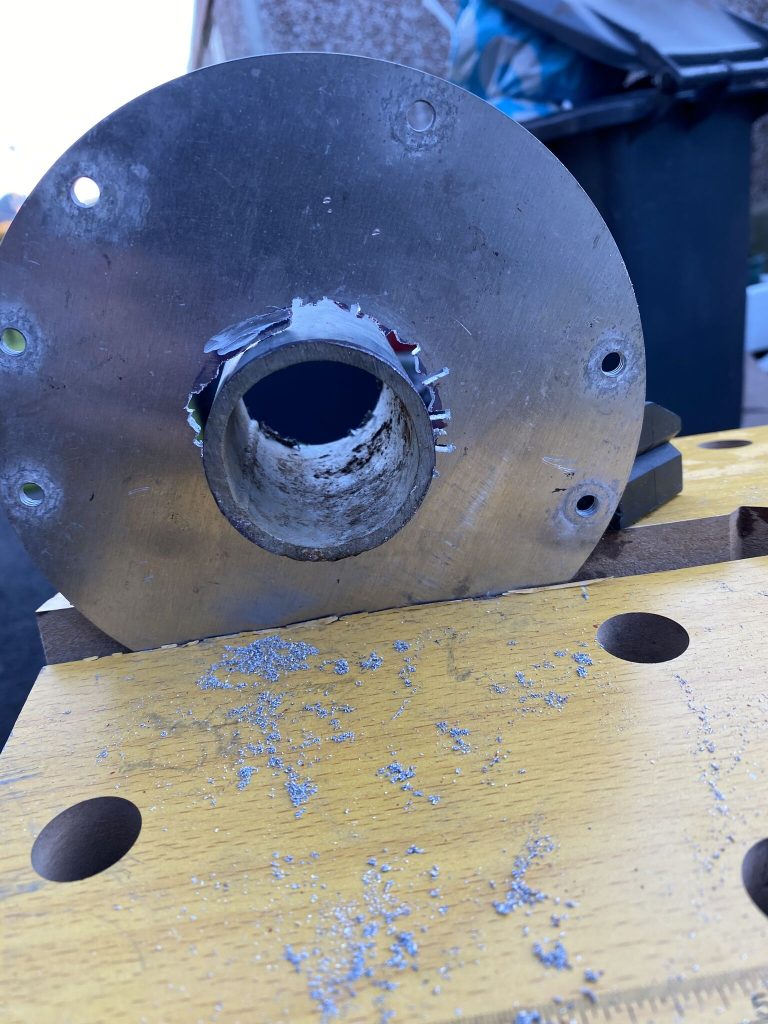
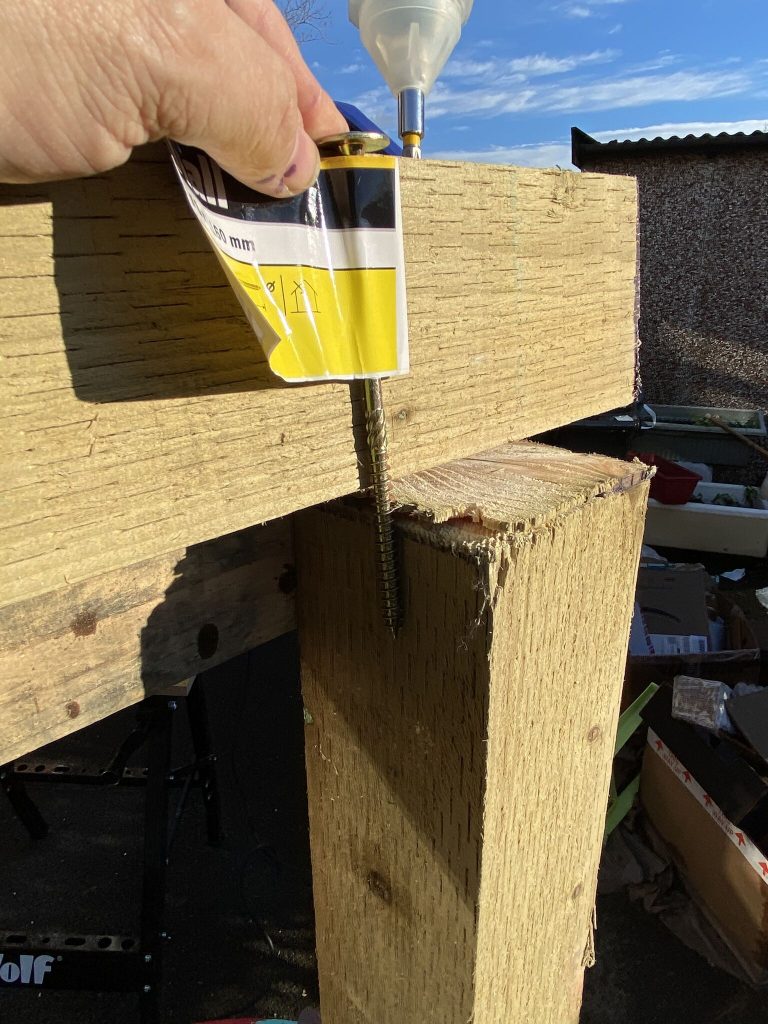
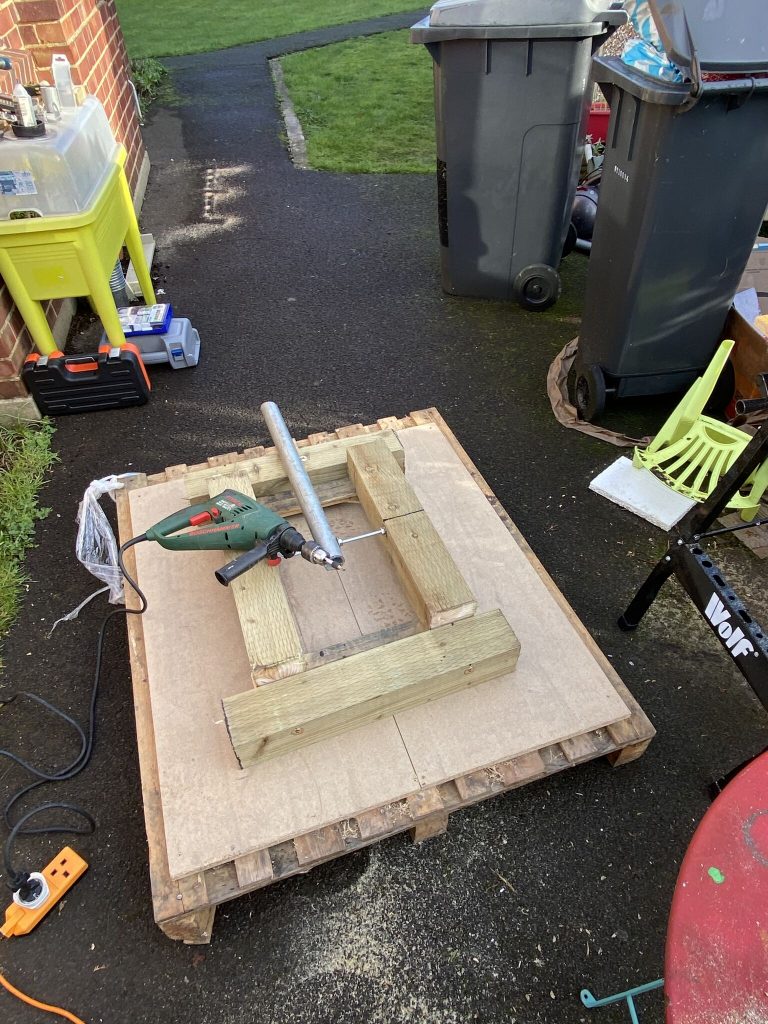
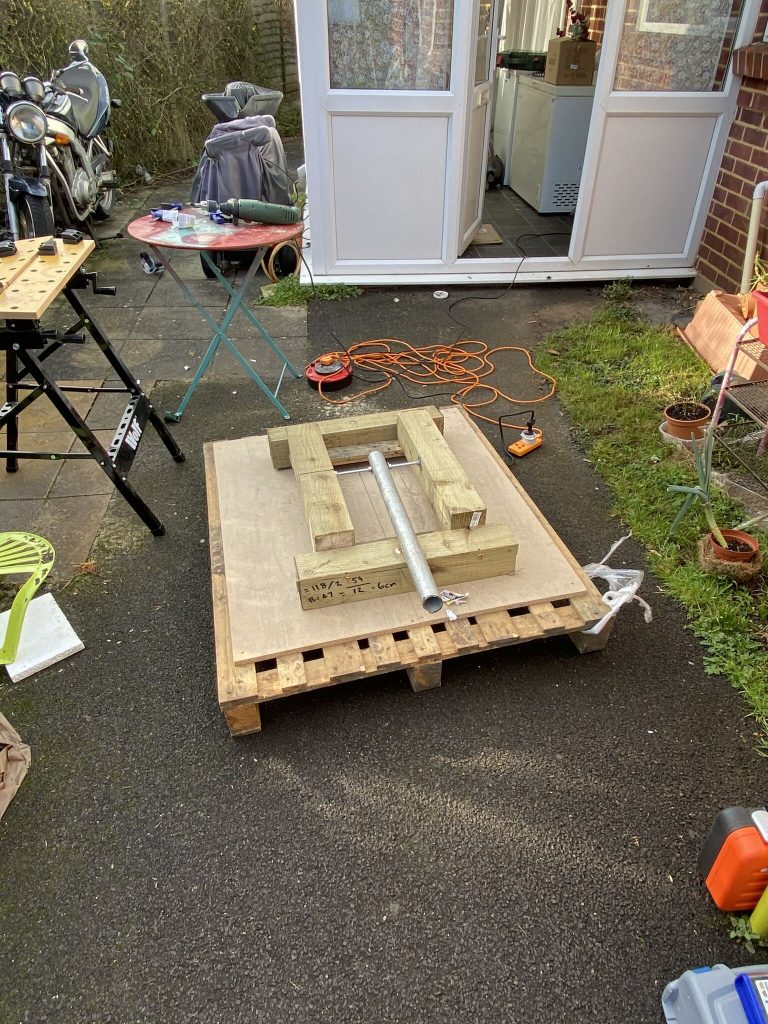
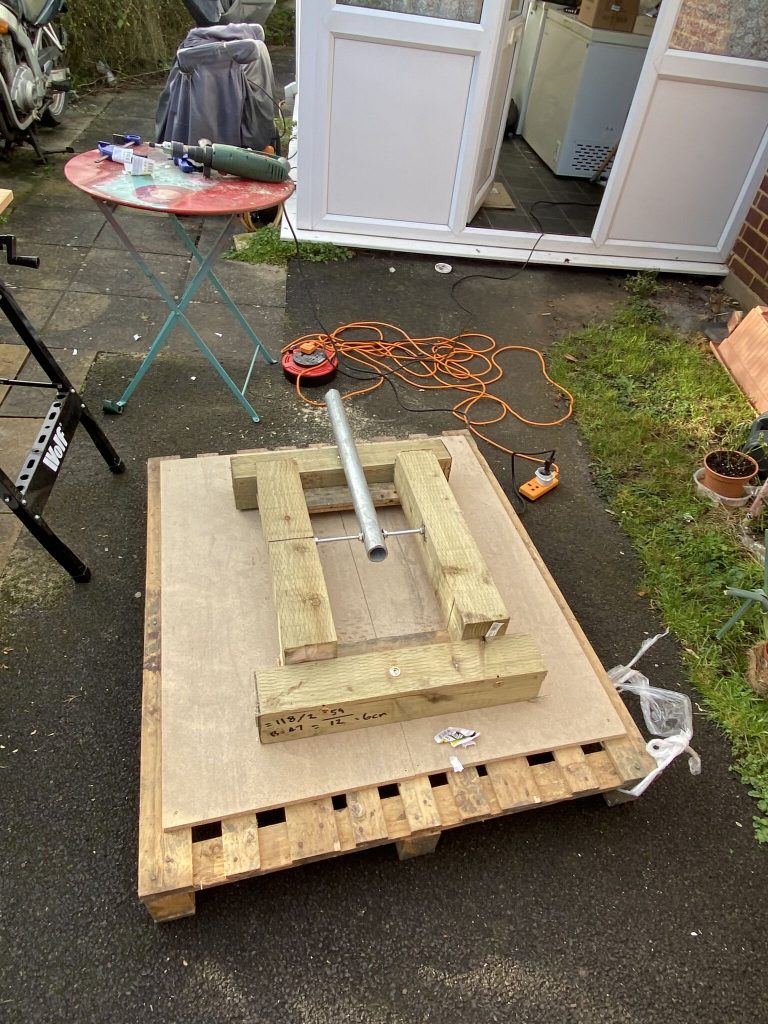
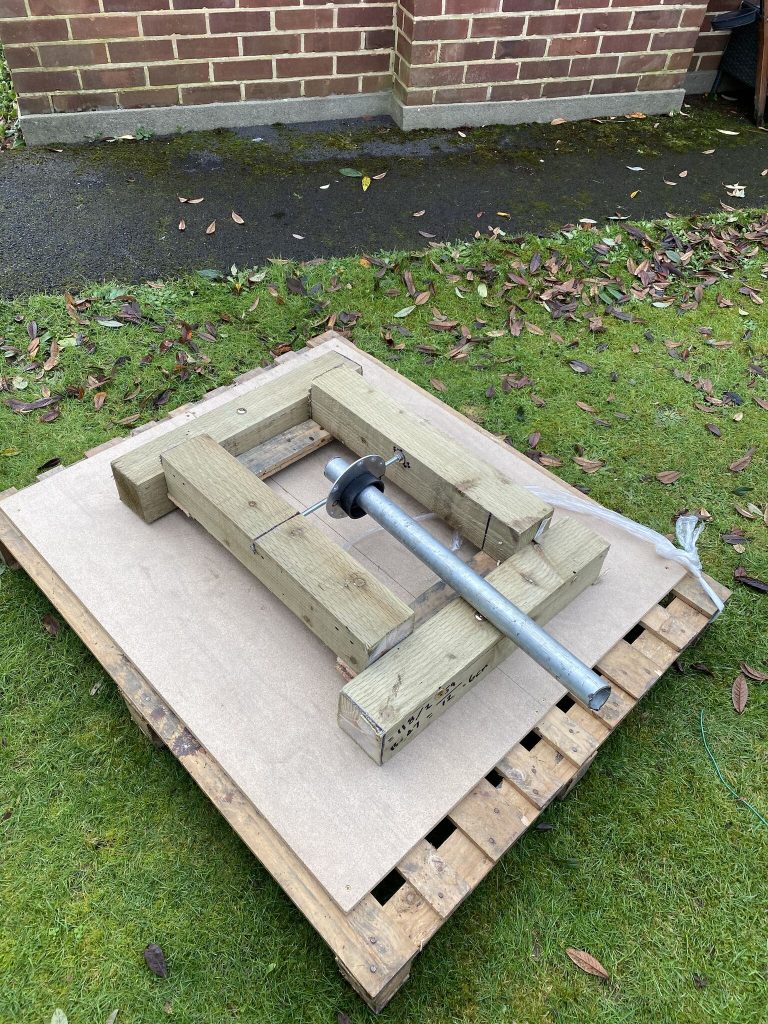
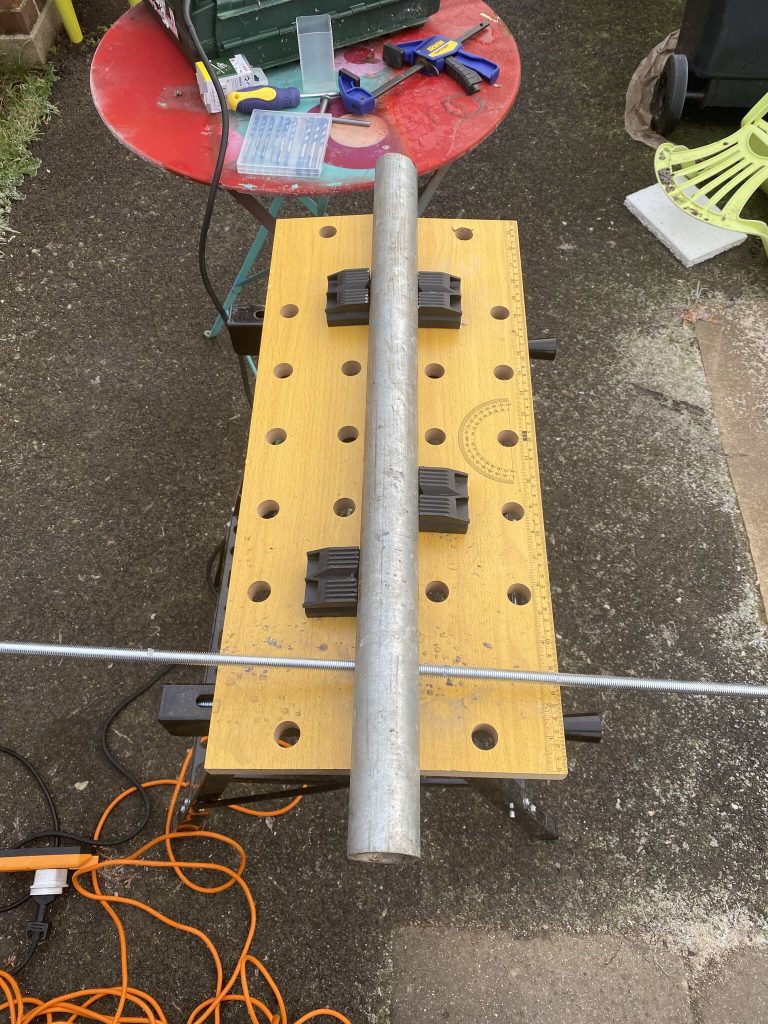
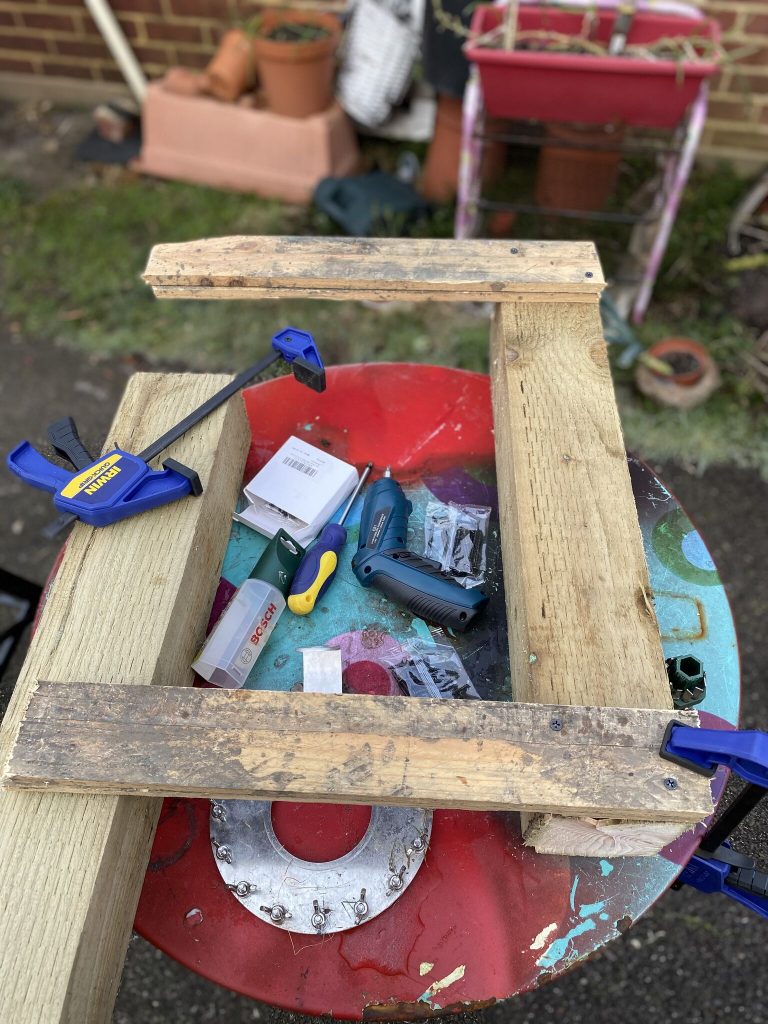
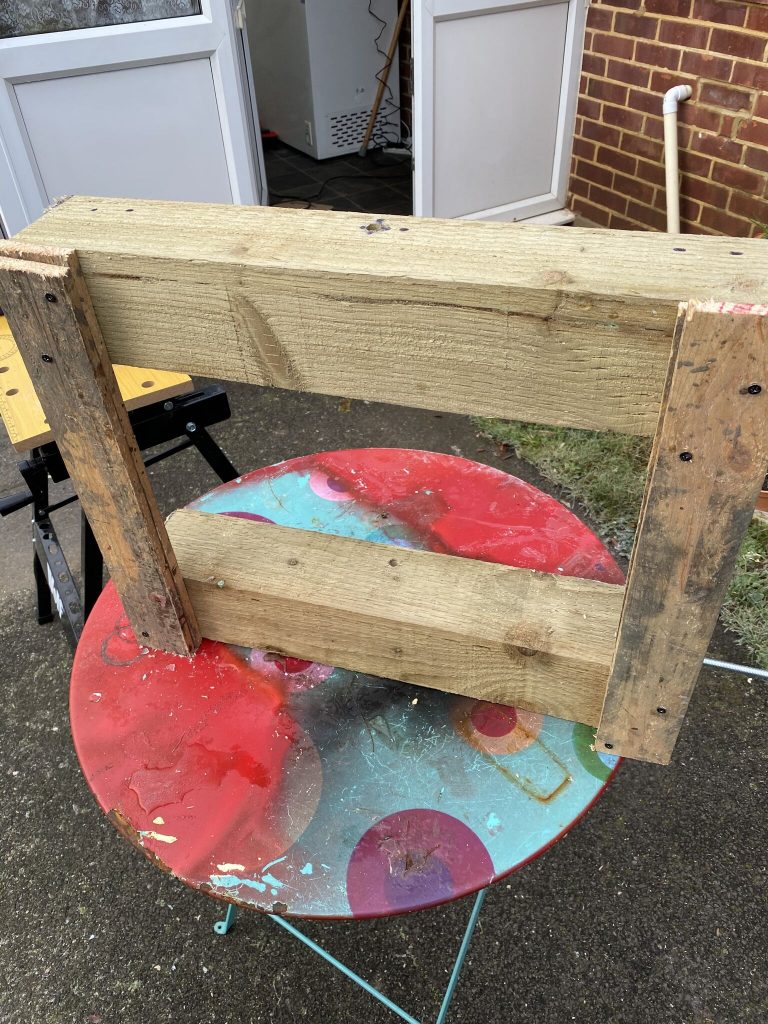
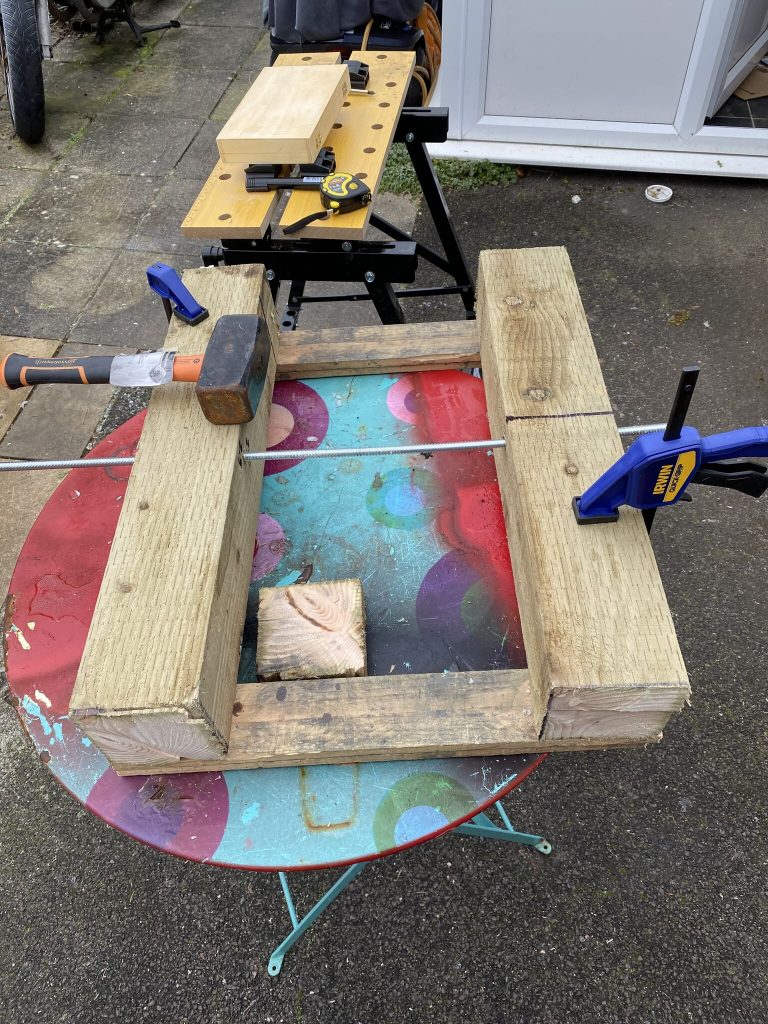
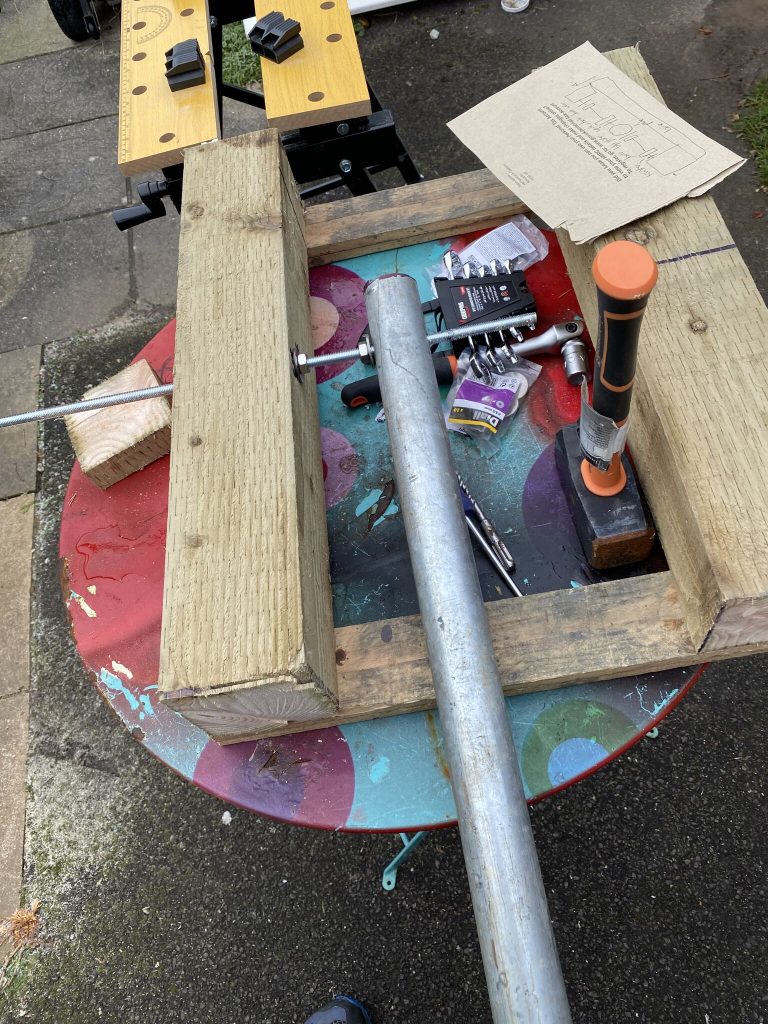
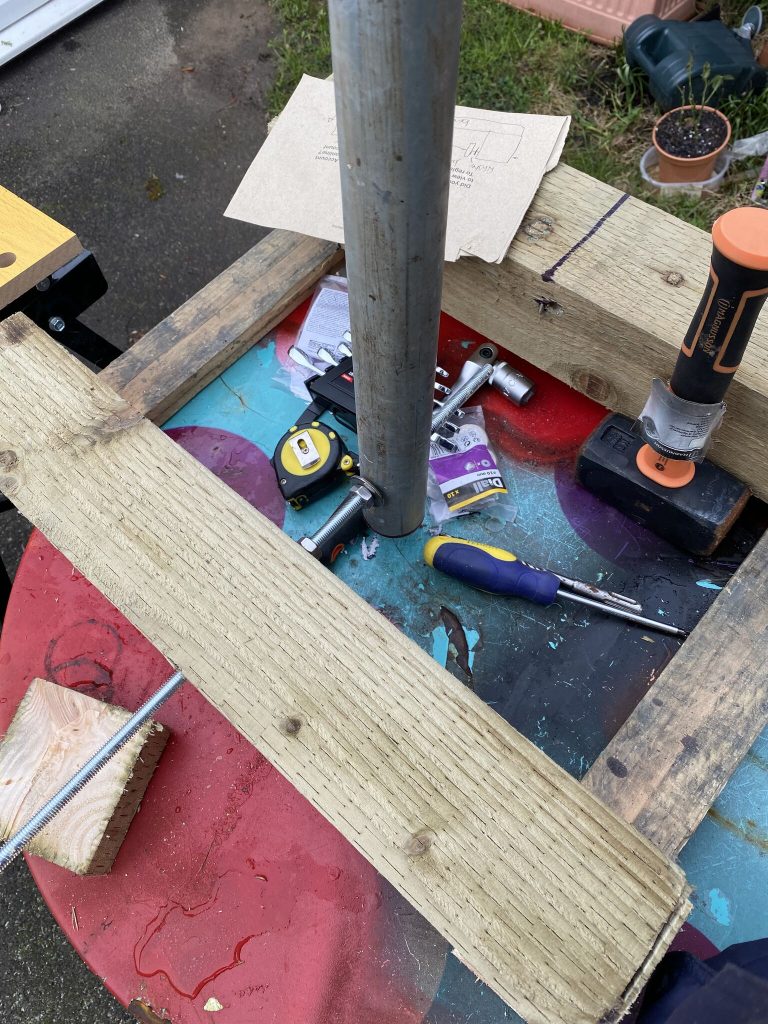
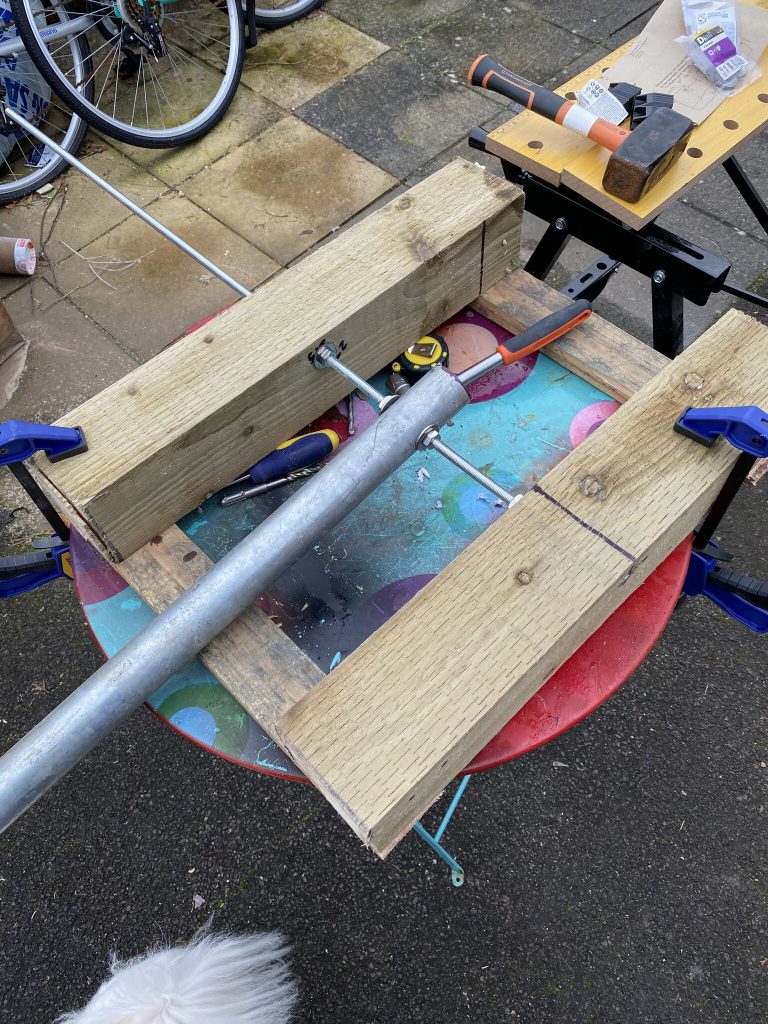
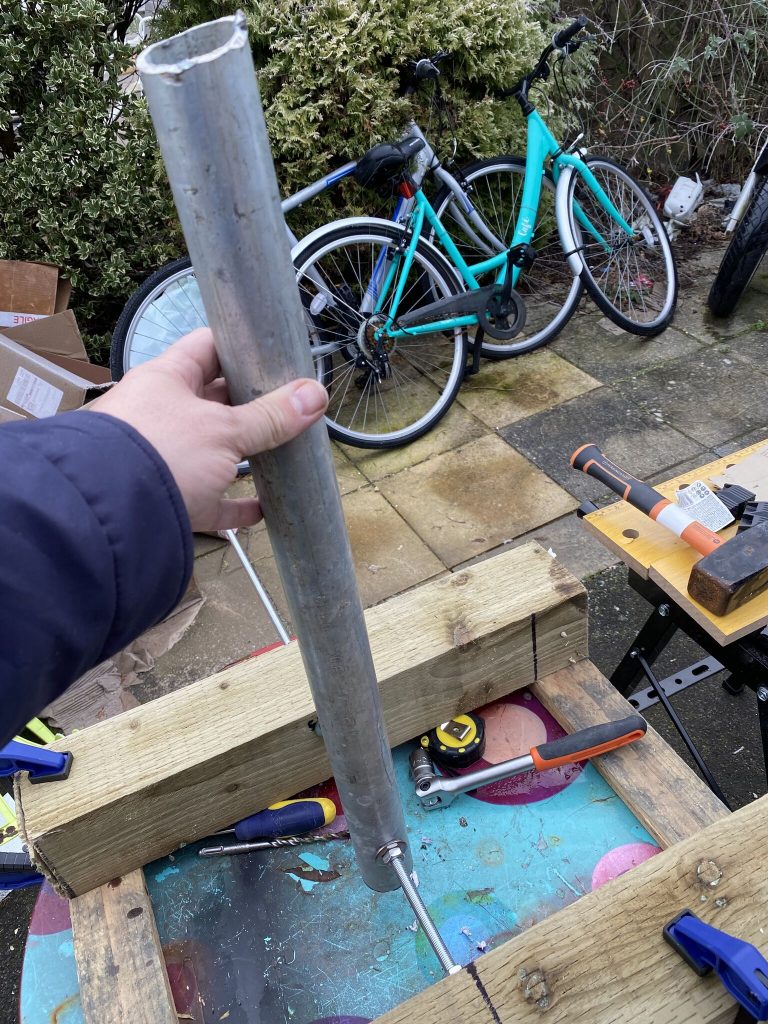
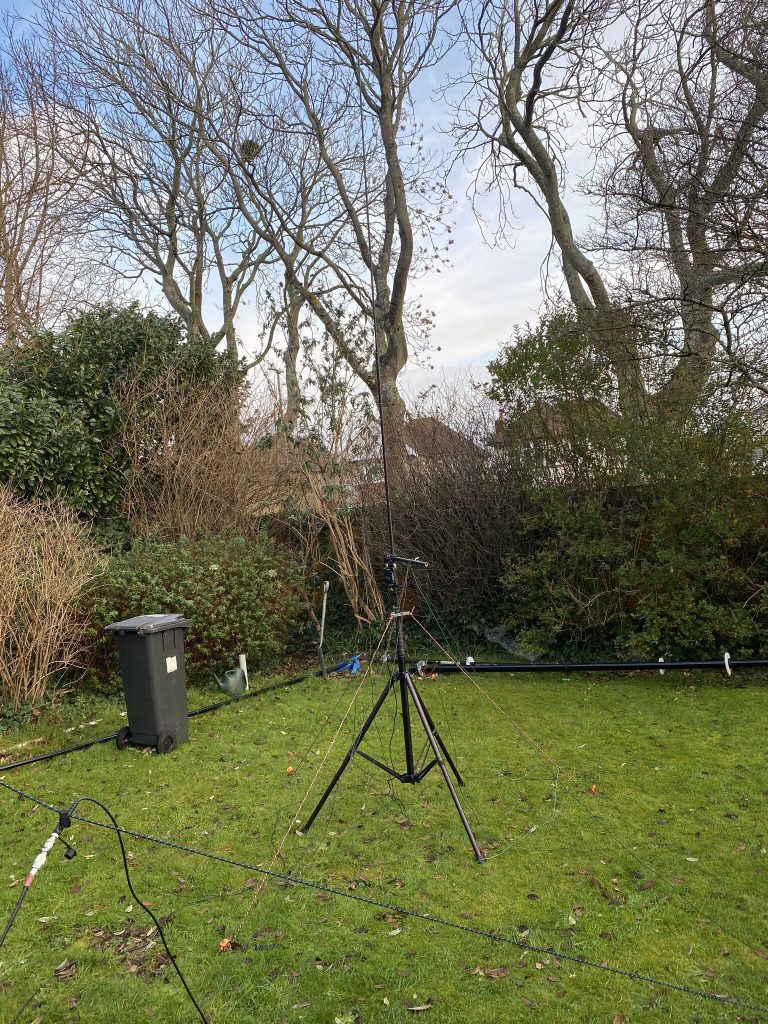
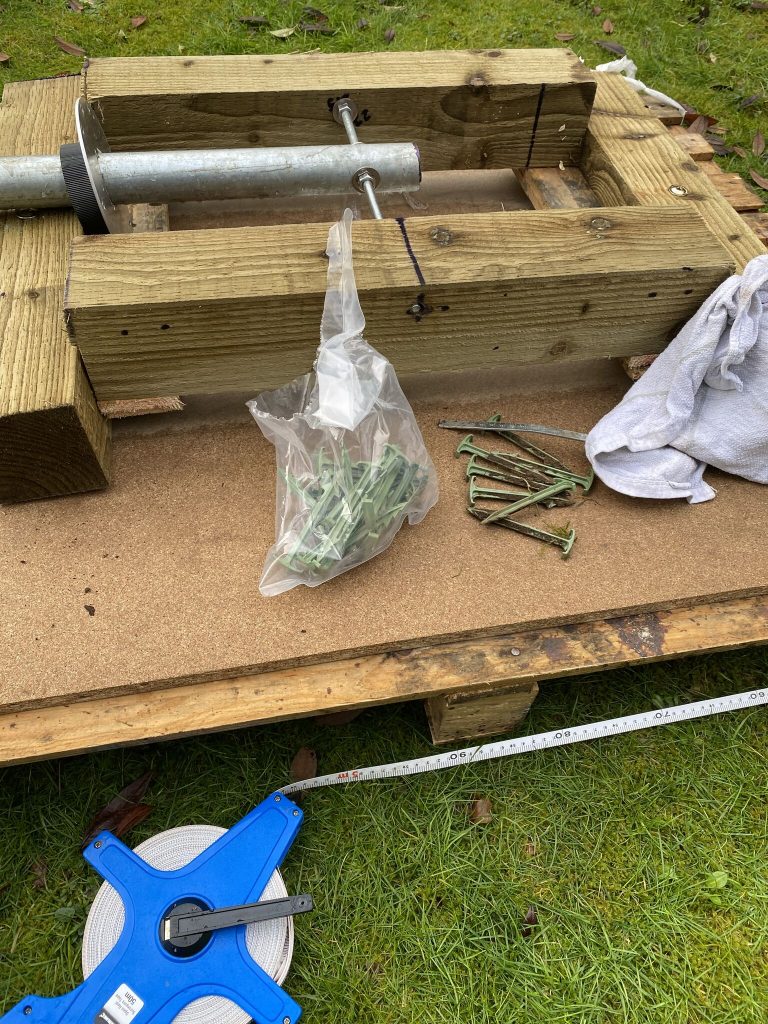
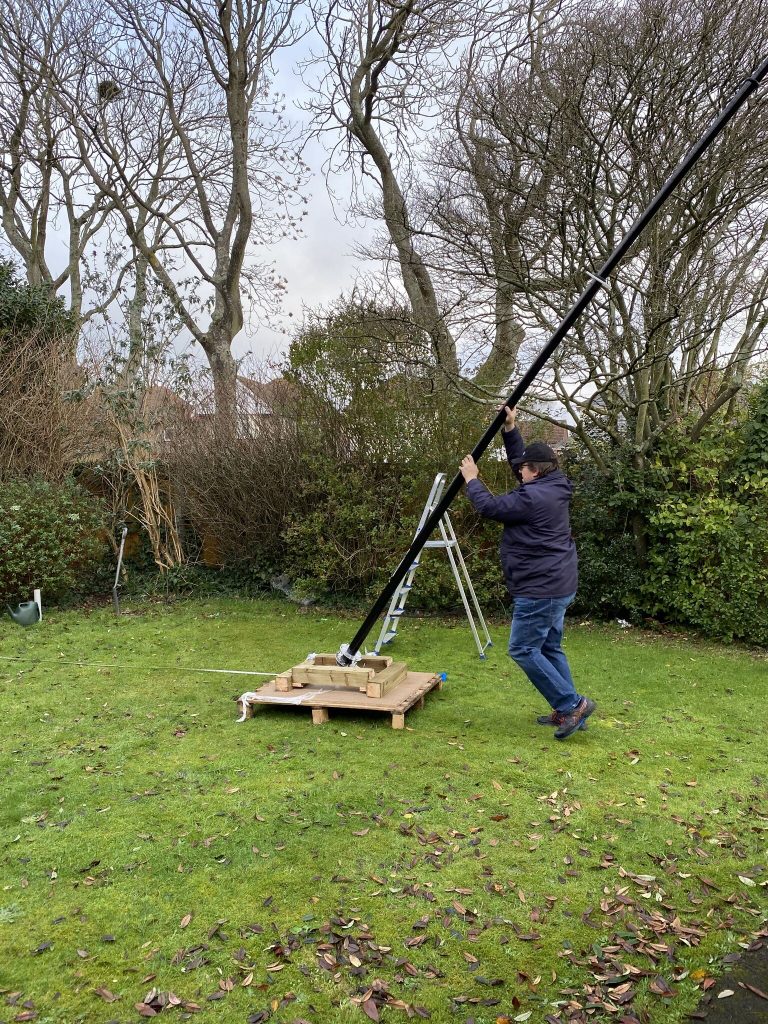
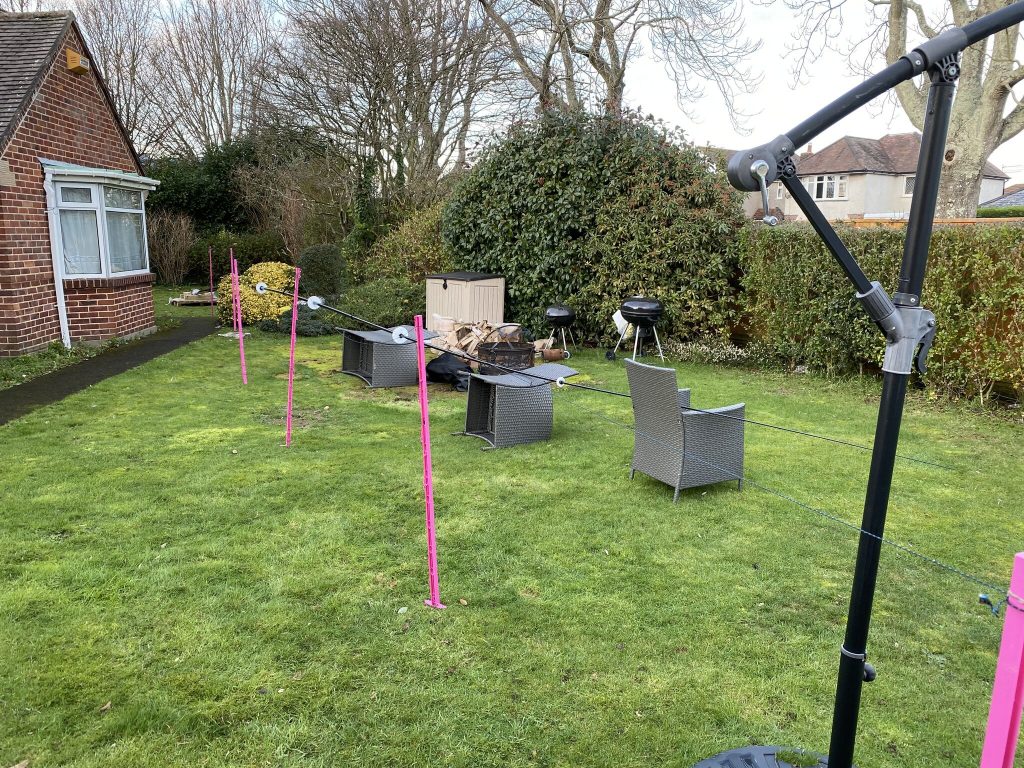
Having a free area to work in I started to measure up 5m diameters for the guying stakes to go in the ground. I started with the measurement from the guy I would ‘walk’ i.e. attach the last rope to, then work out the other angles/positions for the two attached. I was able to mount the nebula with relative ease onto the mast base, the scaffold diameter and length being ideal and not having any lateral movement.
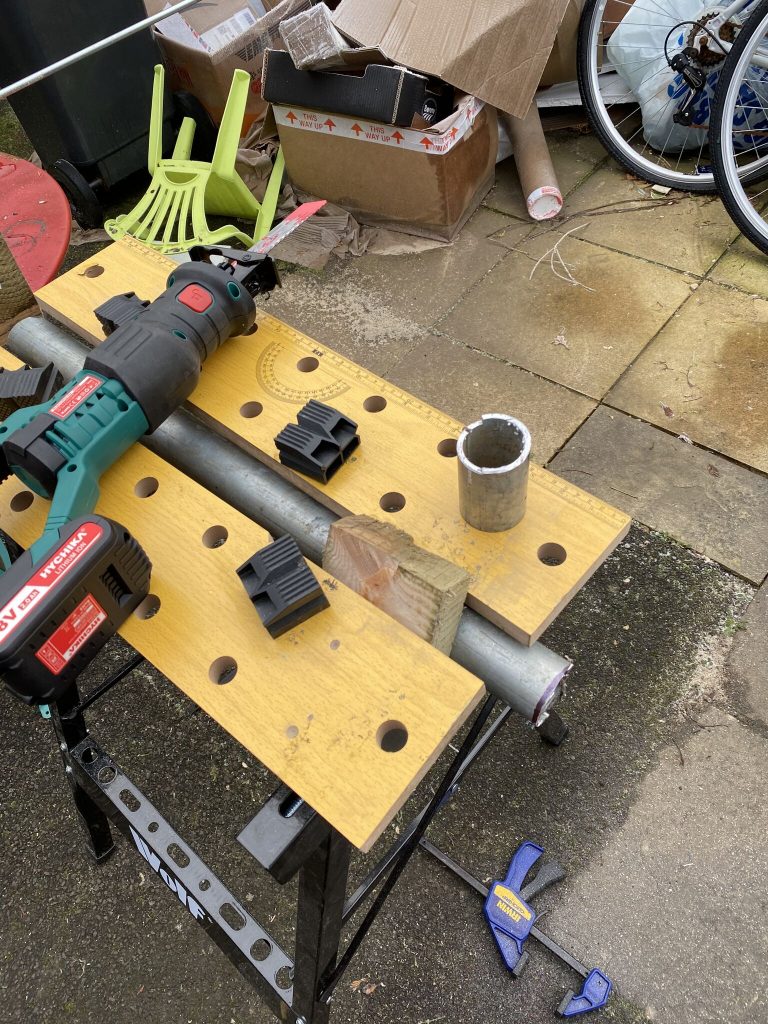
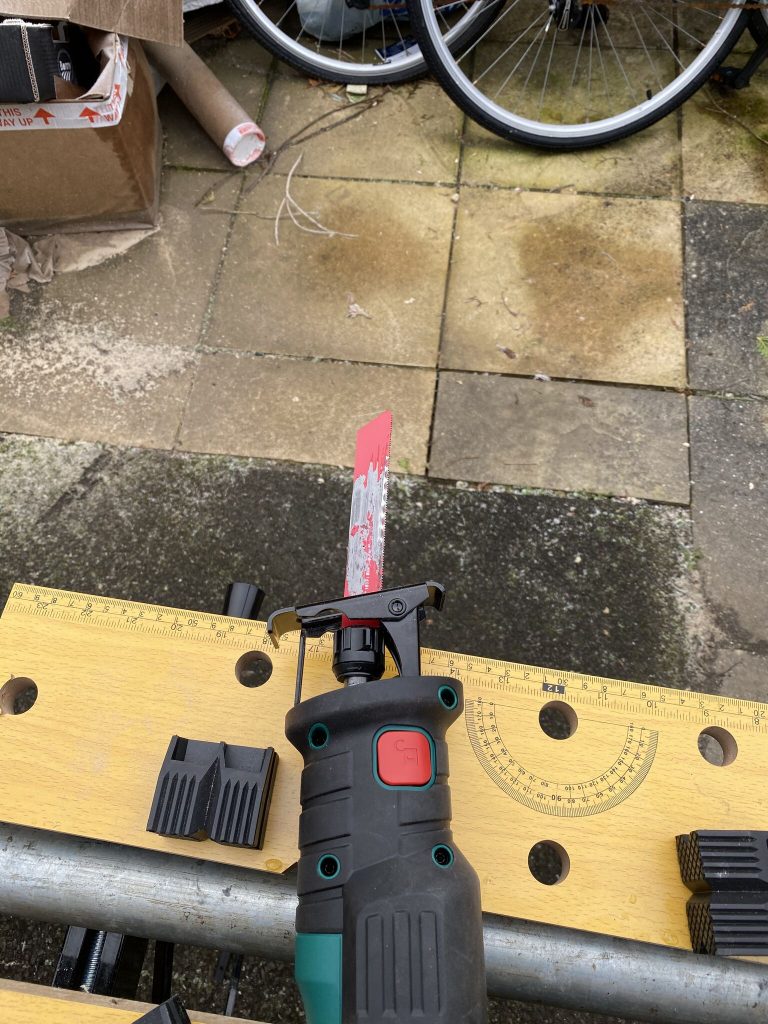
creating some temporary supports 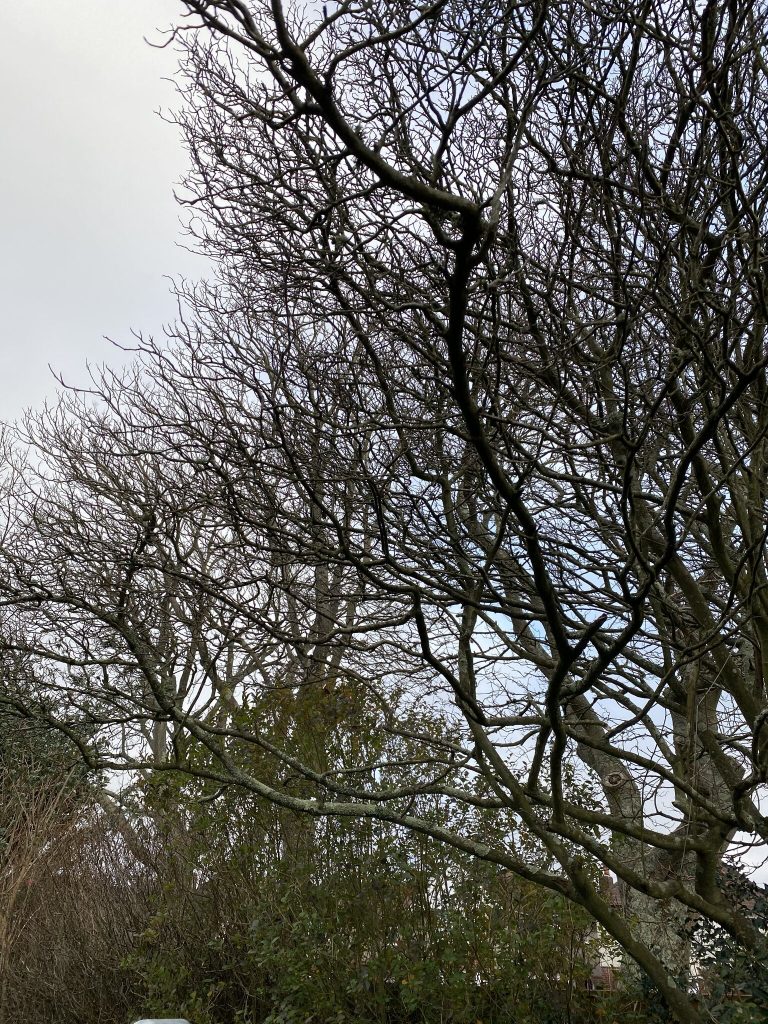
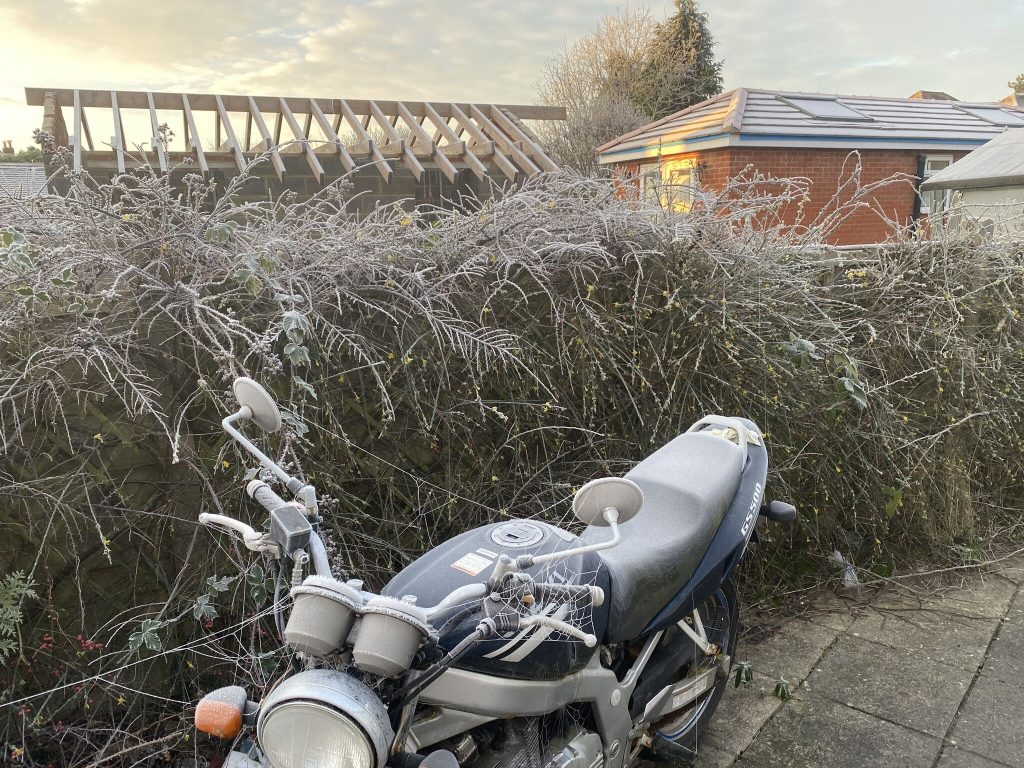
trees need tweaking 
ready to raise !
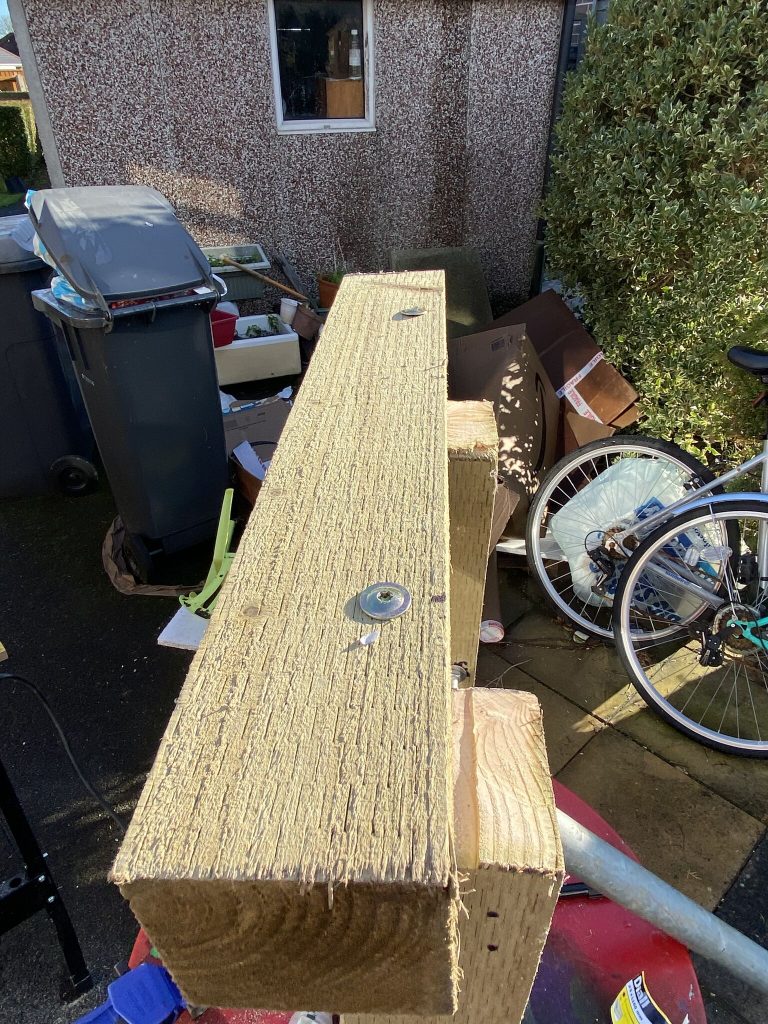
I had not guyed any points yet as i wanted to be sure that the bolts and pivot action worked correctly. I created some temporary supports from the garden furniture we have, which proved to be an ideal height for the mast at rest. I noticed that the position of the mast the trees to the right would need some trimming back as not to catch the elements on when they was attached to the nebula.
up.. 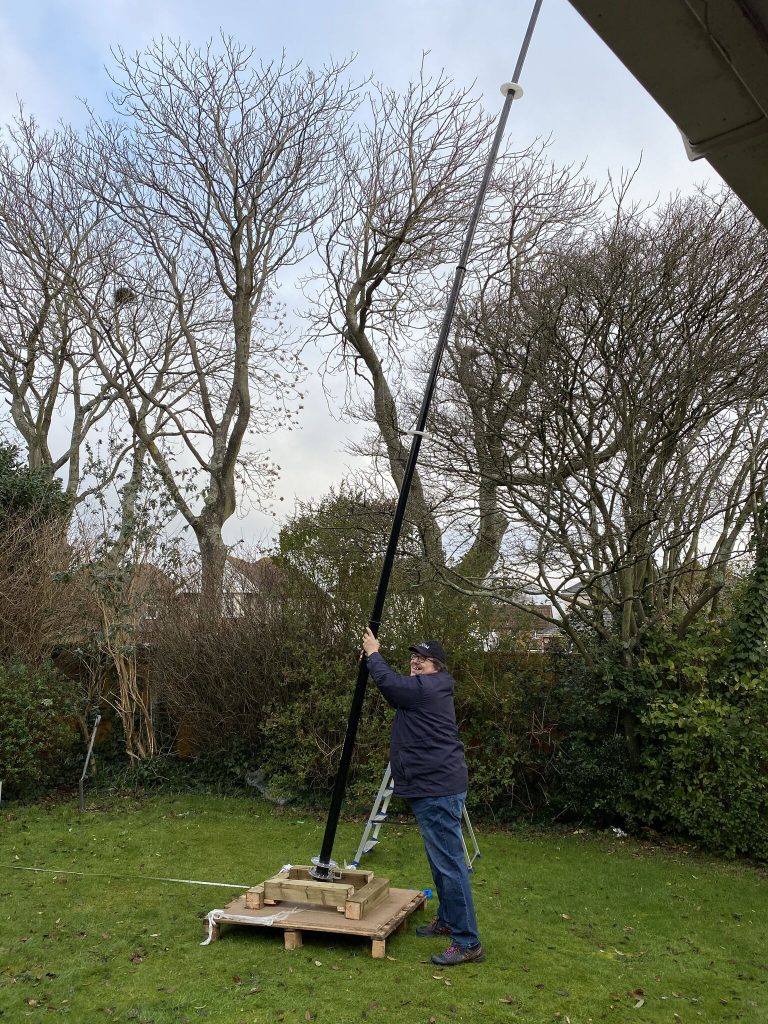
more….. 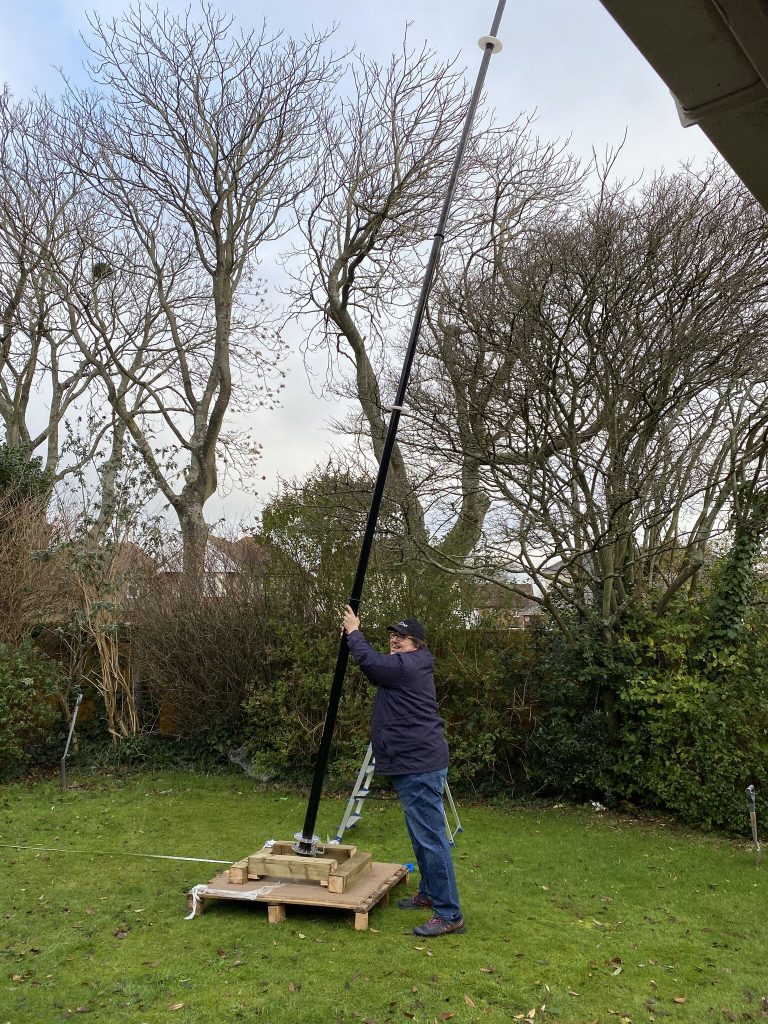
up she goes 
and down safely
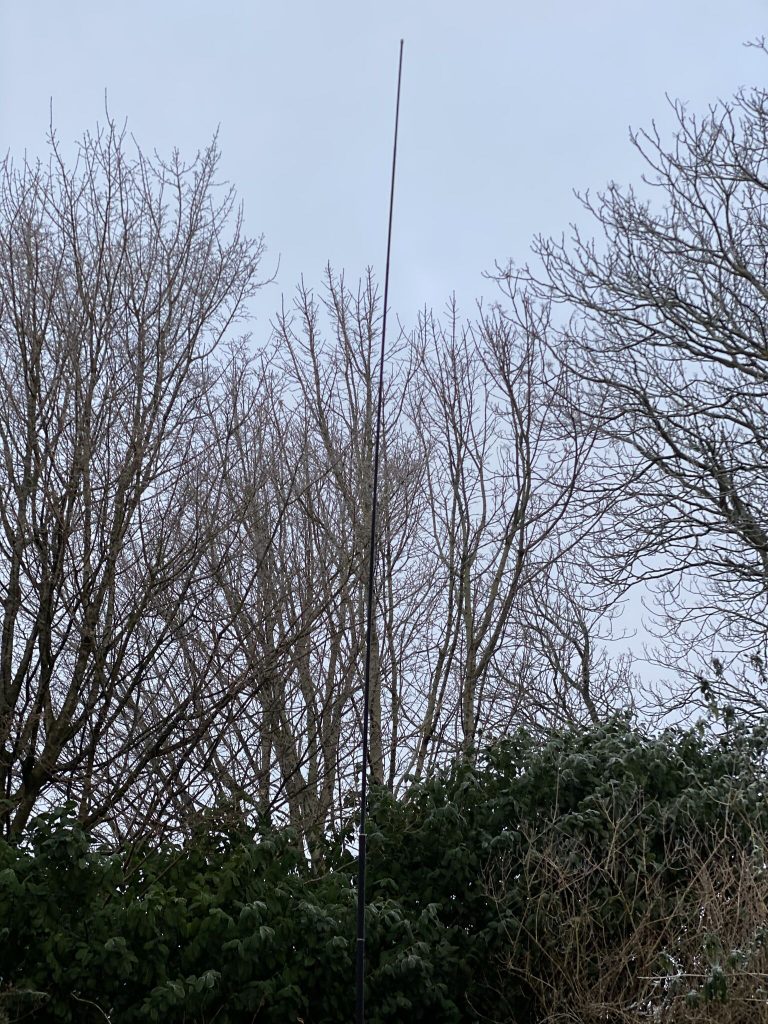
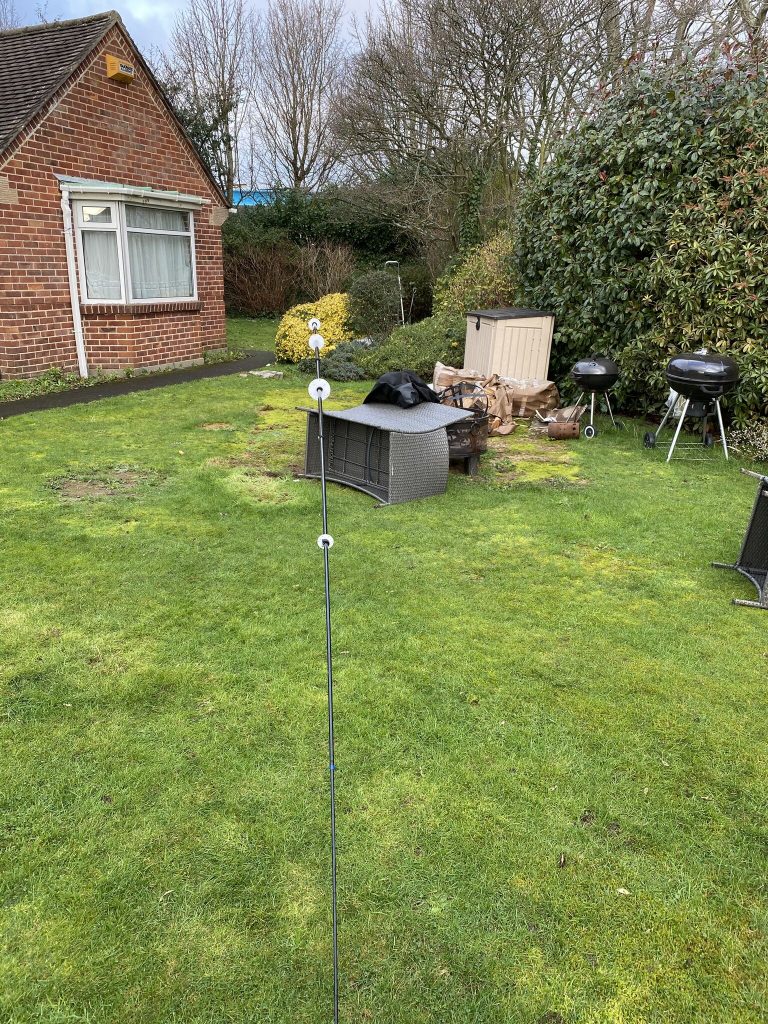
I had already done one test run, but I asked my good lady to take some pics of me raising the nebula up, as you can see here, the tilt base is doing an excellent job and it makes raising and lowering the mast no harder than the ‘classic’.
pruning 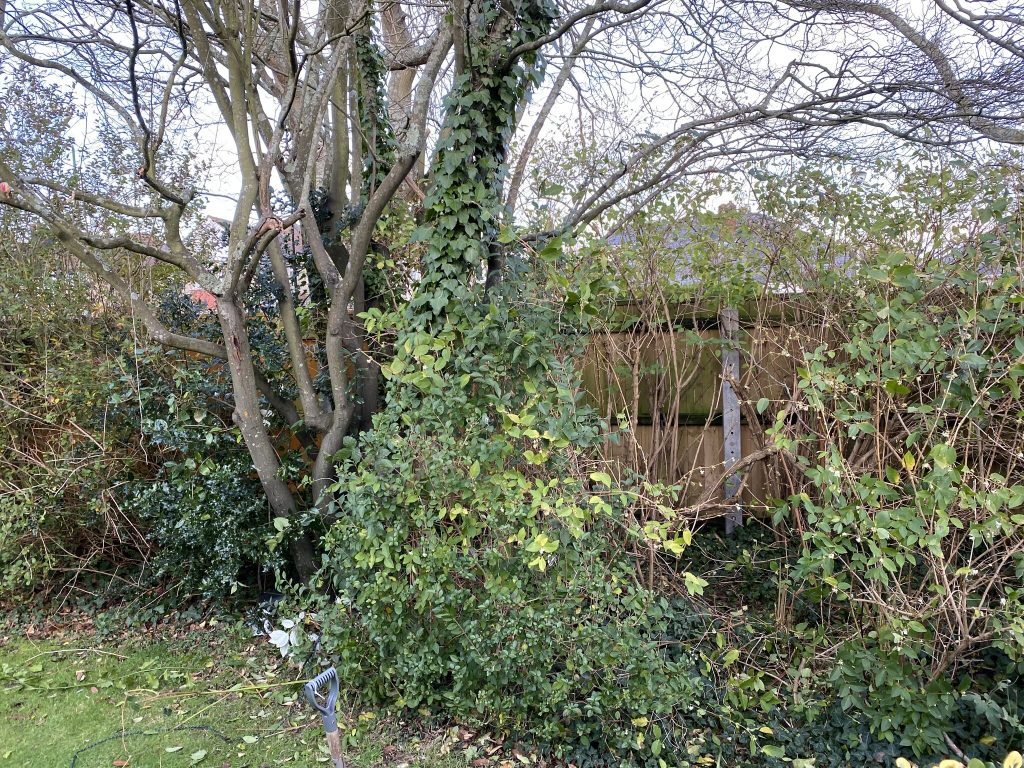
and guystake access
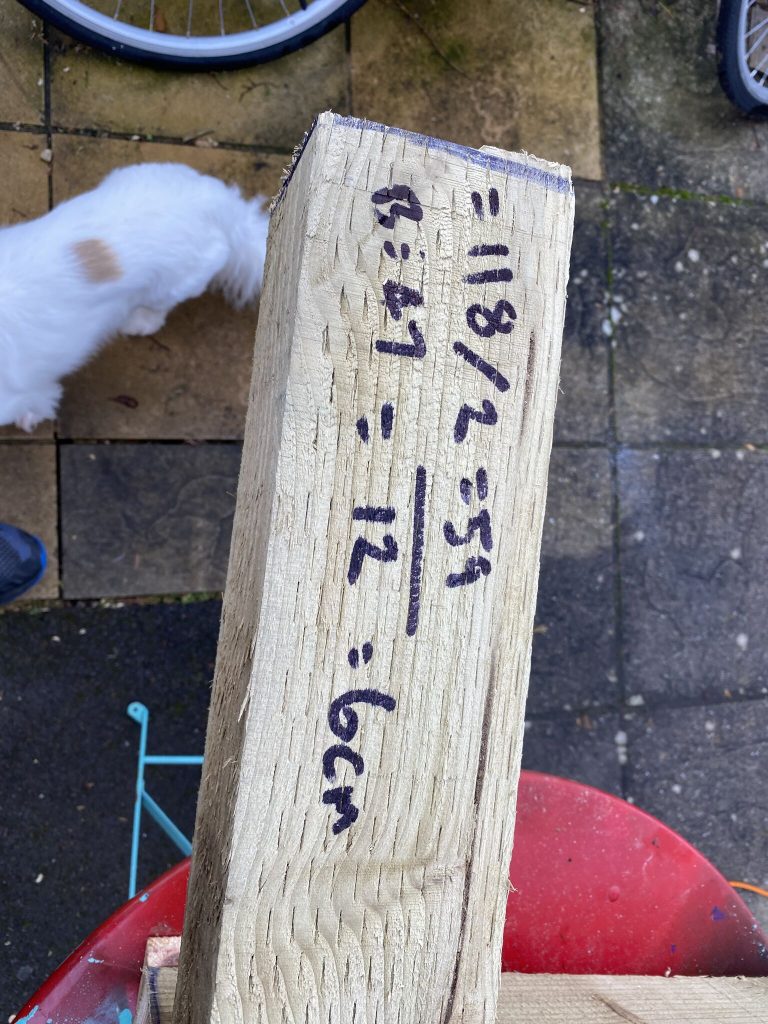
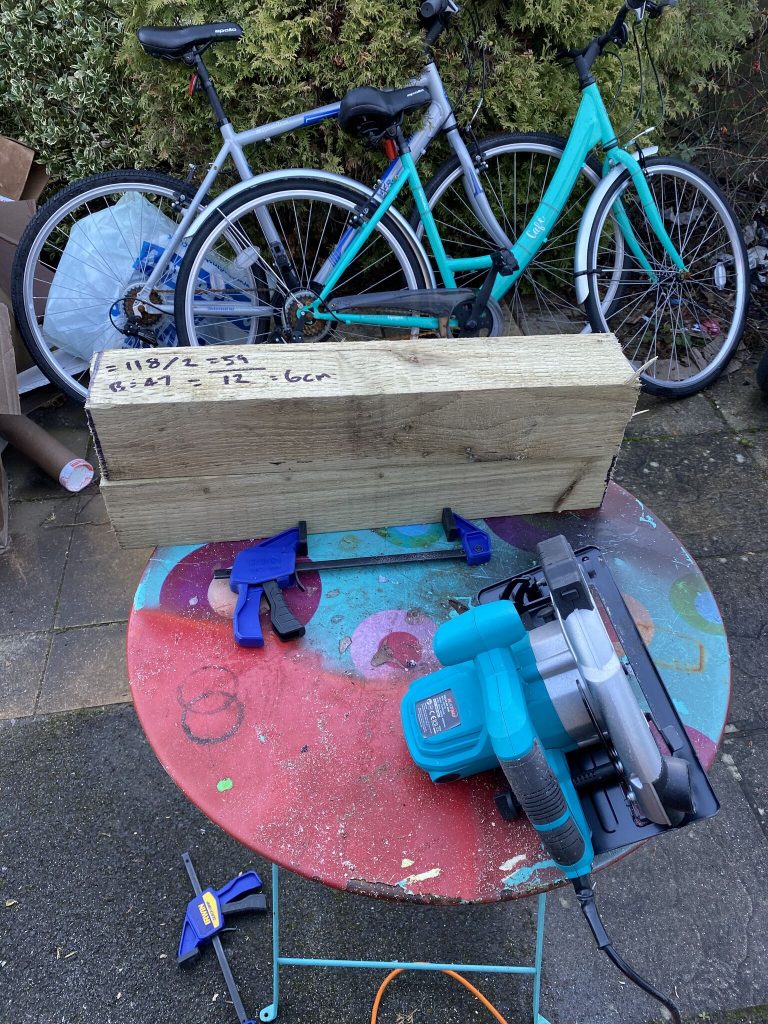
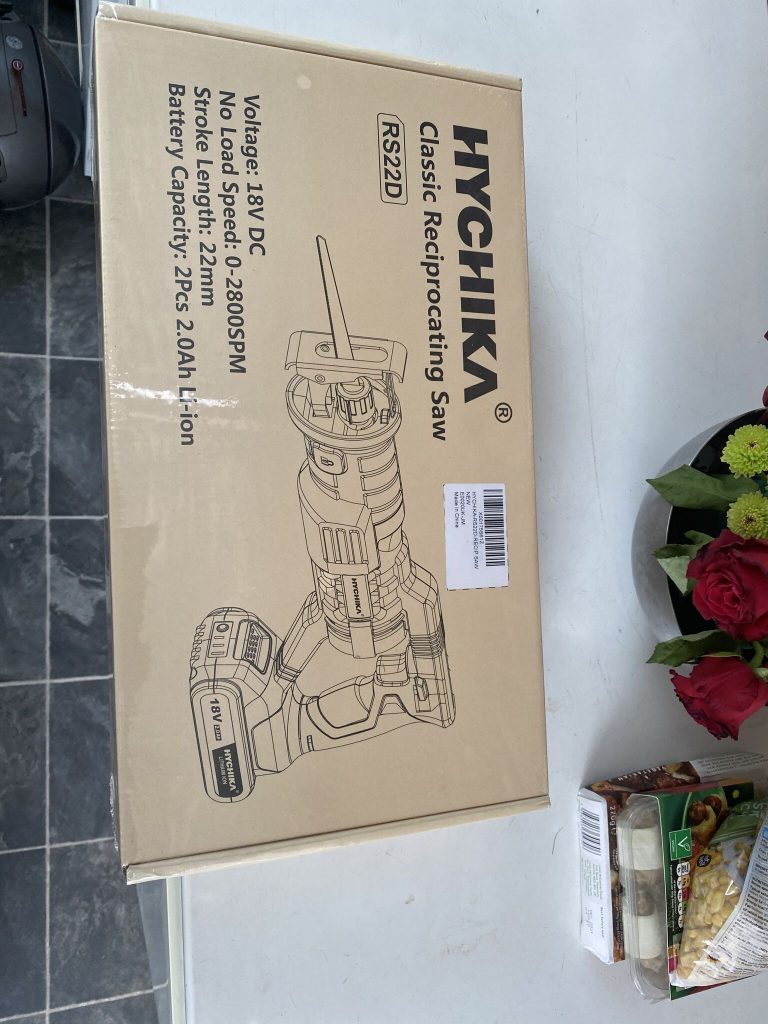
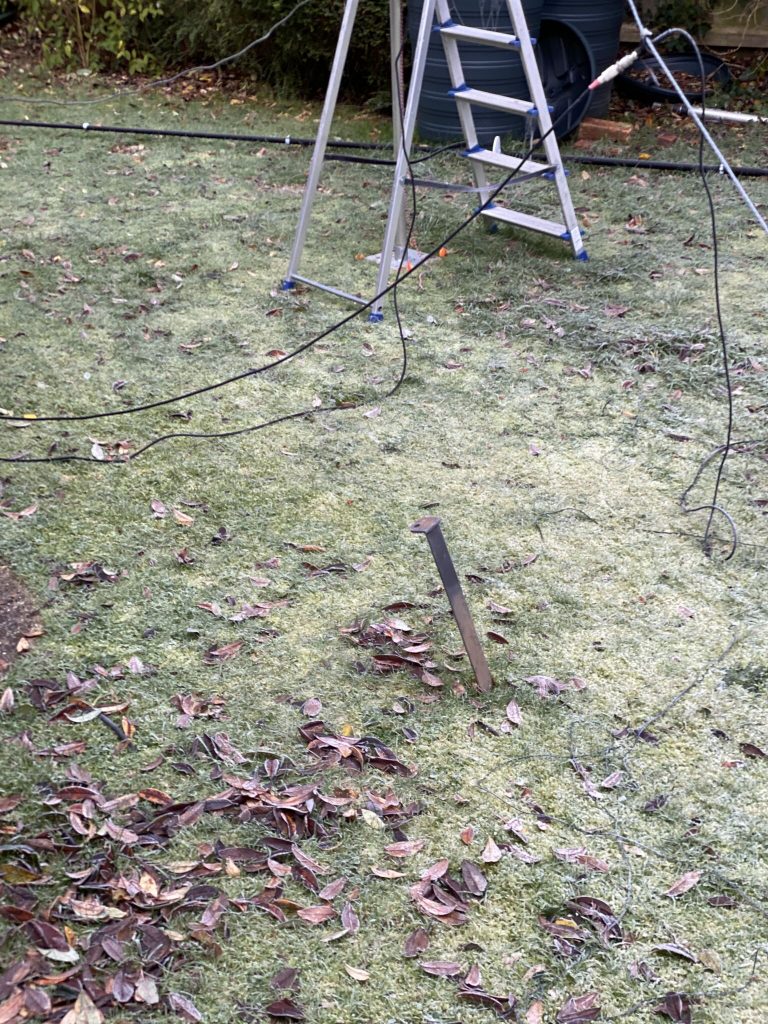
Next i measured out the necessary positions of the guying stakes, i had enough room in all directions, but would require some pruning of the trees/bushes to allow access. The electric saw I used to cut the base-posts made light work of that and I was soon able to access the 5m distance from the mast to where the guying post is located. I also took down the other branches which would interfere with the mast as when doing the ‘test’ push could see they would constantly be tangled if I left them.
It took about 4-5 attempts to get the guy ropes the right lenght. I opted to use Mastrant-P 4mm diameter as I have used that in the past and can trust it to keep the mast up. As is I dont have enough to complete all the guying for point 2 & 4, so have ordered 100 meters more to compelete the guying. I will keep the guy rope callum provided for my other SOTA beams.
Having completed the first unsupported upright I then took it down until the additonal guying rope arrives. I’ve put up some posts around the mast to keep people safe and avoid any damage to the mast.
keeping the mast safe 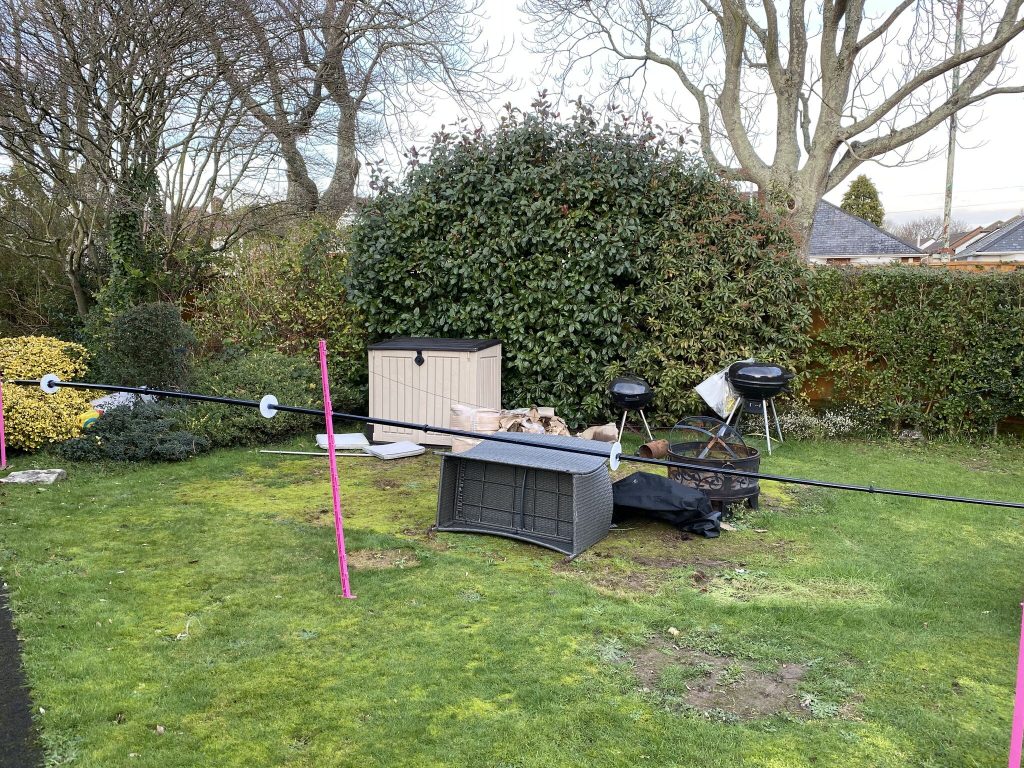
on its temp support 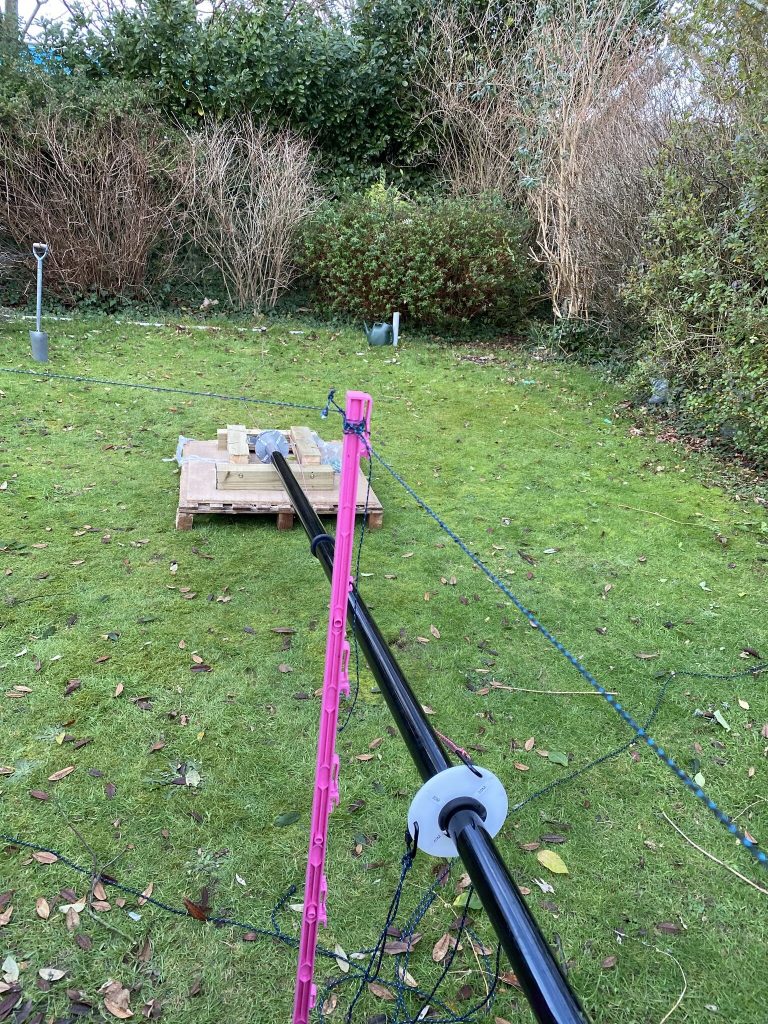
should stop people walking into it when it gets dark 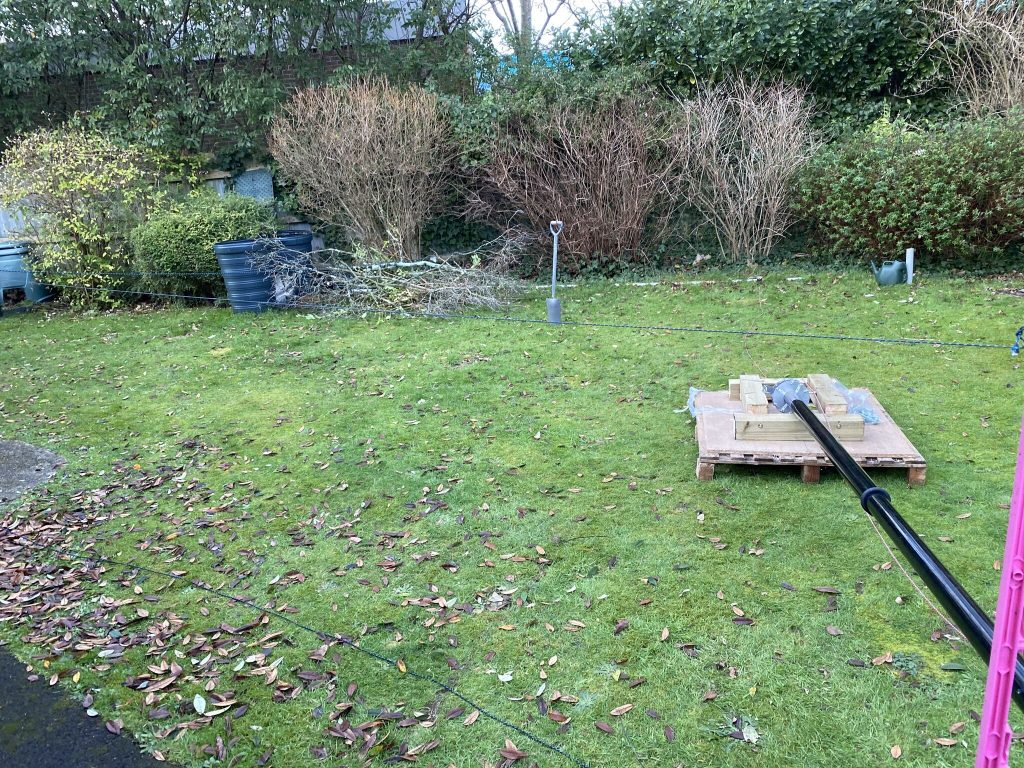
pretty secure
As it gets dark quite quickly here during the week and I have a massive backlog of Uni work to get thru I think the earliest I will have to work on the antenna again is the 9th/10th – my plans are for ‘during the week’
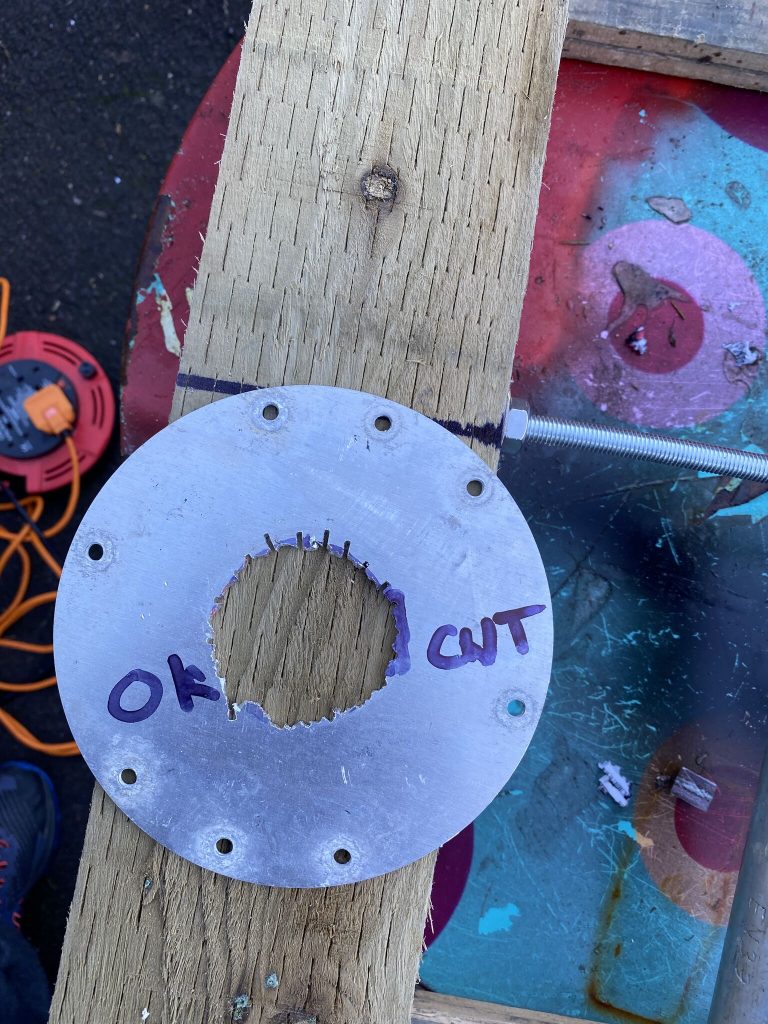
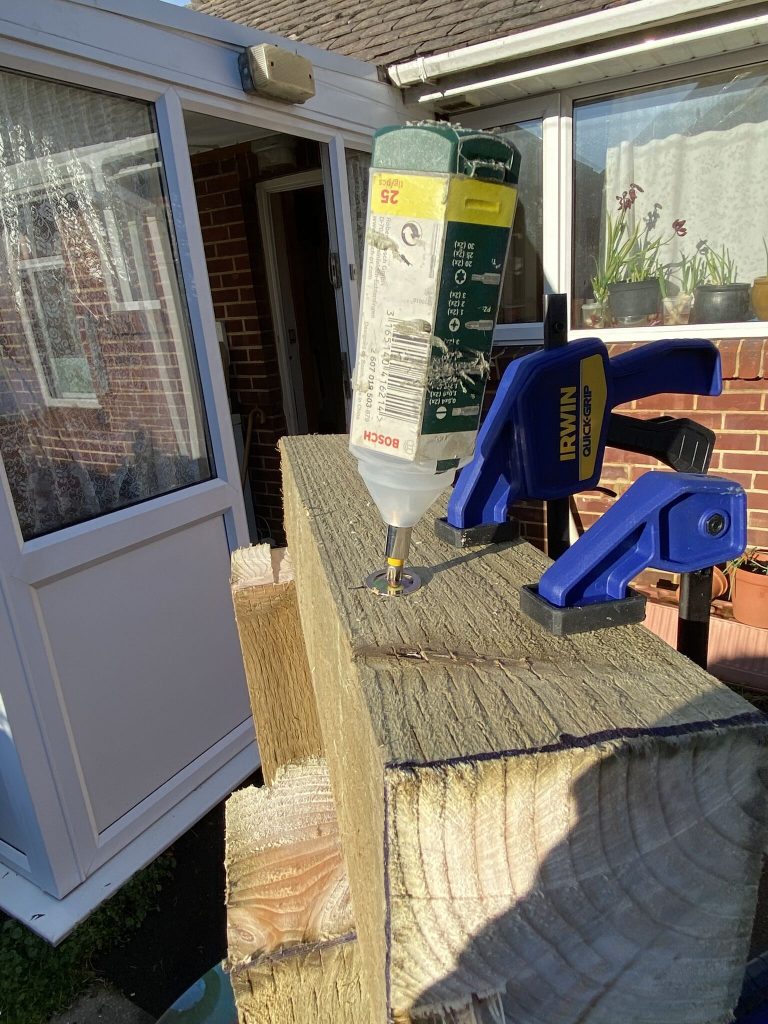
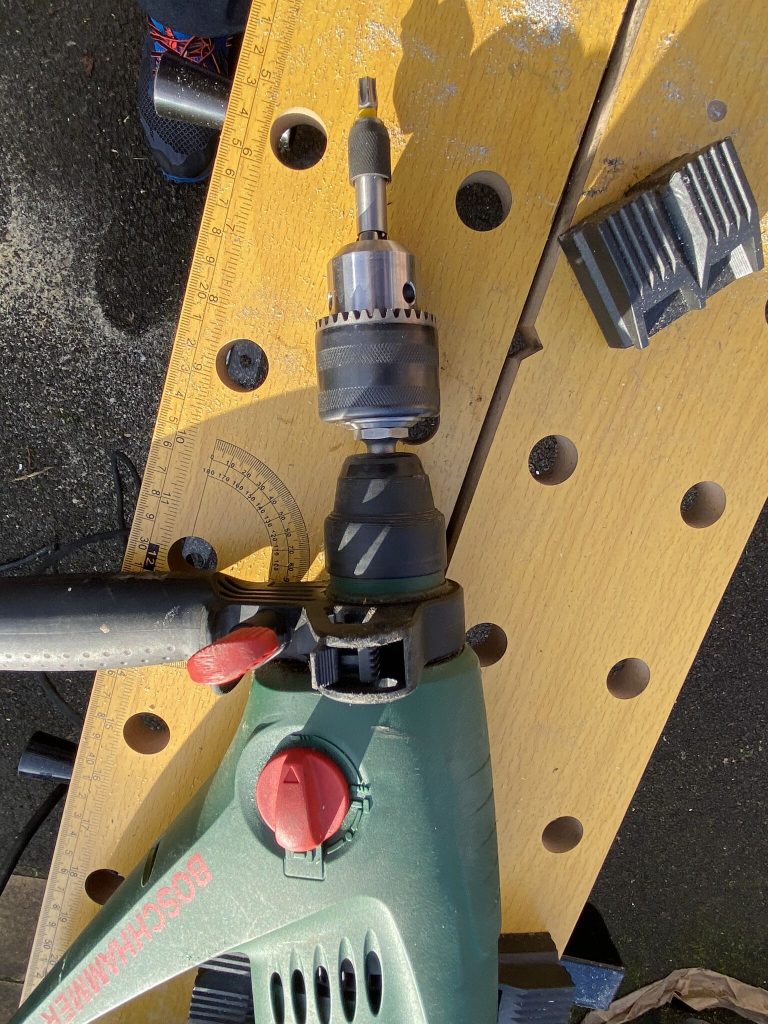
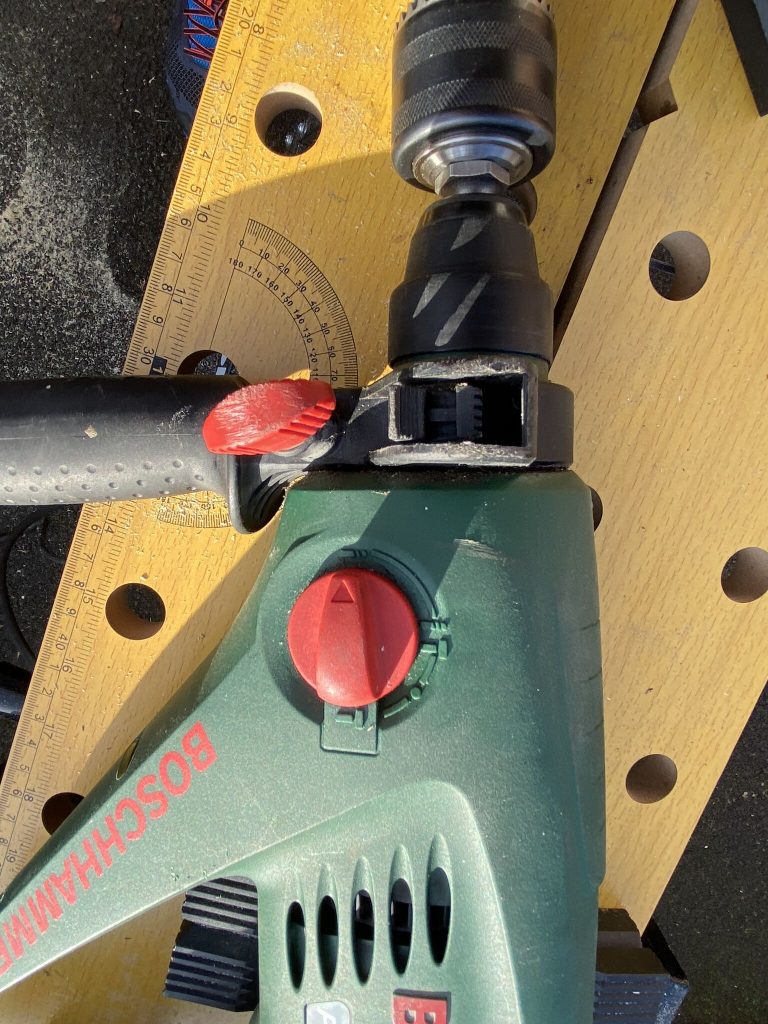
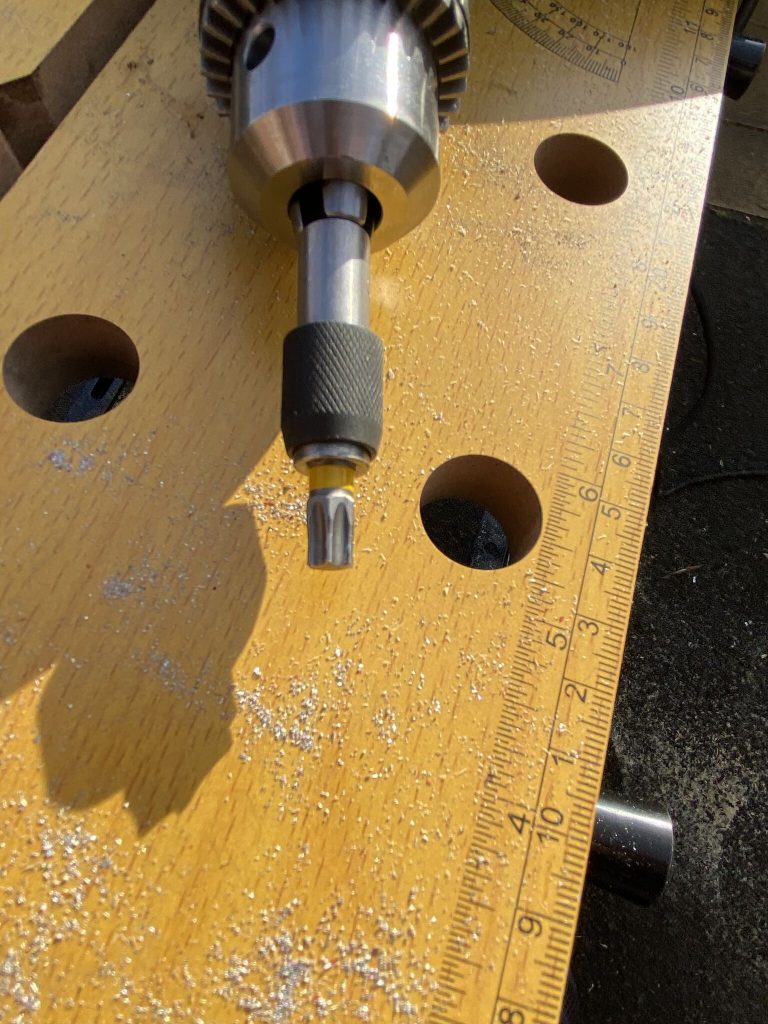
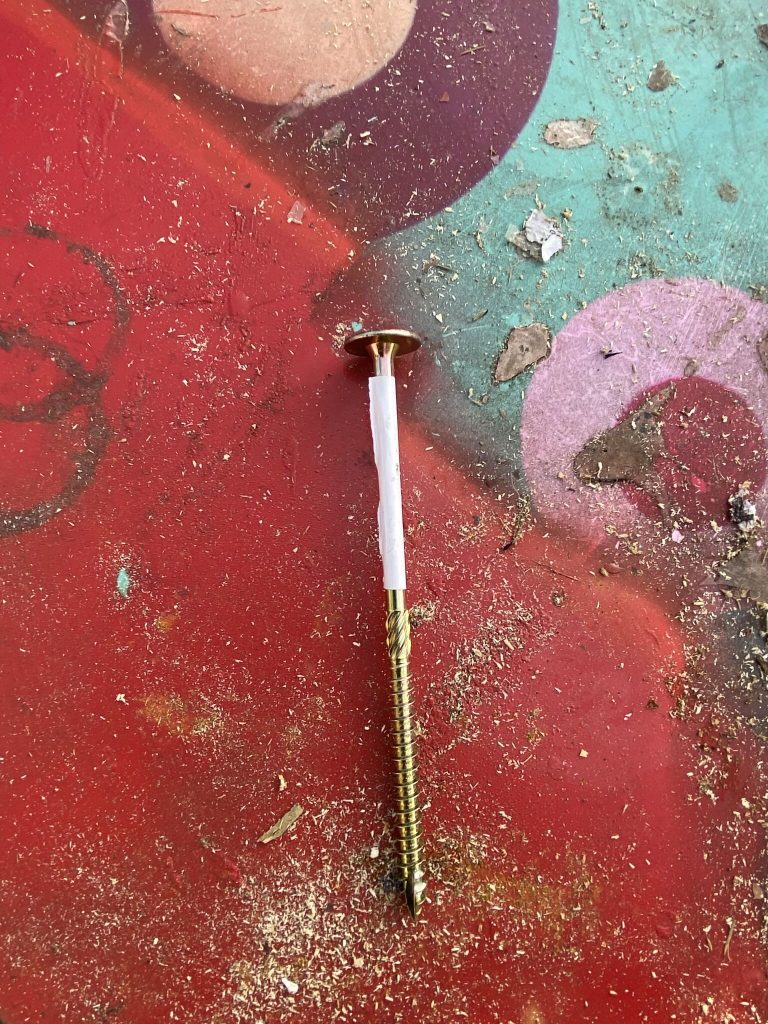
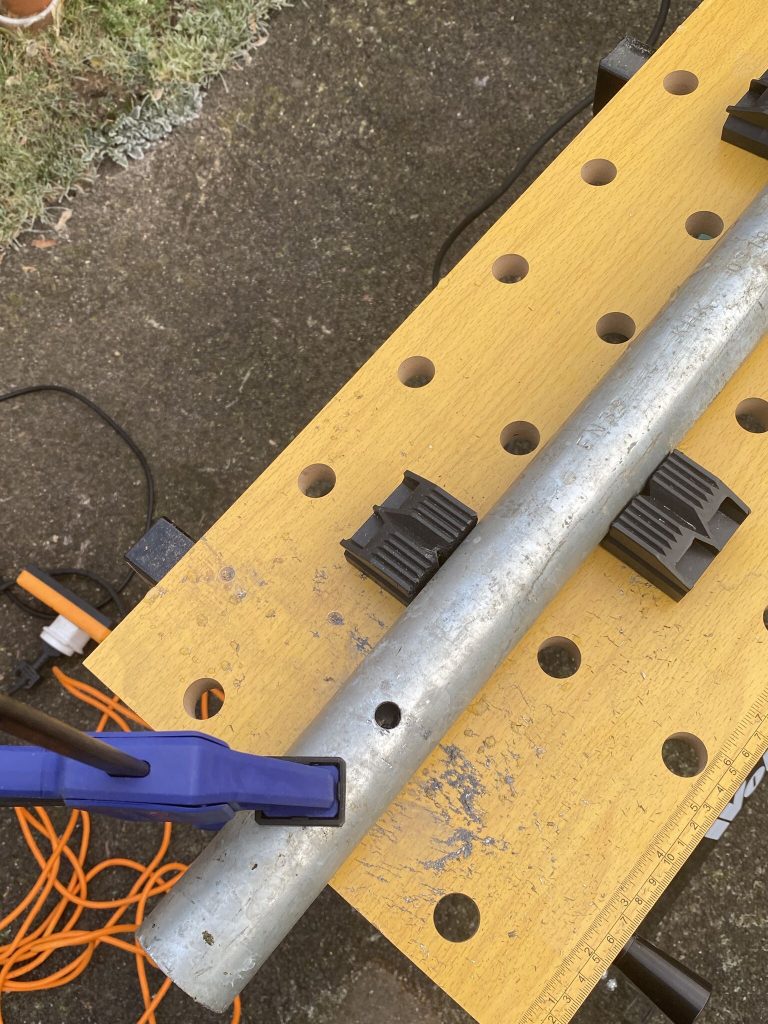
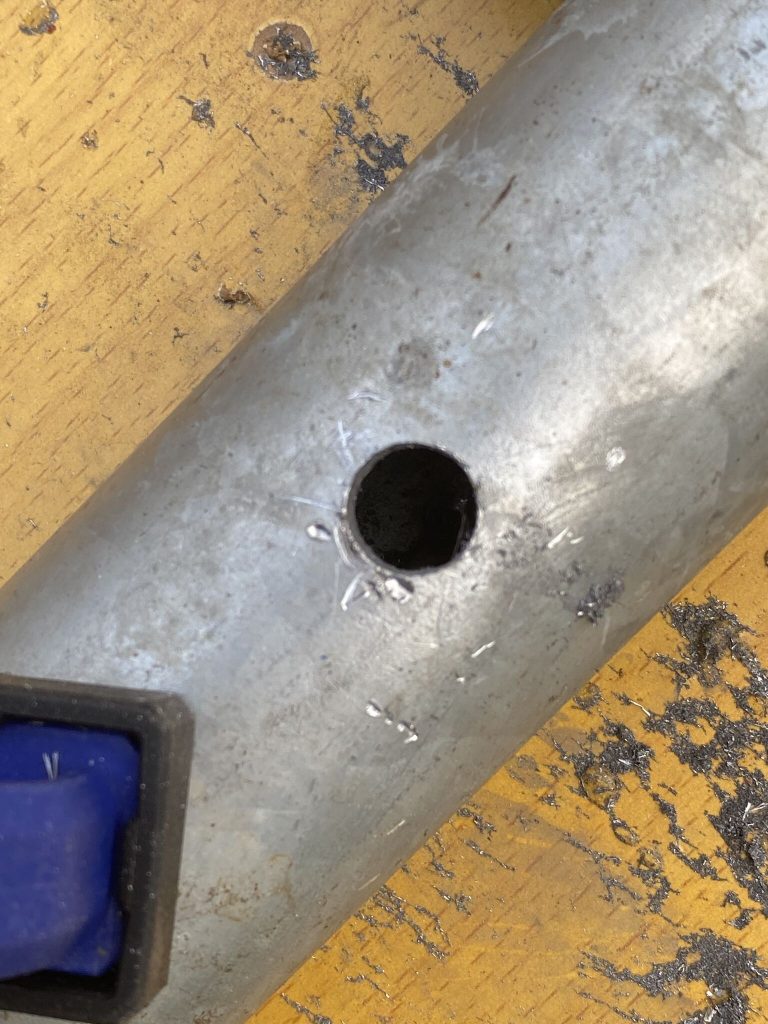
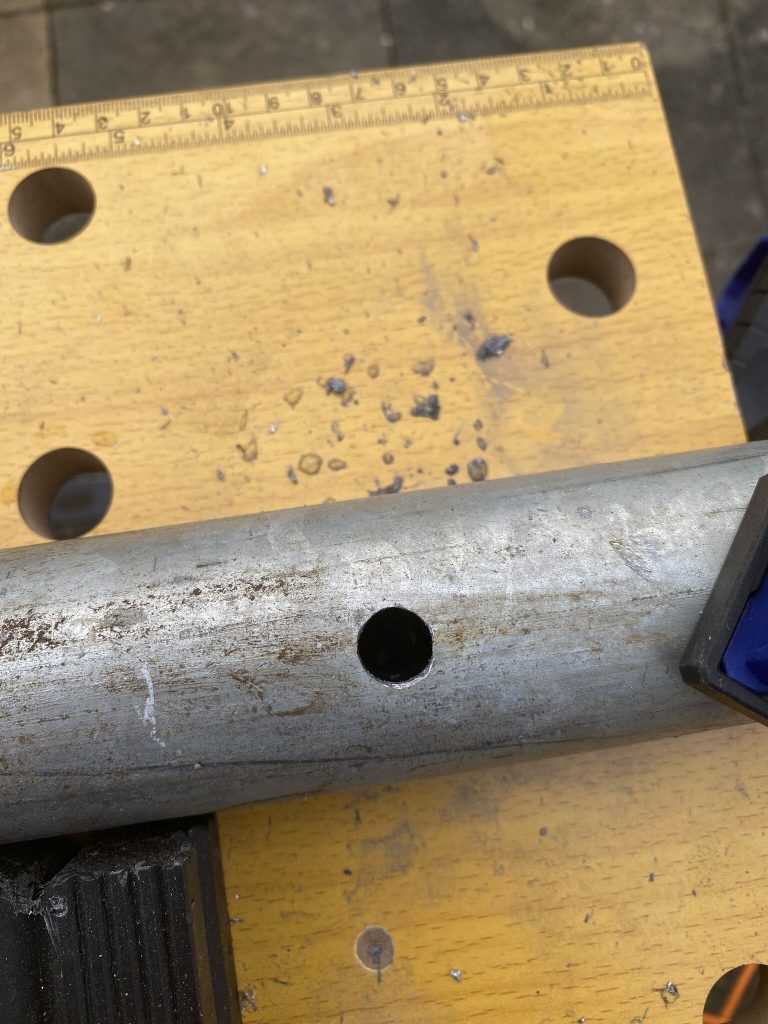
Complete the countersink for the bolt exterior nuts/washers. (A quick drill/cut job)
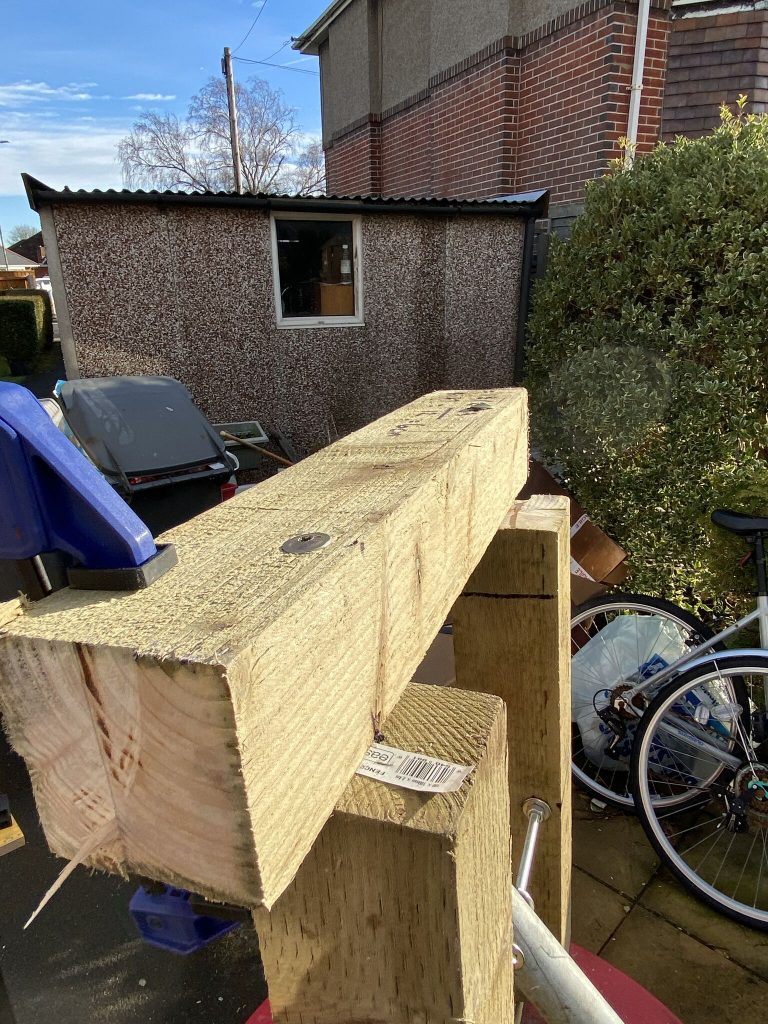
Waterproof the wood so it lasts as long as possible (due on Wednesday)
Measure 80/40/20m vertical elements and create (measuring outdoors/sun/daylight needed!)
Create radials for 80m (reckong on 8*10m to start with, i have *loads* of radials pre-made)
Then come Saturday/Sunday I should be able to get the 80m wire going vertical attach the radials and see what the initial S.W.R report is like !
Hopefully this will all come to frution, but depends on how well i’m doing with my assignments in the evening and the weather next weekend.
Until then, stay safe and hope to catch you on the airwaves soon !
73
Alan / 2E0FWE