DX Commander – all bands & fettling

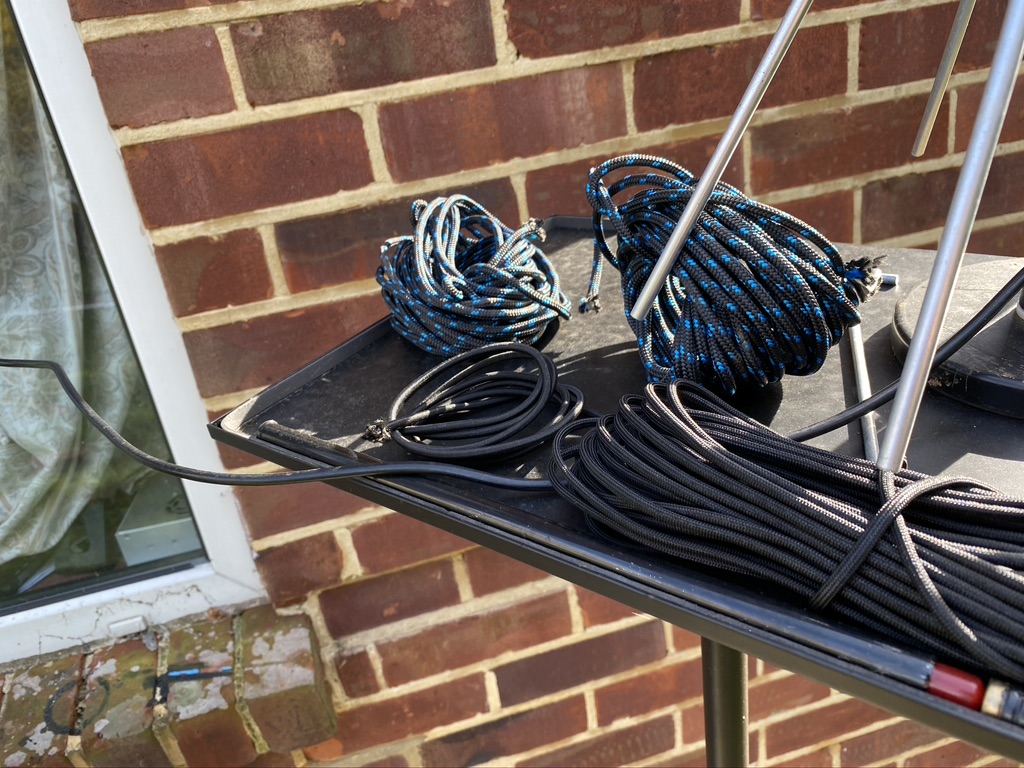
So its been a bank holiday here in the UK and its allowed me to work on quite a few different things (including re-wiring the Mazda Bongo door looms). When I got the DX Commander it came with enough wire for 4 verticals and the radials to support it, but I purchased some more wire from Radio World, namely the Watson Radio Products EQ Equipment Wire which goes for 40 per meter. I used Radio World as I had other bits and bobs coming from them as well, and my word, they are so QUICK to deliver (UPS Everything !).

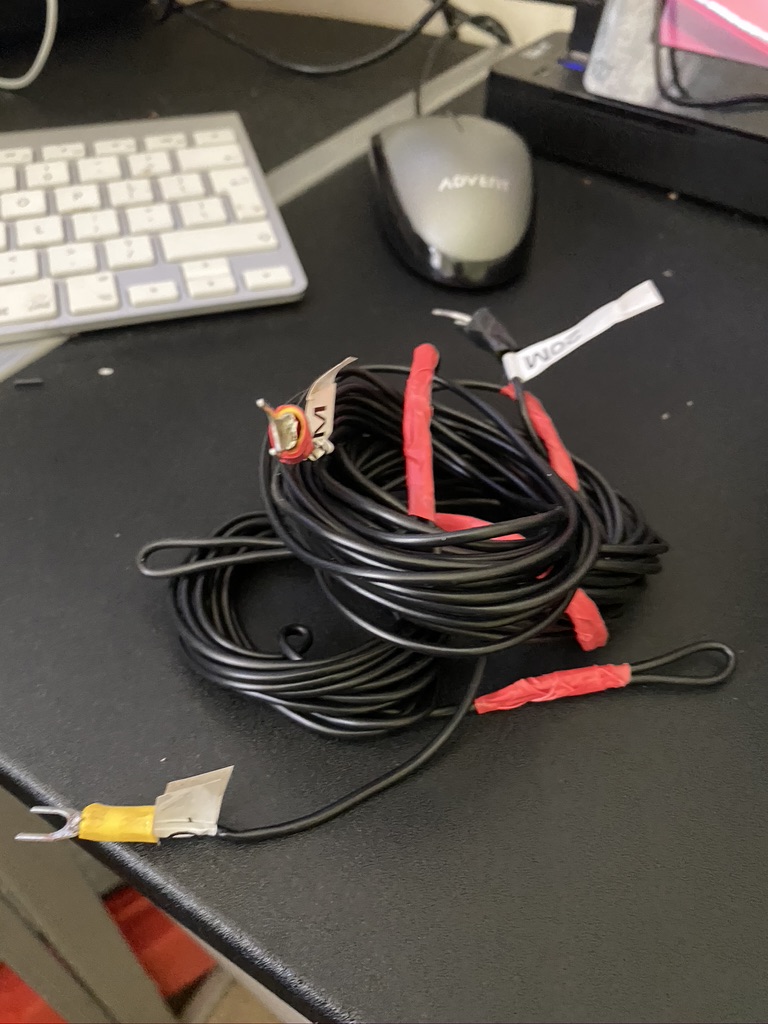
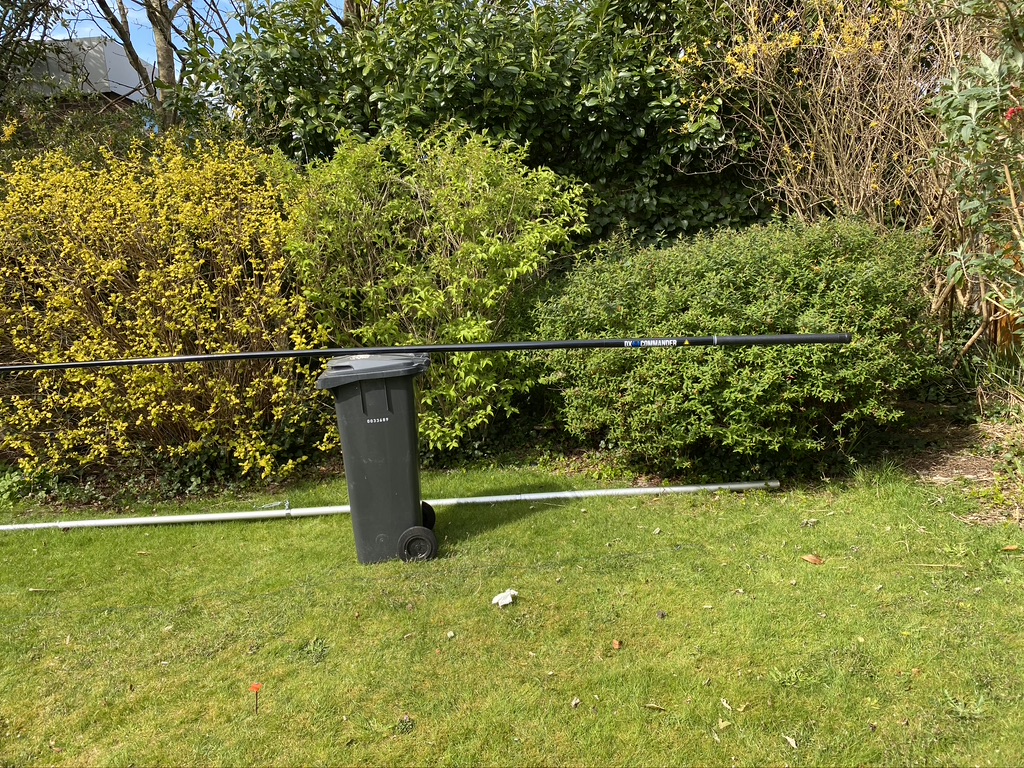
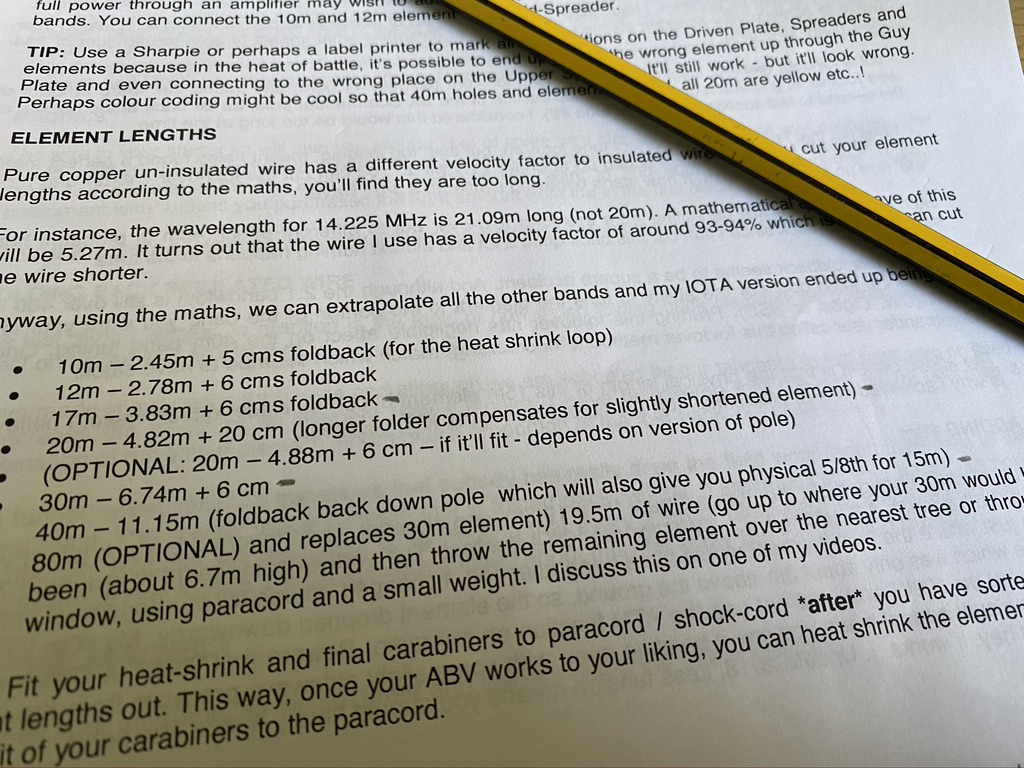
I checked from the list what additonal wires I would need to make up., in this case only the 10m and 12m. Having learned from trying to measure the wire indoors I now measure all my wire outside. I have 3 meter workmans metal tape which so far has done me brilliantly in getting accurate measurements.

Wire (Frequency M)Length to cut
10m250cm
12m284cm
wire to cut for 10m & 12m

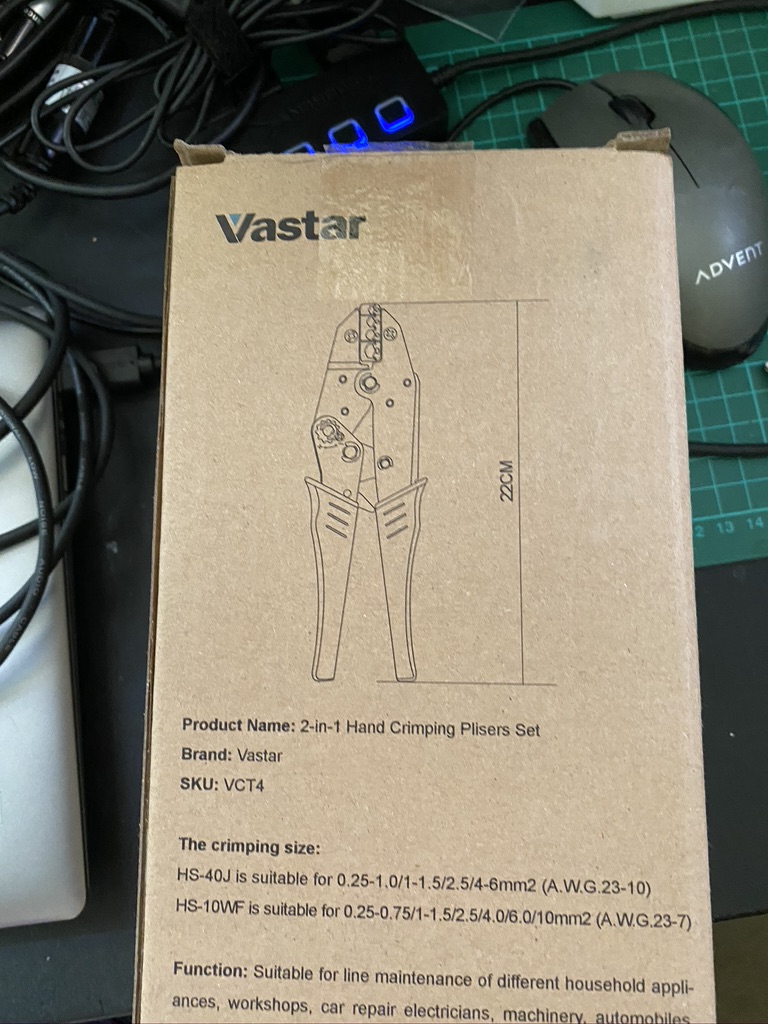
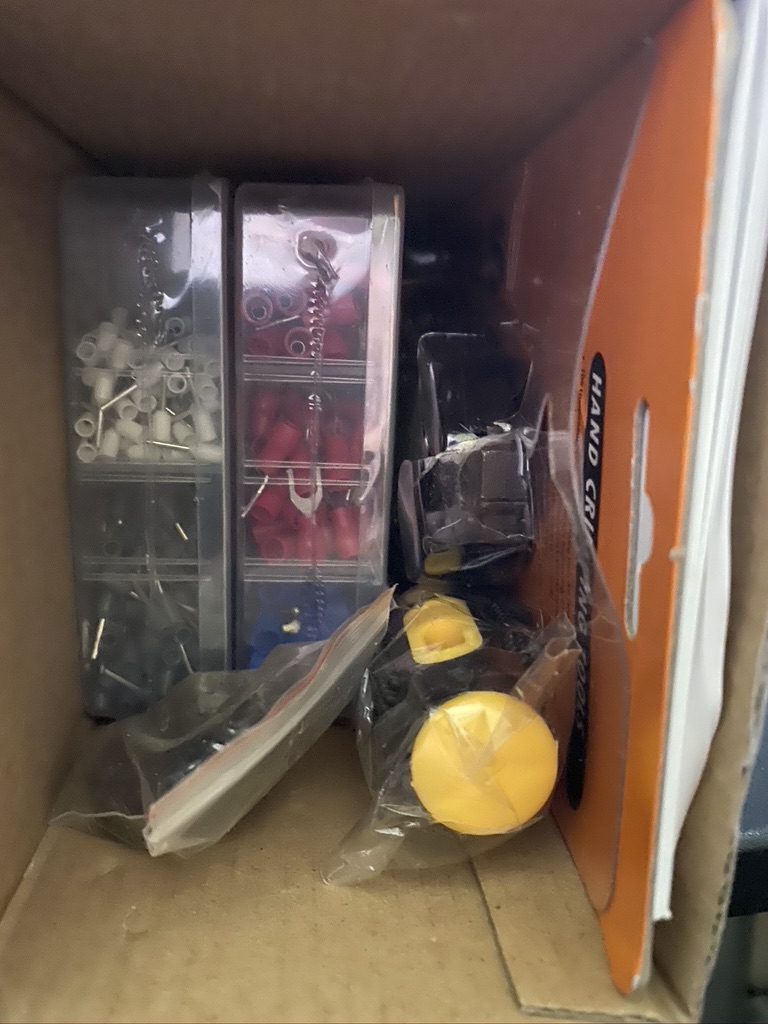
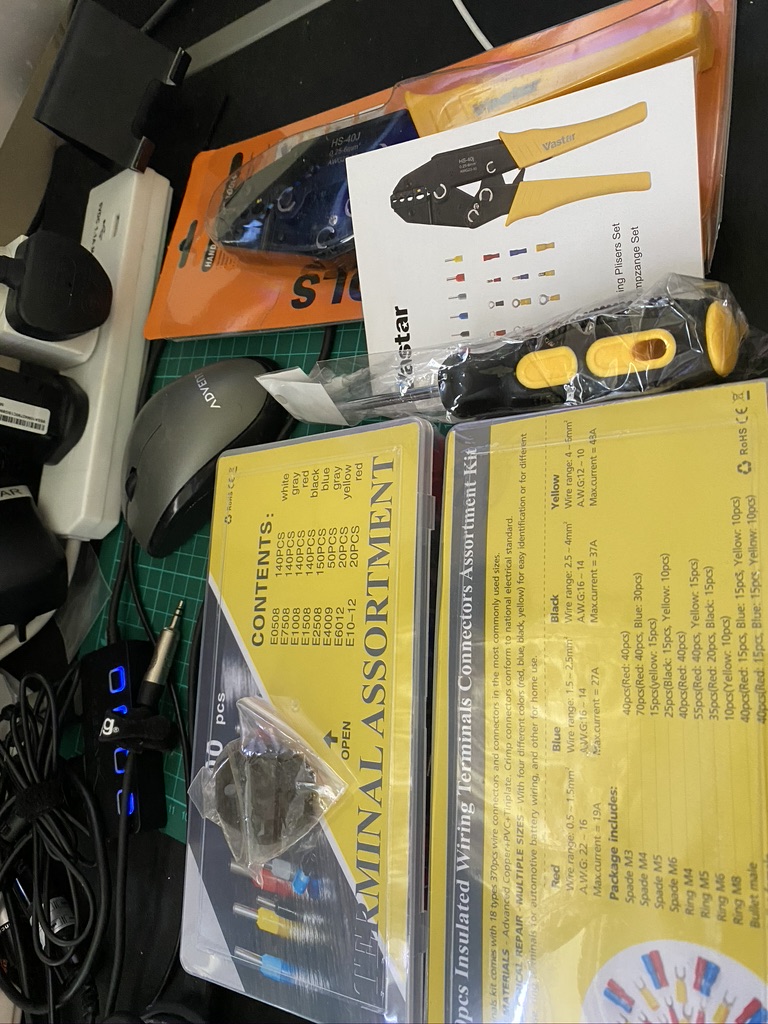
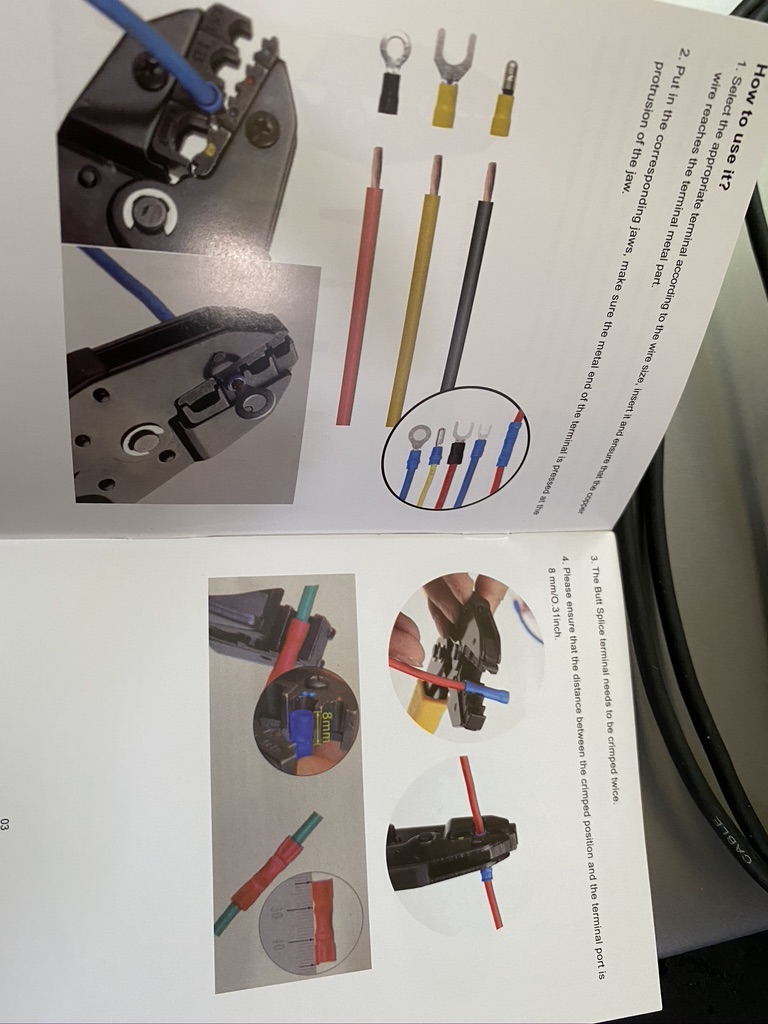
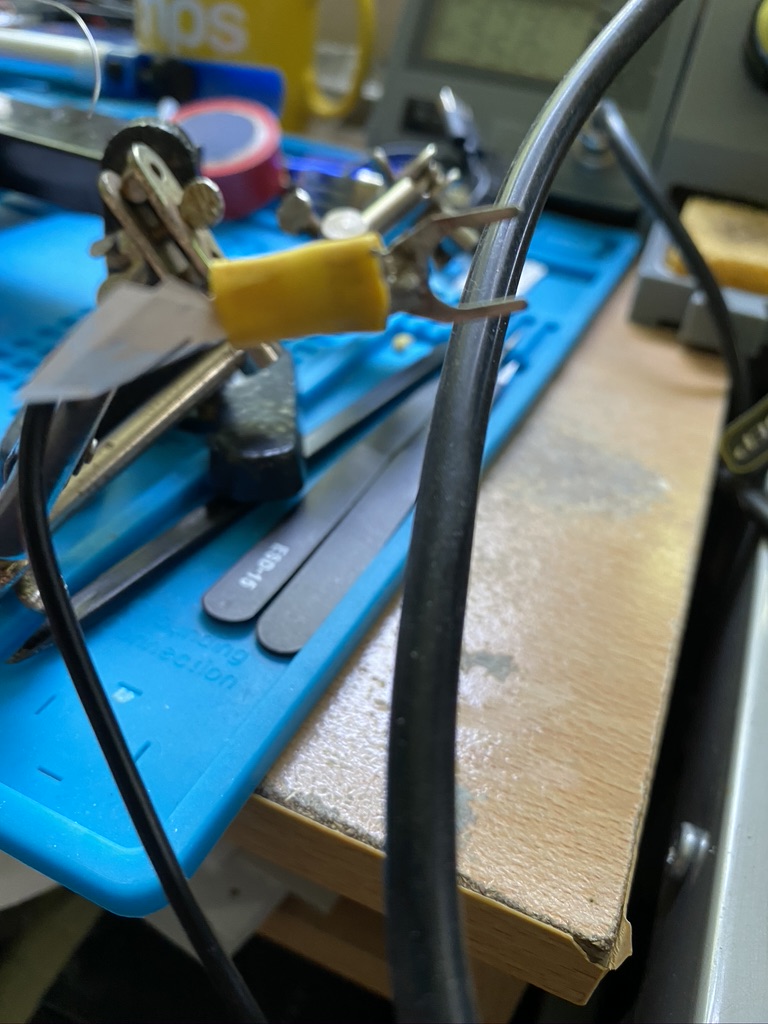
Having cut the cable I could set about using my new crimping tool I had got from Amazon, the Vastar 2 in 1 Insulated Ratcheting Wire Terminals Crimper (AWG23-10,AWG23-7. The reviews and price (£26.99)really hooked me, given how much just the connectors cost from Halfords.
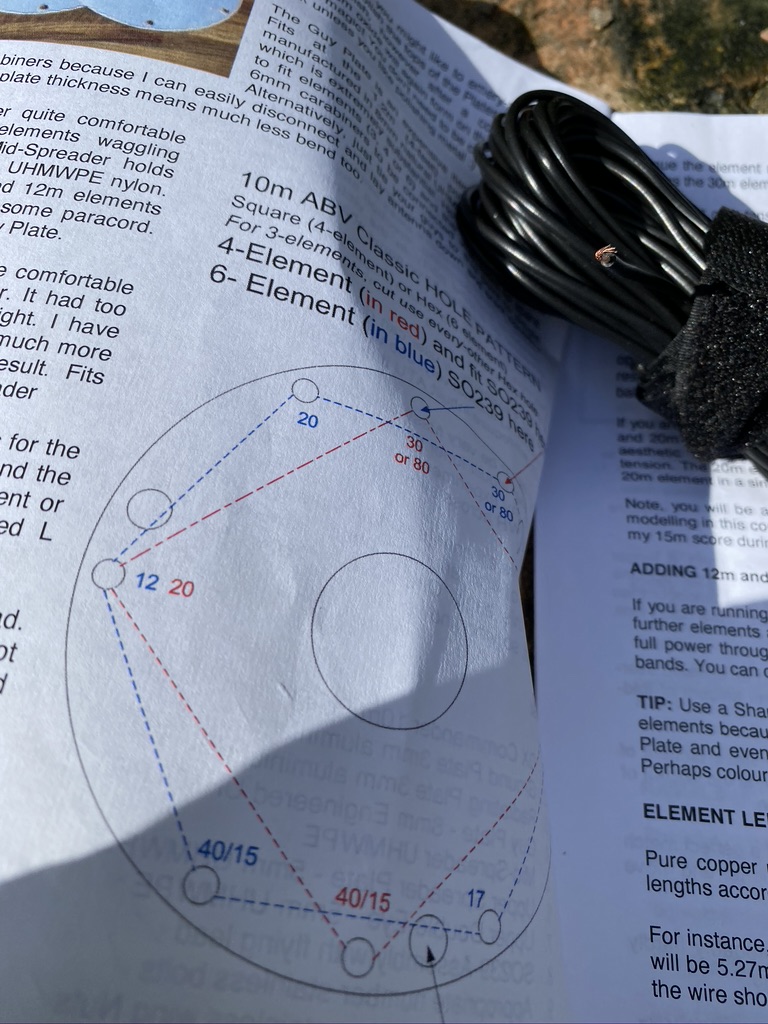
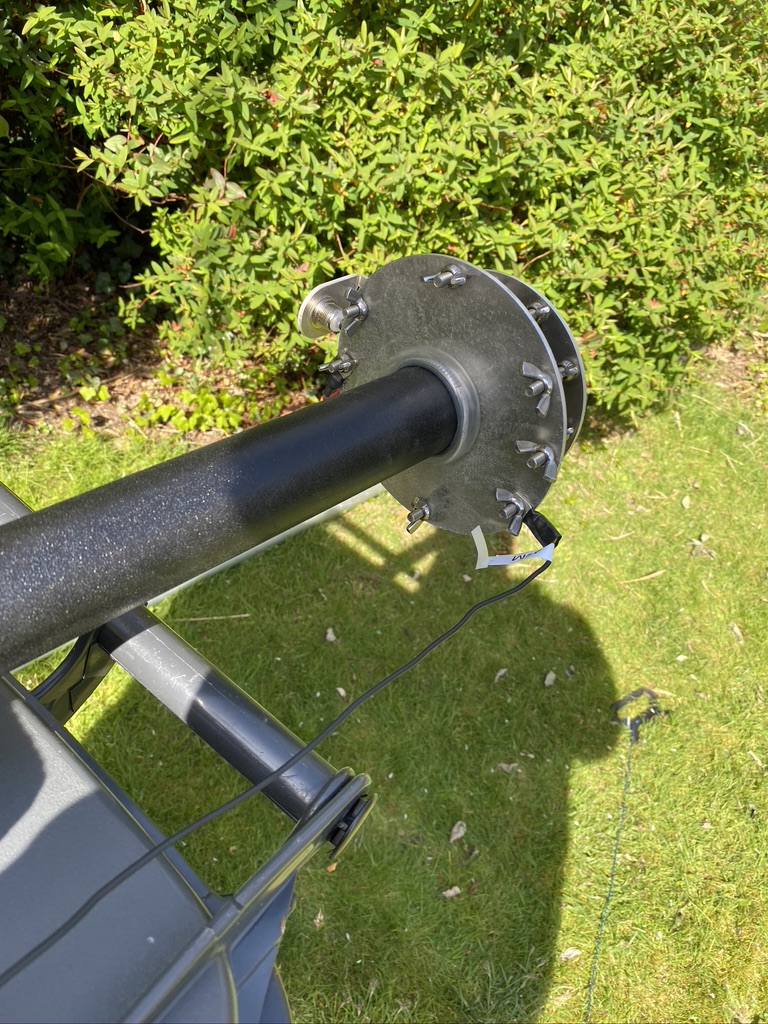
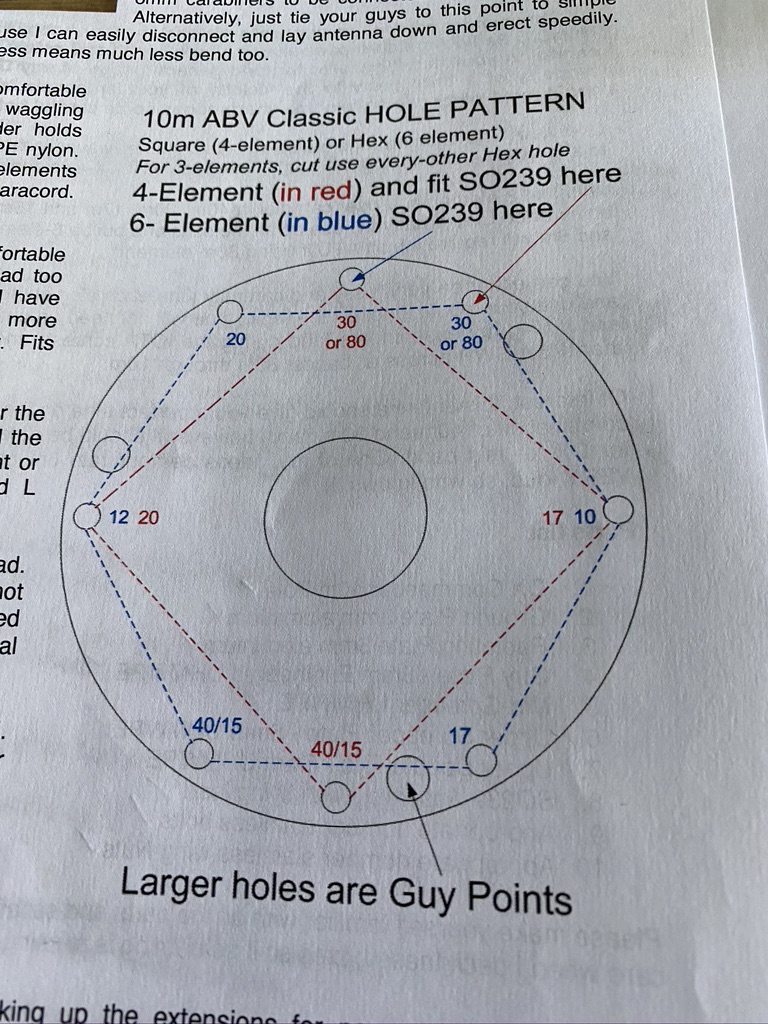
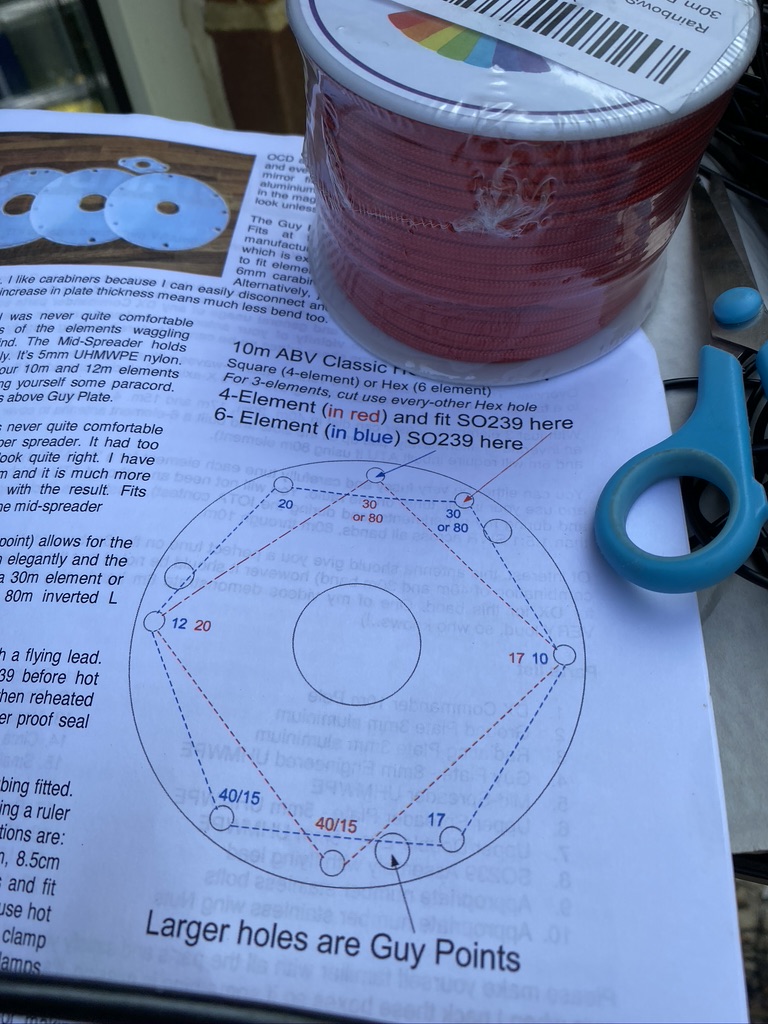
So the first part was to obviously lower the mast, and then remove the existing wires, Going from 4 to 6 requires adjustment as per DX Commanders docs (pg 2) here.
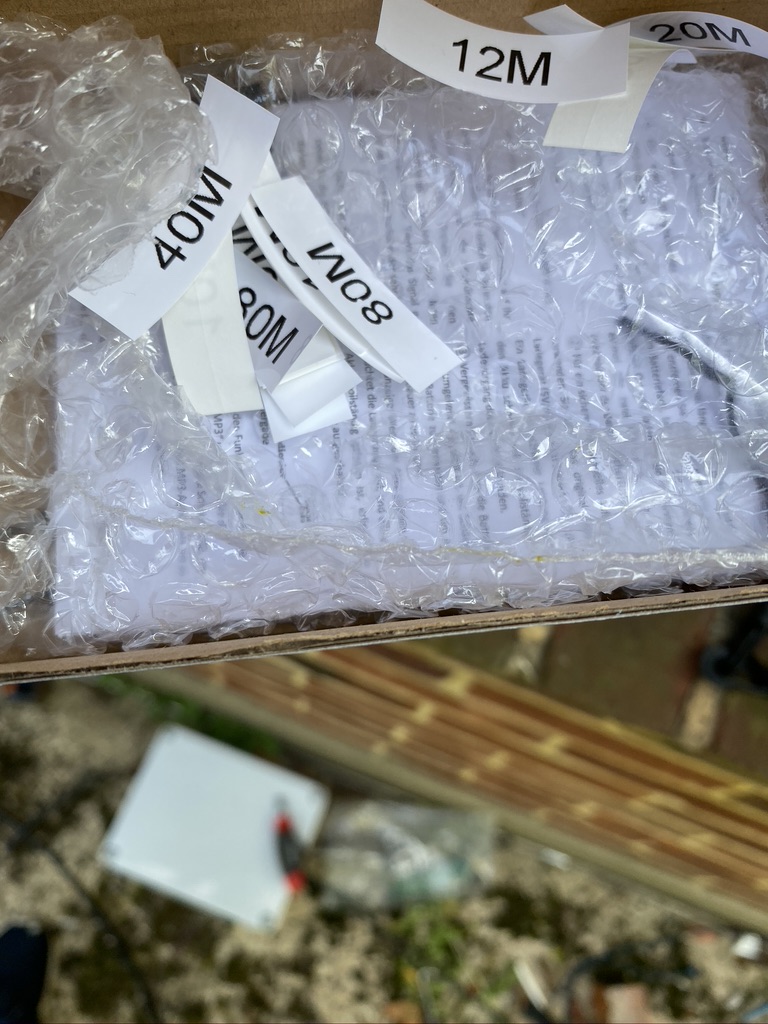
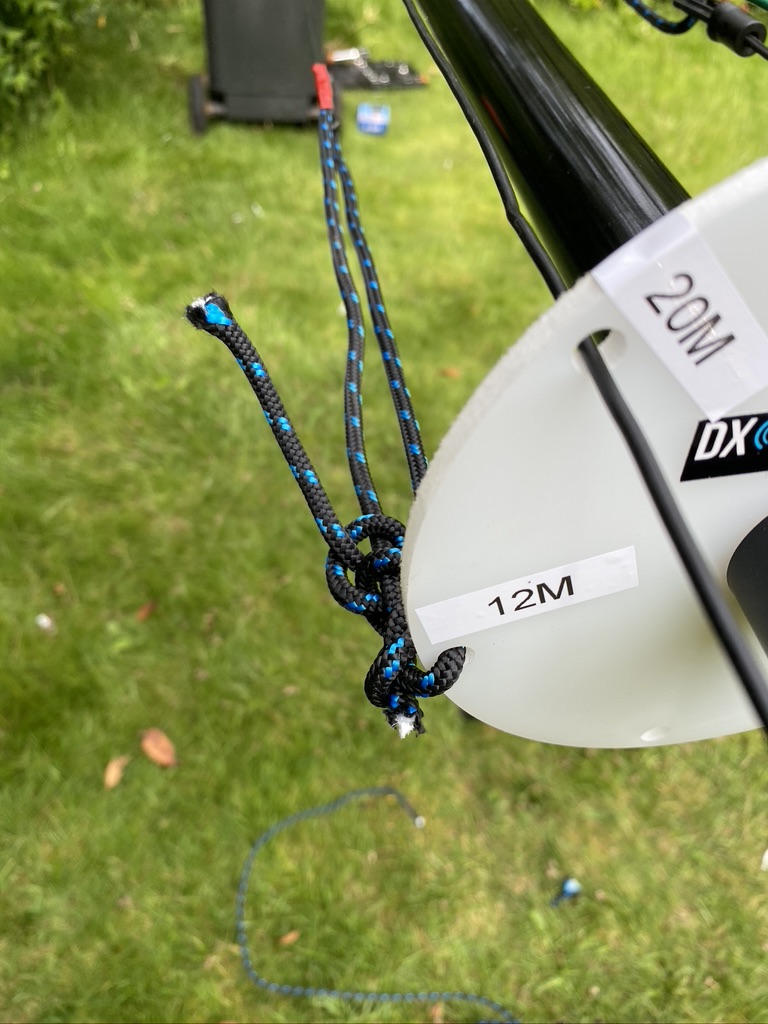
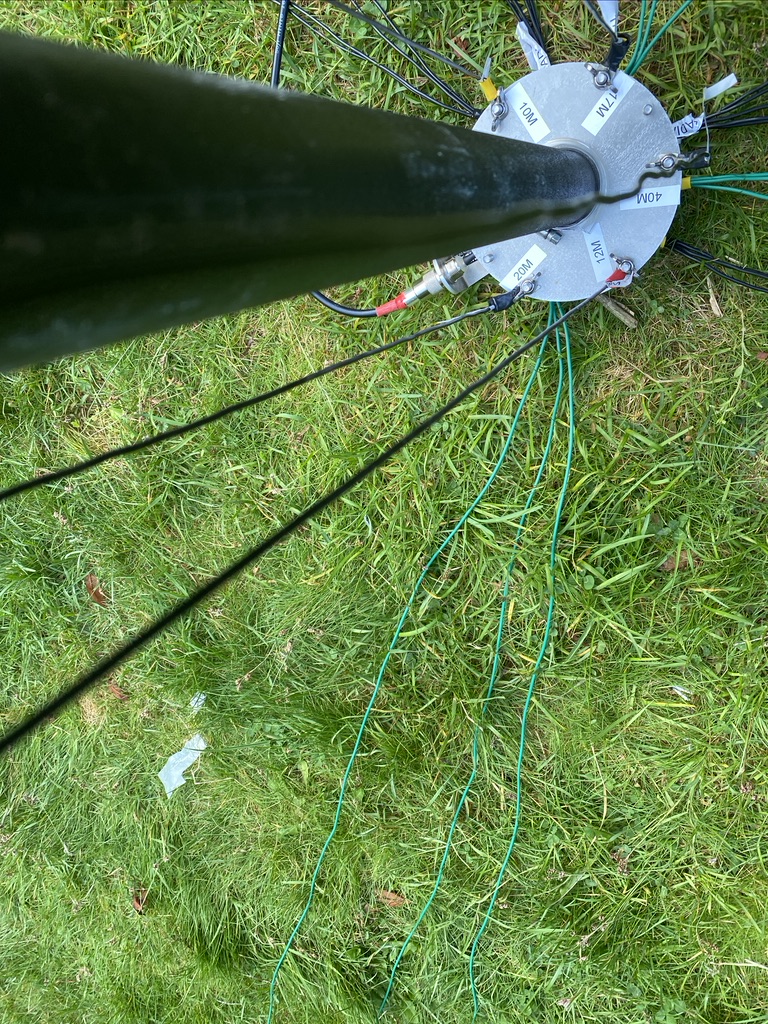
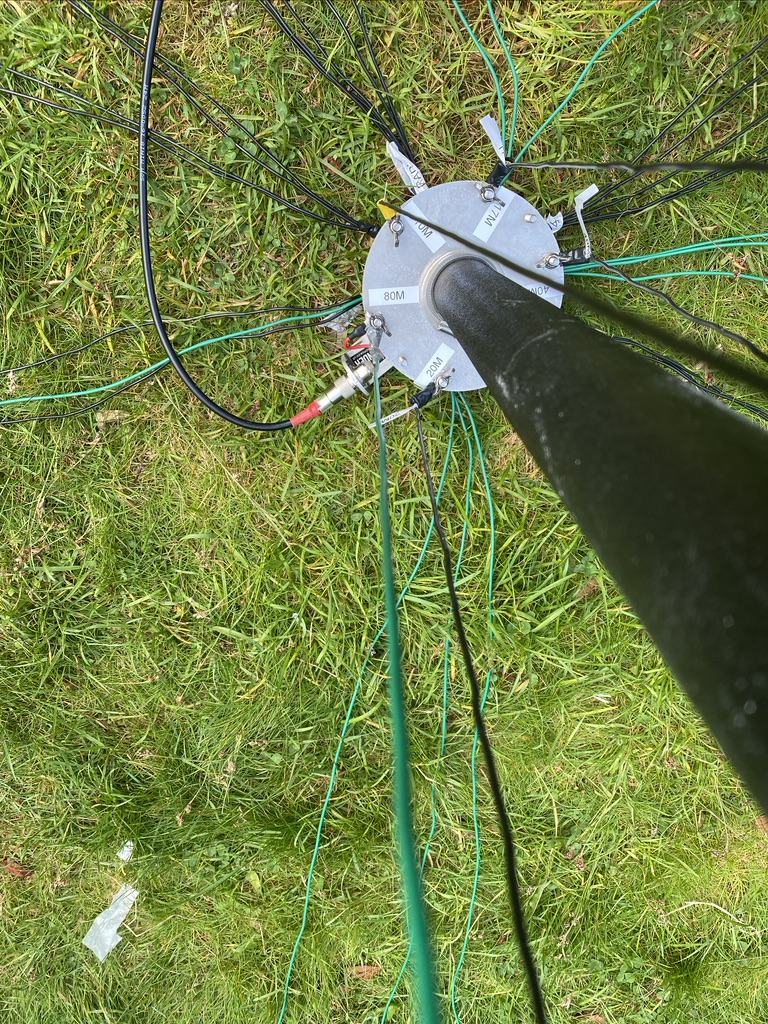
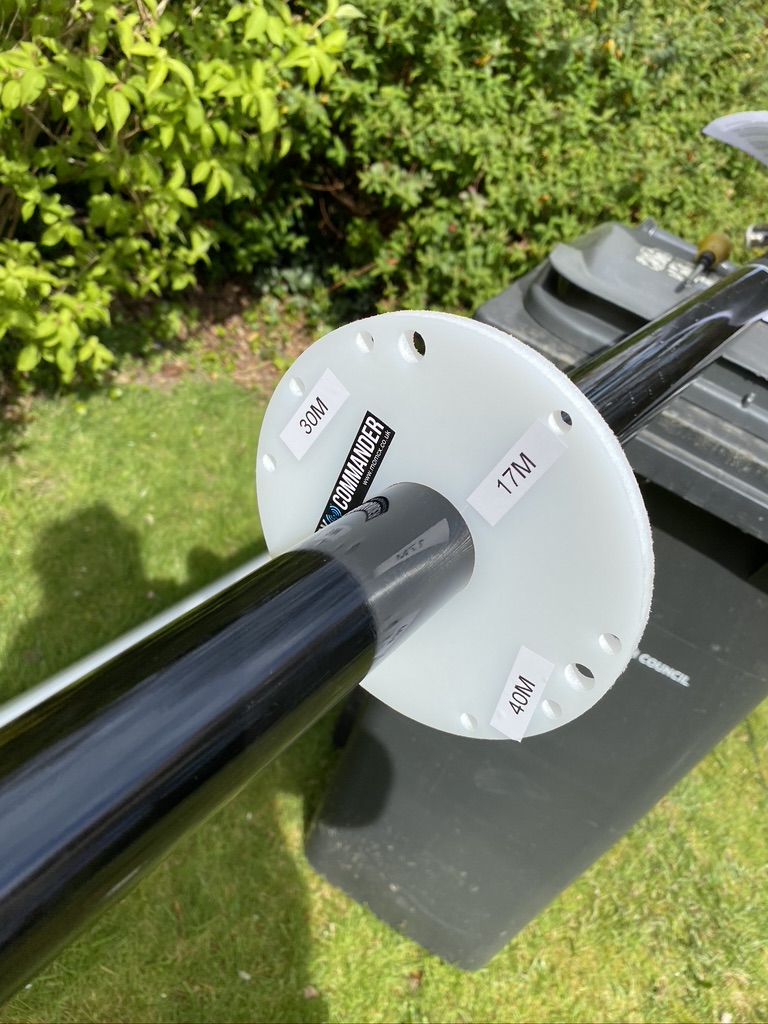
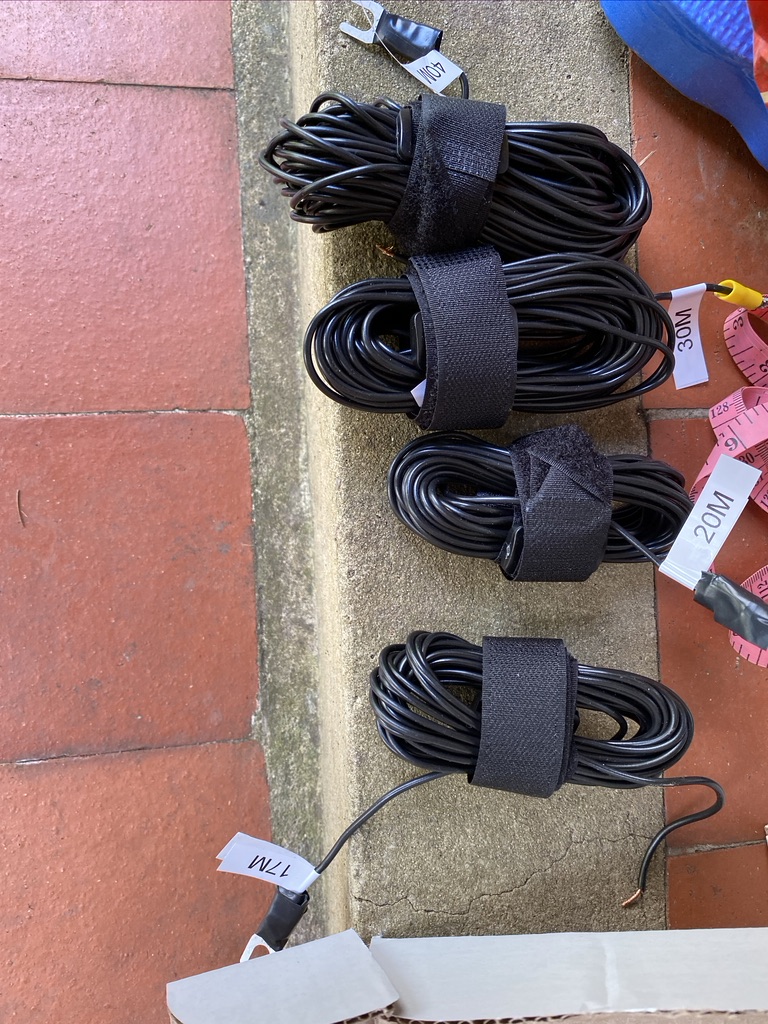
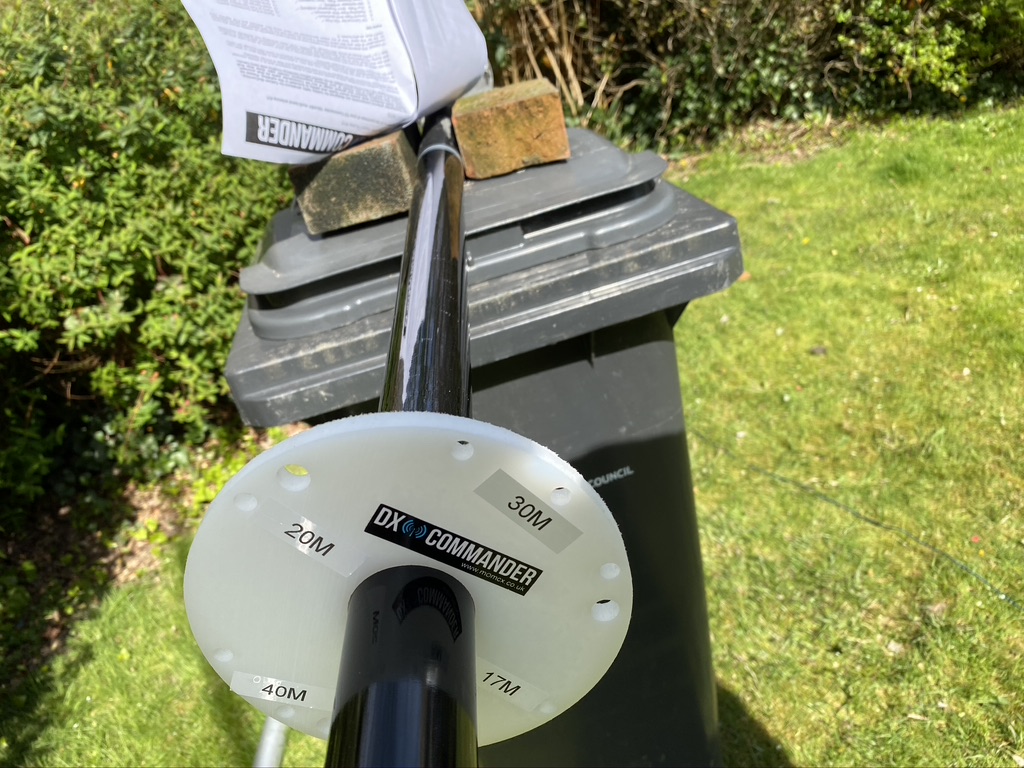
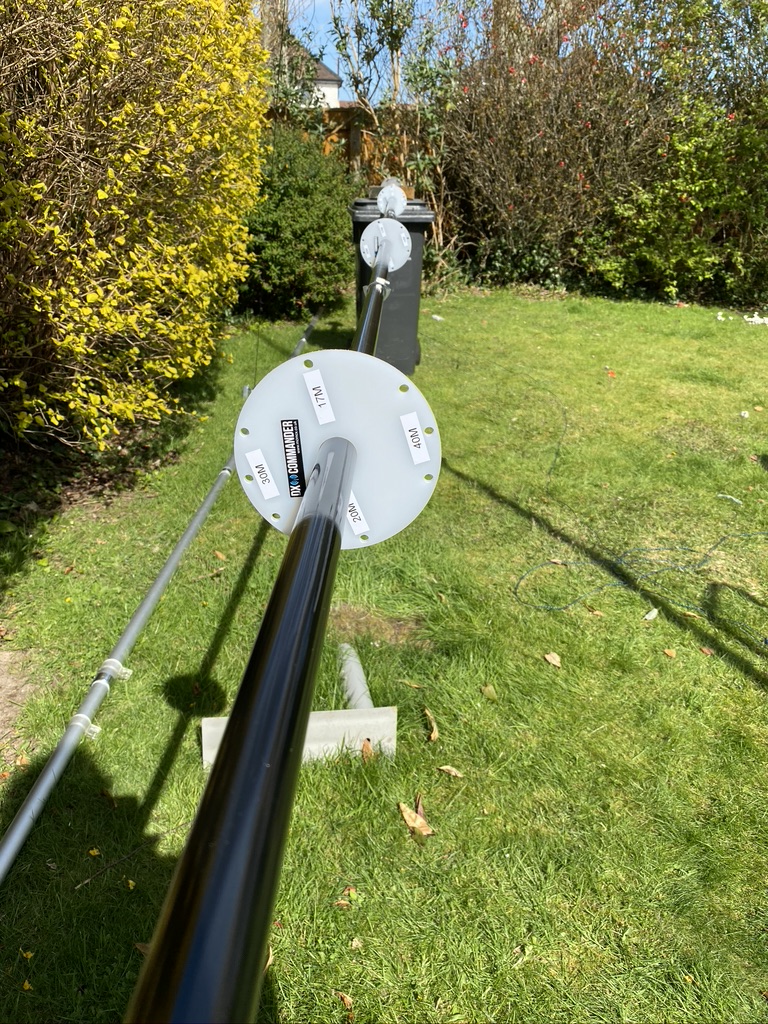
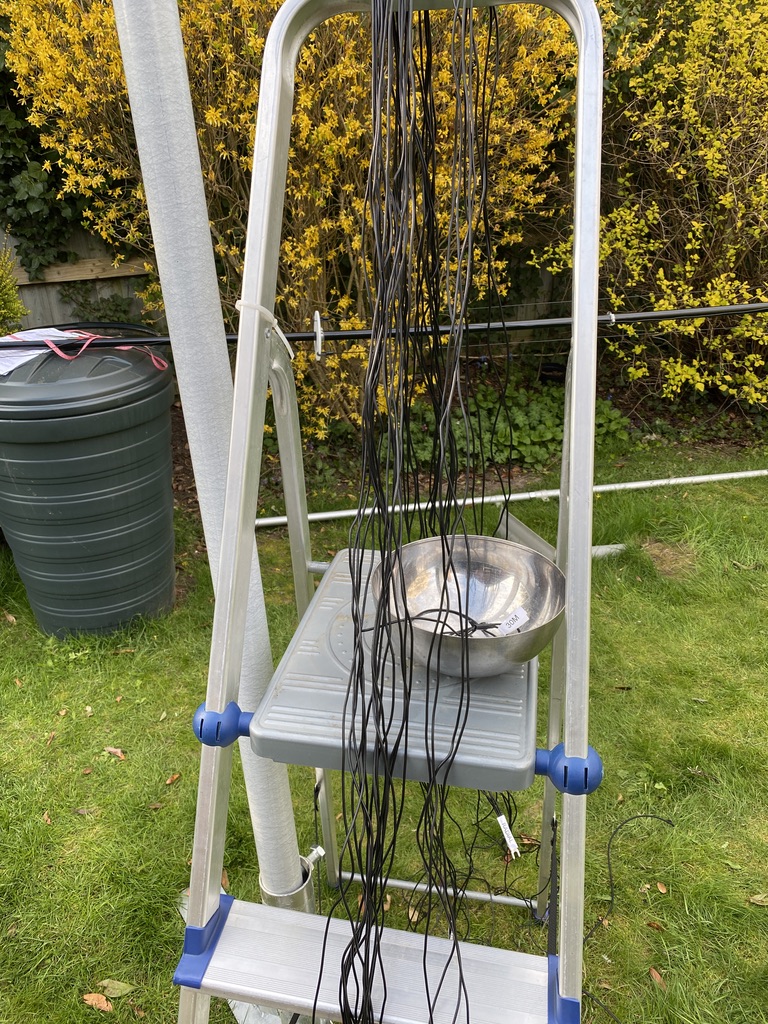
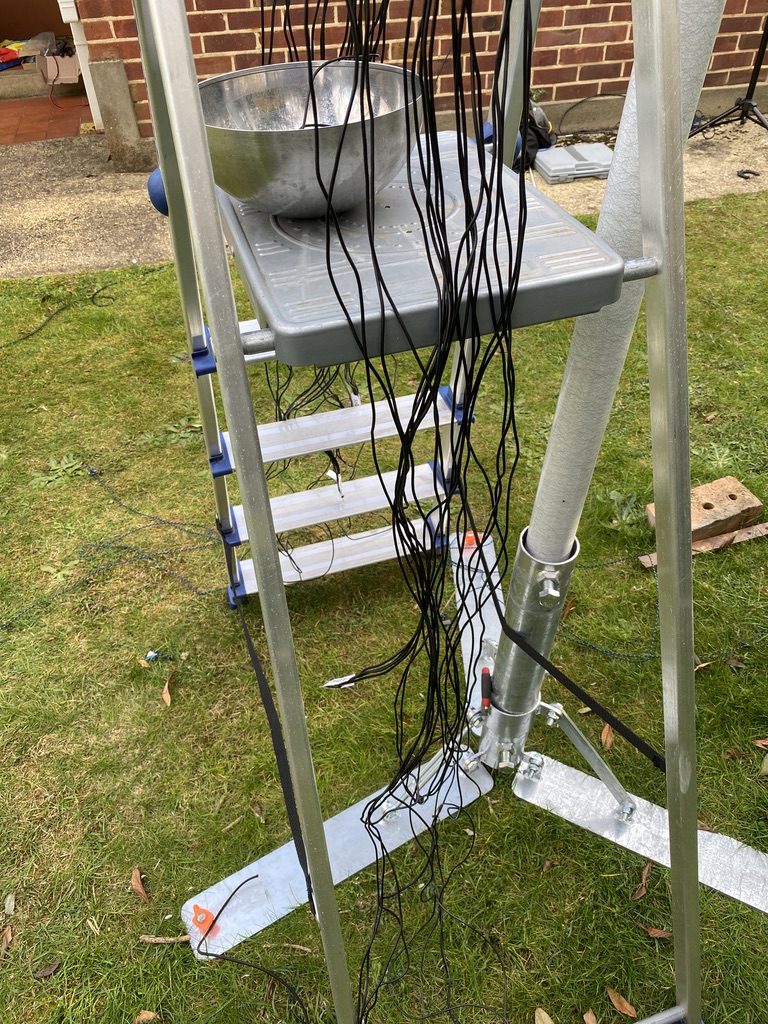
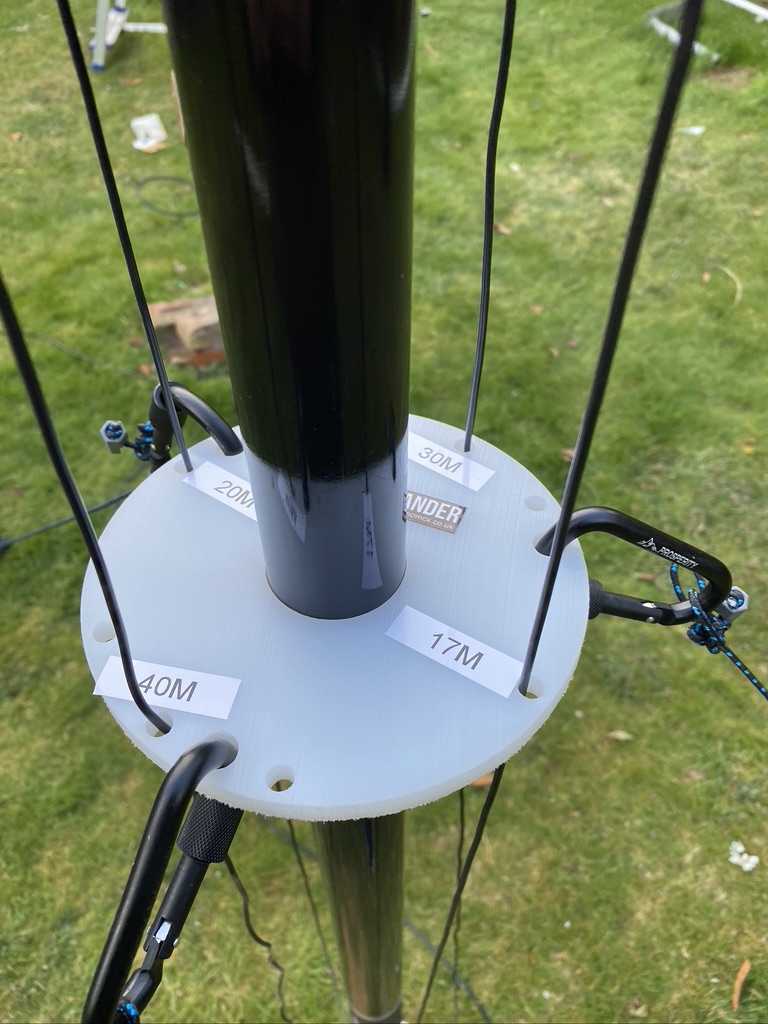
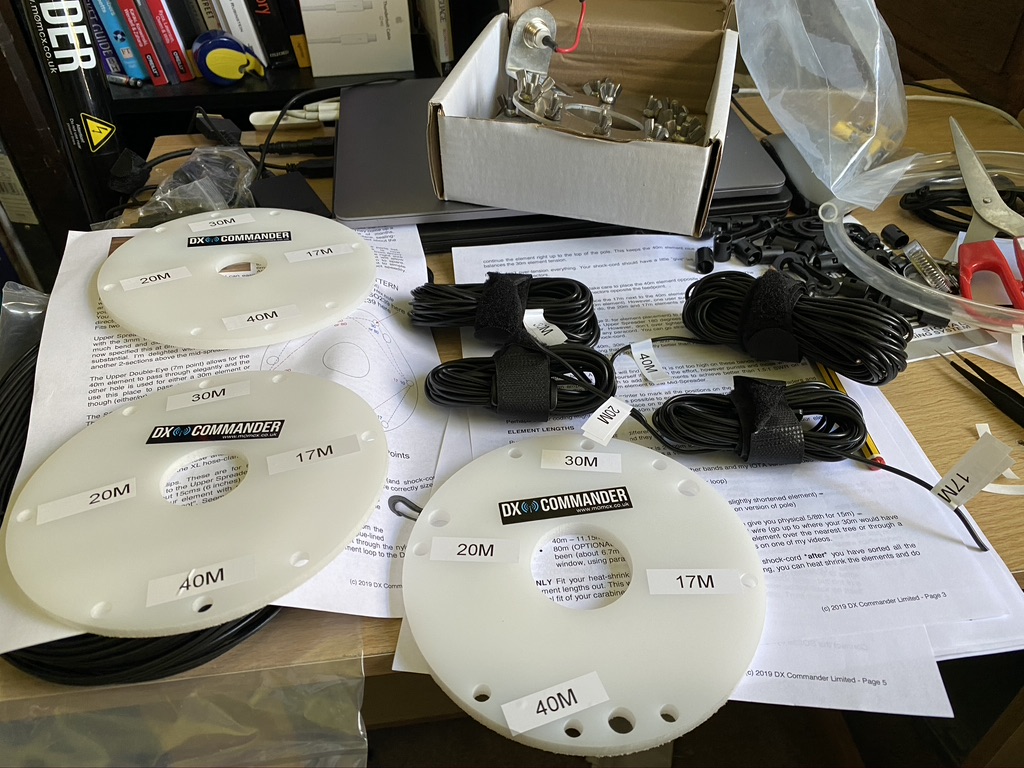
I also reprinted all new labels, removing the existing ones. One thing I didnt do orginally was to put labels on the bottom plate, so this time I would ! First I organized the cables so they was easy to pick up add, not having things on the floor and in a mess really adds to health and saftey when doing this kind of work.
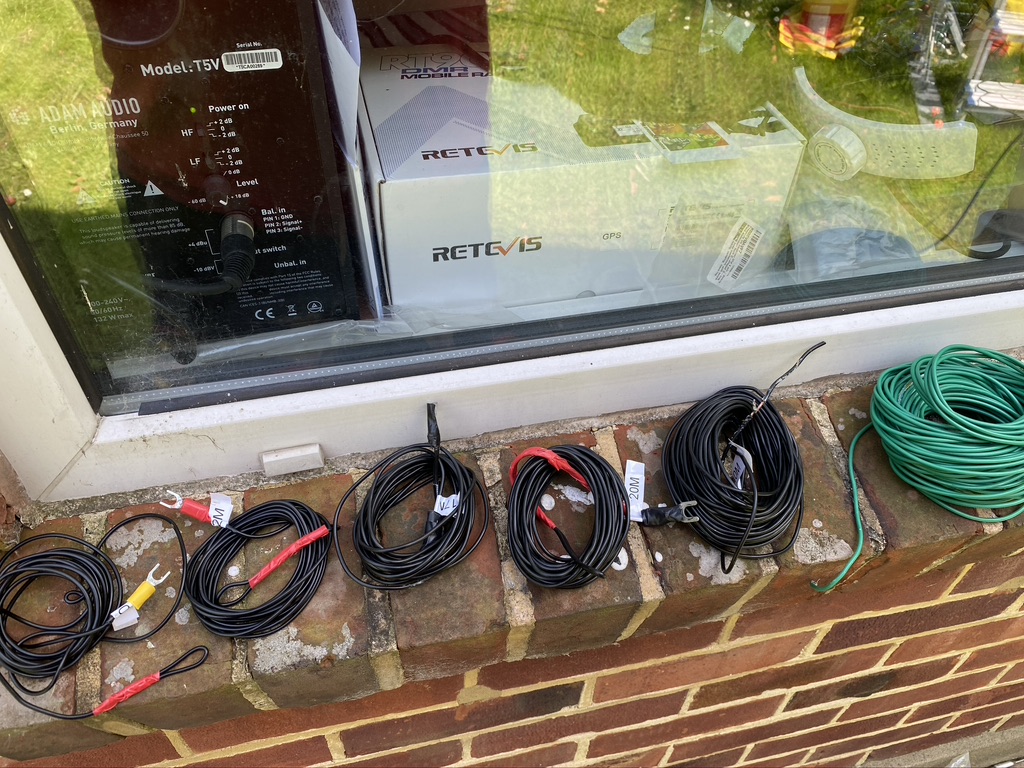
wires in respective order of frequency (10,12,17,20,40,80 – the long green monster!)

With the mast lowered I followed the instructions and relocated the SO239 feed wire and the 80m connection
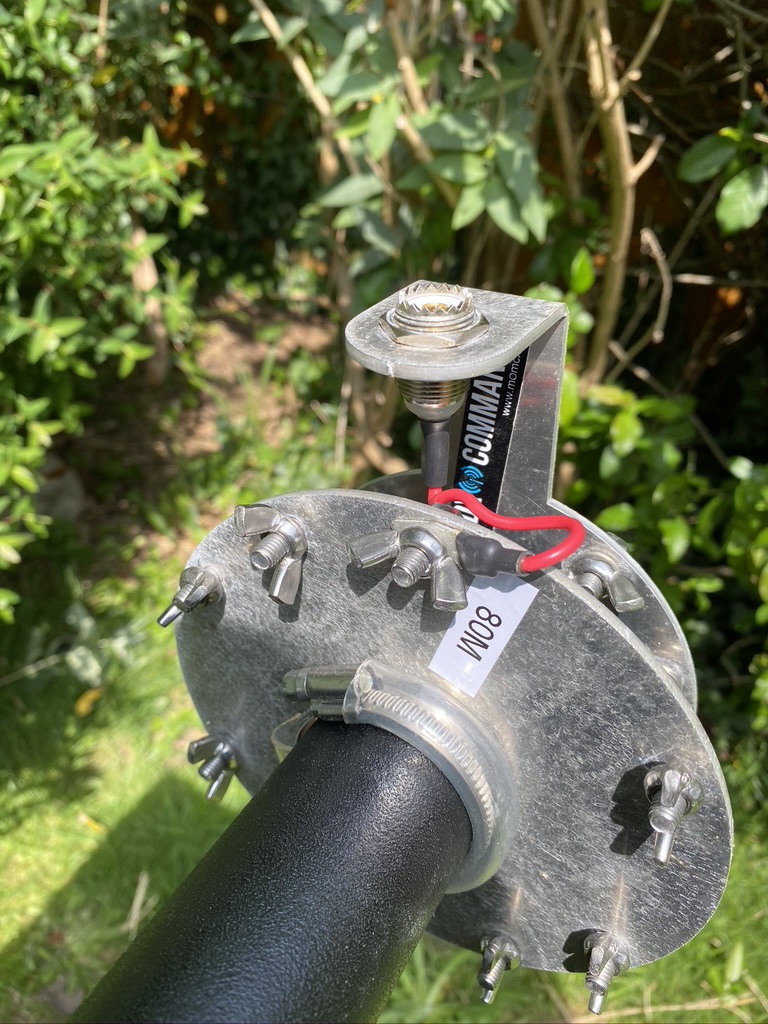
movement of feed wire and labelling up

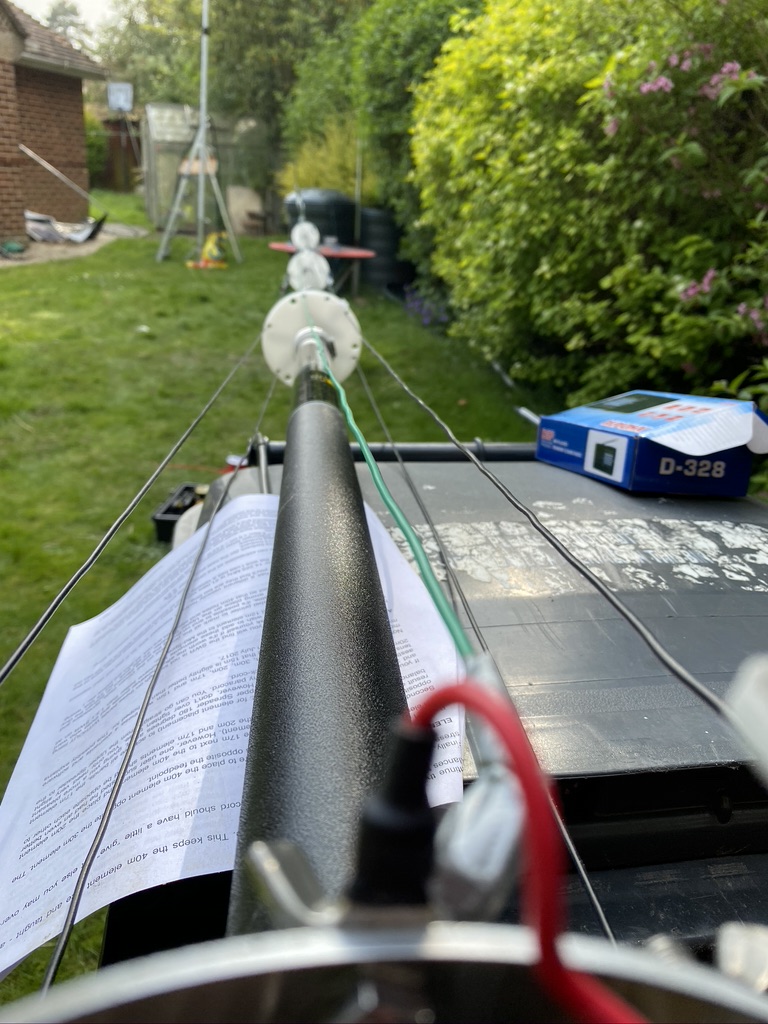
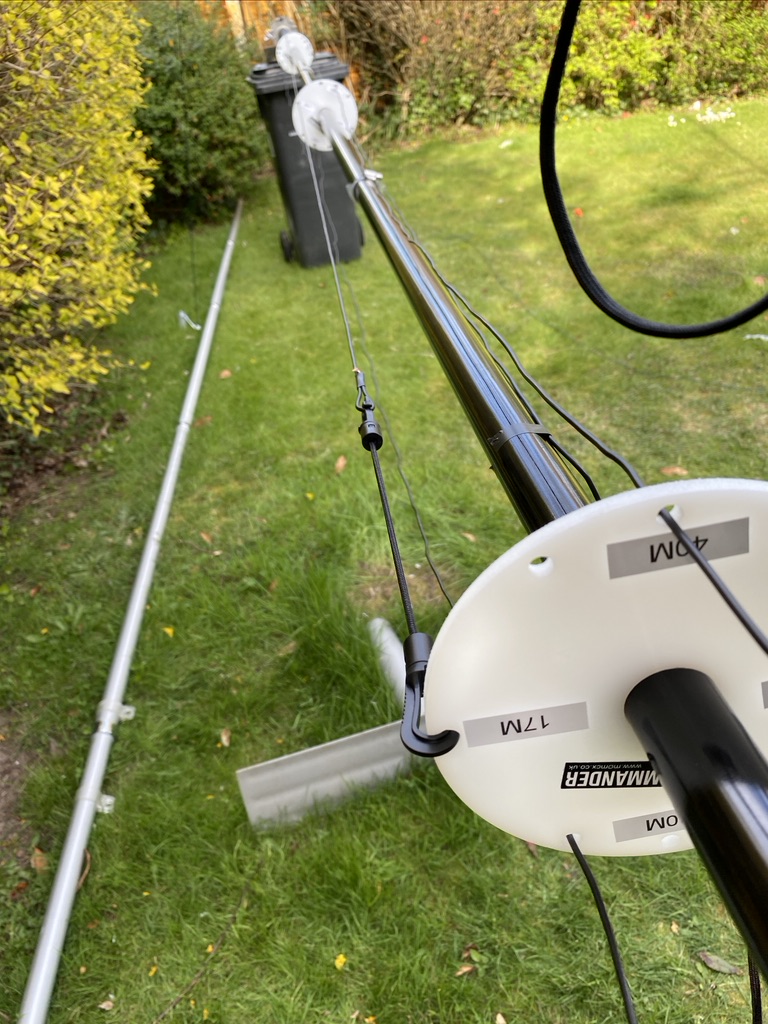
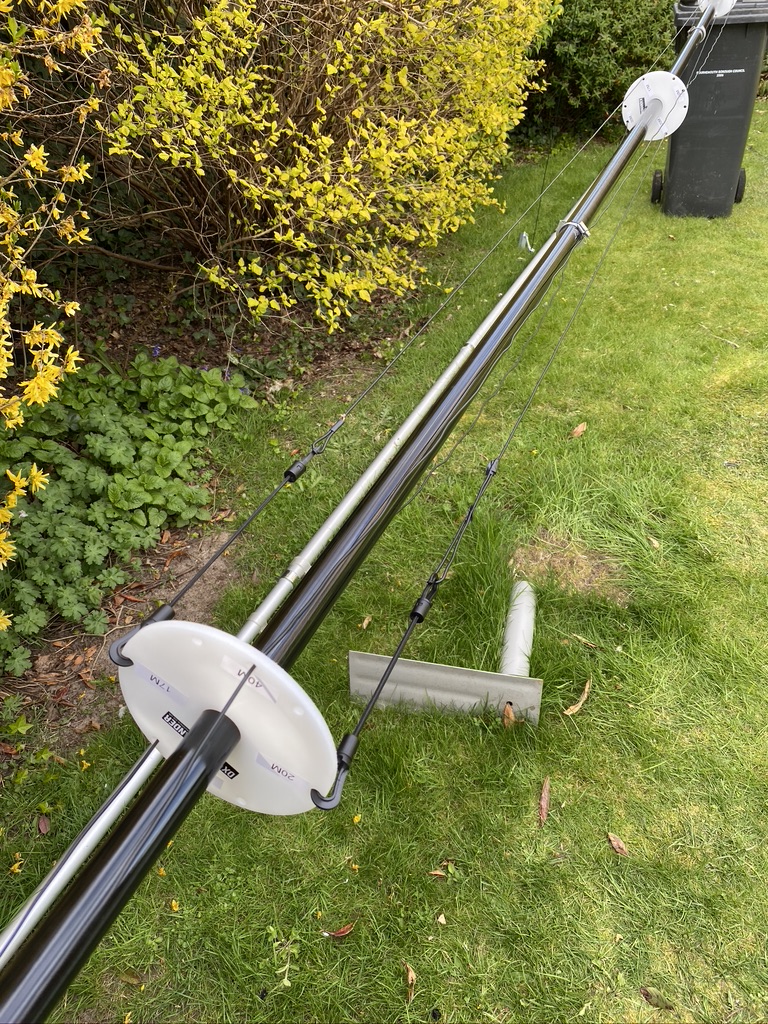
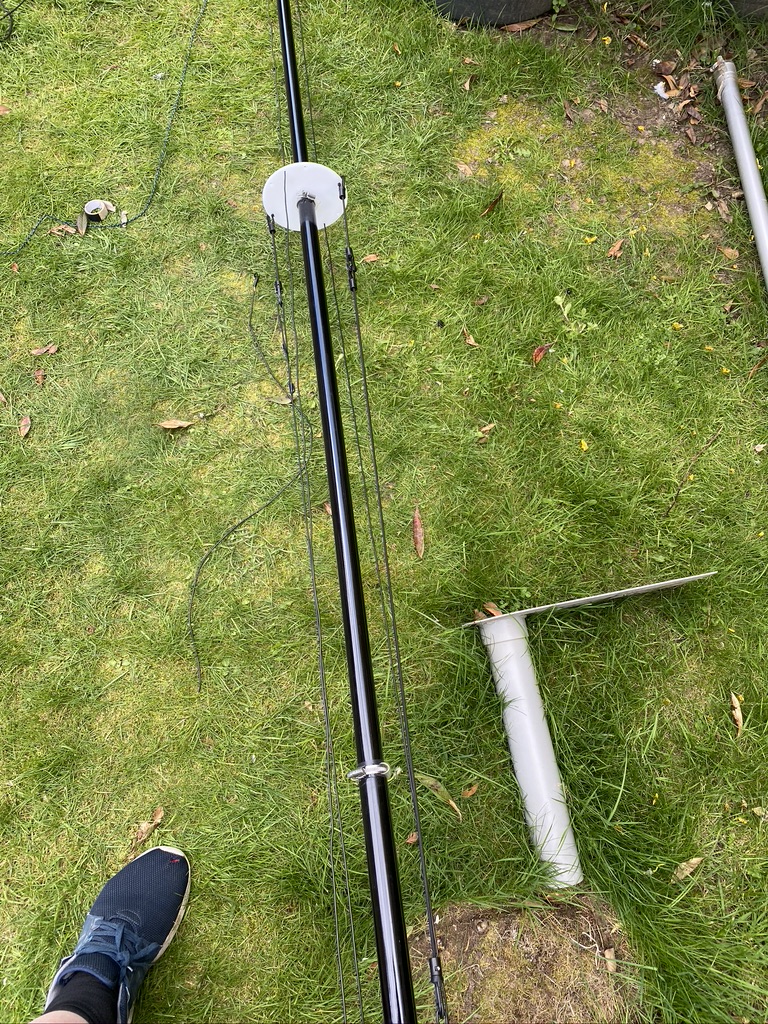
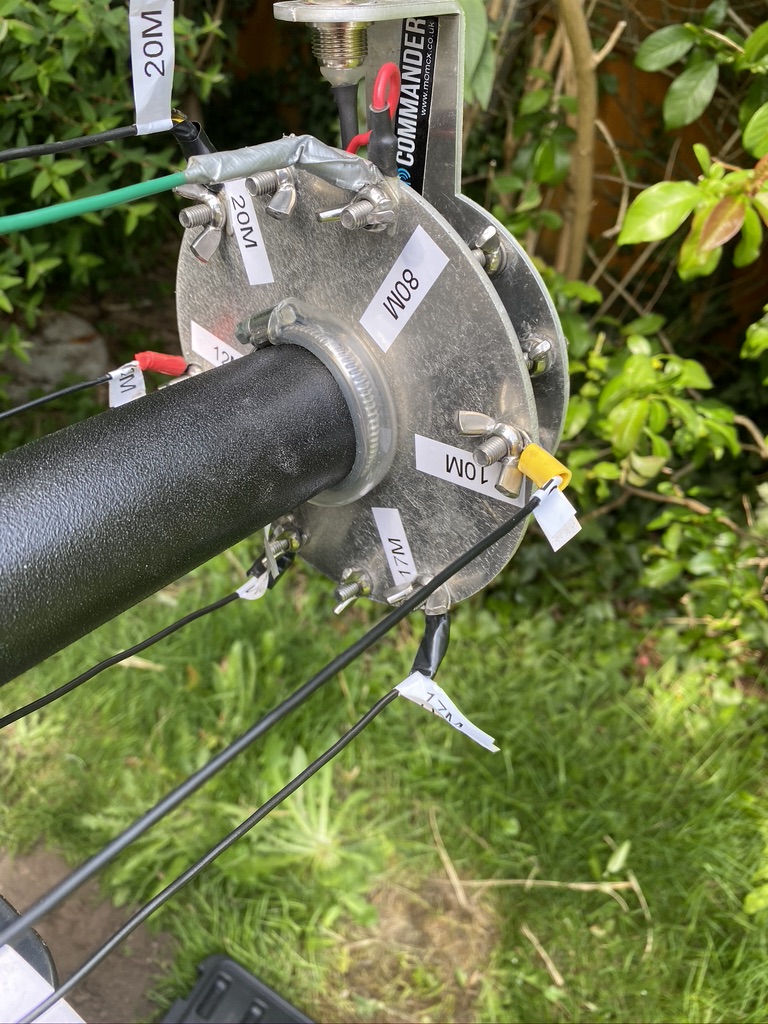
What really helps is the DX Commander stickers. On my spreaders i do them so that they should be aligned when looking down the mast, this gives me a good point of reference.

To start with I just feed the 80m wire up to where it would be for 30m and taped it down. I then worked around the mast feeder positions adding labels as I worked in each new wire.
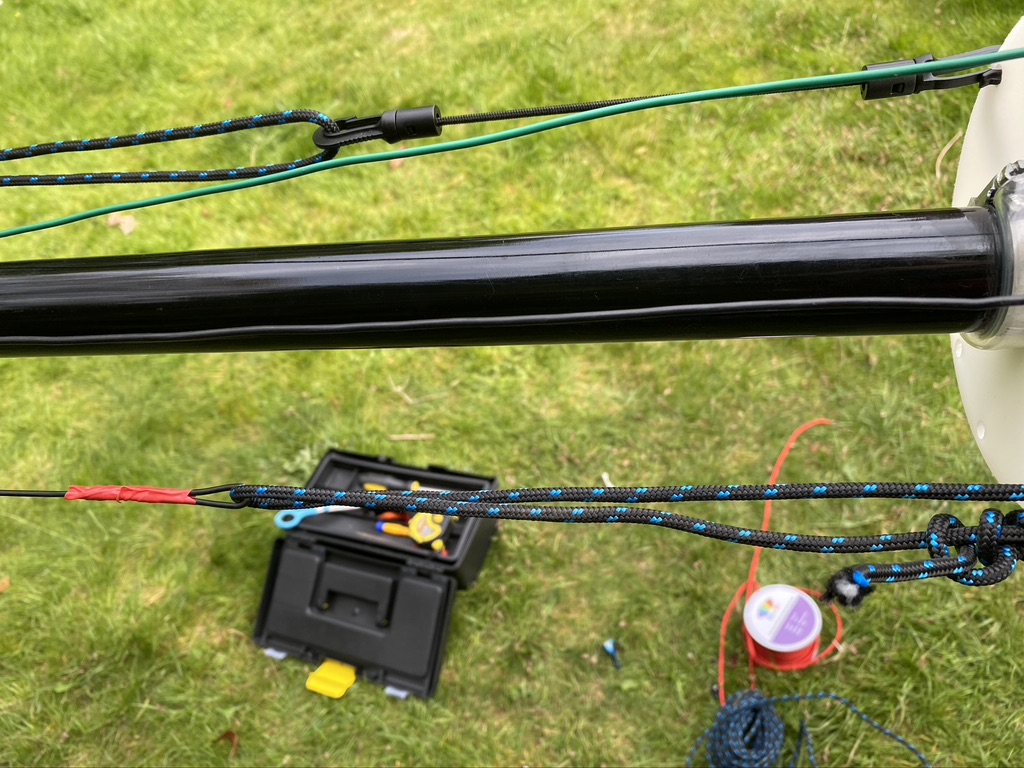
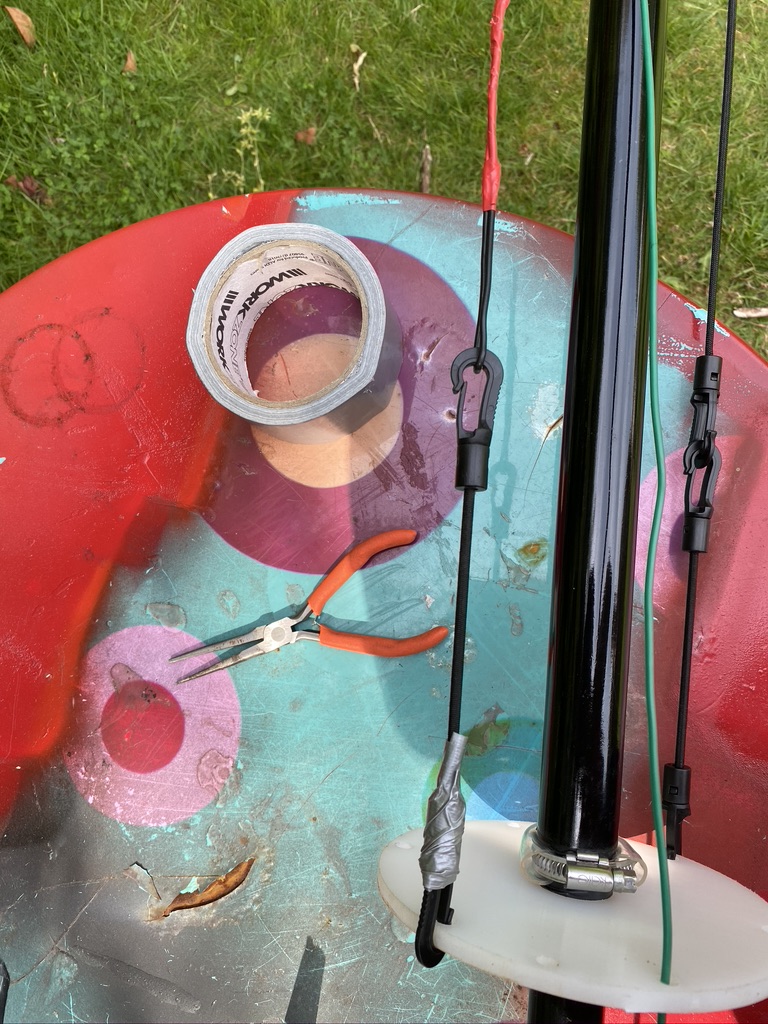
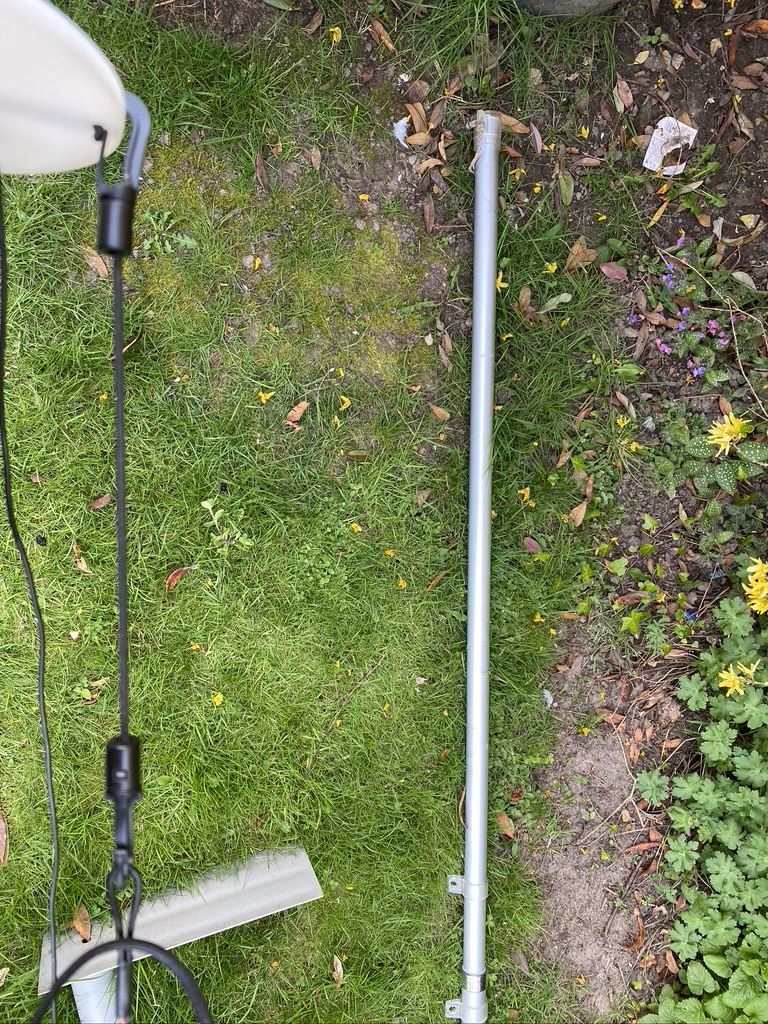
Now the DX Commander/Calum does say that the clips used on the paracord are hard to undo once set, as I found. Having to try and extract one, manage to break a clip, and I had no spares. So, i thought, well superglue it is then ! With using the YOCTOSUN Hands Free Magnifier, i was able to get it to glue pretty much back on. I was then with the existing cut paracorde and elastic cable to add the other elements which required some vertical tensile strength.
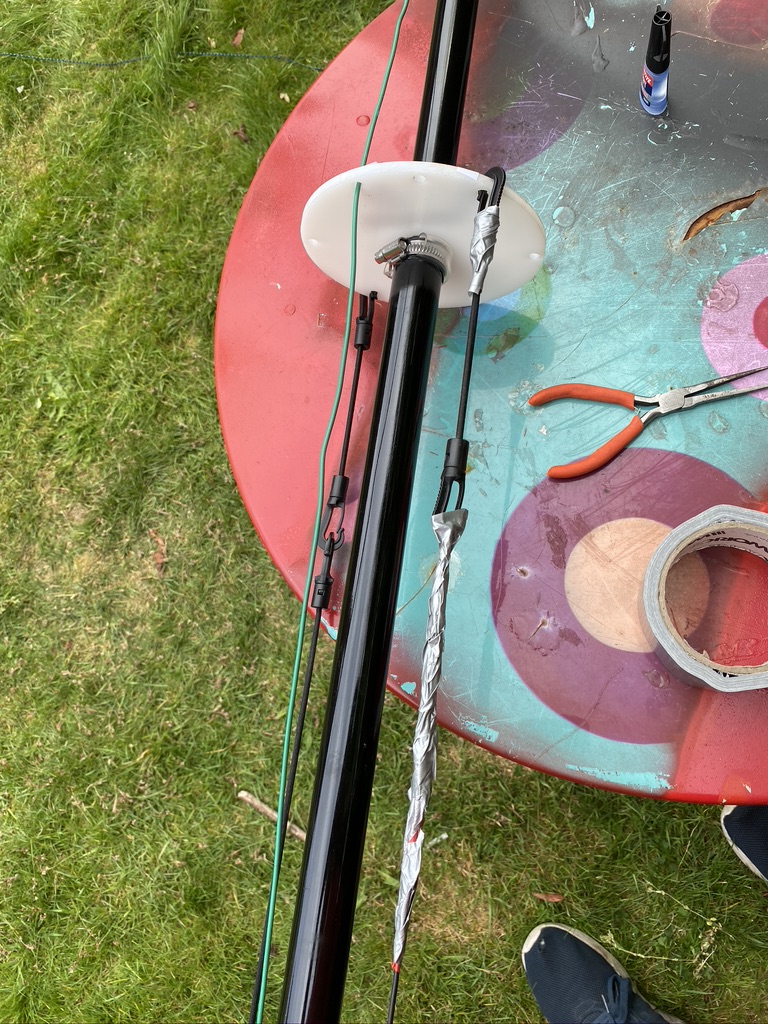
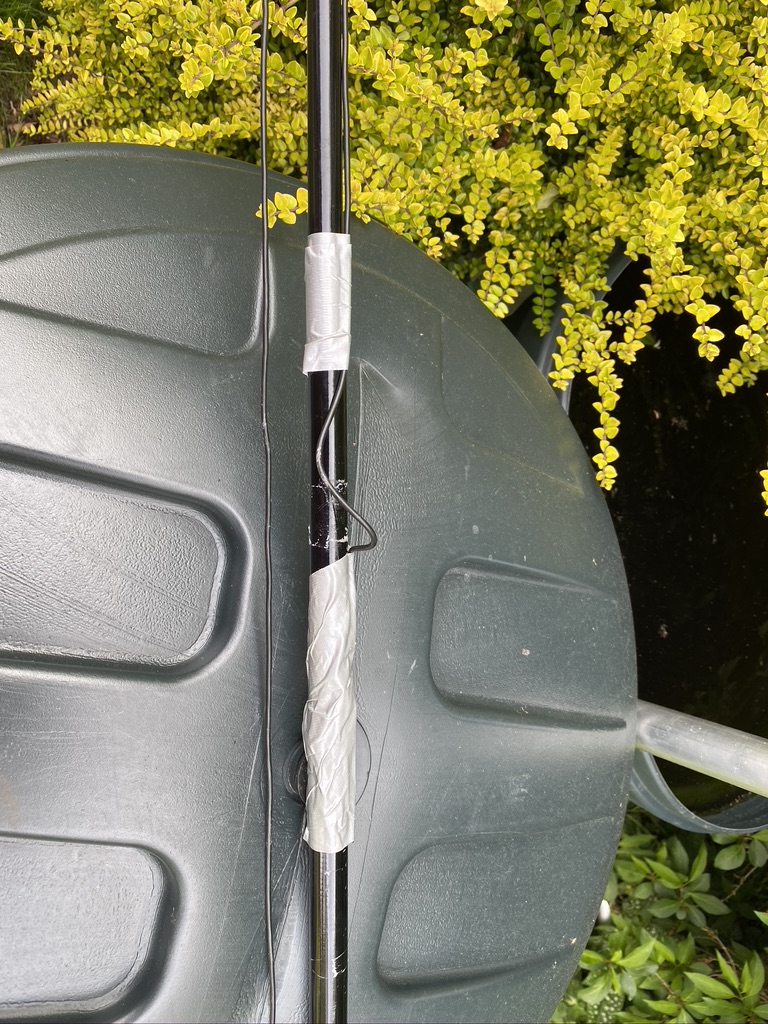
I continued to add all the elements and was happy with the tension and how tidy they are. I also took some time to put some tape around the clips where sometimes the wind will blow and wires get caught in the juberliee clips. As I’m not taking the mast down and collapsing, this wont effect me in the short-term.
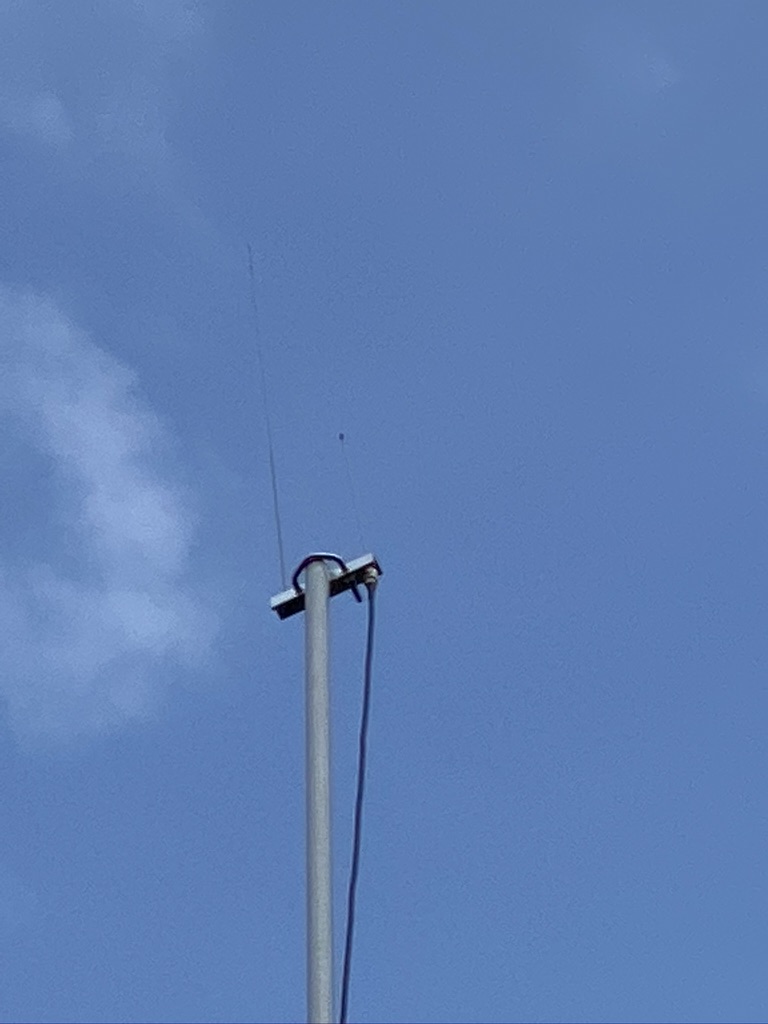
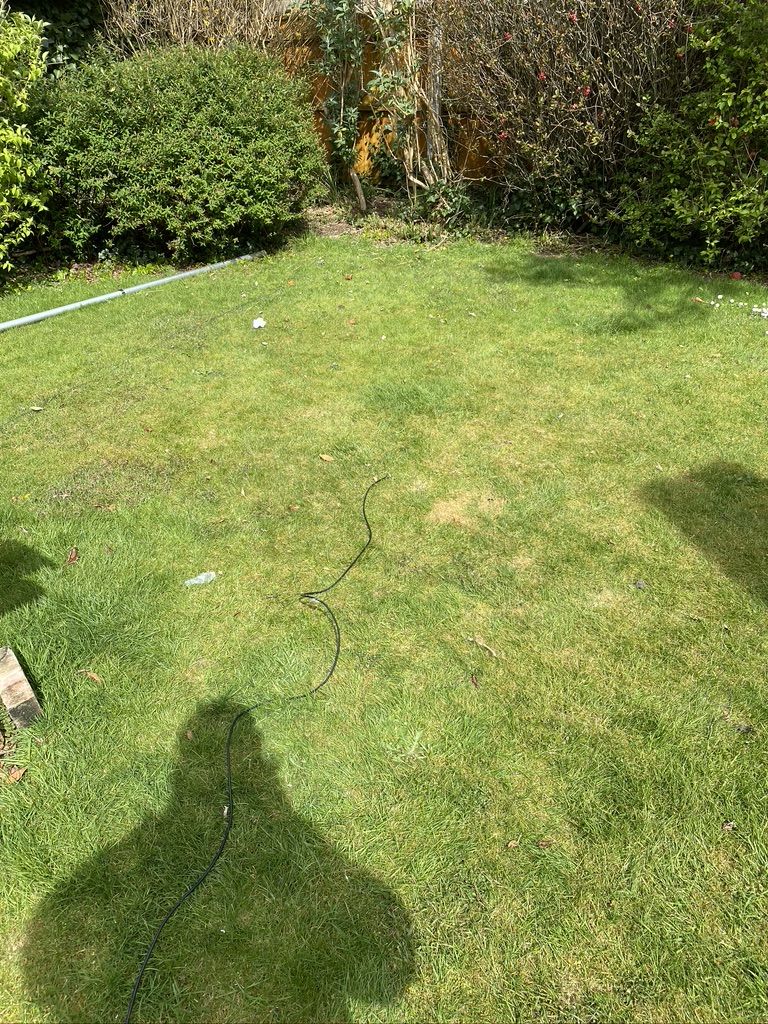
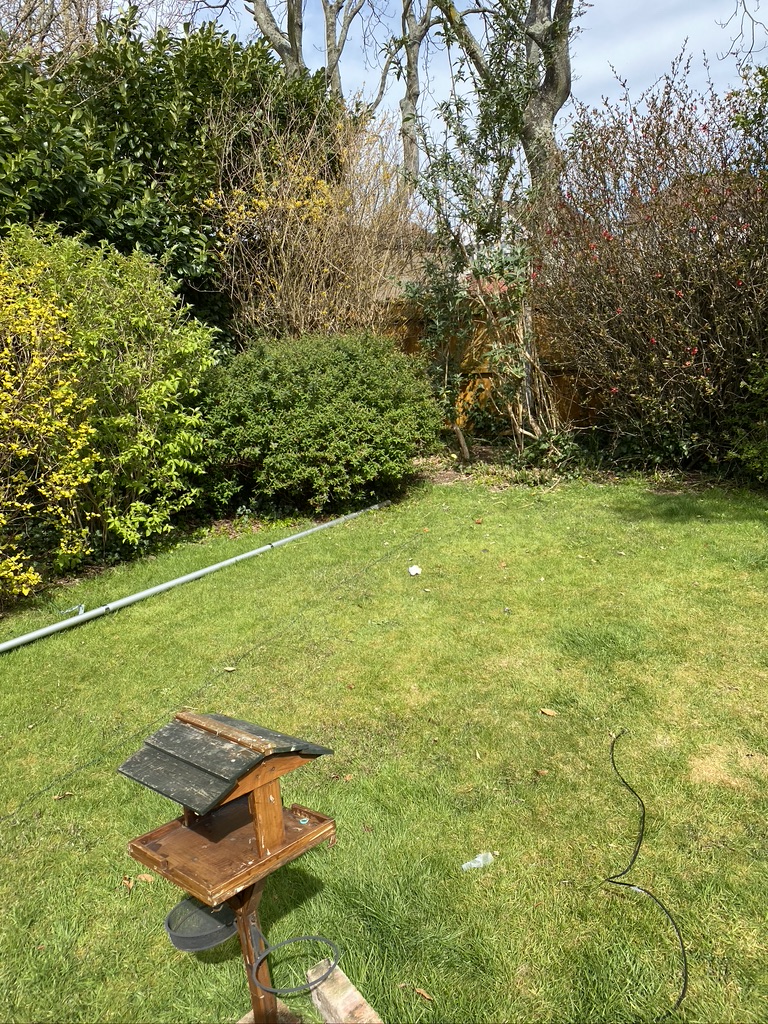
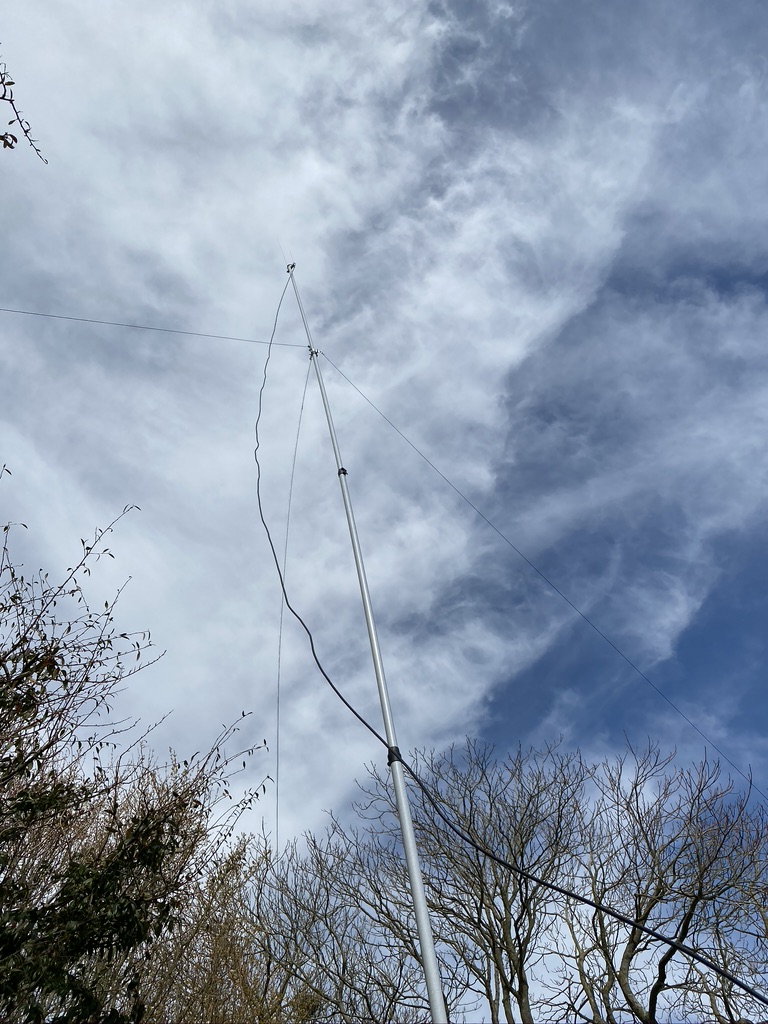
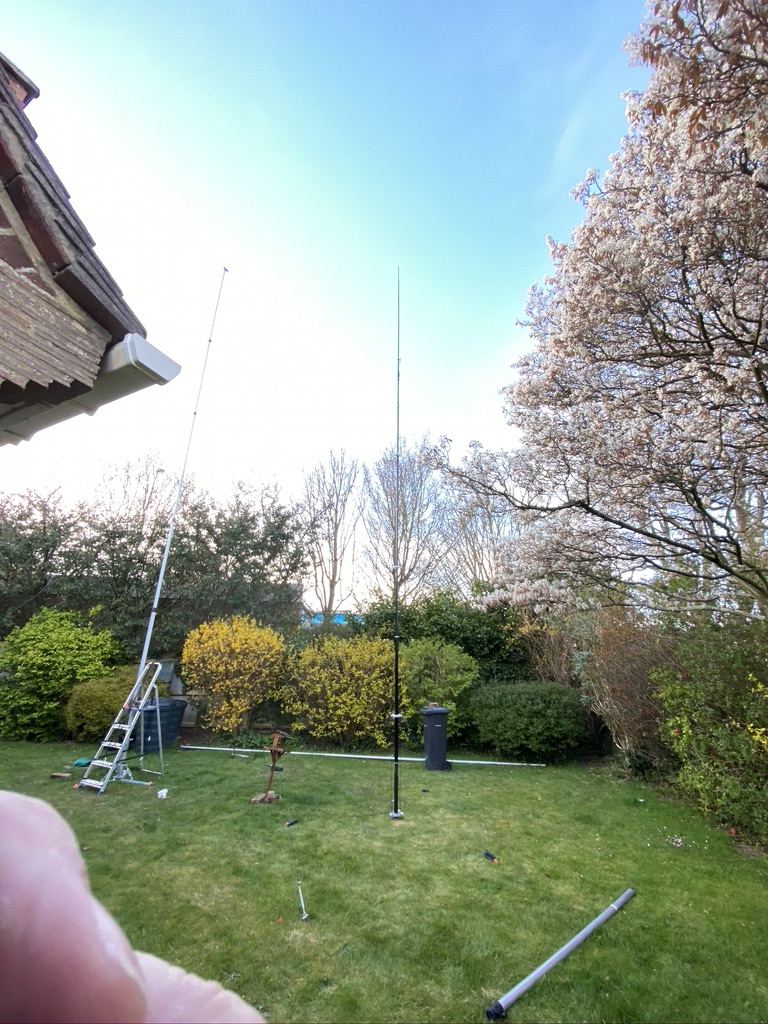
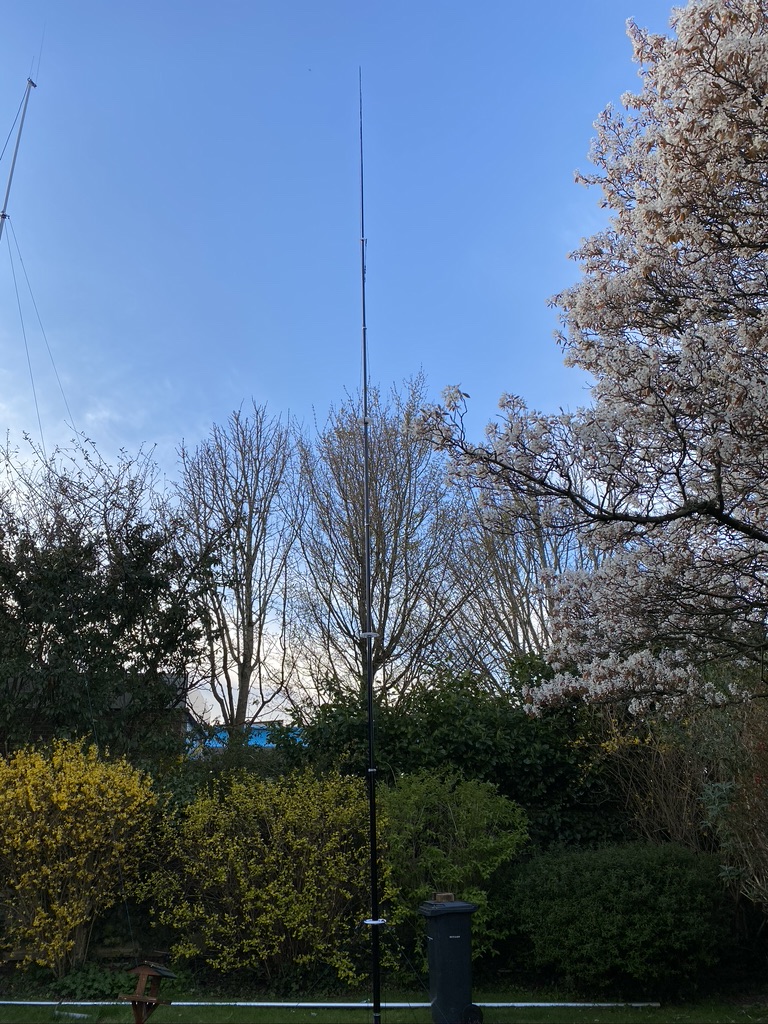
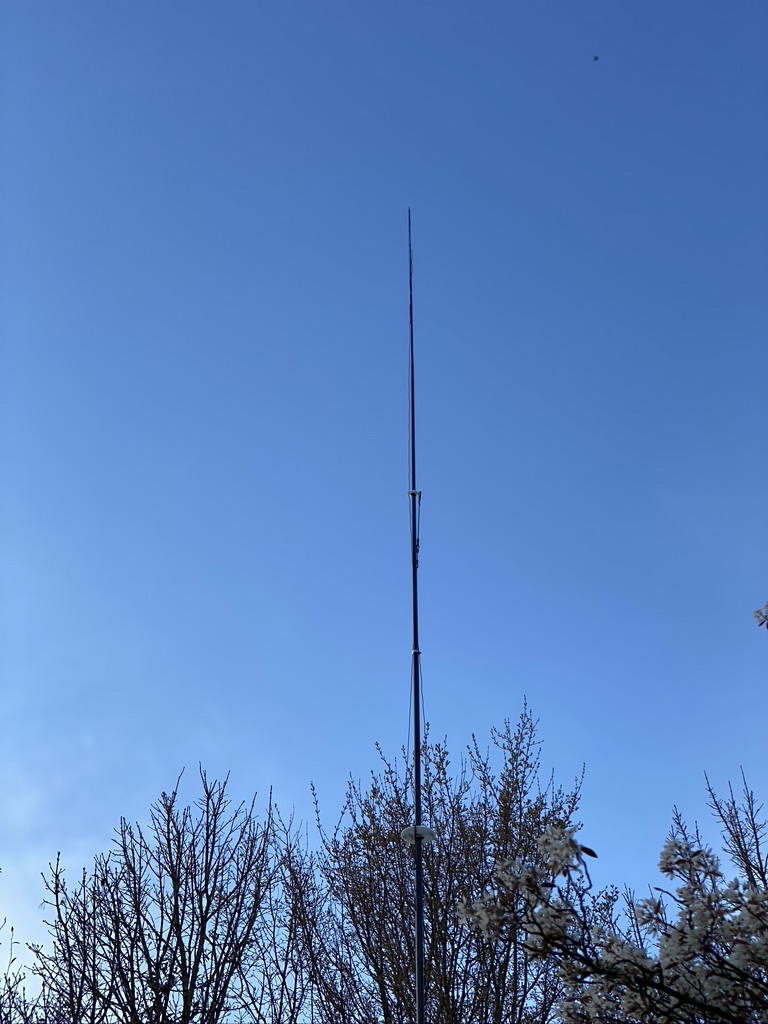
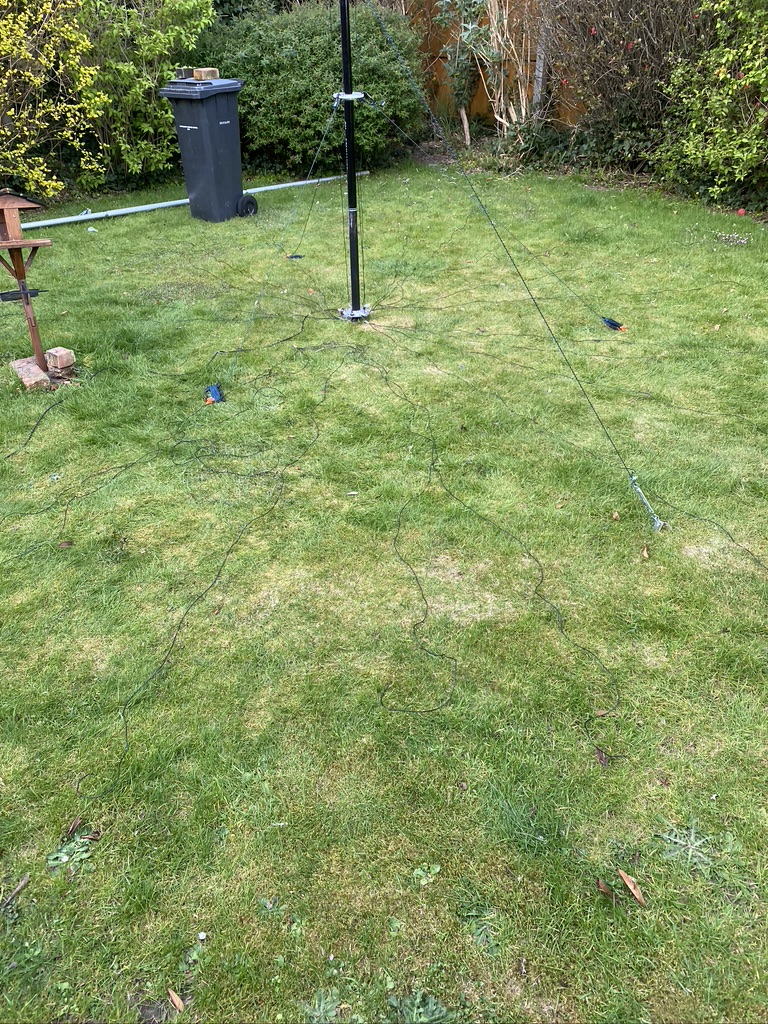
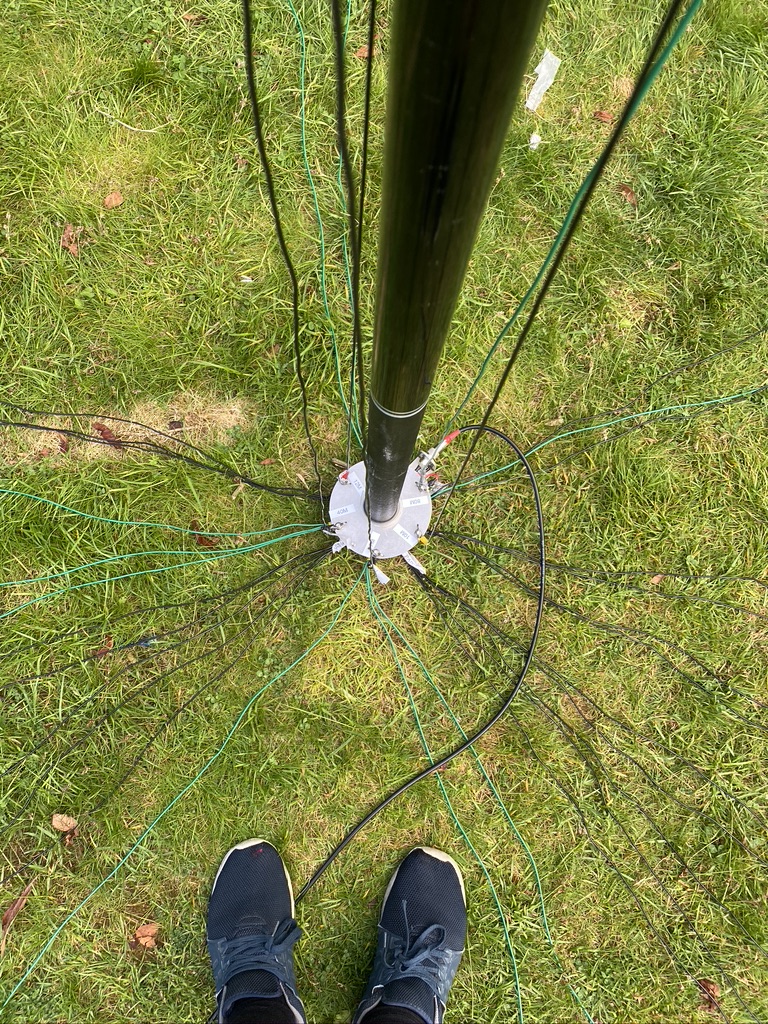
With assistance from my son, we got the mast vertical and I could start adding the existing radials I have. I add the radials in a N/E/S/W layout starting from the feed point, and adding where i have capacity. I also done a ground-visual of the 2m/70cm with my iphone (10x max zoom) and could see it was in good shape up there after I had raised it on Friday.
Testing and Results

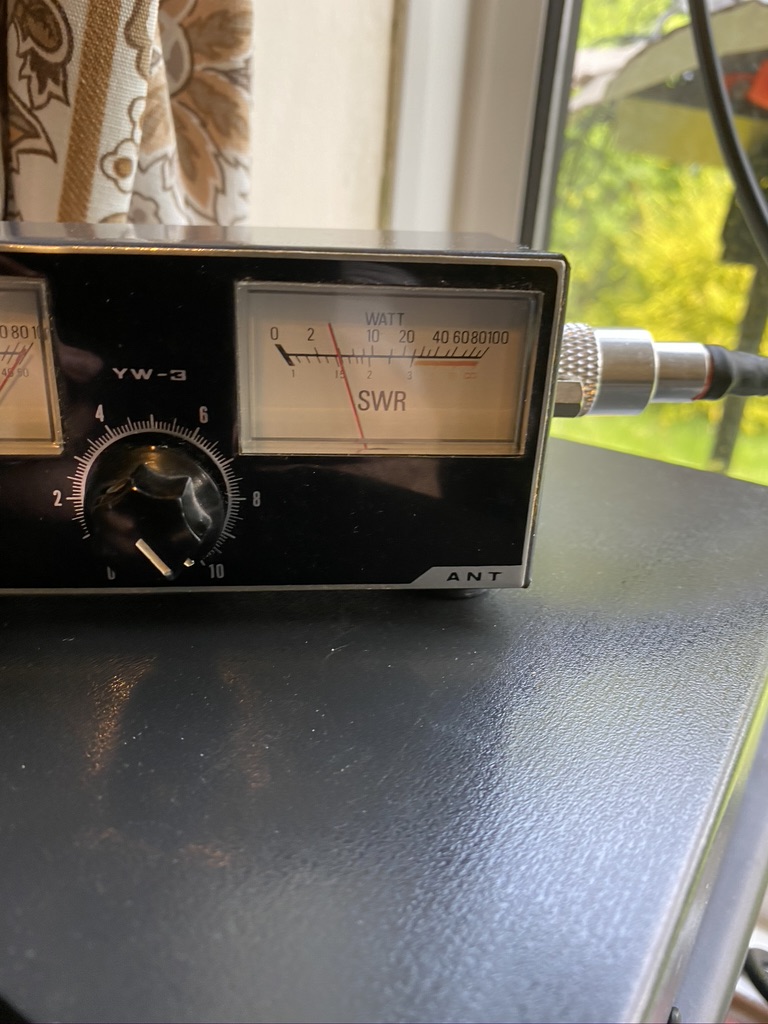
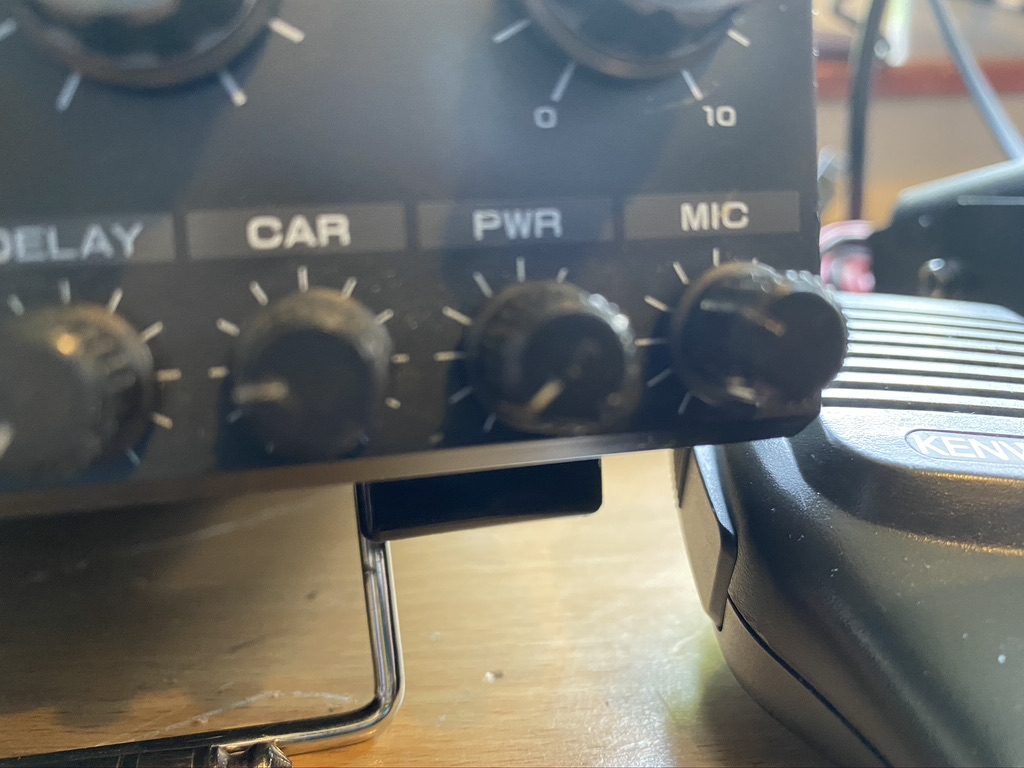
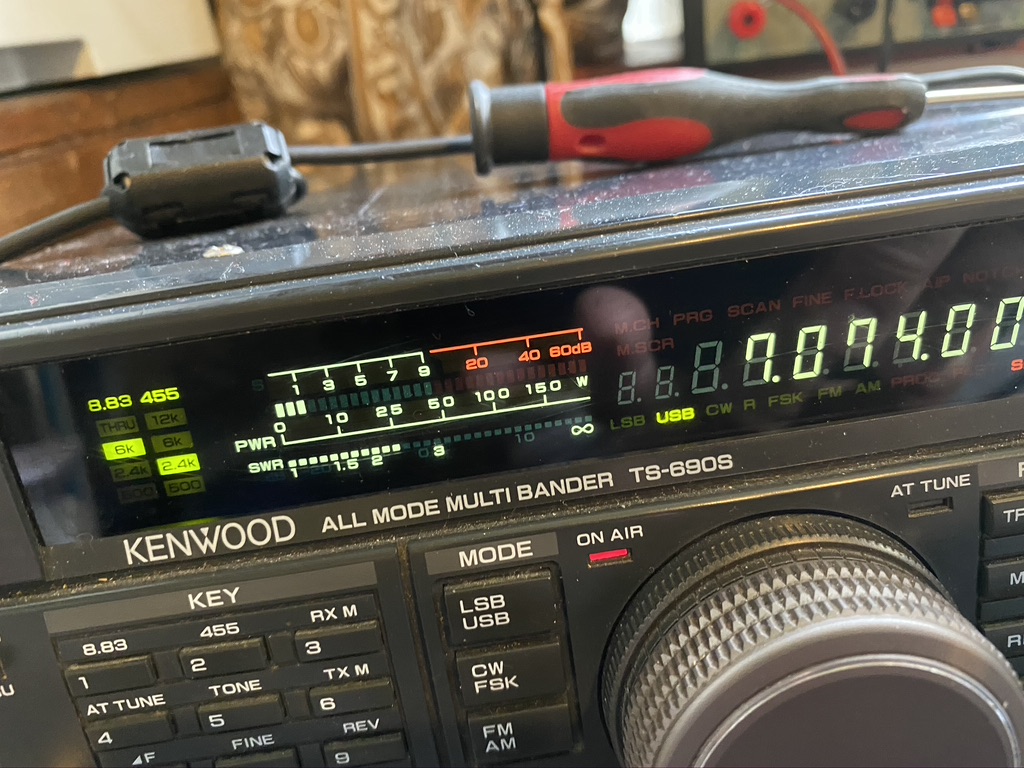
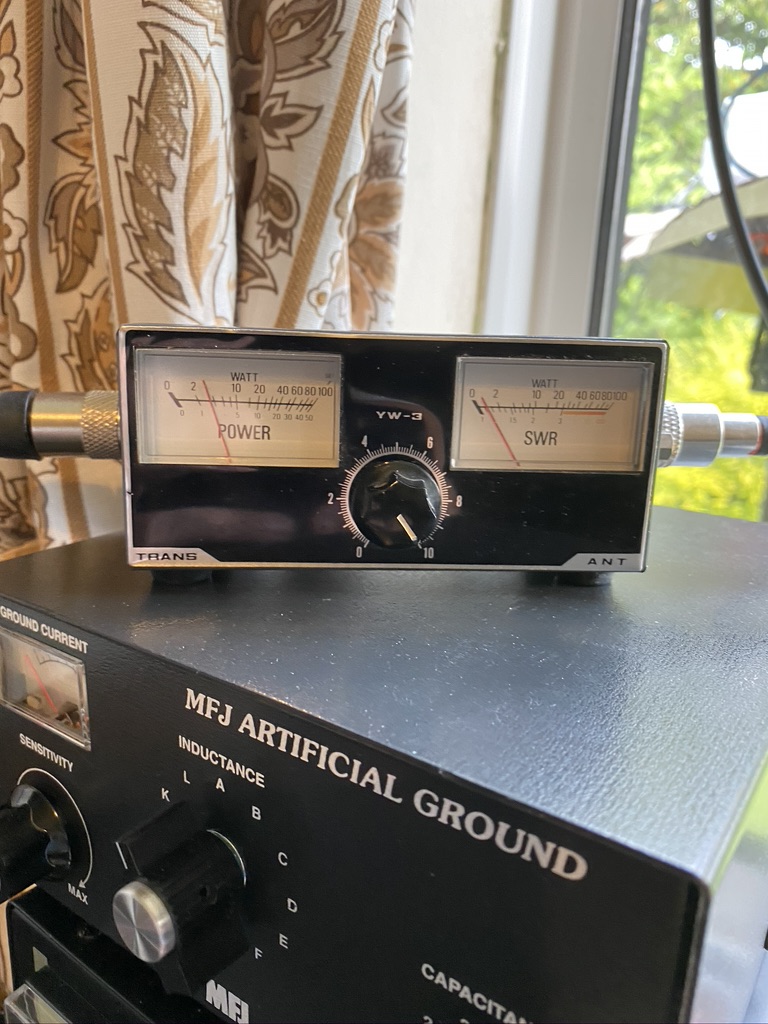
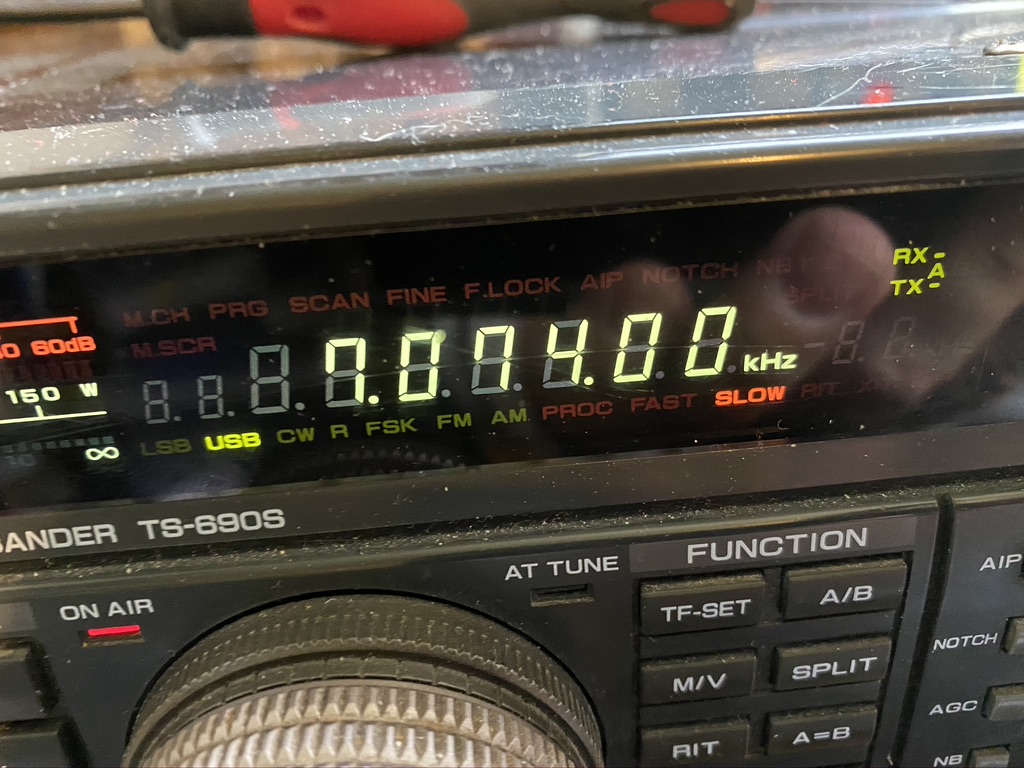
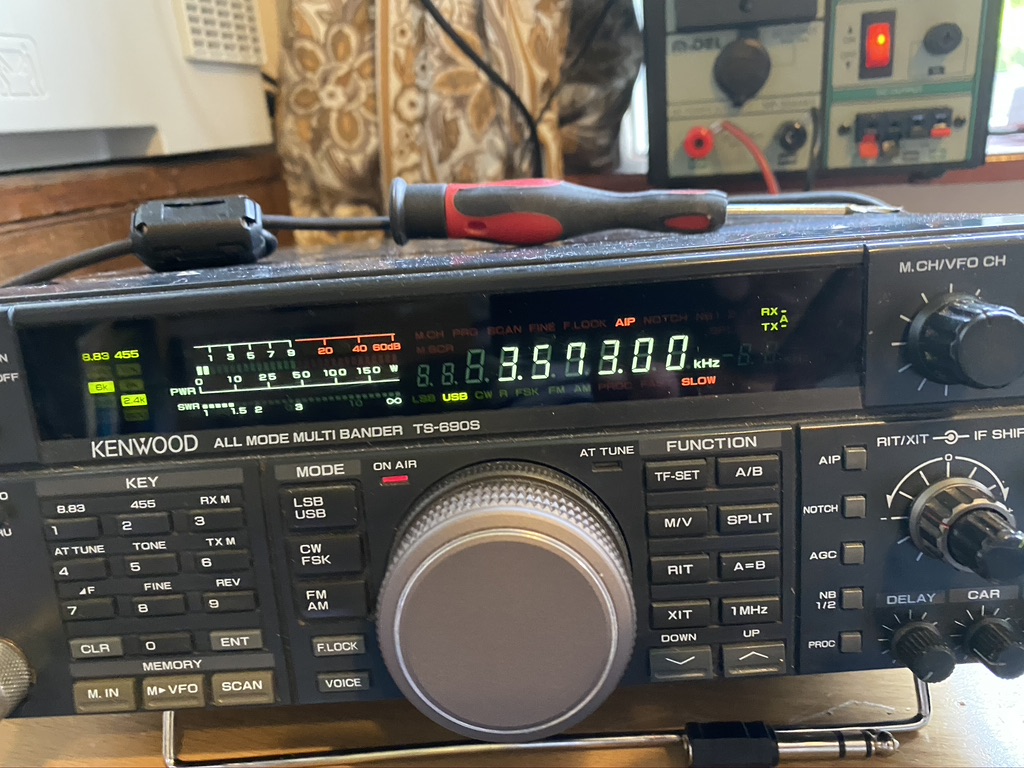
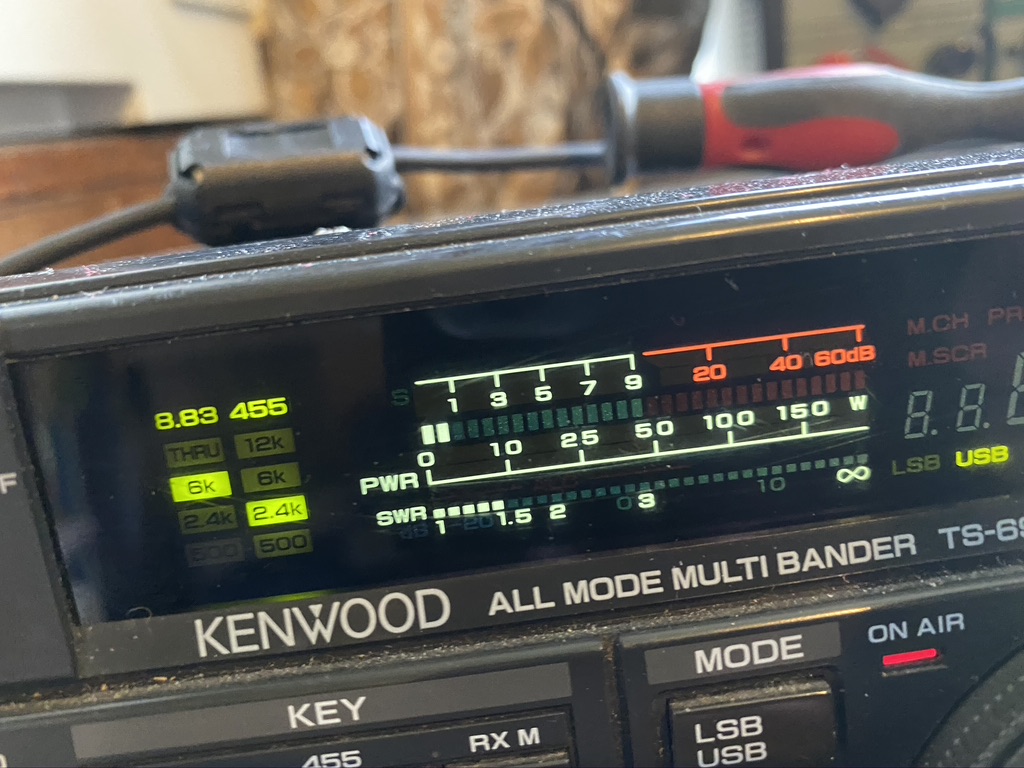
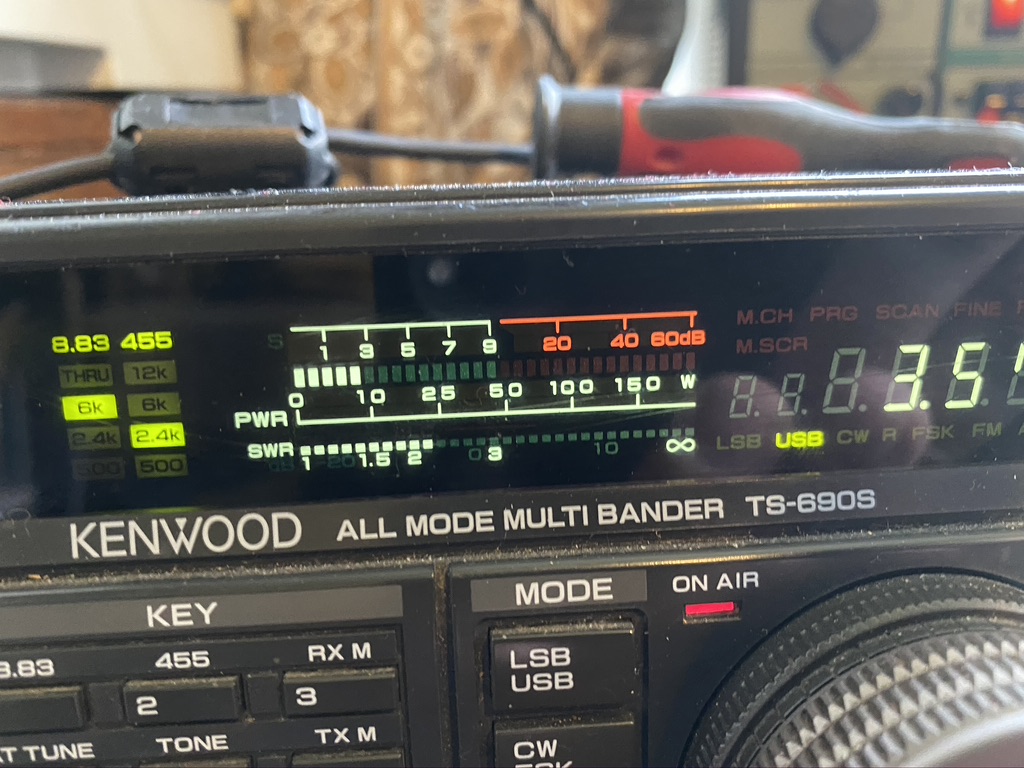
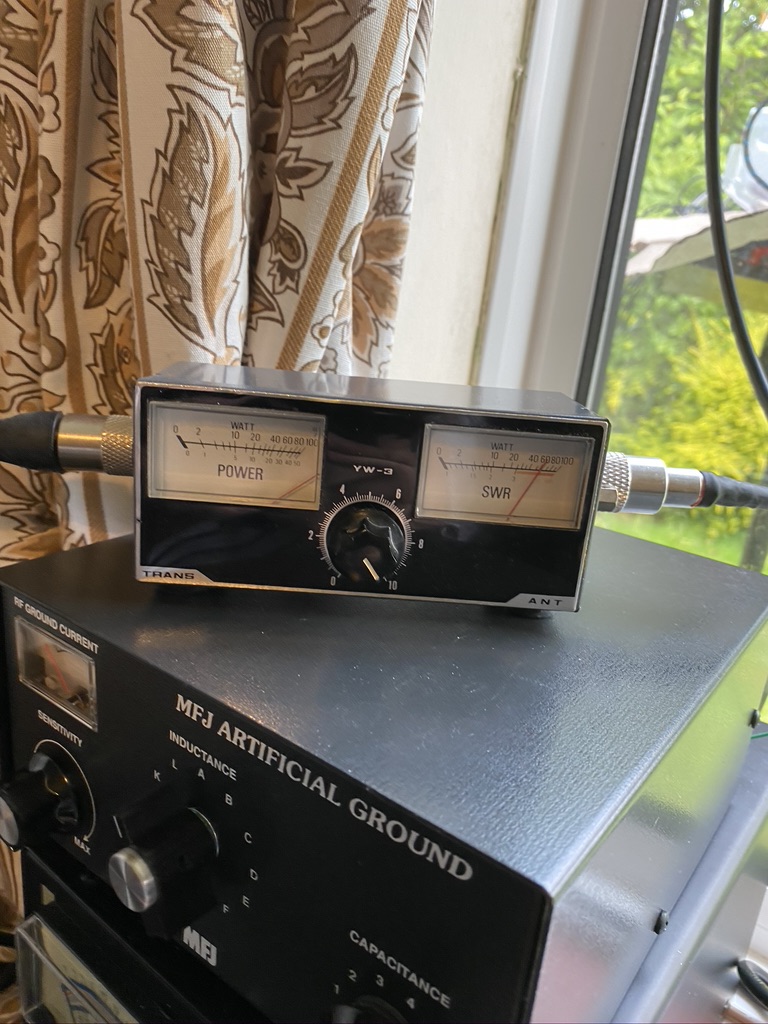
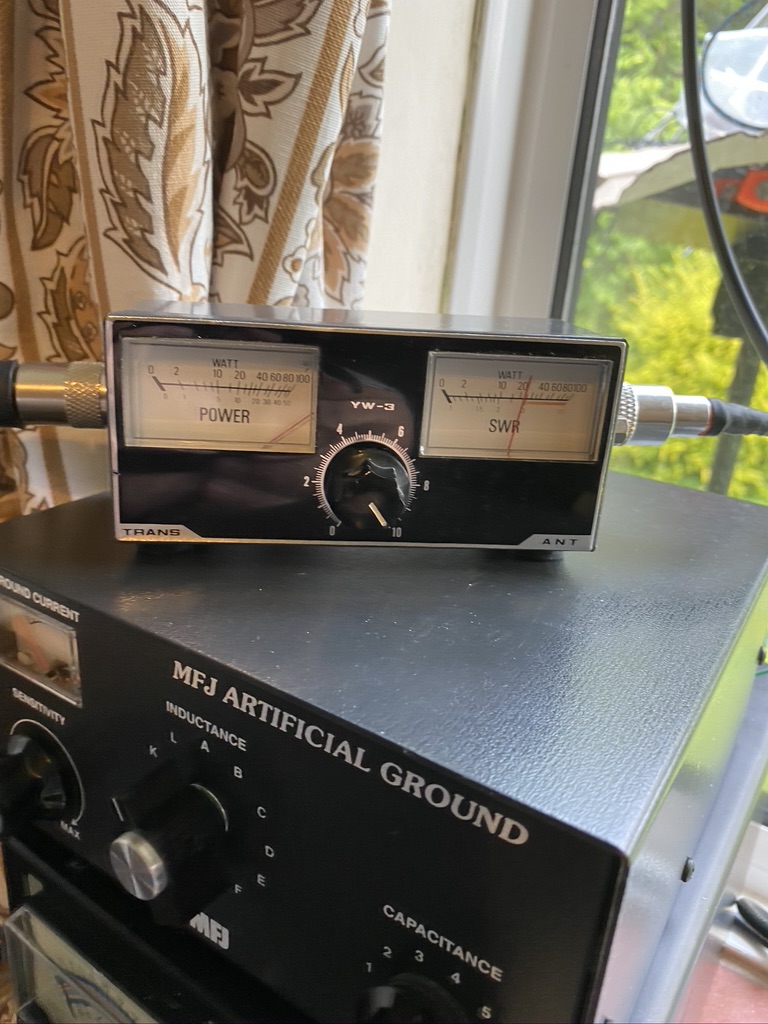
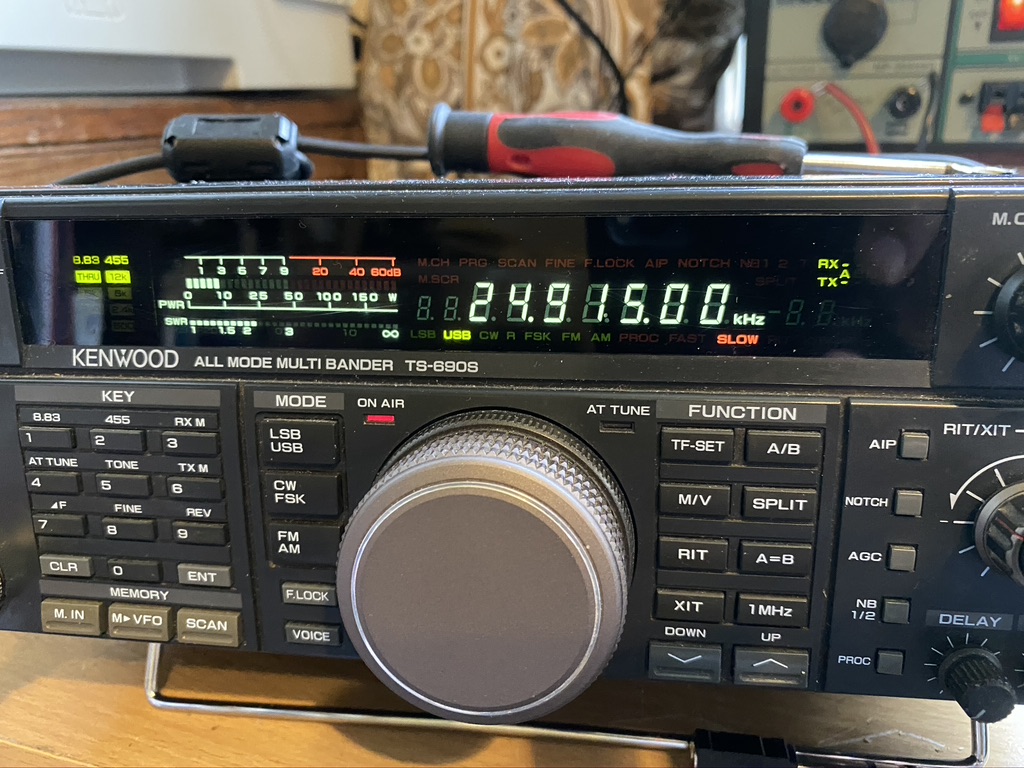
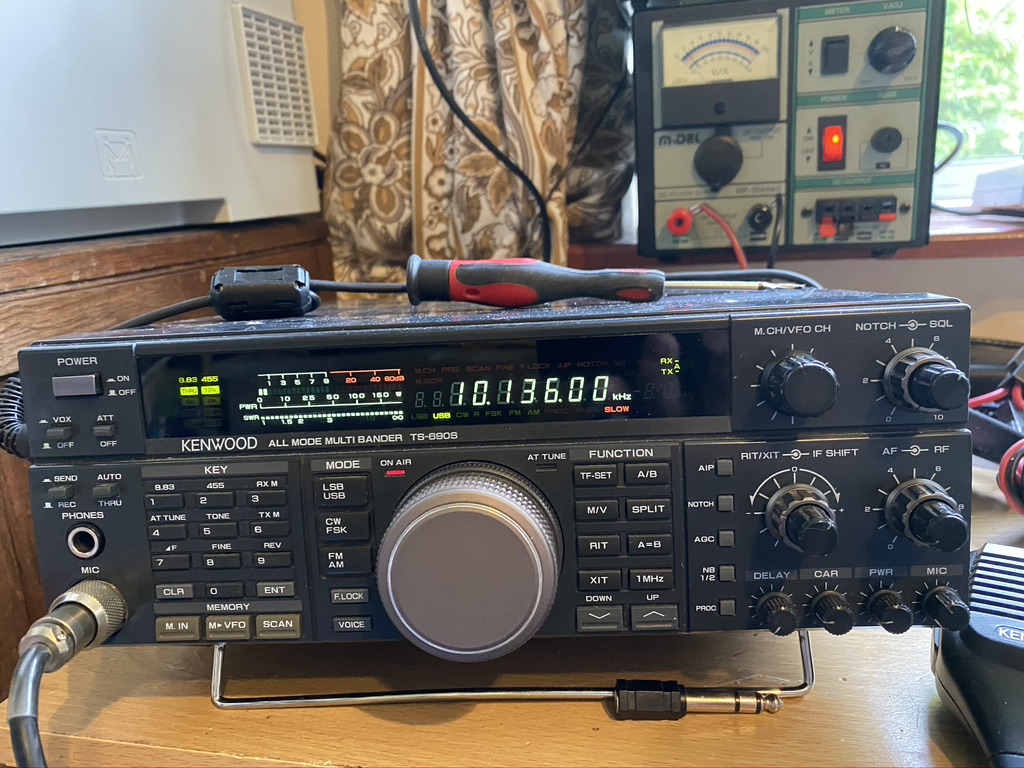
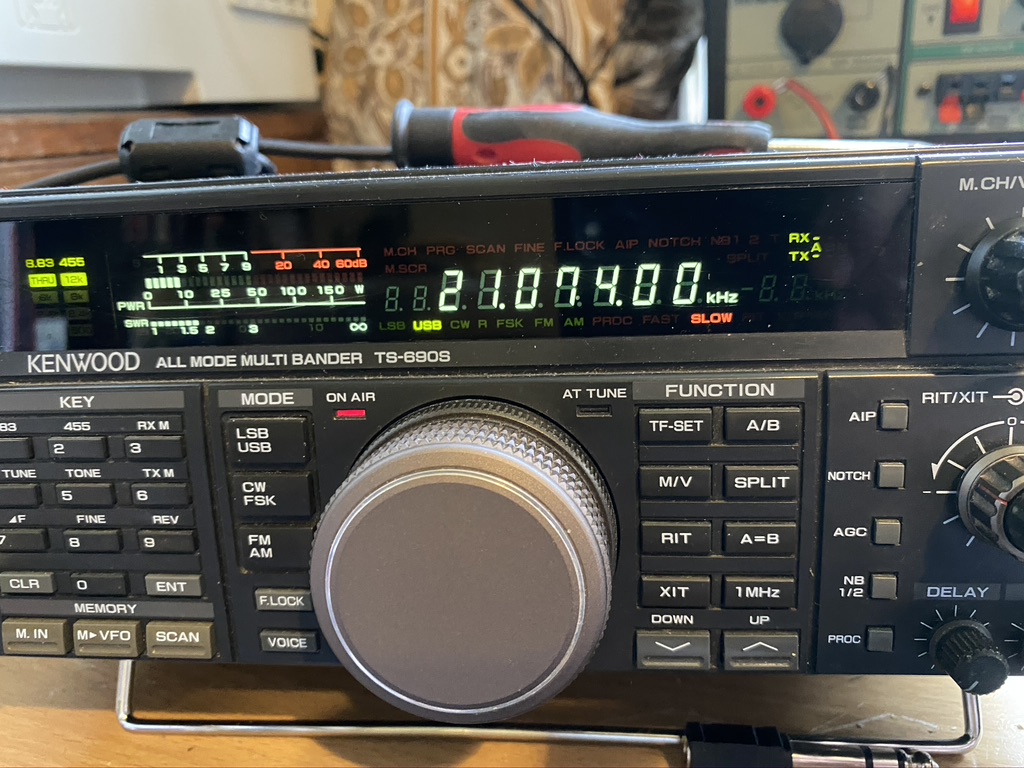
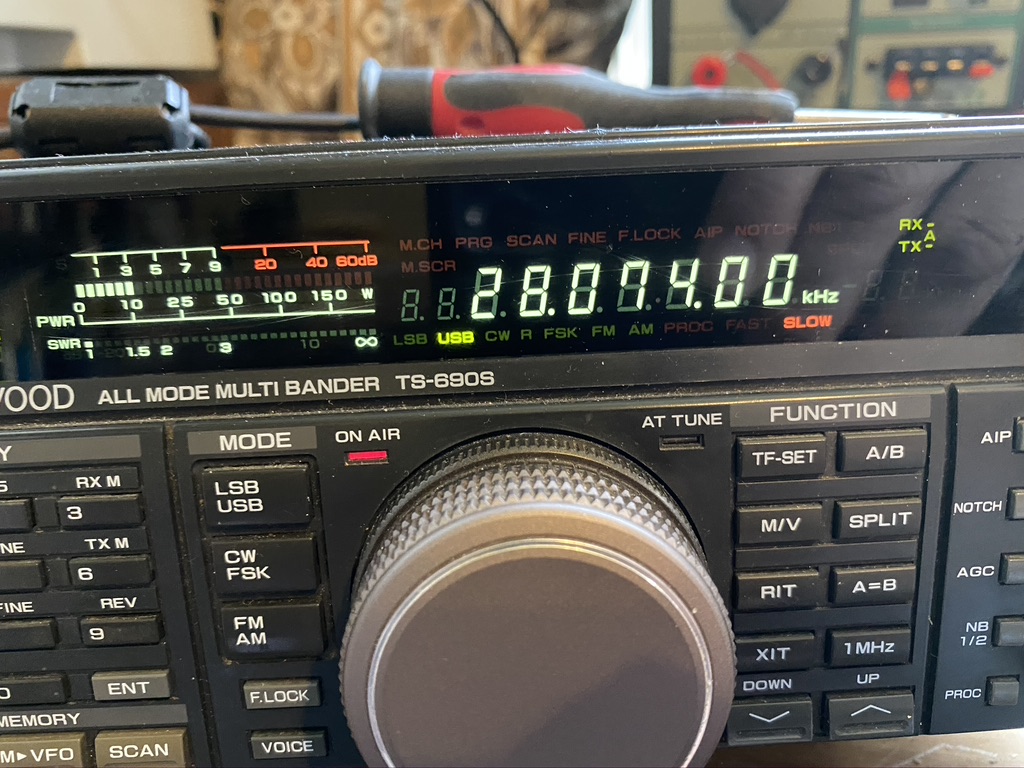
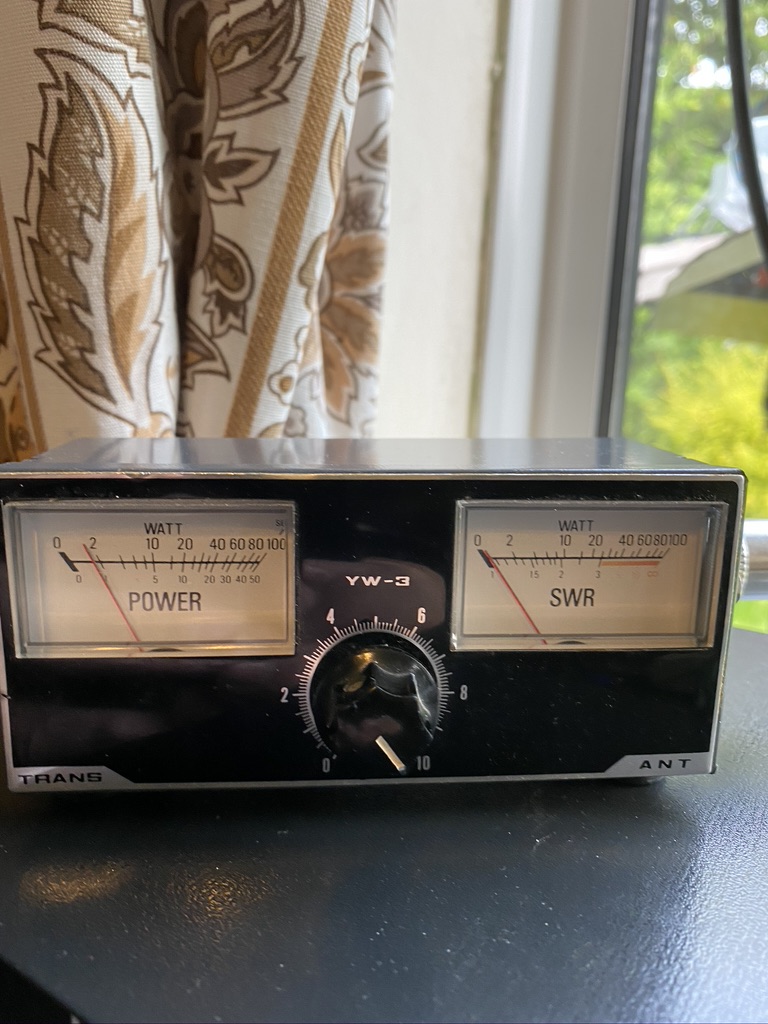
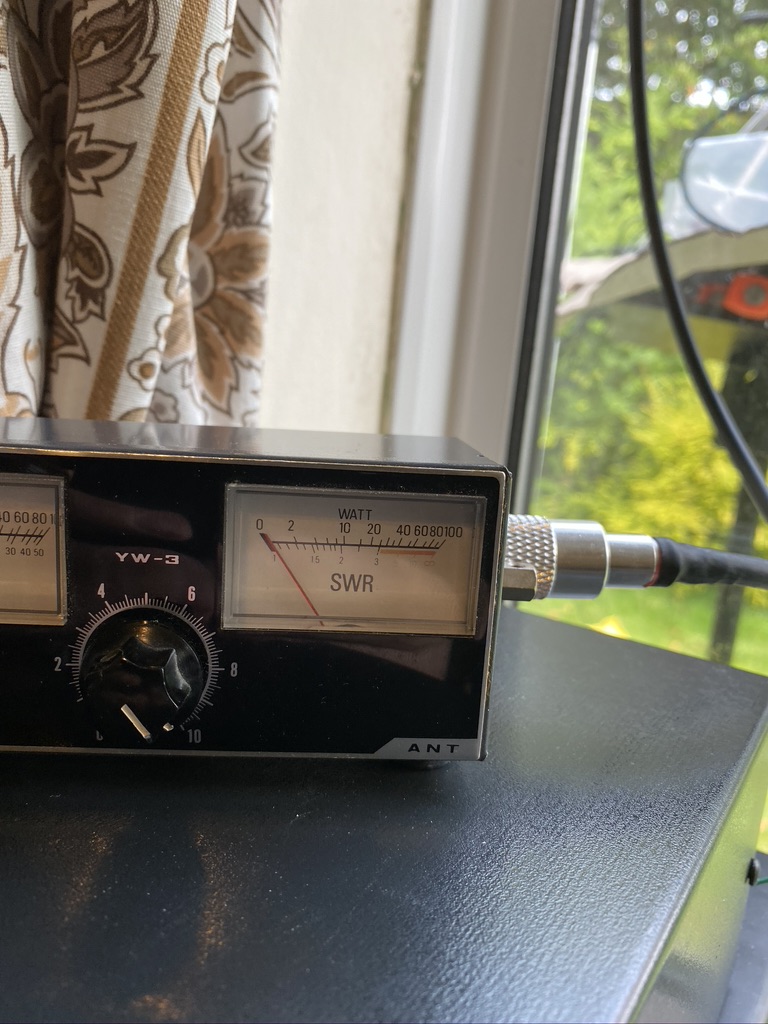
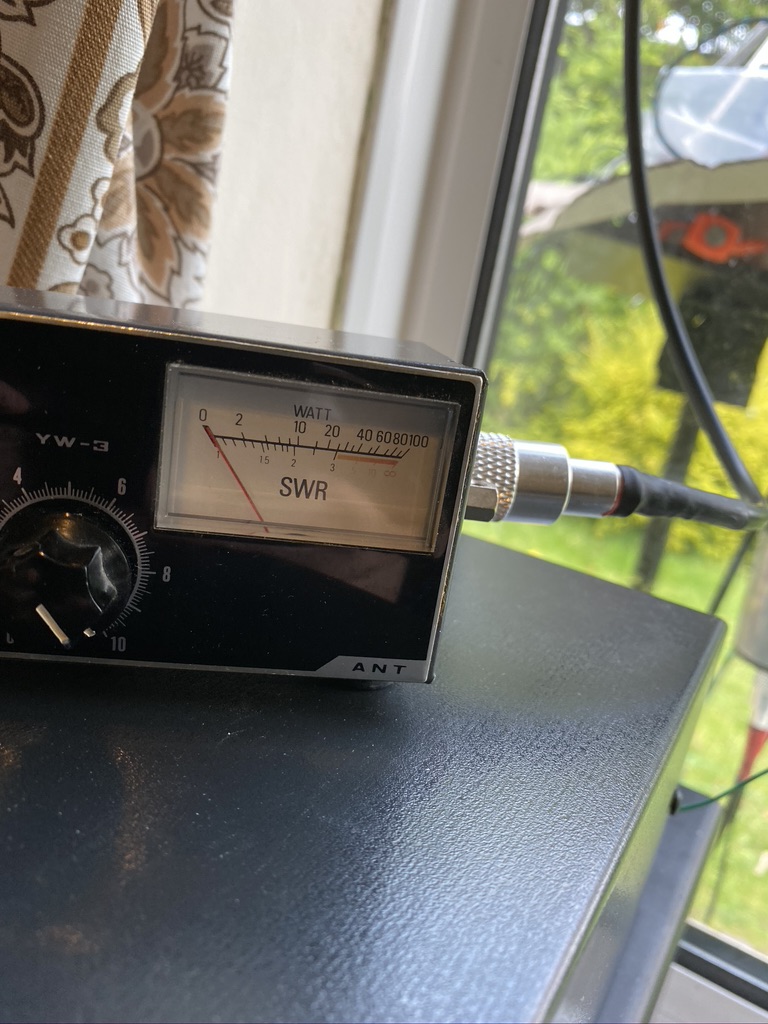
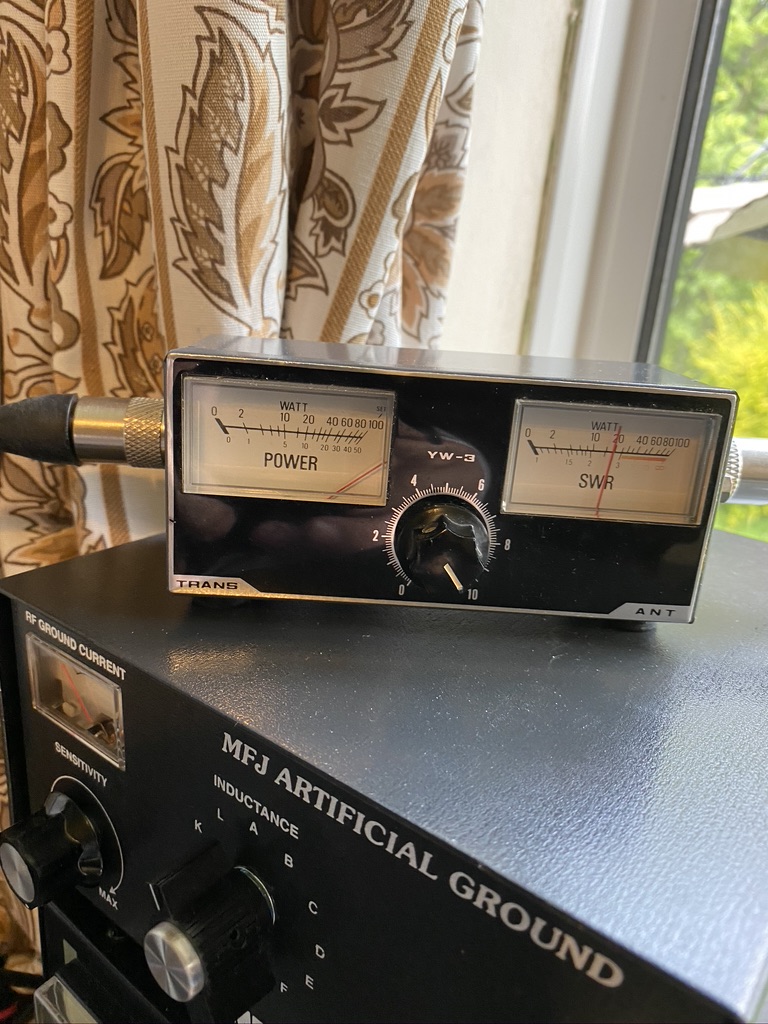
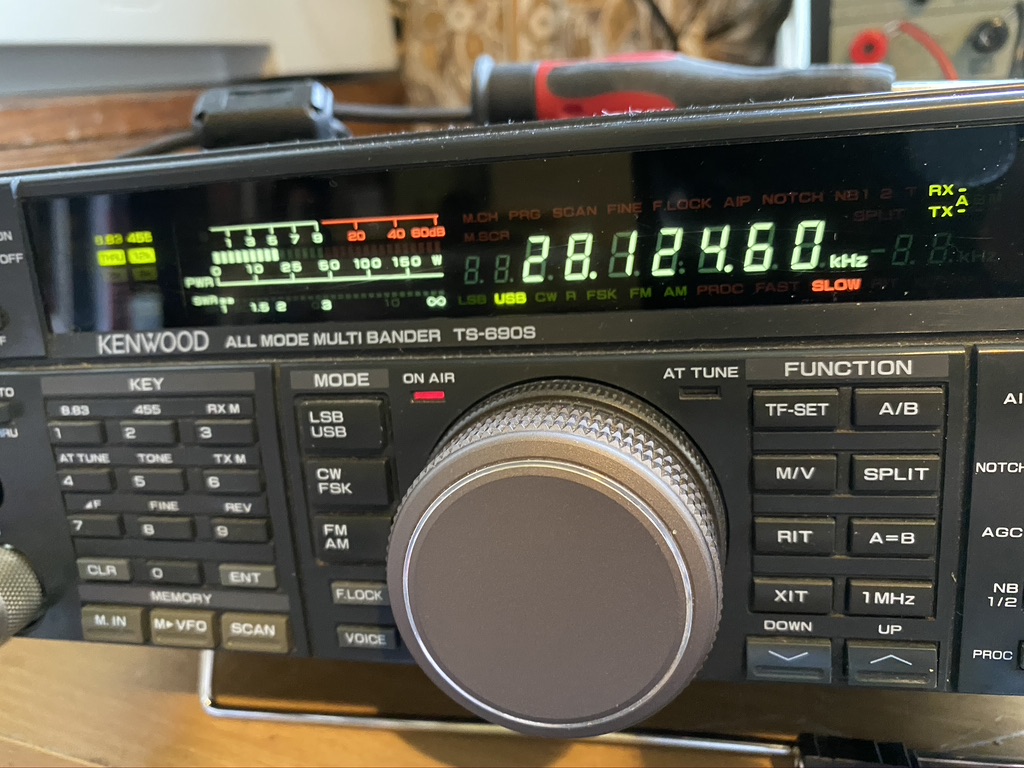
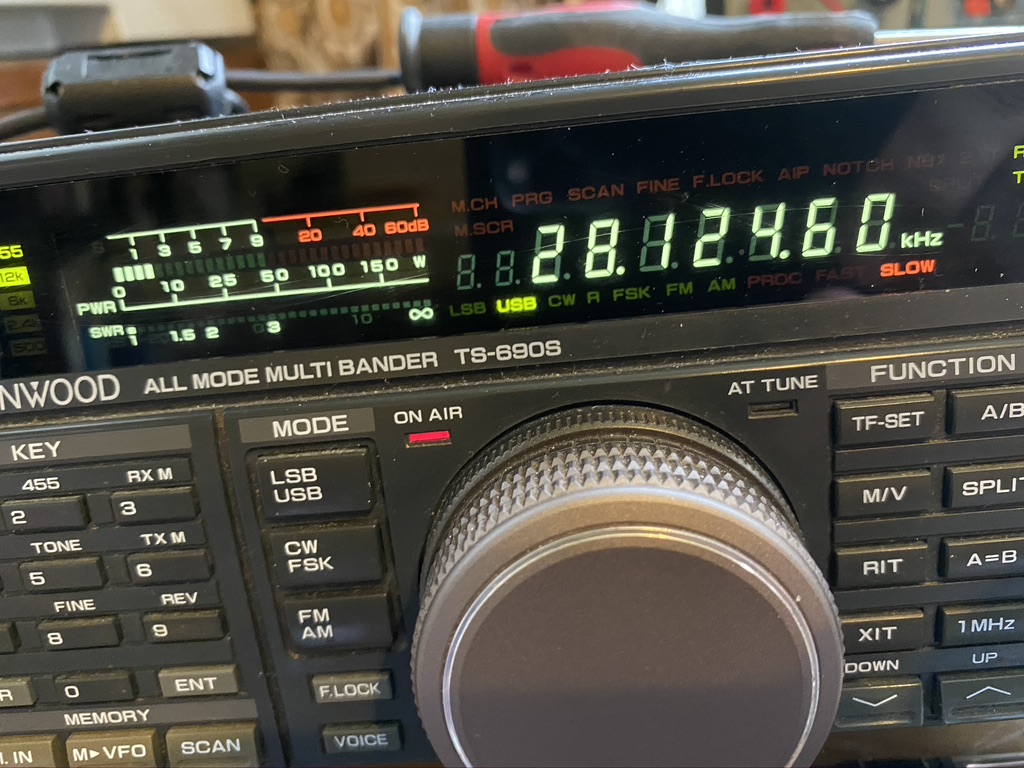
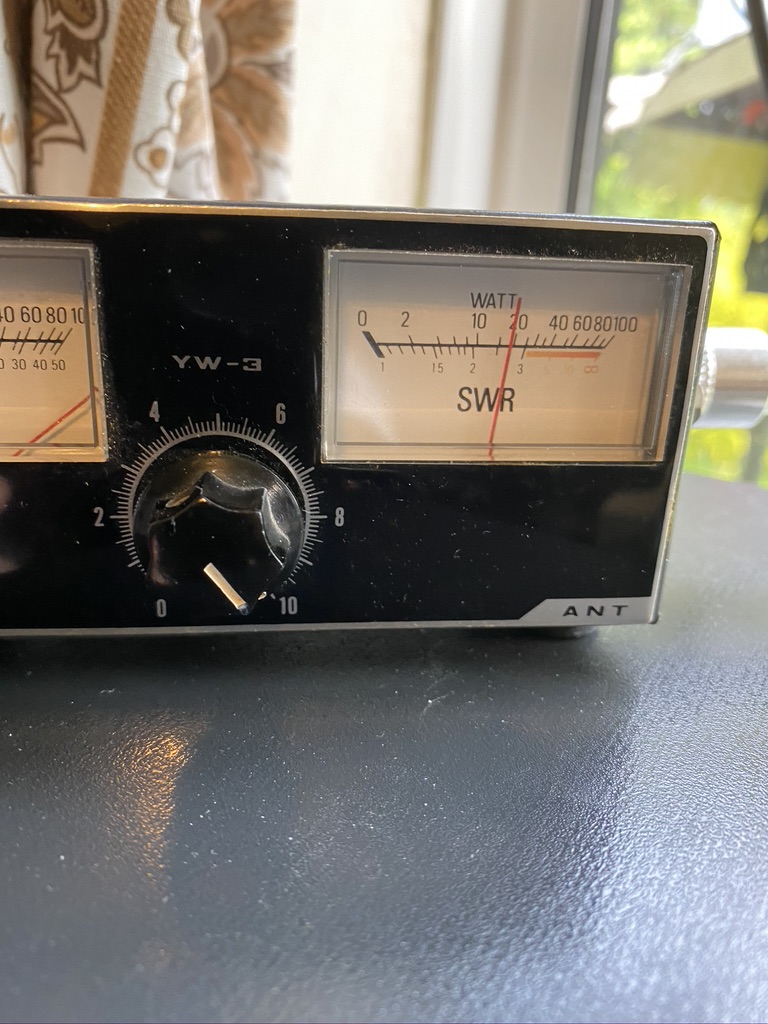
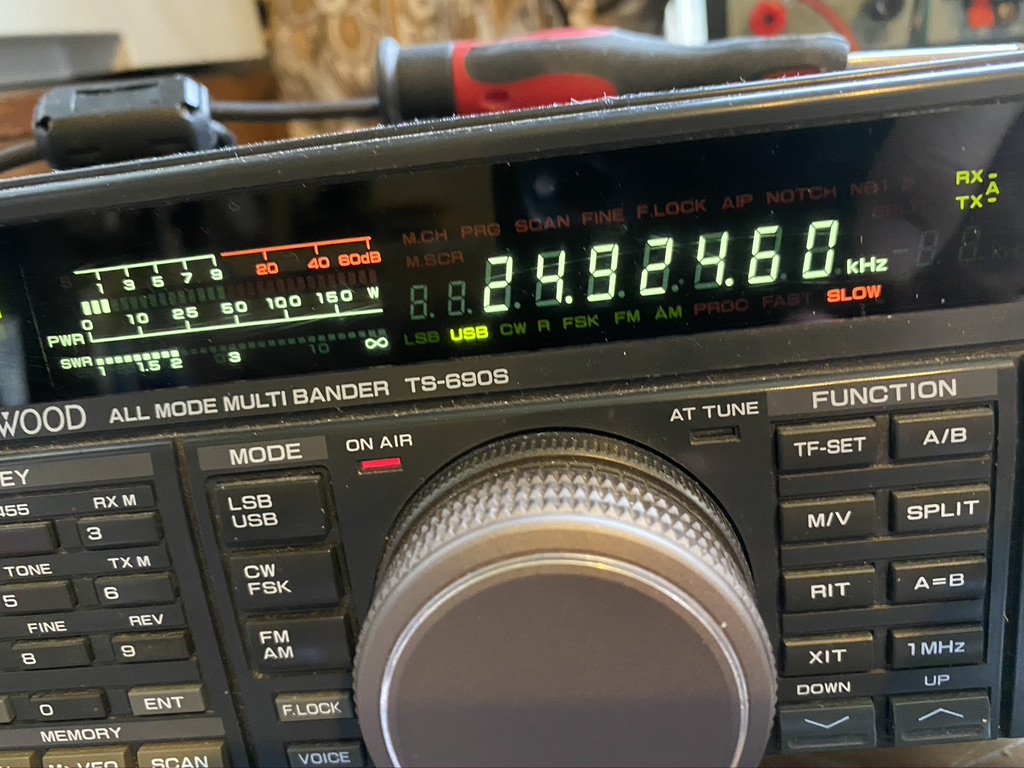
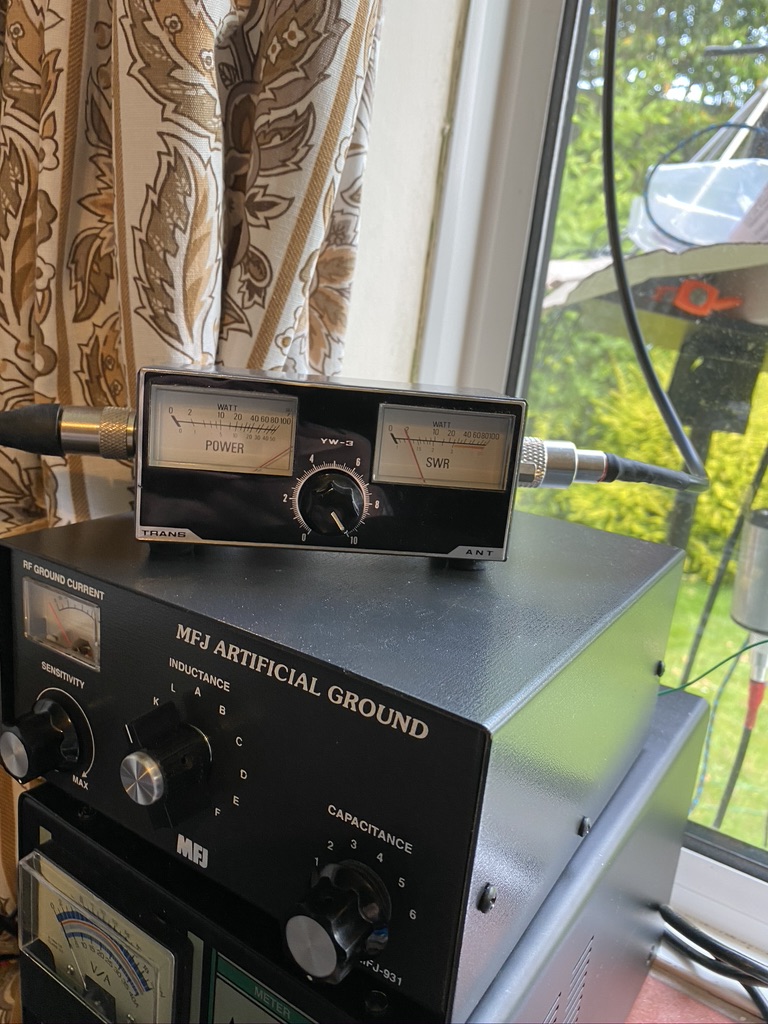
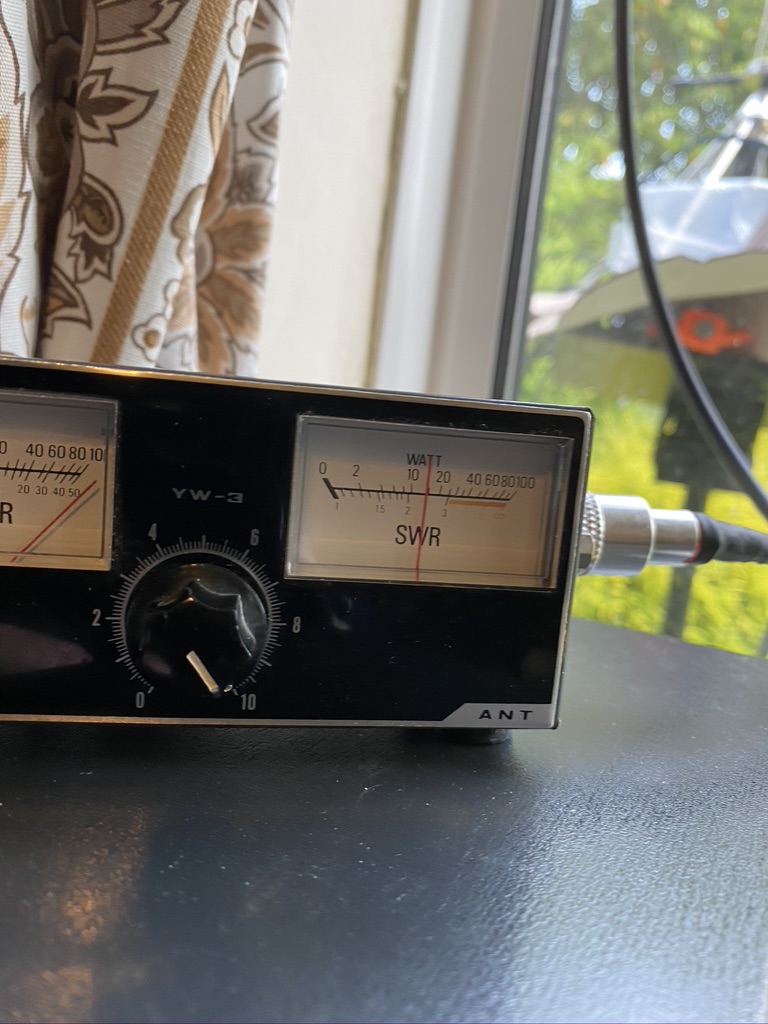
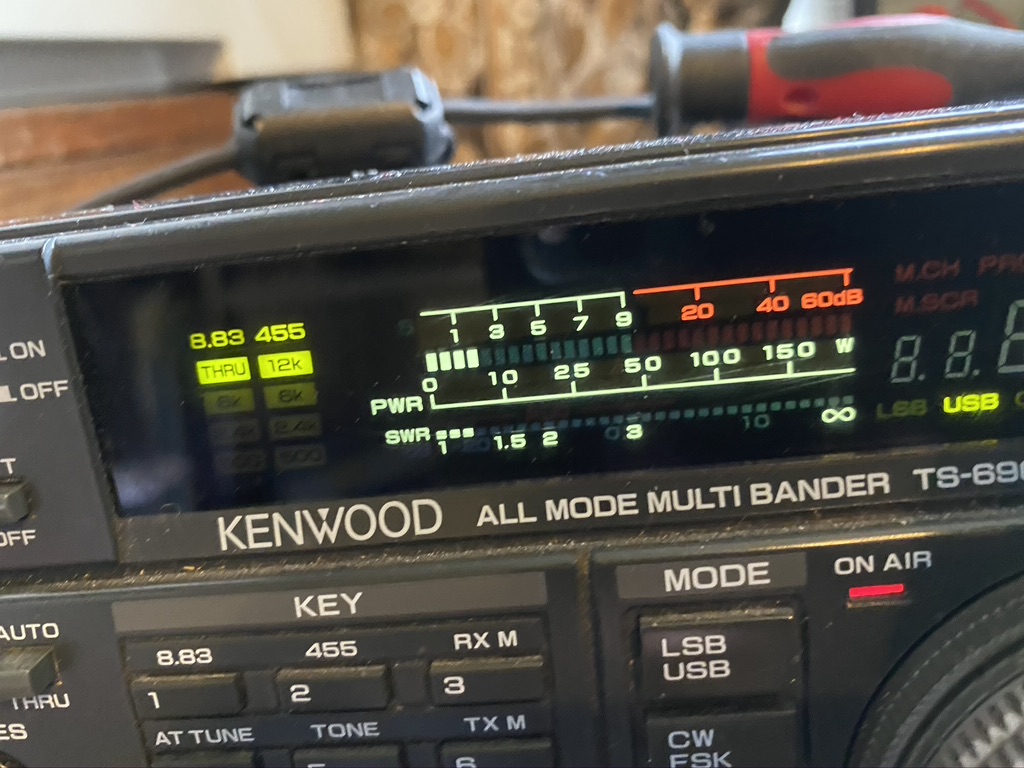
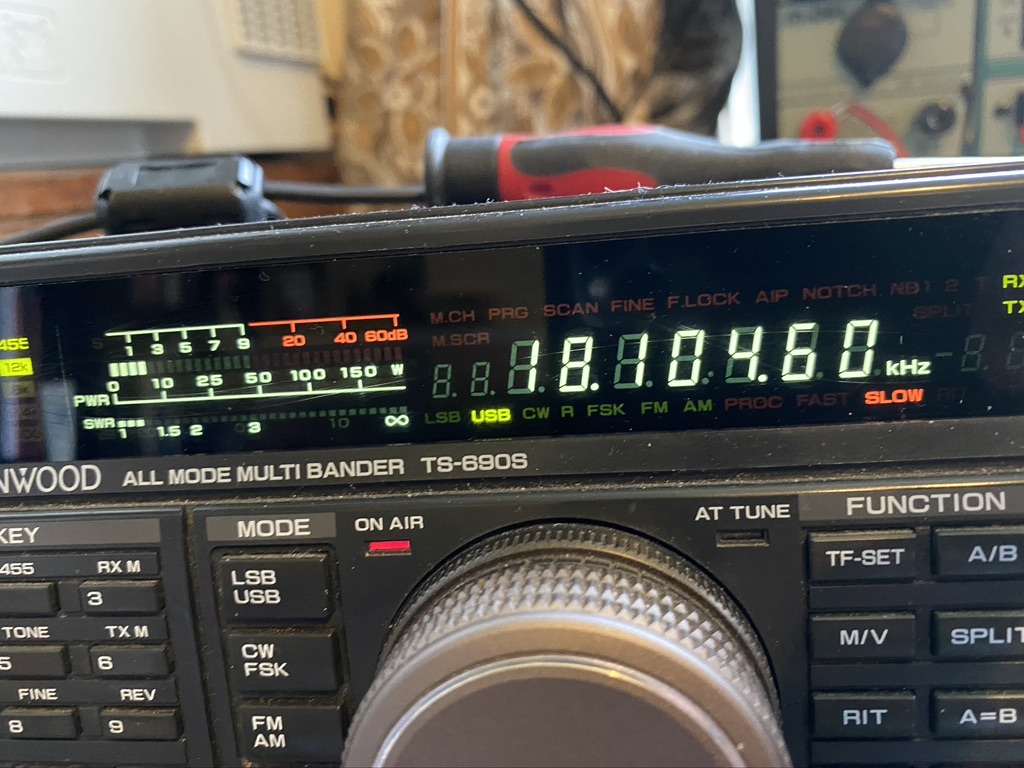
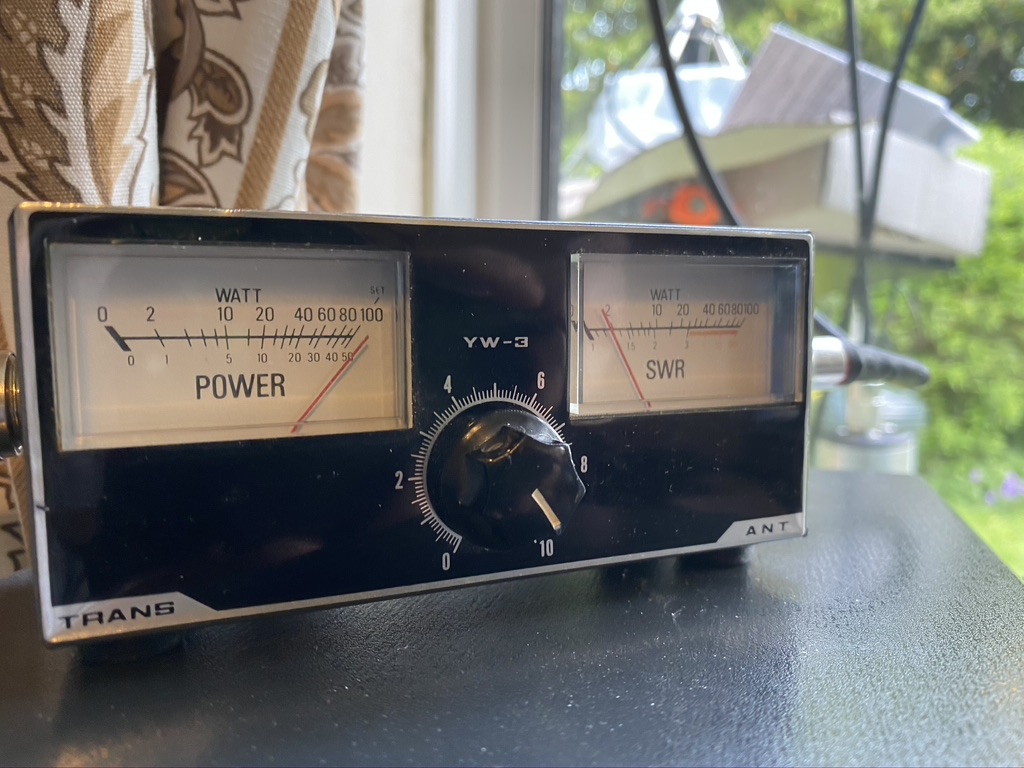
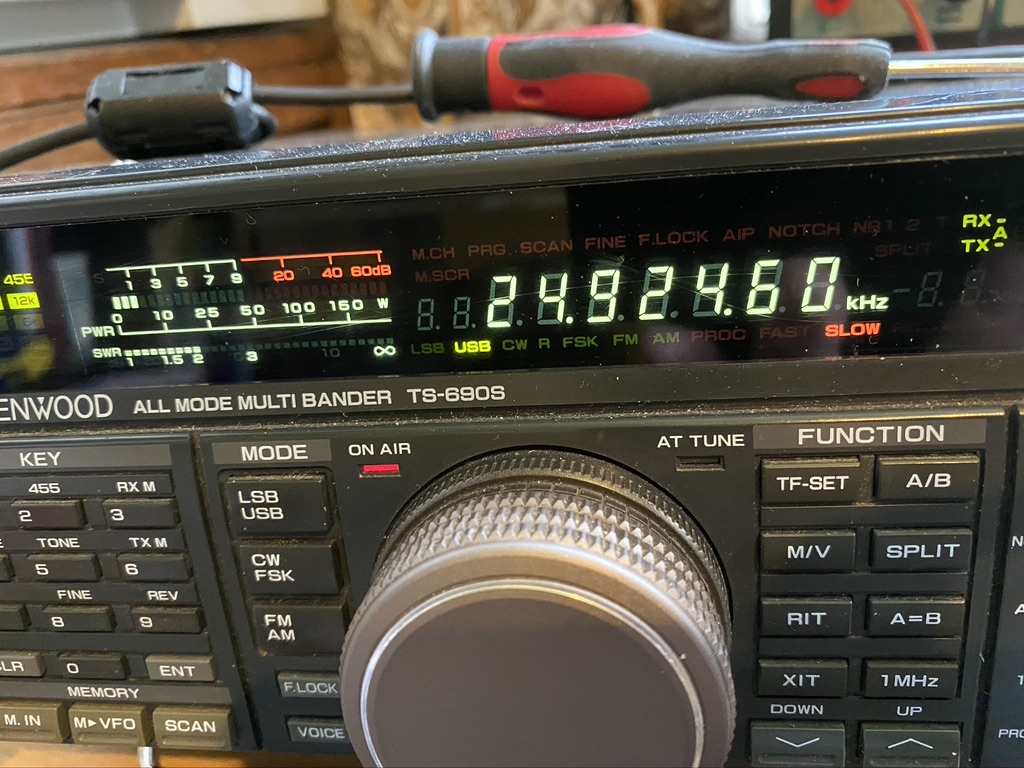
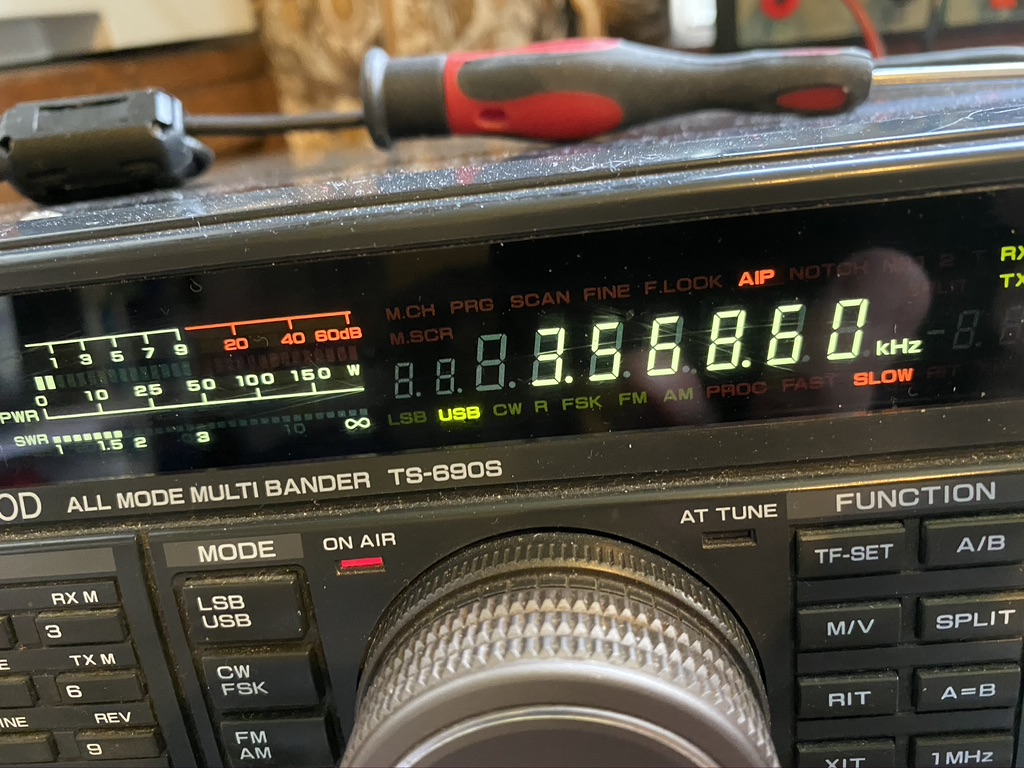
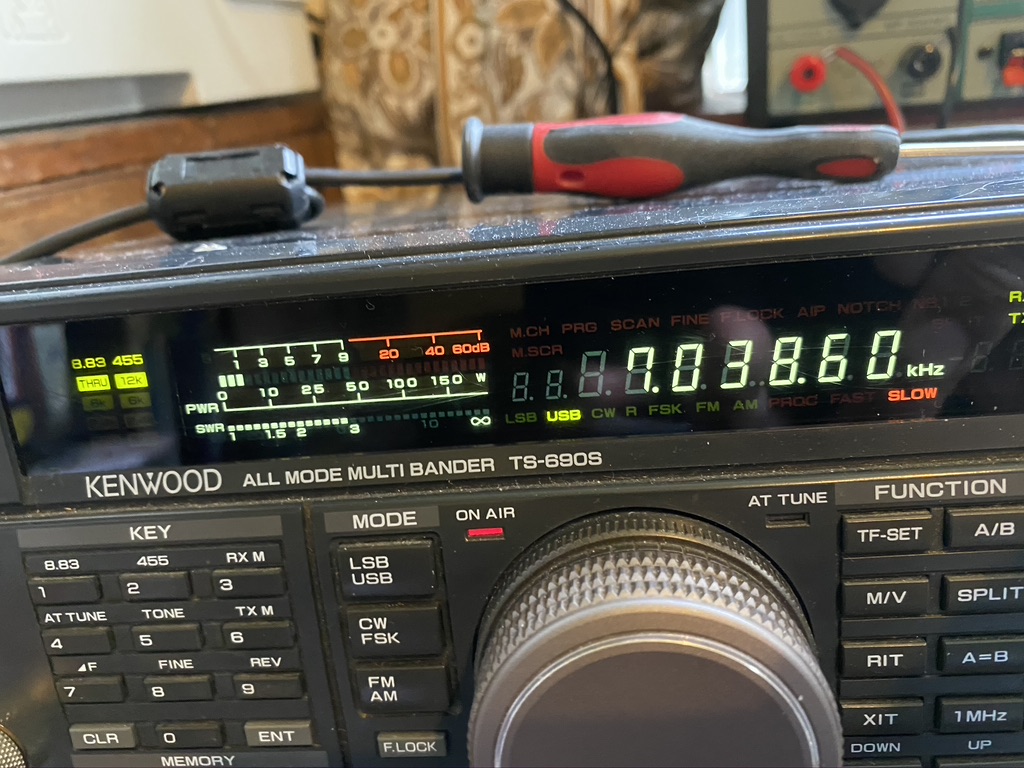
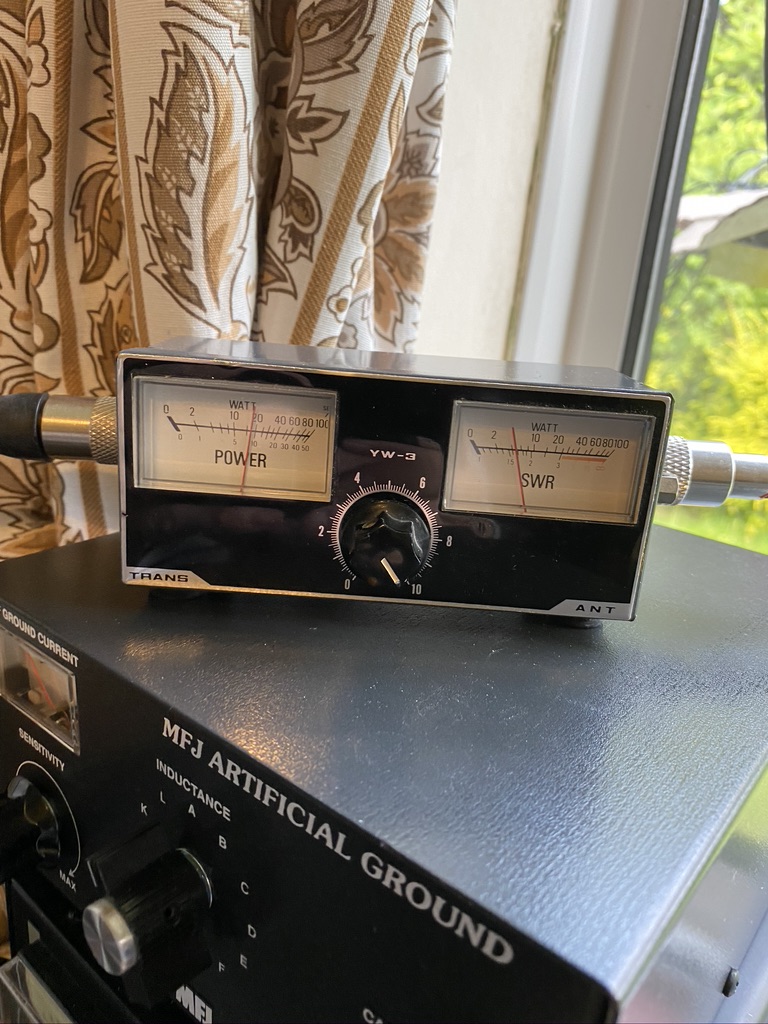
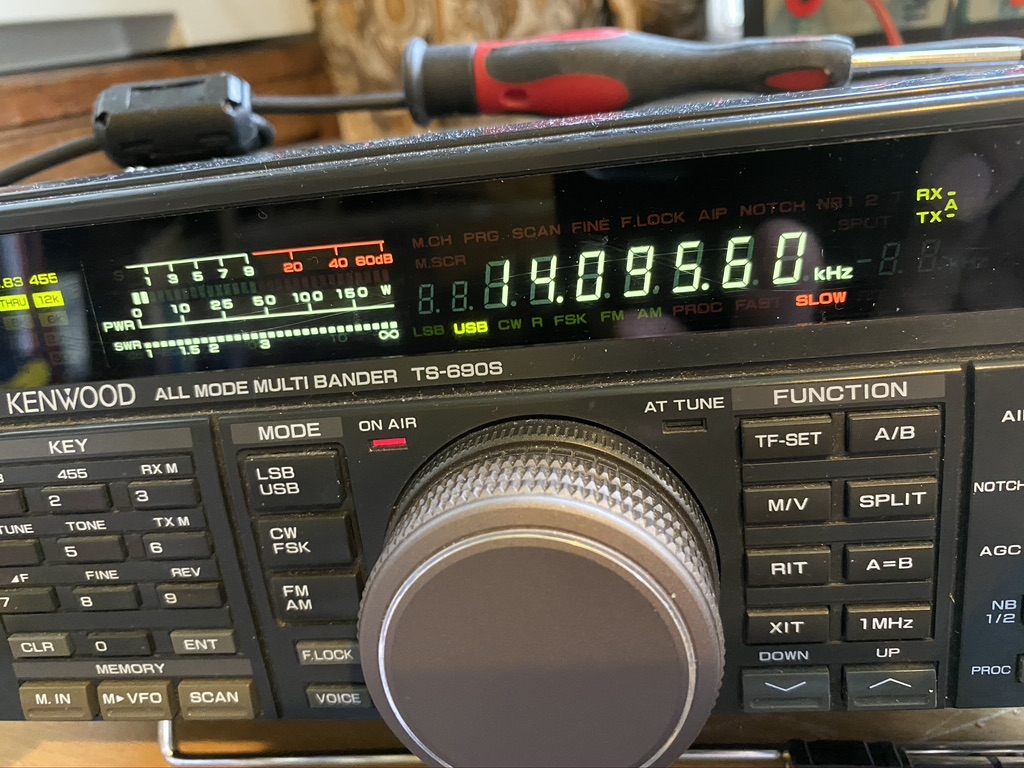
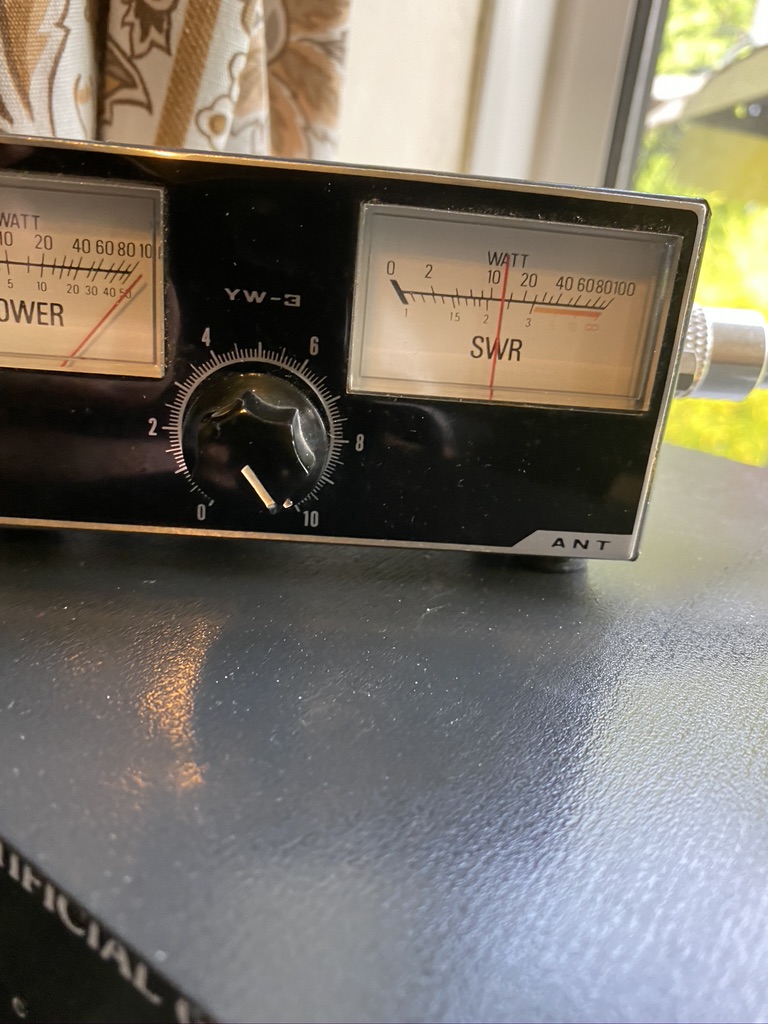
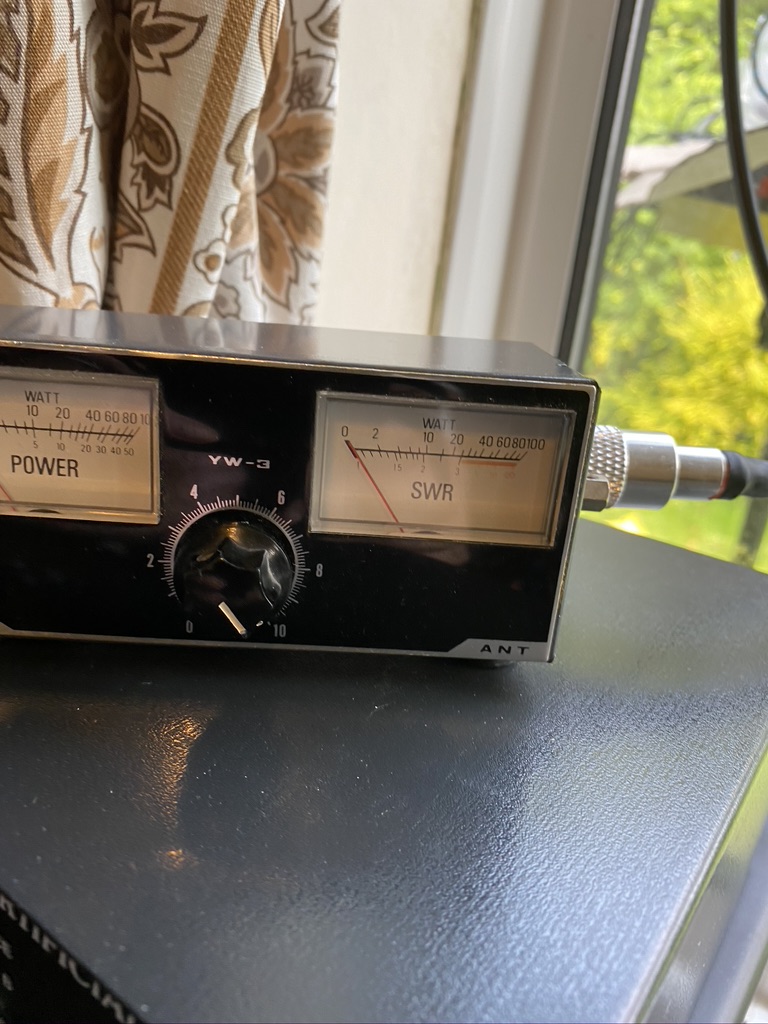
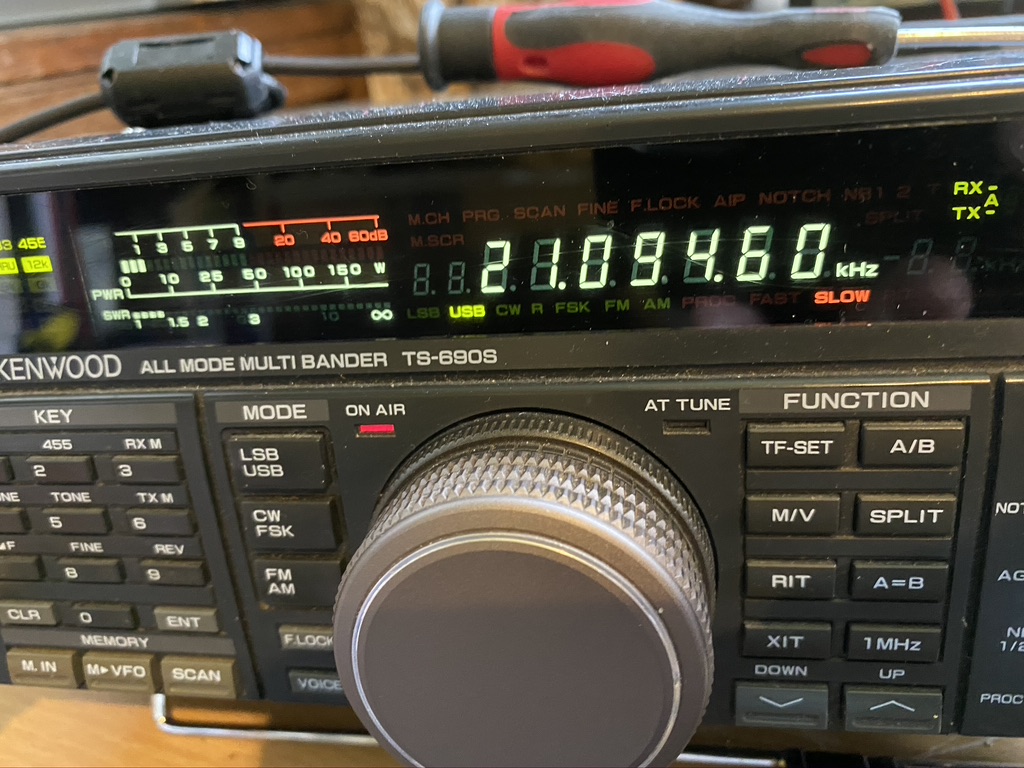
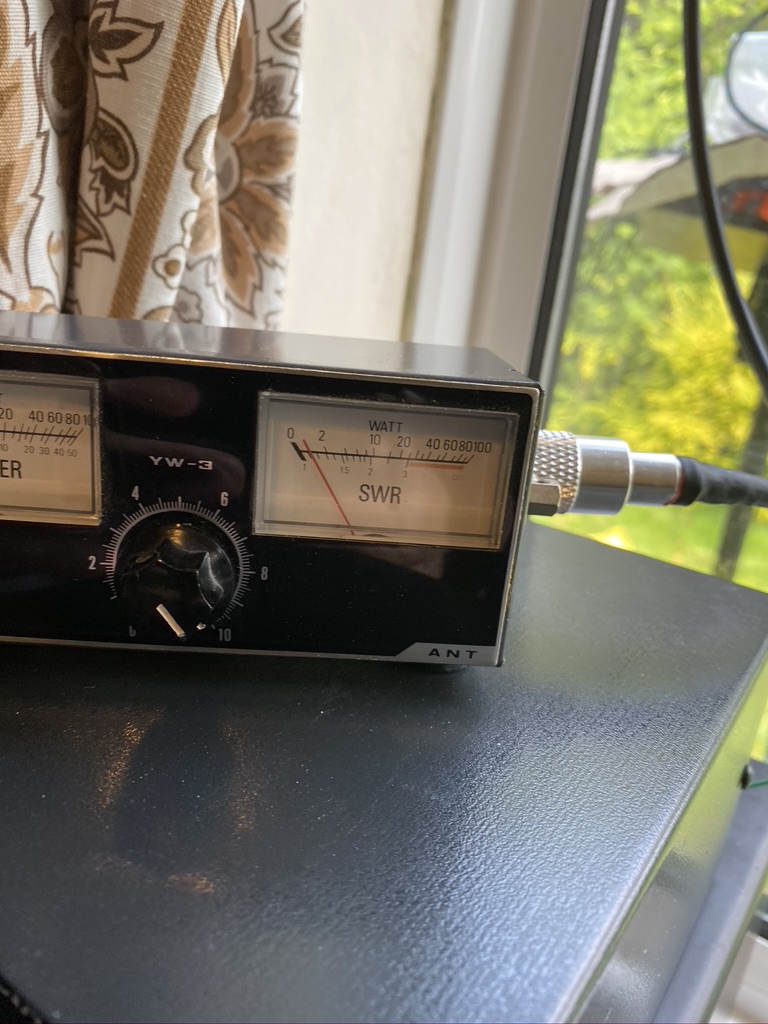
So the next step would be to test. For this i used the two main data modes I currently use, being FT8 and WSPR. I used WSJTX v2.1.2 and finding a ‘gap’ to press the ‘tune’ button. This would give me repeatable results. I am using the TS-690S internal SWR reading and a 2nd hand HF SWR Transceiver (YW-3) for the external readings.

BandSWR TransceiverSWR MeterNotes
101.11.3
122.280
171.41.6
20OFFSCALE2.5RX is very clear 5/9
402.21.1
802.11
160OFFSCALETo be expected
30OFFSCALE80m wire ?
151.63Does the VV-3 work at this frequency ?
122.13
FT8 Testings with new elements on 10+12m and resonant frequencies/others in WSJTx
BandSWR TransceiverSWR MeterNotes
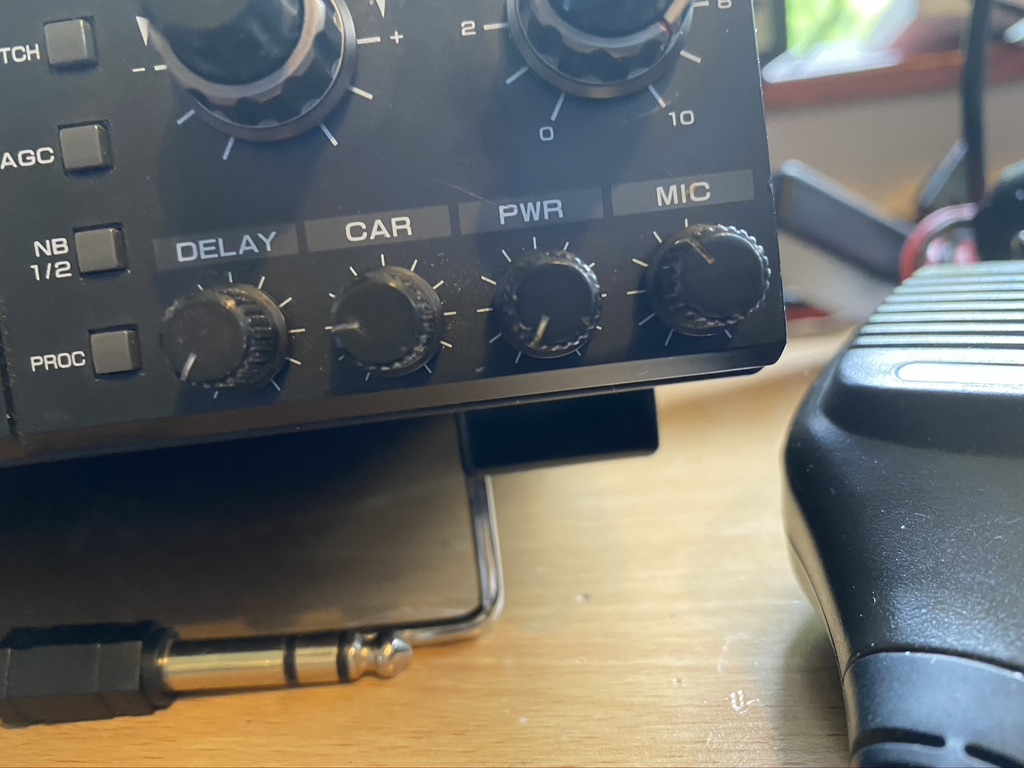
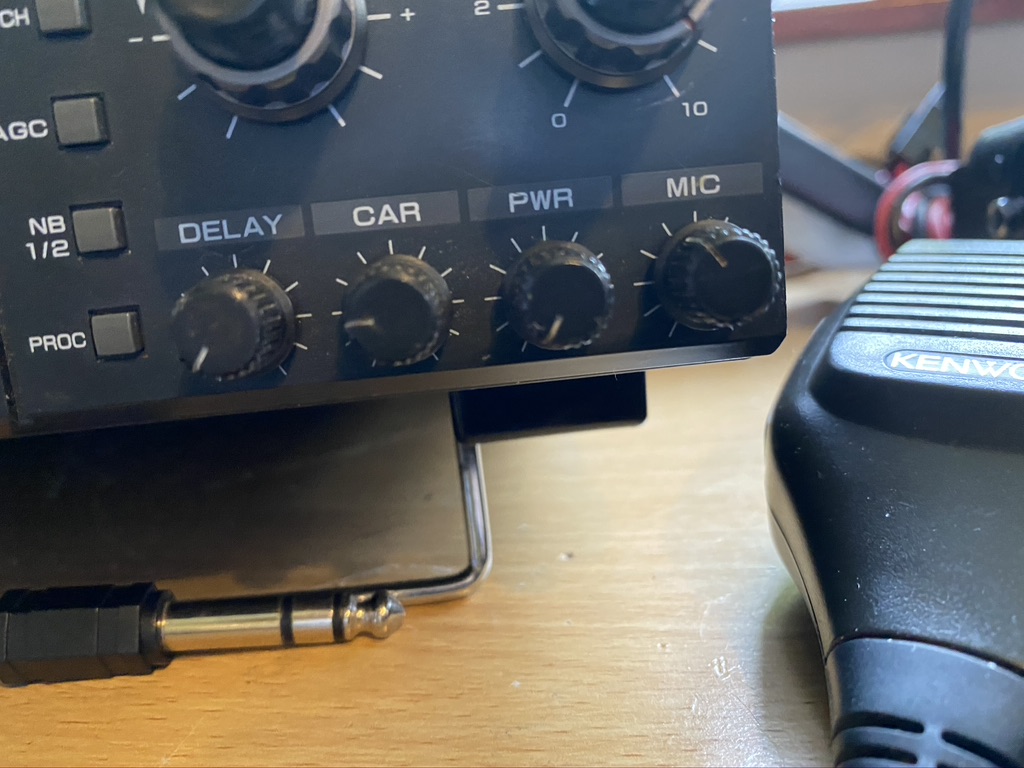
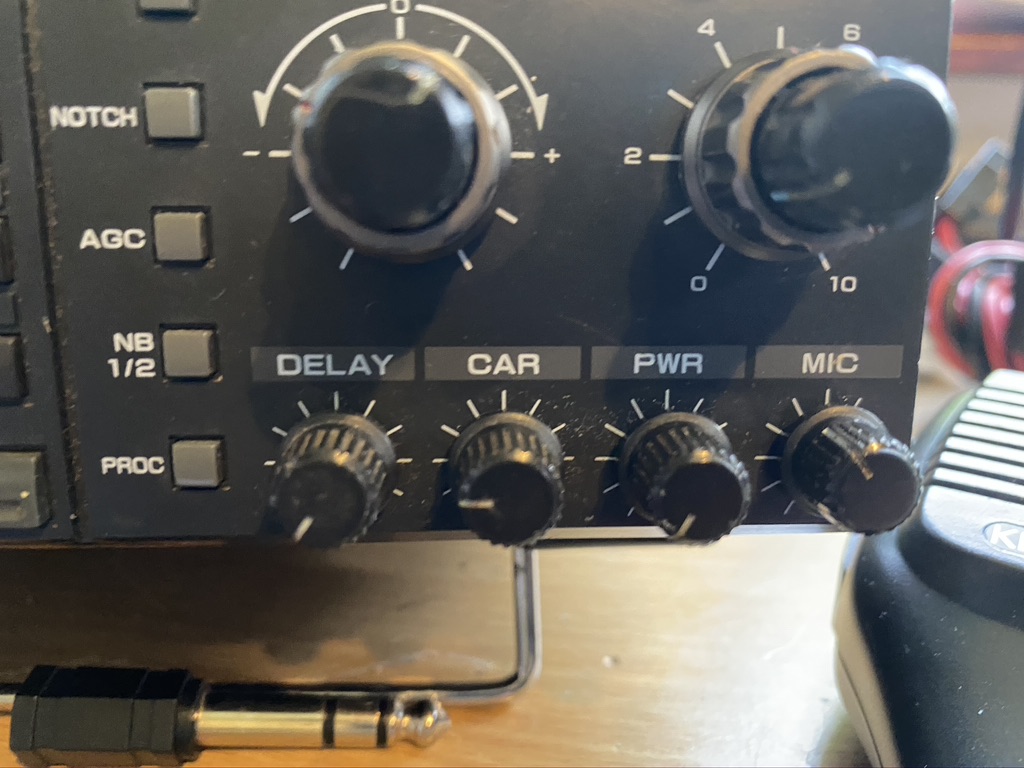
1011.25 Watts is the min setting on the transmit
1222.5
171.31.3
20OFFSCALE
402.91.1
801.51.1
160N/A
30N/A
151.41.5
1222.1

I am really impressed with the S.W.R. on all the bands, whilst 20M gave a high reading, i suspect that the curve on this band is quite specific. Reception is very strong, so the wire is doing its job in selecting the fequency nicely.

Whilst I wasnt expecting 160m and 30m to be available, for thorughness and future recording, added them (should of done 6m in hindsight). I was happy to see 15m and 12m resonating nicely with low S.W.Rs on of 1.6 and 2.1 respectively.

I will upload a gallery as there is so much evidiential data to show,so browse thru at your lesuire.

DX Commander Build – Day 4 – fettling

So after having so much fun on 40m, I wanted to get the rest of the wires up

So far I have 40 and 30m up (the longest wires), with 40M getting the most use on FT8 (Plenty of contacts logged, and several confirmed via QRZ!)

I had two remaining shorter cables to mount, the 20 and 17. 20 was of particular interest as it has so much going on and seems busy day or night !

Before adjusting the antenna i done a quick test on 20m, and the S.W.R was way off the meter on the radio, so was very much needed if I was going to get out.

I set about re-measuing the wire and 20m required no correction thankfully and 17 only need 6cm adding, which I set about doing. I brought the mast down and rewired.

I started the transceiver and put wsjtx onto 20m. Sure enough within a few minutes, i had made contact in Poland on 20m with a very good db result.

I’ve not tested 17 yet but I’m equally confident that I will be able to get out.

As per previous exercise, here are the S.W.R. measurements with 4 elements up

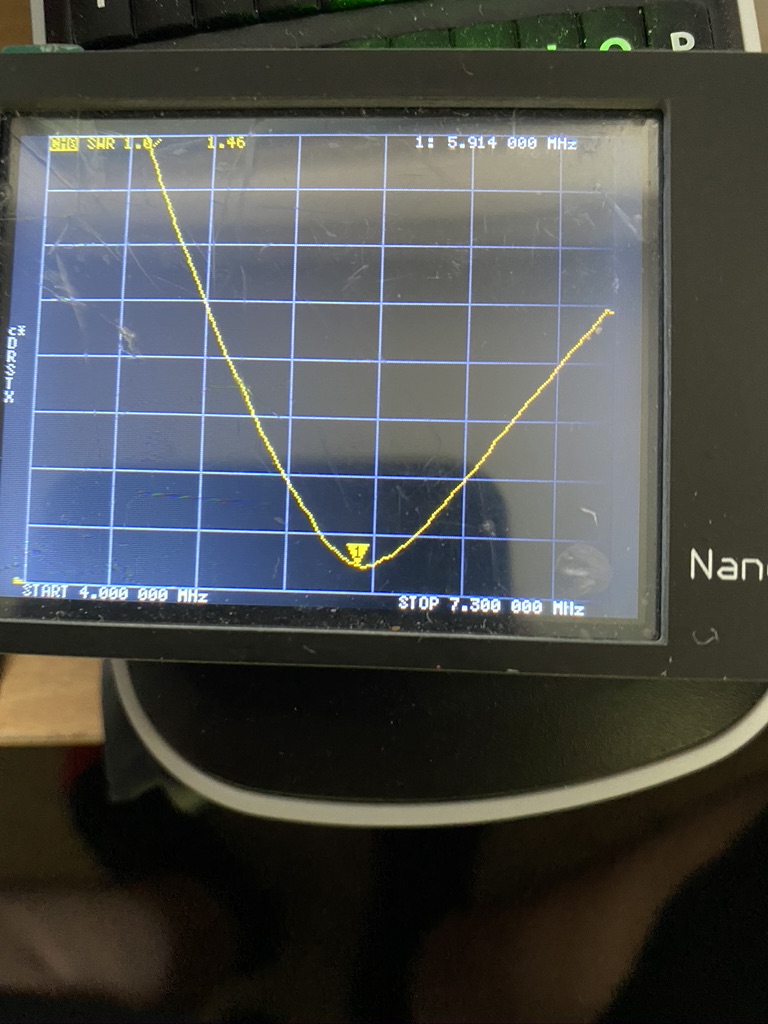
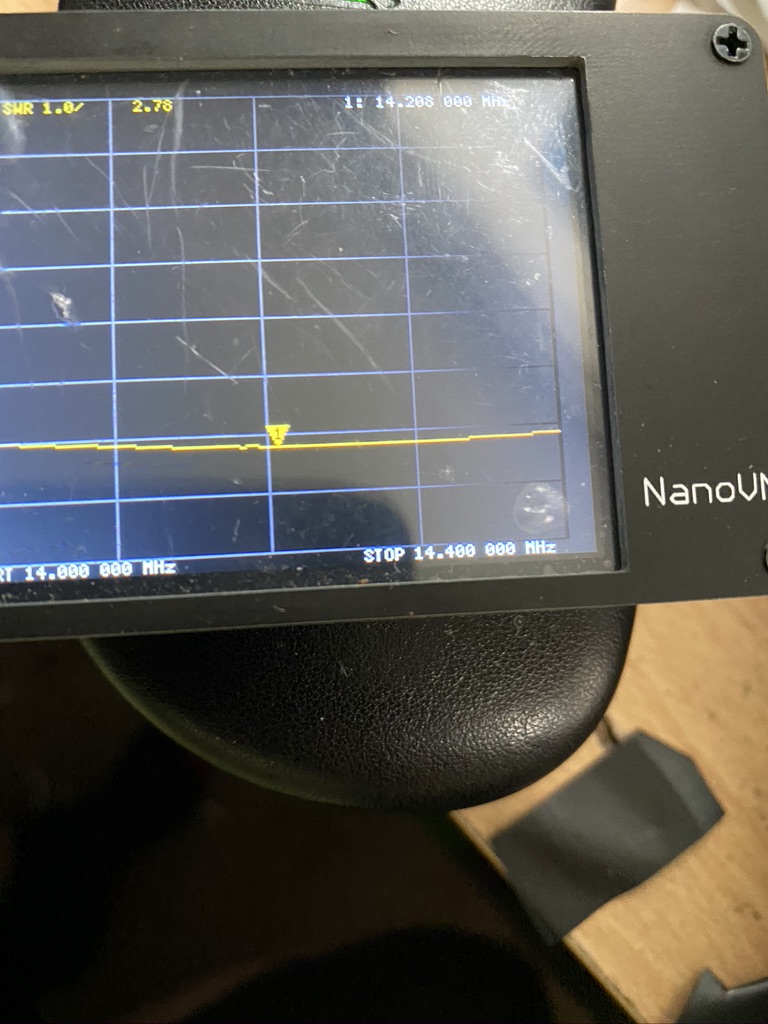
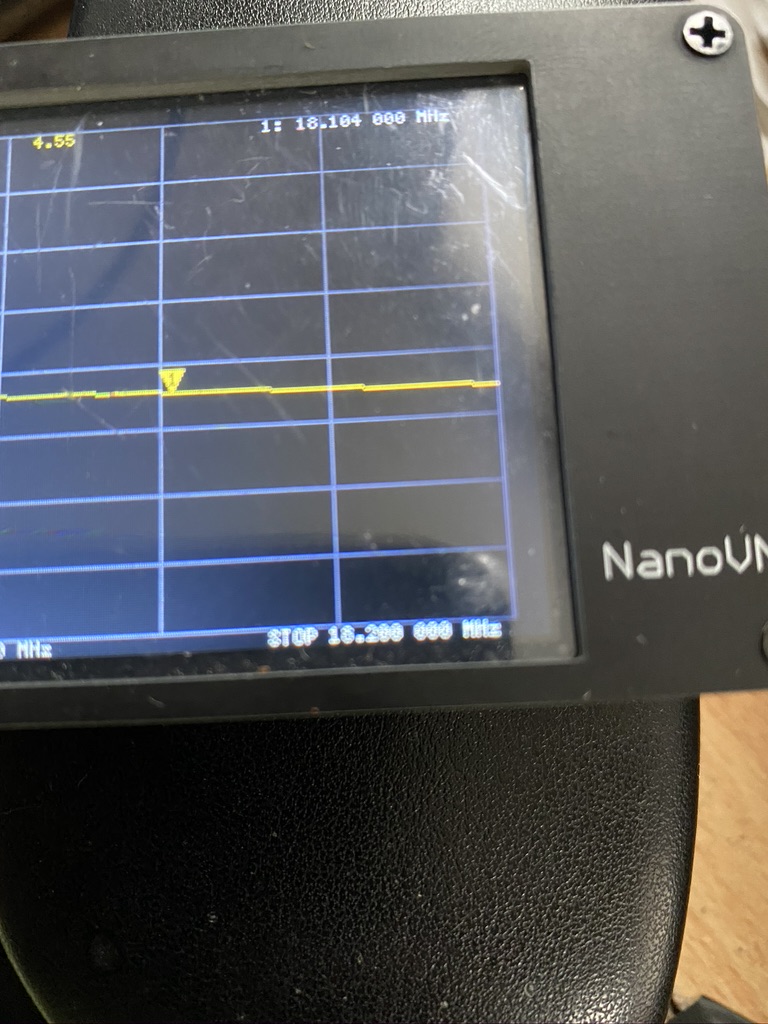
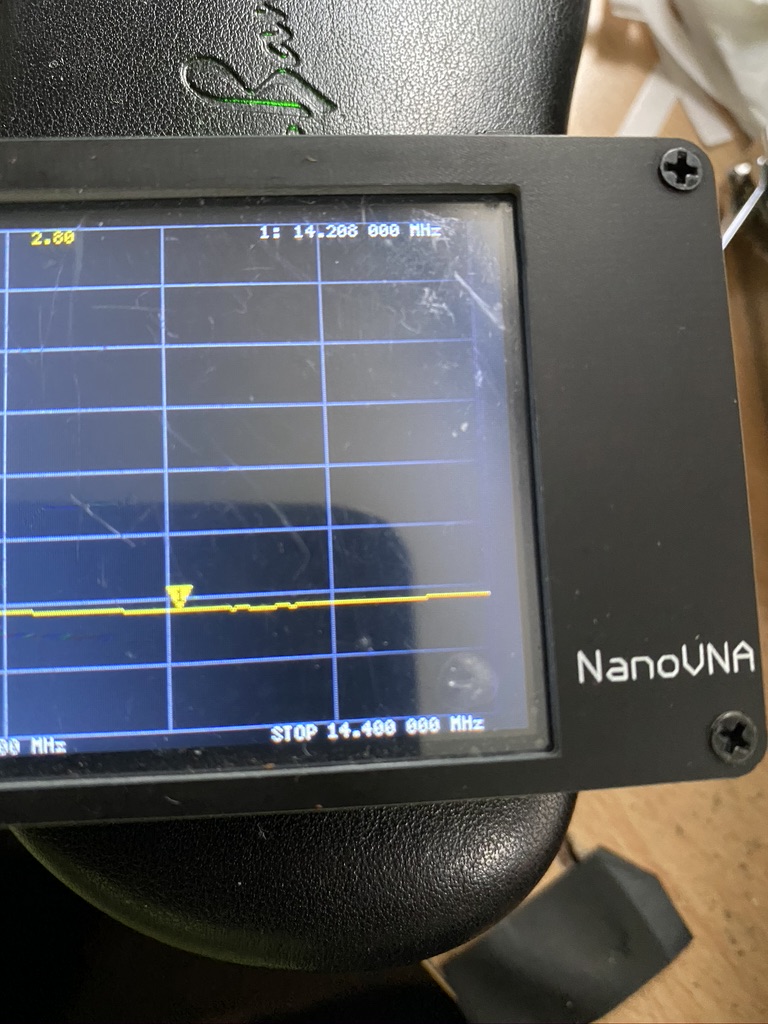
MetersMid Frequency (Mhz)S.W.R.
40m7.11.52
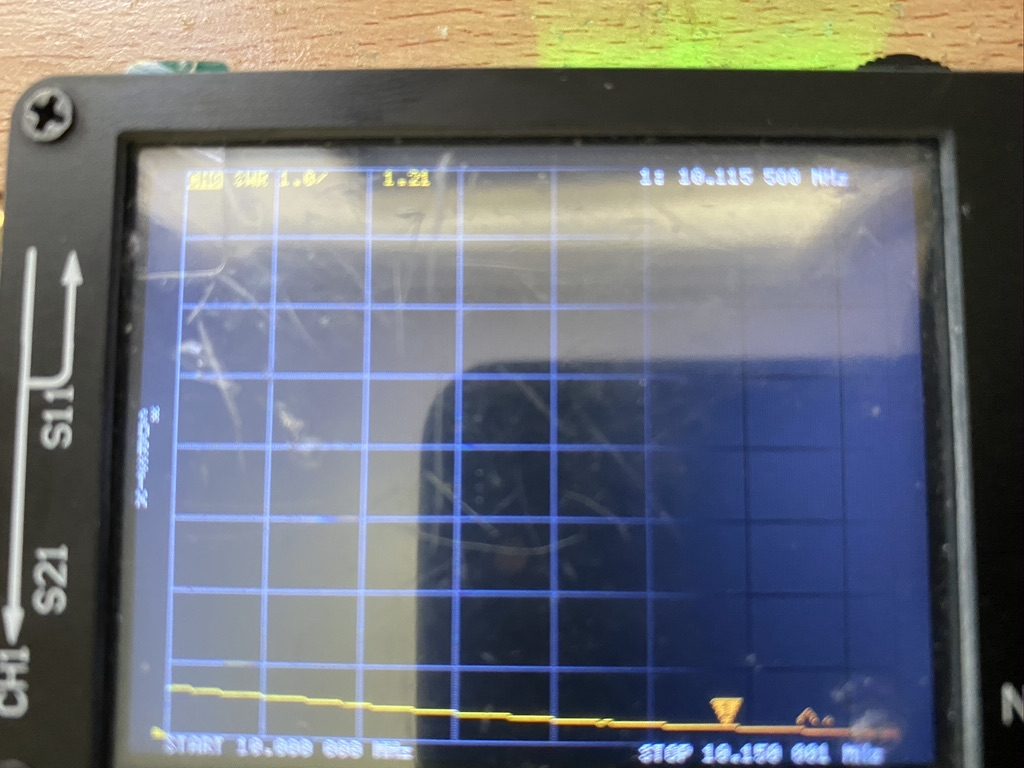
30m10.1151.21
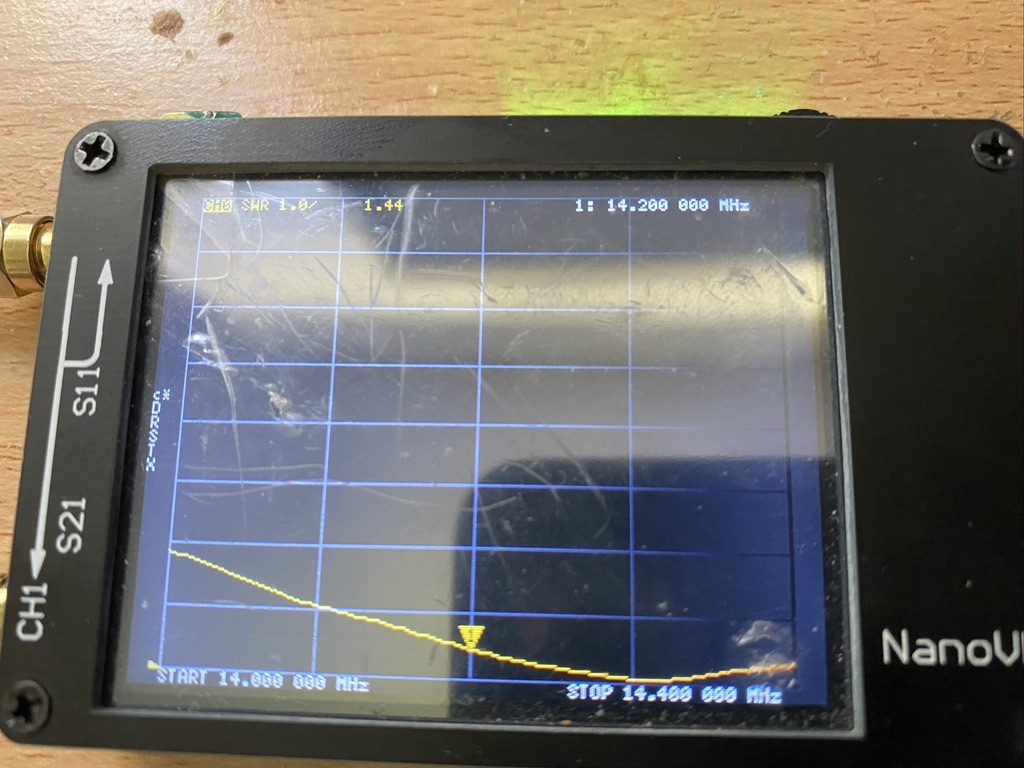
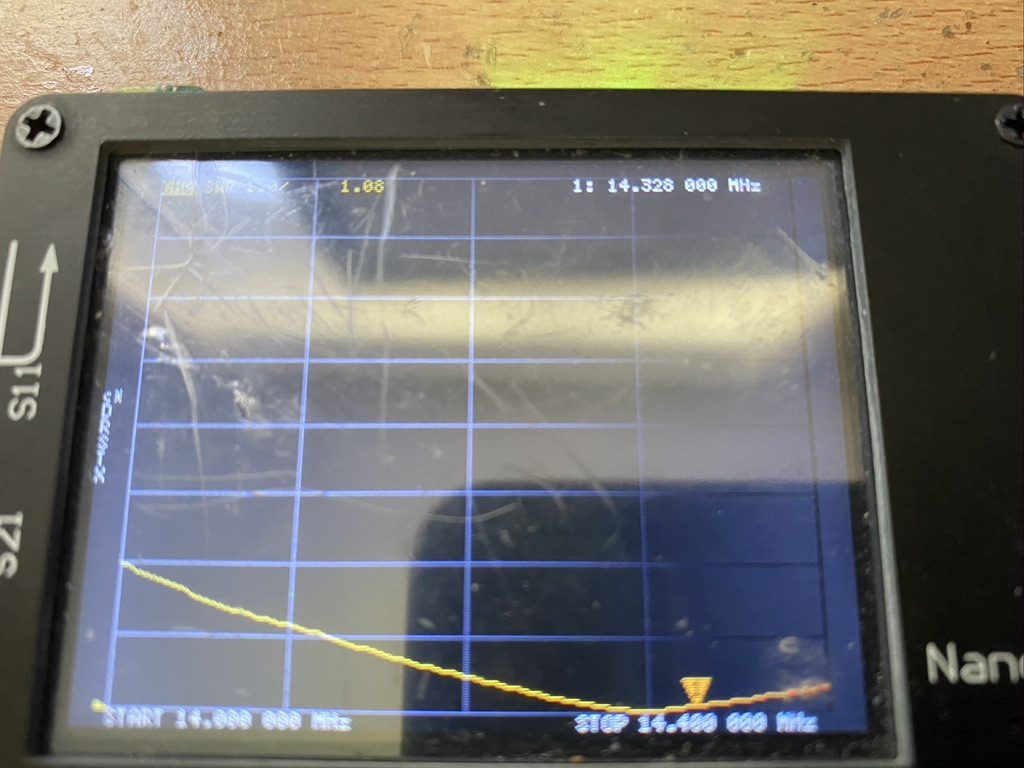
20m14.21.53
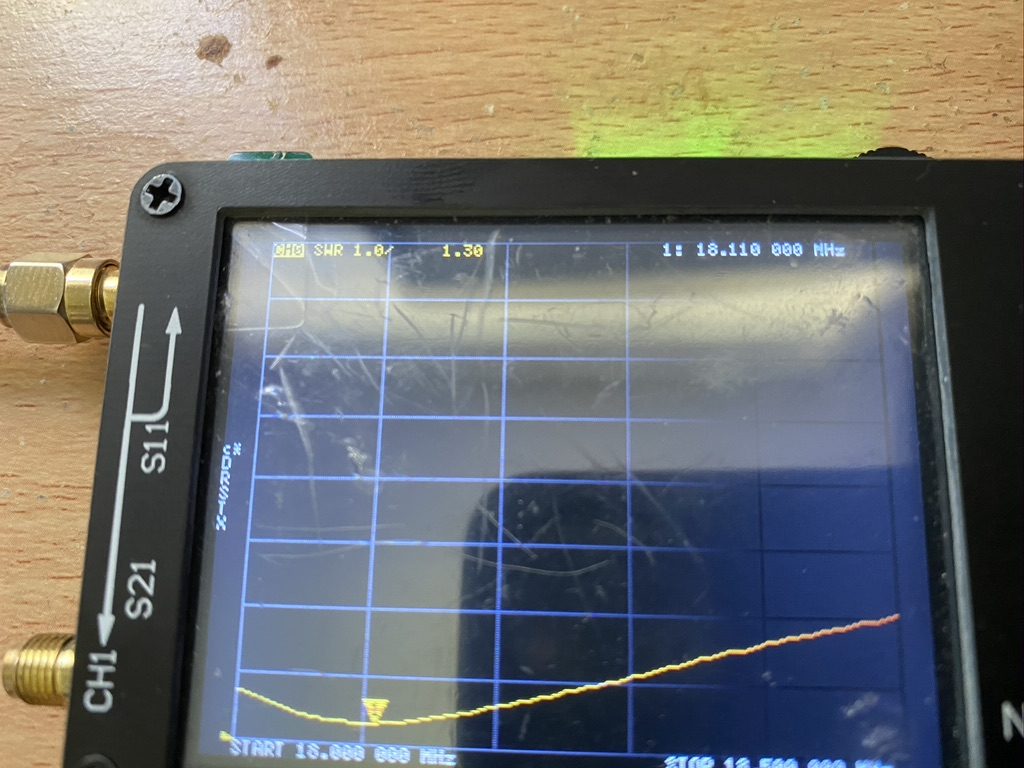
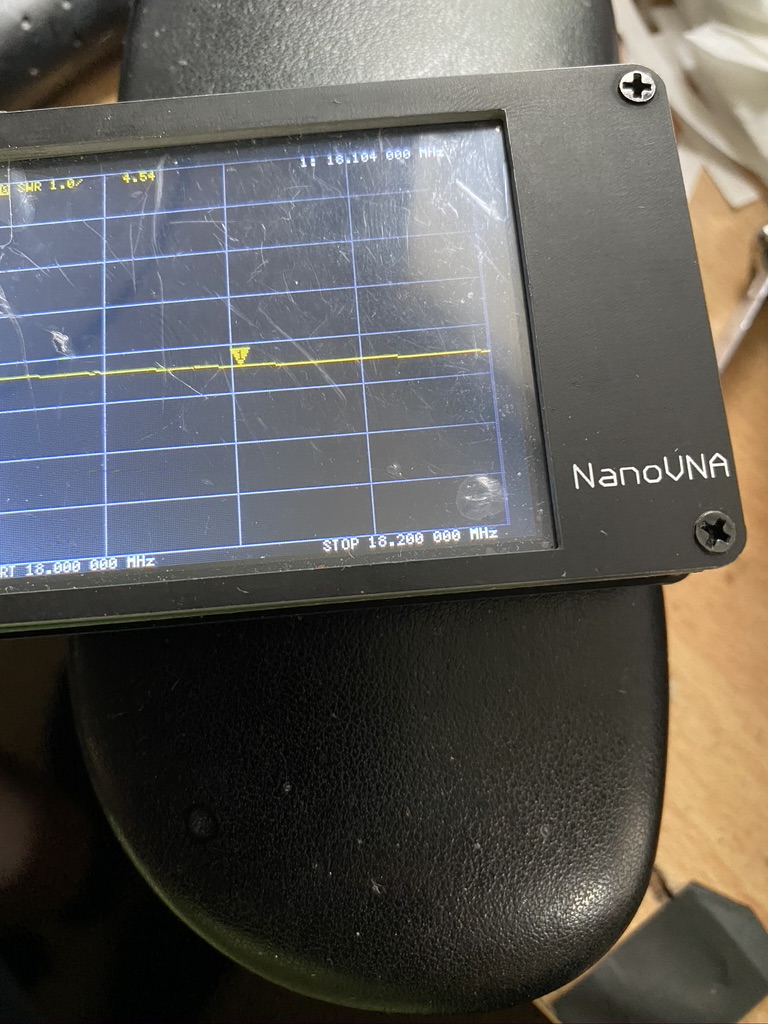
17m18.111.34
Amateur frequency readings after adjustments

So I am very satisified with my DX Commander – I may replace 30m with 80m, but at the moment I have plenty of frequencys and modes to work, even with 10W of power. Thank you Calum the DX Commander for this amazing antenna system !

DX Commander Build – Day 3 (pm)

My next mission was to get the 40m band working. This is a very popular band and has so much on it, CW, Data Modes, Voice, so being able to receive and send is my objective on HF this frequency.

The previous SWR readings gave me confidence that the cable wasnt that far out, and for sure, it only need 6cm adding, so as I had measured I set about adding 6 cm of cable.

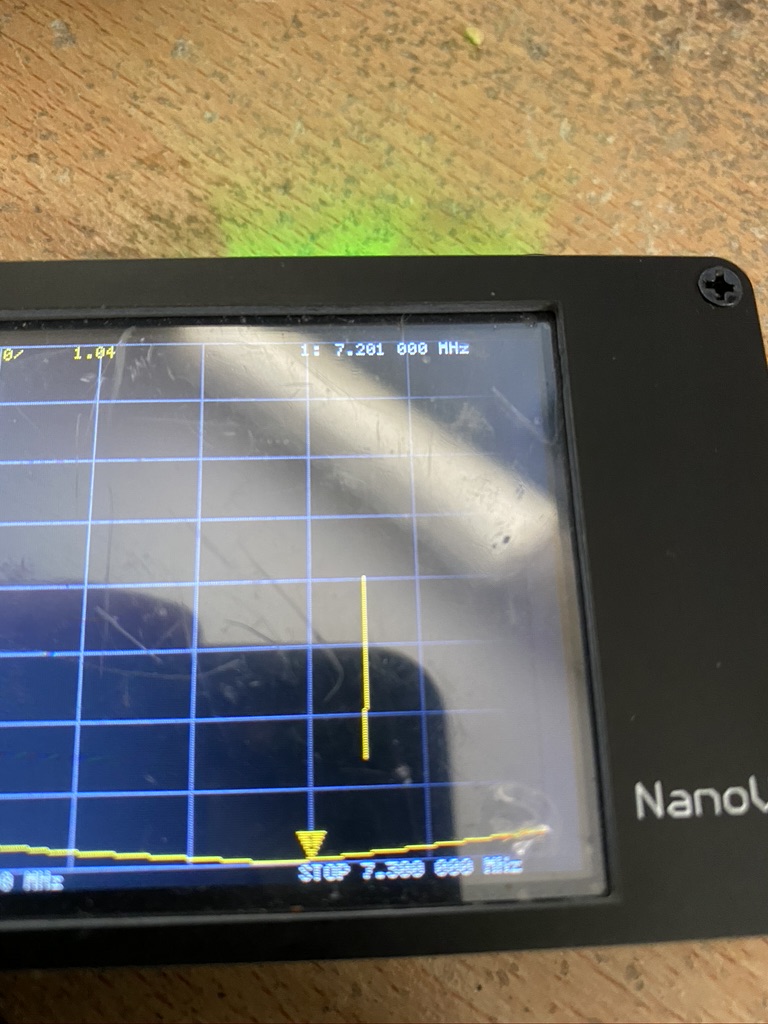
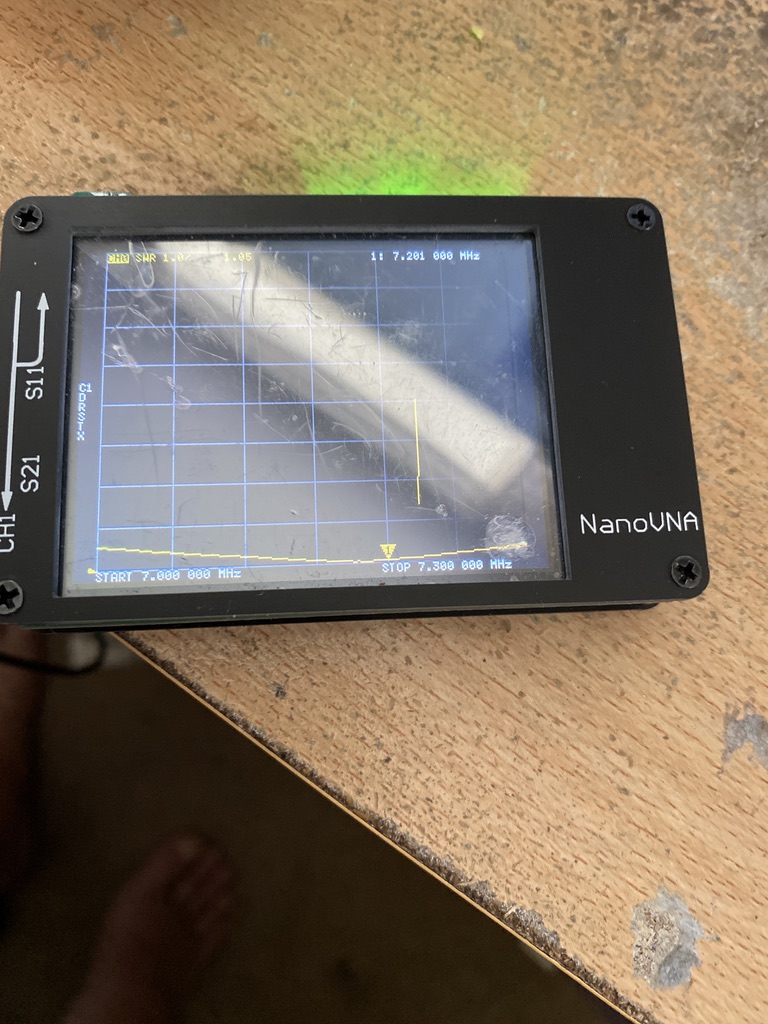
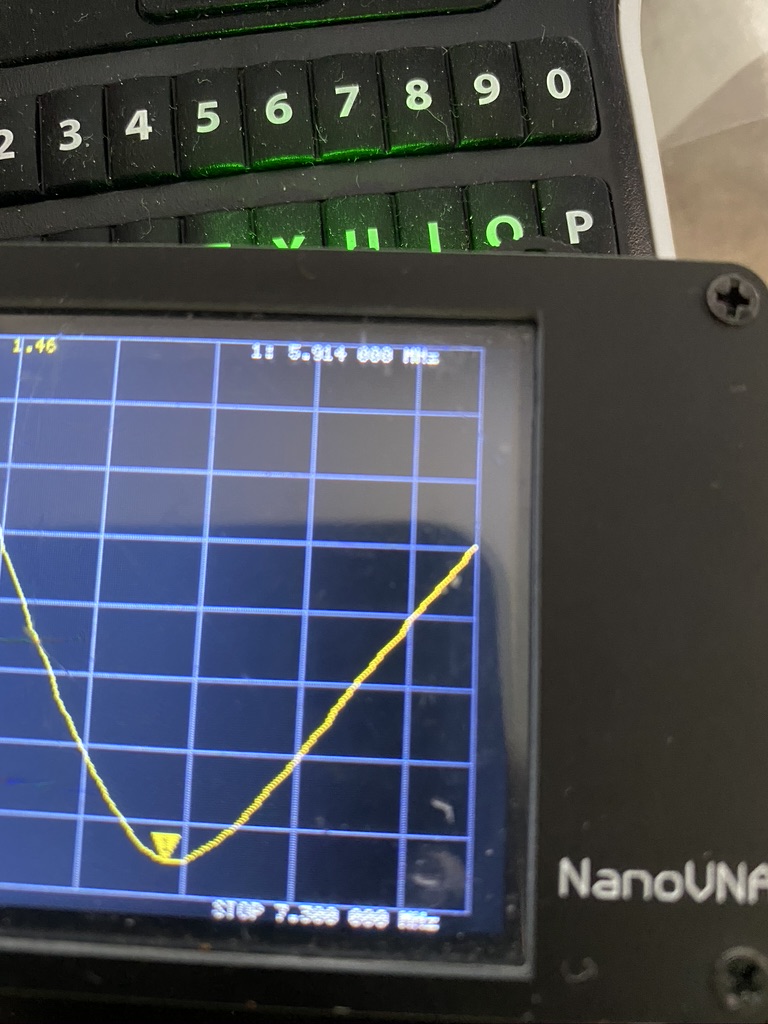
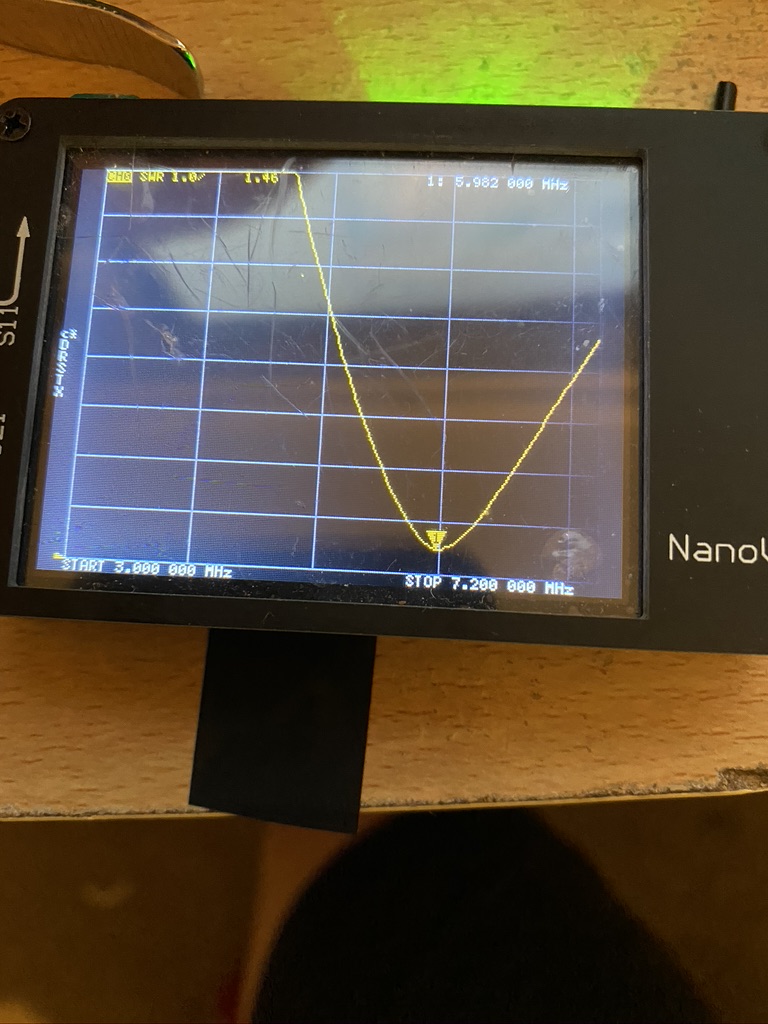
After taking down, re-erecting I am pleased with the SWR report from the NanoVNA (i done the recalibration just to make sure !)

1.04 SWR on 7.2Mhz

It really was worth the effort to get such a great reading – my buddipole setup could get down low, usually around 1.7~2.5 reading, good but not as good as this !

I hooked up the mast to the Kenwood and the amount and strength of signals was staggering (at approx 17:15 BST) – as I understand it 40m is a ‘daytime’ frequency for its best performance.

nothing about 1.5 for the entire 40m frequency

With my battle for low SWR being slowly won, I now have to listen, and listen alot to operators to see how they communicate. I cant wait for my first QSO, but know this will be harder than my 2m setup !

I have two more wires to go, but with 40m and 30m (the longest wires) I’m confident I can get the other frequenices all finely tuned before the week is out !

Until then 73;s

M7ALU

DX Commander Build – Day 3

So its been another lovely sunny day down here in the QTH, but with a full day of work means a few hours in the morning and a couple in the evening to get things sorted.

Having done my analysis yesterday, I set about checking the mast. Whilst long winded, I had to be pragmatic and methodical in my approach to ensure progress was made.

  • take mast down
  • remove all wires
  • measure wire outside with long tape measure
  • compare to instructions, correct as required
  • mount and test
  • repeat for each wire

So having yesterdays results I took the mast down, which wasn’t too bad on my own given the mast is so light and guyed relatively low (well compared to the 2m/70cm mast which requires steps just to start! I disconnected all the wires, which was quite quick, then set about measuring the 30m wire.
With the accuracy of laying flat outside there was some 40cm of wire missing, so i cut some, re-soldered back on and reconnected, then re-erected the mast and radials.

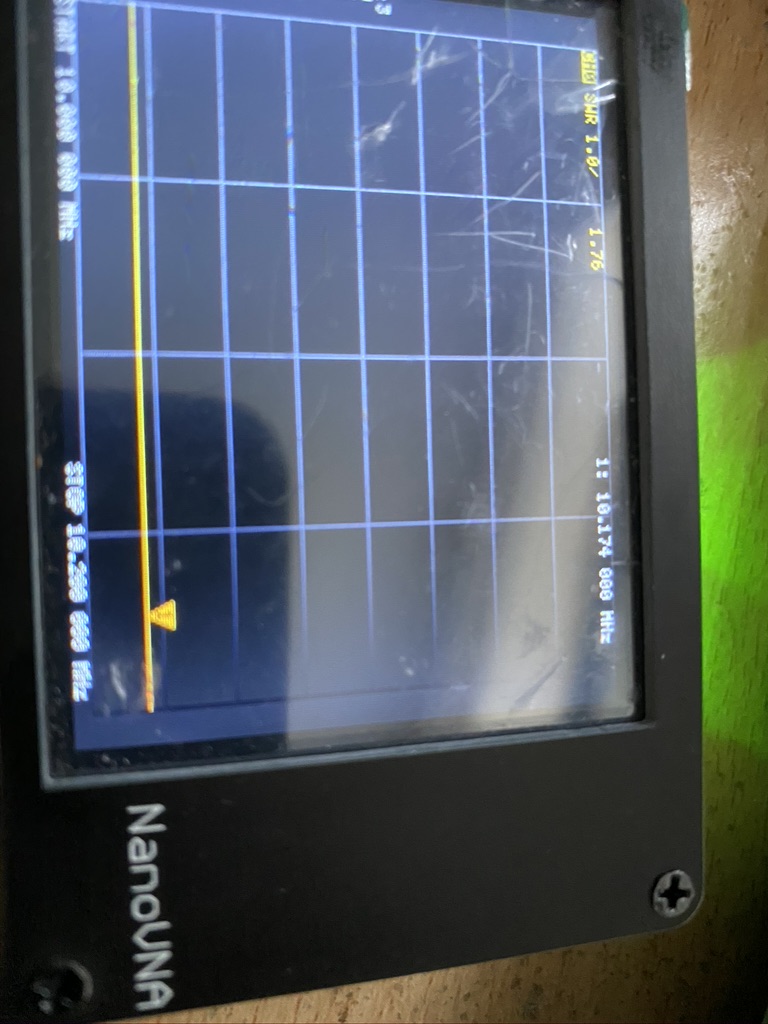
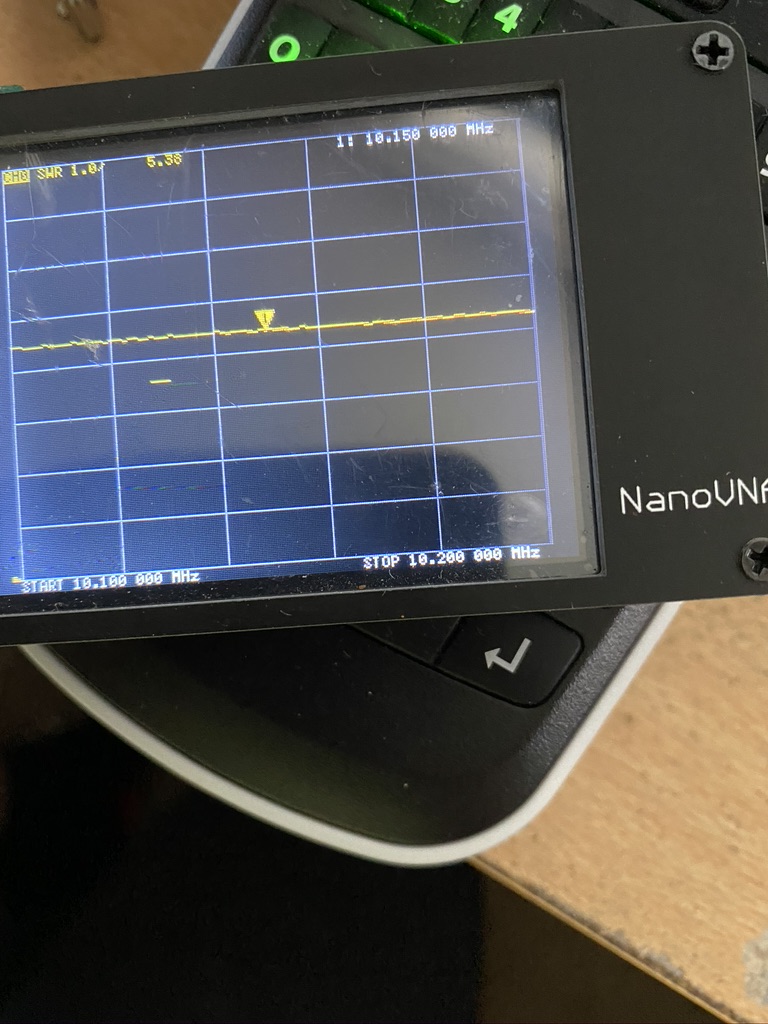
I returned inside for testing with the NanoNVA – SWR still 5.5 – agggh ! What had I done wrong ?! so i went to check the basics, like connections,etc. All good there. I then tested the NanoNVA against the 2m antenna, SWR is fine. Then i though, could the other mast effect the DX Commander, surely not, but to make sure kept flipping the tester between antennas.. then it ‘hit’ me.. maybe i should recalibrate the NanoNVA for 30M. I set about doing that then…
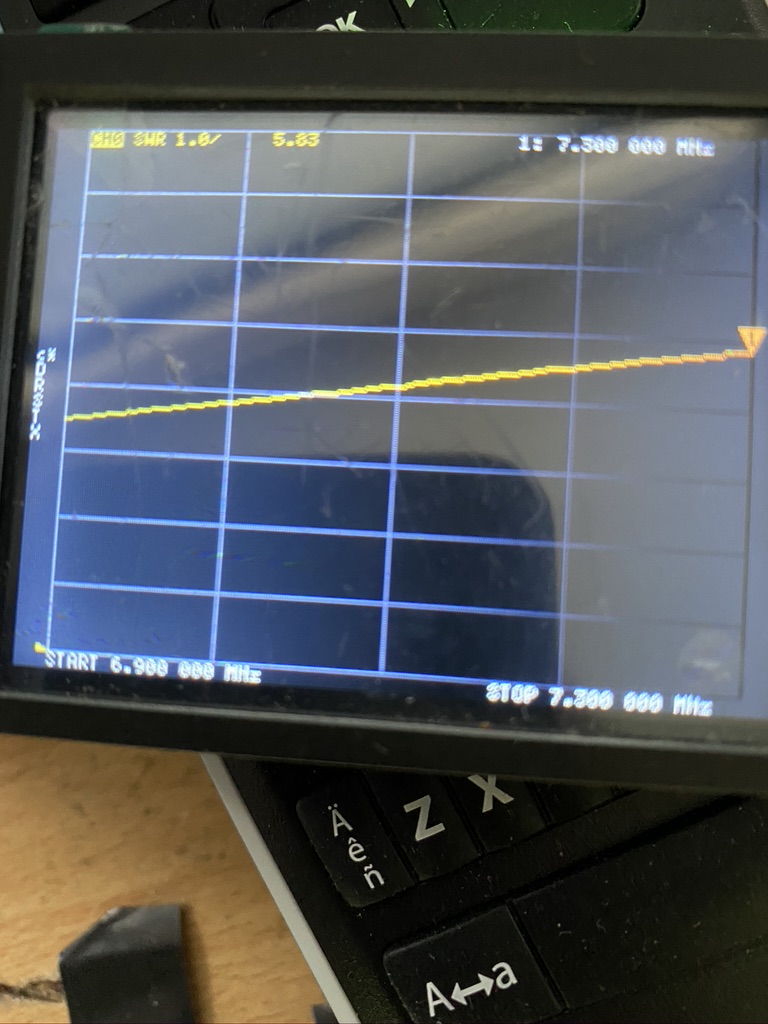
30m – 1.76 SWR

Huzzah ! So, it maybe that I need to recalbirate for each frequency, or may not, anyway, to rule that out going forward thats what I’m going to do so the step plan becomes.

  • take mast down (leaving known good wire on)
  • measure removed wire, make corrections as required (lengthen/shorten)
  • re-measure wire to confirm length
  • attach to mast and erect
  • test previous frequency is still working on the correctly
  • re-calibrate NanoVNA for new frequency
  • test

Hopefully I will get the 40, 30 and17 completed today now i have a method, but another busy day of work is about to begin !

DX Commander Build – Day 2

So day two of the DX Commander started with a few more things to build/cut indoors (radials & pipe clamp aqua tubing) then it was off outside to the garden. It is a really glorious day outside, and Covid 19 is still with us. I feel very lucky to have a nice garden to work in and do my amateur radio pursits !

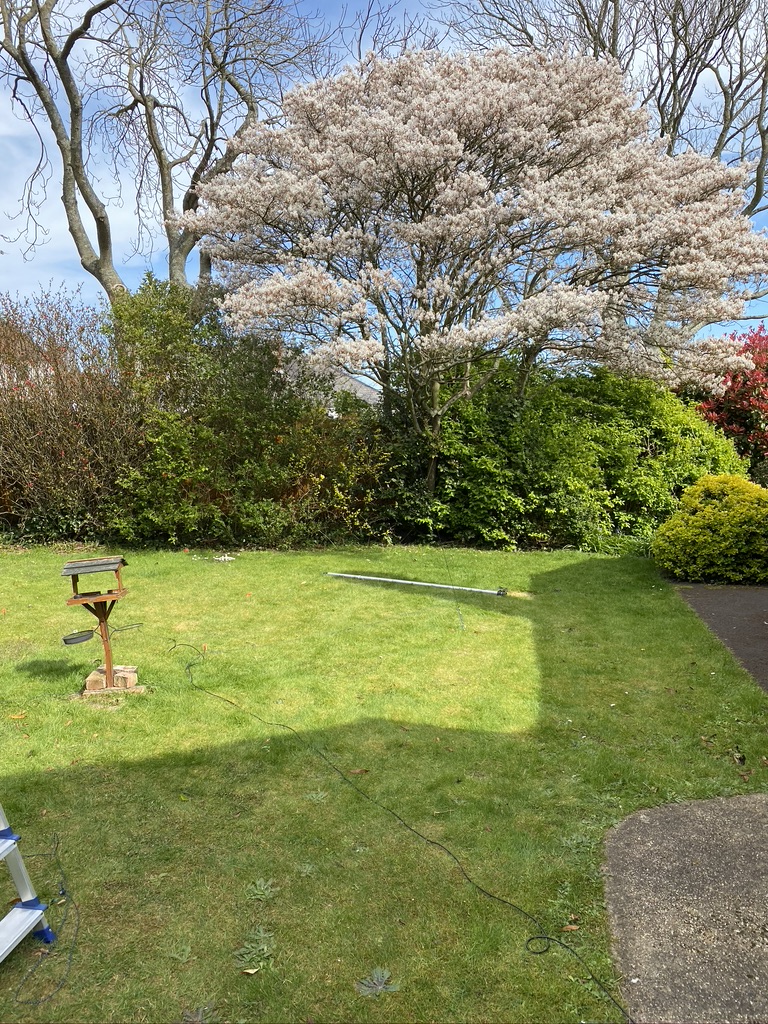
I started off with taking the coax from the ‘shack’ to rougly the area I wanted to install the mast. At 30 meters long, there distance from the shack on ground was good, and once roughly in place could do a saftey assement before going further (overhead cables, what-if scenarios, area is clear/tidy already, aware of other mast/guy ropes).

Once I was happy that I could work safely, i then set about putting the guy rope stakes into the ground, in this case some heavy duty tent pegs that I have used both on my buddipole and rather large 6 men tent (this should be going up this week to help with us going outside safely). It was time to unfurl the full length of the dx commander !

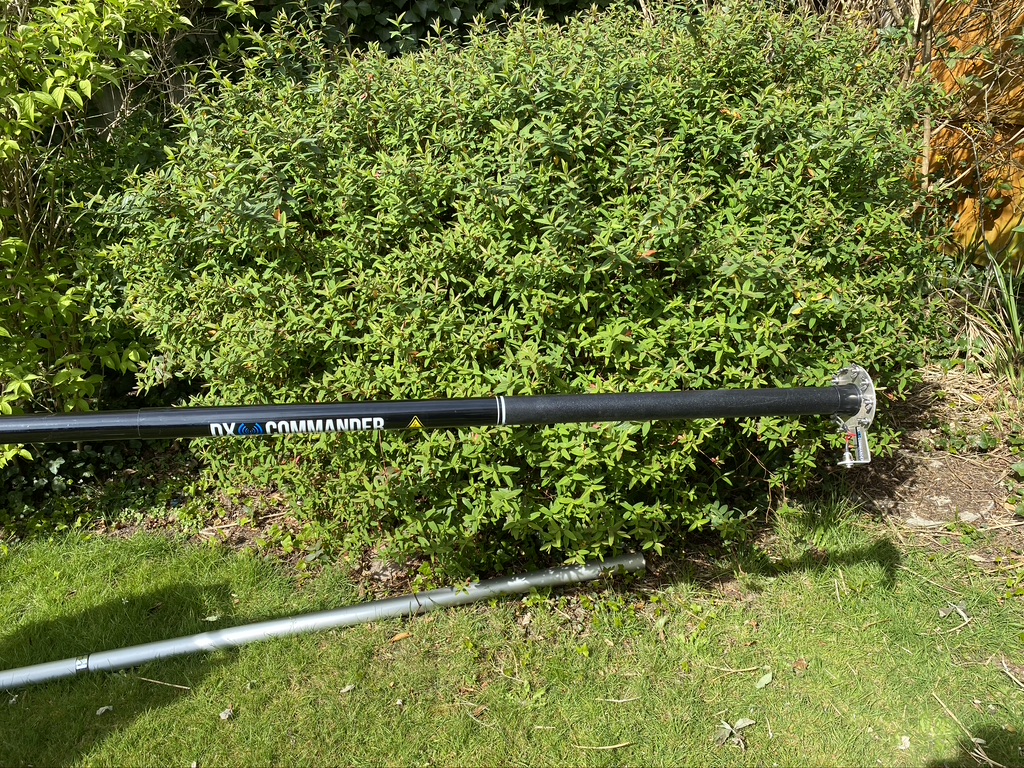
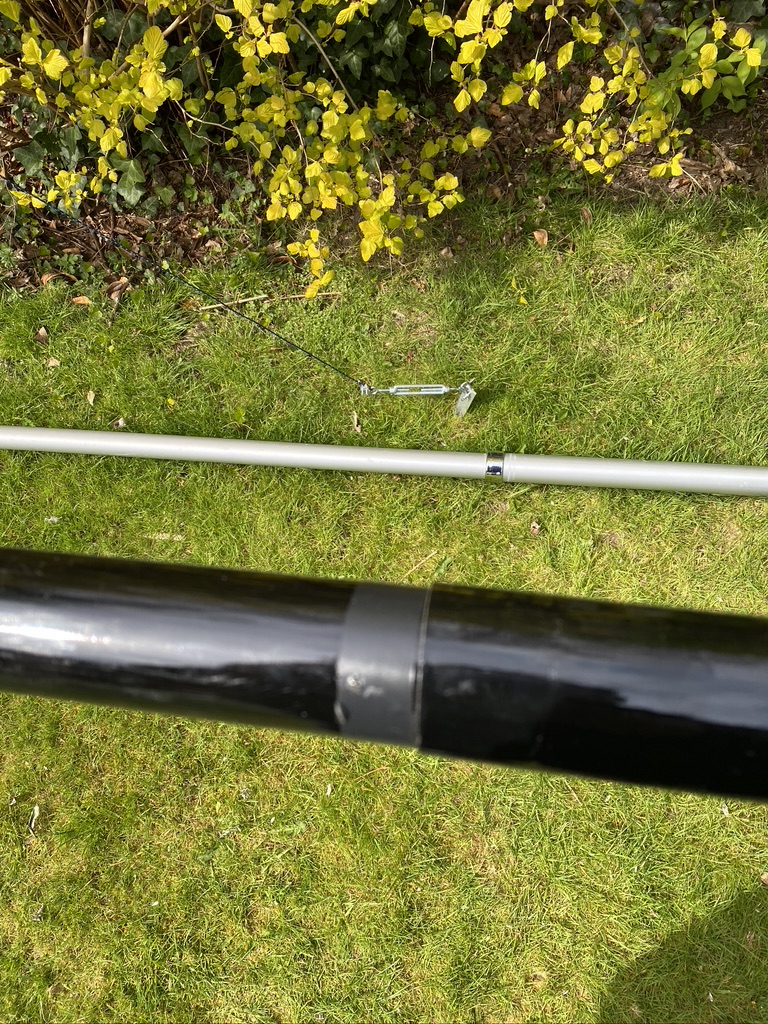
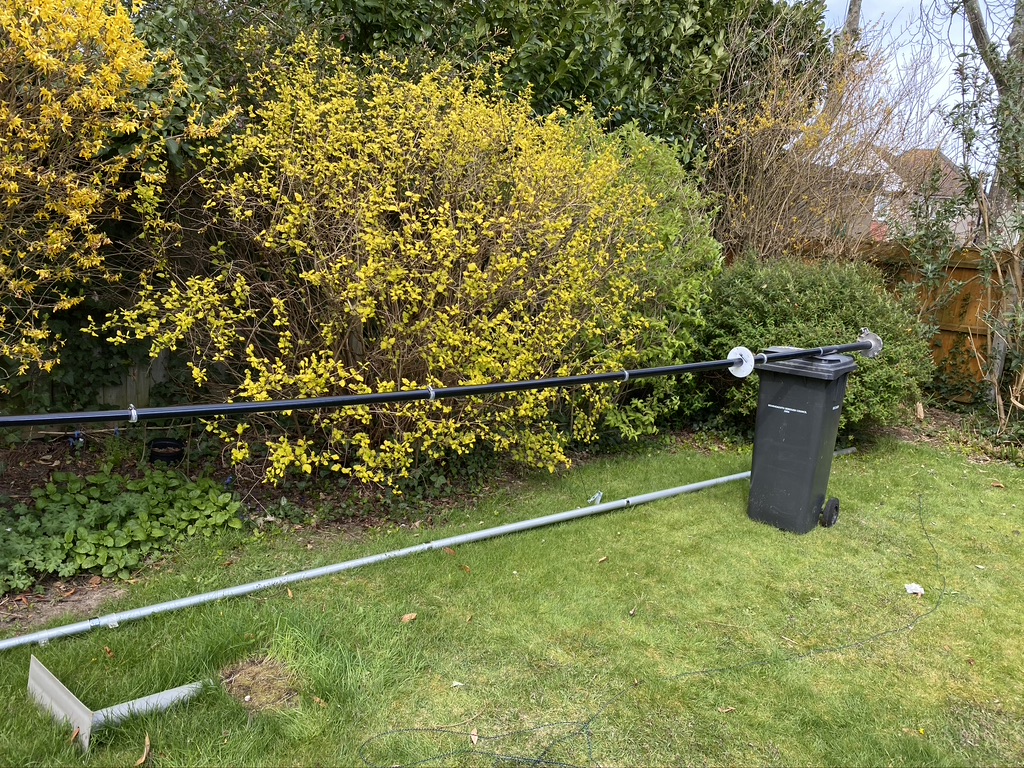
Once the dx-commander was extended and lock, and it is a very good lock action with a sturdy ‘twist’ on each section, i put electrical tape on each join just above the lock. I think this has two functions 1) stop rain water from getting into the lower section 2) protect the fibreglass pipe from the clamps.

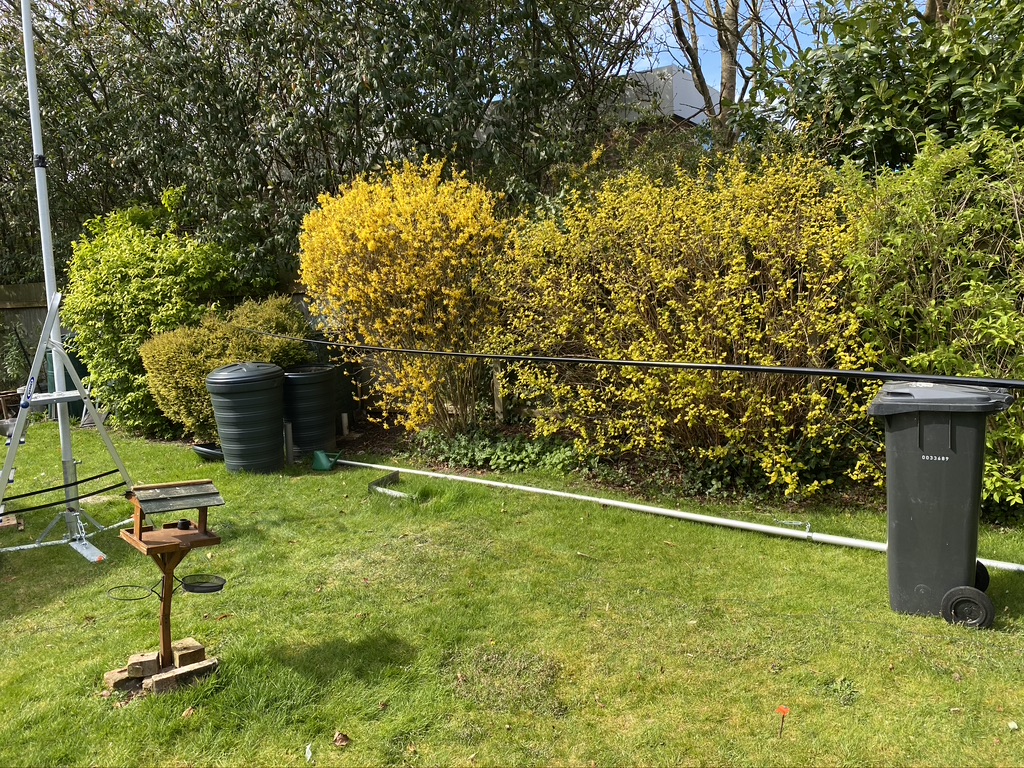
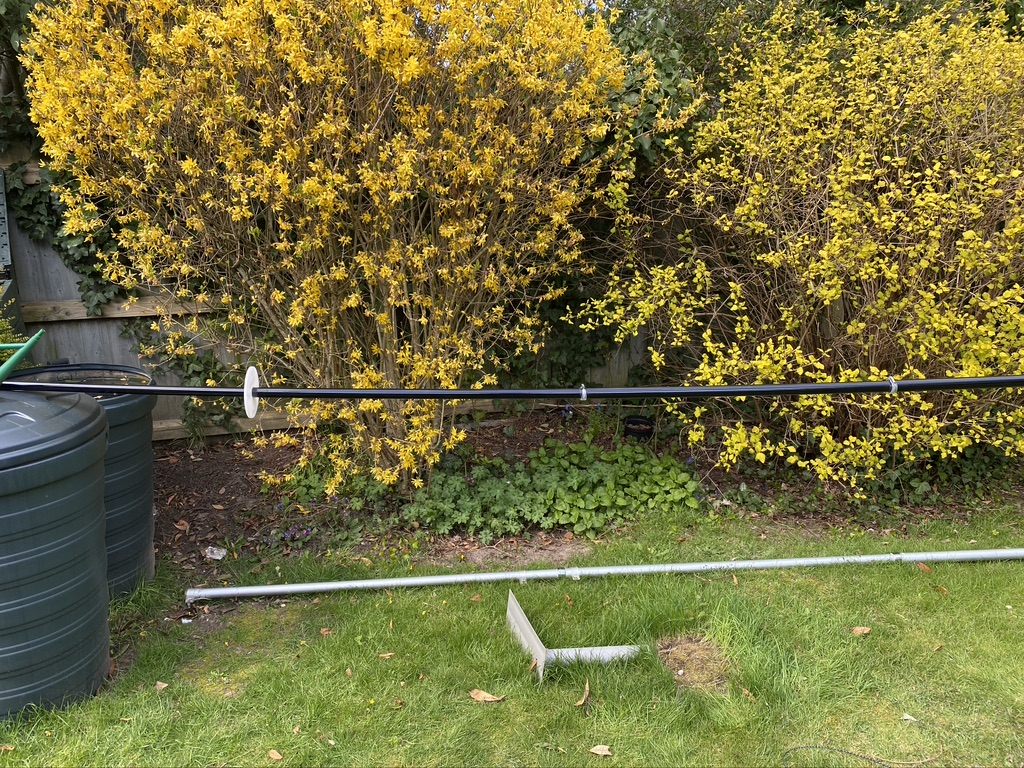
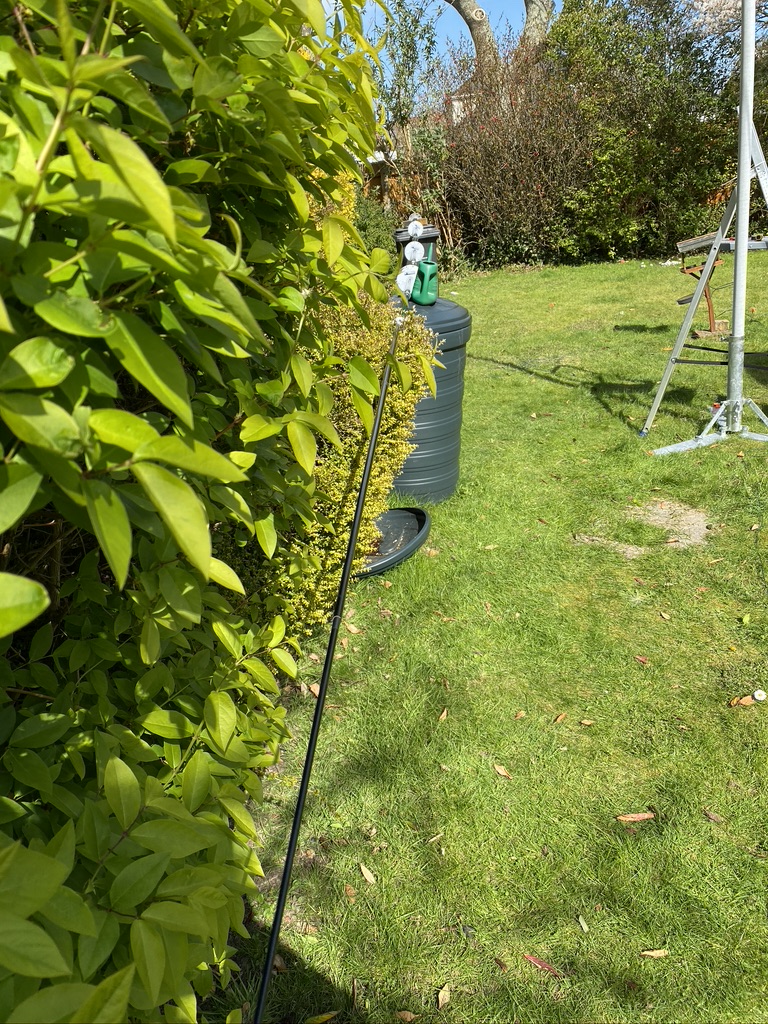
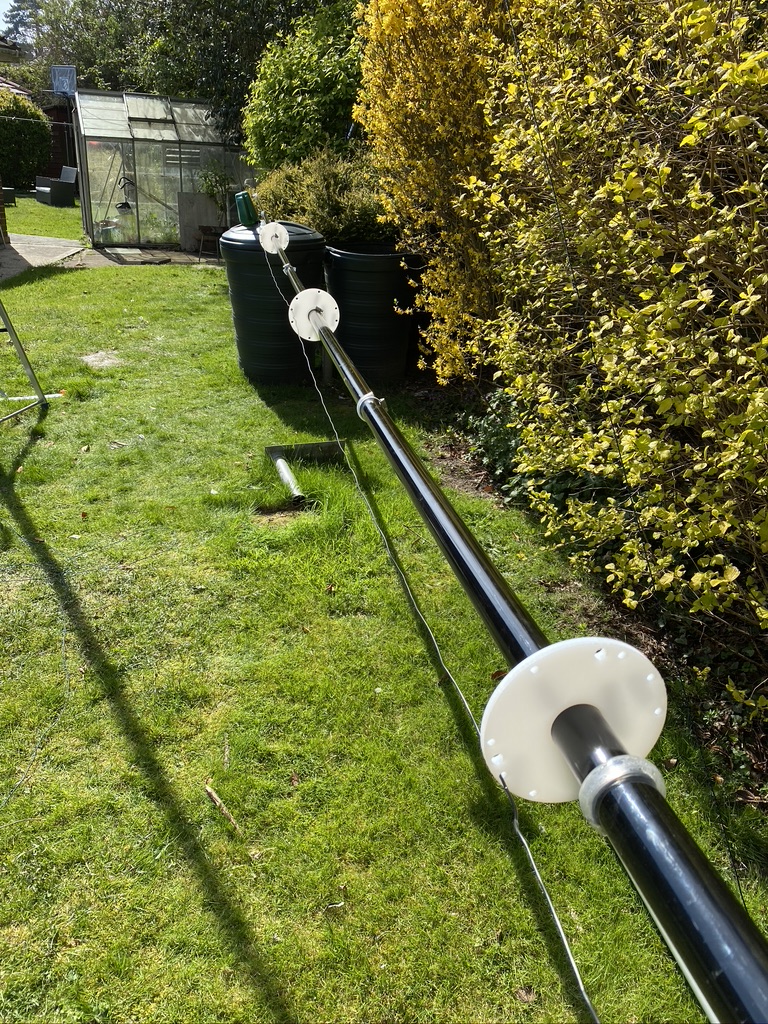
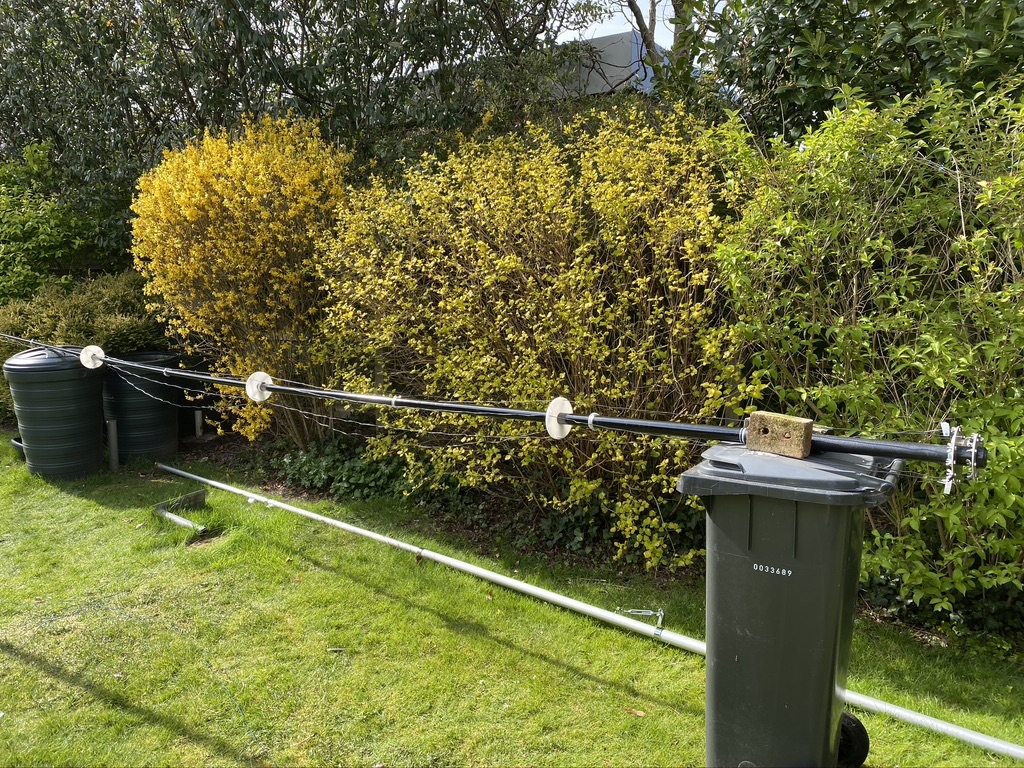
I used a wheelie bin and water vat to support during the build – to start with just putting it on was good enough, later i put some bricks loosely around the tail end (base) to help.

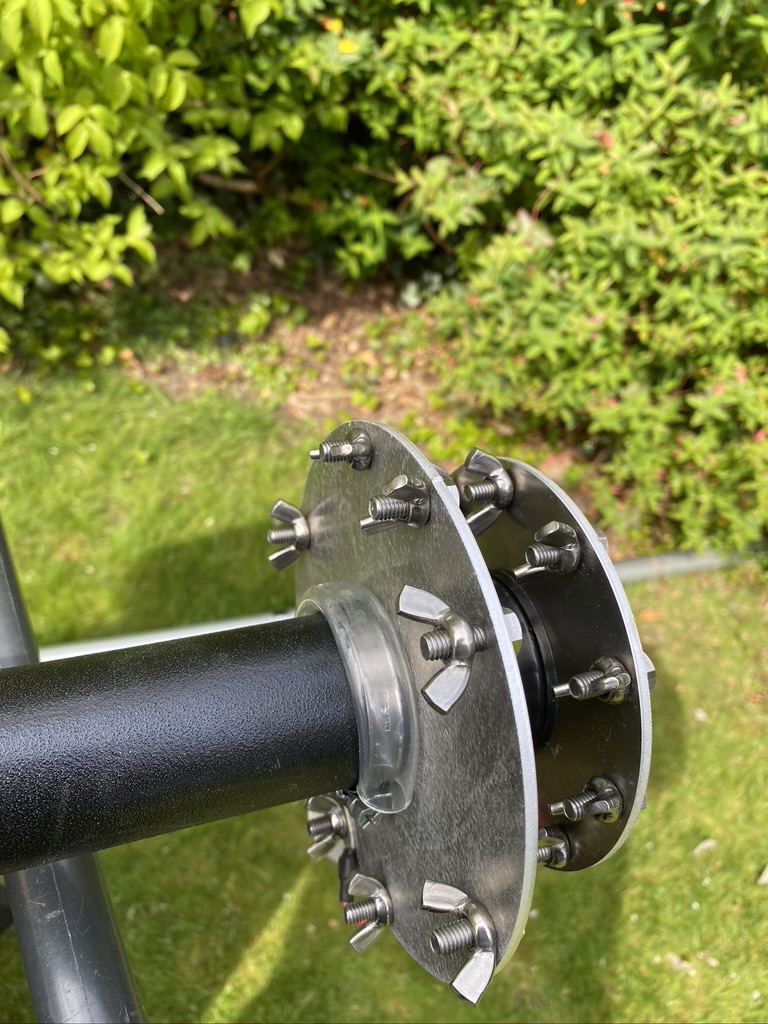
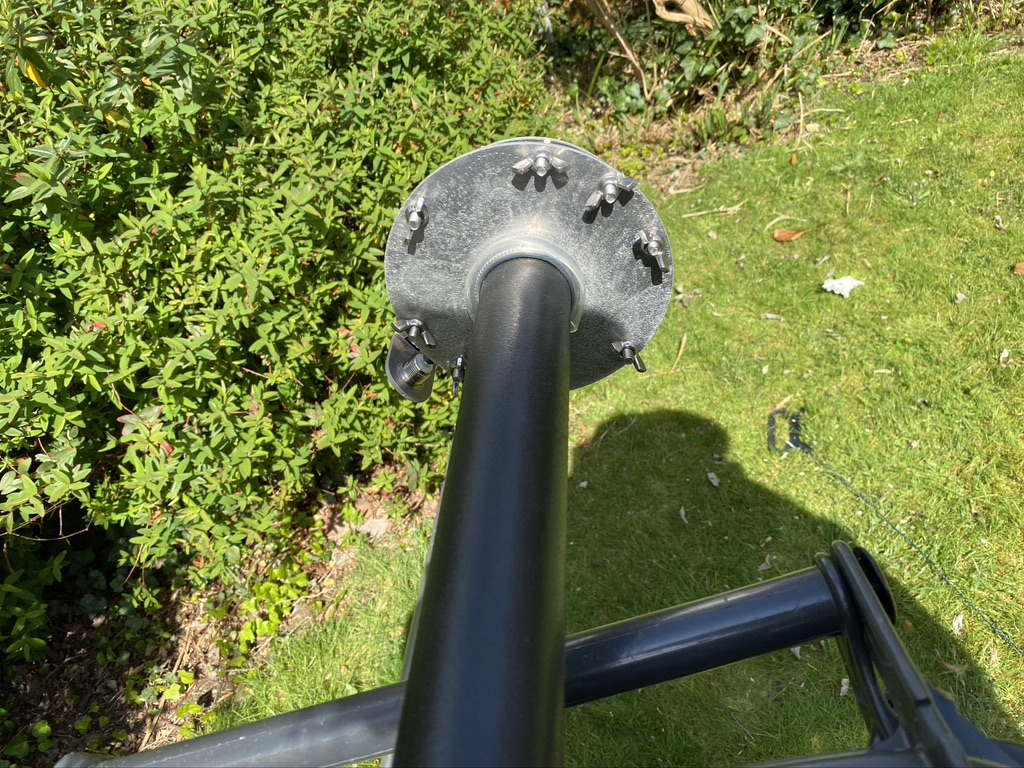
I then set about attaching the plates for connecting the radials and verticals. This simply screws onto the bottom. In hind sight I should of labelled the initial feed points for the verticals as well, maybe something I will do post-install when i start tweeking and get basic operating working.

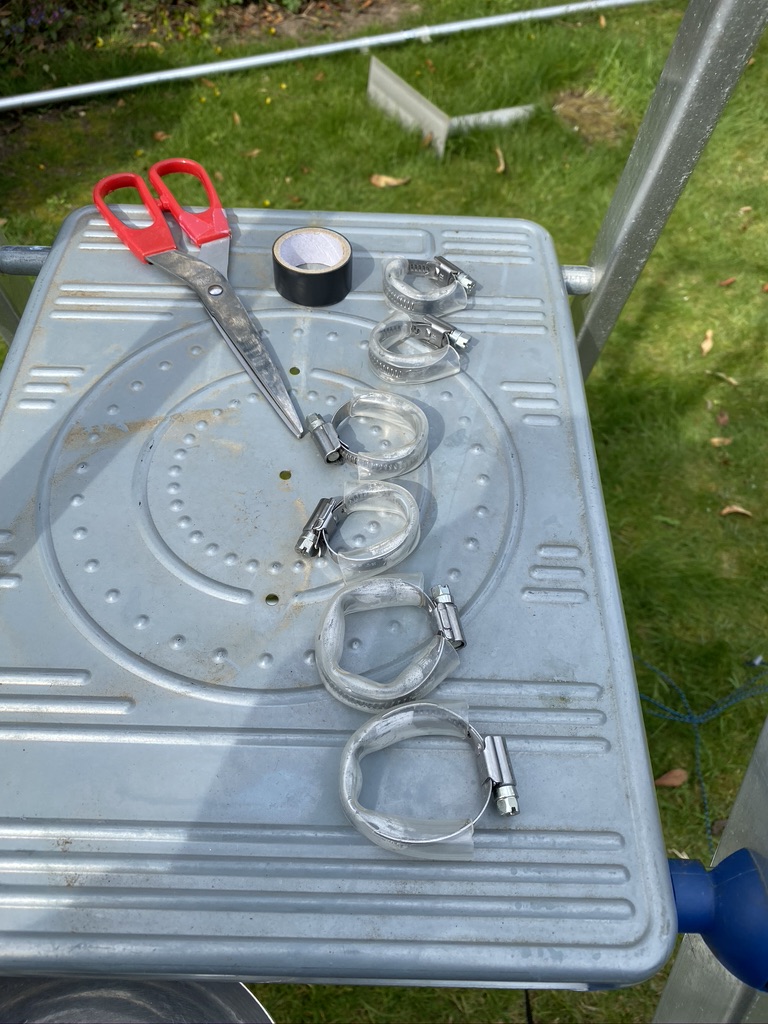
I had pre-made the jubilee clips and soaked them in warm water. Whislt the lengths are given in the instructions, i just went for broke and made them so they fitted, i was happy with the results ! On a personal note, i really dislike jubilee clips, they are fiddly and usually try to find alternatives, in this case tho they do look to be the right part for the job, with the tape and aqua tubing (good idea Cal!) and careful tightening would be ok.

With the pole extended and it starting to take shape, i had a break and enjoyed my surroundings, including the breeze and how well the 2m/70cm mast was doing, it really is a great mast (still need to write the write up of that…) The garden is starting to come alive with srping and the warm weather, it really is a lovely place to relax.

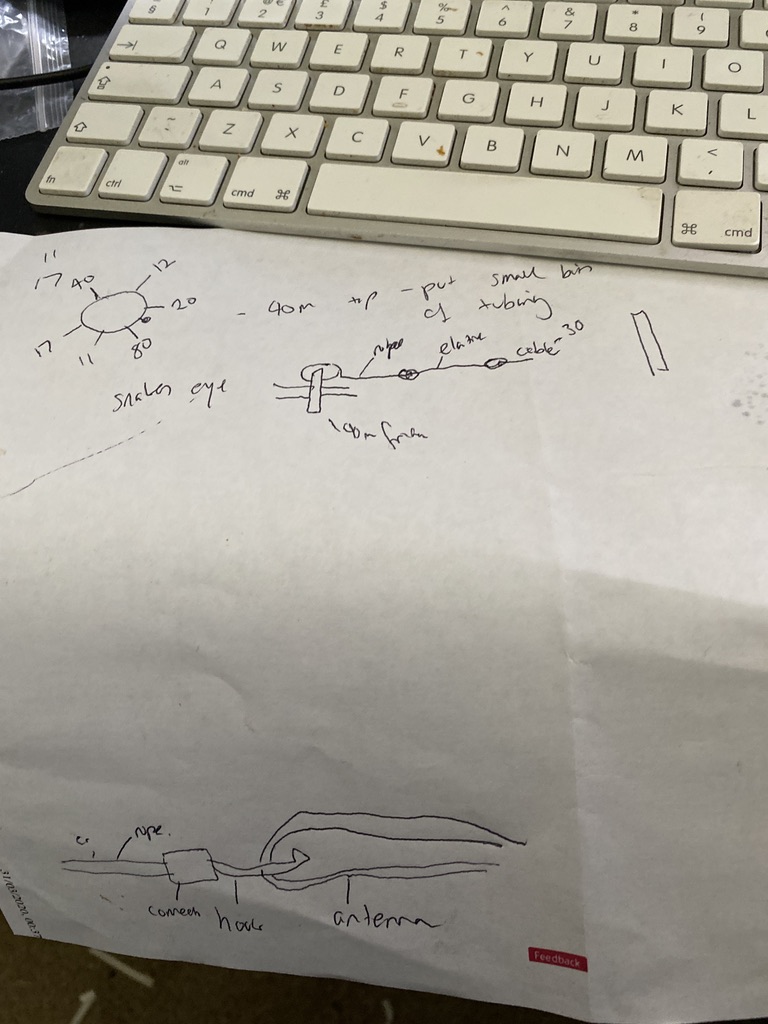
It was now time to start installing the verticals – whilst I had taken the time to label the guide, i hadnt done the plate, but the documentation is very good, so i refereed one more time to my print out. I had the lengths already pre-cut and labelled, although I would find out later on the ‘M7ALU wire cutting factory’ QA processes needed some review !

I feed 40m and 30m thru first being the longest and using electrical tape as needed to keep it in place ‘just for now’. I did have to undo the jubilee clips and put the guiding plates on correctly once more, but no big problem there ! I added some bricks for support to (try) stop the mast rolling off the bin.

So with the verticals fed thru it was time to mount them. I read the instructions a couple of times but was still struggling with getting the penny to drop, so headed indoors. I watched this excellent video to get some help

great section on how to install the verticals, great video overall !

With that I made some scribblings and had a better idea of how to use the supplied clips, rope and elasticcord. But where was the elasticcord.. I checked the list, yep I had checked it off, but I could find it no where, several times of going in and out I couldnt locate it ! I then thought, well, where did I last see it, then went back to my photo album on my iphone, there it was, i knew what i was looking for at least now ! So.. one of the things that happens is that I look for stuff, and cant find it and its actually right there in front of me – this was the case here ! After going in and out 3 times, i found it, unfurled, but exactly where I had left it ! Hidden in plain site, or just stupid.. lol.

I set about cutting lengths and using some of what i had learned from the video, it then struck me that the lengths of the lower verticals were almost identical.. .hmm, thats not right ! So i set about remeasuring with them taught and in place. Yep, sure enough I had added 1 meter to many to 17m ! I measured several times, then cut once more – perfect (he thought..) and attached the cord again, now that looked better. Suprisingly 20m was cut perfectly, even with the fold over !

I remeasured 40 and 30m, 30m was way off by another meter, so cut that to length again, then made tight with the paracord and rope. Once understood this is a really great system and keeps the verticals very tidy on the mast (he said…).

With that I brought the radials out and got them kind of tidy on the stairs, ready for attaching once the mast was about to go up.

With the assitance of my son Paul (who was playing some lovely tunes, not too loud, and heavy enough to enjoy) we go the mast up. The mast is very light, even with everything on it, but having two peole very much helps with health and safety aspect of the installation until the mast is guy’ed up nicely.

So with the mast up, it was really great to see it looking so good. Paul and I admired the view of the mast, whilst I was observing the effect of the wind and ensuring the guy ropes were doing their job correctly ! Everythign in physical construction worked really well, and don’t mind saying felt quiet proud of getting to this stage ! I attached all the radials, having dodgy knees and a hip these were phyiscally quiet a pain to install, but nethertheless, was easy enough. I can see why more permenant installations have these underground though.

With everyting in place it wsa time to start the analysis ! I did say to Paul before hand, if this works, it will be like the oscillisope, a minor miracle – as there are so many components that could make it not work..

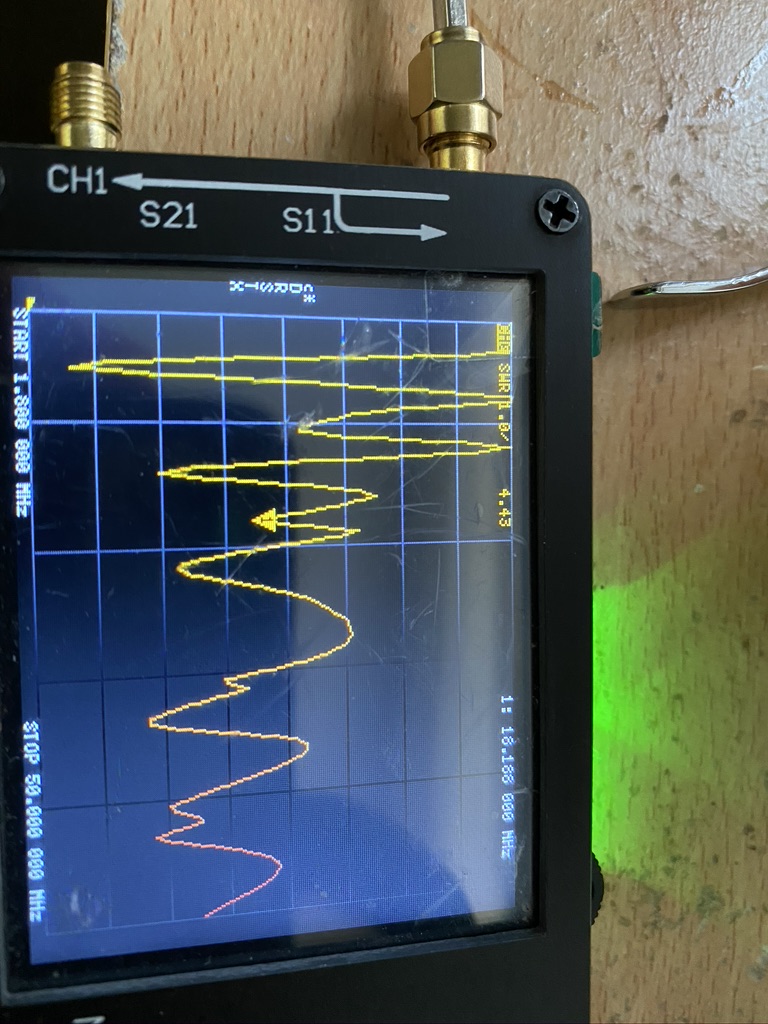
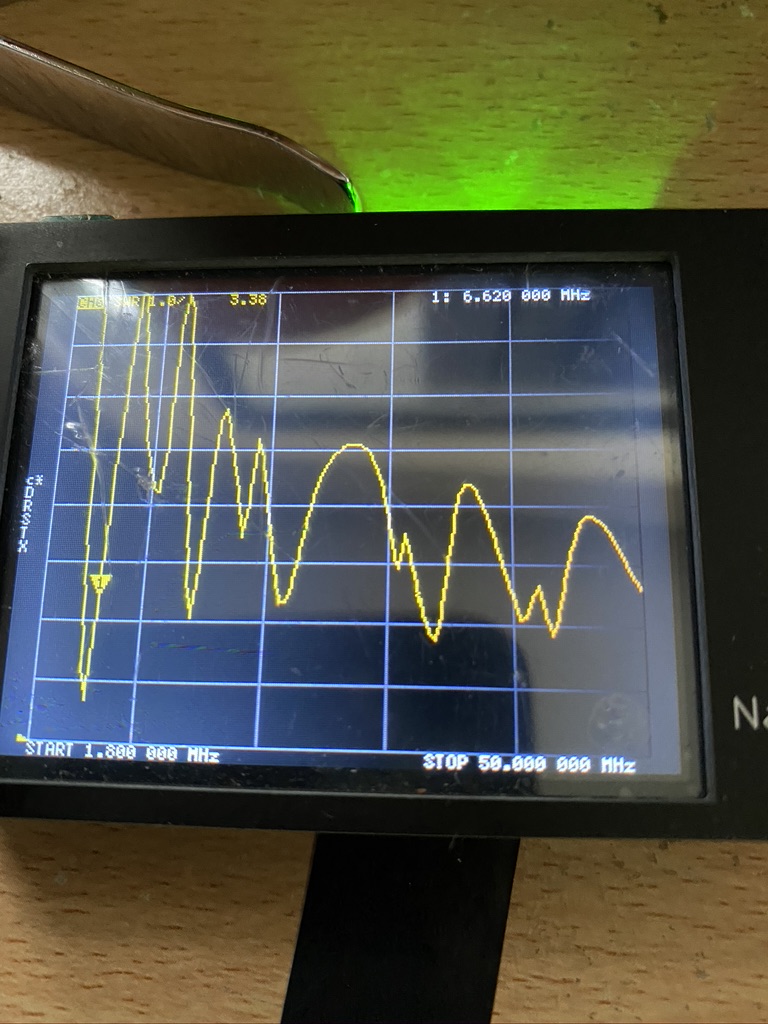
So i connected the NanoNVA to the feed wire in the ‘shack’ and as half to be expected the results on the amateur frequncies were quite some bit off. I also noted down the frequency of where the lowest S.W.R reading was, as this can guide in where the issues are.

Frequency (Mhz)S.W.R Result
5.6562.17
10.4765.14
14.3322.95
18.1864.42
21.5623.17
33.6122.85
43.2522.46
lowest SWR readings and associated frequencies

I then tuned the VNA to the amateur frequncies and recorded the midway S.W.R. reading, 20m could be useable for putting RF up, but 40, 30 and 17 were a long way off being safe to use. I like the SWR to be below 3, but for me 1.5 is my target. Even with 10W I would probably damage something and probably wouldnt get out very well as most of the RF power wouldnt be going into the elements.

MetersMid Frequency (Mhz)S.W.R
40m7.15.4
30m10.155.6
20m14.23.01
17m18.114.52
Amateur frequncy SWR readings

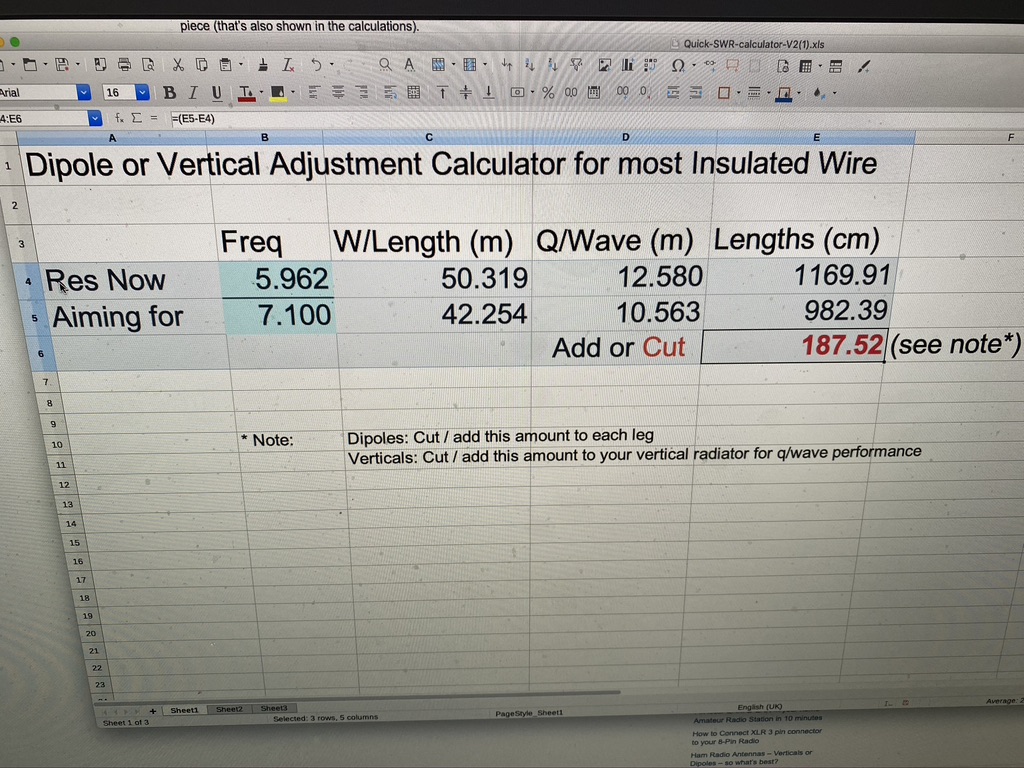
With the data in hand, i went to use the excellent DX Commander S.W.R. calculator to either cut or add. Unsuprisingly it was clear that I had too much cable on the mast. This spreadsheet really did make it simple when armed with all the correct data though, so thanks Cal!

I have noticed that the top 40m and 30m elements have become twisted around the top of the mast, so I will first untangle those before cutting to see what the results are like.

Not to be discouraged, i could still use my mast for listening and I could set about setting up my little Windows laptop to control the Kenwood via CAT control.

So there will be another day of tweaking and fiddling to get the SWR right down and there are a few more ‘final’ fittings to put on the DX Commander, but overall I’m really satisfied with the progress and just how good the DX Commander is.

More coming soon !

DXCommander Build Part 1 / Local DMR !

With the 2m/70cm antenna up and getting used to using the RT90 in UHF/VHF and DMR modes I can finally concentrate on assembling the DX Commander multiband antenna I ordered several weeks ago.

What is a DX Commander you say ? Well, it is a vertical multiband HF antenna created by Calum (M0MCX). I had been using my Buddipole in various configurations to use my Kenwood TS690S, which I dont mind saying, whilst rewarding took a fair bit of swapping/building each time. The DX Commander allows me to erect a multi-channle vertical which can be easily taken up or down, so suits my operating needs ideally, and best of all, its performance is amazing from what others and the numerous youtube videos show.

check all the parts

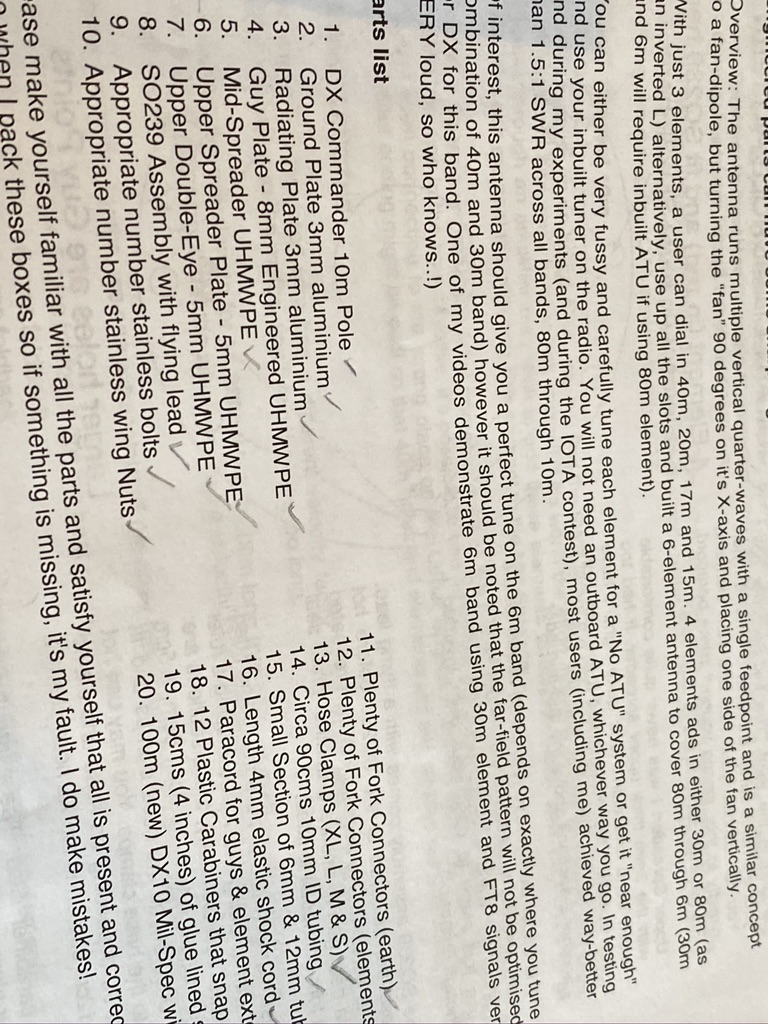
First off, check all the parts are there. When you get the DX Commander, it comes with a very nice (aesthtically at least) fibreglass tube and loads of other bits. Before even attempting to put this together, I printed off the instructions, read them, read them again – had a sleep, and read them even more. I then set about checking the components and am really glad to say *everything* was there. Of course everything should be there, but we have to consider that Callum is largerly operating this business as a family/his own thing – so all of the components are selected and packed by hand. Callum is a top guy and always says if you have an issue even with an existing part, he will do his best to help, thankfully there was no need to call up for any missing parts in this case.

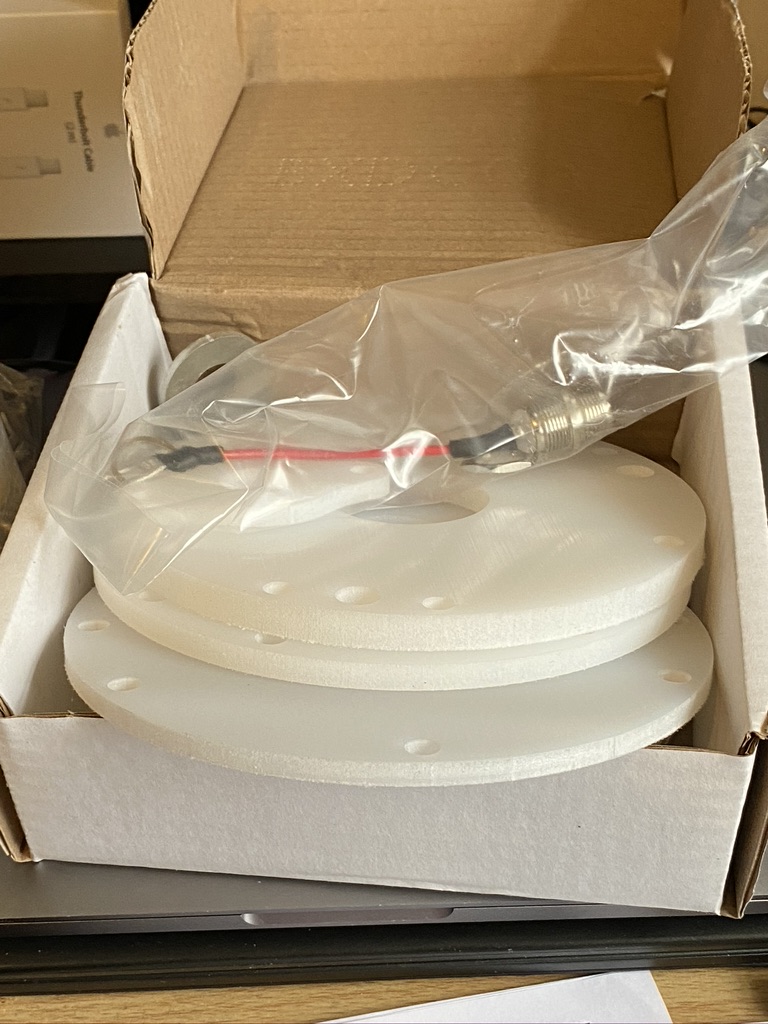
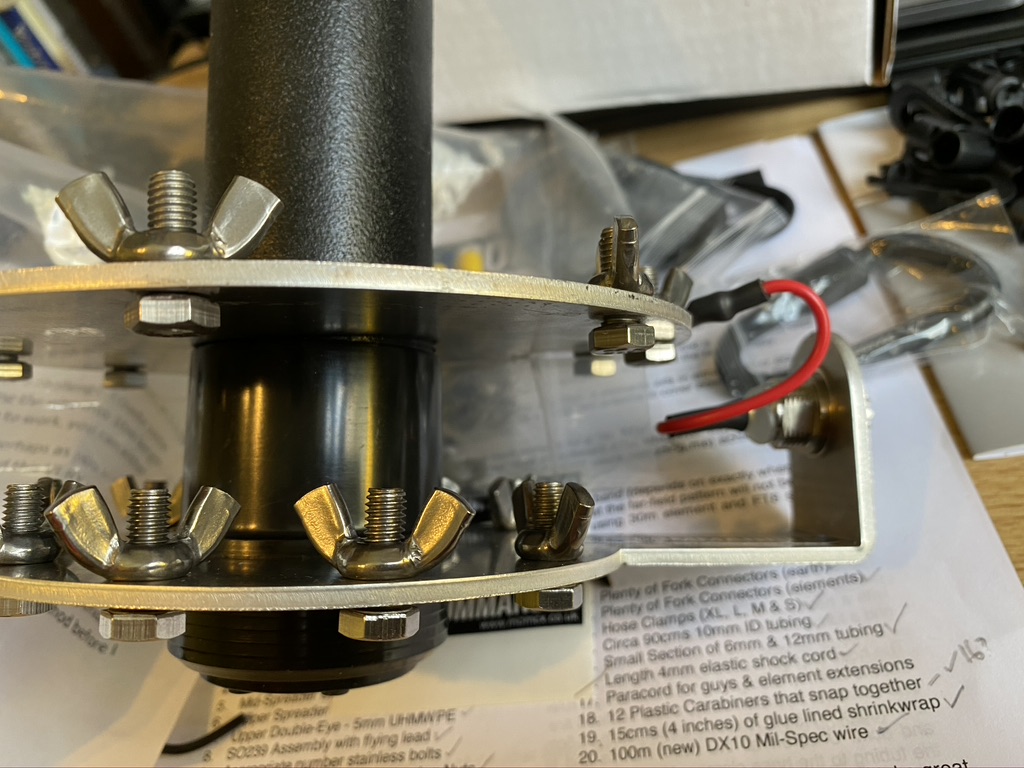
The water jet cut plates and SO239

Next was to understand how the ground and seperator plates worked, I didnt do this to any specific order, r.e. instructions, but felt it was a good idea to see how these aligned. They are really strong bits of plastic and the holes are very well cut (no cracks/tension from what i can see !).

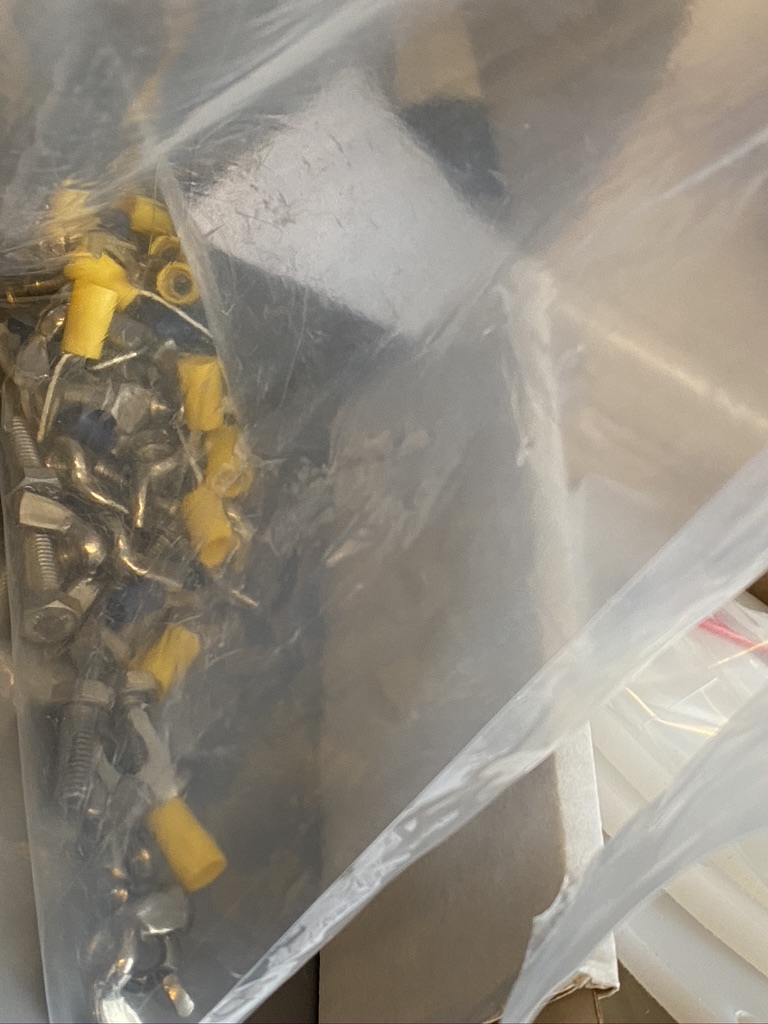
It may not look like it, but they are all components (and some spares!) for the DX Commander !

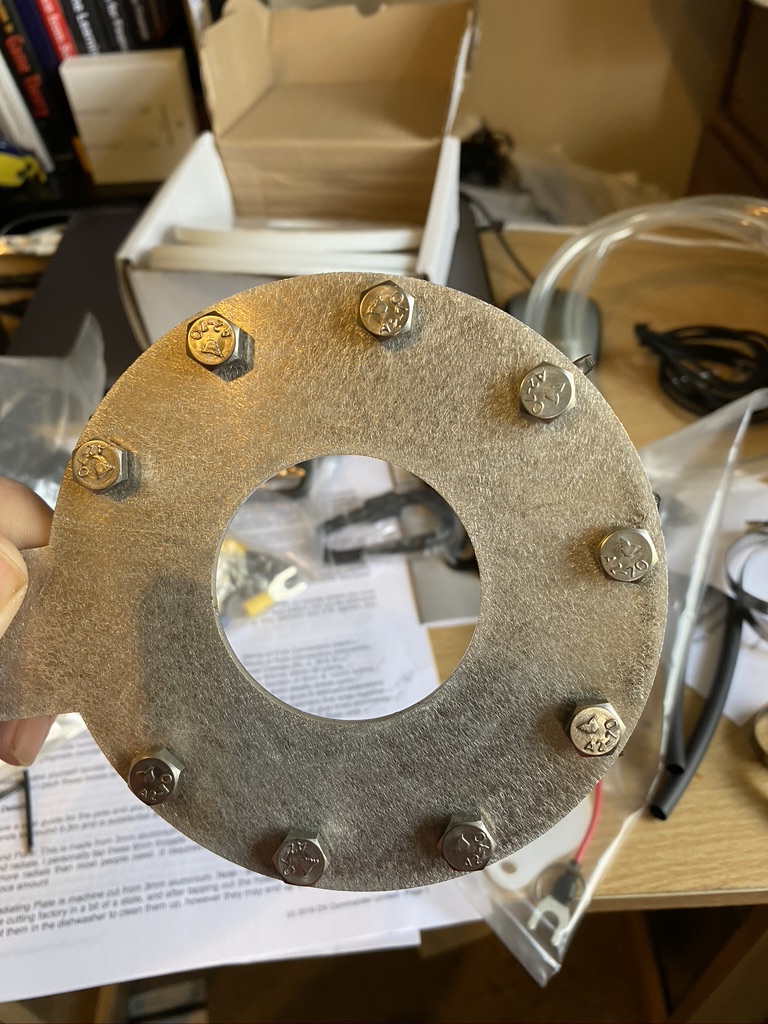
I then counted out all the screws bolts and connectors – again from what I could see good quality bolts and connectors. For the price, these are very good quality. The bolts give me real confidence that everything will be held securely to the base plate once outside.

top quality workman ship on the DX Commander plate

I then connected the ground plate to the bottom of the pole and slid the feeder plate over the pole to see how they would connect – have to say (again) you can see how well thought out the DX Commander is, its a pleasure to build and work with.

Seeing how it would all fit togehter indoors first

By now it was getting ready to do the next step – all the wires for the verticals. A cup of tea was required.

Time for some tea and biscuits, a nice cup provided from Aker Systems 🙂 (Do get advertising revenue on clickthrus…)

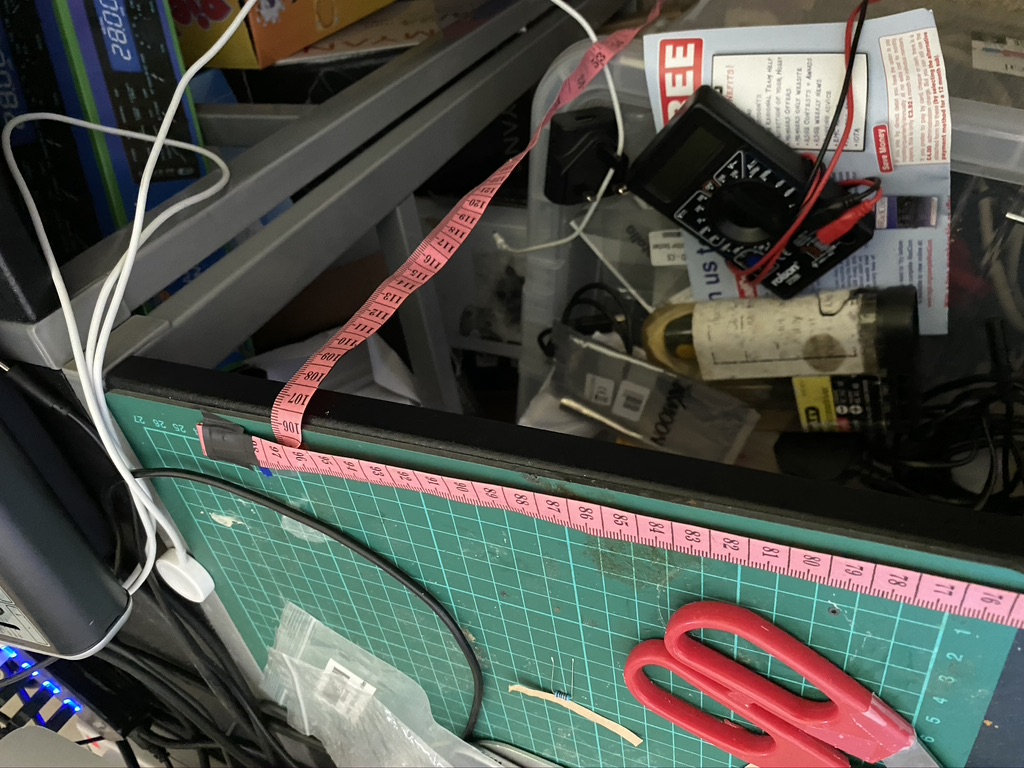
Now I’m not really used to making/measuring stuff, and wanted a good way of getting the right cable lengths. I do have a big metal retracable tape measure, but that seemed like overkill and owuld mean going outside to measure the wire. Instead I got my clothes tape measure (also use on Buddipole for whip lengths) and fixed a 1M length down. I then developed a process using a crocodile clip as a market to relibily measure the required distances. I measured MANY times before cutting, I can assure you !
The M7ALU wire-cutting factory, aka my desk with a tape measure taped to it

With the desk setup ready to start cutting, I then had to decide on how many elements to set it up for. My main interest is 40m to start with, as 80m requires some additonal consideration, i want for the 20/40/17/30 option.

Keeping it simple on 40, 17 30 and 20 to start with

I then referred back to the relevant part of the documentation to get the lengths I needed, then set about measuring and cutting.

Noting the wires I want and the lengths i need

I really took quiet a bit of time with measuring, cutting and although not in the instructions, ensuring continiuity between the connector and the end of the wire – reason for this is that whilst I’ve got better at component soldering, my ‘mechanical’ soldering (i.e. joining things for ‘strength’) still leaves alot to be desired. Even with crimping I wanted to make sure I had a working full length of wire before getting it outside and finding out it waswrong
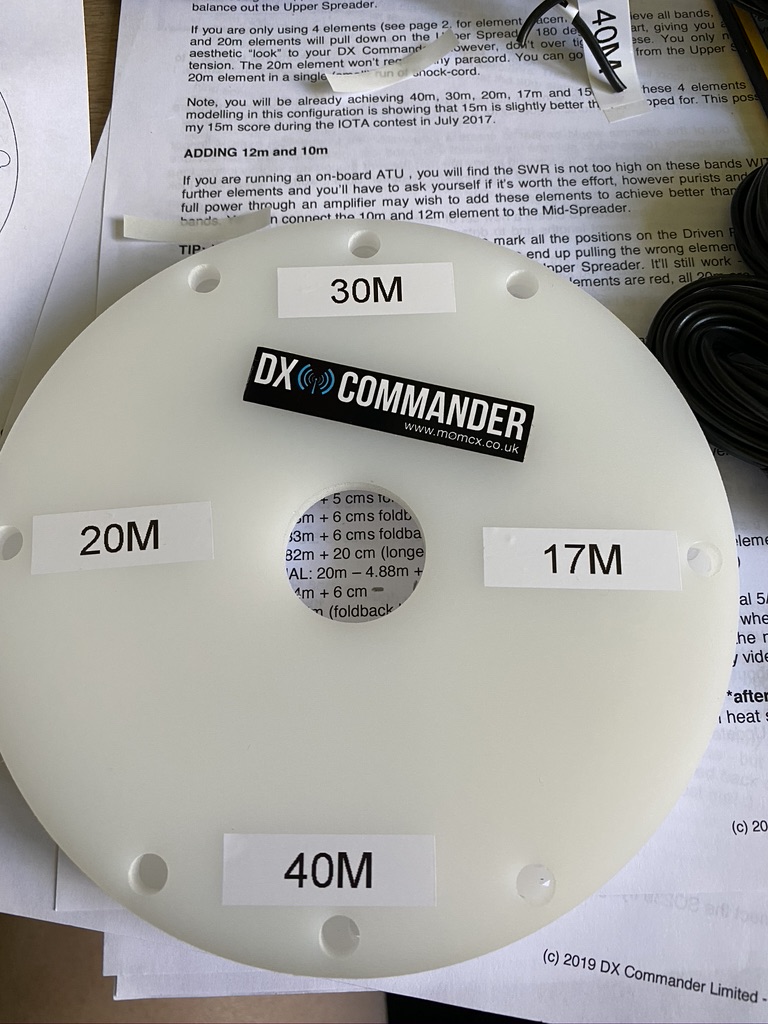
Next step was to label up the discs. I’ve not used my labelling machine in a while, so the first thign to do was to make sure it worked and I was happy with the text size. Thankfully it worked and printed beautifully.

Labelling up the discs for the relevant frequencys

I think i have got the orientation of the wholes correct relative to the SO239, but even if I Havent i can print more lables, but I think I have. Still, its looking good !

Thats all the verticals done, have since added the connectors and started on the radials

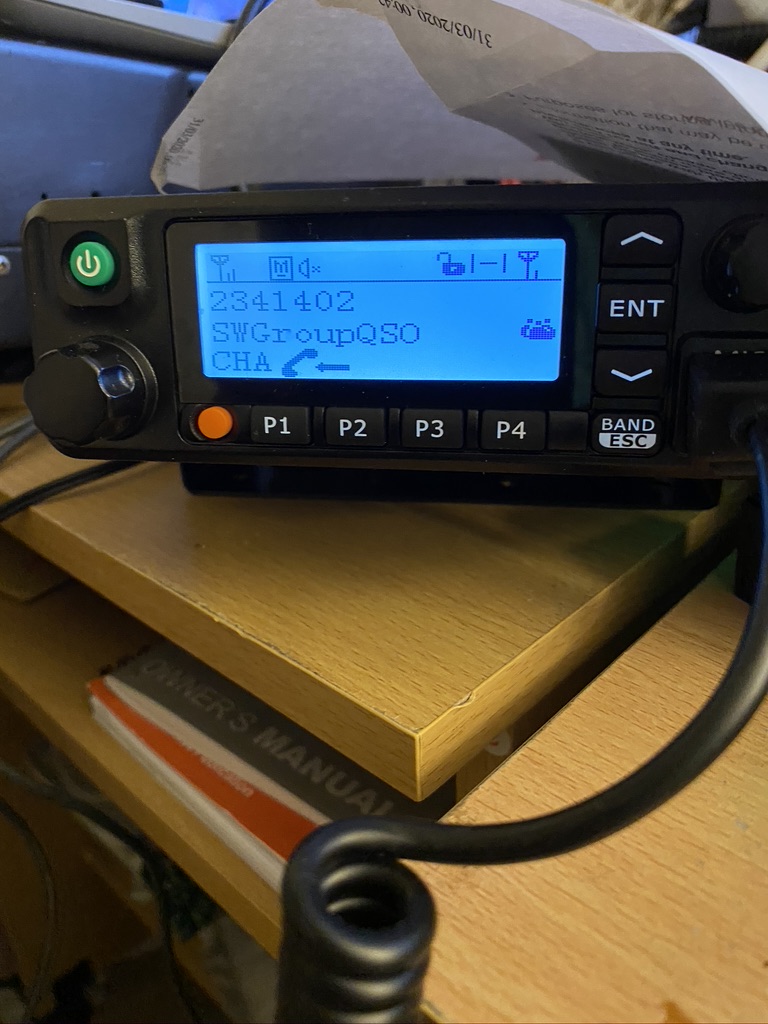
Having completed the verticals and one set from a bunch of four radials it was time for a break and to relax on the radio for a bit. The local repeaters were as busy as ever, so I went back and looked at my DMR Channels – one I had configured, but was wrong due to my newbie status was the local digital repeater (GB7DR) and SW Group talk group. I adjusted that config, pushed it to the transceiver and as luck would have it was able to listen into a very good net for half an hour before having my own QSO with G7FBD who gave me a very warm welcome and told me of the other nets which occur on the talk group.

Finished the evening with joining the local repeater via DMR and SW Talkgroup

I’m looking forward to progressing further on the DX Commander tomorrow, I’m not sure I will get it finished, its not good to rush something like this, but will surely add another post.

Have some more kits to finish up on, but thats worthy of its own post soon !

Until then 73’s and take care,

M7ALU / Alan