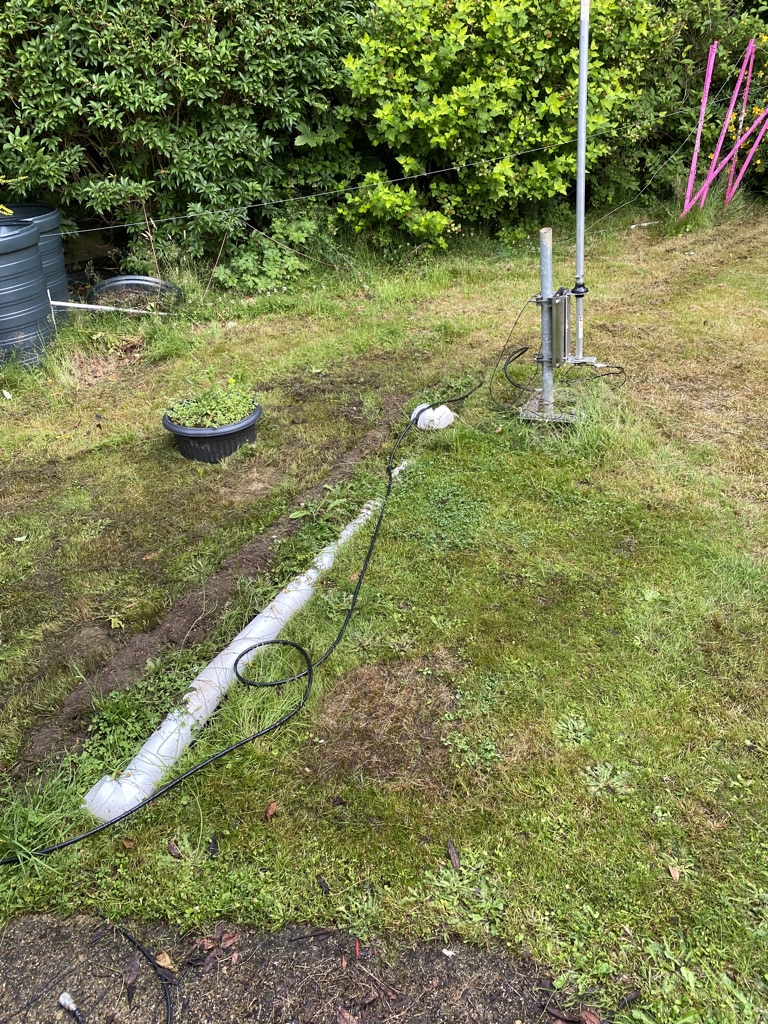
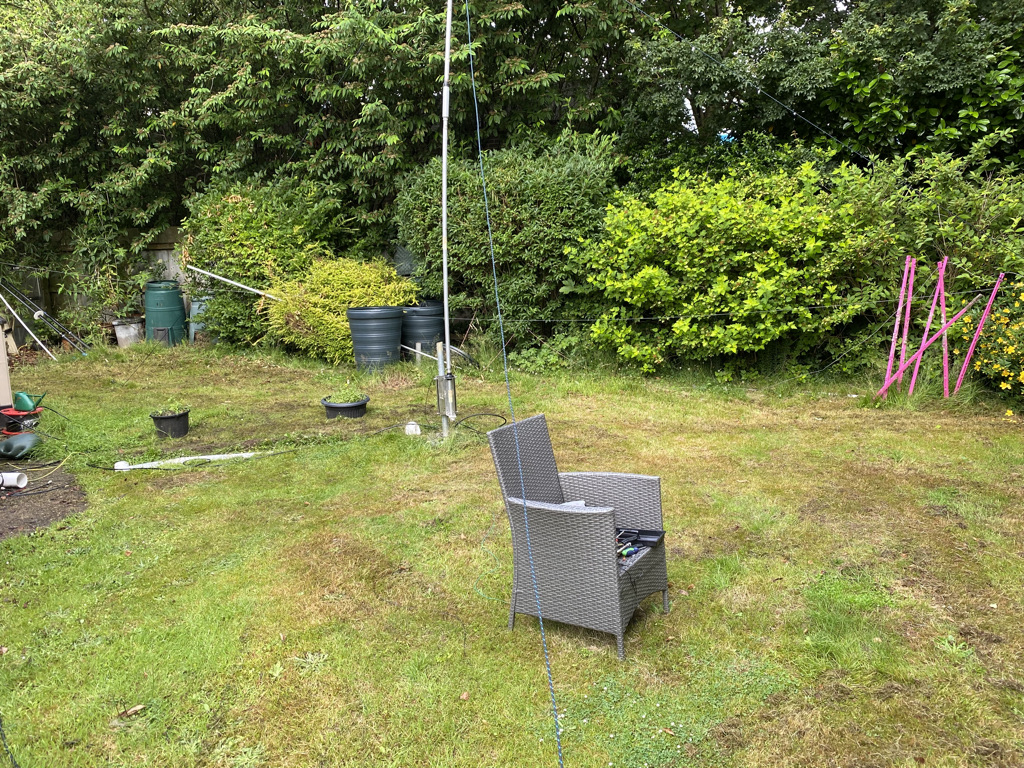
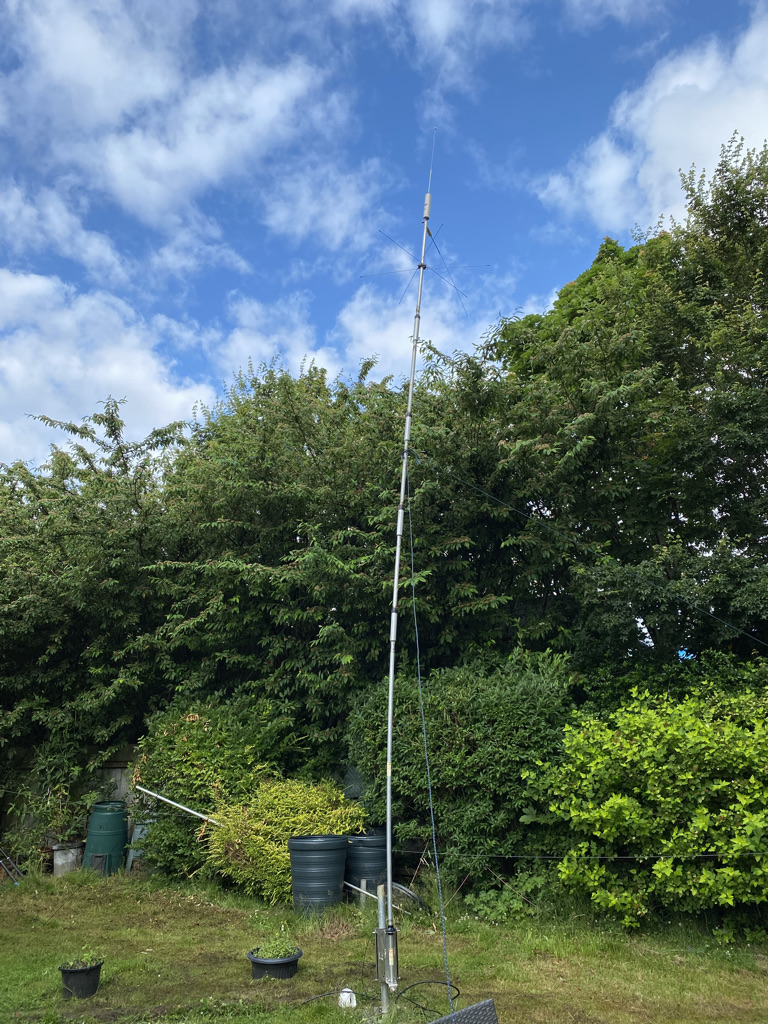
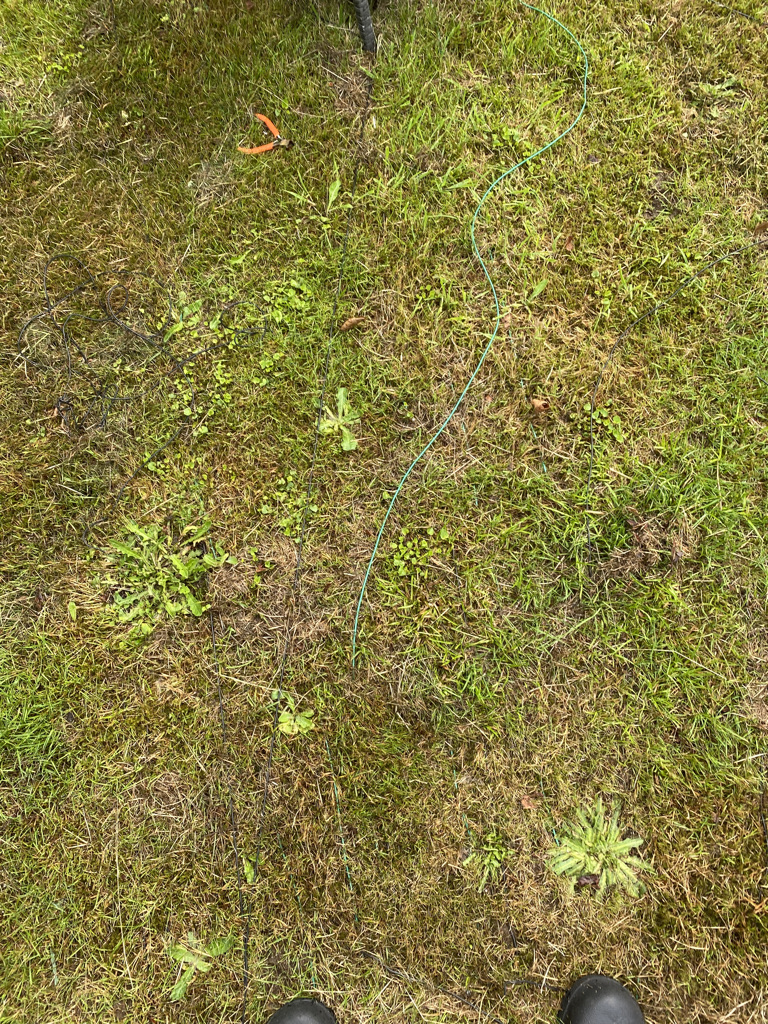
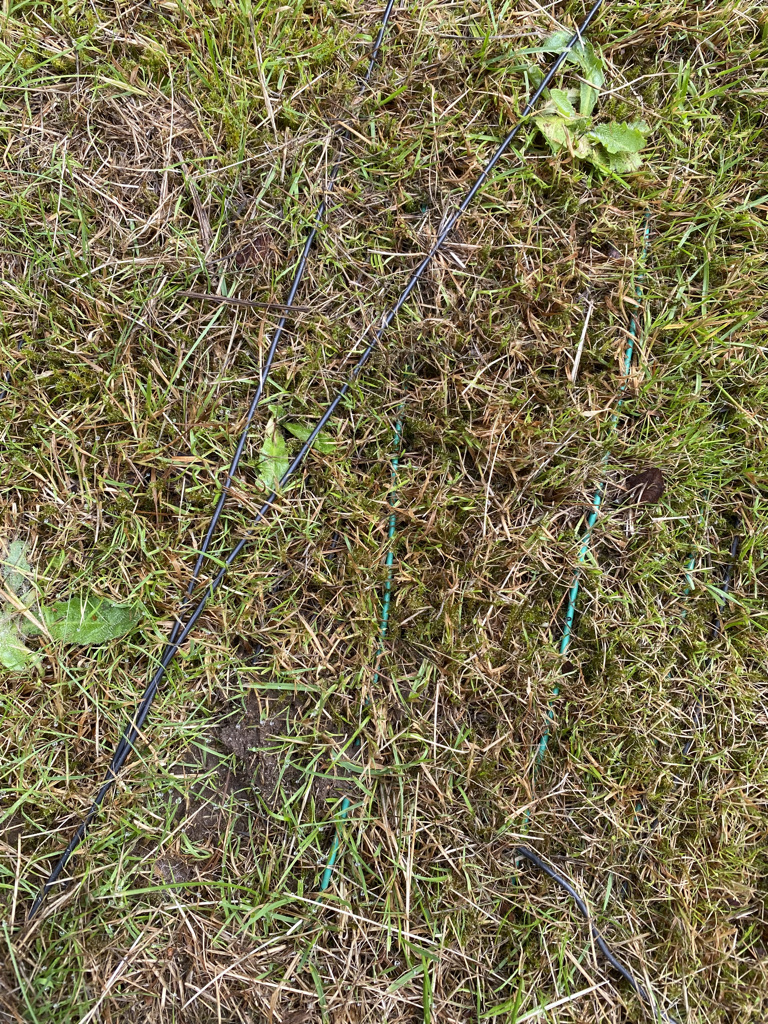
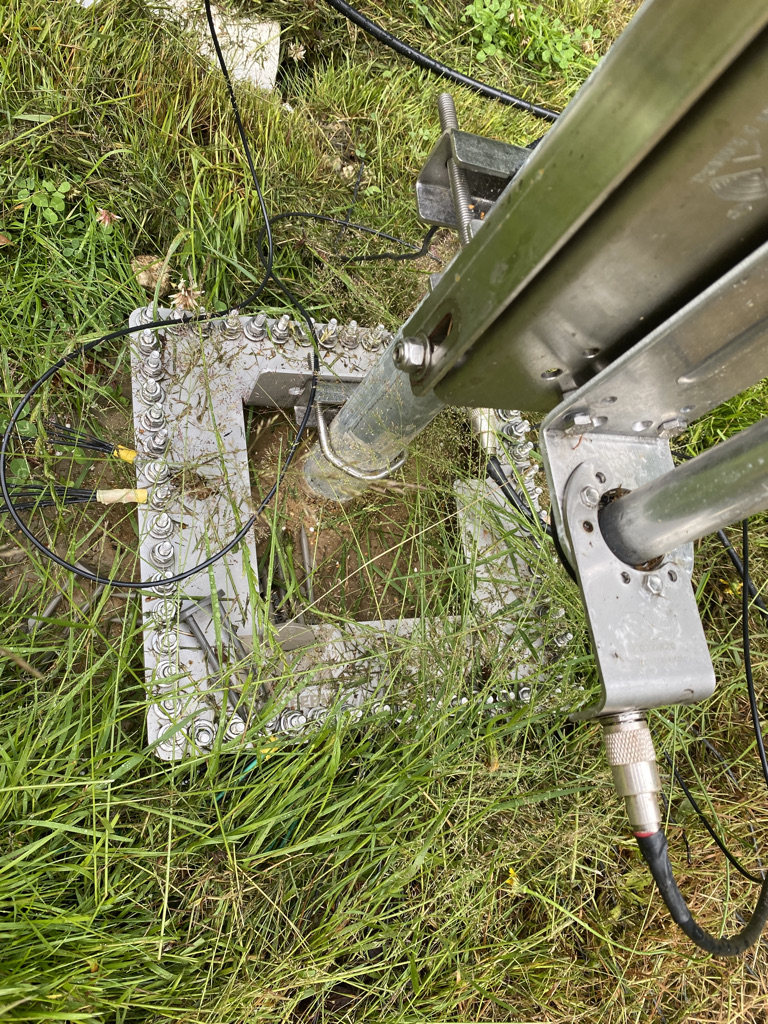
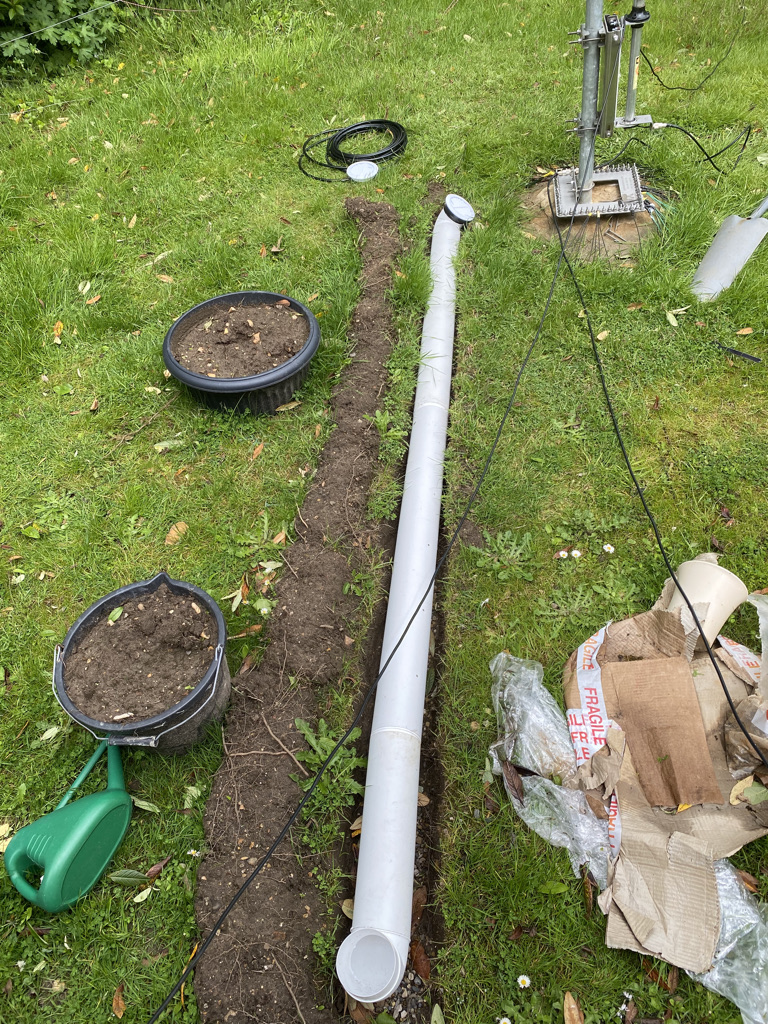
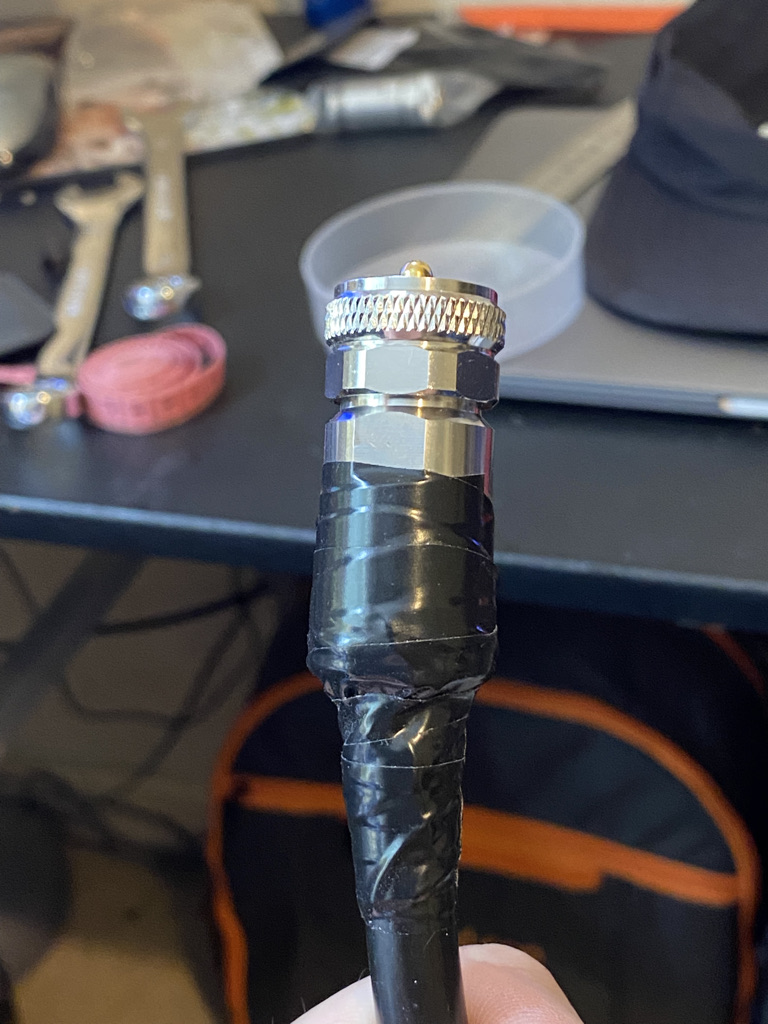
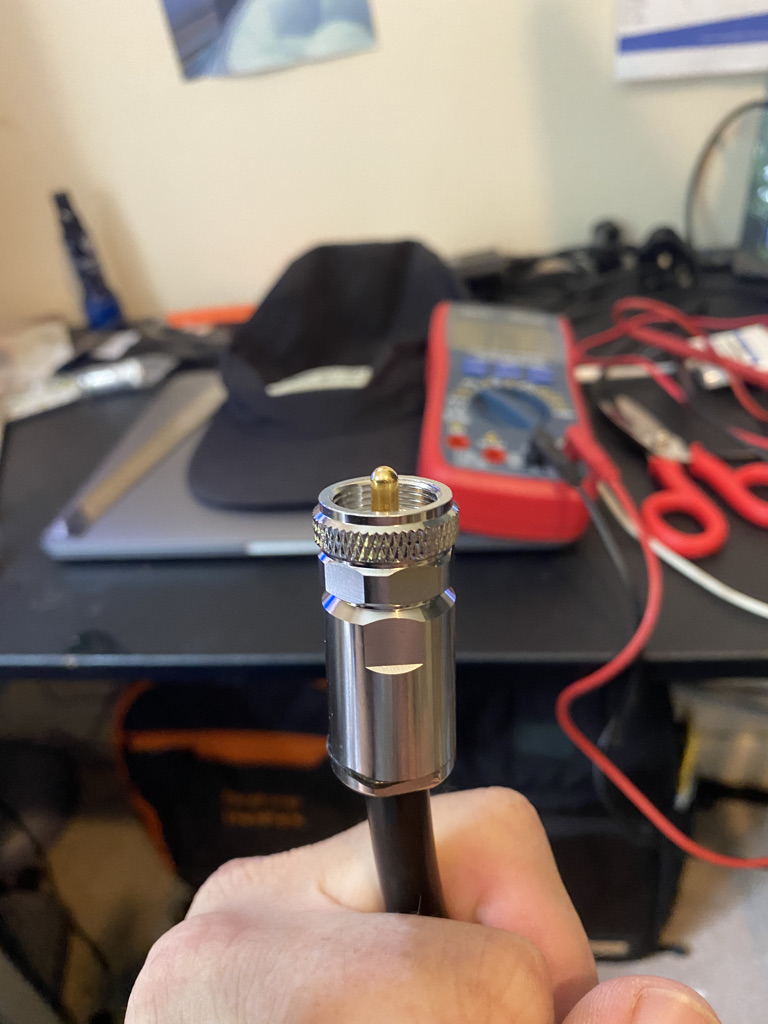
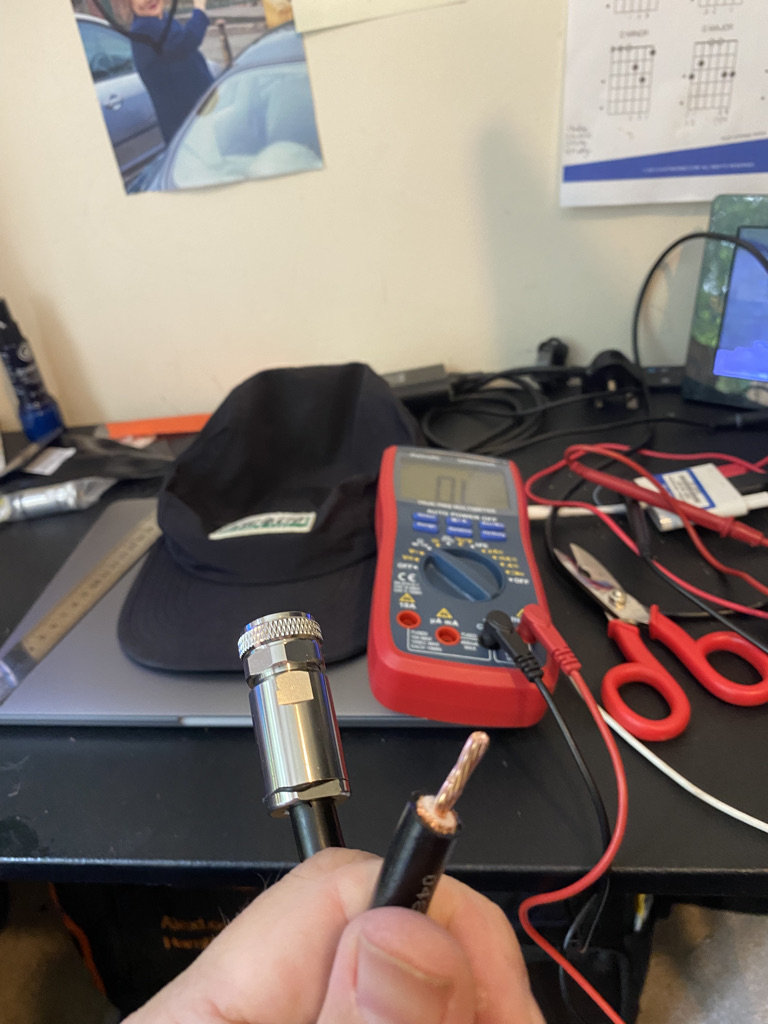
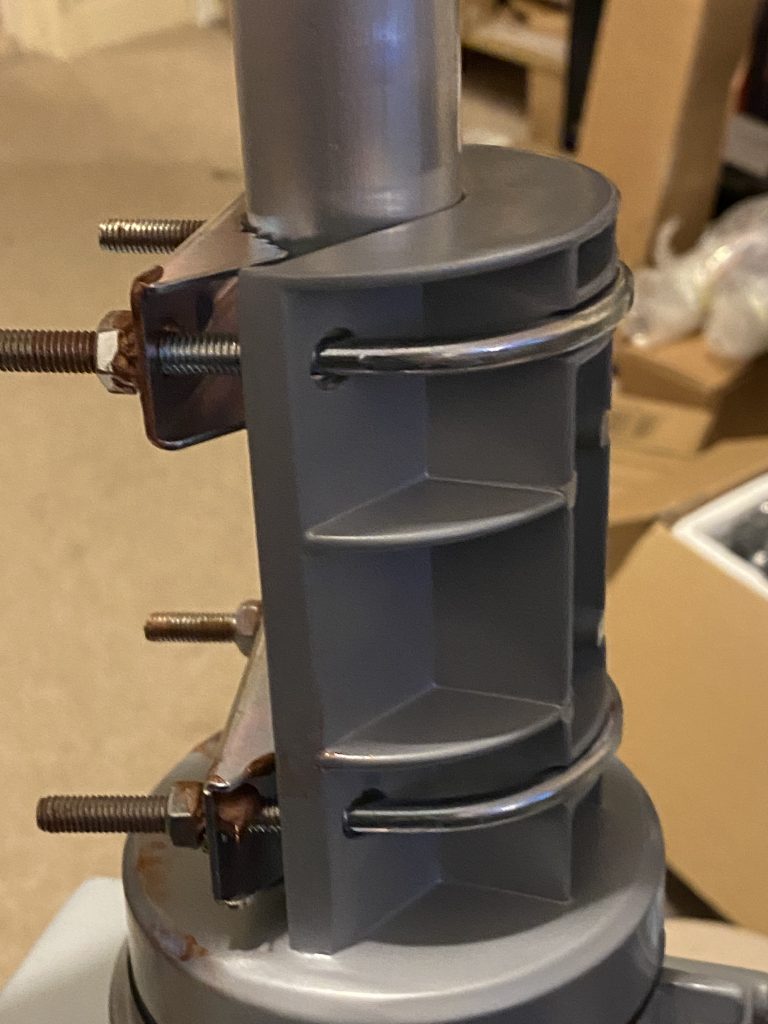
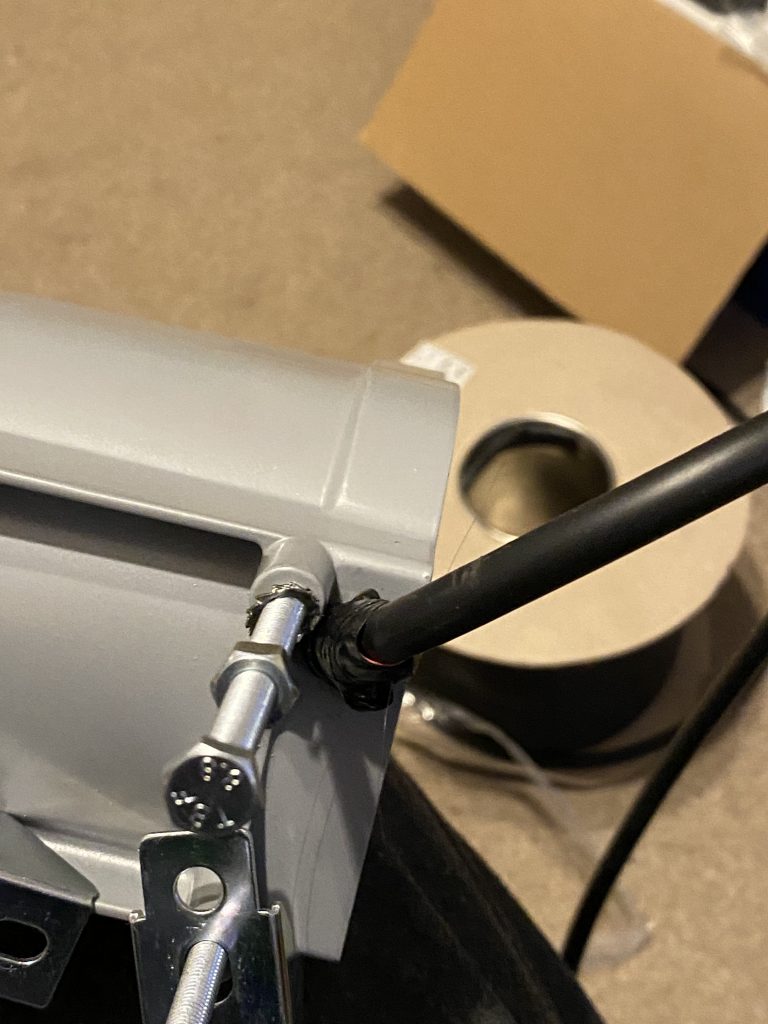
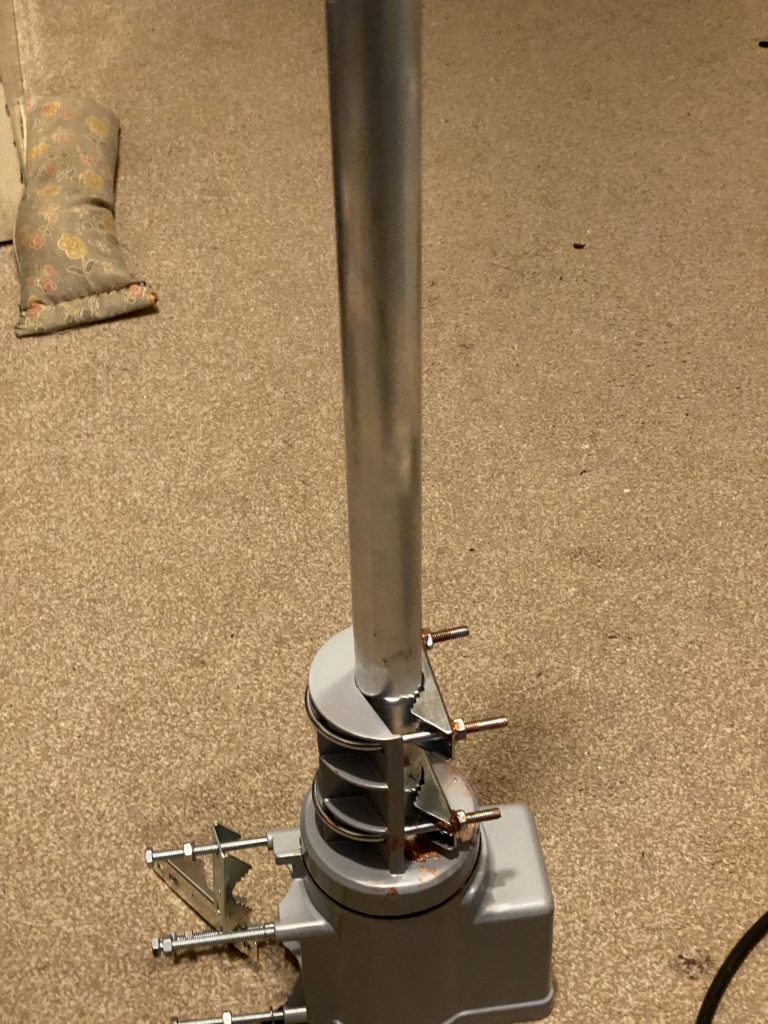
So this weekend i really wanted to complete my feed-line for the 6BTV, its been ‘dug up’ for a few weeks and its case of making up the coax to feed into it. I’ve made many feedlines/patch cables with other coax and SO239 and PL259, but the M&P coax and connectors, well, are just really testing my patience.
The video for making this cable up, makes it look so simple, even this young lady (ND2L) can do it.
And the M&P official video makes it look easy enough
I’m using ExtraFlex bury, so it requires that 5mm incision to get the collar in.
I tried soldering, cutting and fitting the plugs as per the videos. On my first attempt i didnt get a good result on the resistance, but thought to give a try anyway, but yep, it didnt work.
I stripped everything down and tried again, I only have a metal ruler for measuring lengths, but done i best i could with it, and i dont have a decent knife, i actually ended up cutting my finger and blood was everywhere 🙁
I tried again and was frustated that again i didnt get the resistance outputs that was needed for an installlation. I cut the ends of the cable off. Repeat *4. On the 4th time it was now 20:00 BST and I was getting very tired of doing this, so just stripped everything back and had a rest.
Fast forward 12 hours I took a look at what the problems could be in my method. One the measurement was not good, the ruler wasnt good enough for the job, and more critically the injury from the blade was bad. I’ve ordered a measurement tool and a proper stanley knife. I’m really hopeful I can get this to work, the cable and plugs have cost *alot* and more importantly have cost me alot in time now.
TL/DR – use the right and safe tools when working with coax and plugs (I’m) not familiar with.
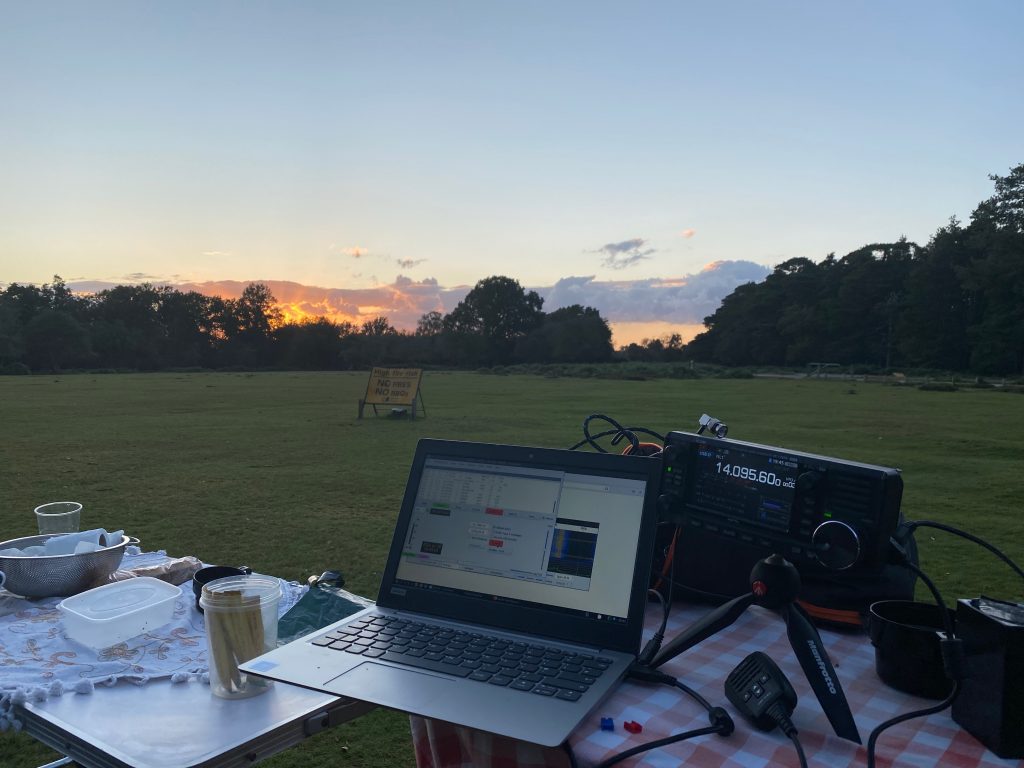
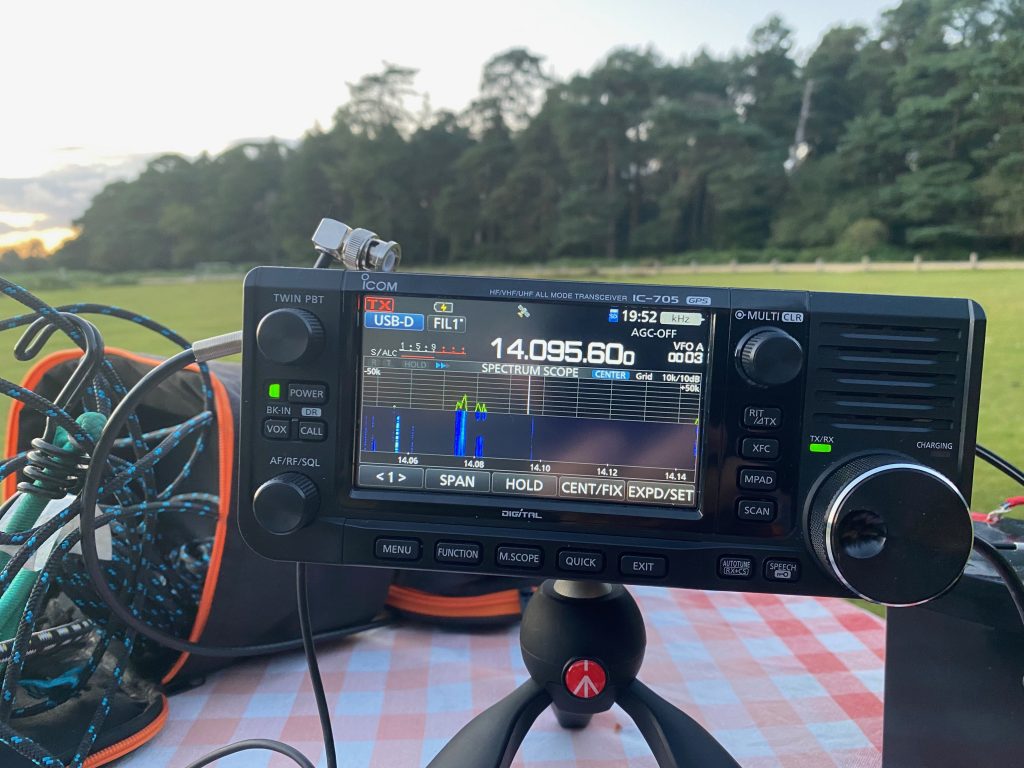
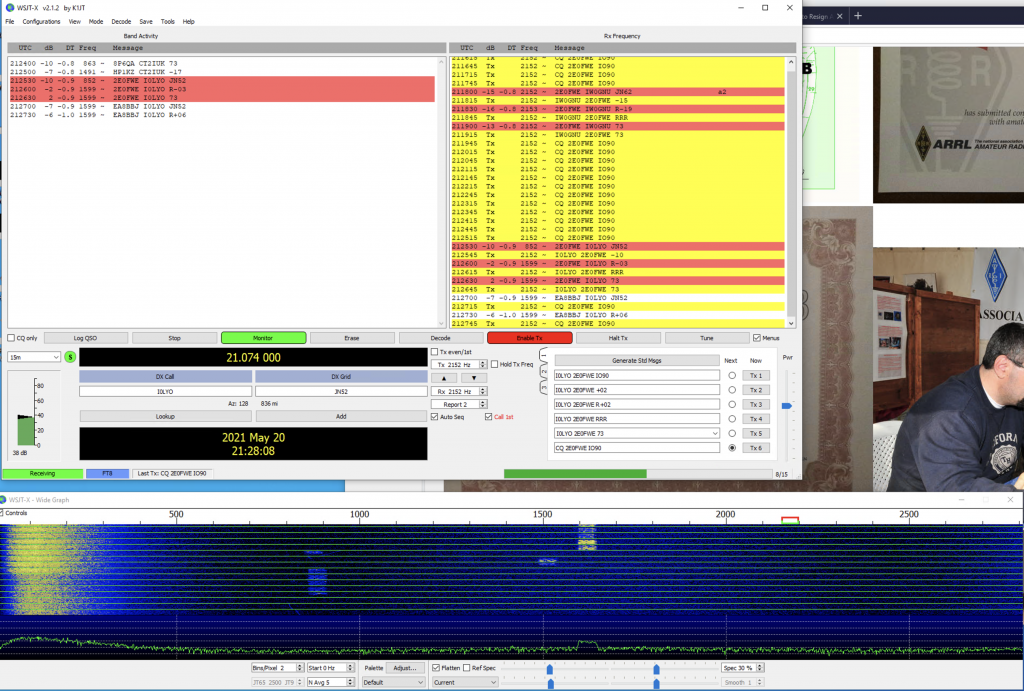
Was just playing about on my radio with FT8, having had one phone QSO on 20m to Italy, then a number of FT8 on 20m as well, thought, lets give 15 meters a try. Having never really persisted at using 15m, it was an ideal time as I could keep an eye on WSJT-X and tidy/file stuff at the same time.
The band looked completely empty when I started, but as the CQ’s keep transmiting, lo and behold I was rewarded with a contact !
FT8 15m contact
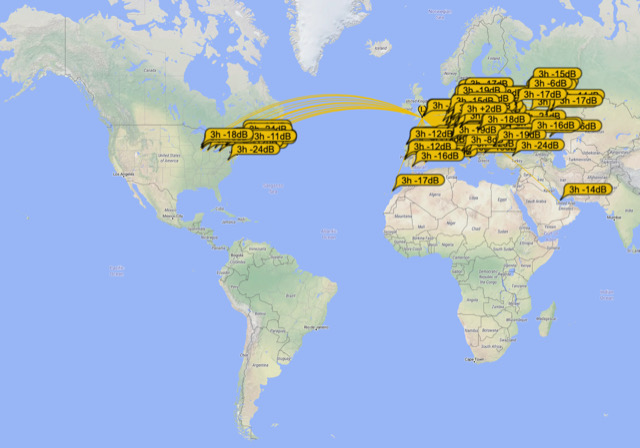
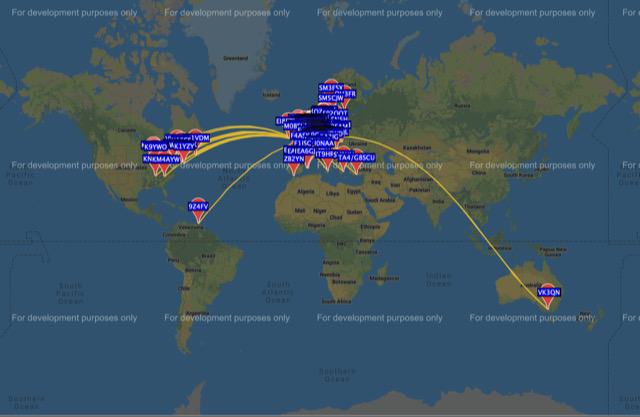
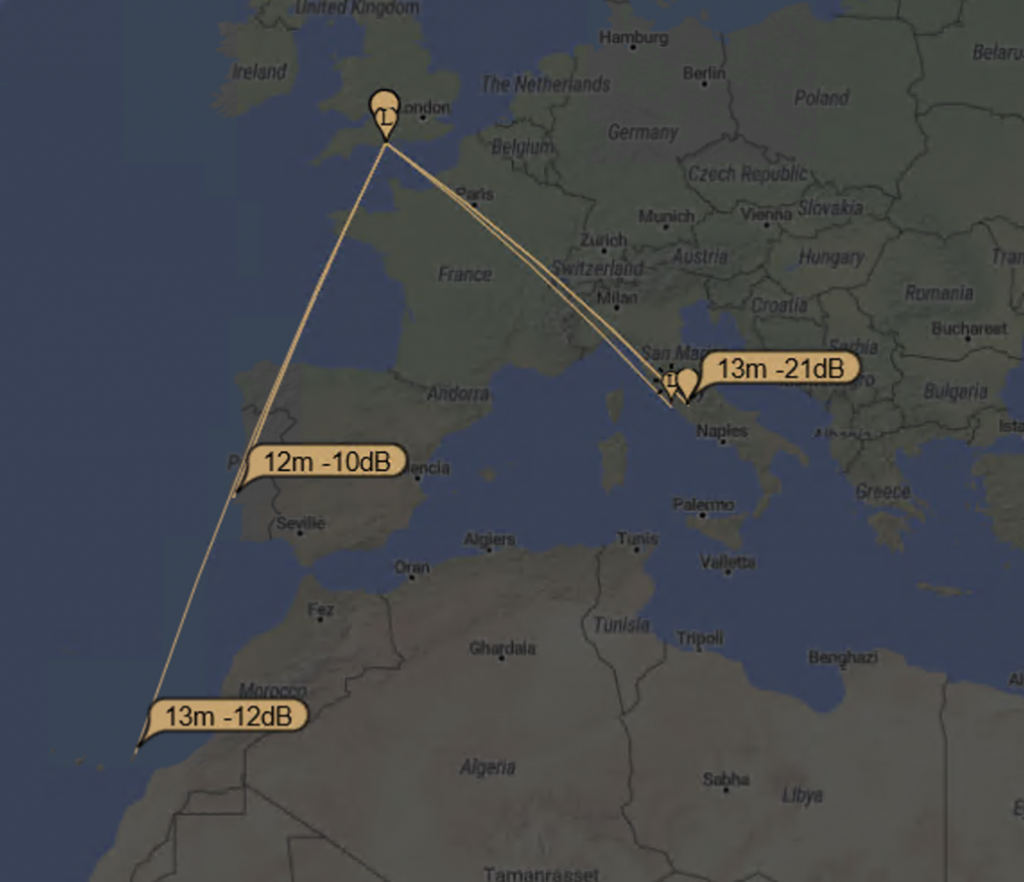
There was even some reports to see on PSKReporter !
Reaching far on 15m with 50W of power
I was really suprised, and impressed, with how well the 6BTV is doing, its such a great antenna and I’m getting more out of it every time I have time to use it on the frequencys I previously didnt really use.
Moral of the story is, if the band looks dead, still give it a go ! you never know who you might contact !
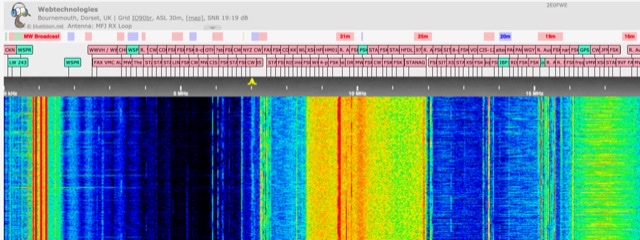
The great thing of having a WebSDR is the ability to monitor a huge amount of the HF spectrum visibly.
CB Operators on 27Mhz – mostly SSB, heard alot of French and Irish.
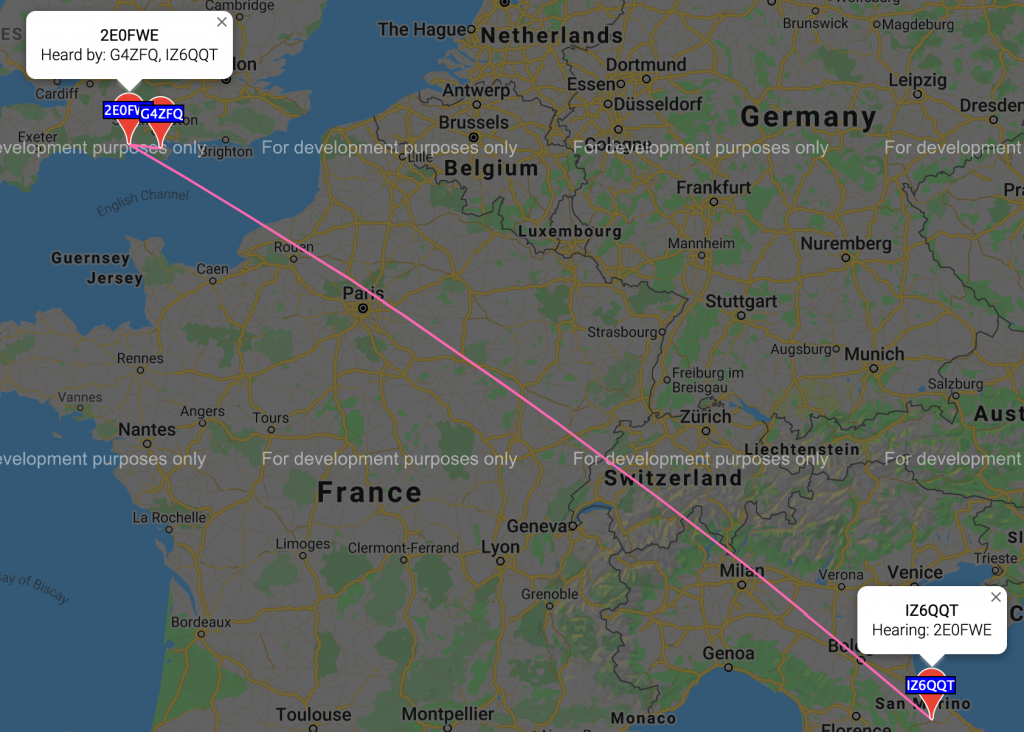
Seeing a sudden surge of red comms in the KiwiSDR, I then set about transmitting WSPR packets. And sure enough, I was reaching Italy with 5W on 10M !
WSPR on 10M with 5W
I still have my 2M/70cm and 6M beam to complete, but this really motivates me to get that done sooner rather than later, I hope the ‘skip’ season is around for a while, but it wont for me thats for sure !
In the mean time, here is an excellent video from Oxford Shortwave Youtube channel, demonstrating the reach he has on his 2m antenna, something I’d reallly like to do with FT8 as well !
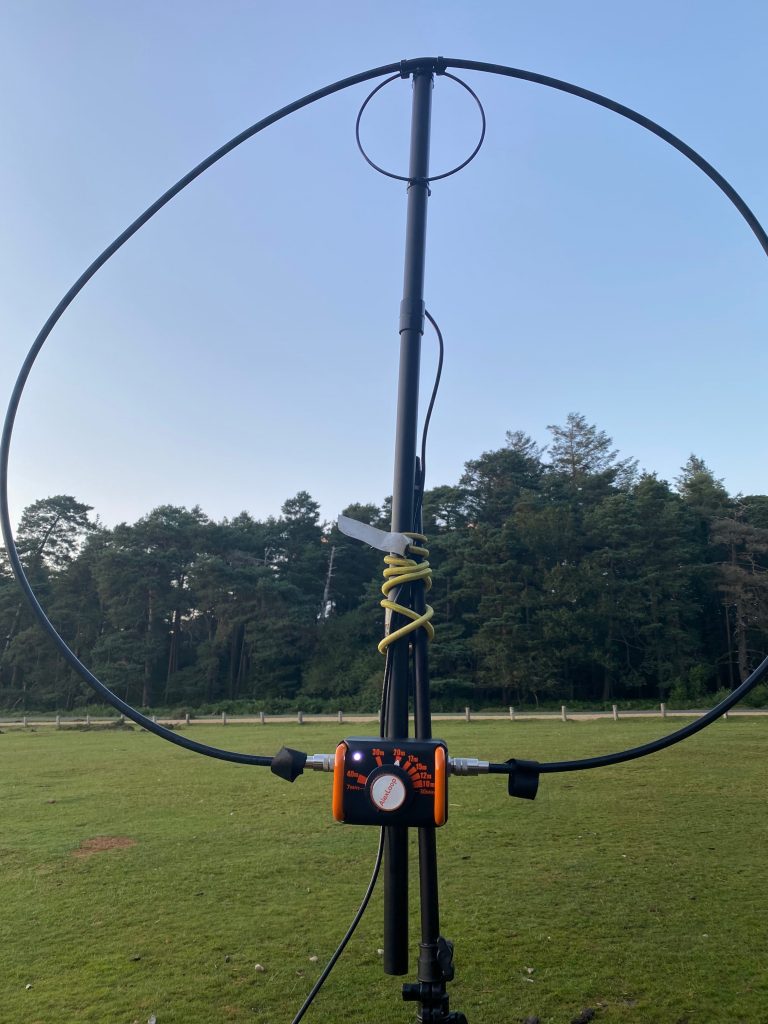
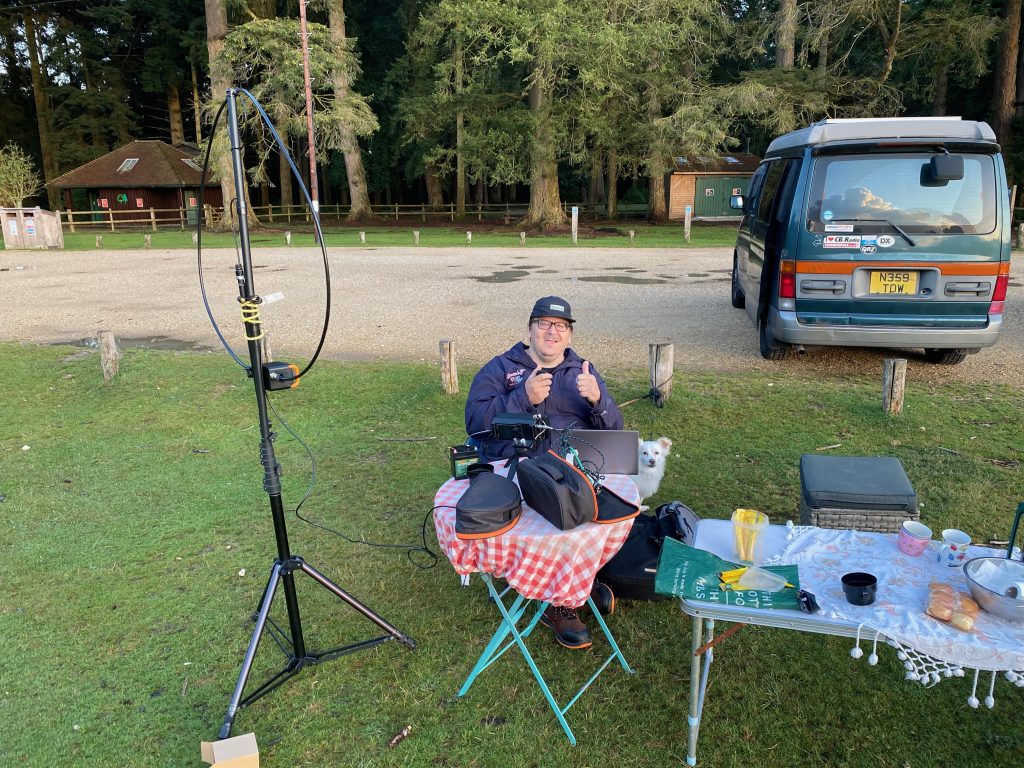
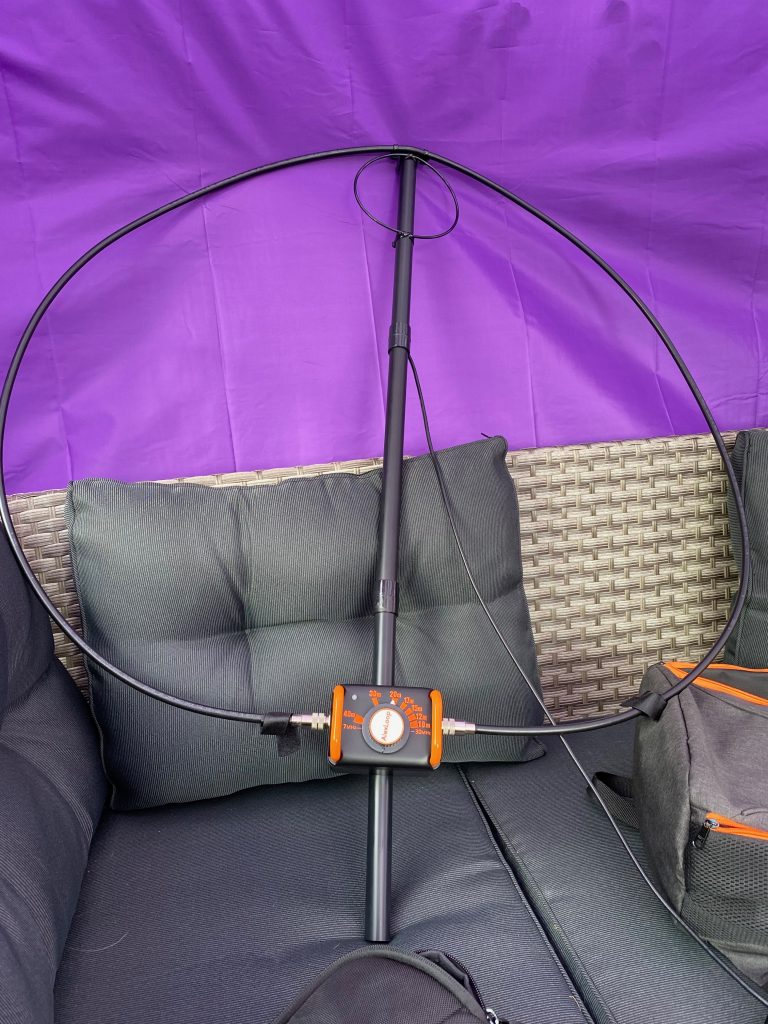
Just a quick one really ! I’ve got an AlexLoop here, and cant wait to try it out.
I saw this excellent video from Waters and Staton
Alexloop Hampack
I was just wow, got to have one, but the price, eek, thats scary, but look at the performance in video i was conviinced this is the right portalable/QRP antenna for me. Ironically W&S didnt have any in stock (step in Nevada) who did, and wow, it was here quick !
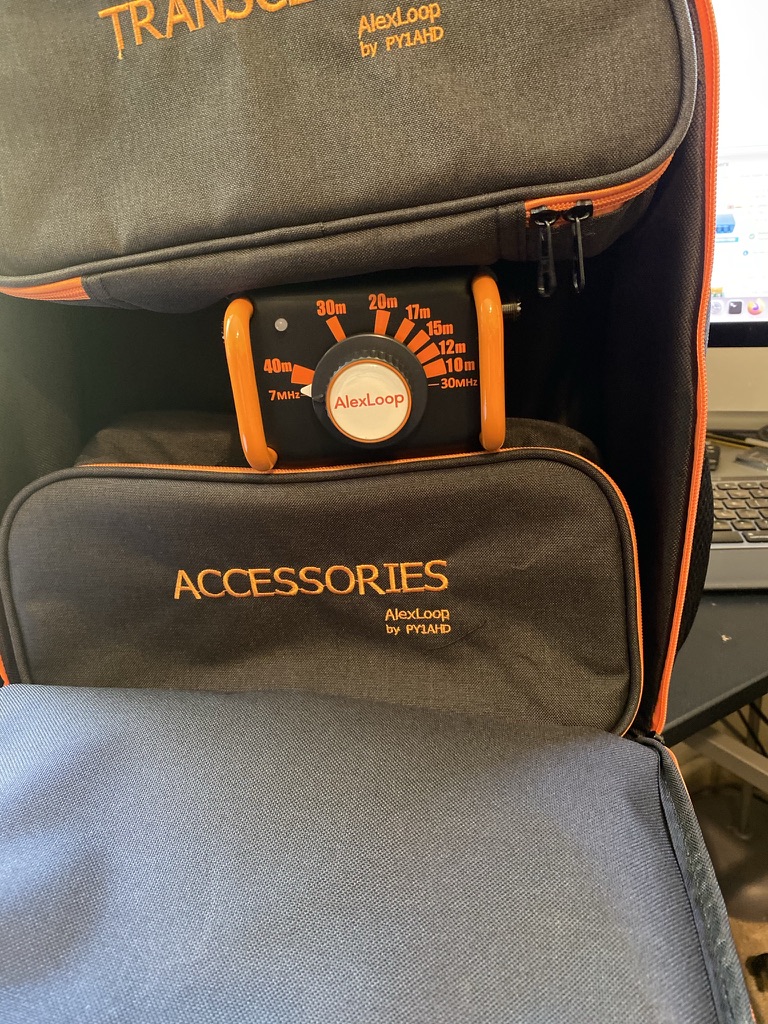
that tuner is solid and smooth
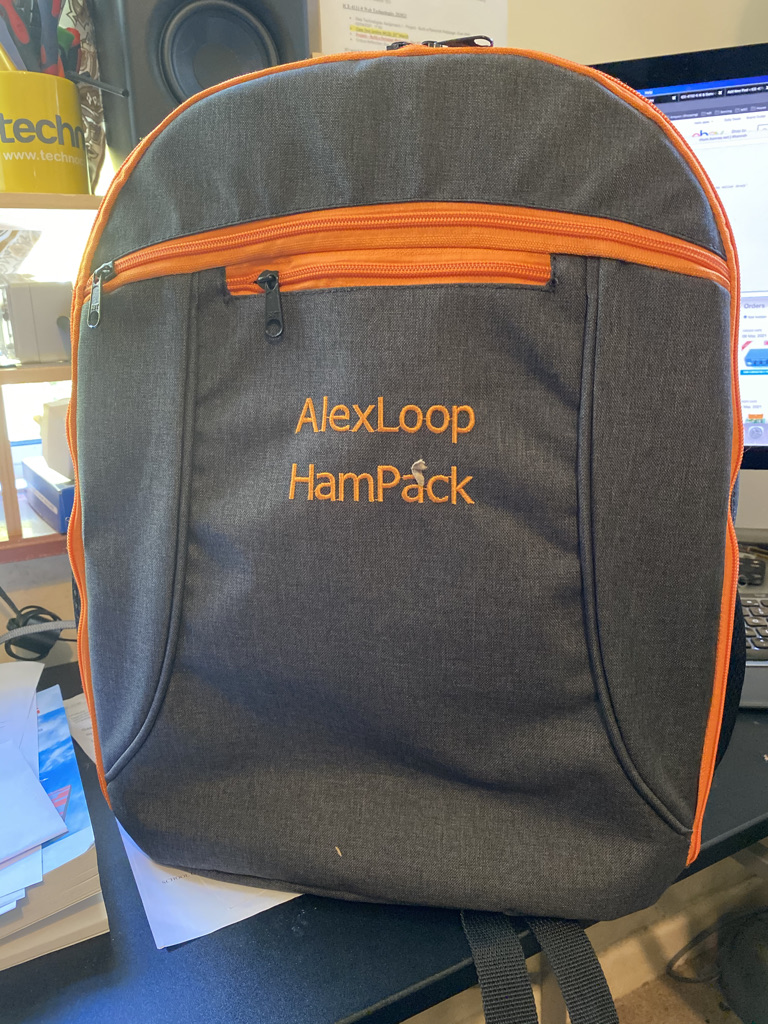
smart and great looking rucksack
alexloop
The eagle eyed of you would see a number of books on my desk as I’m currently very busy with my AI&Game Design module of my MSc, i’m hoping that I will get enough time to have a play with it over the weekend. I’m super excited thats for sure !
Having enjoyed a nice drive down to Poole Harbour after work I tuned around after a day of WSPR activity on the 7300. Results showed that the bands where pretty closed from the QTH, so I wasnt expecting alot of contacts.
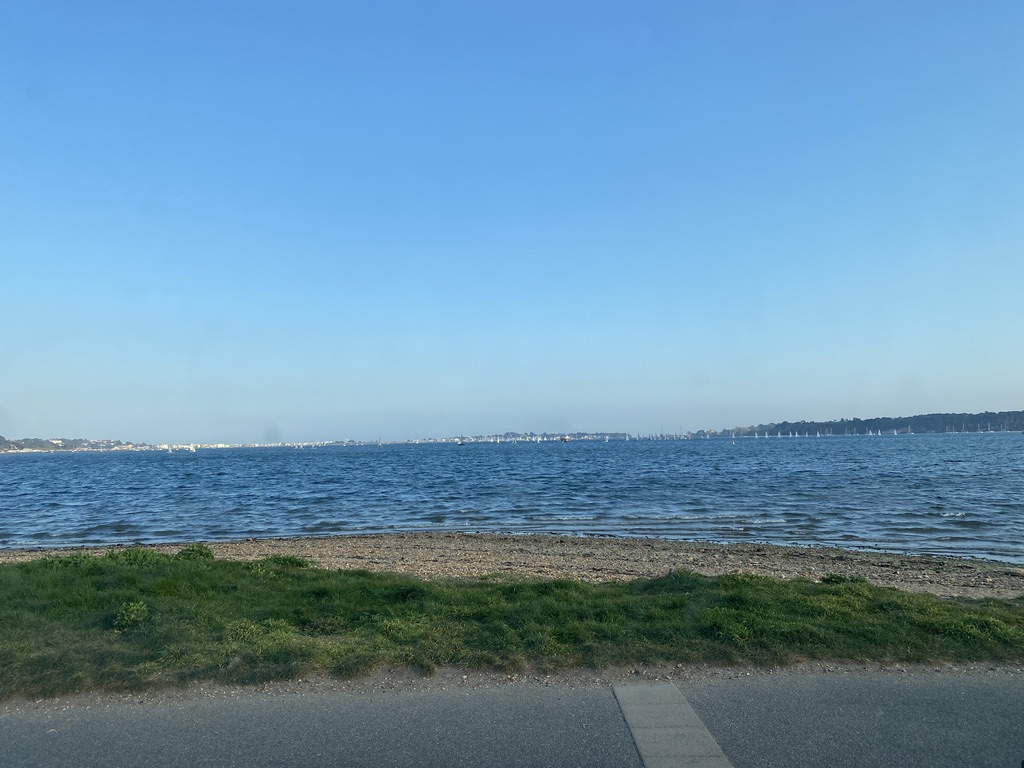
A relaxing evening down in Poole Harbour before heading home – need to go /M from here !
I was tuning thru some of the programmed memorys in the 7300 to see if there was any activity, but it waws all quite, but then on 10m (28Mhz) a sudden group of very clear conversation, and interesting as well.
I listened in for around 30 minutes as the group discussed upcoming holidays and mobile operating along with the setups to be taken, a very interesting topic as its something I would like to do myself. It was great to hear other operators discuss band conditions as welll.
Having built up enough courage I waited for a gap to get part of my call sign in “2E0” I got out as quickly as I could as not to interrupt the flow. Thankfully on my 2nd attempt I was picked up and introduced to a friendly group of local operators, the furthest being Blandford and exceptionally clear. It was geat to hear that my setup was equally clear and we continued to discuss my Hustler setup. I was also informed of another ‘net’ on 10M lower down the bands, which I then went onto monitor, waited for an opputnity to introduce myself, and then made some contacts. Operating hear was much harder with interference and conditions making the signal barely audiable.
I did put both locations in my 7300’s memory for next Wednesday evening and it was great to have a decent QSO with local, friendly operators, furthermore it was great to see how well the hustler was doing in difficult conditions.
I will be doing further work on the 6BTV hopefully this weekend and puting the feedline underground having ordered 10ms of Extraflex bury so it can go safely underground.
Good day all ! Making this a quick one as its interspersed with Univserity Assignments and Tidying the shack !
So I have made good progress on building racking and getting things ‘generally in place’ around the shack, its still a right old mess i dont mind saying, but its getting there, and better than it ever was with the old tables.
I had some valuable input from a fellow HAM on my WebSDR that the VDSL interference was plain to see, so after a few years away from Virgin Media, I’m resuming my Internet access from Virgin, once that is in place and all my ‘essentials’ proven to work, I’ll discontinue my IP/VDSL link, hopefully that will reduce the QRM.
QRM Visible via KiwiSDR
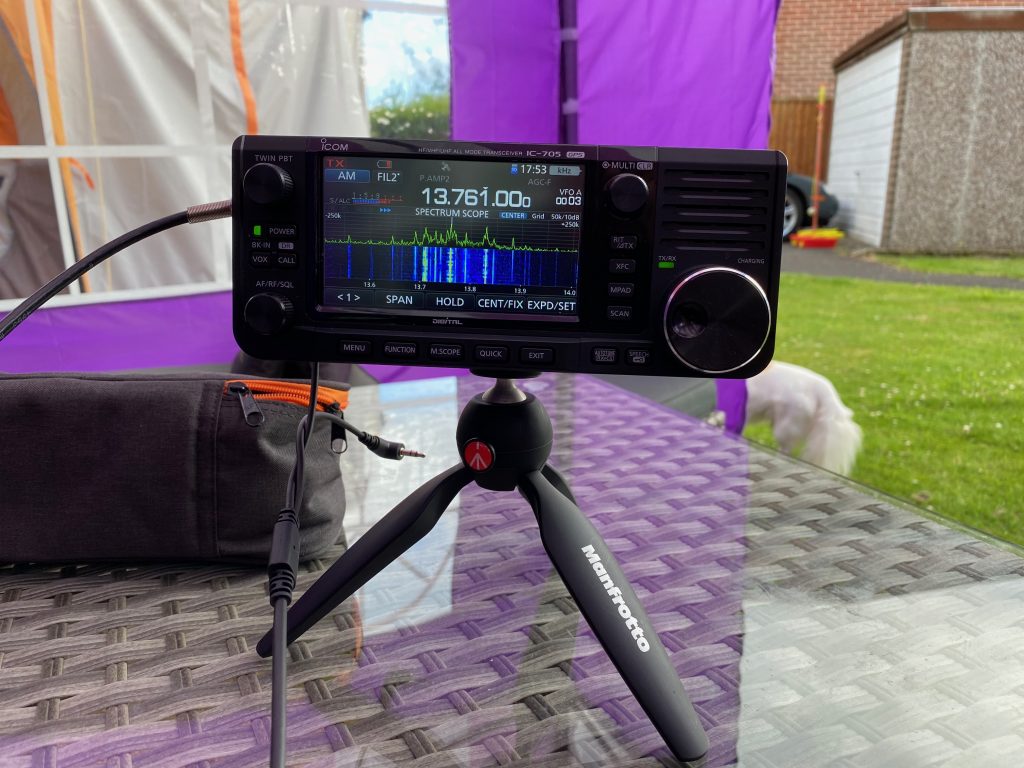
I did have a chance to play with the IC705 in the garden this weekend, but results on the portable antennas were slightly disappointing.
results from the ‘toybox’ antenna
I did put on a measured radial for 40m but the nearest resonate frequence was a massive 3kHz away ! If the weather holds up, i’ll try out my buddipole, as for temporary use its worked pretty well, whats more i can configure it for VHF/UHF as well by constructing a JPole, so it might be the best antenna for the IC705 without an additonal outlay on more antennas.
I’m going to be quite busy with a couple more Univeristy Assignments and work-work, but will do my best to keep the blog going !
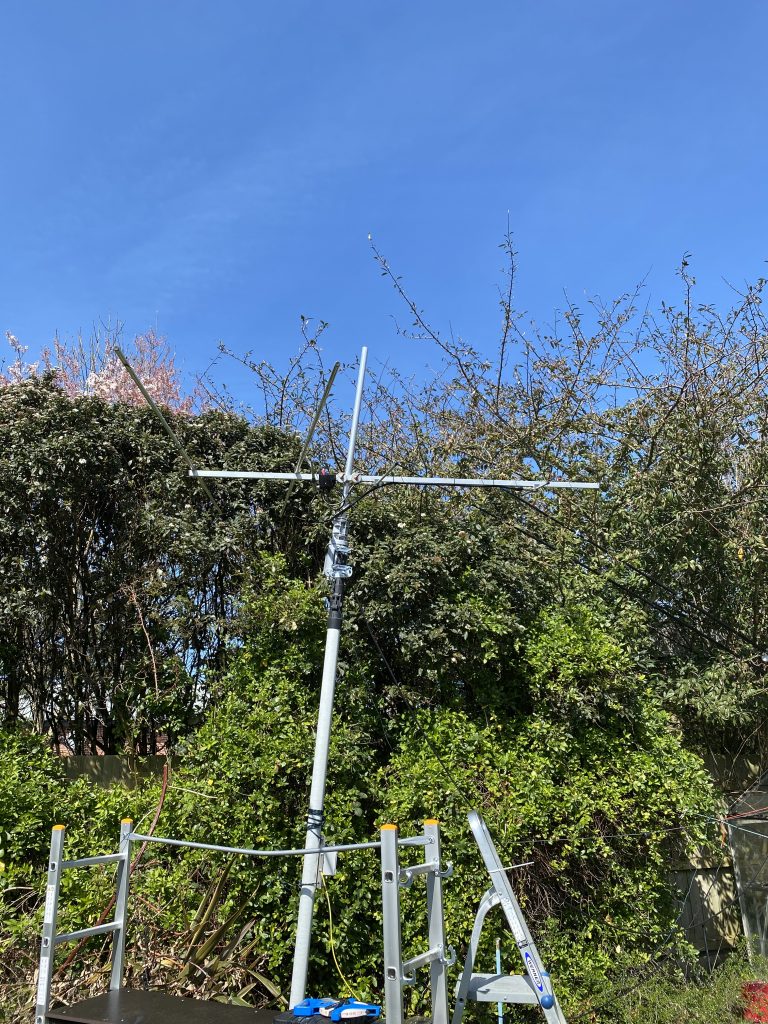
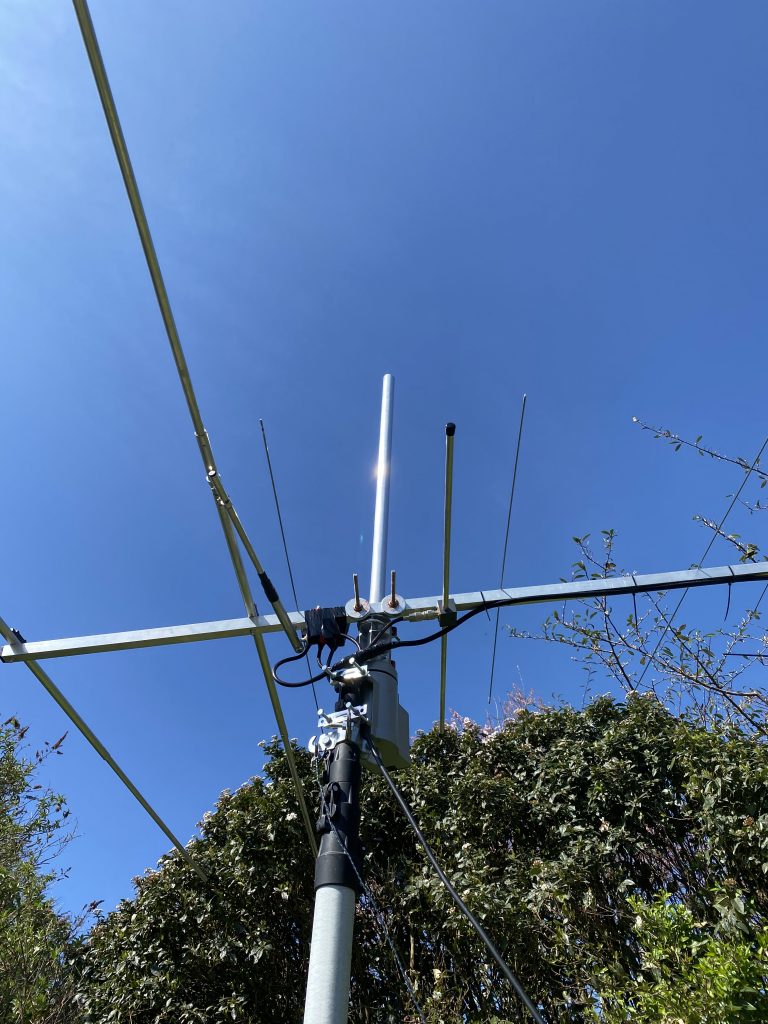
With the Easter weekend and good weather it was a good chance to get the multiband Yagi installed. It has been sitting in my garden since it was *missing parts* which then had to be ordered and paid for from the original supplier in the Netherlands.
I’ve had the rotator and coax for VHF/UHF for some time as well so was really looking forward to bringing it all together.
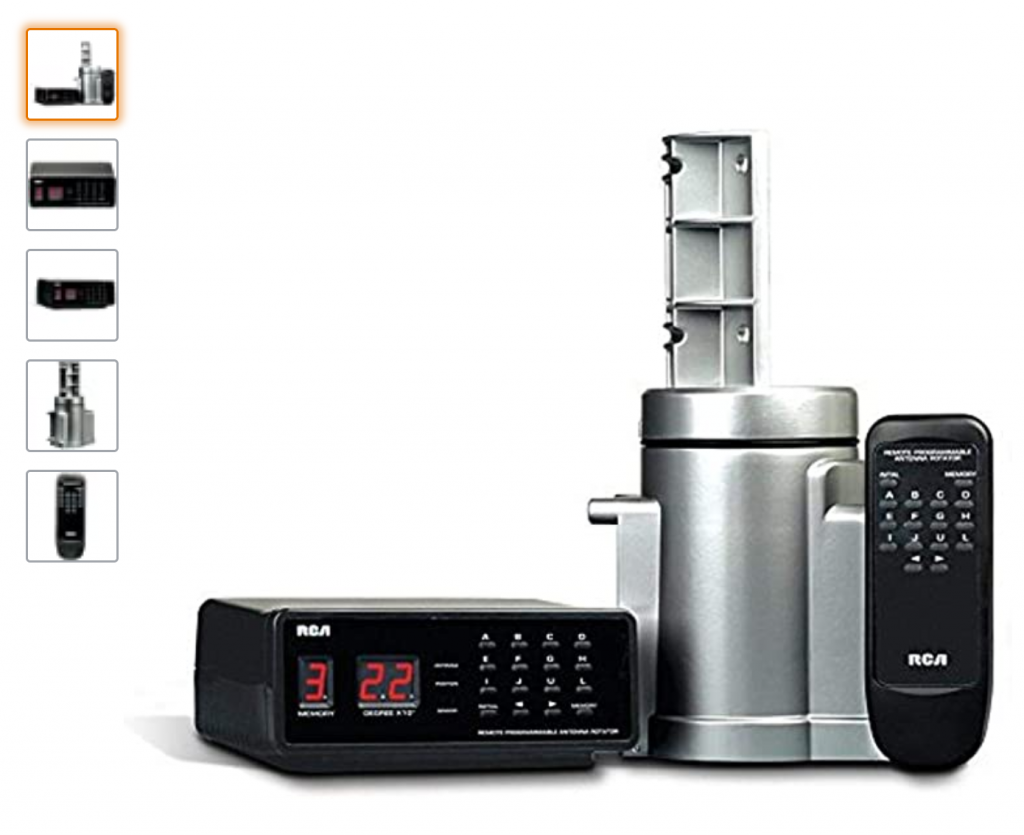
RCA Rotator
The rotator was purchased from Farnell, no longer available, but ‘RCA VJ226E’ may find some sources on the Internet. warning – my unit came from the US so requires a step convertor for UK usage for 240v -> 110v.
I really liked the instructions for the unit, clear and easy to follow, unlike the sketch-sheet of poorly presented documents that came with the GB-3 Yagi, which looked like something a DIY or student would put together. May the instructions from DX-Engineering on their Hustler just spoiled me..
I started with assembling the rotator indoors and checking the necessary parts. I didnt have a long enough run of coax cable for the feed line, but was quickly sorted out by a local dash to B&Q for “Time Black 3 core Multi-core cable 1.5mm² x 50m” – this is meeting or exceeding the specification required for the unit. I’m approximatting 10 meters of ground-feed and about the same going vertical.
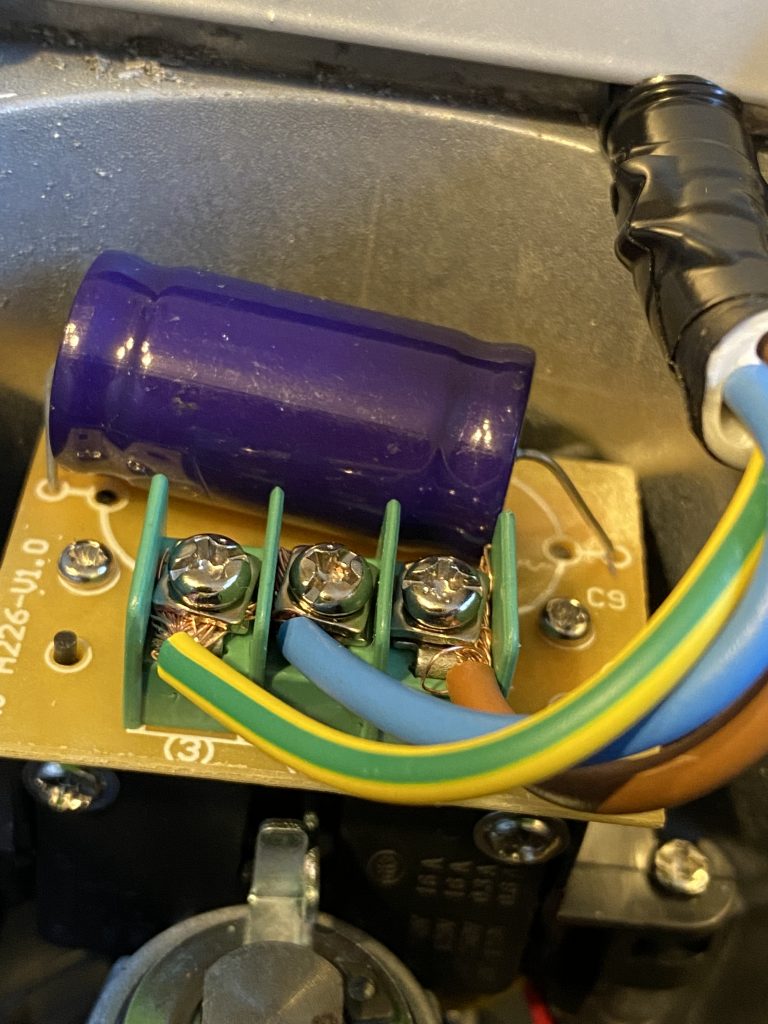
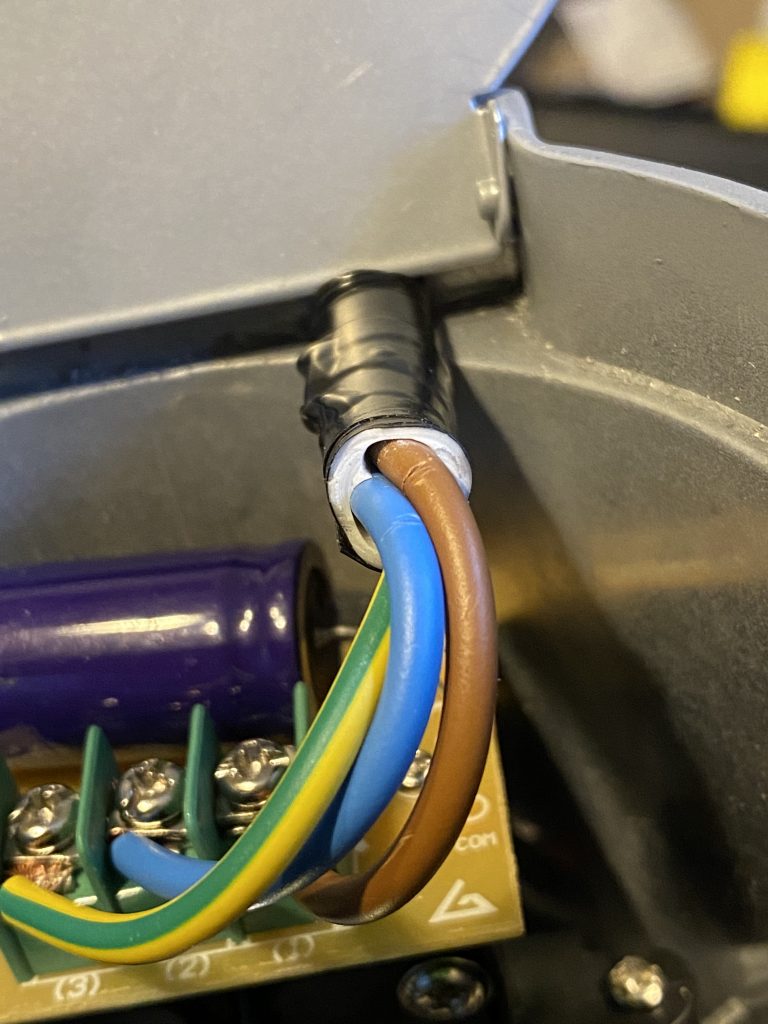
terminals 1, 2,3
Whilst the instructions used black/red/green, i swapped out for ‘live/netural/earth’ but the thing to ensure is that the colours both ends are the same.
the rotator brackets
use super33
3ft of mast pole
the completed rotator
insulation and super 33
rotator construction
Once I Had completed the wiring and had a clear idea of how to mount the rotator mast, i set about how to mount the yagi.
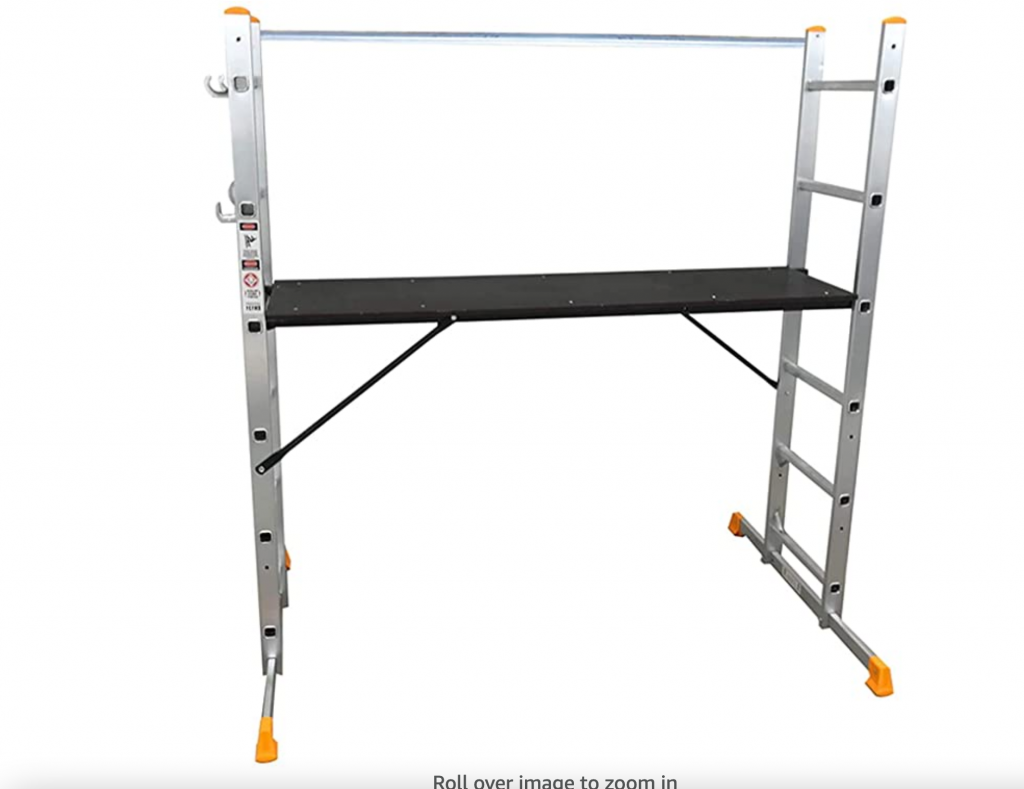
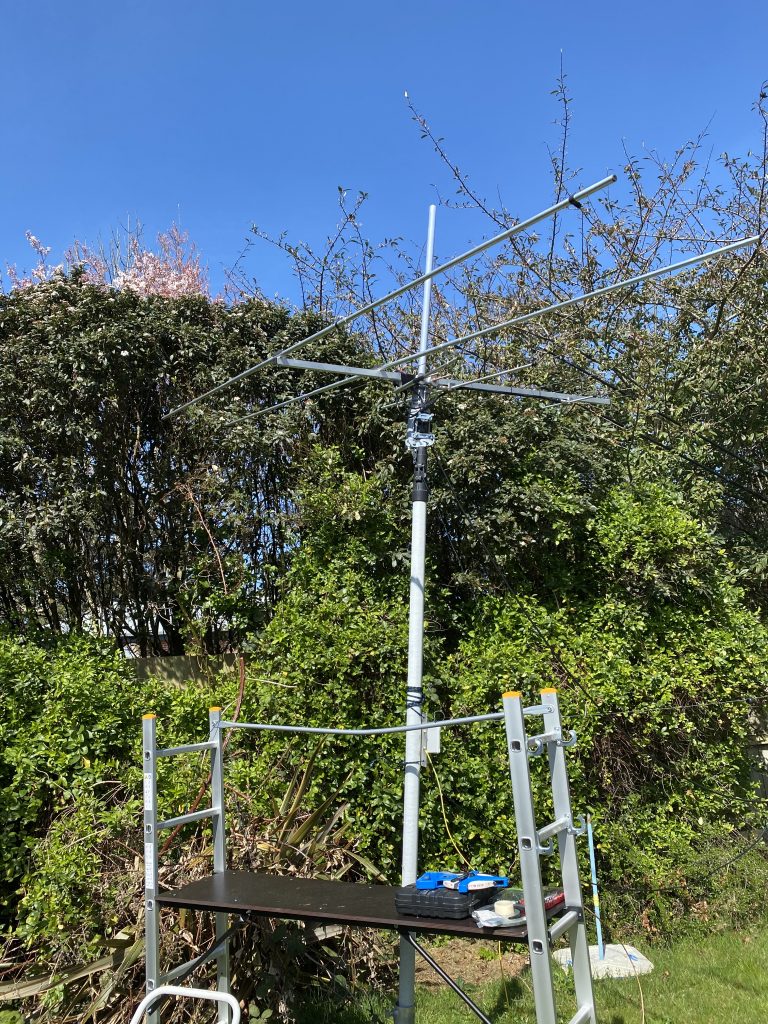
Because an extensive amount of time would be at about ground level I invested in a support so i could work at height with better saftey than just a ladder.
Abbey 5 Way Multi Purpose Platform and Scaffold Combination Ladder
At £114.99 the Abbey 5 Way Multi Purpose Platform and Scaffold Combination Ladder from Amazon would do the job, and also allow me to work on the higher parts of the Mazda Bongo that I have.
Construction was simple enough with a few bolts and rods to put in place. I’m not a ‘light’ person and getting on the first time was a challenge. I used another smaller step ladder to get on and off, which helped. Using one end to get on and off from helped with usign the strength of the frame as a support.
Having got the working platform up, i mounted the rotator onto the mast, this wasnt as easy as I thought as some of the clip-sections blocked the rotator, but with some fine adjustments, was able to get the rotator on.
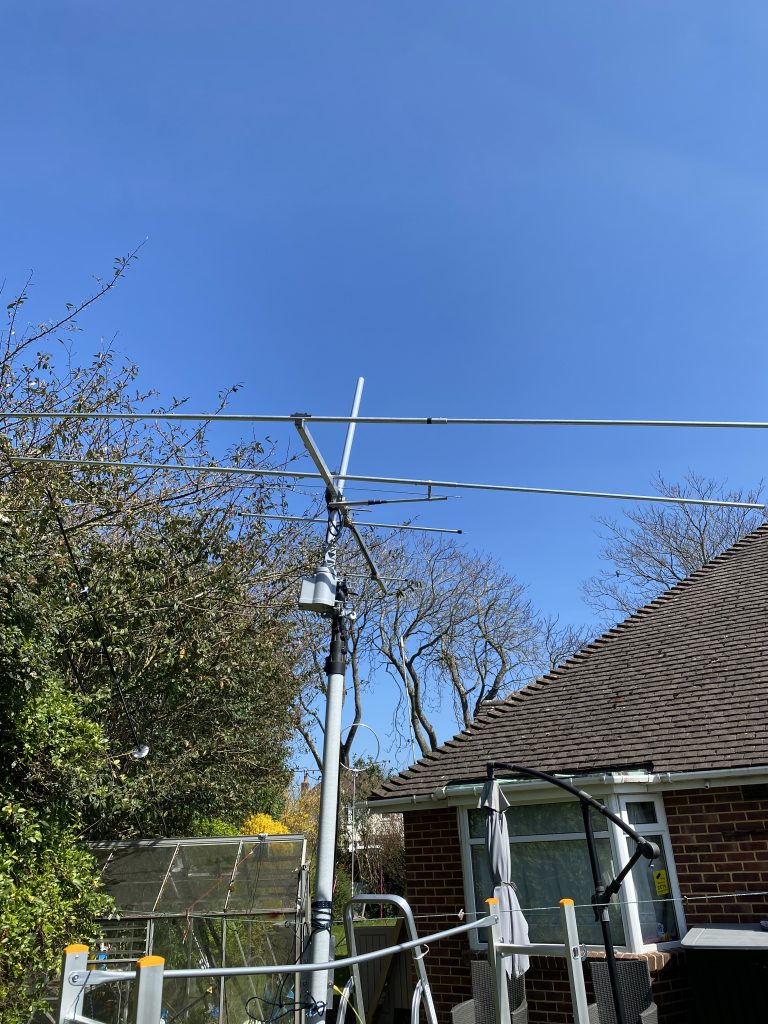
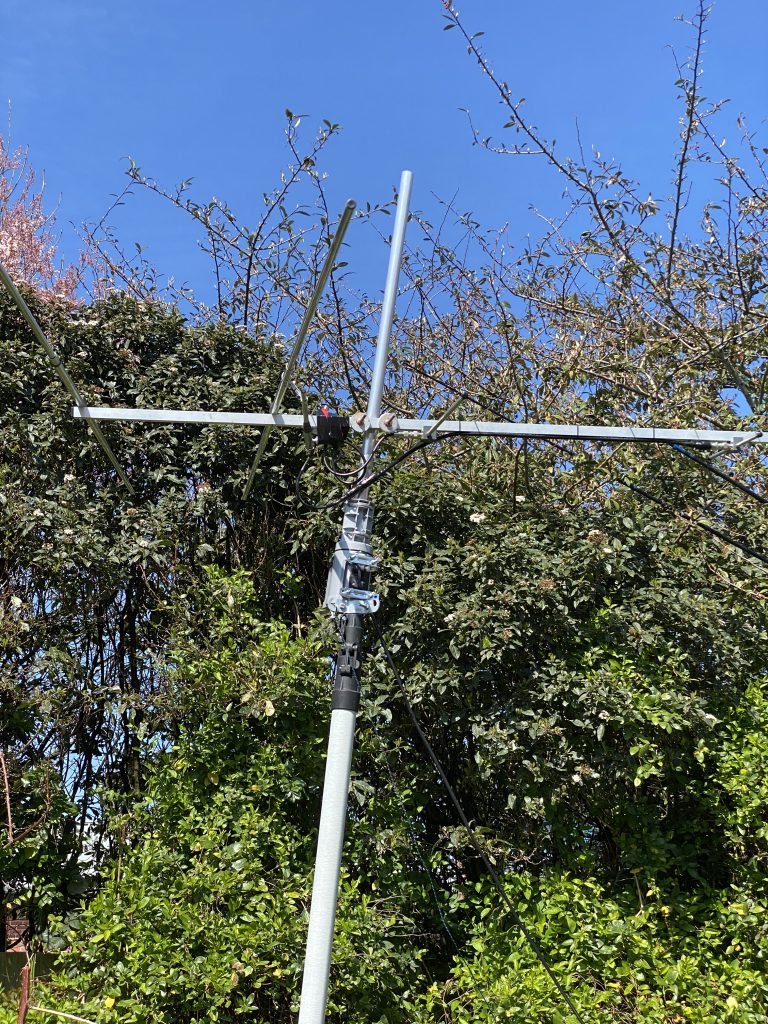
I went back over all the nuts and bolts at ground level on the Yagi to ensure they was of good tightness, and brought the Yagi over to the mast to assess how to raise it. With help, I was first able to attach the Yagi onto the mast. I checked it from ground level and could see that some cables would get caught so with help raised the yagi slightly up the support mast by about 1 foot allowing more distance for the cables on the Yagi.
Yagi install prep
I ran the electrical feed wire back to the QTH and then noticed that the power is 110v – I’ve ordered Tacima SC5474W/BP Step Down Voltage Convertor which at a 50 Watt rating is easily over double what the rotator will draw.
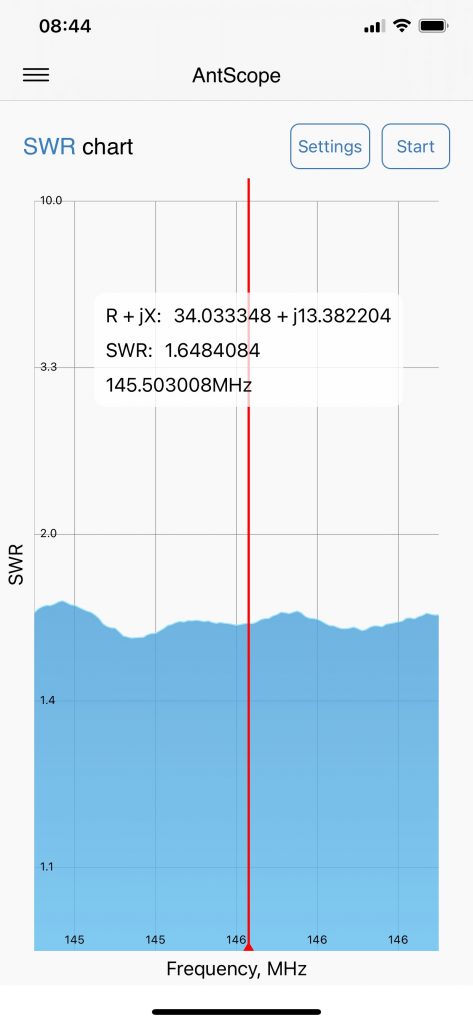
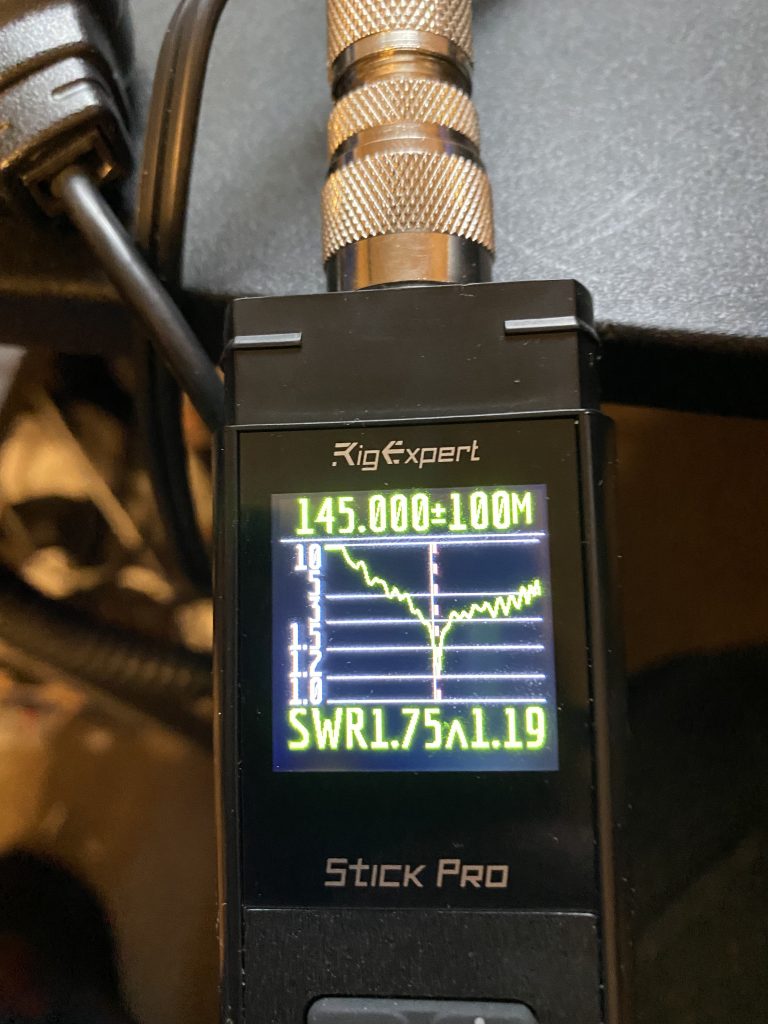
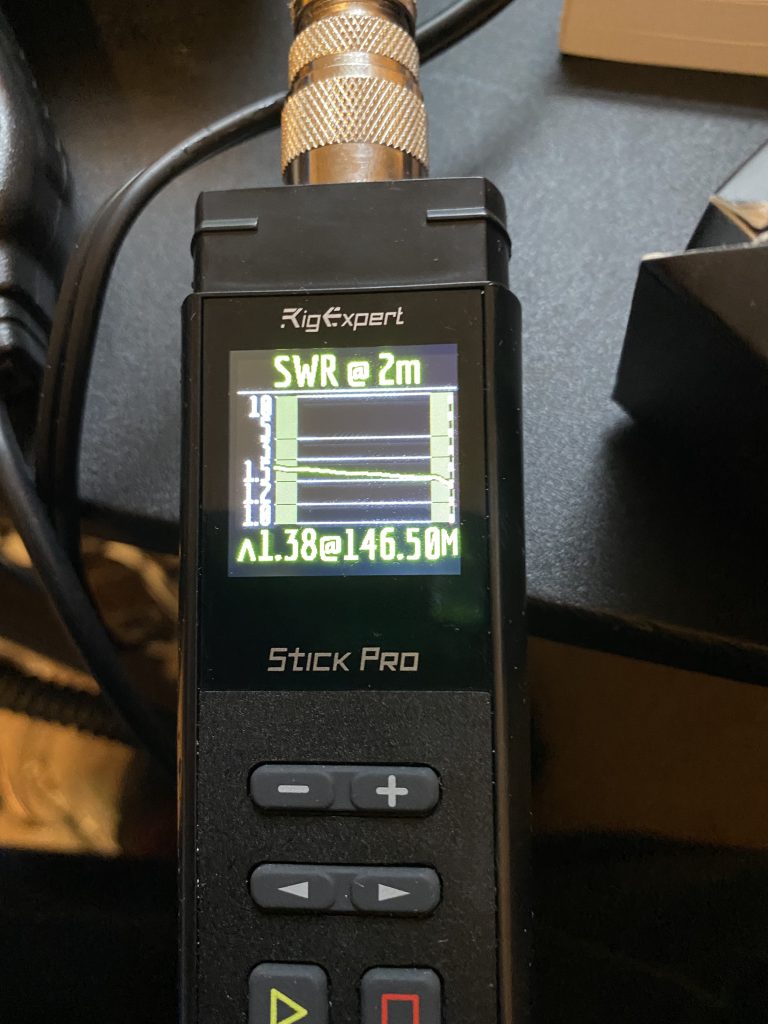
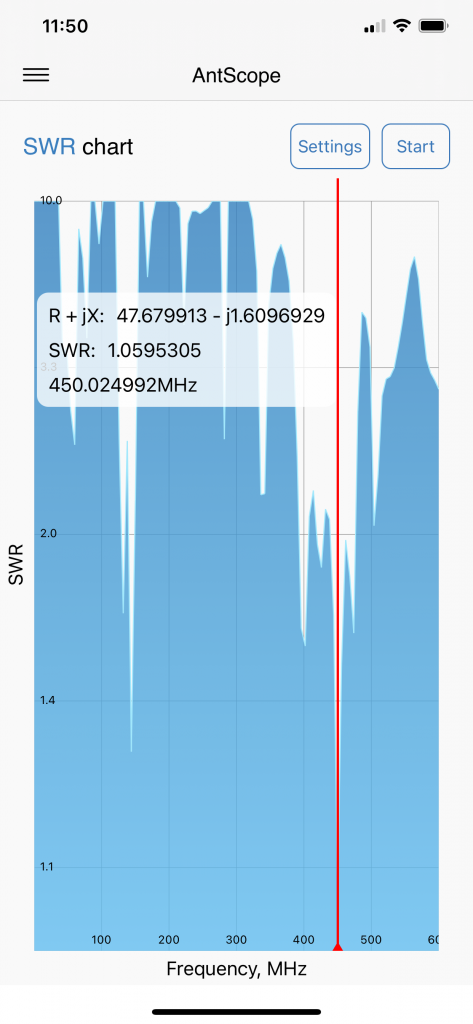
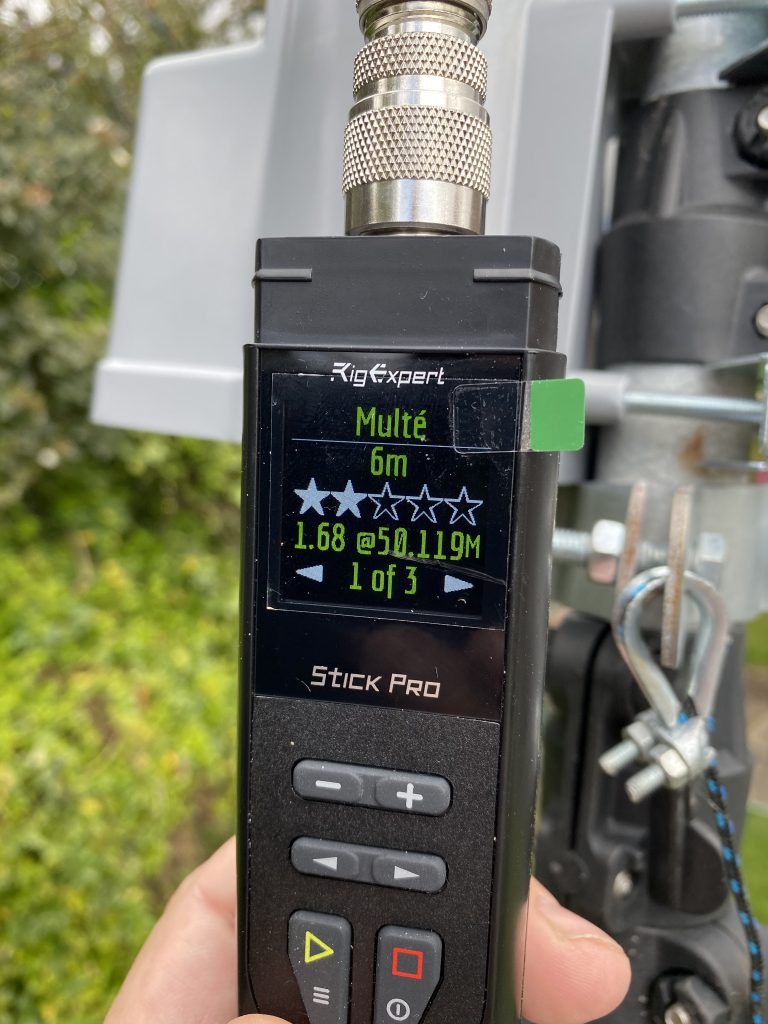
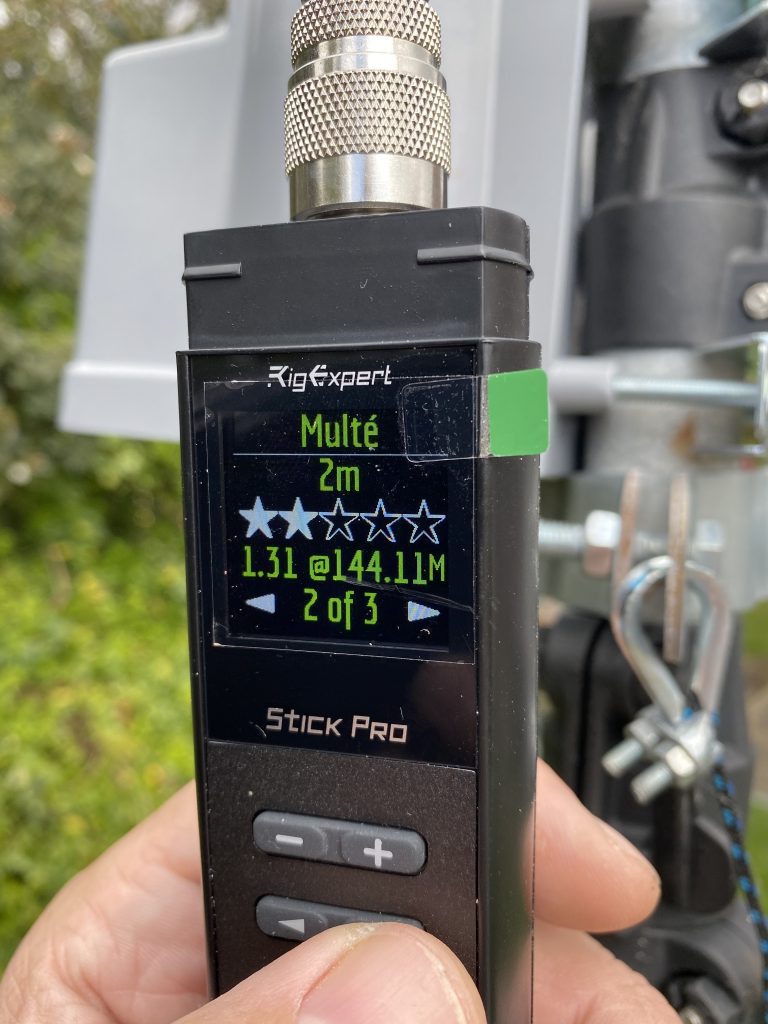
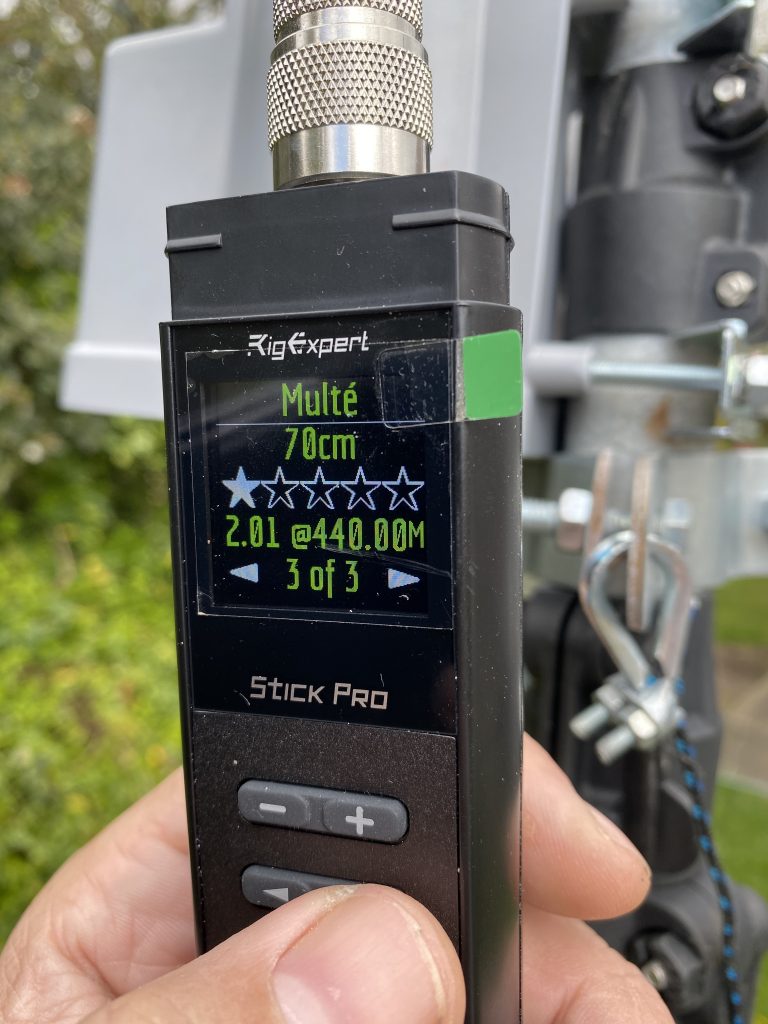
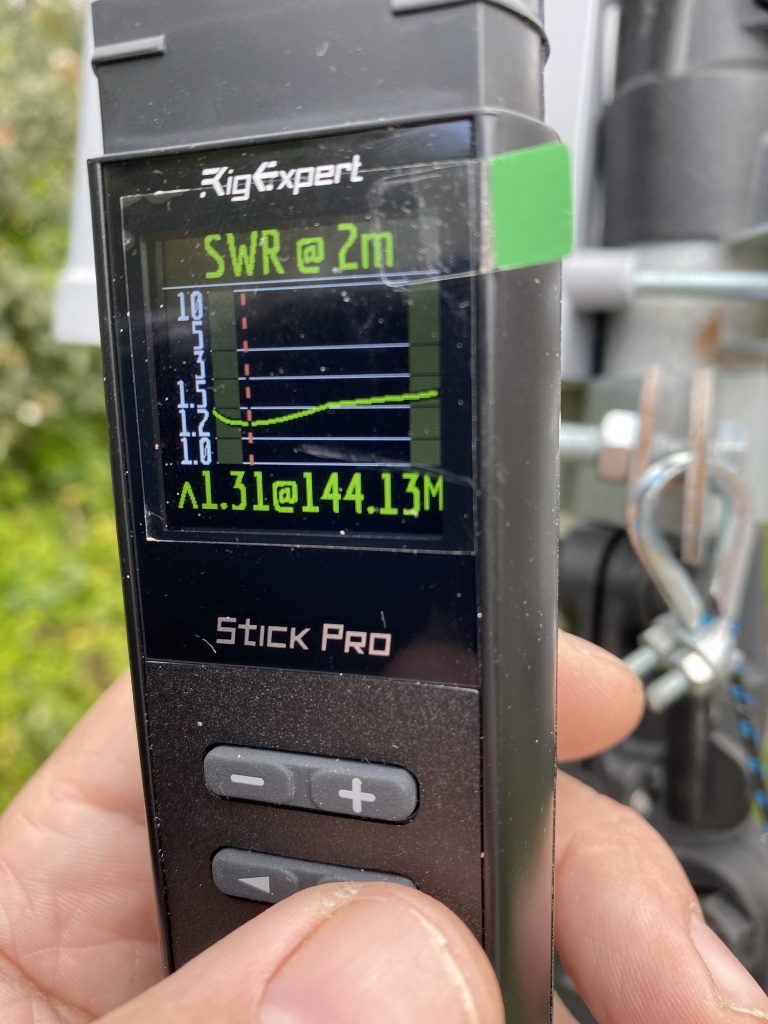
I done some preliminary SWR readings using the Rig Expert Stick Pro. I bought the Stick Pro to accompany my HF AA-55 Zoom, which doesnt have 2m or 70cm capability.
Band report
1.68 @ 6m
1.31@2m
2.01 at 70cm
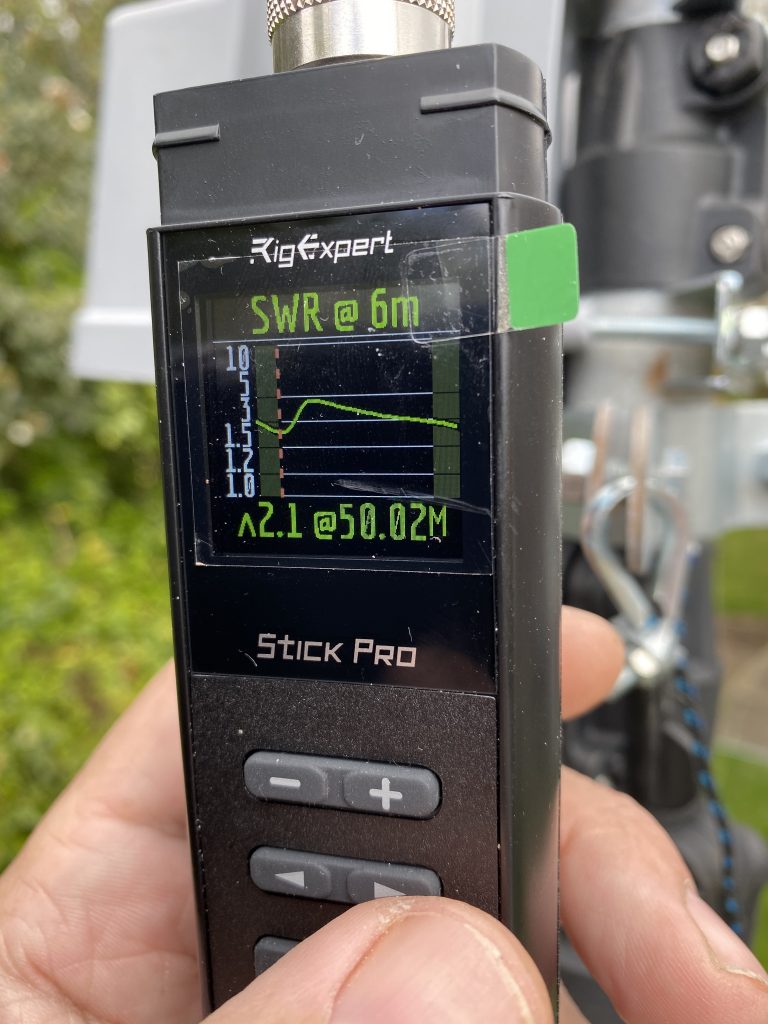
SWR Chart 6m
SWR Chart 2m
initial SWR readings
For a first attempt I was happy with the SWR readings with no adjustments. I think the next step will be to connect different coaxes and measure their losses, which at VHF/UHF coax can have a real difference.
I’m looking forward to testing out the rotator and seeing how good the gain is on the antenna – with a J-Pole I was able to reach Blandford, Southampton and of course the local repeaters.
Had a great start to the day by having an FT8 QSO with ZL3IO – amazed that even without all the radials down on the Hustler, I’ve managed to reach New Zeeland.
First contact
And there we go !
Huzzah !
Now thats DX !
ZL3IO Contact
I checked to see if the QSO had been logged on QRZ, where I could see that I’m now able to use the QSO’s from my other callsign (M7ALU) which already had Australia in it ! A quick application and sure enough I have received the Contienants of World award !
now 4 awards
Huzzah 4 awards !
Fantastic start to the day and looking forward to increasing the Hustlers performance – have to say with only 3 days of activity, I’m really impressed with it.
Its been a busy weekend at the QTH, but all good !
sweety showing off
his handy paw work
Garden Furniture ready for Easter
In hope of good weather over Easter and the lifting of groups mixing, i’ve got some comfy garden furniture. It took the best part of 6 hours to build, but am looking forward to trying it out. I might even try my IC-705 outside before heading out with it, as its not had alot of use outside the shack !
Having completed the furniture, the next day I continued my work with the Hustler 6BTV.
construction in progress
I used the DX Engineering documentation on how to build the hustler. It was really clear and easy to follow, with practical tips on construction methods. The detail and clarity on each step was really good. I got all the sections first connected together then looked at how to attach the SO-239. Whilst fiddly due to the small parts, it was easy enough to get it put on.
Plenty of copper grease !
The forums (eham) strongly recommended usign plenty of copper grease for making good connnections and when the antenna has to be moved. As the pictures show, i wasnt shy about how much to use and it did make moving the linear loaders and posts easier.
I followed the guide and put the distances accordingly, it was all really straightforward.
initial set of radials
not bad results
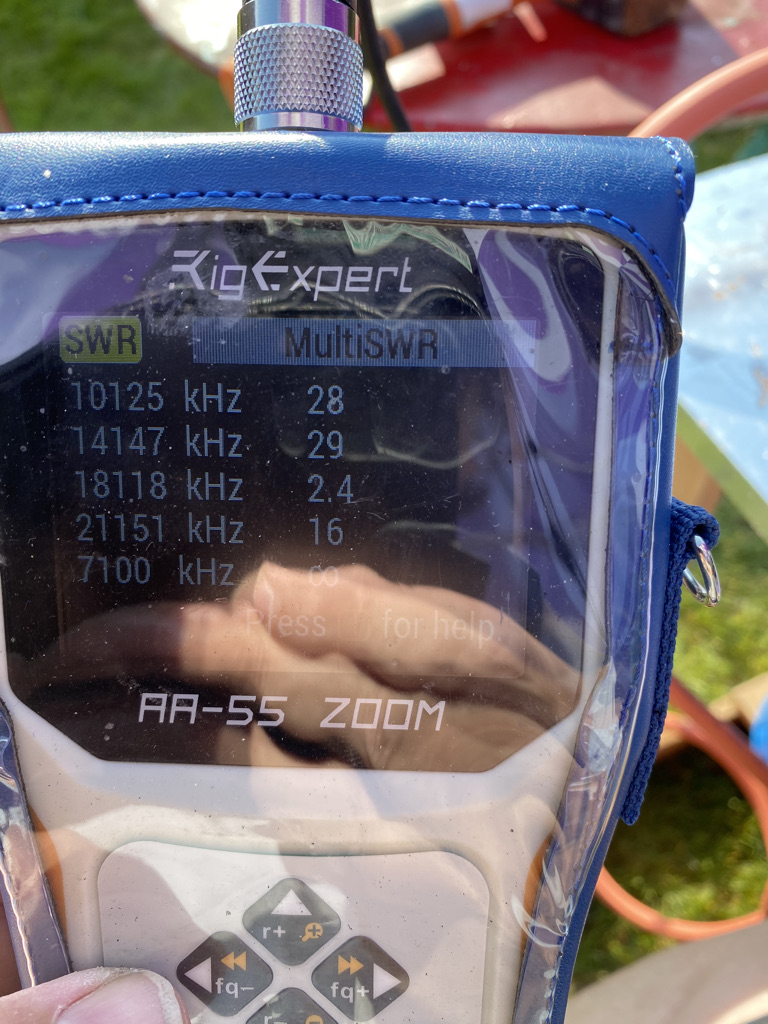
MultiSWR is awesome
good dips at the relevant bands
Radials and initial SWR readings
Having done alot of the work for the radial plate before hand, i set about reusing the radials I had from my previous antennas, just to get me started. I was not to be disapointed with the results !
Hustler initial install
Initial Installation
Having only put down roughly 20 radials to start with I was happy with the SWR Results. I’ve not got 80 tuned yet, but will spend some time for that when time allows. My first job is to get as many radials down as space/connectivity will alllow me, i can then tune the bands to the resonant frequencys I want
I’ve already made contacts on 40 and 20 meters, reaching the US and all across Europe on FT8, reception on ‘Phone’ end of the bands is equally good.
Overall this is becoming an excellent antenna, and hindsight is 20/20 vision, probably be one I would choose to start with, its construction and build quality is excellent and has the ability to tilt over in bad weather. There is still plenty of work to go, but for such few hours, it really has stood out as an excellent antenna. I’m sure as I add more radials and complete the coax installation/fine tuning will only go on to be an antenna i use for a very long time.
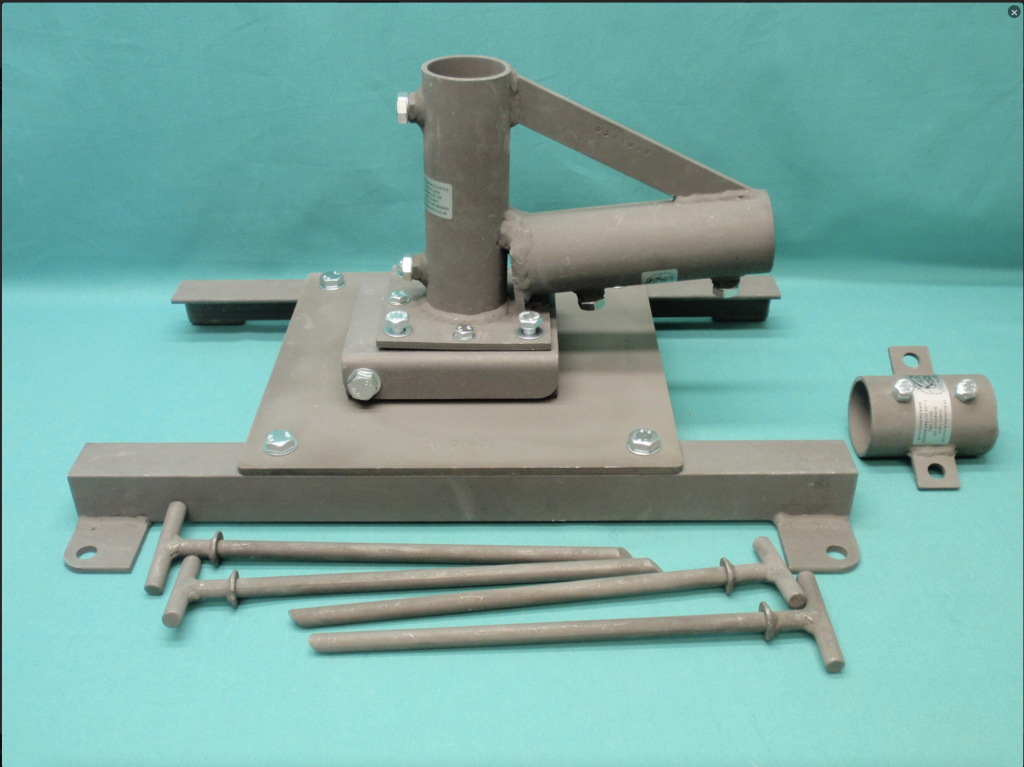
So having looked at reviews for a multi band vertical, the Hustler 6BTV looked the right model for me. The hustler came from Radio World, and the accessories from ML&S, as they didn’t stock the 6BTV at this time. Needless to say both arrived very promptly.
I dug a hole to recommended depths and sunk a decent bit of scaffold pole I had into it. Having never done anything like this before, i was happy with the outcome in that the pipe came out level and the concrete set well. At the moment, it looks like what it is, a post in th eground, but it will look much nicer once the installation is complete.
dig it
6tbv in the box
new toys
It should be noted the reason to try out a new antenna is that the tilt-base on the Nebula had a defect and would require a new bolt and drilling the base again. I also wanted something that was easier to take up and down as even with the tilt base the Nebula is quite a weight, and the guy ropes tended to get tangled quite frequently.
nebula tilt base – bent/twisted M10 bolt
It has set a very high standard in band coverage and reach, so it will be interesting to do a comparison on the same transceiver.
support post level
tunnel for coax
radial plate
construction so far
The post to attach the DX Engineering and Tilt base has gone in really well, and very level. I had one section of PVC piping already in the shed, and have ordered one more and some vent-like structures to feed the coax thru under the radials will obviously check the coax for connectivity before burying it !
I’m waiting on some more radial plate bolts, so far it has 20 on there, but i want the full 60, as I’m limited in space in some directions, I want to get as many as I can down in a very radial/spoke fashion as described in the documentation.
So far I’m really encouraged by how well the instal is going and the documentation supplied with the antenna and components is top notch, but the proof will be in the performance of the antenna, which I hope wont be too long in happening !