Was browsing my youtube recommendations when I saw Calum was live streaming, tuned in and could hear everyone, which was really amazing to hear Calum and everyone else coming out the radio live.
Calum was ace in putting out some calls for M7’s – given the amount of people that call into his CQ’s, it was so nice that there was a gap for us on lower power (10W) to try and have a QSO.
I put in my call and Cal took his time, but i was just too quiet, see the video below.
https://youtu.be/1_jMJL7WLJ0?t=3932
A very faint M7ALU
Listening i can barely hear my voice, with M7 being just about audiable and i can recognize the gaps of how i would say ‘Alpha Lima Uniform’. Its a shame i couldnt get on the log book, but nethertheless provided a very exciting and good evening enjoying Calum and using the DX Commander as well.
Hopefully the restrictions on exams will soon be lifted and the extra wattage will help me get out that bit more. Fingers crossed !
The DX Commander comes with 100m of very good wire, which is enough for making the 4 element (40,30,20,17m) vertical and some for radials. Having already bought 50 meters of wire for 80m I was still down on the count for both radials and the ‘all band’ – having complete the ‘all-band’ construction it was now time to sort the radials !
With the orignial wire and radials I had around 28-30 radials, which whilst much better than only 1 and improvement on 15, is still slighty short for 80m and also more radials=higher Db out at other wave lengths.
So what is the science about radials ? The Calum has a good video to help, and the references are very good, so I’ll put that here first.
https://www.youtube.com/watch?v=qVG1jevrXaI
Radial videos from Calum
So basically adding radials helps (I did try to find a video of a person fallilng off a boat getting onto a pier, but was getting to distracted…) I took 50 meters of wire (the same type I had use on the verticals) and set about making into 3.5 meter lengths, which some great help from my son Paul which saved my back alot in terms of getting up and measuring and cutting !
pull and cut thanks Paul 🙂
it started as 50m, it became radials
cutting radials
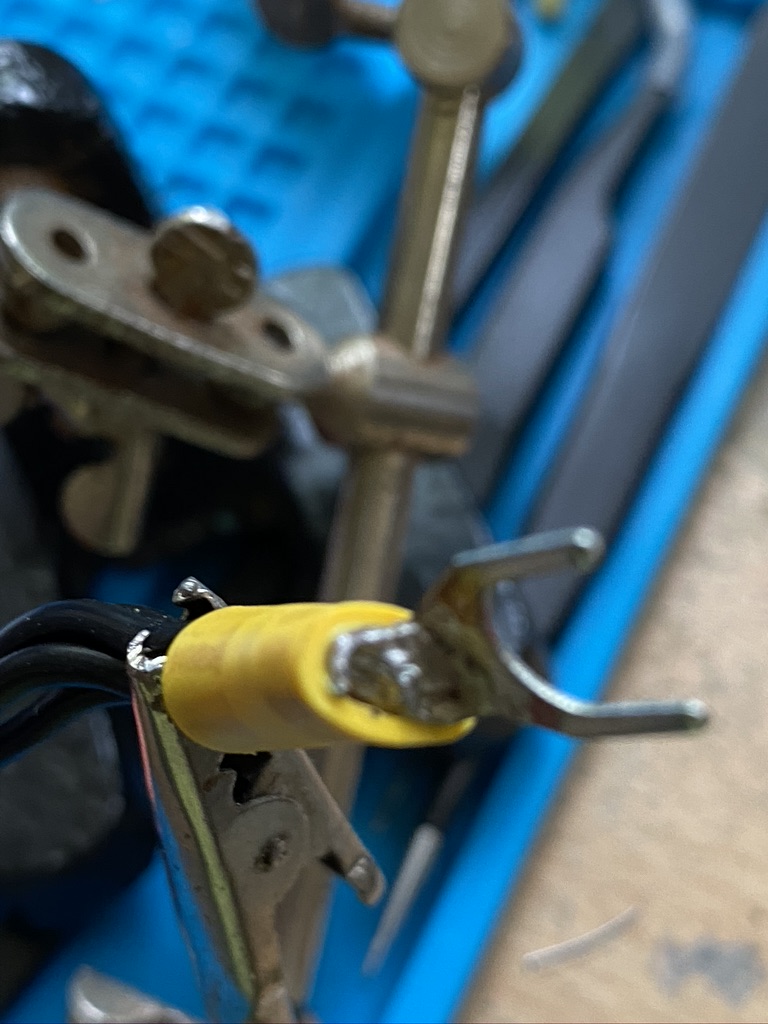
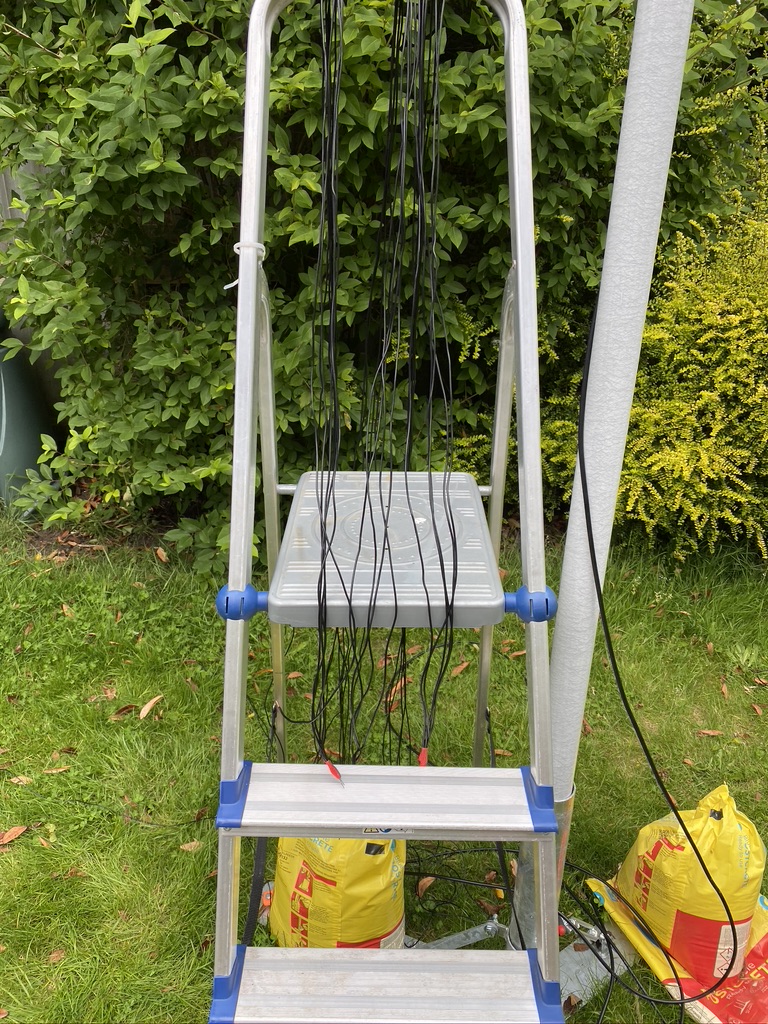
With the cutting done, it was time to return indoors for strip, crimp and solder !
new crimper doing a grand job
solder together, solder the crimp
strip, crimp and solder (*2)
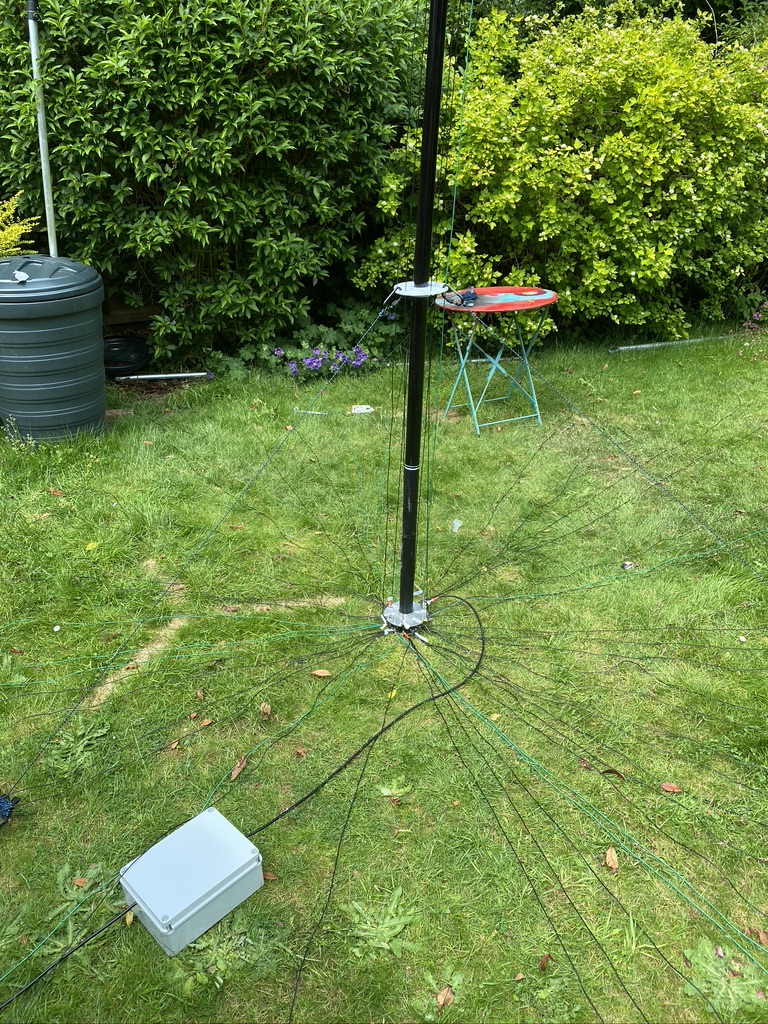
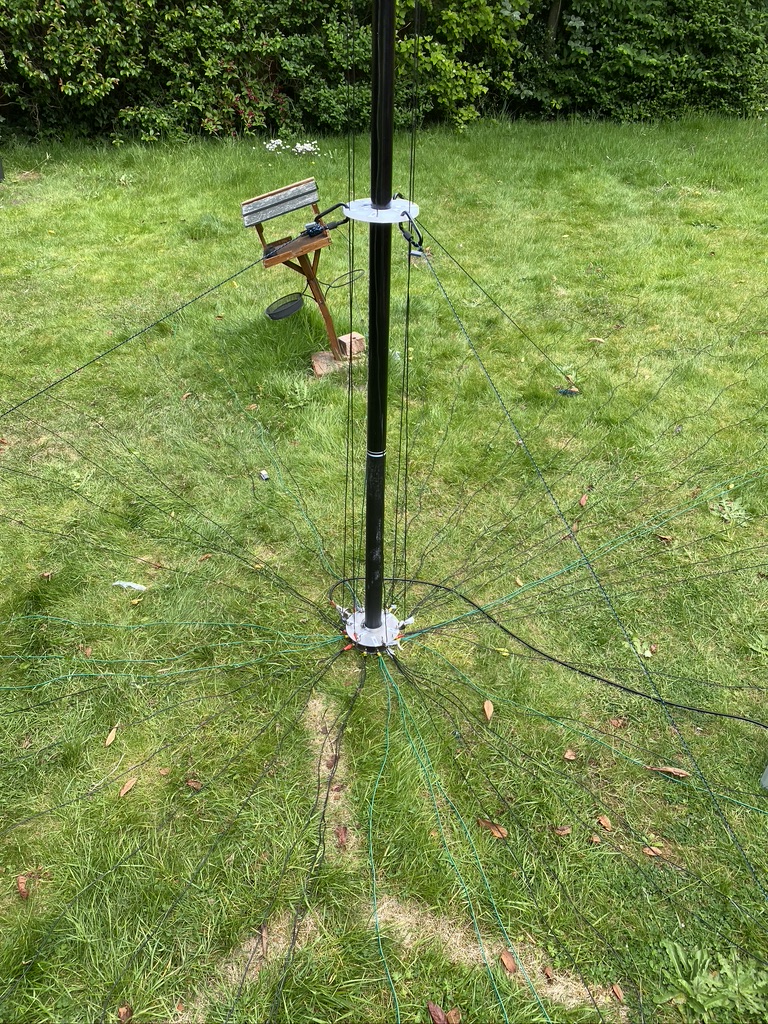
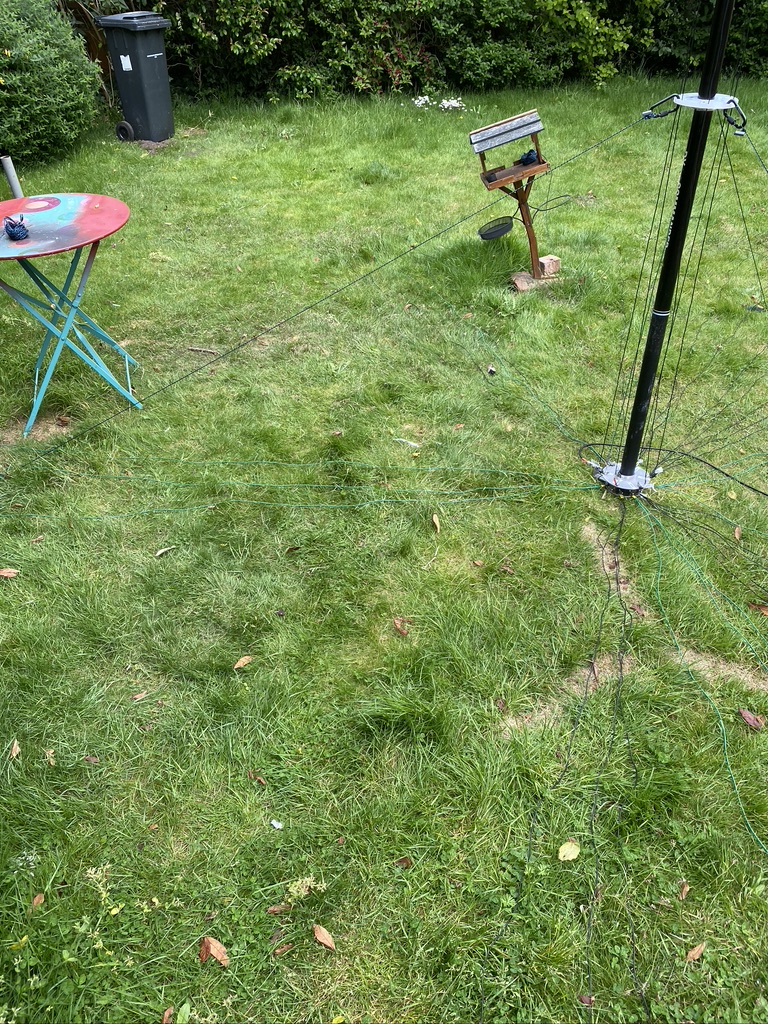
I then returned outdoors to install the addtional elements. I doubled up on one existing element, but had a pretty decent fan of 3.5m wire elements going on now.
a nice spread
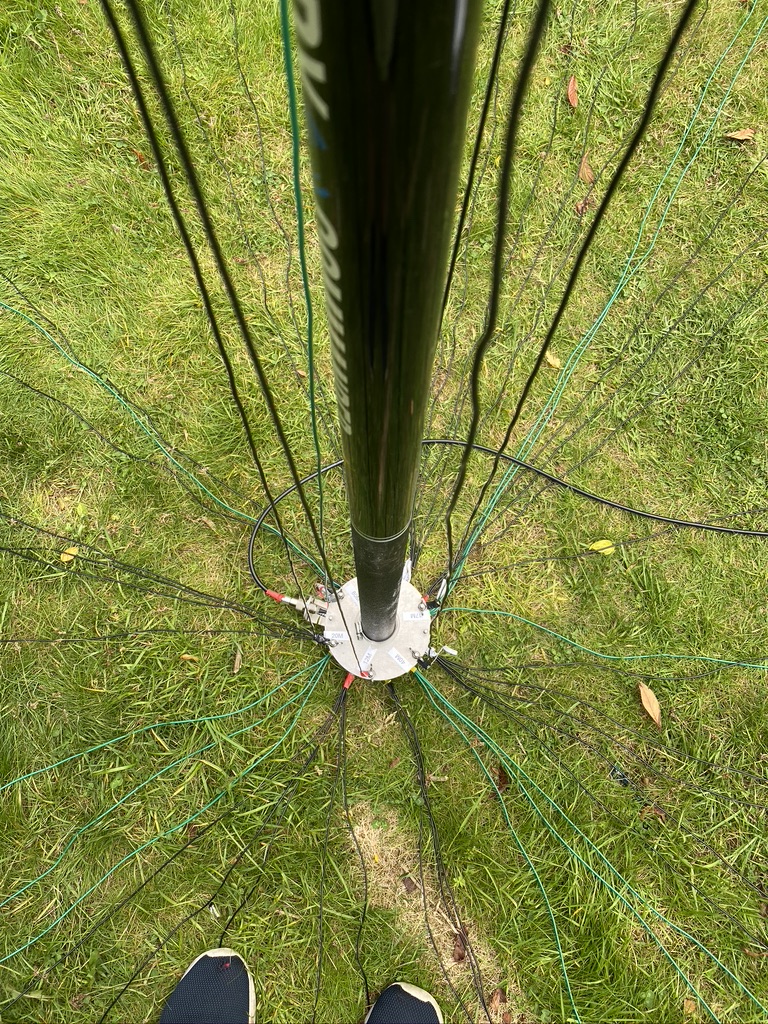
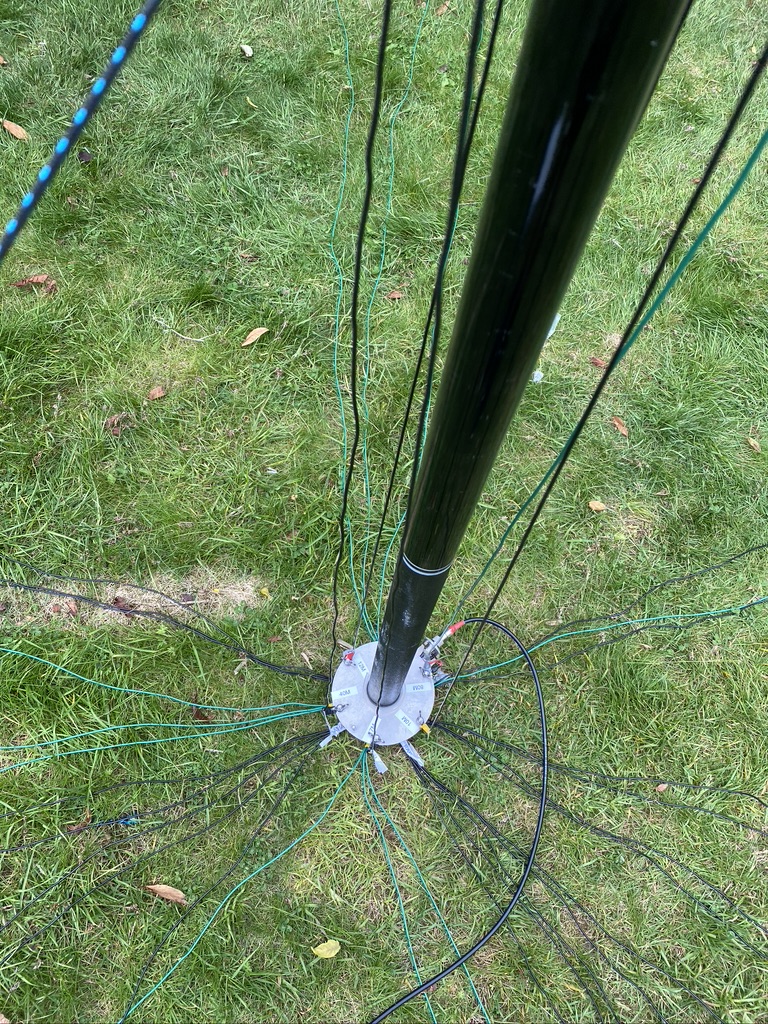
view from the base
keeping it tidy
gaps to fill
now with added elements
adding elements
I’d need to an exact recount (will do so later) but I think I now have enough radials to accomodate the 80m vertical.
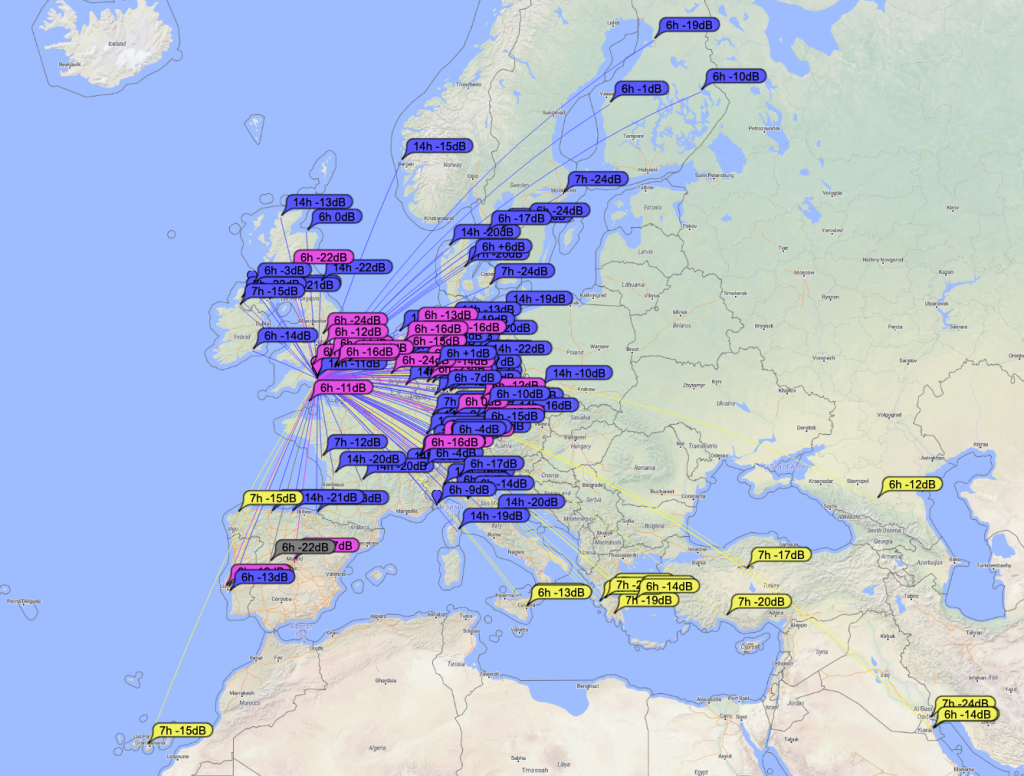
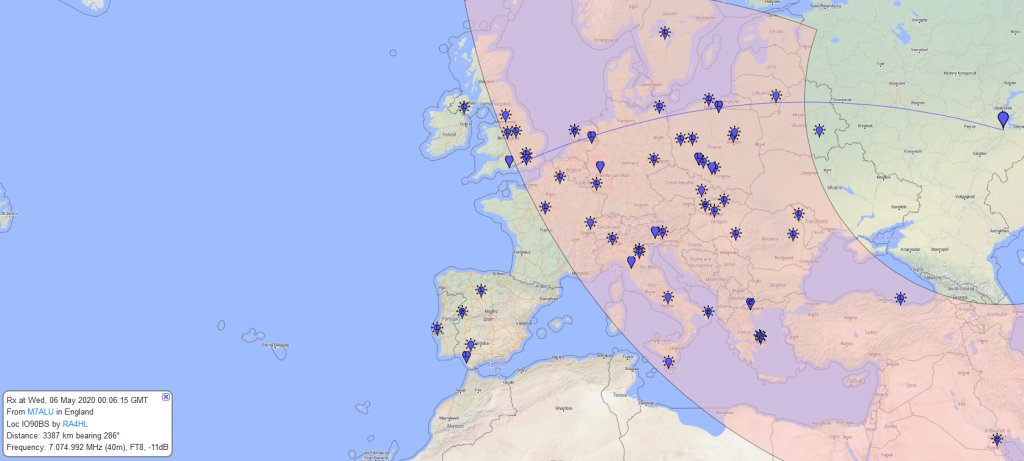
With having added the radials it was time to test ! For this I use FT8 as it has a great map and includes a signal report when a QSO is complete.
Reaching Kuwait on 17m
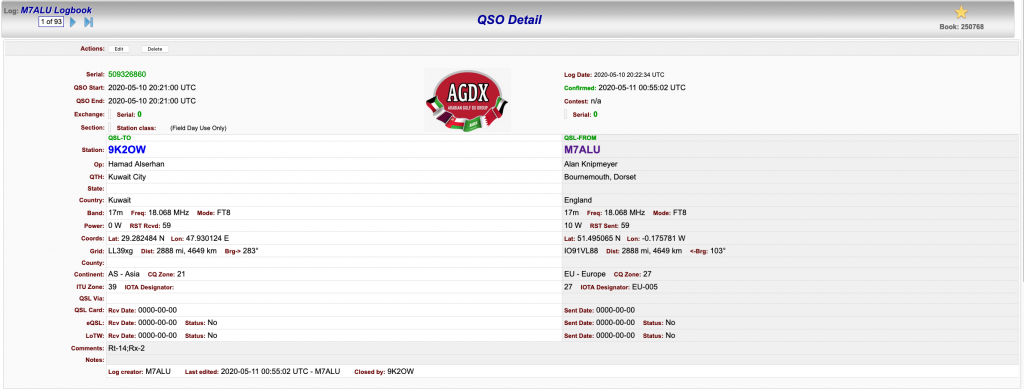
I was now reaching Kuwait on 17M and even better was that I could see the call sign in my WSJTX screen – i had to give it a try ! And sure enough within a few minutes (this guy was was getting alot of QSO’s in) I had made contact !
Contact with 9K2OW in Kuwait – a staggering 2,888 miles on 10 Watts of power !
So i think i could continue to add more radials, but for now I’m happy with how the DX Commander is performing and the radials are performing their function. I will investigate more ‘science’ based ways of radial performance, but his helps for now !
So having got the bhi DIL DSP Receiver, the amount of QRM I was still getting wasn’t good. Although I was slightly tired, i really wanted to solve this issue.
I followed the DX Commanders Youtube posting on QRM here
https://www.youtube.com/watch?v=xF2wFJBpu_I
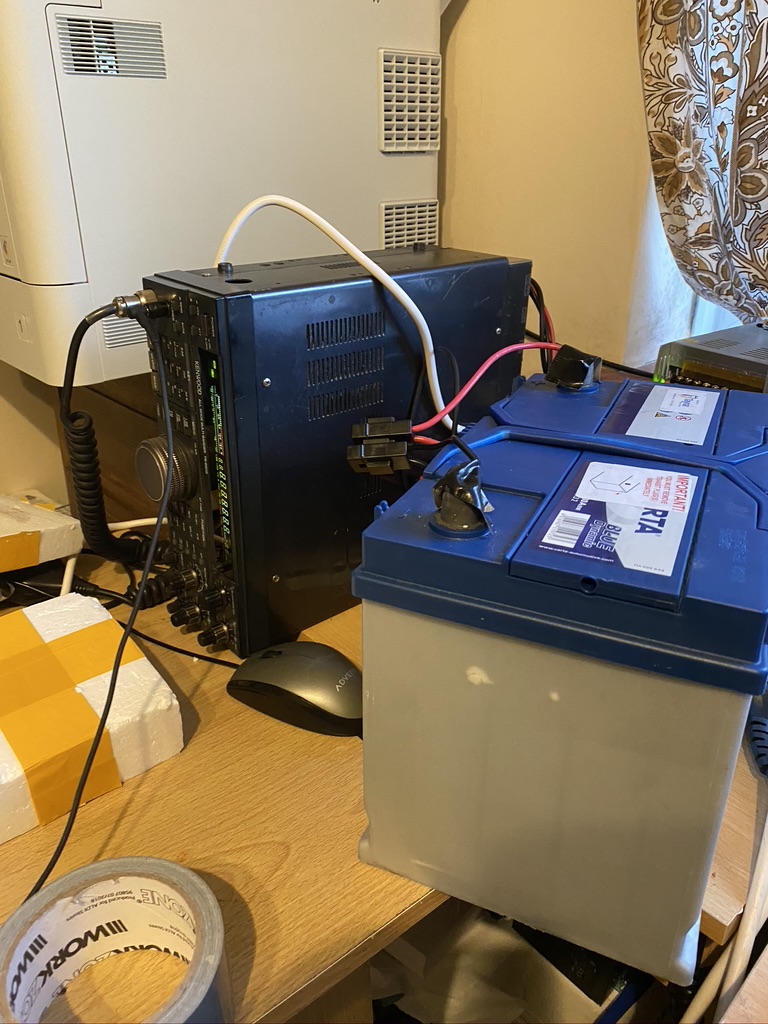
So i then set about unplugging things around the house, the first thing I found was an electric blanket ! That put out a huge buzz, but there was still plenty of ‘noise’ amongst the signal. I turned everything off in my ‘lab’ and used a car battery to test –
Car battery, less buzzing…
So off a car battery there was a big reduction in noise, so it was something in the powersupply or surrouding room
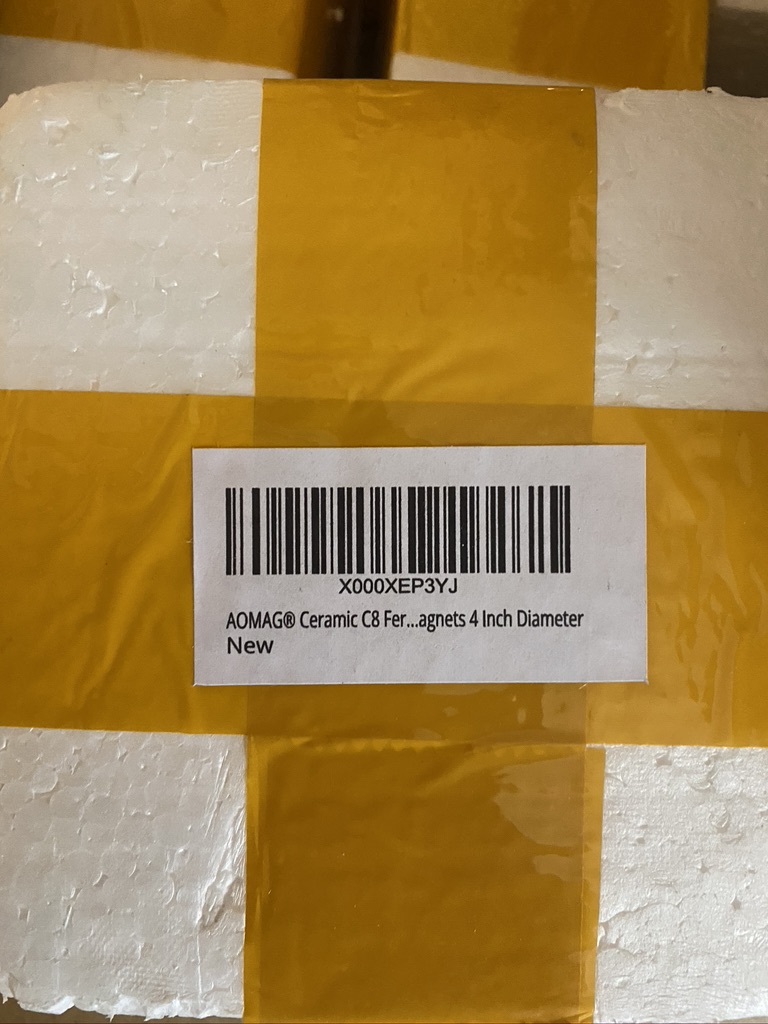
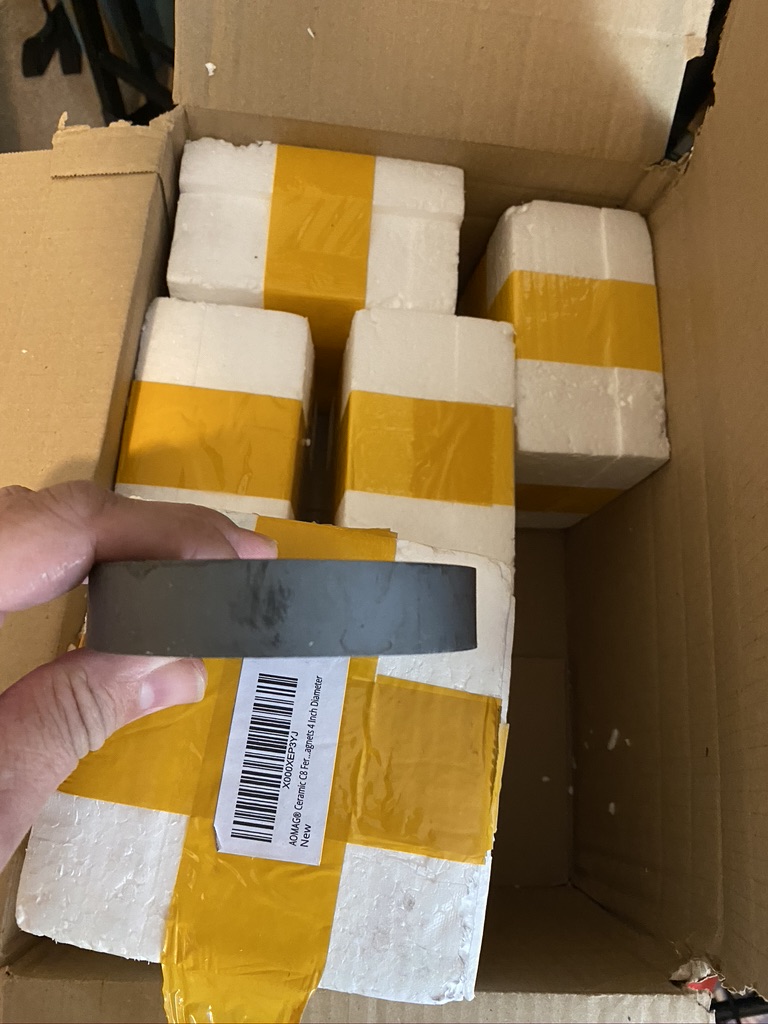
At this point I used several of these magents and put on the power line in, HF and transformer
very well packaged
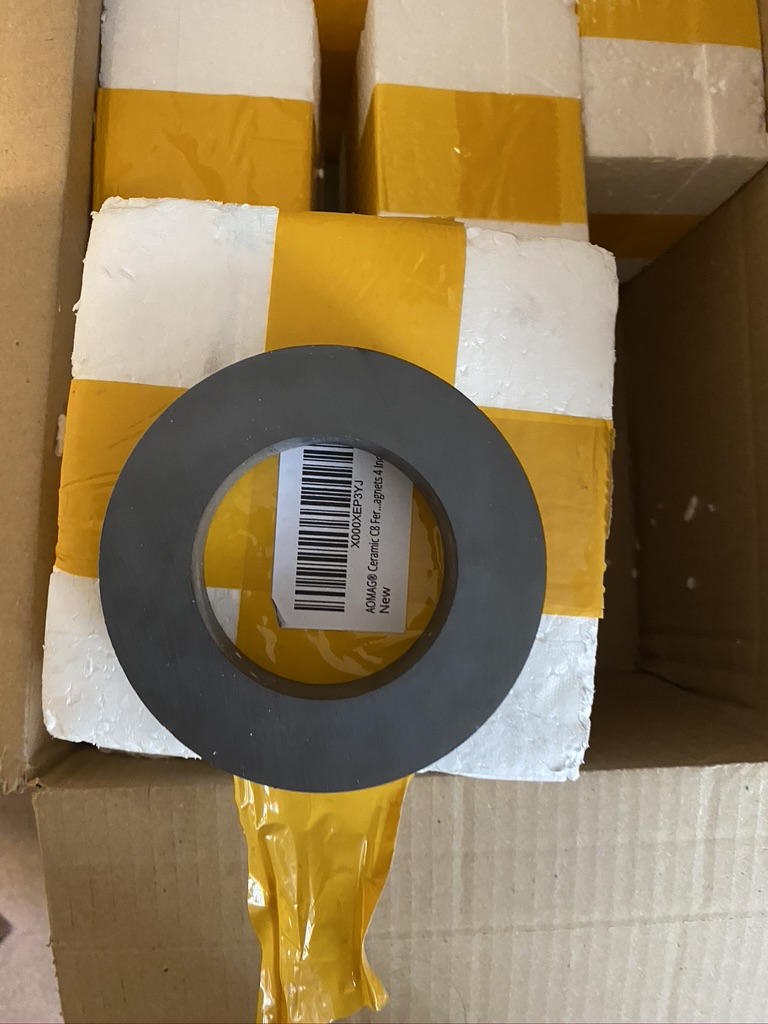
big ring
the thickness
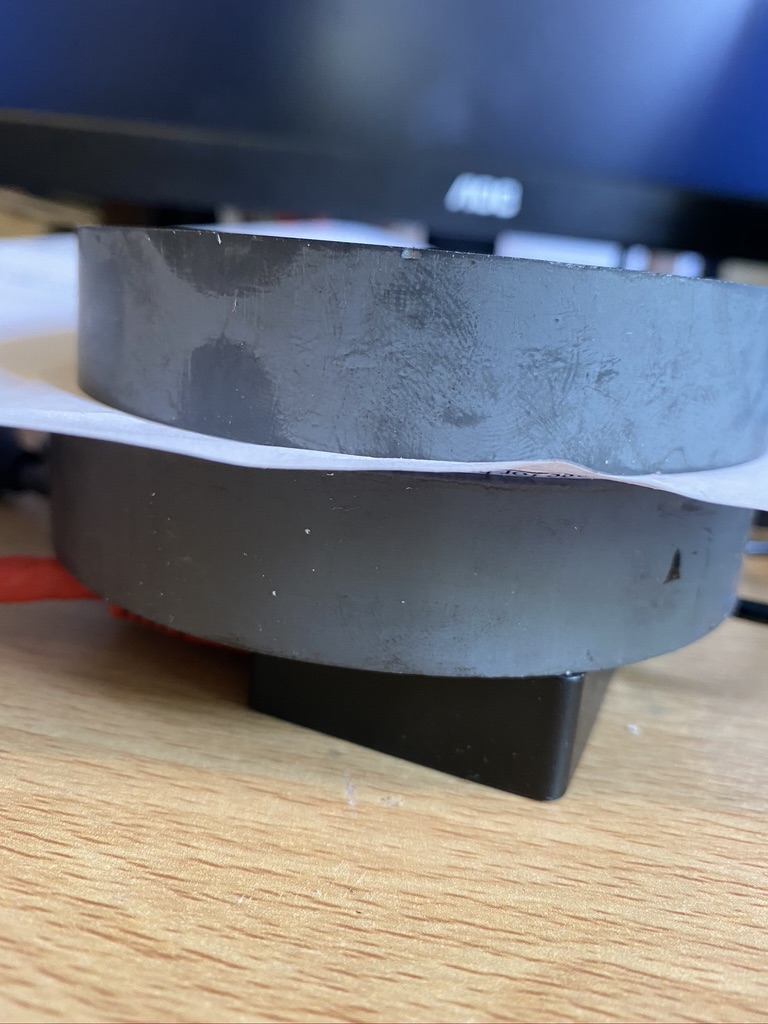
lets see what happens when you put two togehter
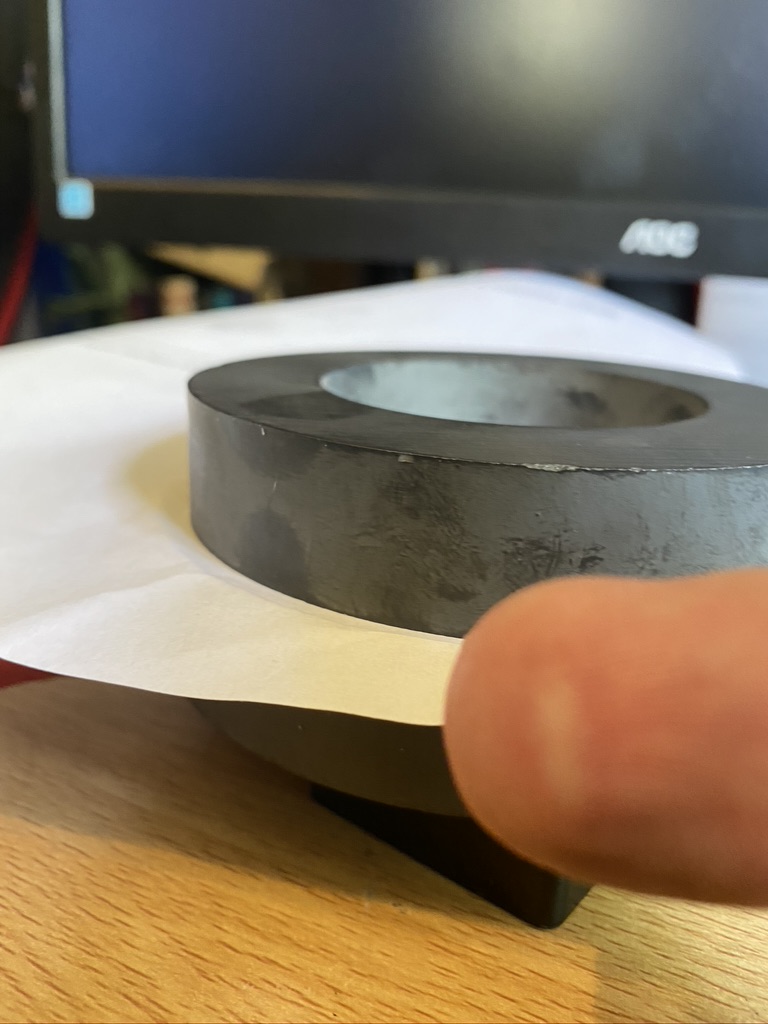
thankfully this is just my finger…
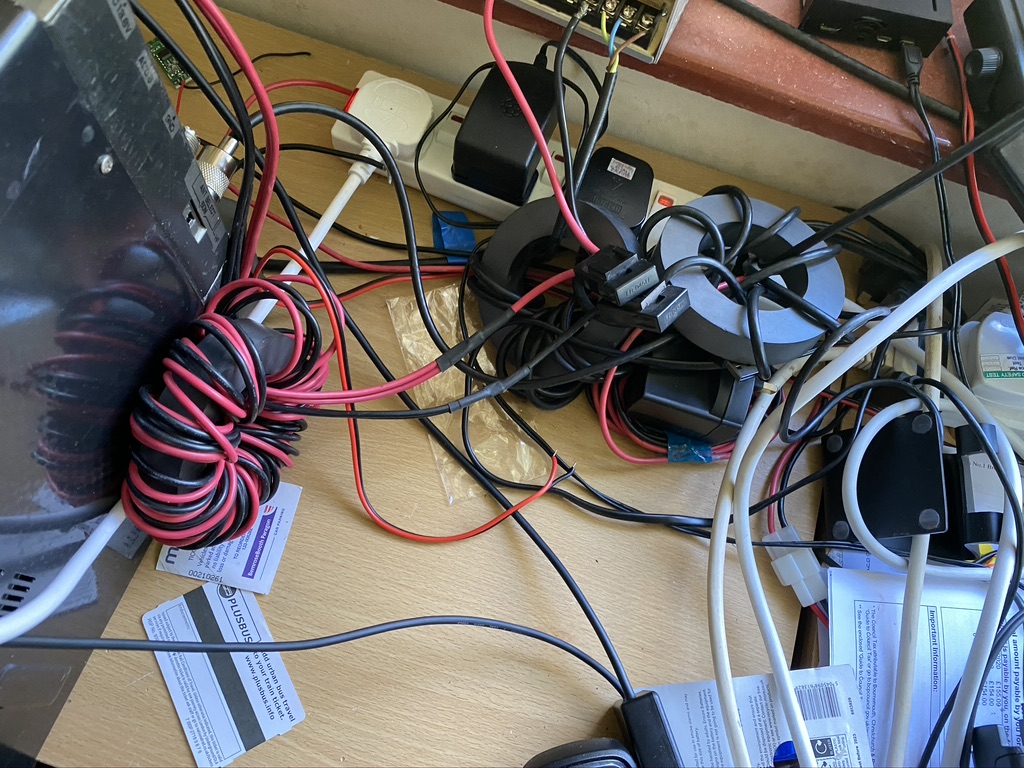
I set about winding, but still noise 🙁
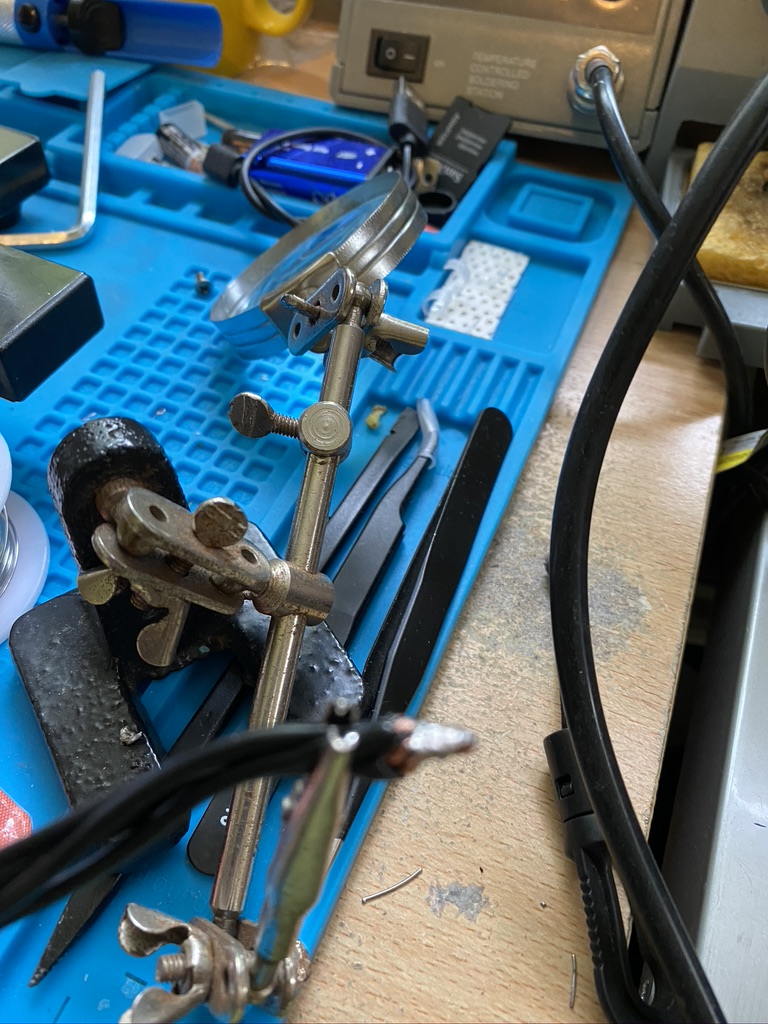
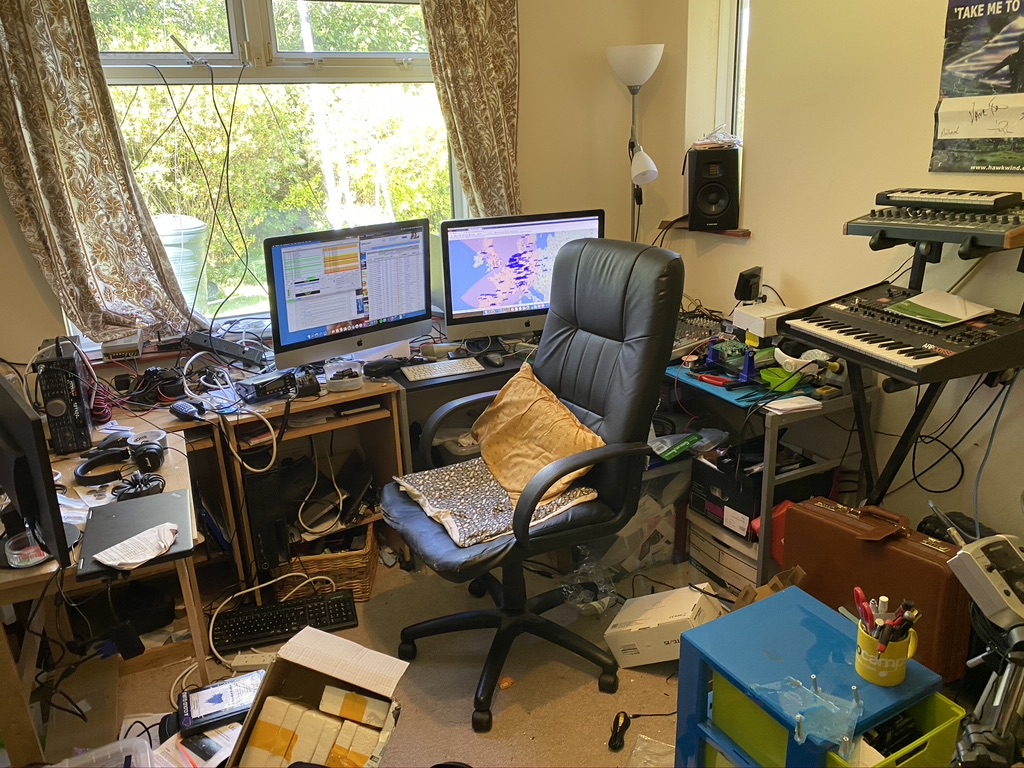
what a messy lab
i’m working in this mess 🙁
winding and messy
By this time, i was still getting less, but still a big interference. I unplugged *eveything* from the transceiver and it stopped ! So it was something being plugged in.. I went thru each device, lo and behold the xggcomms CAT port was the main offender ! By this time it was getting late, and some much needed family time with a few brews and a good film was required to consider the next steps.
After the film and a nice walk of the dog at 11PM (to avoid other dogs/runners/etc) I cam in and started searching for ferrite cores, sure enough amazon had a huge variety, and on PRIME next day, so I ordered think, great i can get these Monday and get going ! Amazingly, even tho i ordered these at 11PM+, they was here the next day ! I was going to tidy the lab up, but set about attaching all the chokes I could to the cables between the mac and transceiver. The difference was amazing…
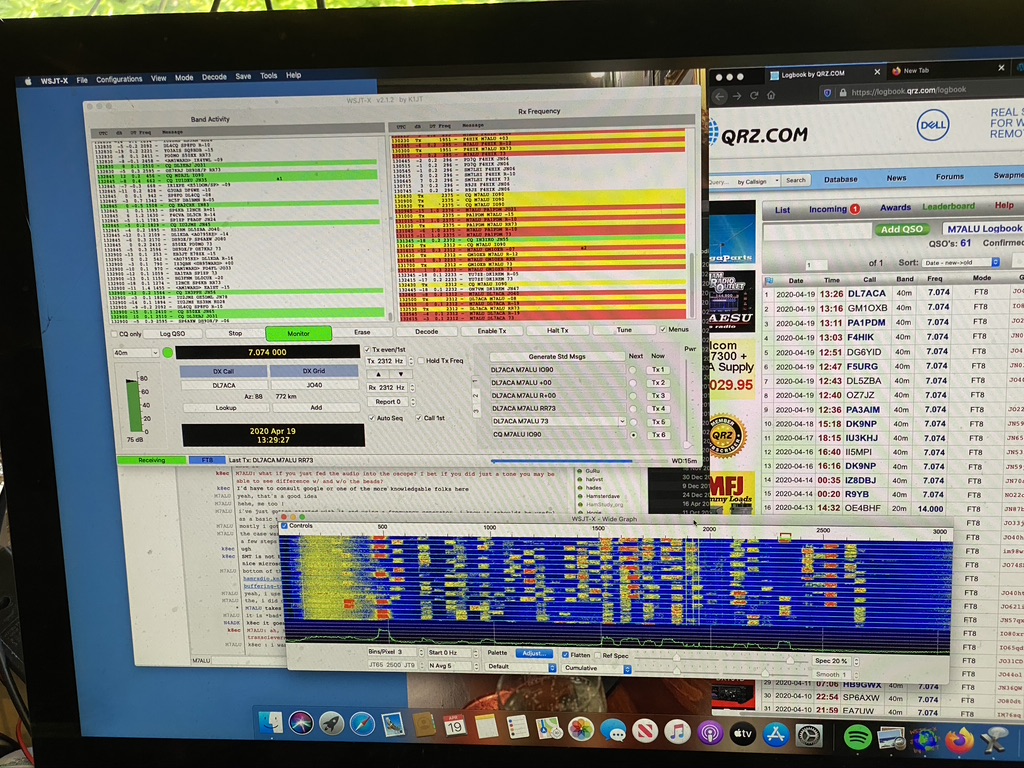
FT8 came alive very rapidly !
Within a course of an hour, i had made 9 QSO’s on FT8 on 40m, with 3 already confirmed on QRZ ! I was so happy that everything was working really well !
I think I am going to upgrade my chinese power supply which is meant to drive power-strip lighting, which is fine for VHF/UHF (A recommendation from FRED IN THE SHED on 27Mhz) but for HF I will get a decent 30~40 Amp campable linear PSU for the Kenwood to further reduce the QRM.
Now to stop playing on WSJT-X and tidy this place up !
Very excited, having started a chat on RedditNet IRC Channel about my concerns of 10W usage on HF, plenty of people stepped in with ideas for me to try.
I then got some very nice guidance on how to use FT8 from G7VRD and how to use WSJT-X.
Before long i was happily receiving signals via the DX Commander and into my Kenwood ! I was really amazed to get to this stage because of the amount of work in getting the mast and radio setup.
I then set about hooking up my XGGComms USB Digitalmode unit. This does CAT control and also plugs into the ACC2 port, which carries audio. I hooked up a simple USB soundcard to the mac as they no longer have ‘lne in’ after Thunderbolt replaced audio in ports.
With that, and some jiggling around of configs, I setup Flrig and WSJT-X. Was now able to control my radio from my computer and receive signals !
After listening and observing for a while, i got the courage to think about transmitting. I checked out the excellent Essex Ham website on FT8 basic operation, then took the plunge !
Checking on PSK Reporter I can see that I was reaching well into Europe with just 10W of power ! I was really amazed and happy that all the work was worth it, but a big thanks again to G7VRD !
With the 2m/70cm antenna up and getting used to using the RT90 in UHF/VHF and DMR modes I can finally concentrate on assembling the DX Commander multiband antenna I ordered several weeks ago.
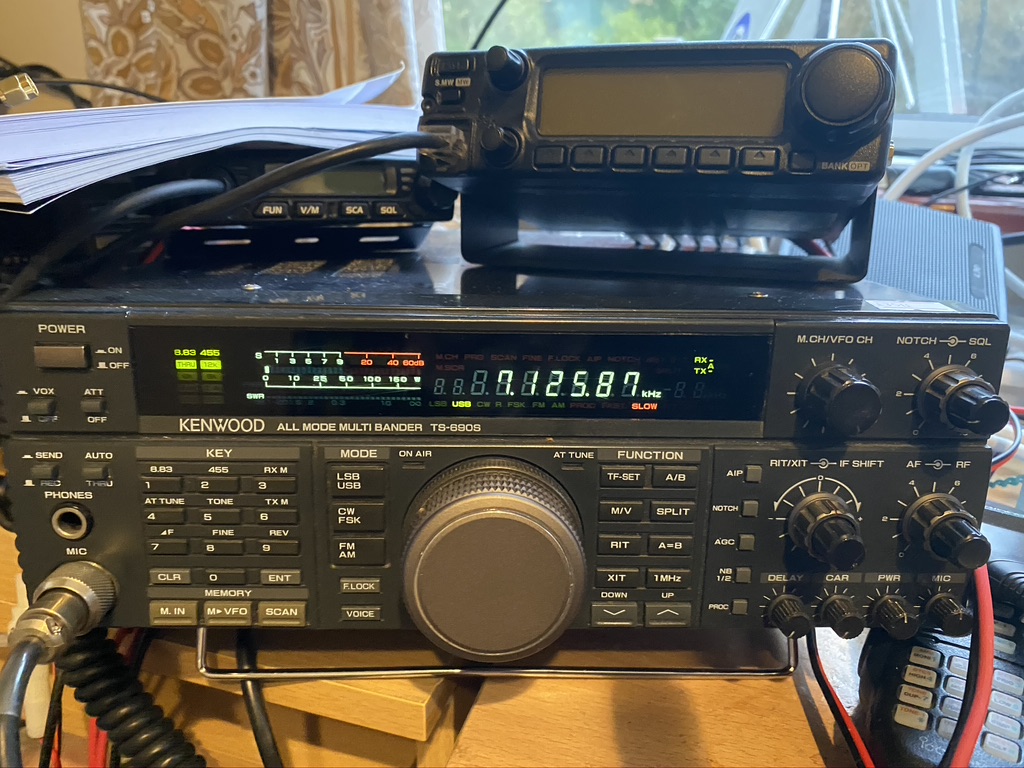
What is a DX Commander you say ? Well, it is a vertical multiband HF antenna created by Calum (M0MCX). I had been using my Buddipole in various configurations to use my Kenwood TS690S, which I dont mind saying, whilst rewarding took a fair bit of swapping/building each time. The DX Commander allows me to erect a multi-channle vertical which can be easily taken up or down, so suits my operating needs ideally, and best of all, its performance is amazing from what others and the numerous youtube videos show.
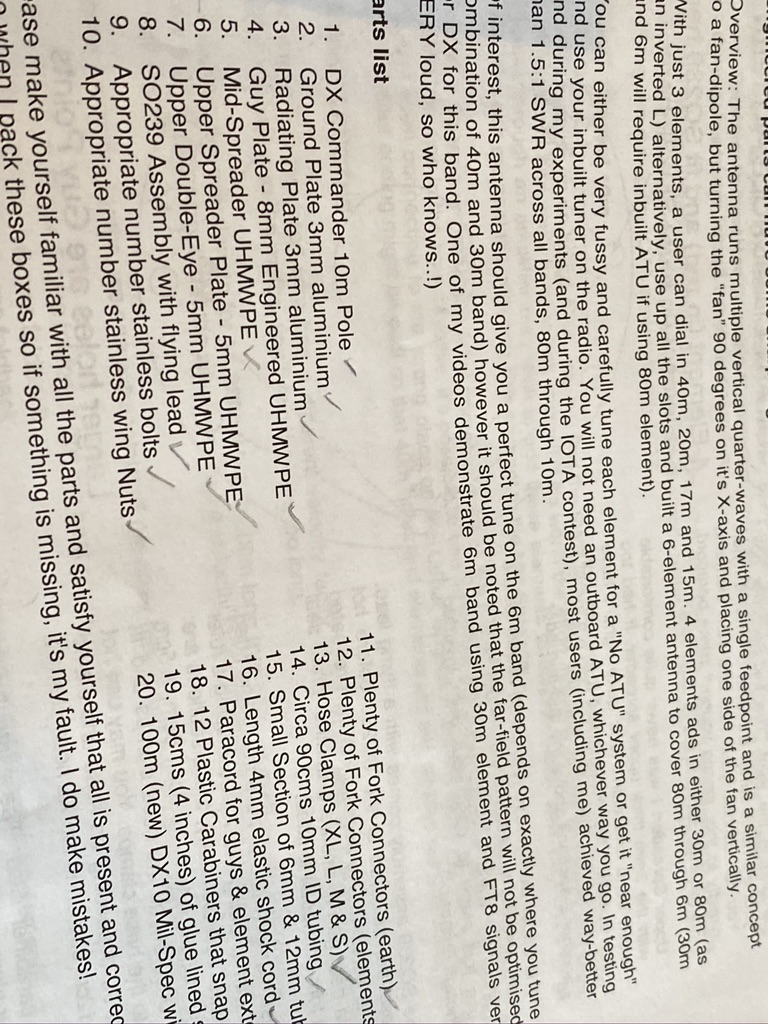
check all the parts
First off, check all the parts are there. When you get the DX Commander, it comes with a very nice (aesthtically at least) fibreglass tube and loads of other bits. Before even attempting to put this together, I printed off the instructions, read them, read them again – had a sleep, and read them even more. I then set about checking the components and am really glad to say *everything* was there. Of course everything should be there, but we have to consider that Callum is largerly operating this business as a family/his own thing – so all of the components are selected and packed by hand. Callum is a top guy and always says if you have an issue even with an existing part, he will do his best to help, thankfully there was no need to call up for any missing parts in this case.
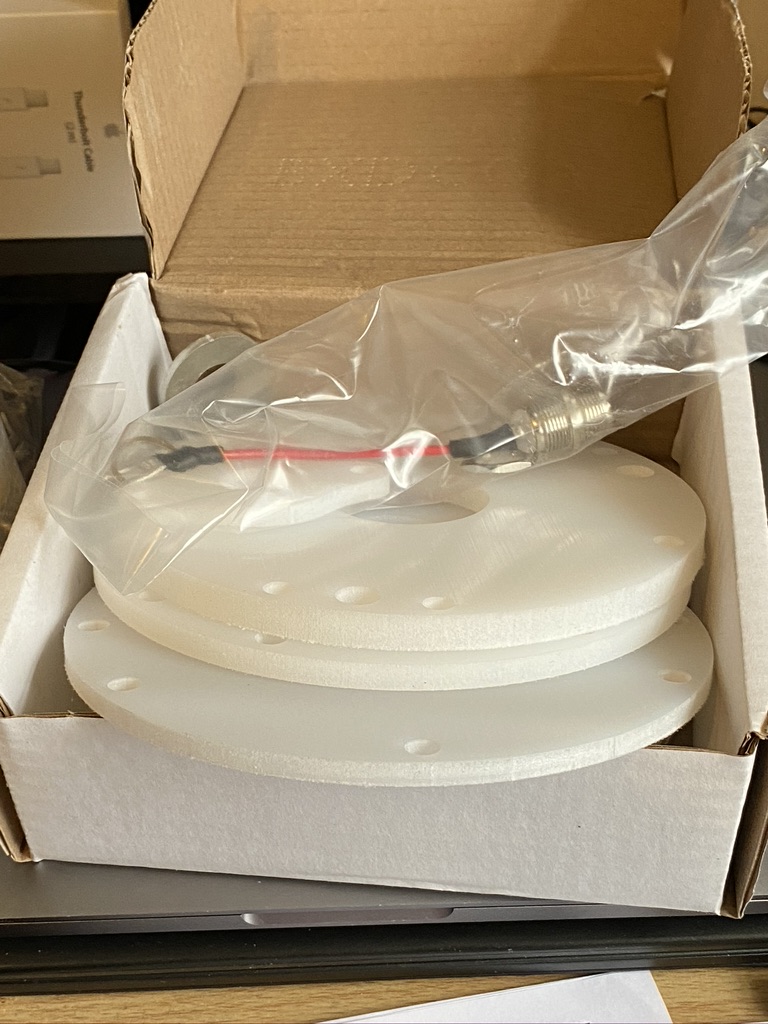
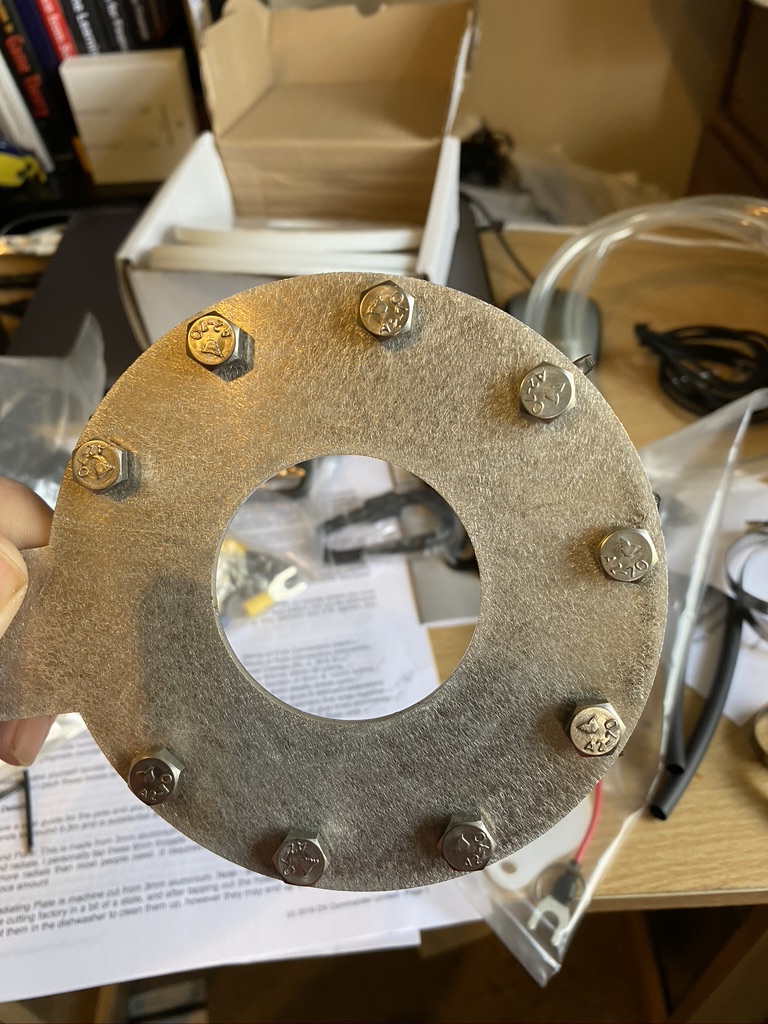
The water jet cut plates and SO239
Next was to understand how the ground and seperator plates worked, I didnt do this to any specific order, r.e. instructions, but felt it was a good idea to see how these aligned. They are really strong bits of plastic and the holes are very well cut (no cracks/tension from what i can see !).
It may not look like it, but they are all components (and some spares!) for the DX Commander !
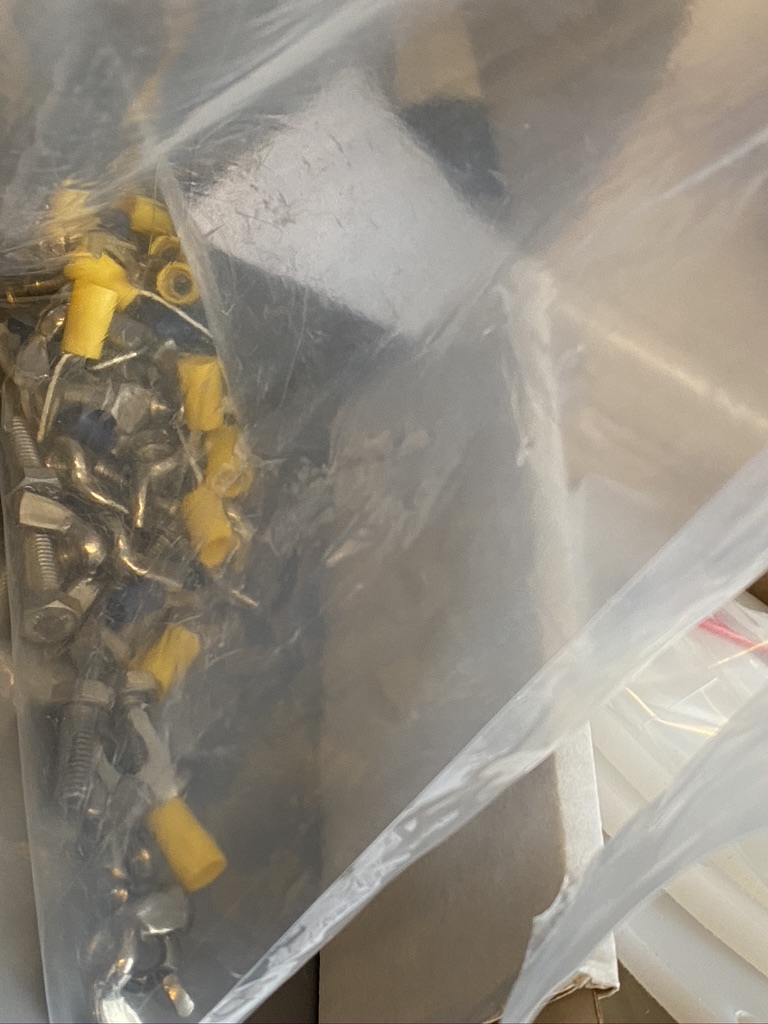
I then counted out all the screws bolts and connectors – again from what I could see good quality bolts and connectors. For the price, these are very good quality. The bolts give me real confidence that everything will be held securely to the base plate once outside.
top quality workman ship on the DX Commander plate
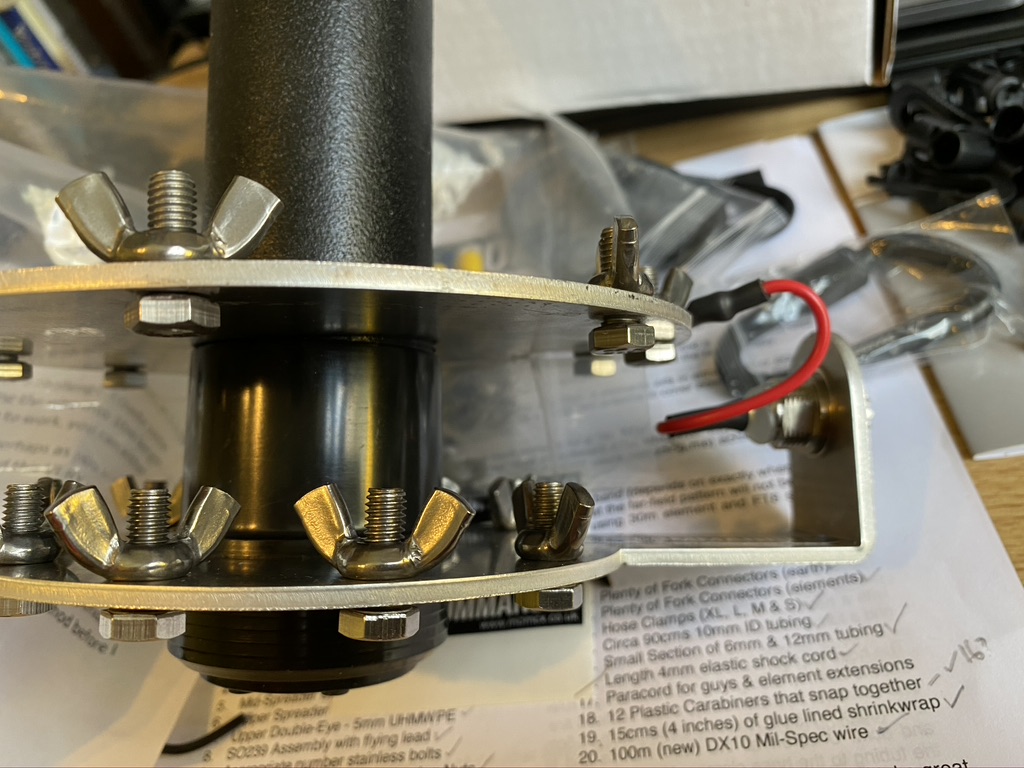
I then connected the ground plate to the bottom of the pole and slid the feeder plate over the pole to see how they would connect – have to say (again) you can see how well thought out the DX Commander is, its a pleasure to build and work with.
Seeing how it would all fit togehter indoors first
By now it was getting ready to do the next step – all the wires for the verticals. A cup of tea was required.
Time for some tea and biscuits, a nice cup provided from Aker Systems 🙂 (Do get advertising revenue on clickthrus…)
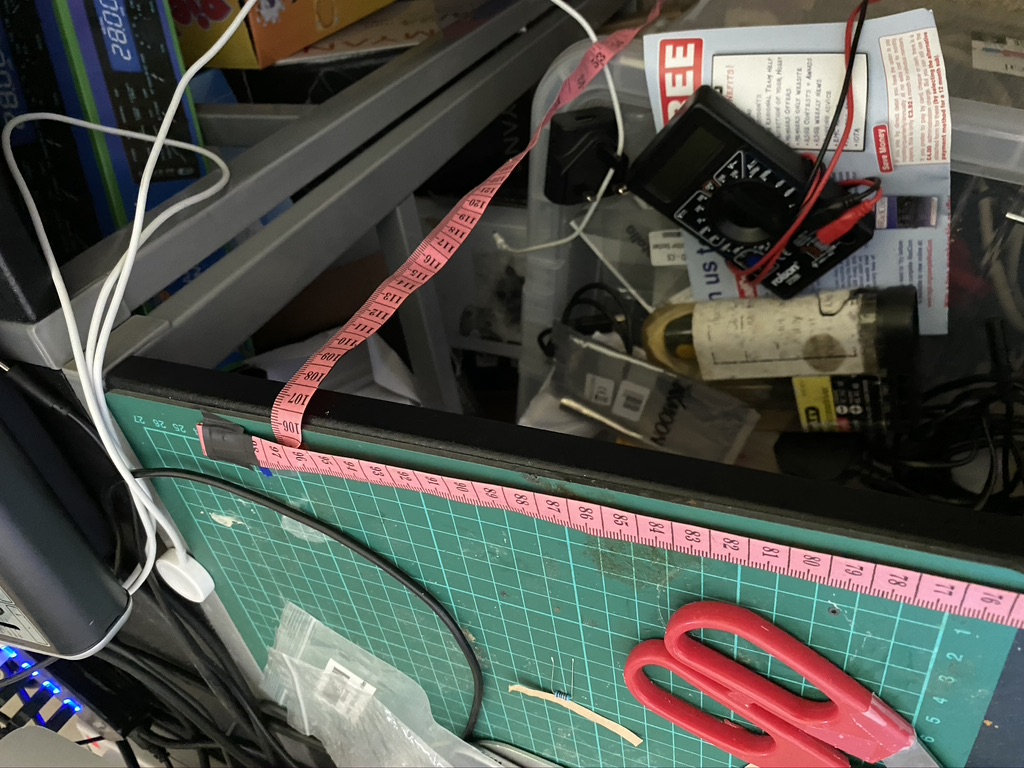
Now I’m not really used to making/measuring stuff, and wanted a good way of getting the right cable lengths. I do have a big metal retracable tape measure, but that seemed like overkill and owuld mean going outside to measure the wire. Instead I got my clothes tape measure (also use on Buddipole for whip lengths) and fixed a 1M length down. I then developed a process using a crocodile clip as a market to relibily measure the required distances. I measured MANY times before cutting, I can assure you !
The M7ALU wire-cutting factory, aka my desk with a tape measure taped to it
With the desk setup ready to start cutting, I then had to decide on how many elements to set it up for. My main interest is 40m to start with, as 80m requires some additonal consideration, i want for the 20/40/17/30 option.
Keeping it simple on 40, 17 30 and 20 to start with
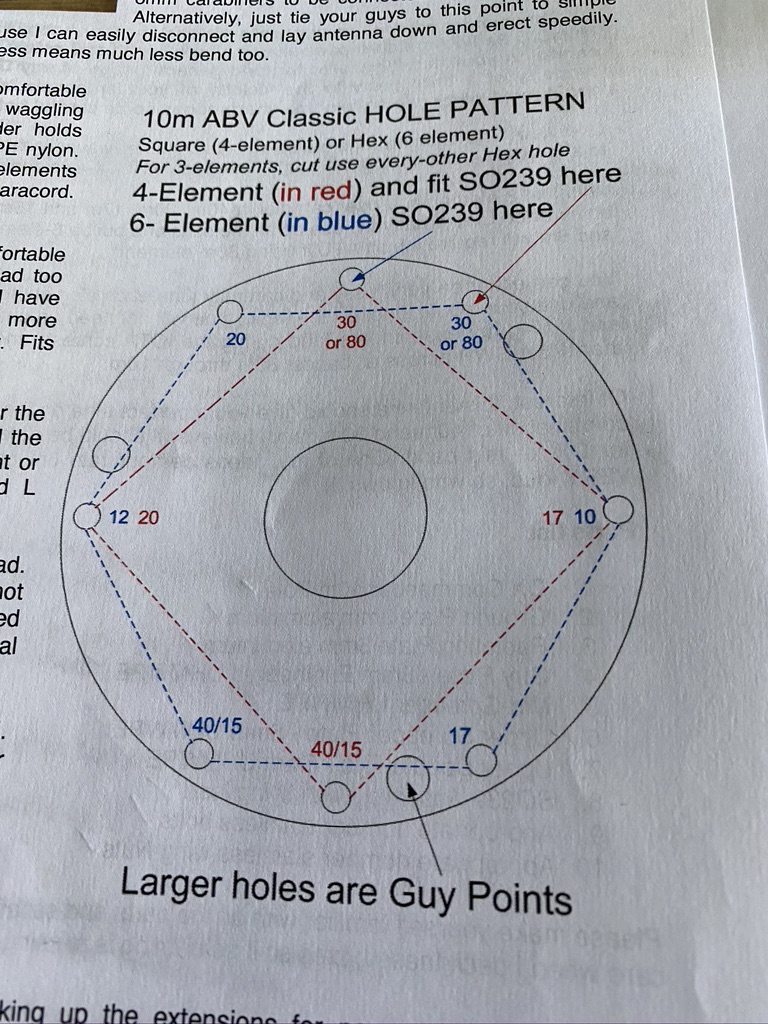
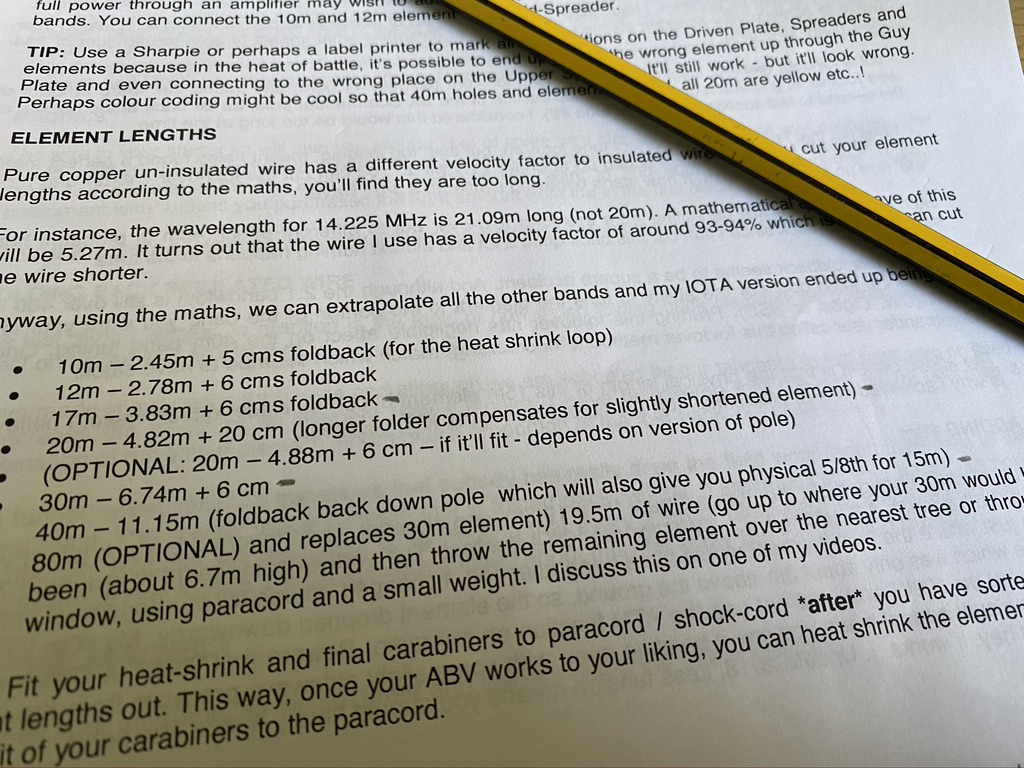
I then referred back to the relevant part of the documentation to get the lengths I needed, then set about measuring and cutting.
Noting the wires I want and the lengths i need
I really took quiet a bit of time with measuring, cutting and although not in the instructions, ensuring continiuity between the connector and the end of the wire – reason for this is that whilst I’ve got better at component soldering, my ‘mechanical’ soldering (i.e. joining things for ‘strength’) still leaves alot to be desired. Even with crimping I wanted to make sure I had a working full length of wire before getting it outside and finding out it waswrong
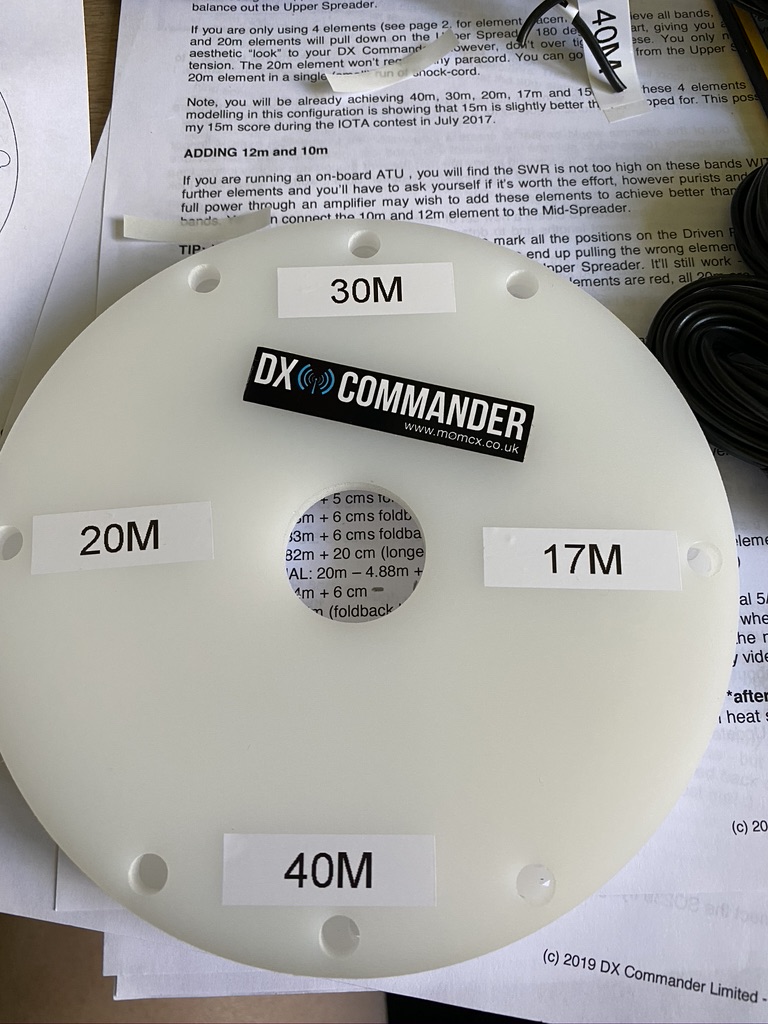
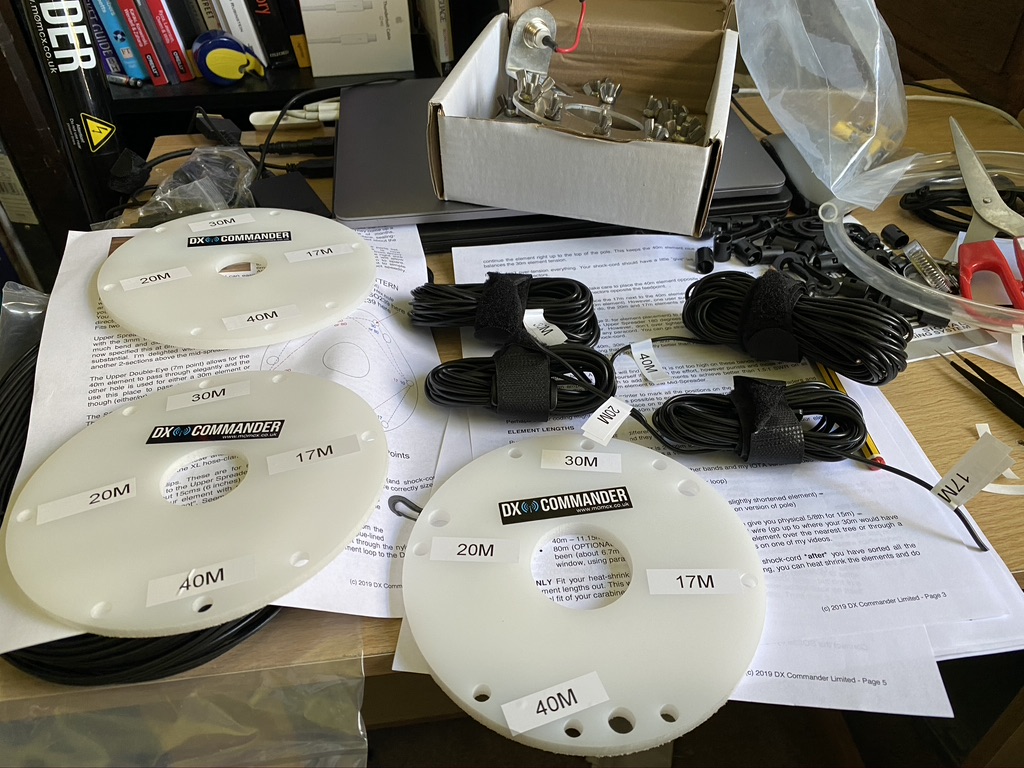
Next step was to label up the discs. I’ve not used my labelling machine in a while, so the first thign to do was to make sure it worked and I was happy with the text size. Thankfully it worked and printed beautifully.
Labelling up the discs for the relevant frequencys
I think i have got the orientation of the wholes correct relative to the SO239, but even if I Havent i can print more lables, but I think I have. Still, its looking good !
Thats all the verticals done, have since added the connectors and started on the radials
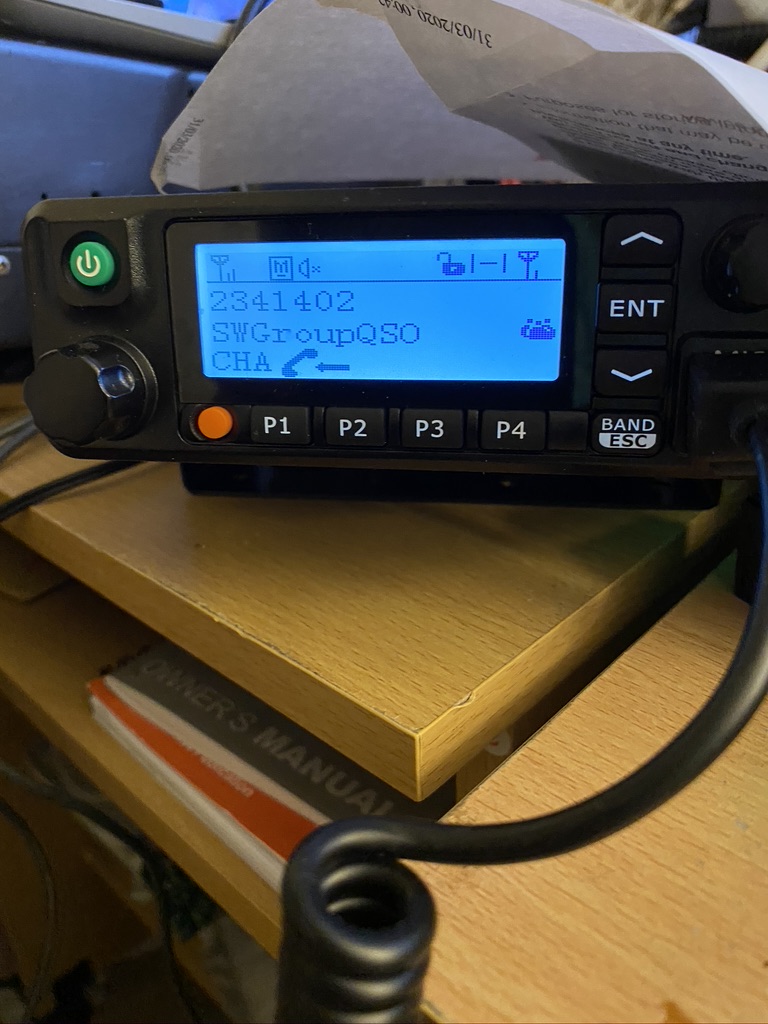
Having completed the verticals and one set from a bunch of four radials it was time for a break and to relax on the radio for a bit. The local repeaters were as busy as ever, so I went back and looked at my DMR Channels – one I had configured, but was wrong due to my newbie status was the local digital repeater (GB7DR) and SW Group talk group. I adjusted that config, pushed it to the transceiver and as luck would have it was able to listen into a very good net for half an hour before having my own QSO with G7FBD who gave me a very warm welcome and told me of the other nets which occur on the talk group.
Finished the evening with joining the local repeater via DMR and SW Talkgroup
I’m looking forward to progressing further on the DX Commander tomorrow, I’m not sure I will get it finished, its not good to rush something like this, but will surely add another post.
Have some more kits to finish up on, but thats worthy of its own post soon !
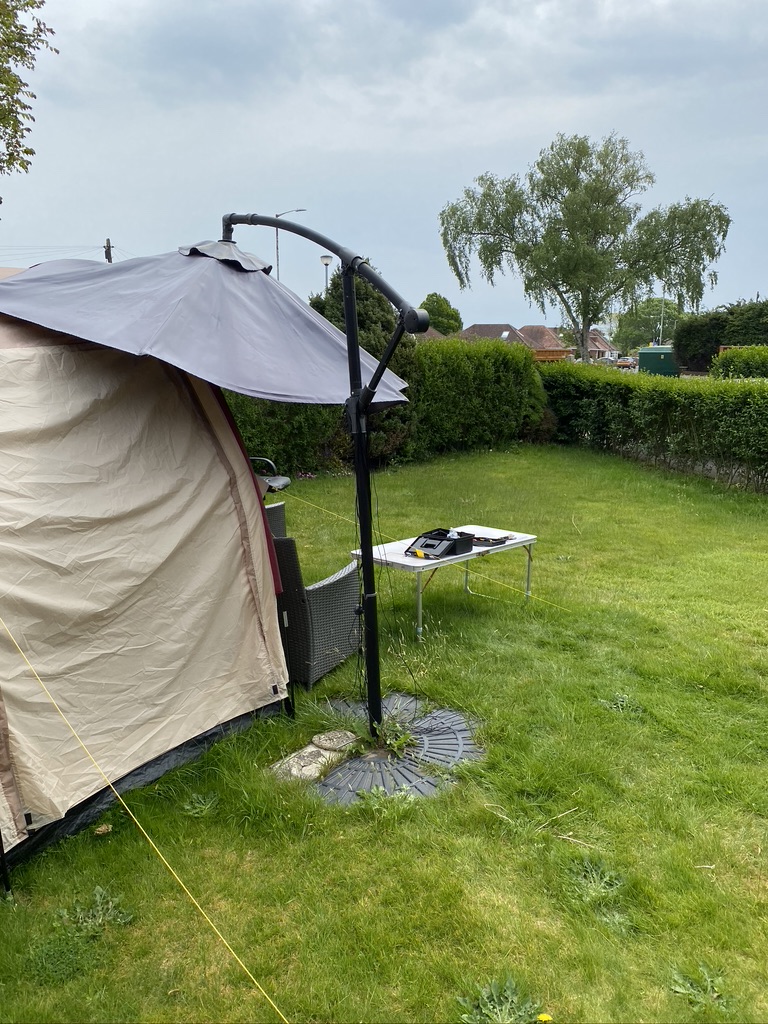
So the weather was pretty fair today, no rain, light breeze. Having completed the cable the previous evening it was time to attach it !
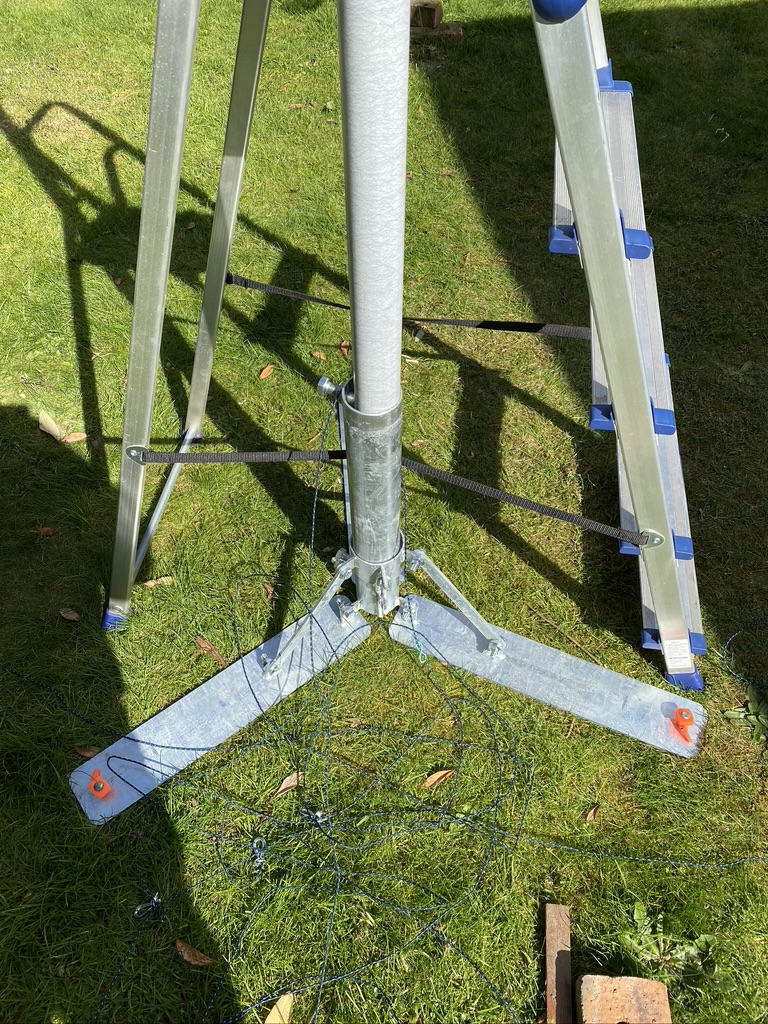
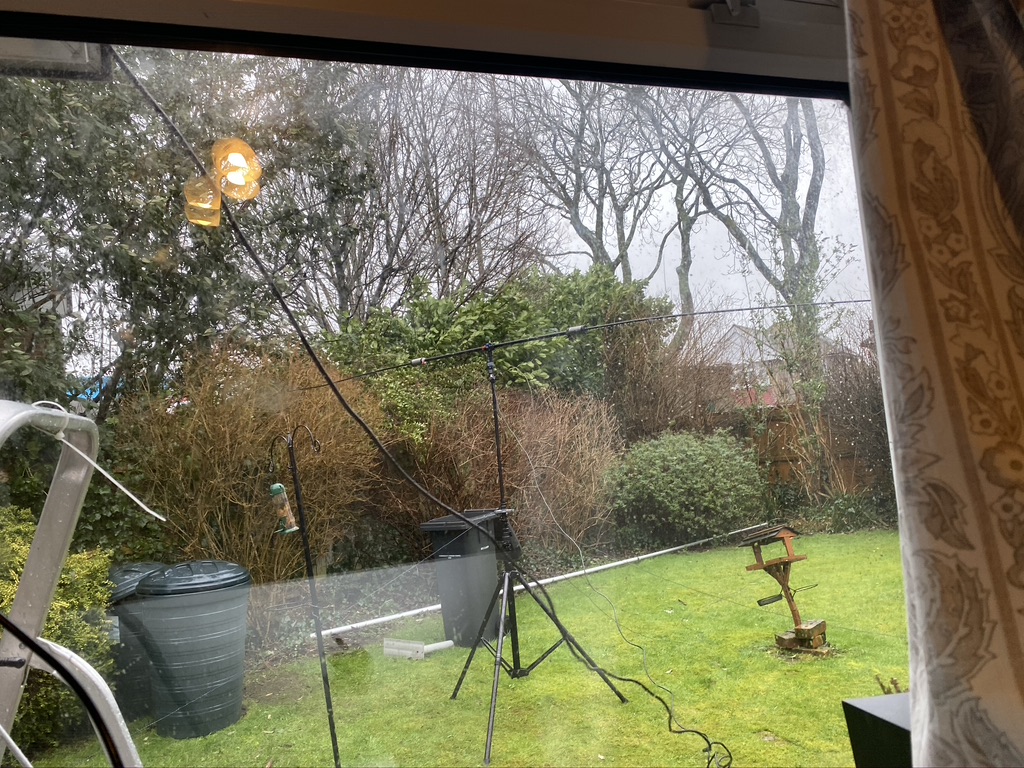
40ft up, 2m Jpole with the Radioorld Guy kit used to keep it firmly to the ground with the heavyweight mast and mast support.
First, I fed the cable from in the ‘shack’ outside, brought the cable up the small step ladder, and lowered the mast. I then connected the PL259 into the moonraker 2m/70cm jpole. I returned inside and before attaching to the RT90, done a SWR check. The SWR had gone up to 3.0-4.0 ! Not the result i wanted, so i went back out and took both ends of the cable with me.
the mast is in this very strong base and held in with heavy duty tent pegs. There are links for chains available, but its secure as is.
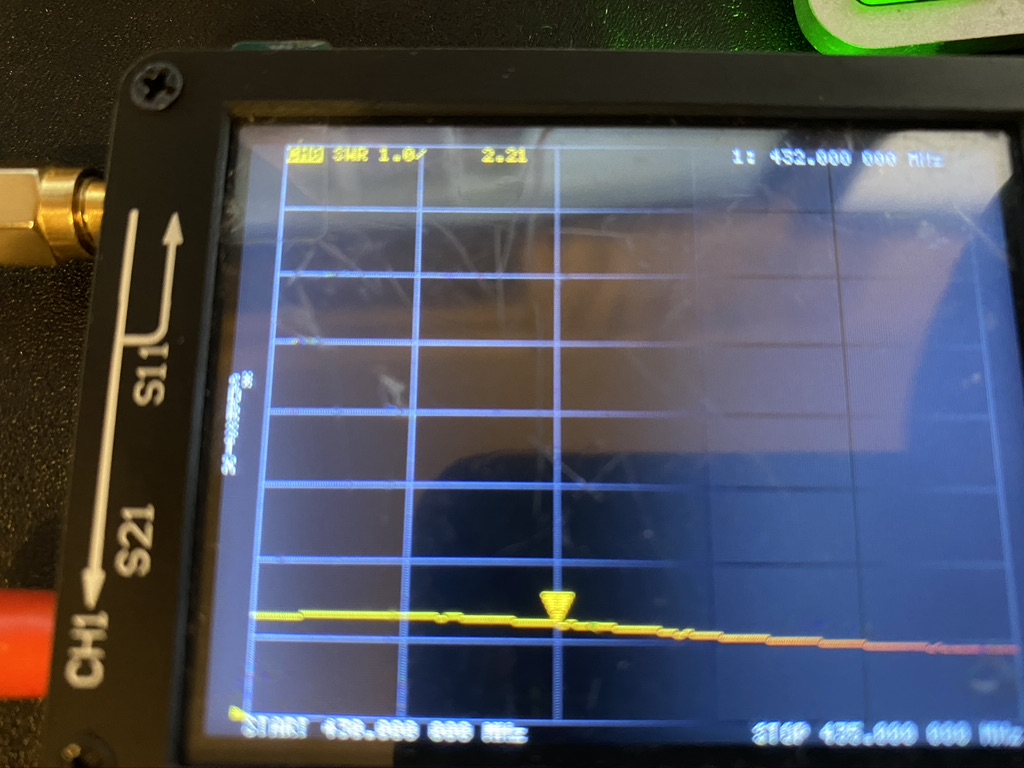
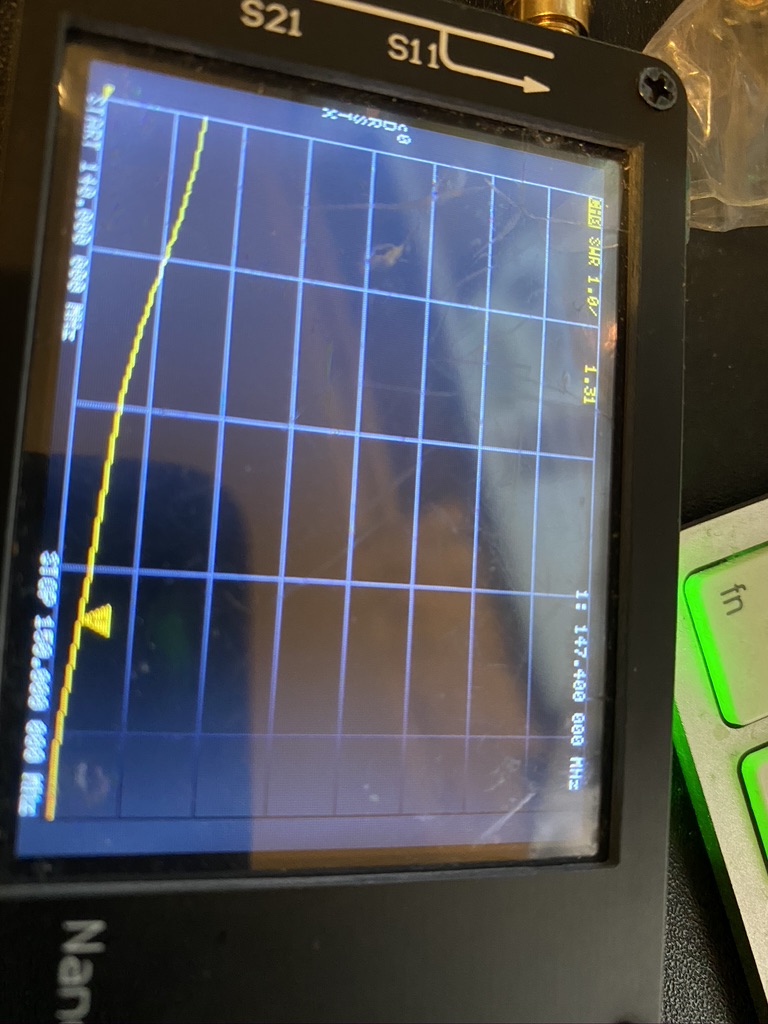
Backup the stairs and with the base back down, I started measuring and checking the mast the connector. I found that that there was just a bit of solder on the tip that wasnt allowing the plug to fit snug. A quick file with a very small round file made the PL259 fit nice, but better than that, i changed ends, and measured outside first. In the bright sun it was hard to read the meter, but was getting back 1.6 – 1.7, not brilliant, but thought that was ok and good enough from transmitting. I also noted that with the extra length, some cable was on the ground, and that may effect the SWR reading from my nanoNVA.
SWR on 70cm is a little high, but still ok for operation – I dont have a ‘favourite’ repeater on 70cm, mostly there for UHF/VHF coverage in one unit.
I then made sure all the mast-stakes where still very much in the ground, these are huge, see https://www.radioworld.co.uk/complete-guy-kit-light-weight. I put them in the ground with a club hammer – for sure those stakes are not going to move, and the guy-rope is very well made, with metal hook attachements each end.
TIme to push a 40ft mast up ! I dont mind saying it was hard work – but then i am not in the best fitness at the moment !
S.W.R. on 2M on the frequenys used for the repeaters and simplex channels is <1.5 – a very good result
With the mast up, i returned indoors and took some SWR readings – on 2m i was getting good results, so i put it on the transceiver. I was now getting Southampton, Dorchester and Blandford as clear as bell on repeater tests – the effort was worth it for such a clear signal.
I done a test on the local Poole repeater and was glad to hear a well known specalist on who gave me a good signal report, so was very happy with that !
I’ve got more reviews to write on the mast and RT90 this week, but will try to get them out as its largely setup in terms of UHF/VHF frequencys and the antenna/mast configuration.
So the bad weather continues in the UK, i had wanted to carry on with my 2m/70cm antenna project but with the gales, it didnt seem like a sensible thing to be doing, esp as the mast is tall and heavy – even with a light breeze, it could be dangerous.
Instead I looked thru the Buddipole in the field document and reviewed the 40M section. It said it was possible, albeit with a slightly higher SWR.
its 40m but at about 2m in height…
So with the bad weather I got the buddipole setup, not wanting to lose any more antenna, I kept the height at about 2m verticle and guyed down the mast as usual and also thru the veresatee to give some extra support on the horizontal element of the dipoloe. This worked really well as the winds did pick up and mast held up well in the eright location.
I was only able to get my SWR down to 5, probably due to the height of the antenna, but amazingly I was able to receive ! Given I’ve not had alot of action on the Kenwood I was so happy to tune in and listen in. Some points I could get both ends of the conversation, others just the transmitter, but nevertheless, i found it a worth while excersie in setting up the antenna in inclement conditions and also being to use the Kenwood on HF.
Do some more investigation, one other configuration I could try is a ‘NVIS’ on 40m. This is well documented here and as I’m short one wire and the clearance mounts will probably do it another day (having just got over a bad cold, dont want to risk getting ill again !)
So for now here is a video of one of the many stations I could pick up on 40m. It was great, and amazing to see how the sun going down quickly effected the transmisions ! (80m is popular after sun).
Having previously left my handheld back at home due to rushing around, I wouldnt fail a 2nd time ! I brought my radio to my hotel near where I work in London. I had recommended previously when at home a gateway based in Bromley, being MB7ABR.
Firstly, i was just glad i could access the gateway after programming my Baofeng UV-5RTP with the necessary frequency and DTCSS code. Not being a repeater, no offset was required. The gentleman that provides the gateway has a very nice website at http://www.wiggyweb.co.uk/ detailing the gateway and how it is connected to other networks. Very generous to set it up and keep running !
I keyed up and put out my ID with a test, and sure enough the repeater beeped me back !
I was reallly amazed that in a built up city surrounded by high office buildings I could reach a gateway about 6 miles away on 5 Watts of power !
I called out a few times, but to no avail, but not to be detered, and something I am learning, just patiently waiting pays. Sure enough, after dinner a call from an Echolink user from the US of A – w3ukg got chatting. To start with my signal was weak, so i relocated near the window and everything was really clear – echolink really is amazing. We had a great chat about his pitbull dog and how he enjoyed visiting London years ago, overall a very enjoyable contact.
I’ll be bringing my little Baofeng with me on my trips to London and will continue to monitor the gateway, who knows where my next contact will be from ! If anything, its nice to have a chat with fellow radio amateurs around the world on an otherwise quiet and lonley evening in London.
So with the weathing being what it is at the moment (Heavy Rain, Wind) I’m not erecting my buddipole. I’m just about over a niggling cold, and the thought of standing outside putting up and tuning an antenna doesnt sound a good idea if I’m going to be well tomorrow,
So with no alternative (ok, do have the Baofeng, but doesnt operate well indoors) I’m onto EchoLink, which also has the simplex gateway (Ed. its not a repeater….) MB7IFD on it. Whilst useage varies with hours, it really is quiet on there today, maybe it will pick up again later, or something untoward has happend !
A survey of the neighbourhood this morning showed no felled trees, but the real gusts of wind wont arrive until later today and tonight.. Maybe even those with static antennas have been put off by the bad weather, and as 2M is line of sight, height is important.
In the meantime, will keep Echolink on, and fire up listenig to hack-green HF WebSDR. Keeping it safe in the QTH 🙂