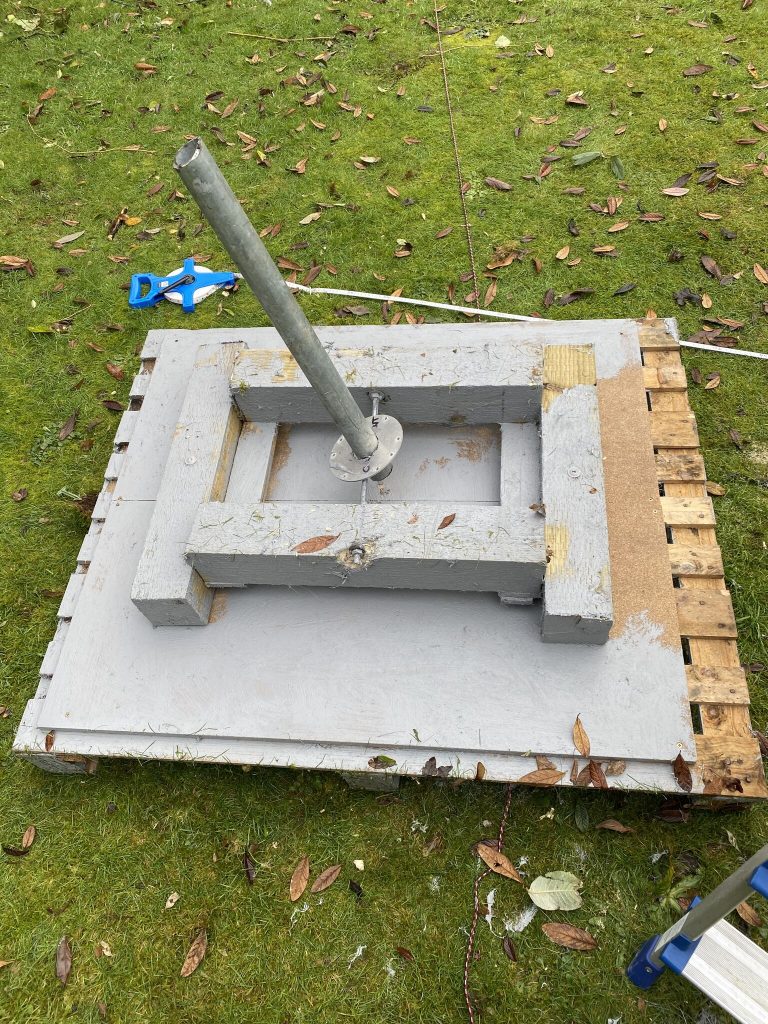
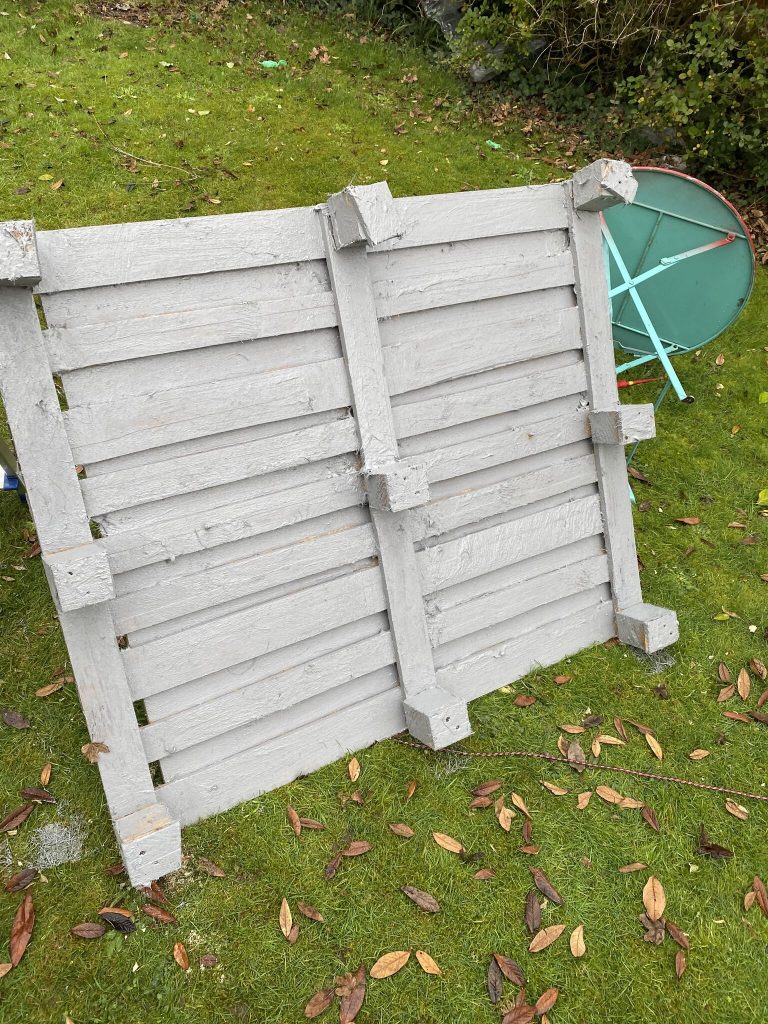
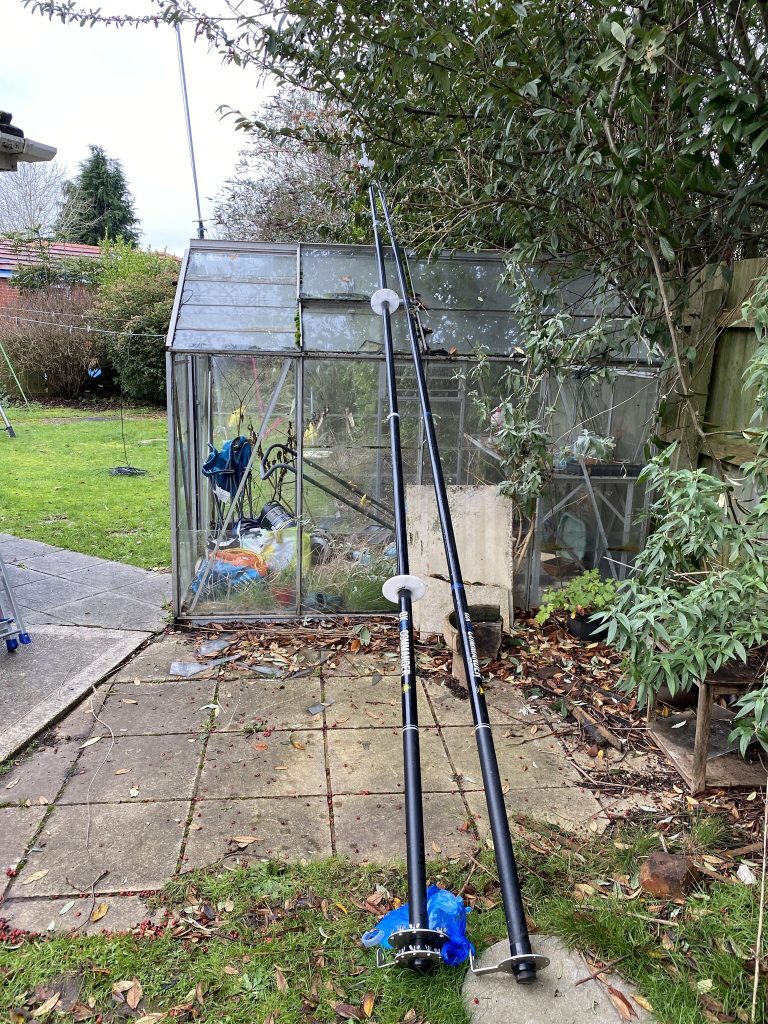
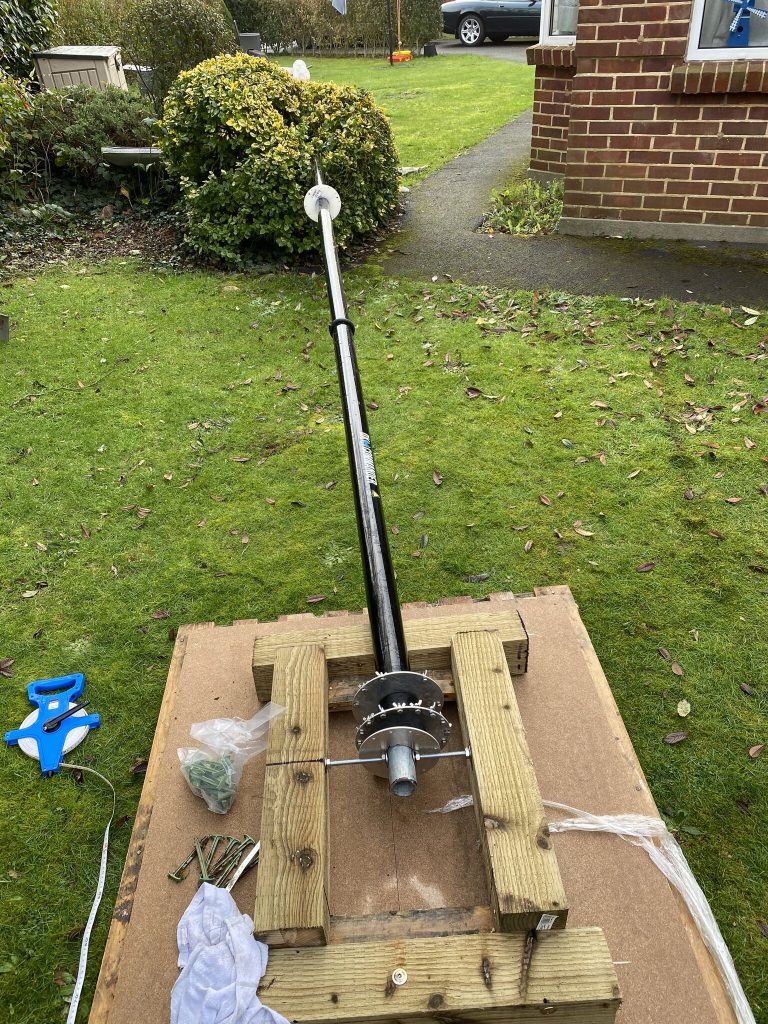
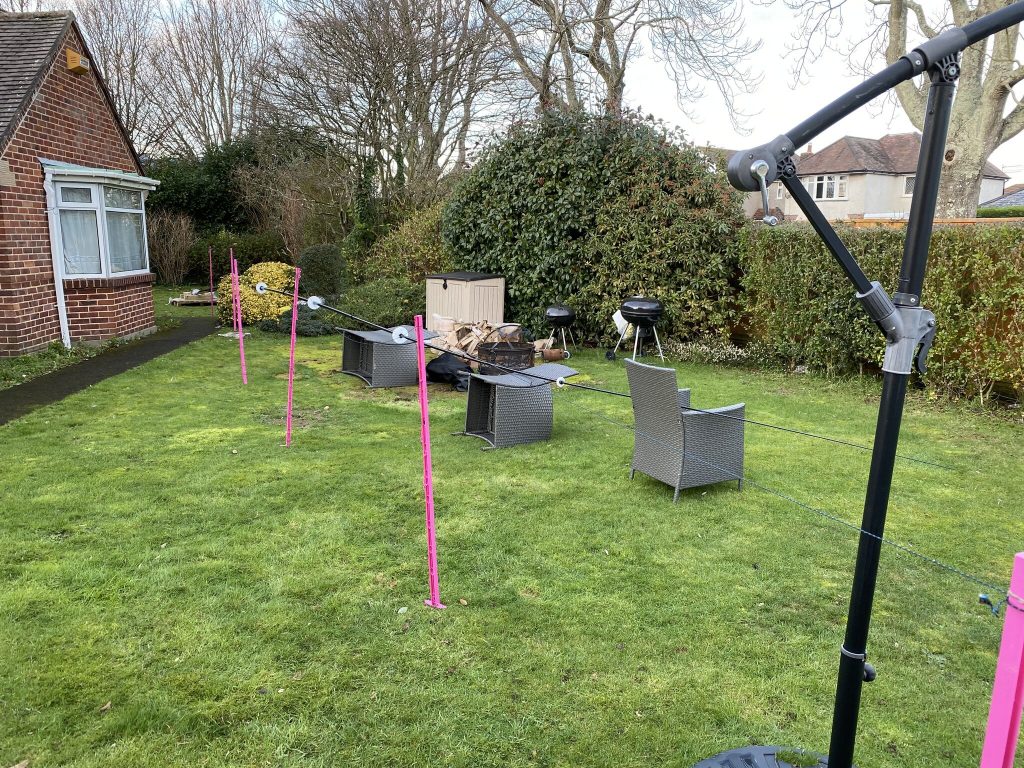
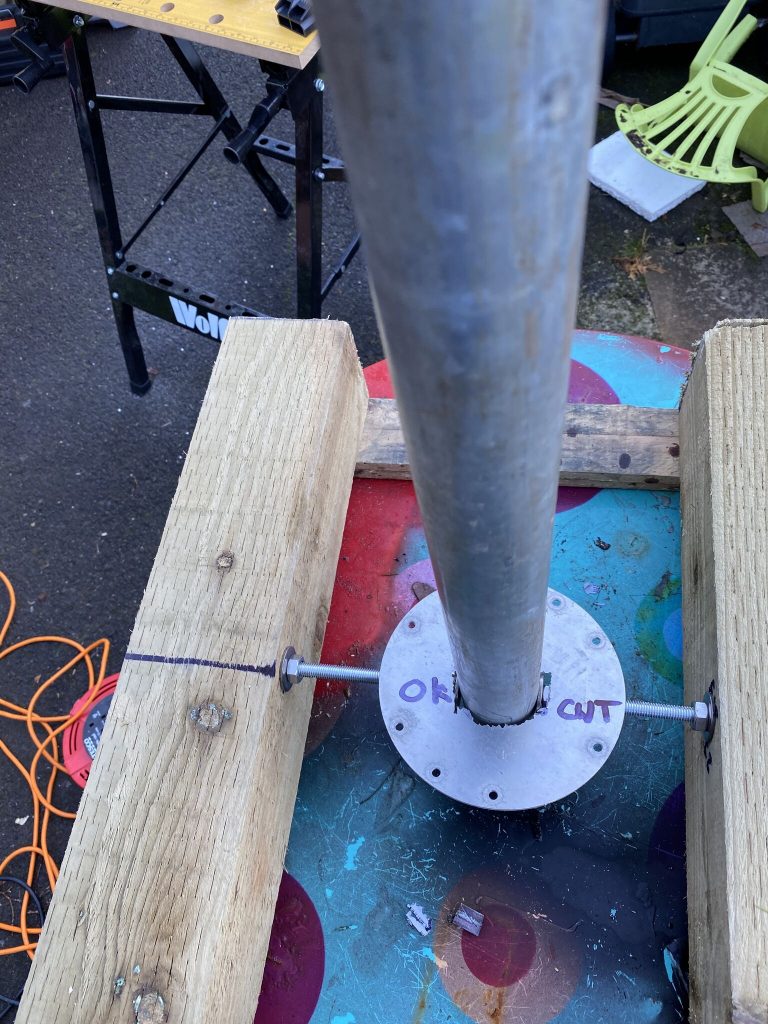
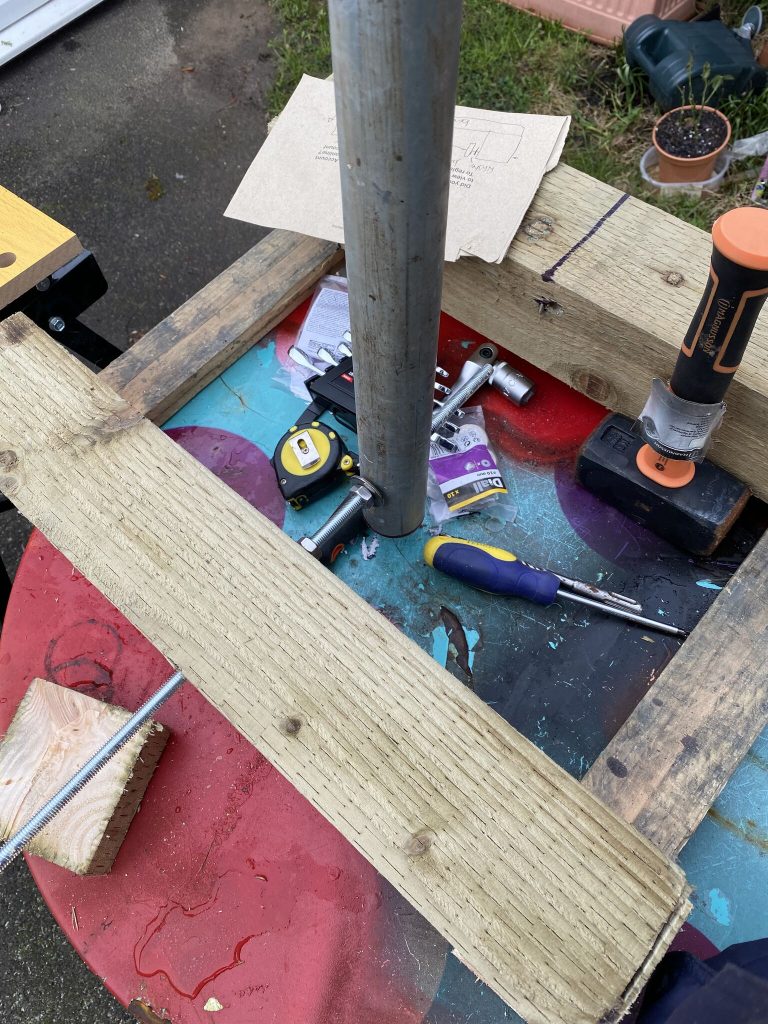
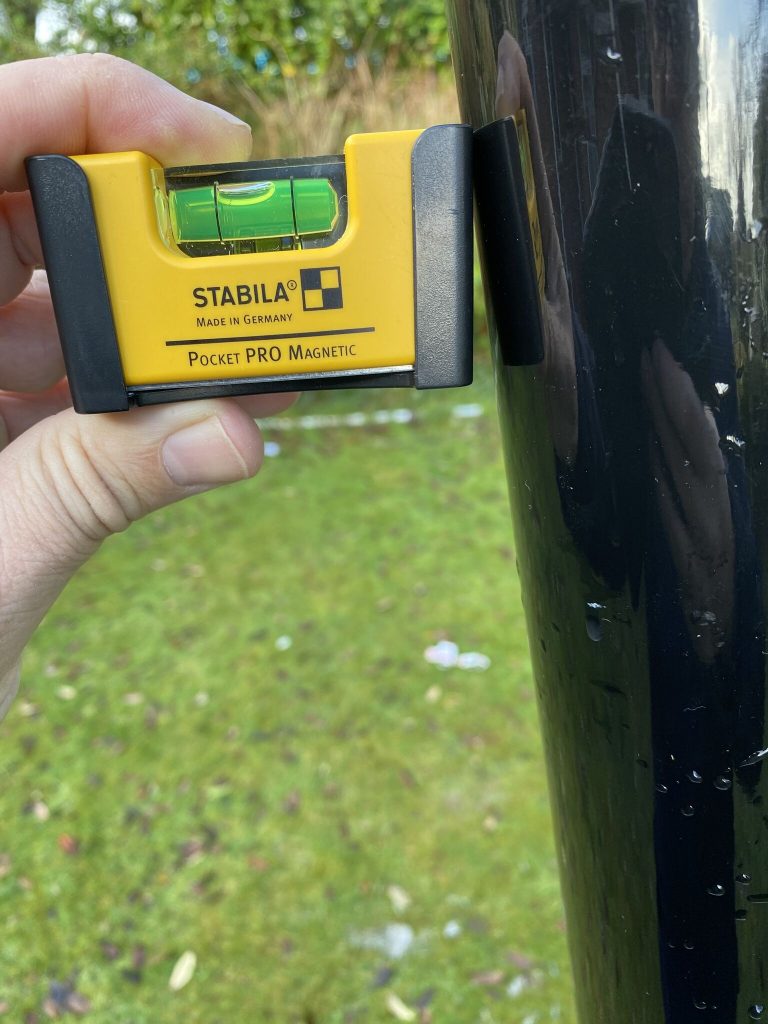
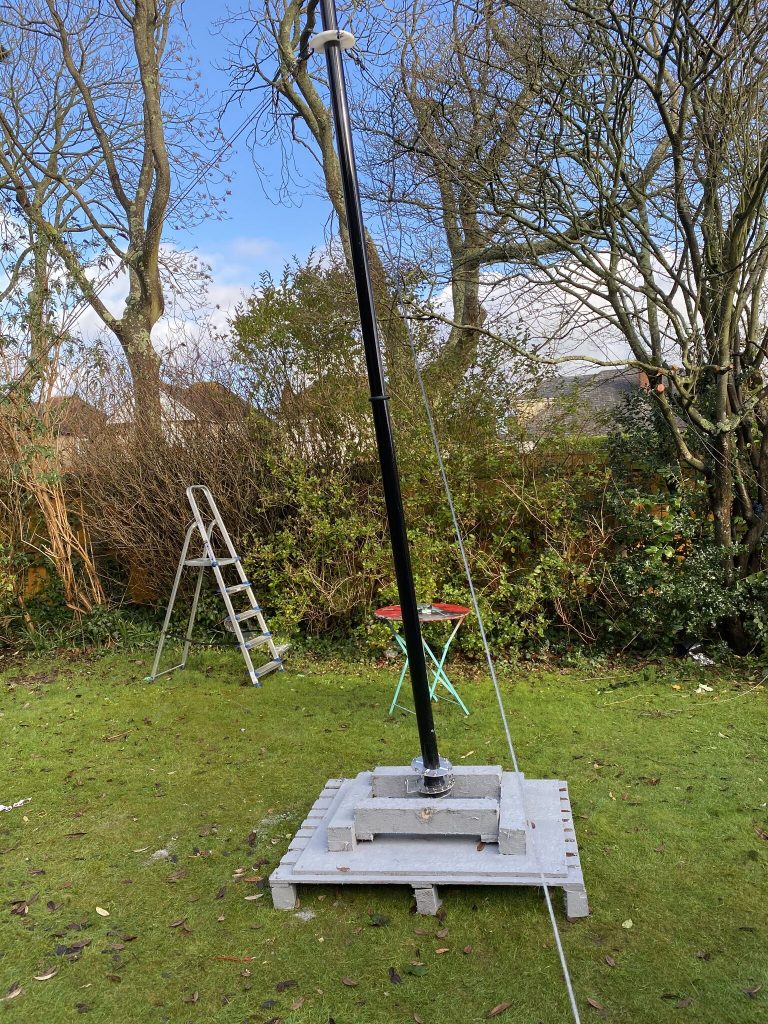
So following on from the mid-week rigging exercise I could see some more adjustments would be required before adding elements or radials. I set about with my trusty spirit level and a whole load of energy to get the nebula as straight as i can.
angle of seperation 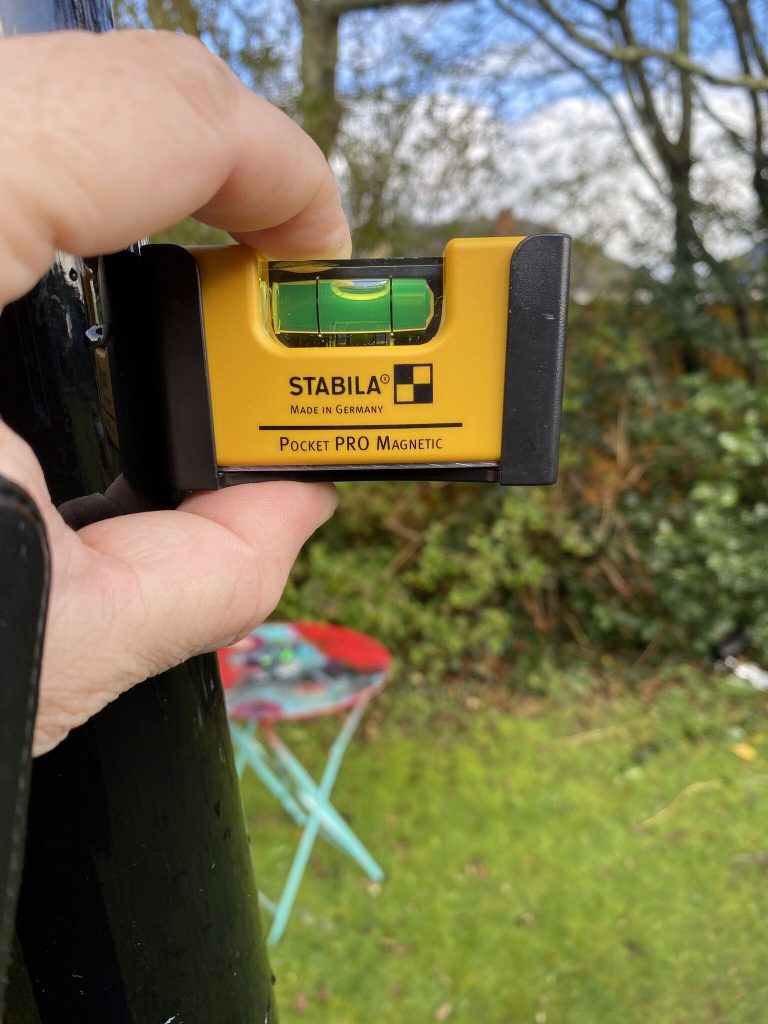
othe side 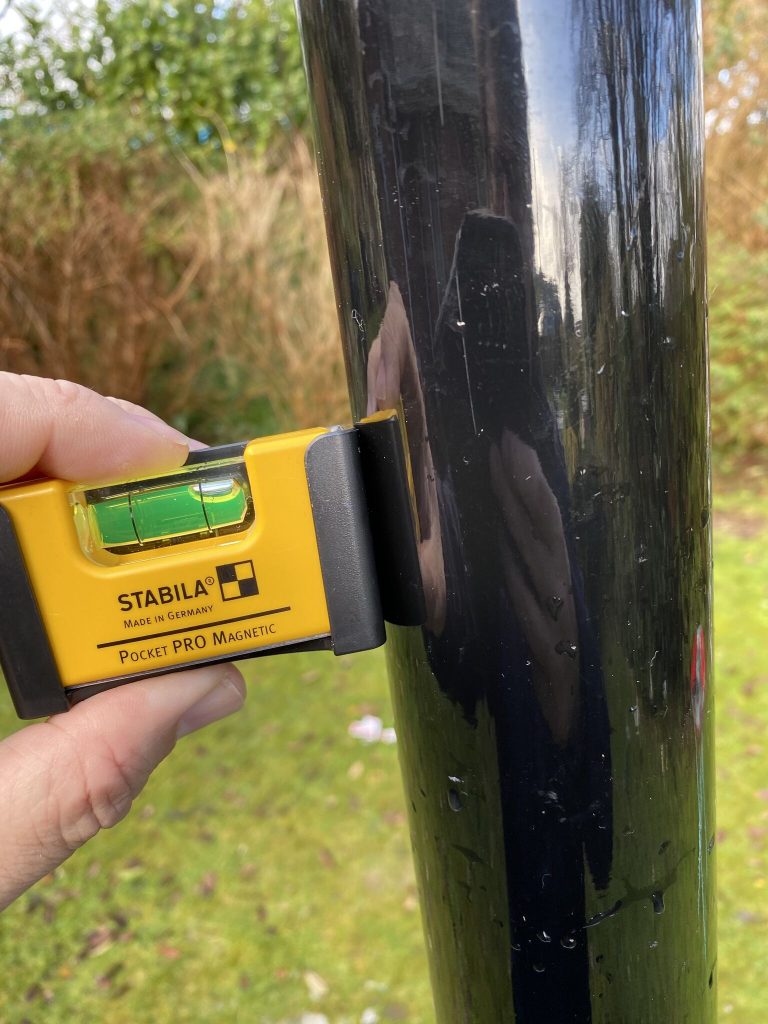
quite a bit off 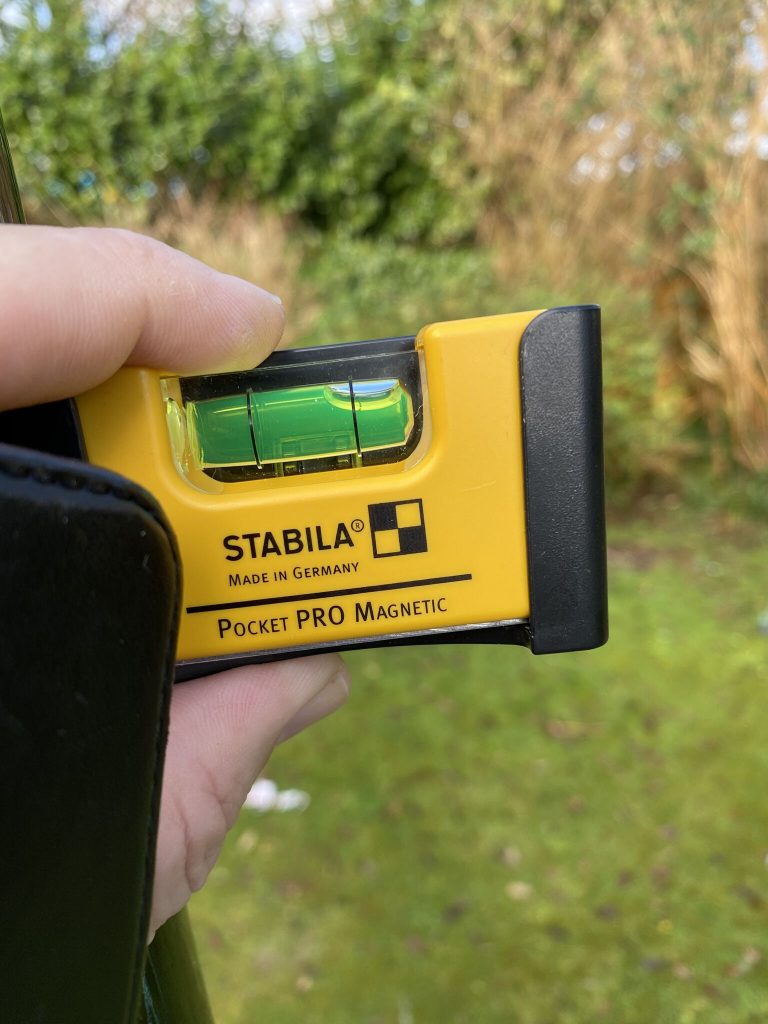
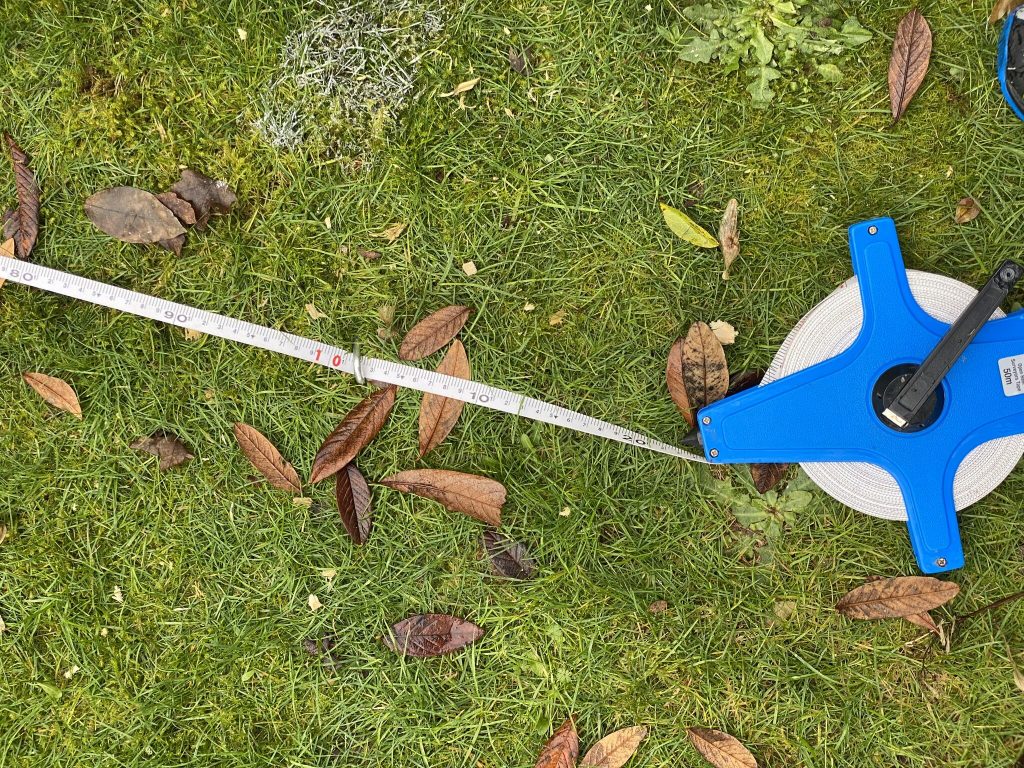
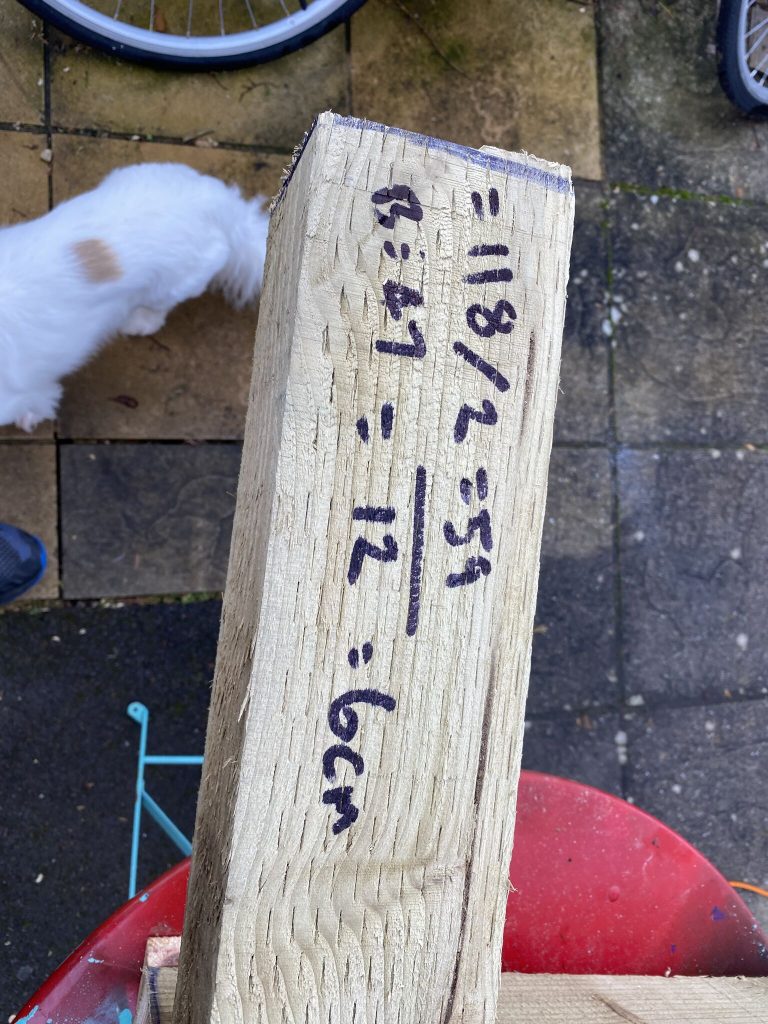
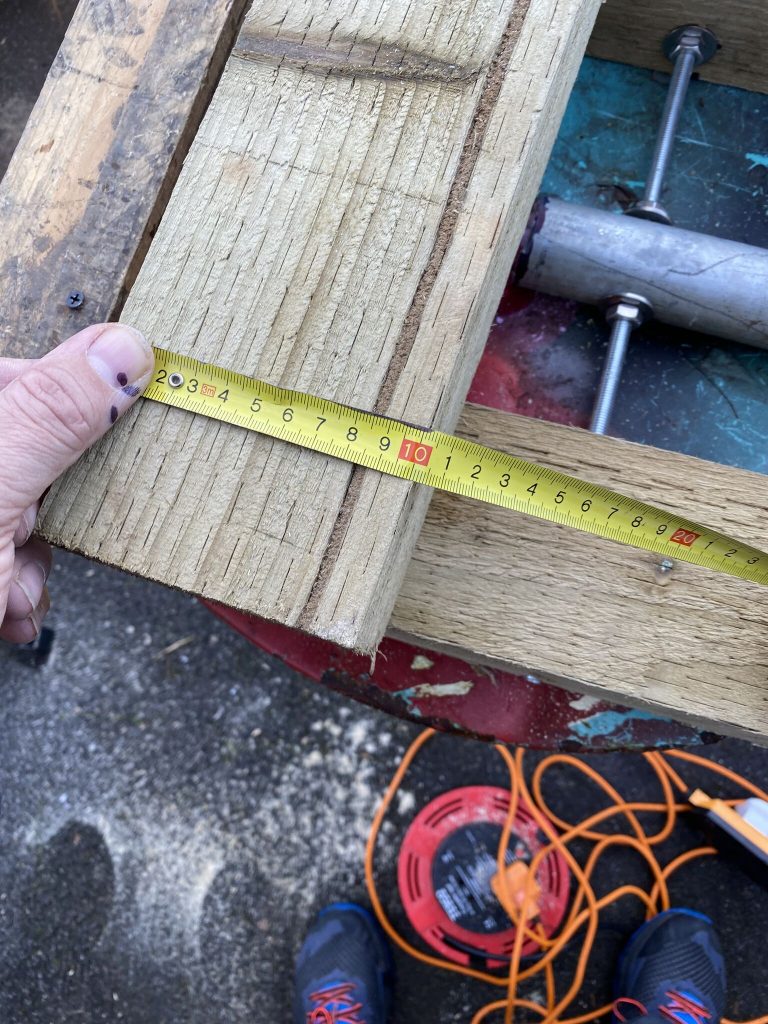
more measuring
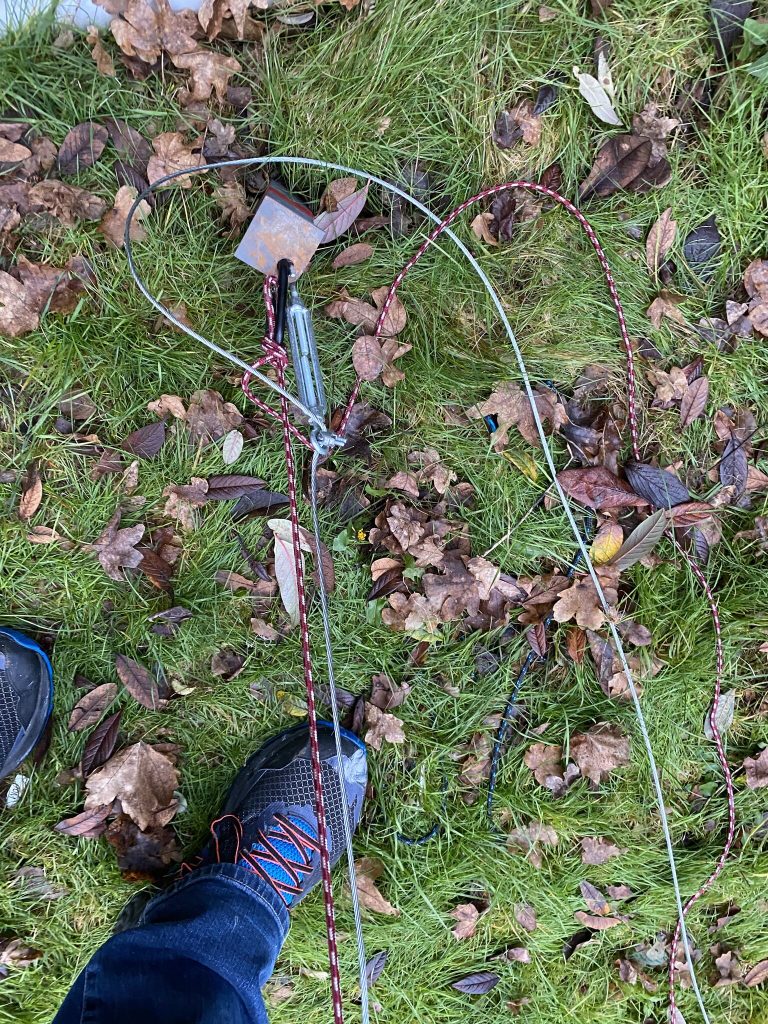
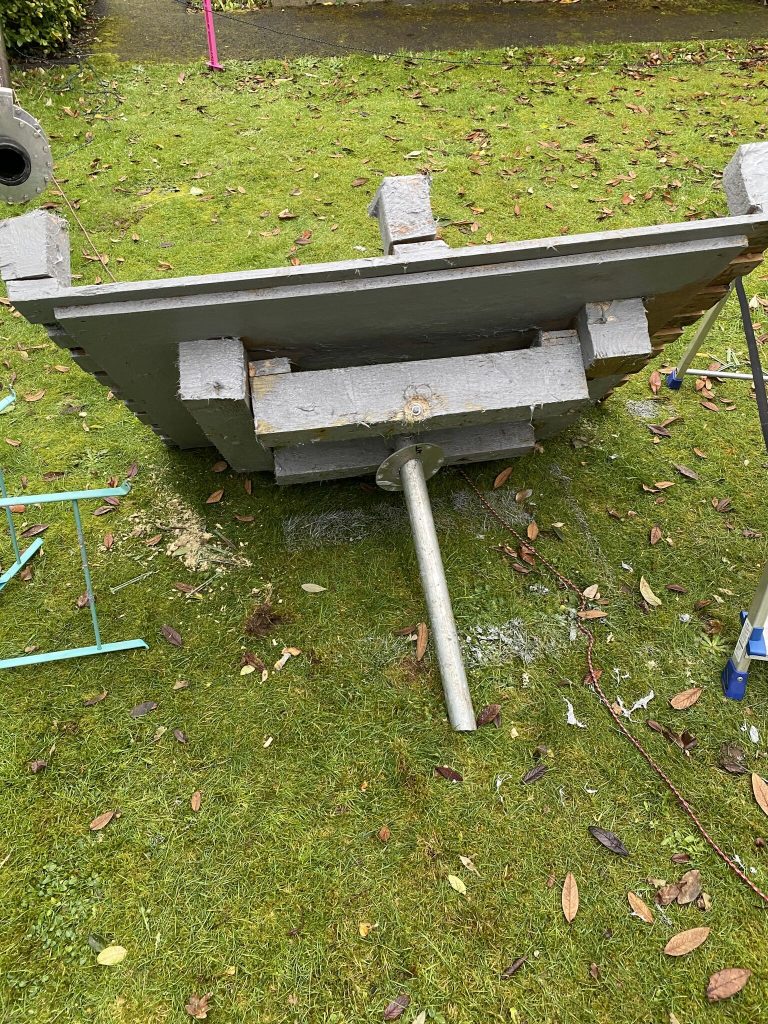
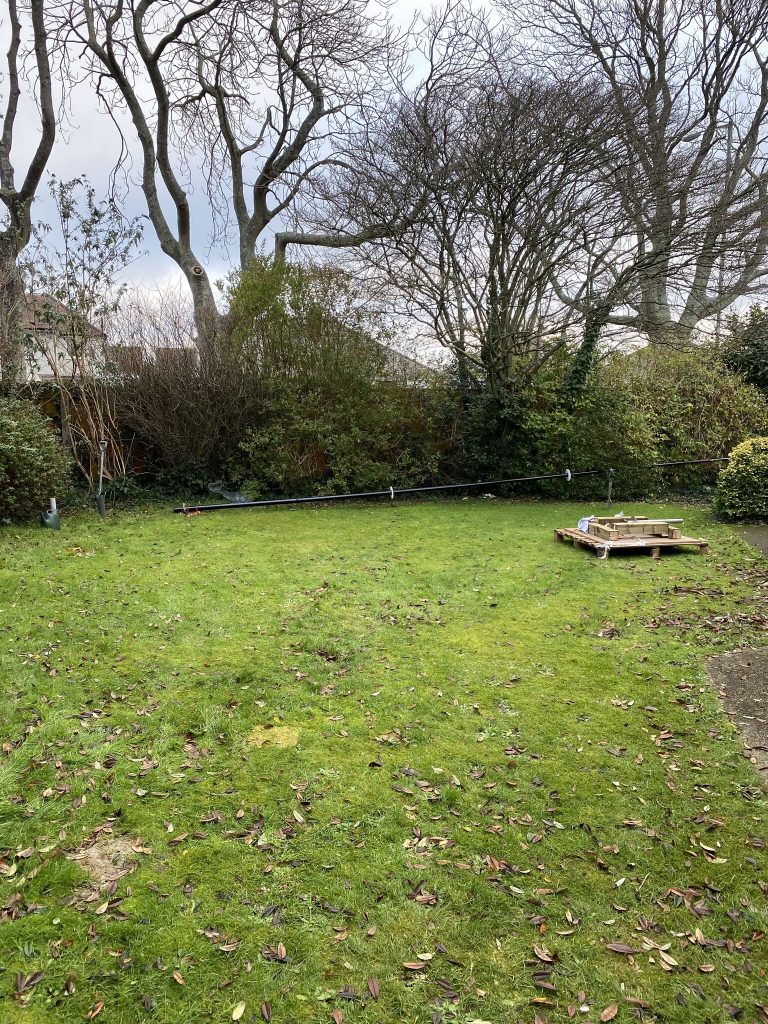
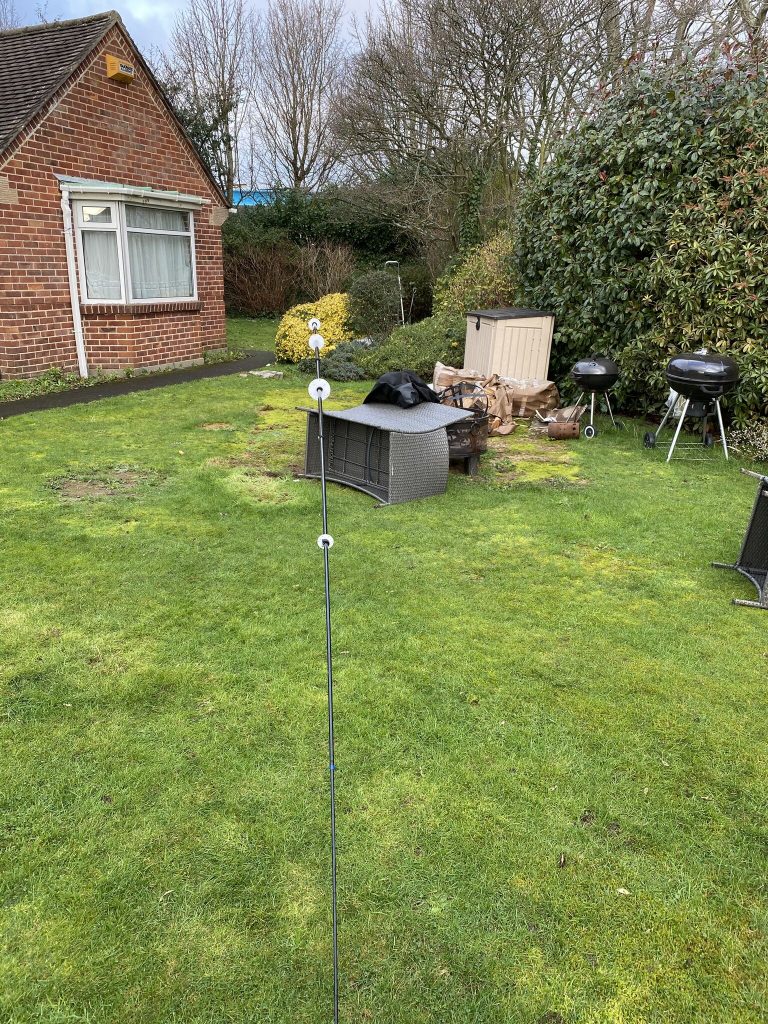
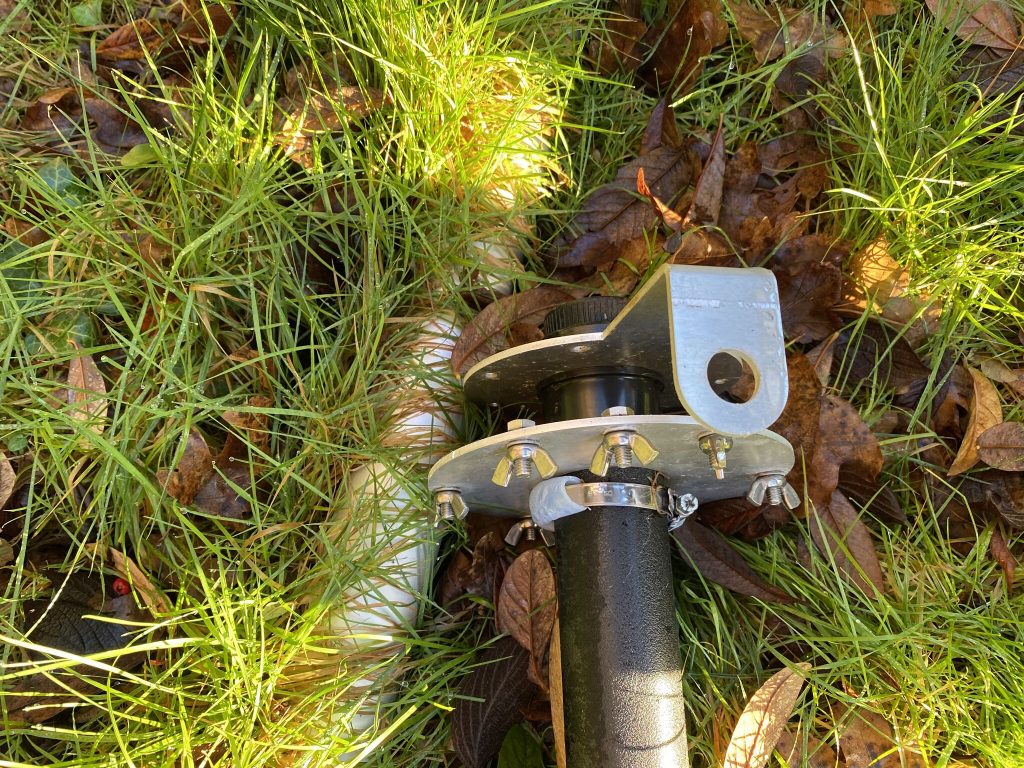
So it was quite clear with the spirit level the direction and severity of the tilt that had to be overcome. I set about correcting the lenghts of the lowest ropes.
bit off 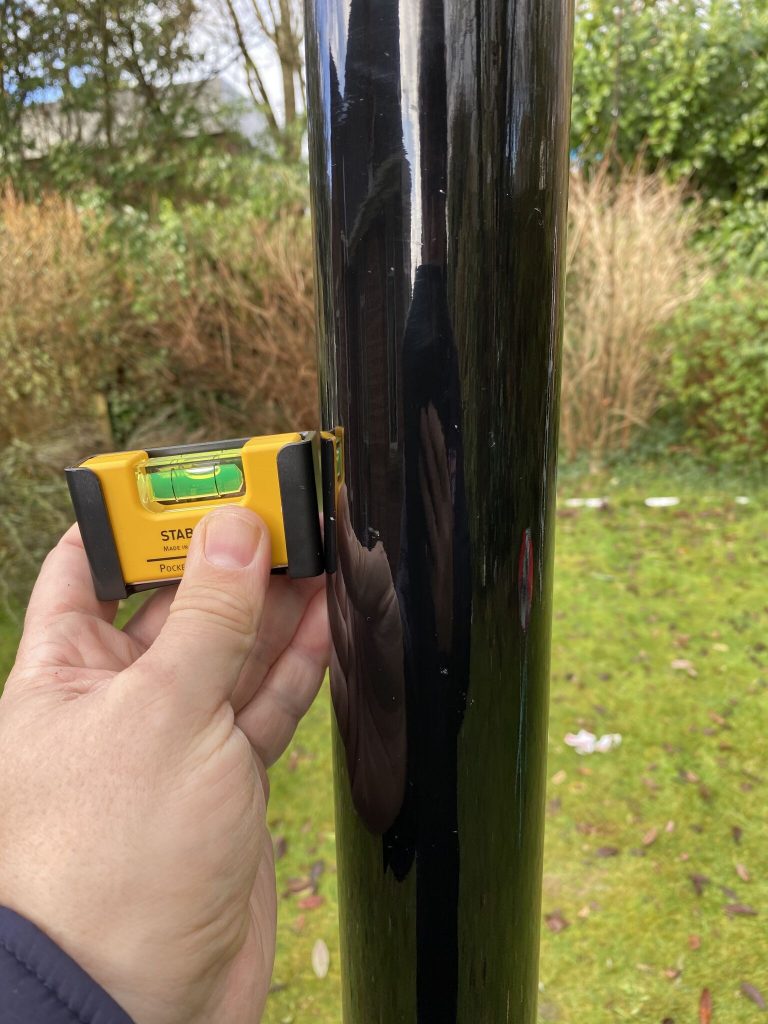
slightly better 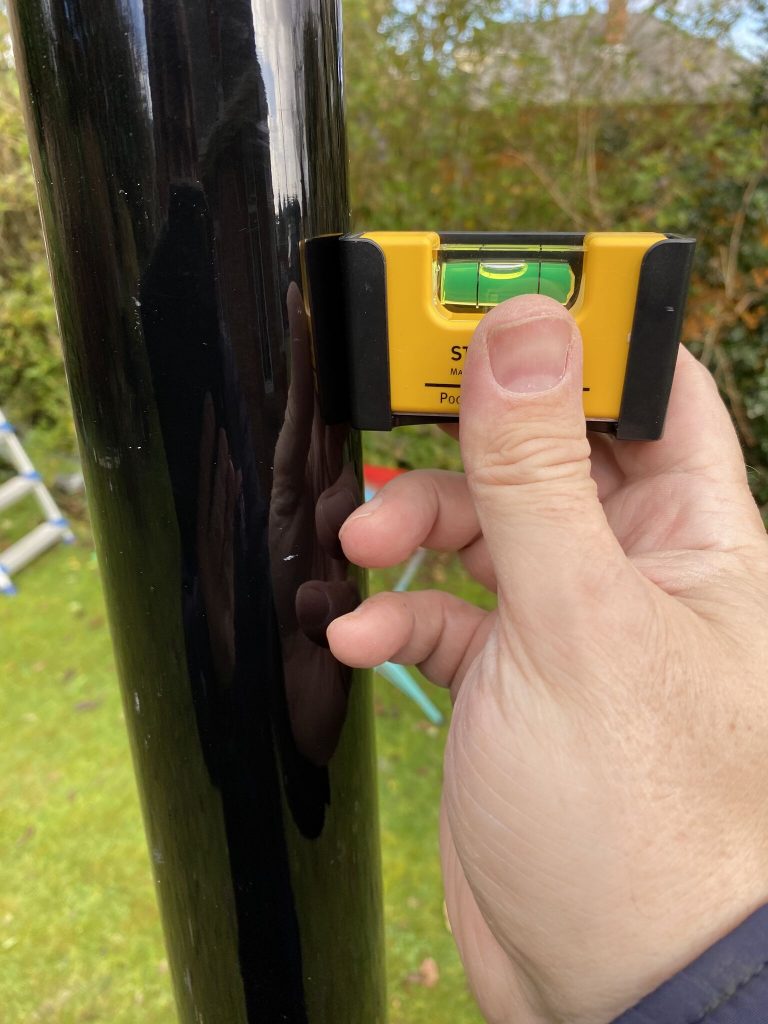
getting there 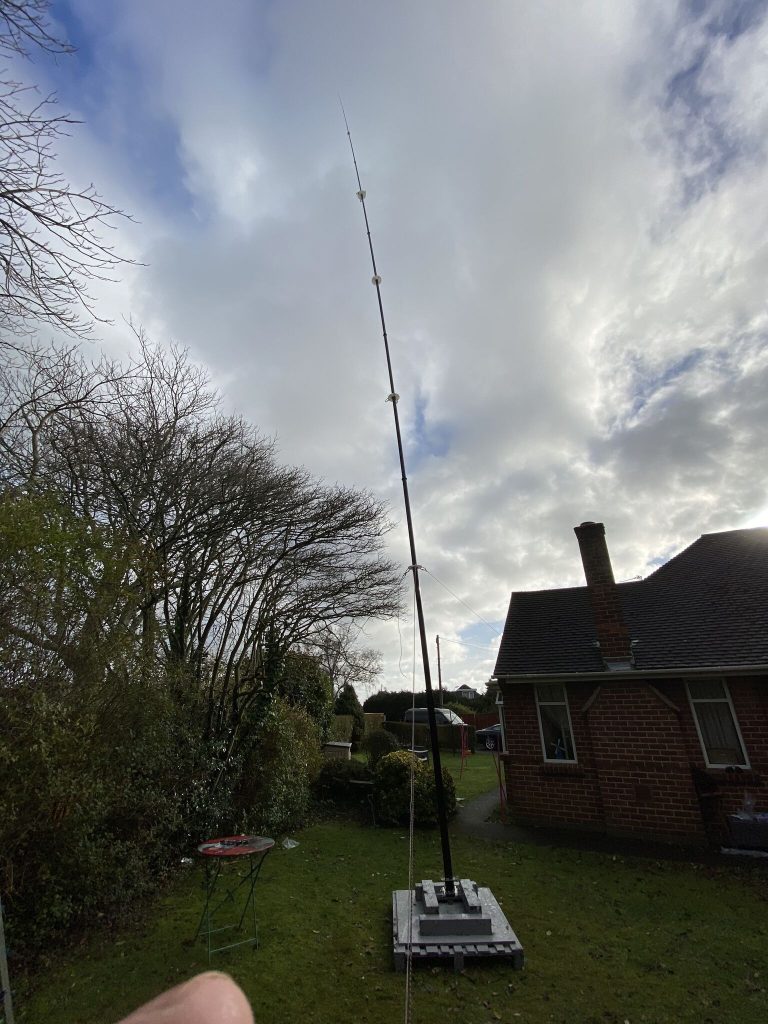
not bad..
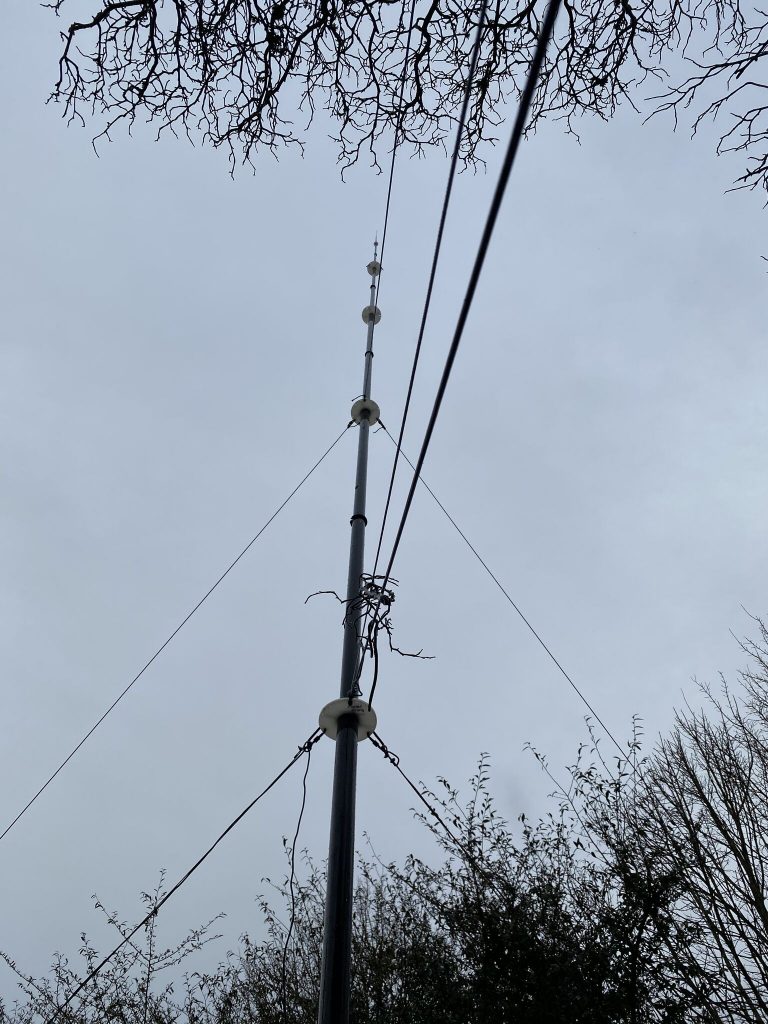
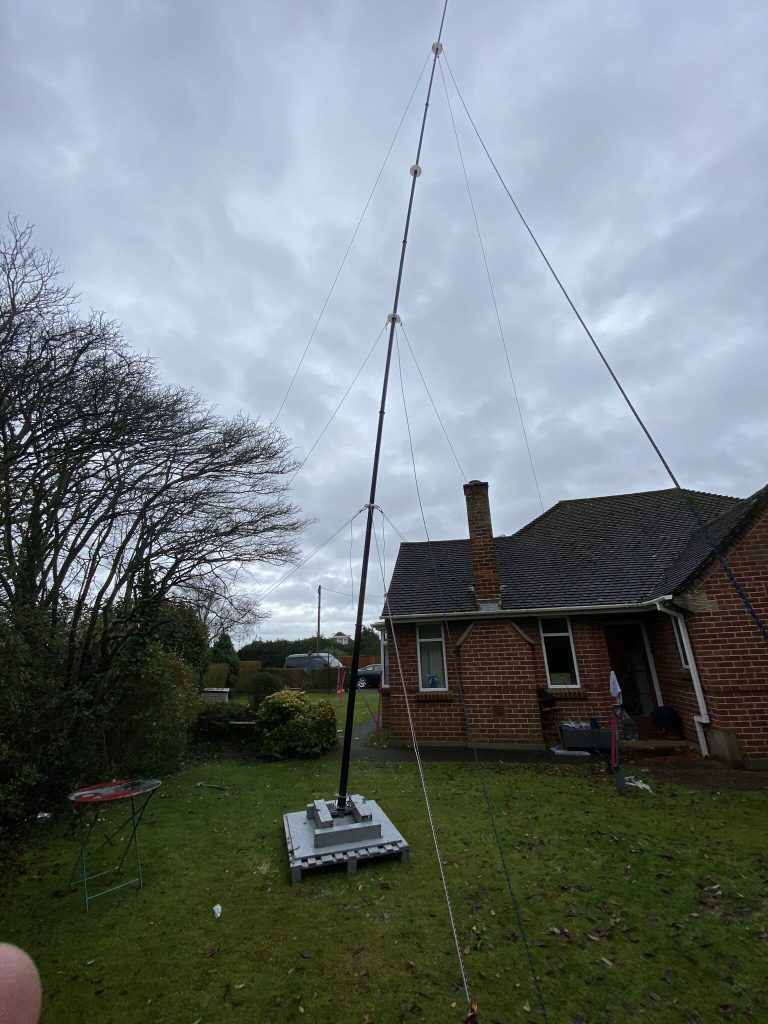
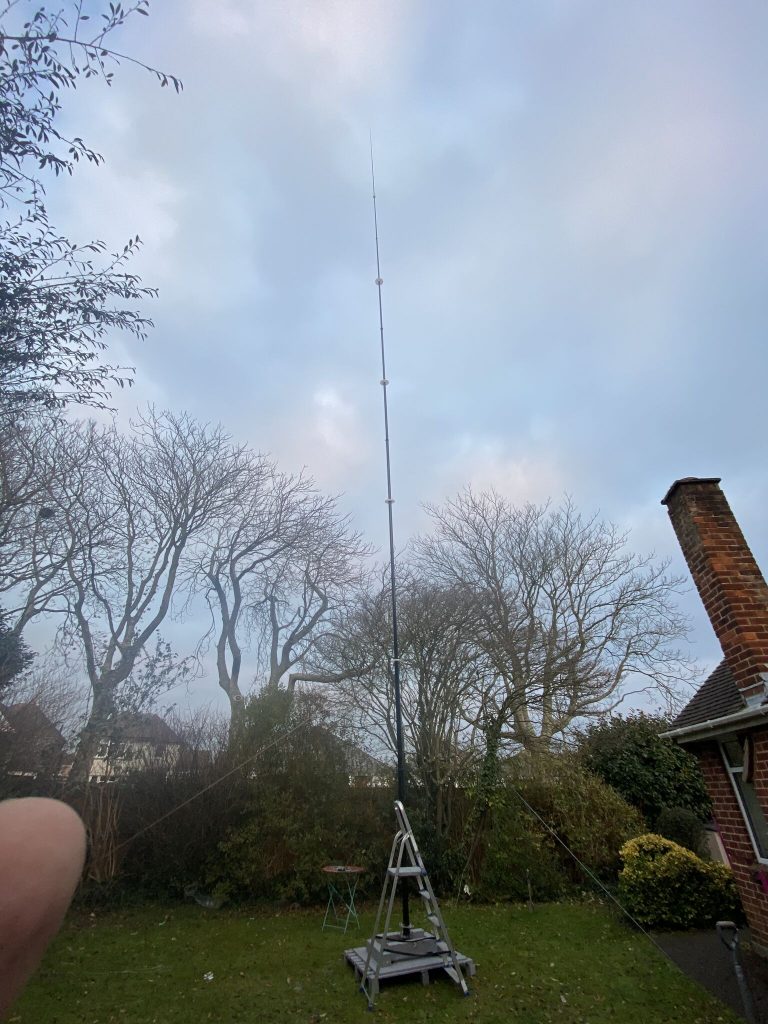
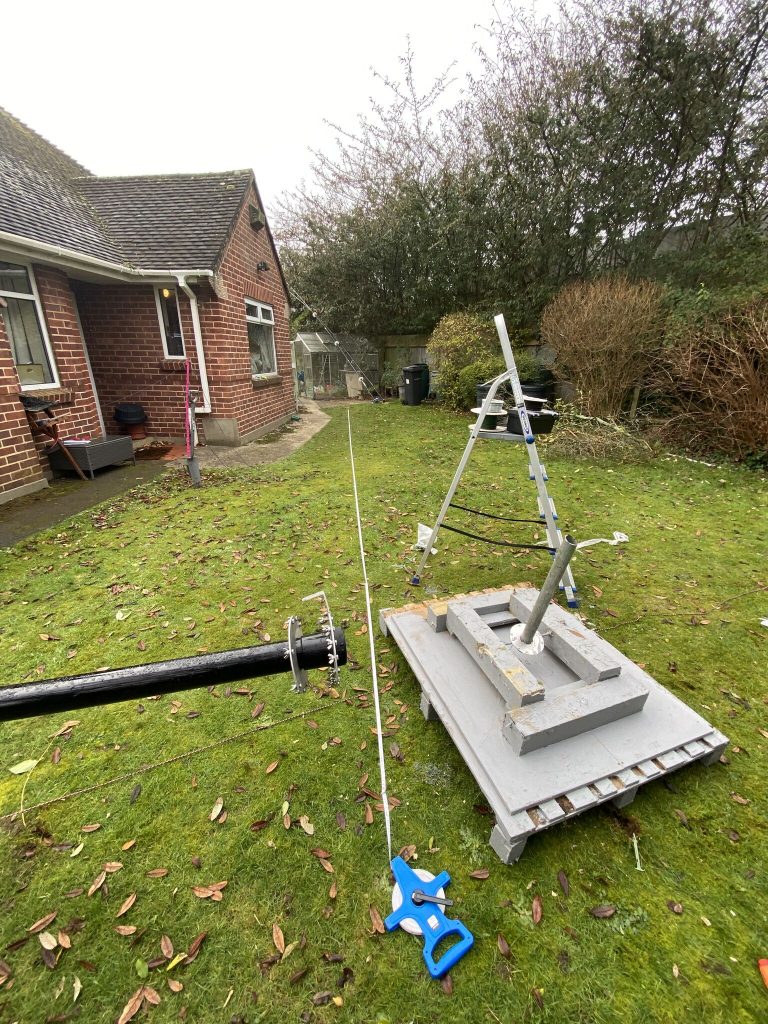
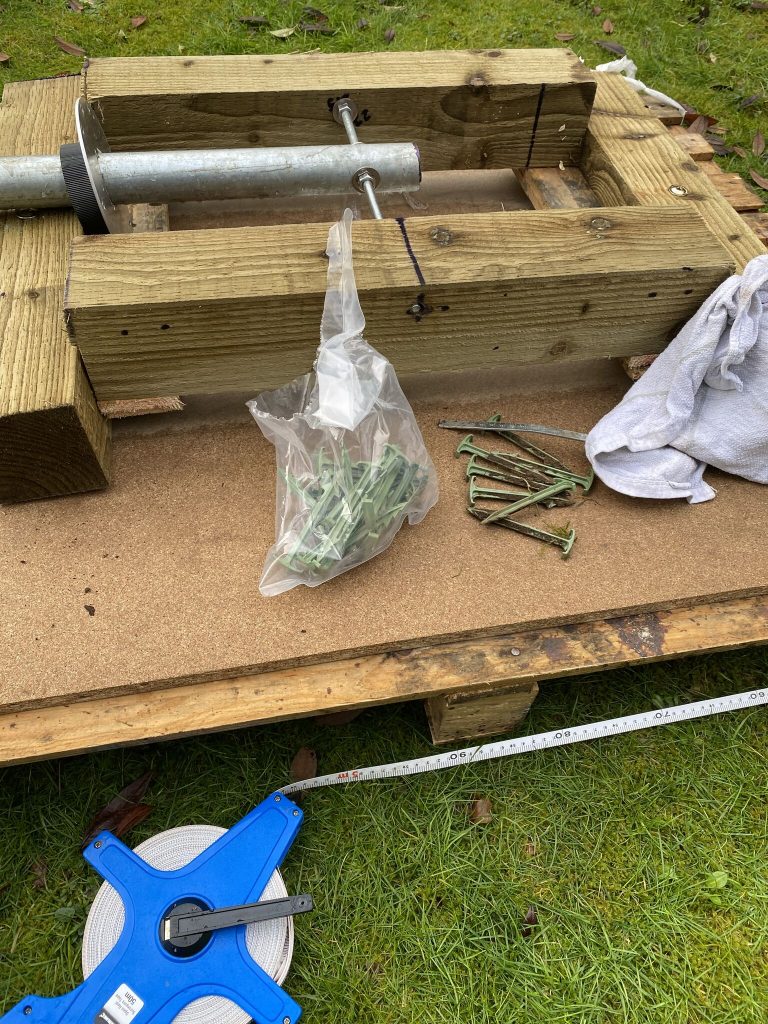
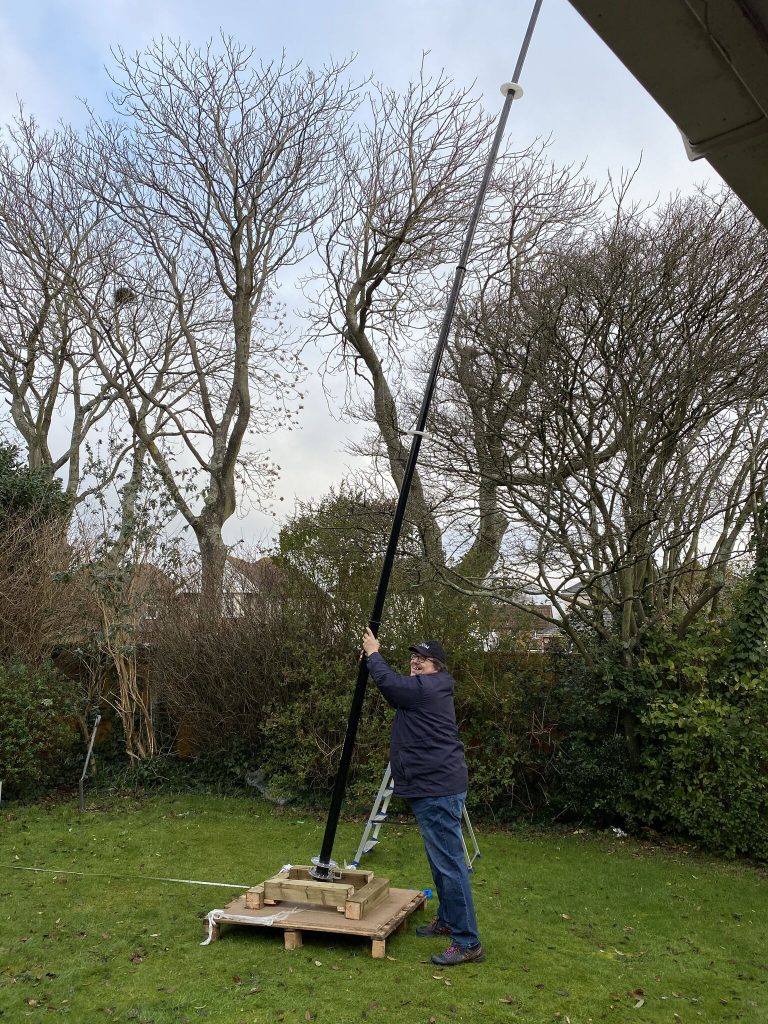
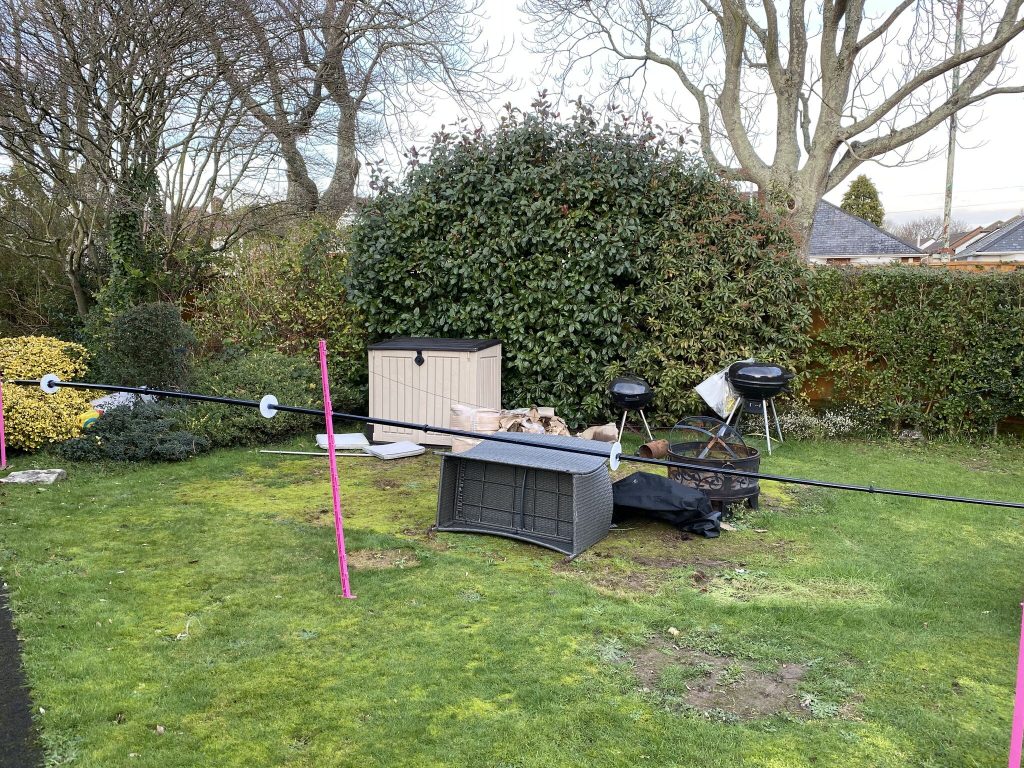
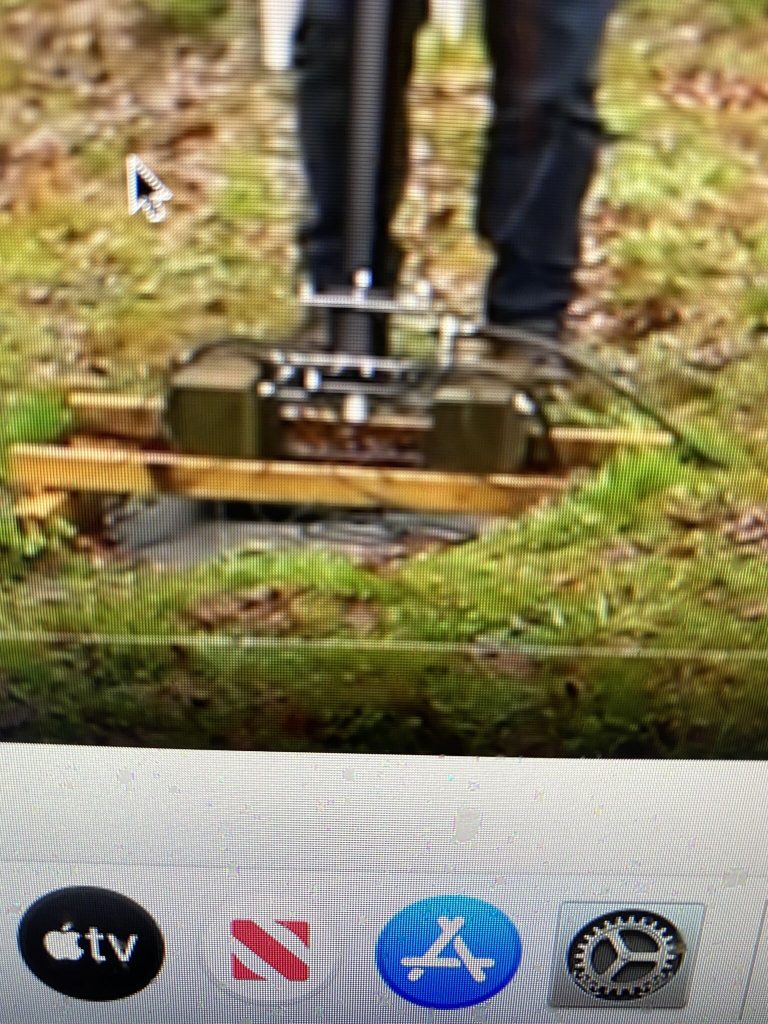
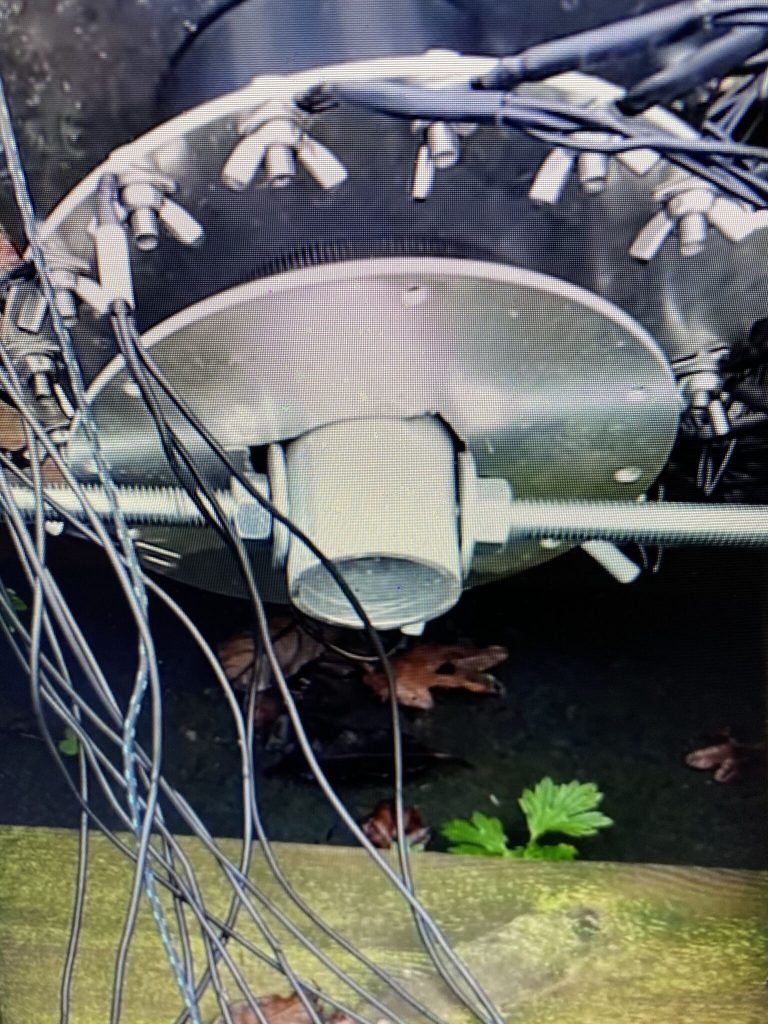
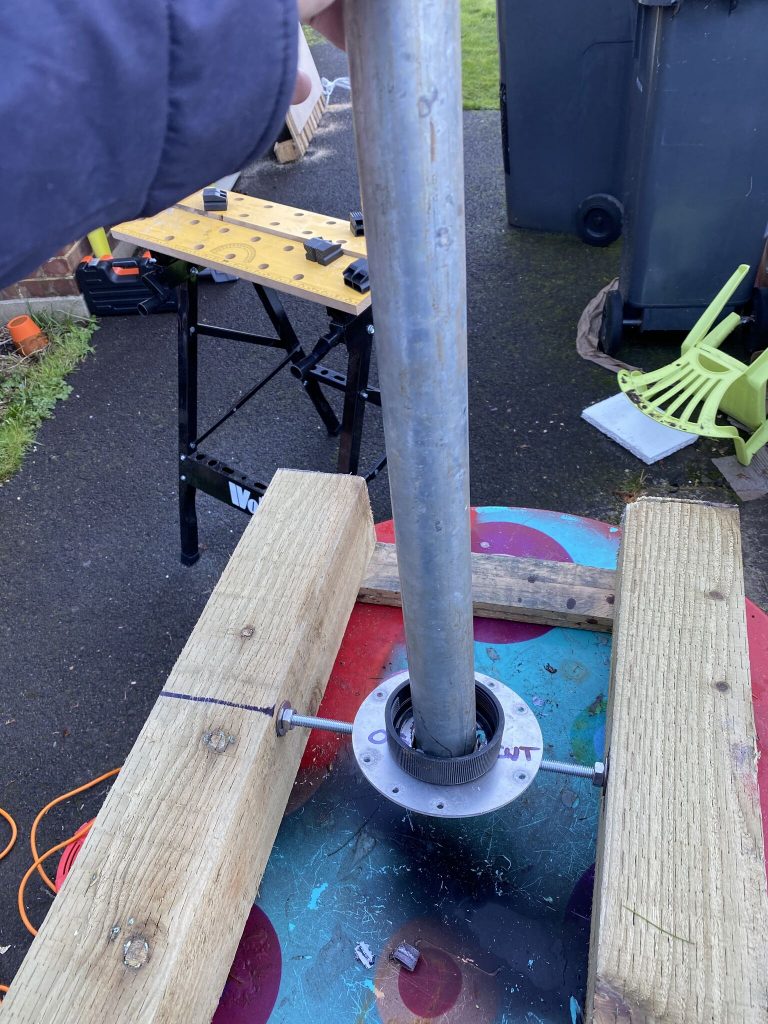
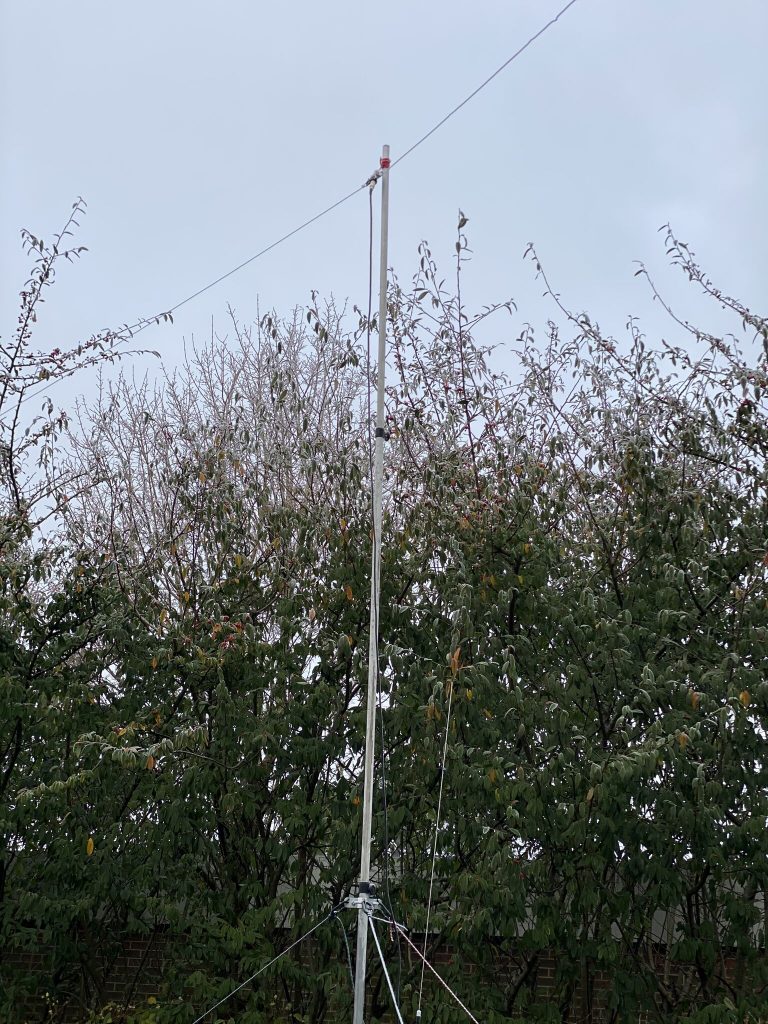
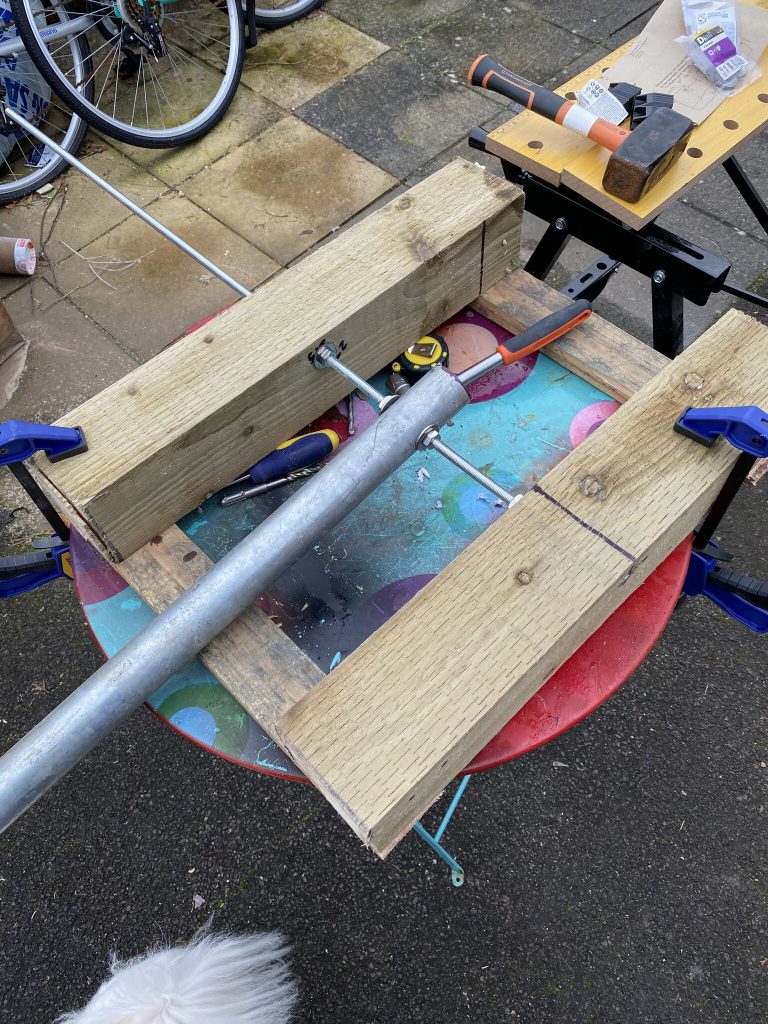
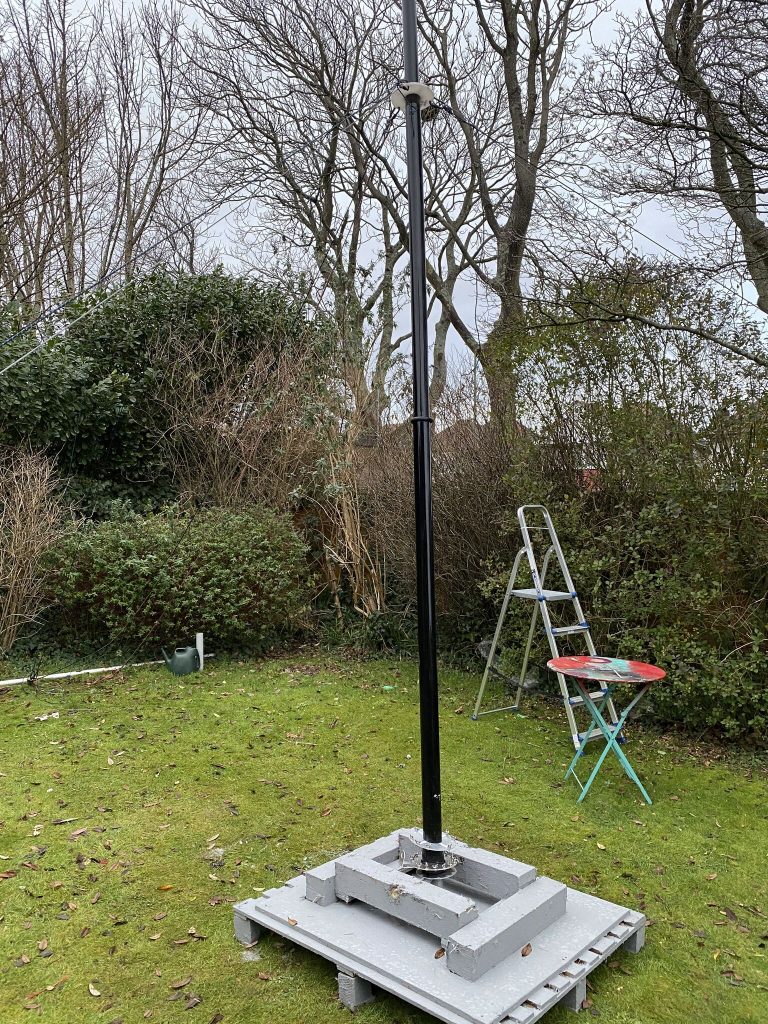
A bit of patience and some re-tying and adjust lengths soon had the mast in a better vertical postion when attached from the bottom most rigging point. I then set about the 2nd stage.
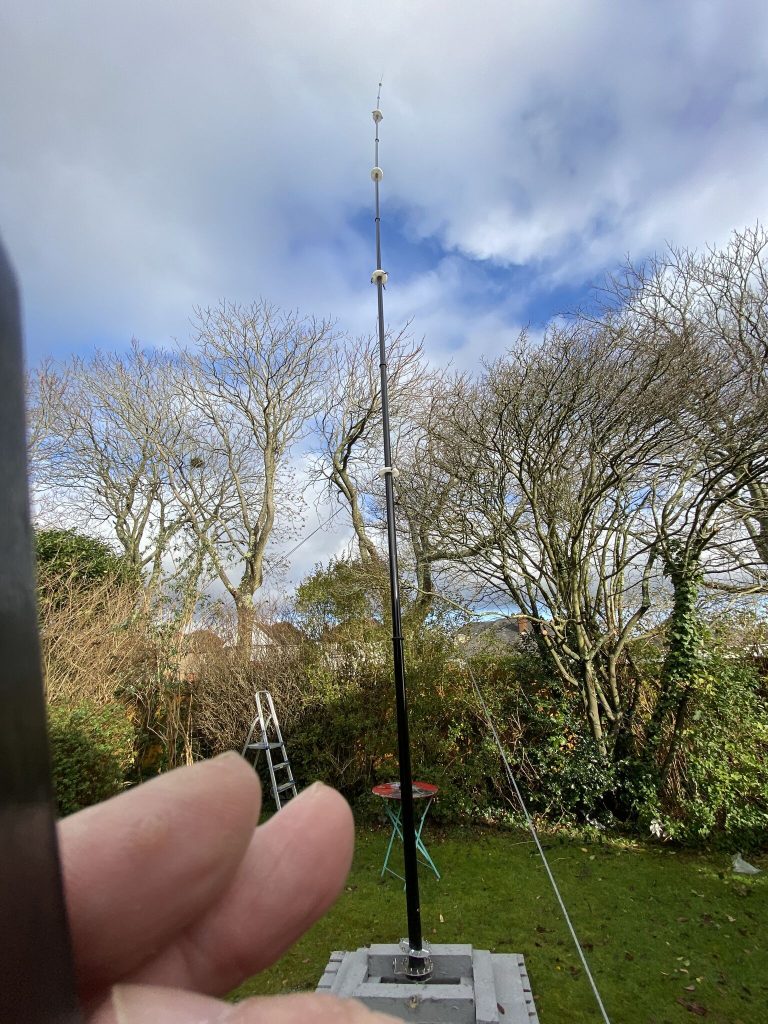
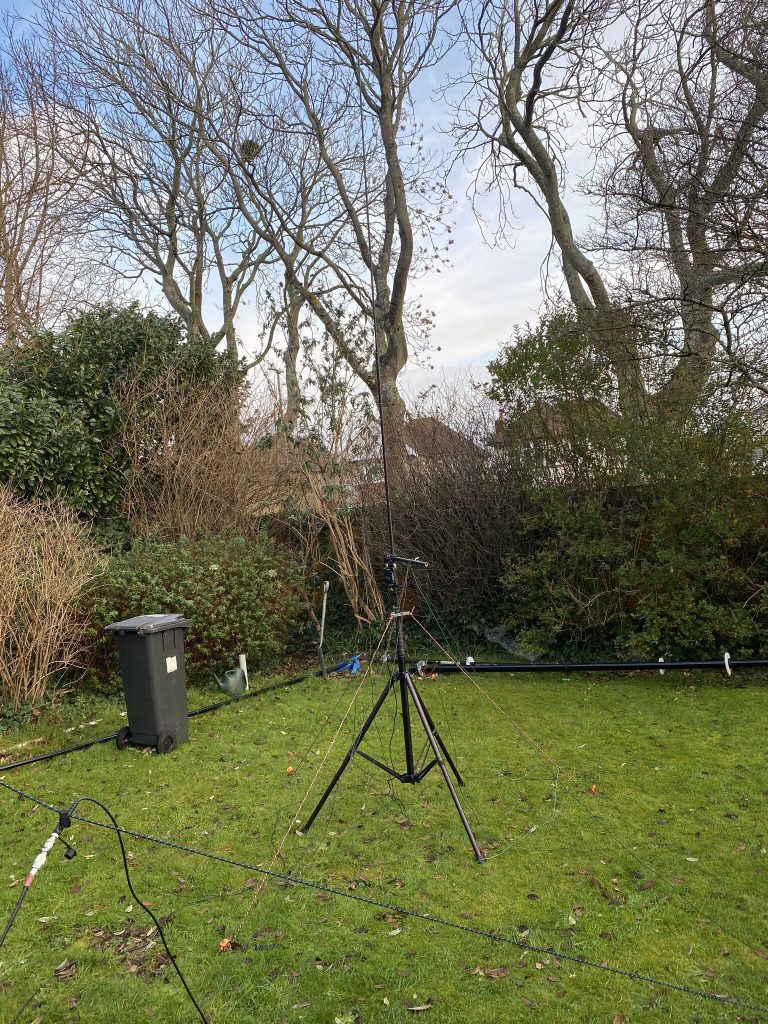
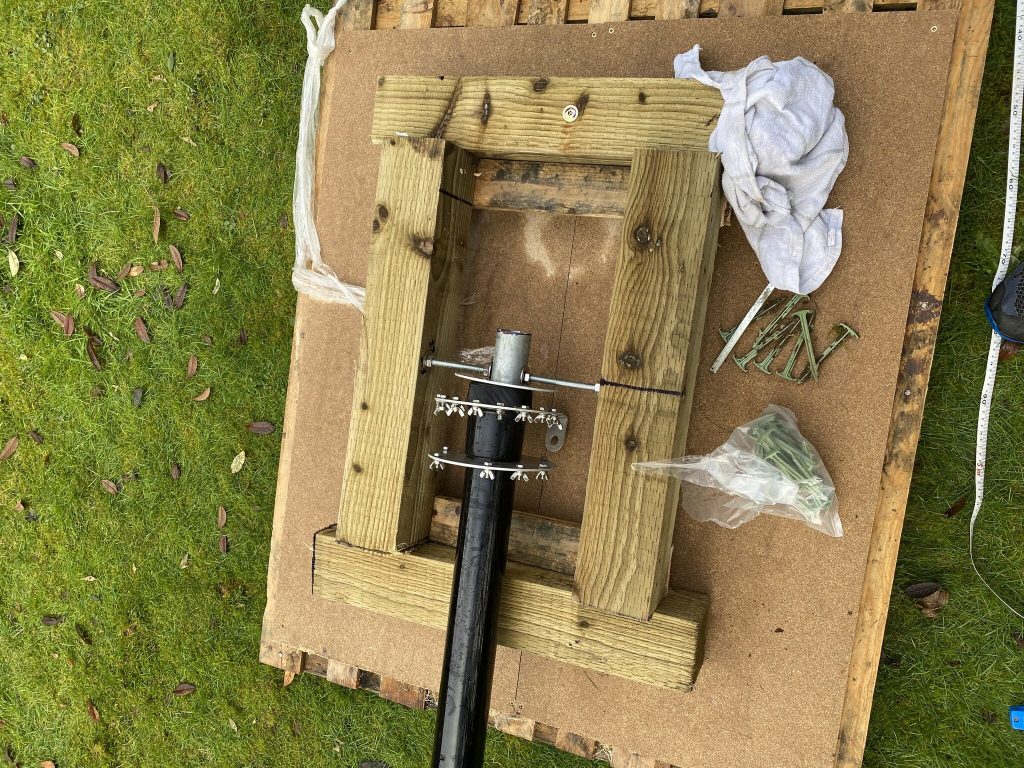
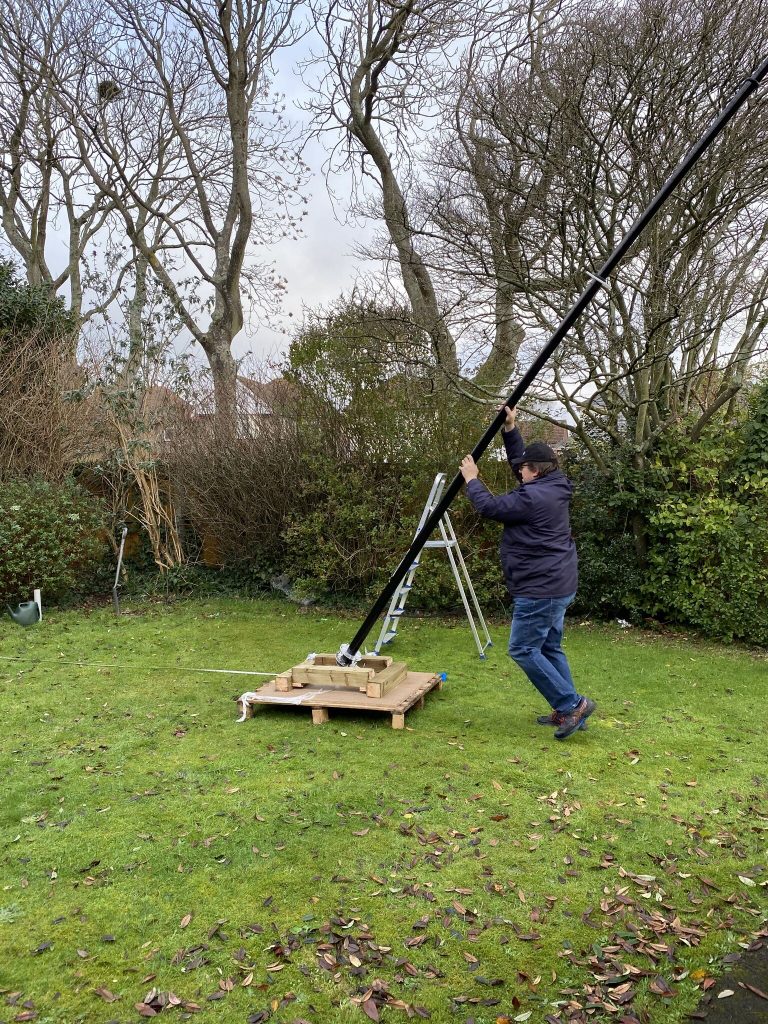
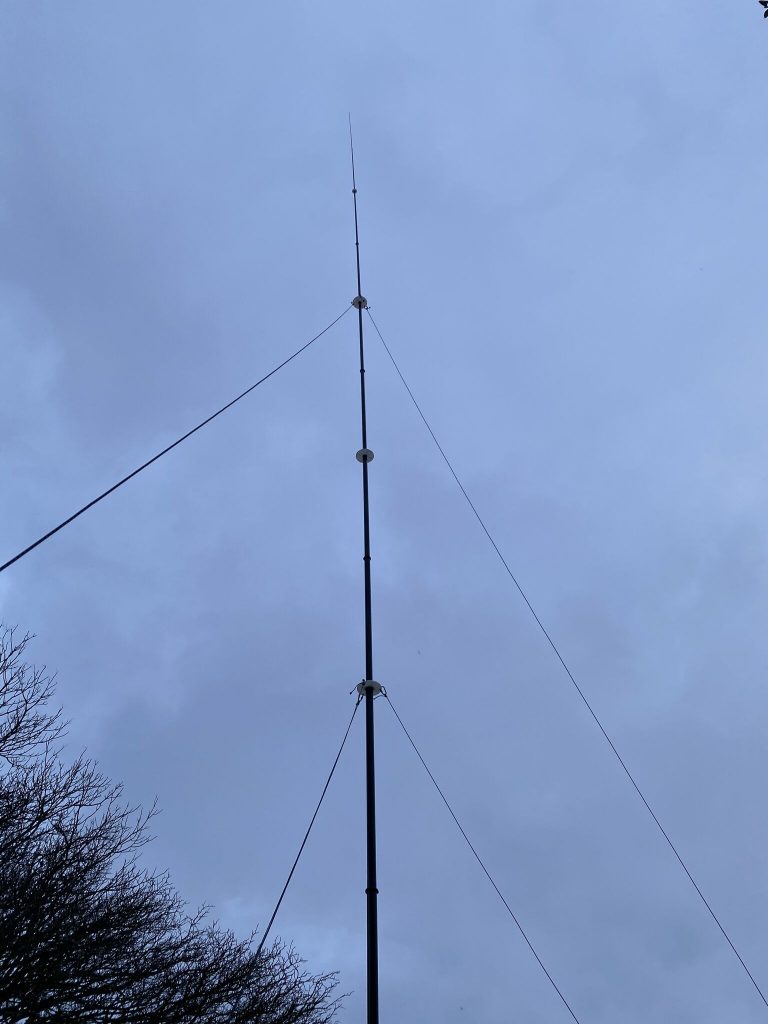
The caribinas for the second stage attachement are just about visible in the above picture. What I learned from the previous days rigging is that when attaching the ropes at this level I hneed to detach them each time from the ground stakes each time. Whilst this takes time, its stop a tangled mess and getting caught around the house, its more imprortant to take time and get it right, then rush and make a mess/get it wrong.
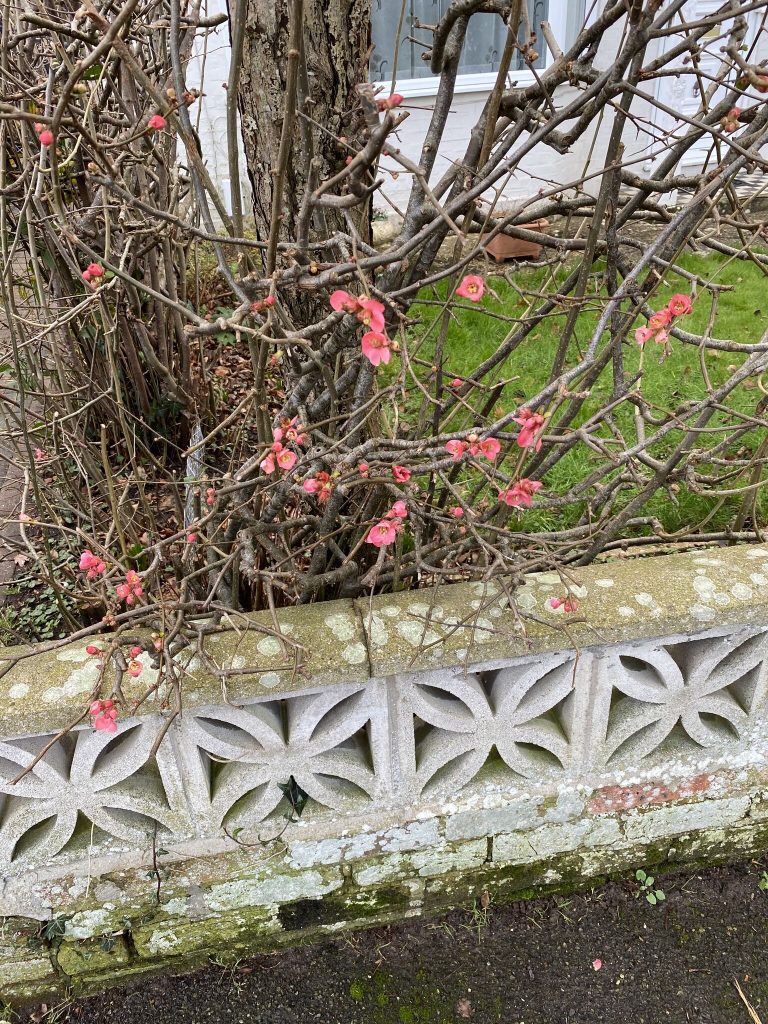
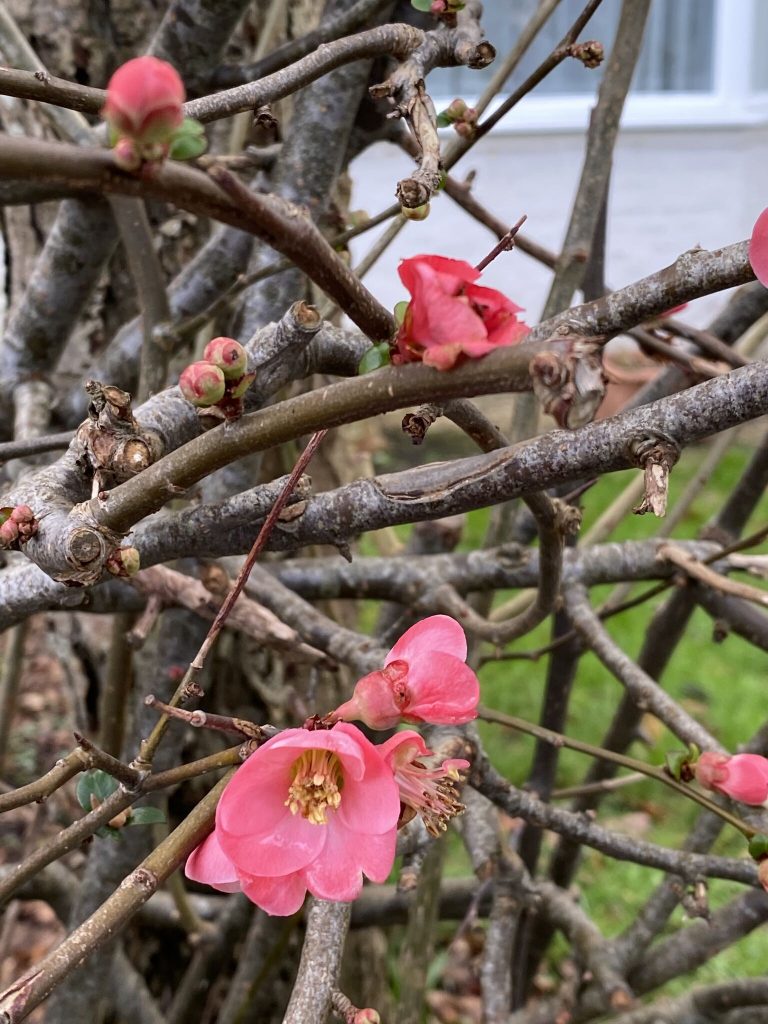
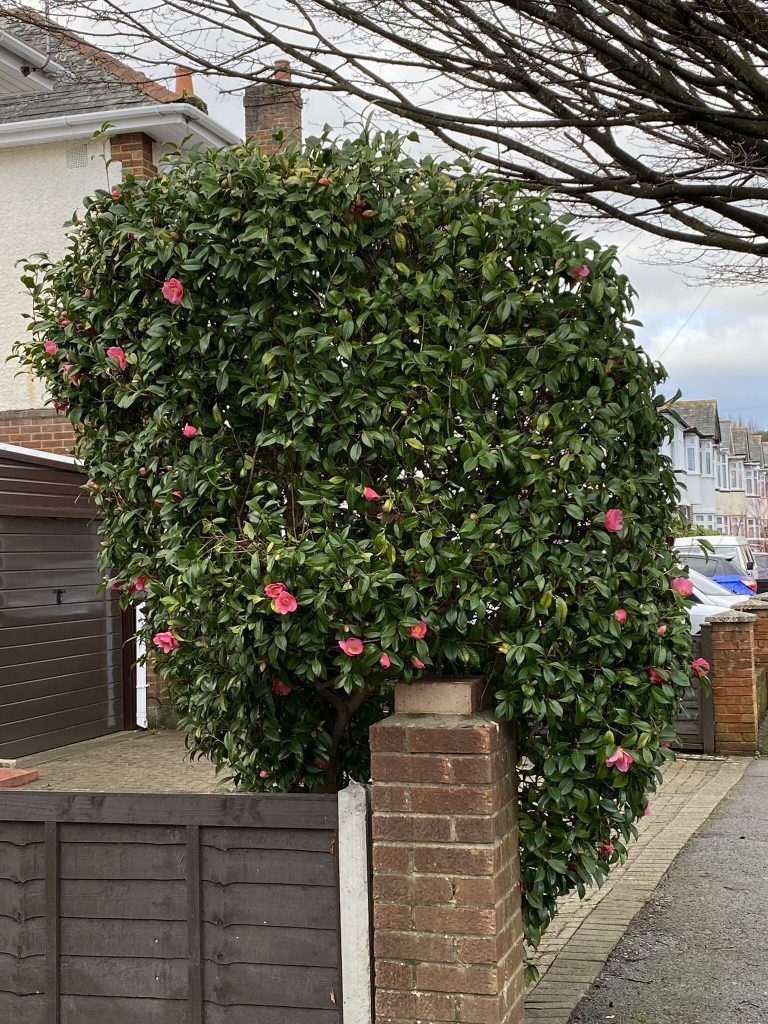
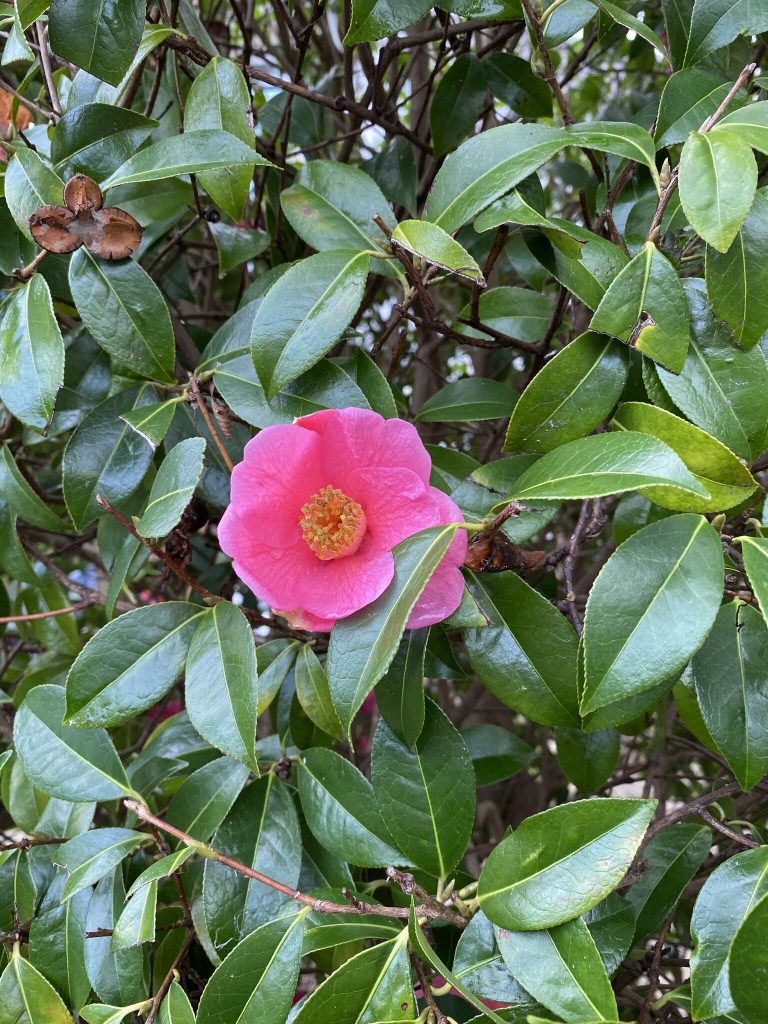
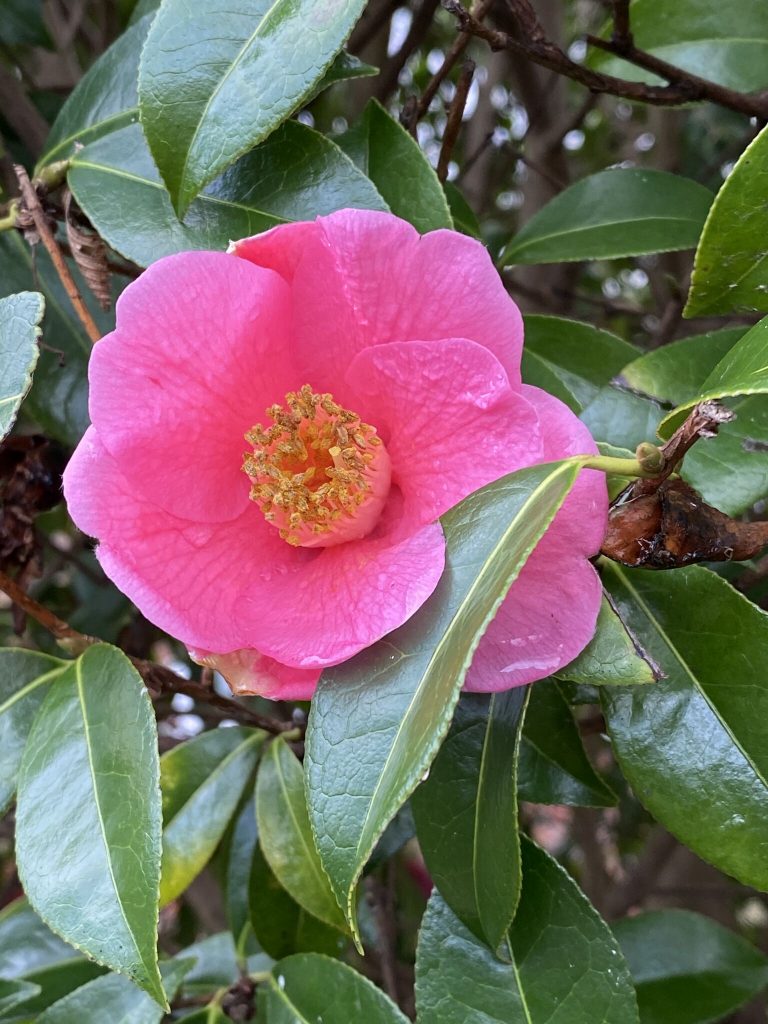
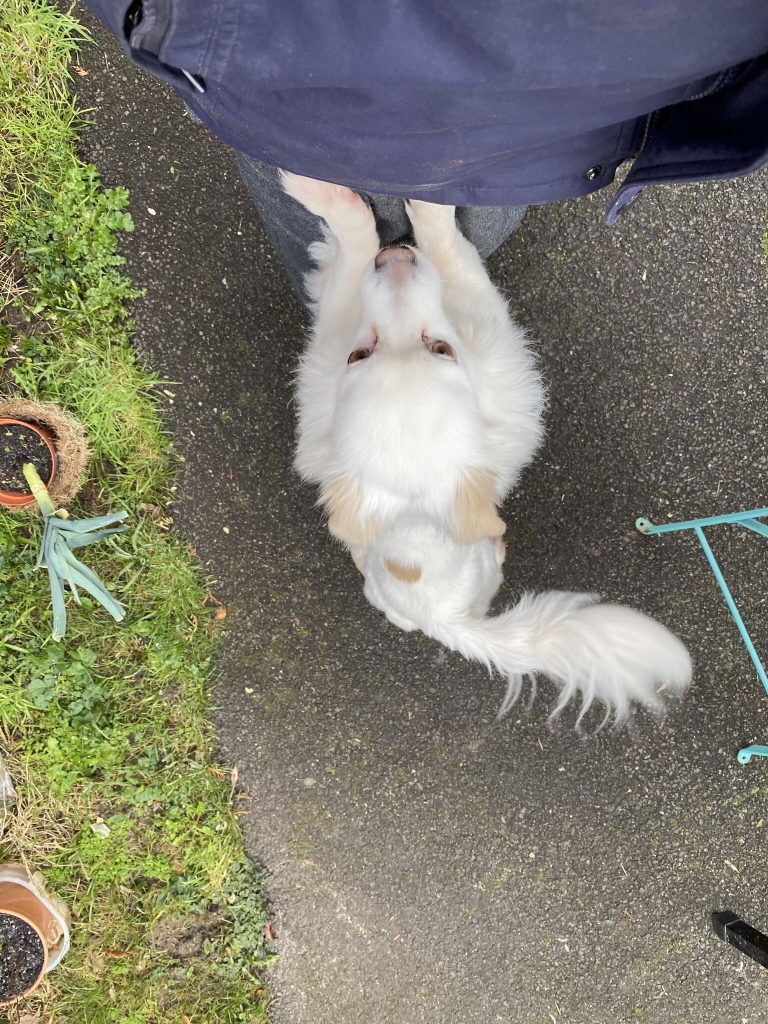
By now i was getting a little tired, and had quite a few other things to do (including walking me doggo sweety) – with the mild weather it was nice to get a socially-distanced walk and enjoy the flowers in the gardens in our neighbourhood. I came back home and had a good rest before attempting the next stage of guying as its quite suprsing how much effort/energy it takes to raise and lower the mast each time.

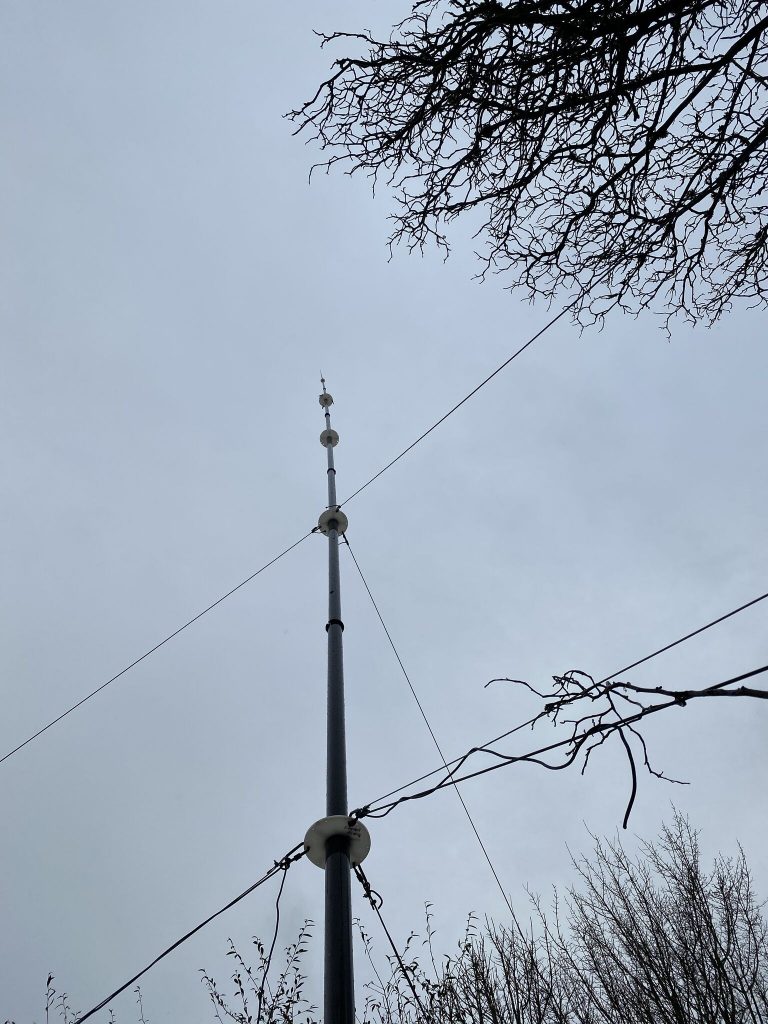
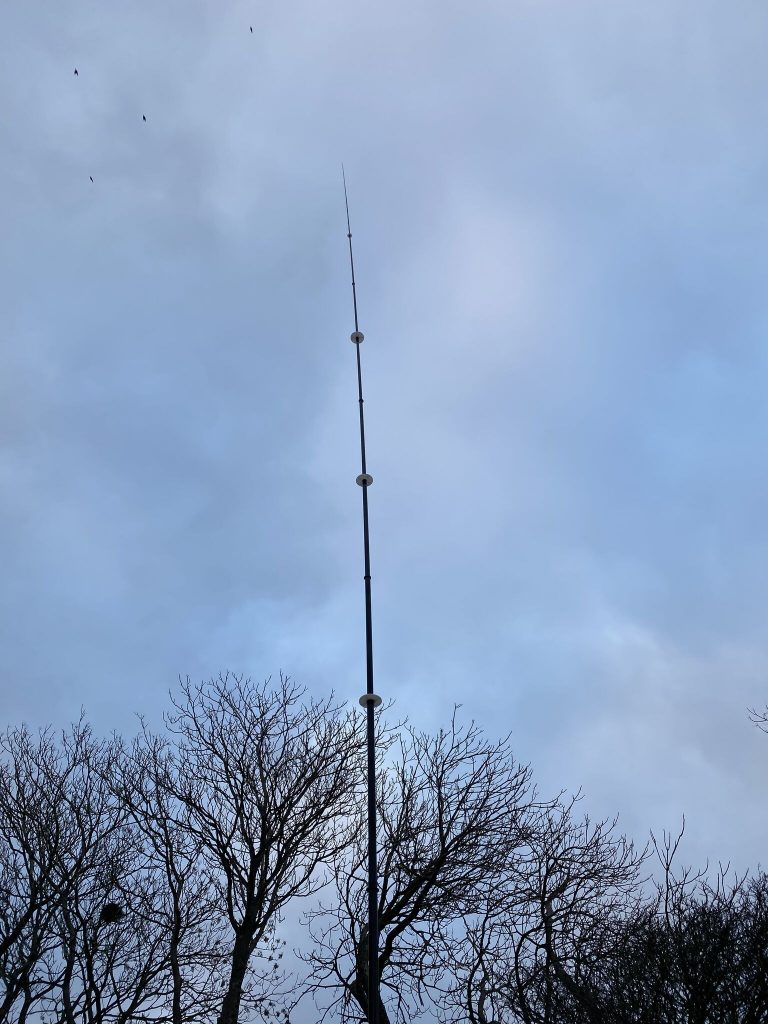
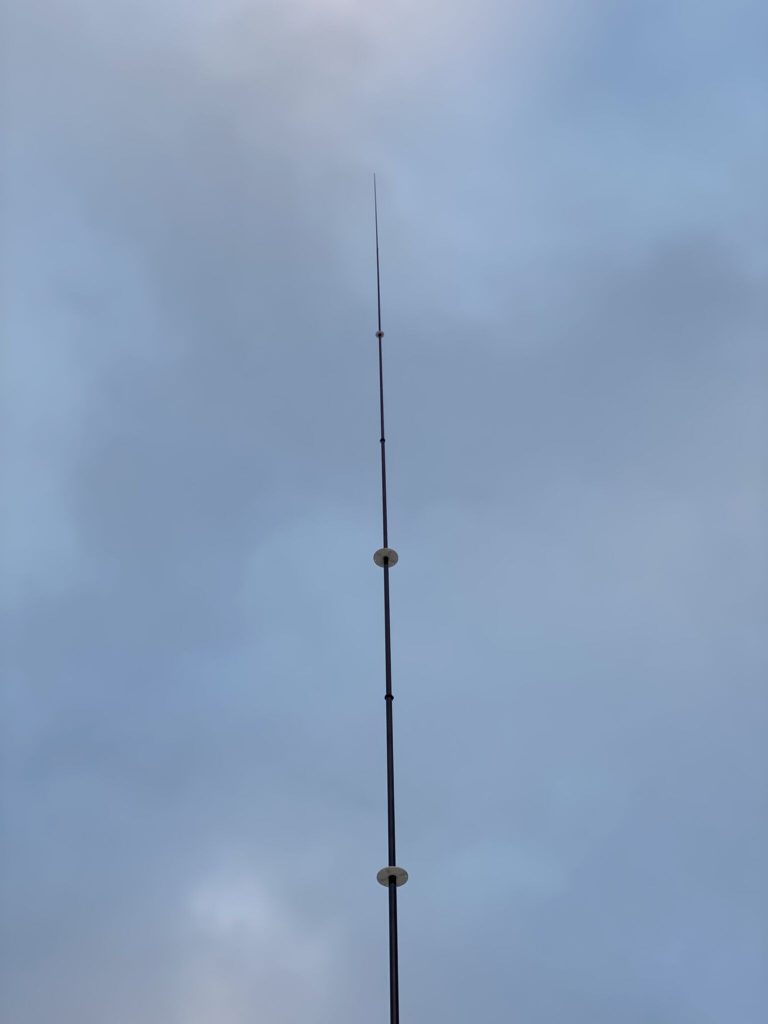
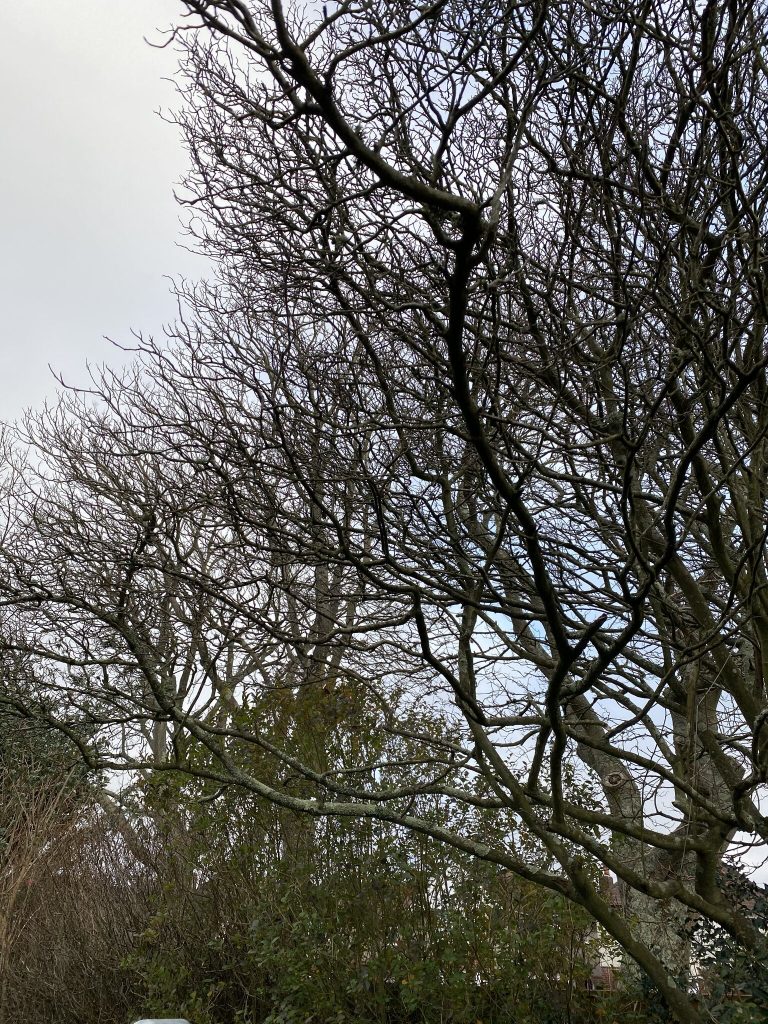
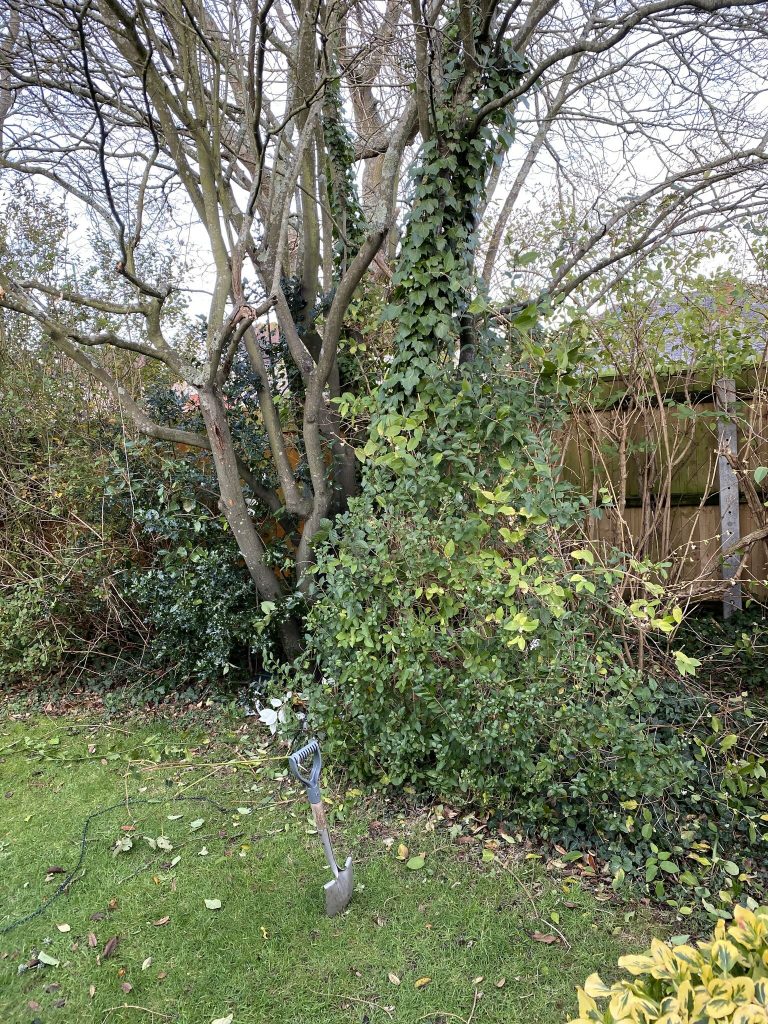
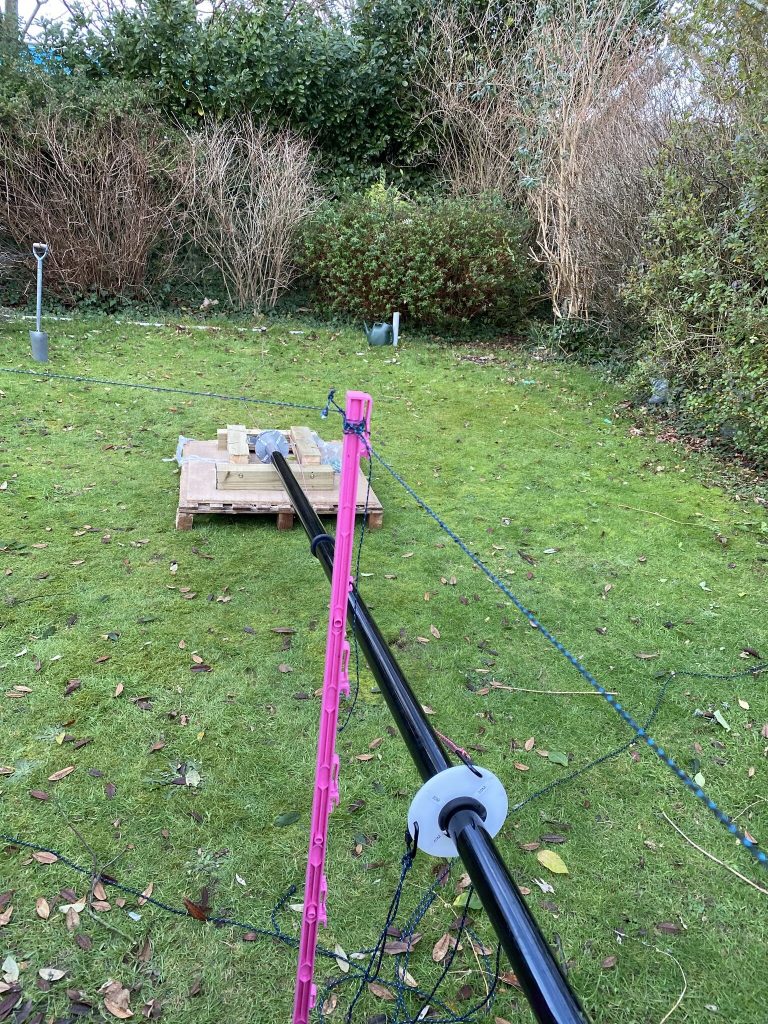
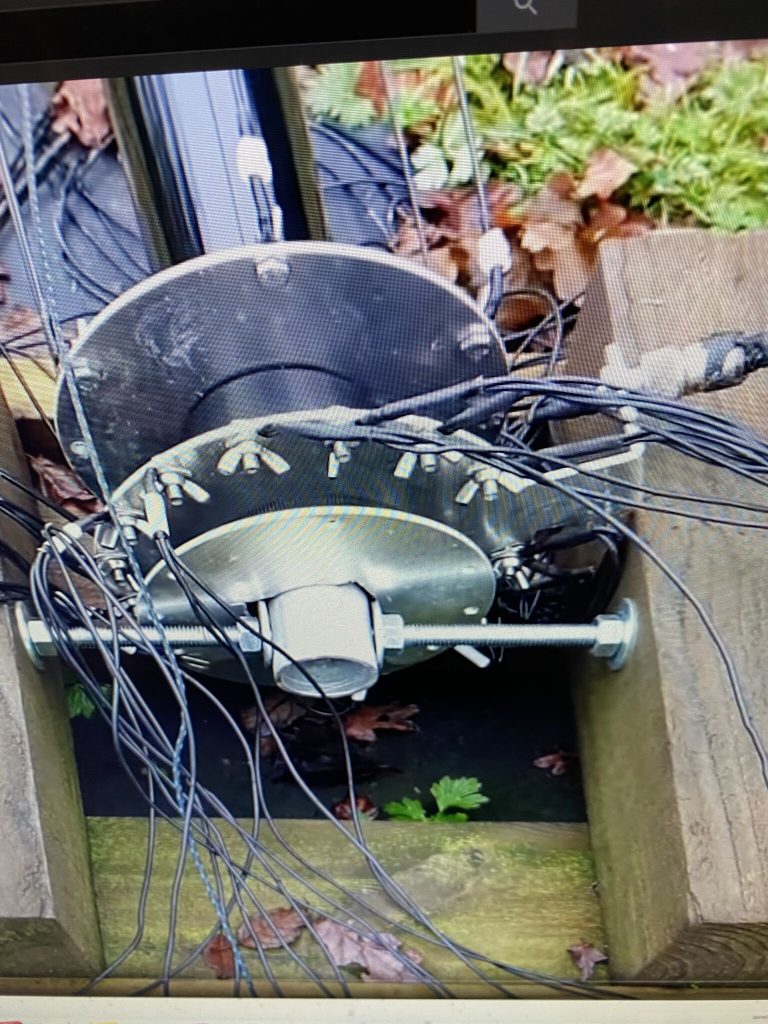
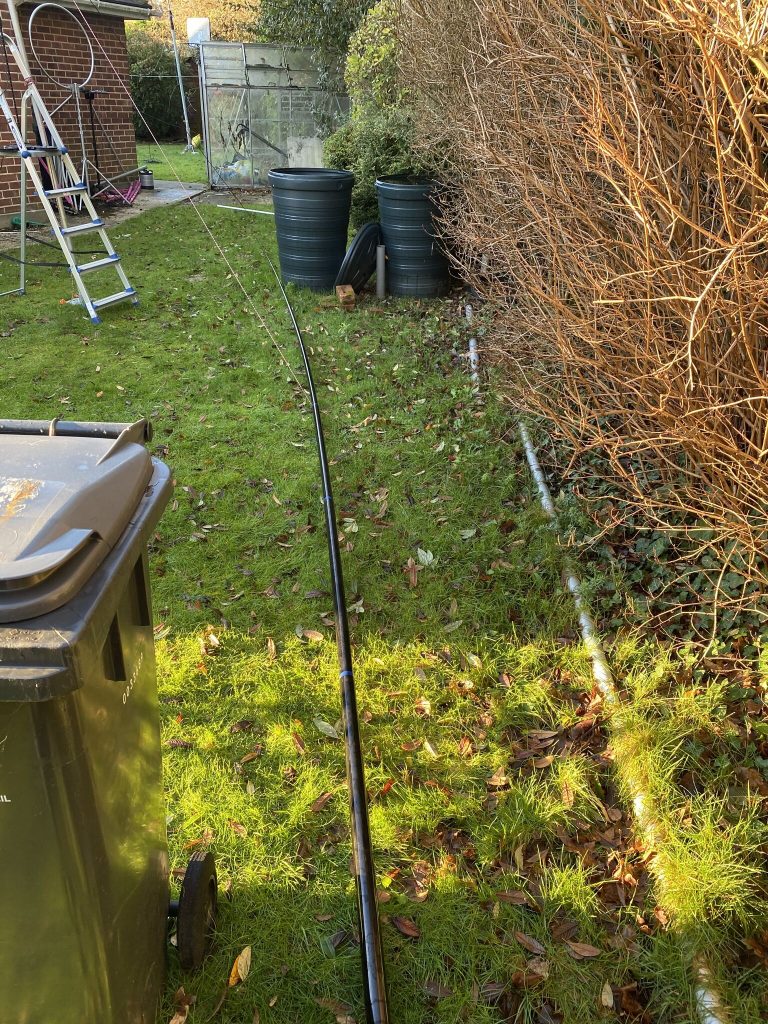
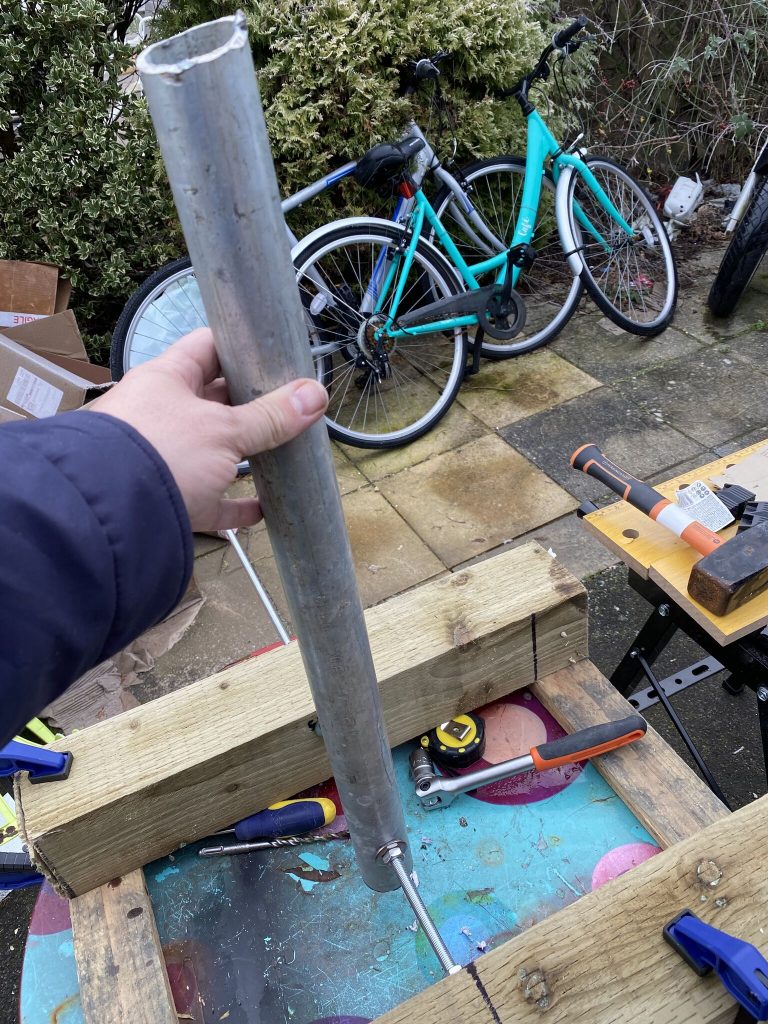
So the mast was looking far more aligned and well tethered vertically as I attached each level. The downside to this is that the trees do tend to tangle the ropes each time, but no real hardship in getting them untangled. I will be glad when I dont need to bring it down quite so much though !
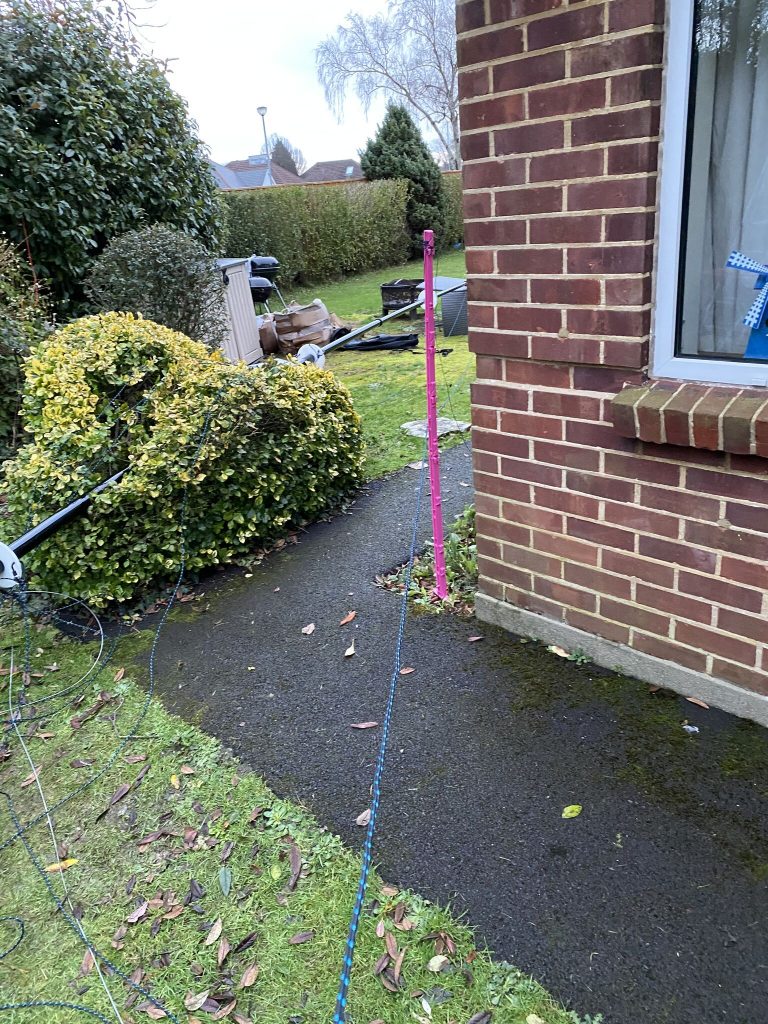
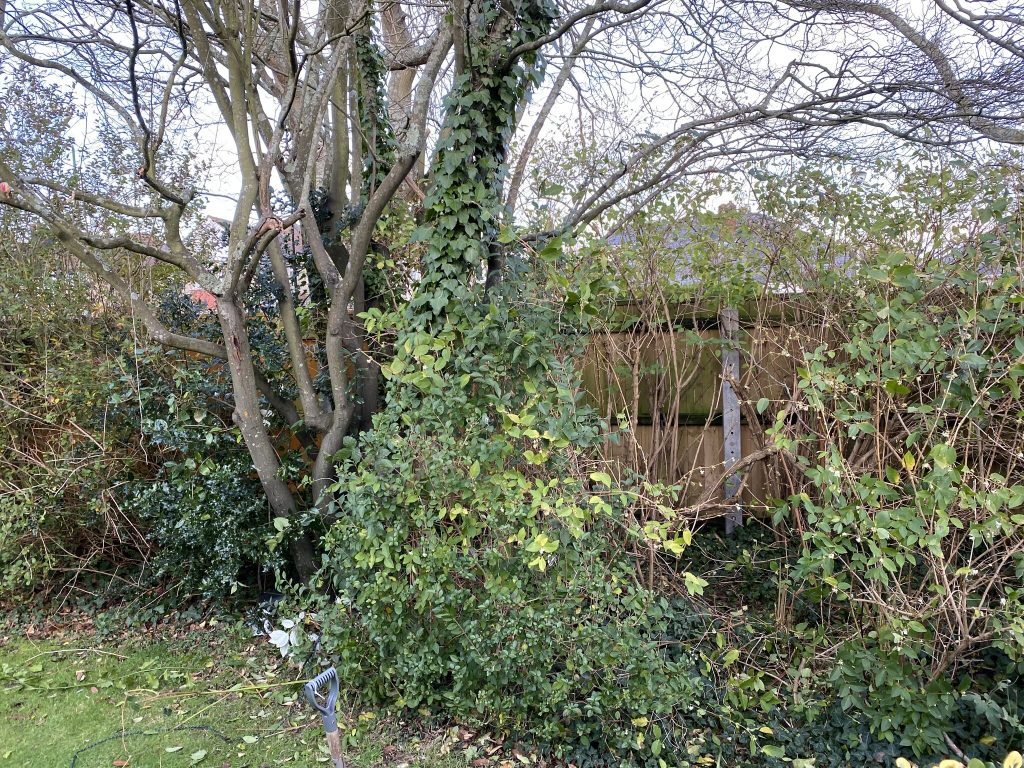
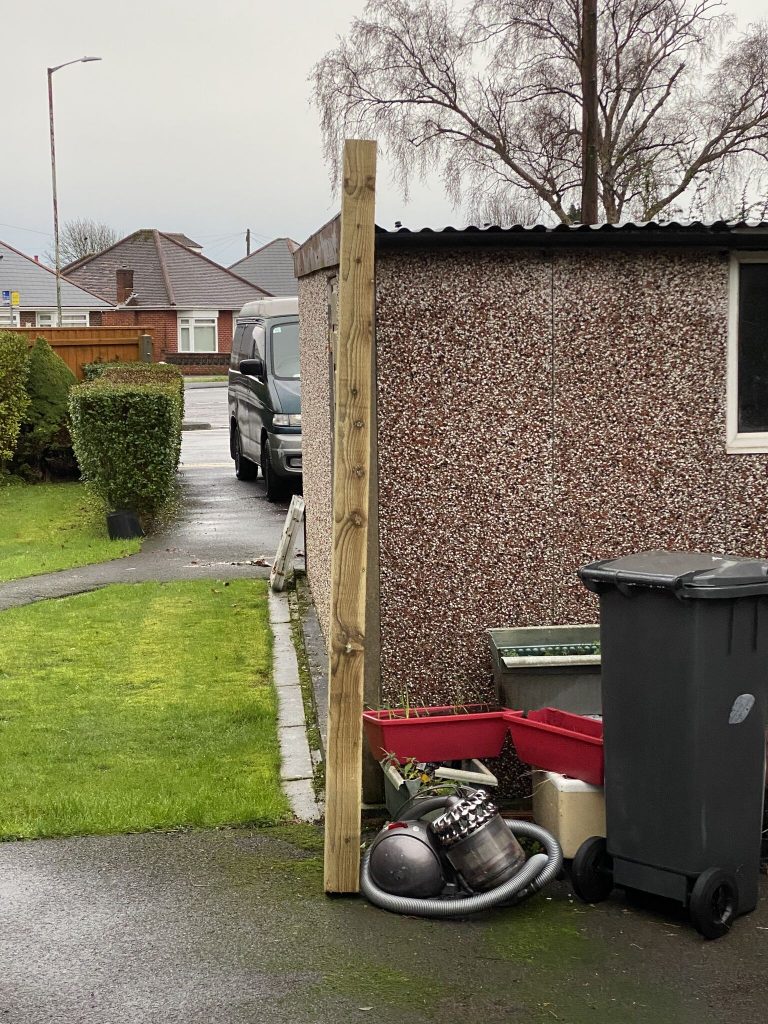
house meets rope 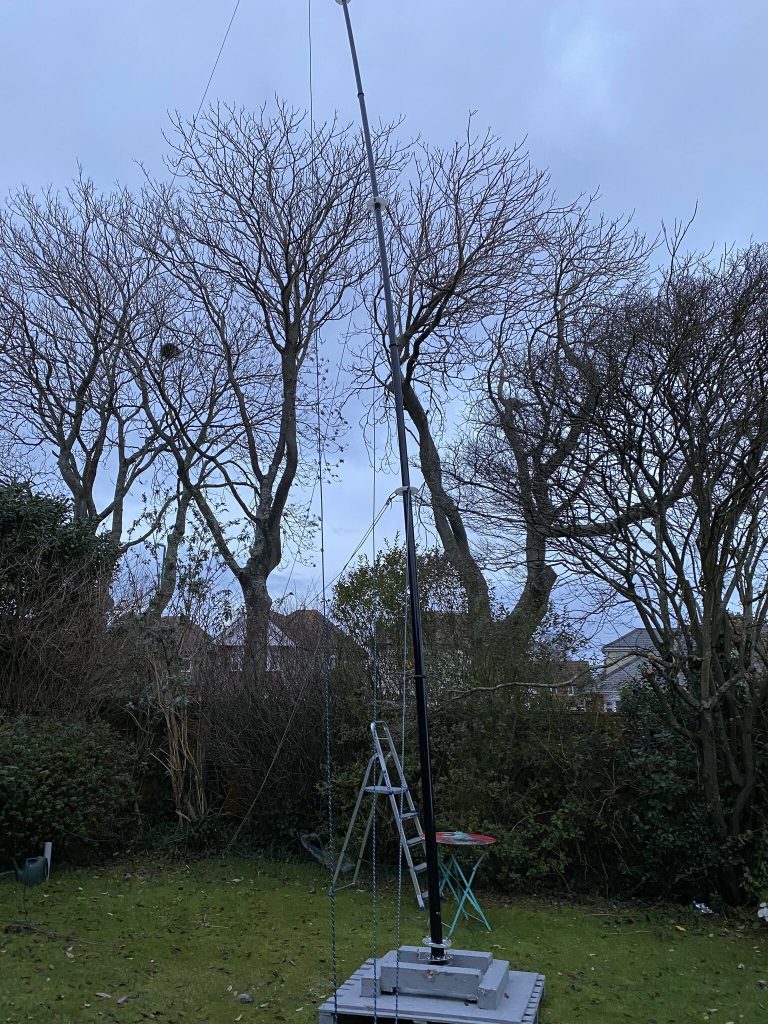
Looking good
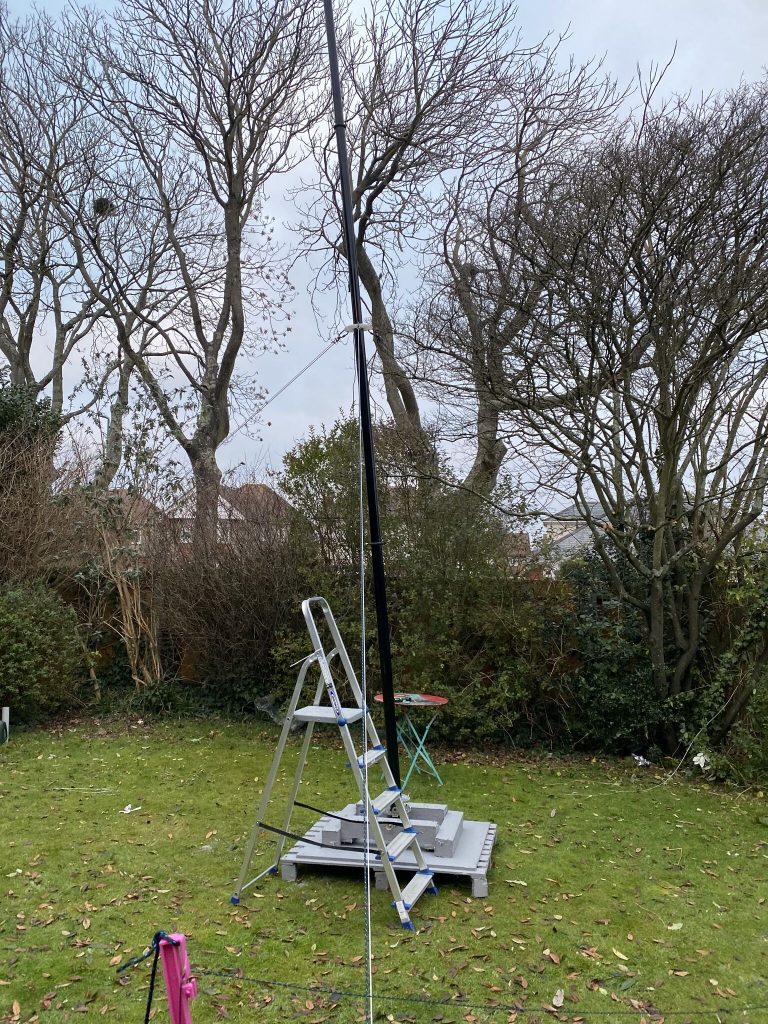
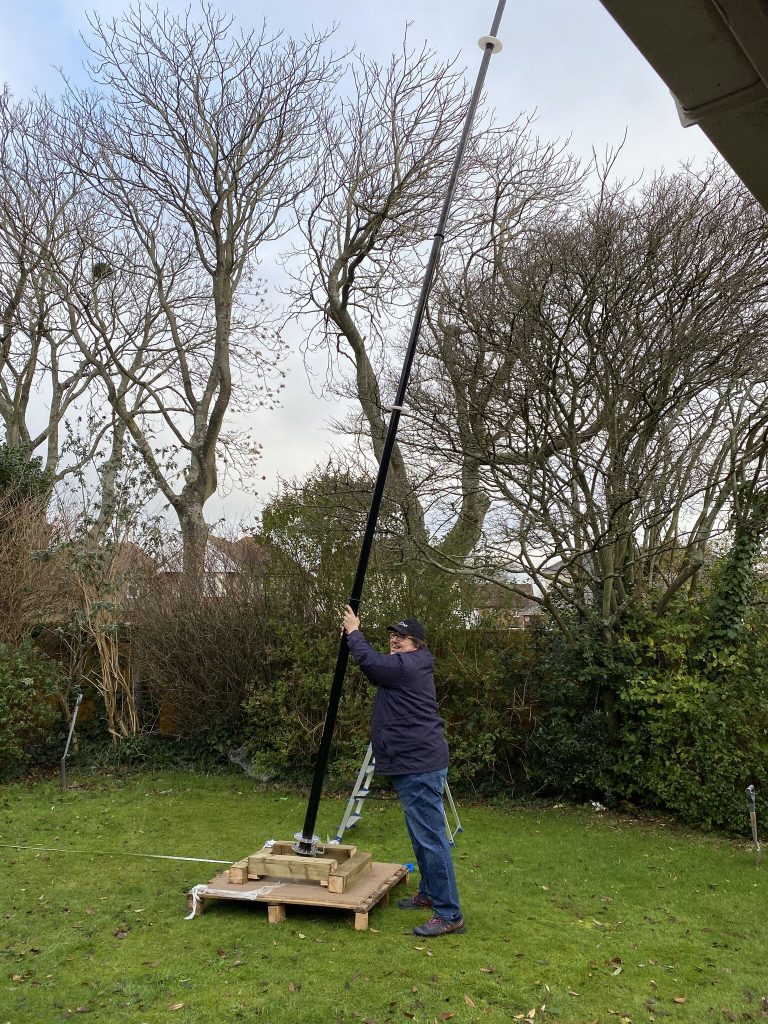
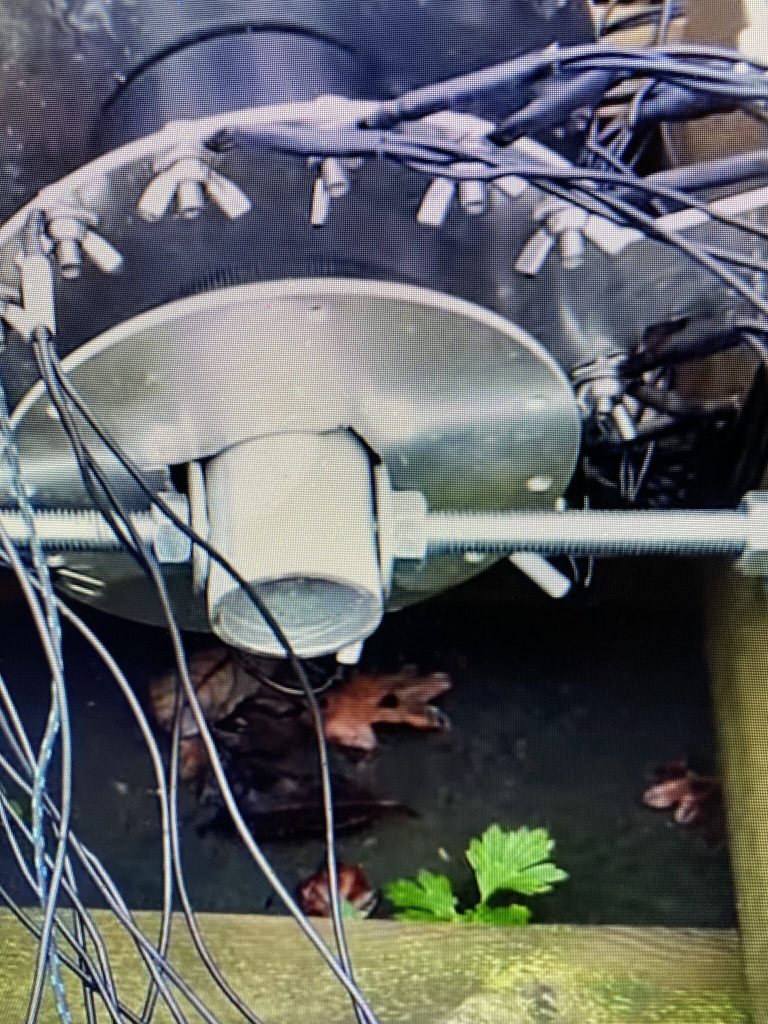
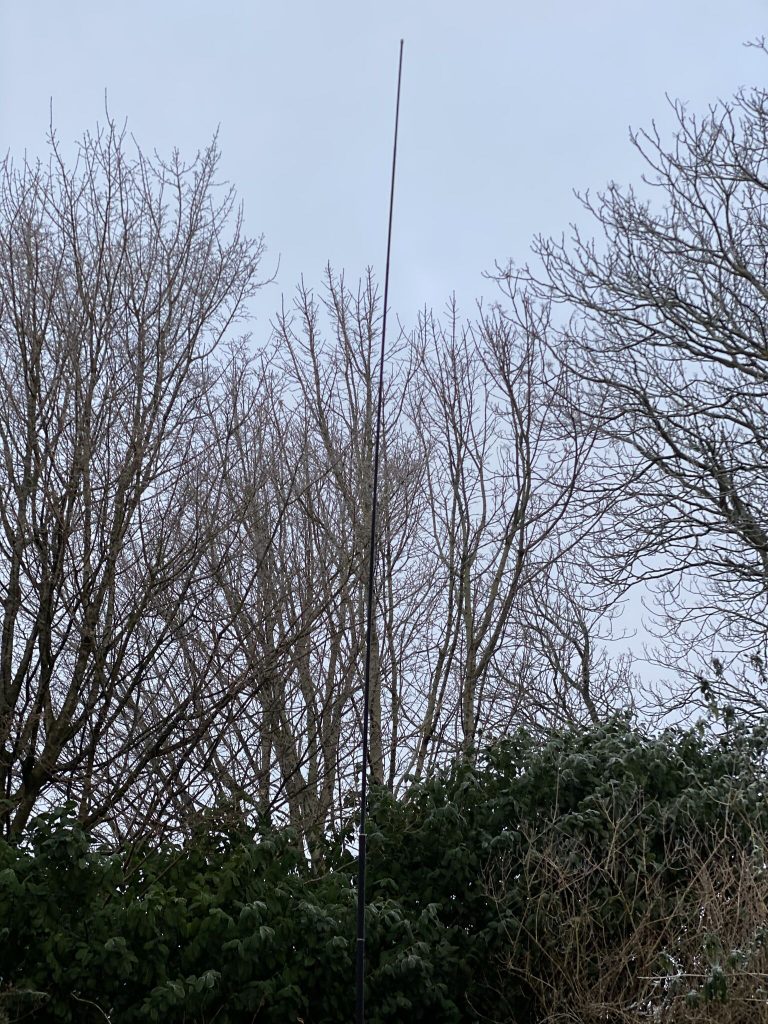
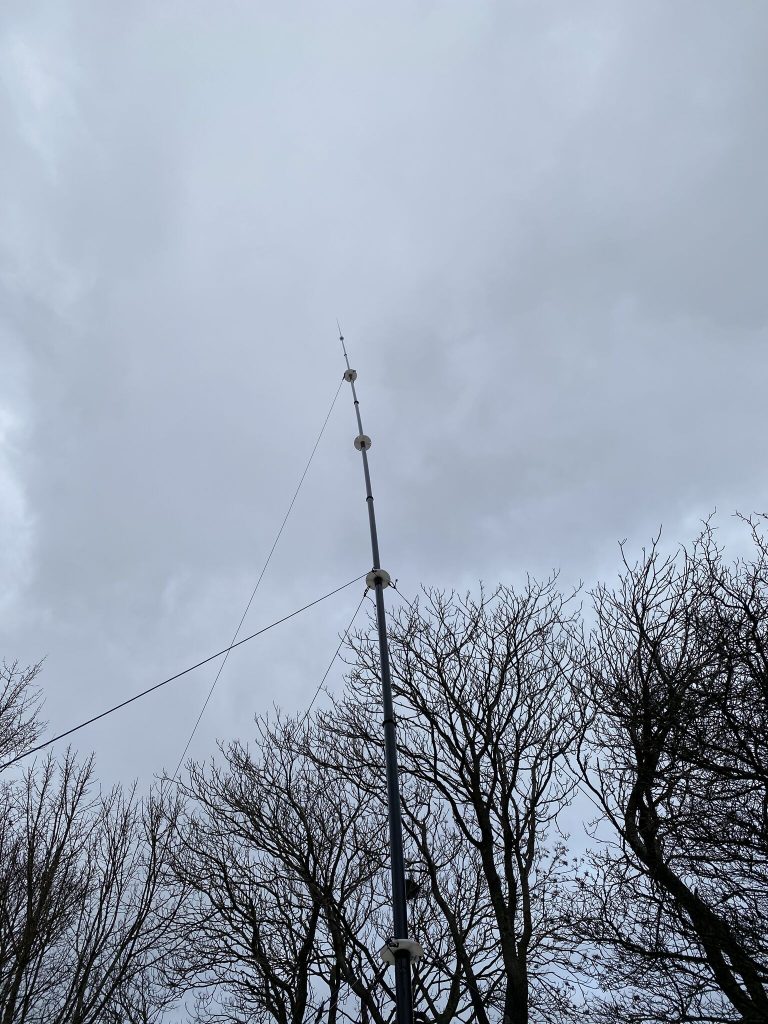
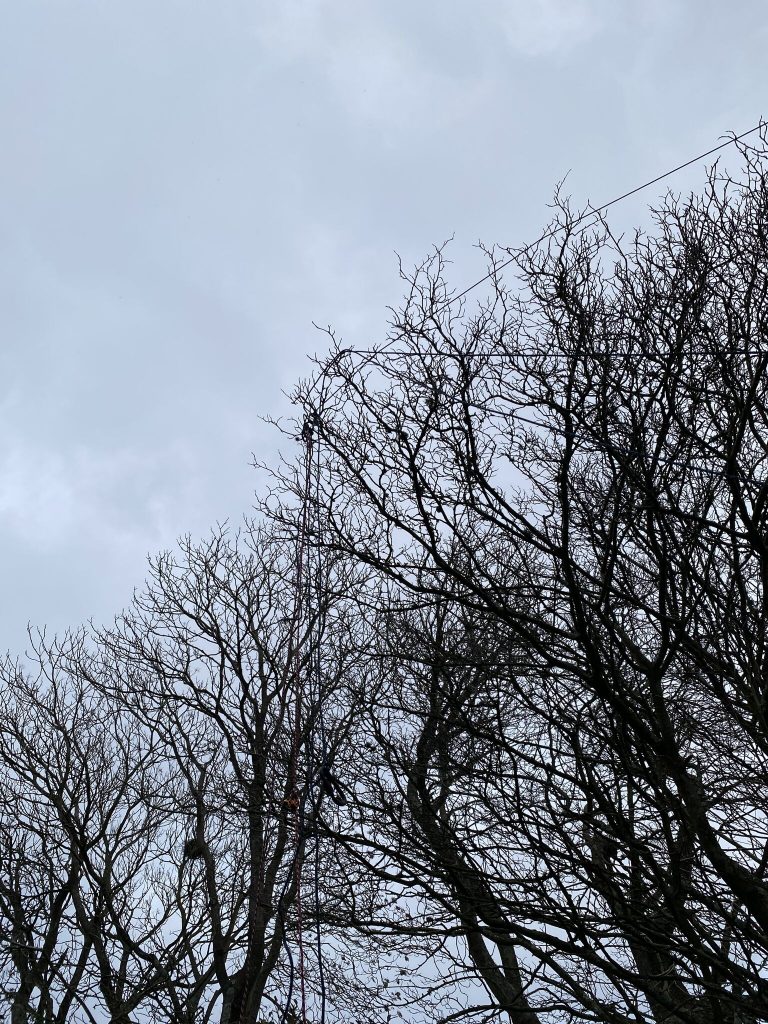
As you can see the higher i go, the more the house blocks the ropes passage. Whats good about taking time is that as each time I do this, I get more used to simply unclipping the carabinas from each section. It is tiring with lifitng the nebula each time, but it was satisfying to see the rigging going so well.

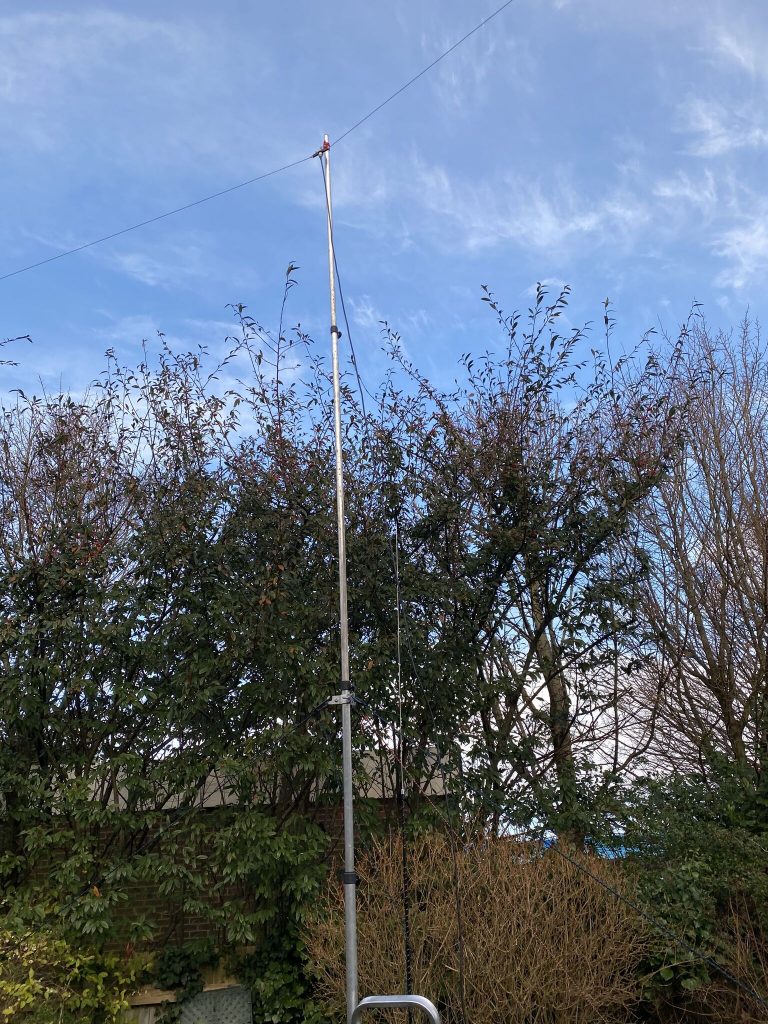
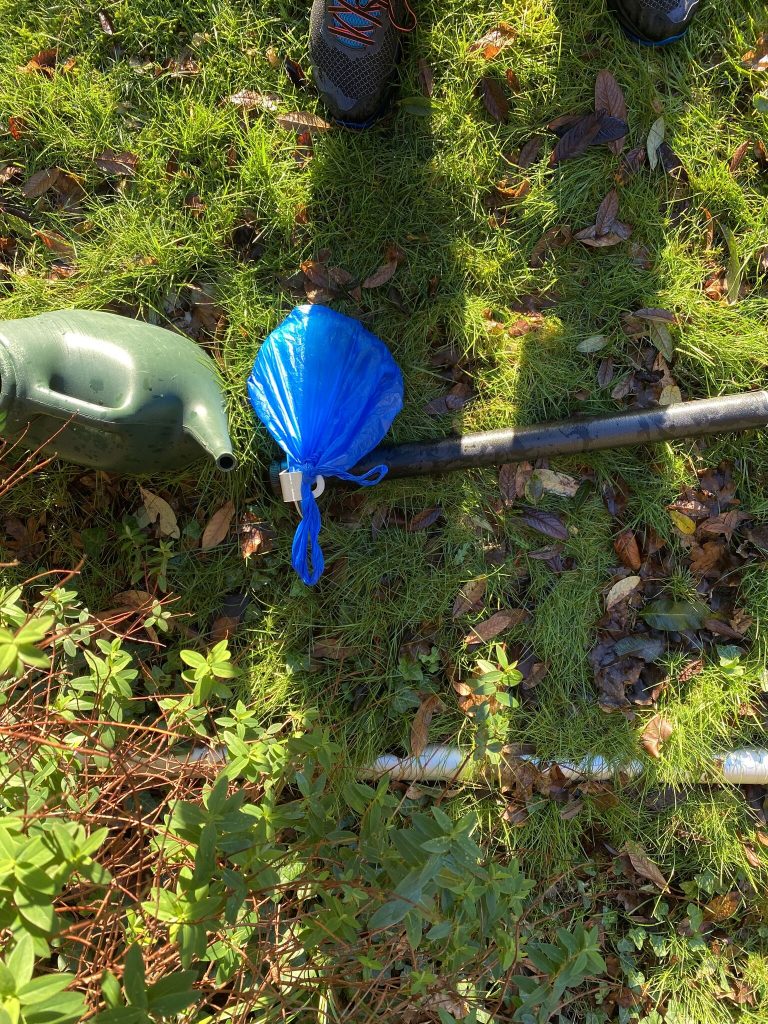
that will do today
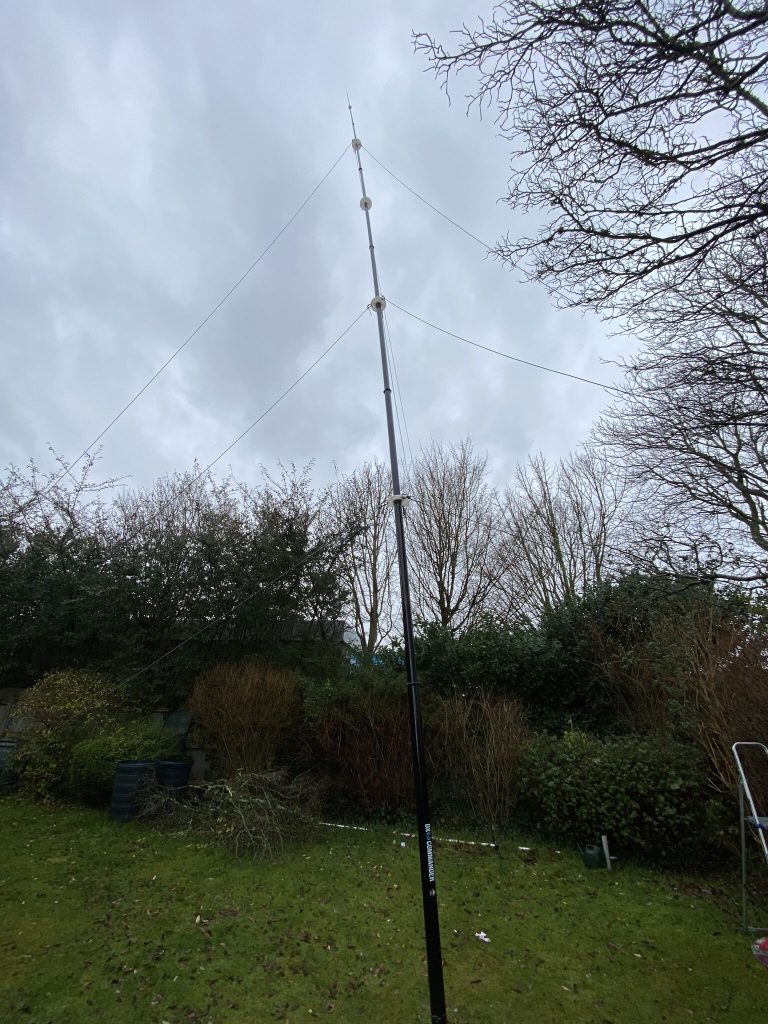
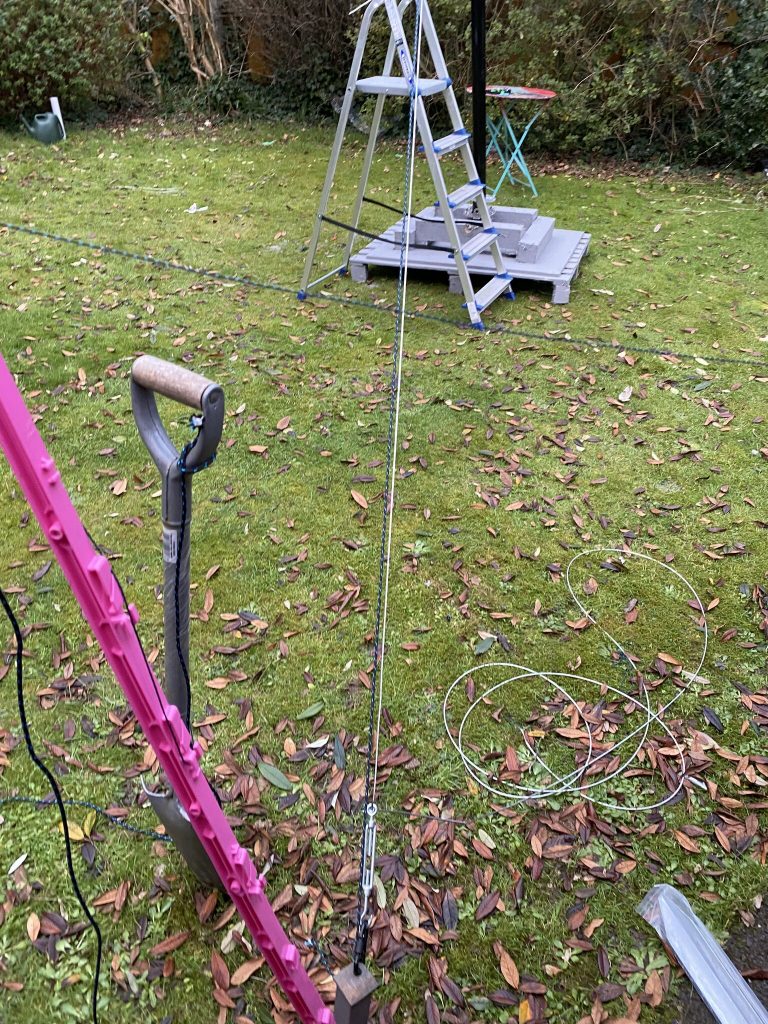
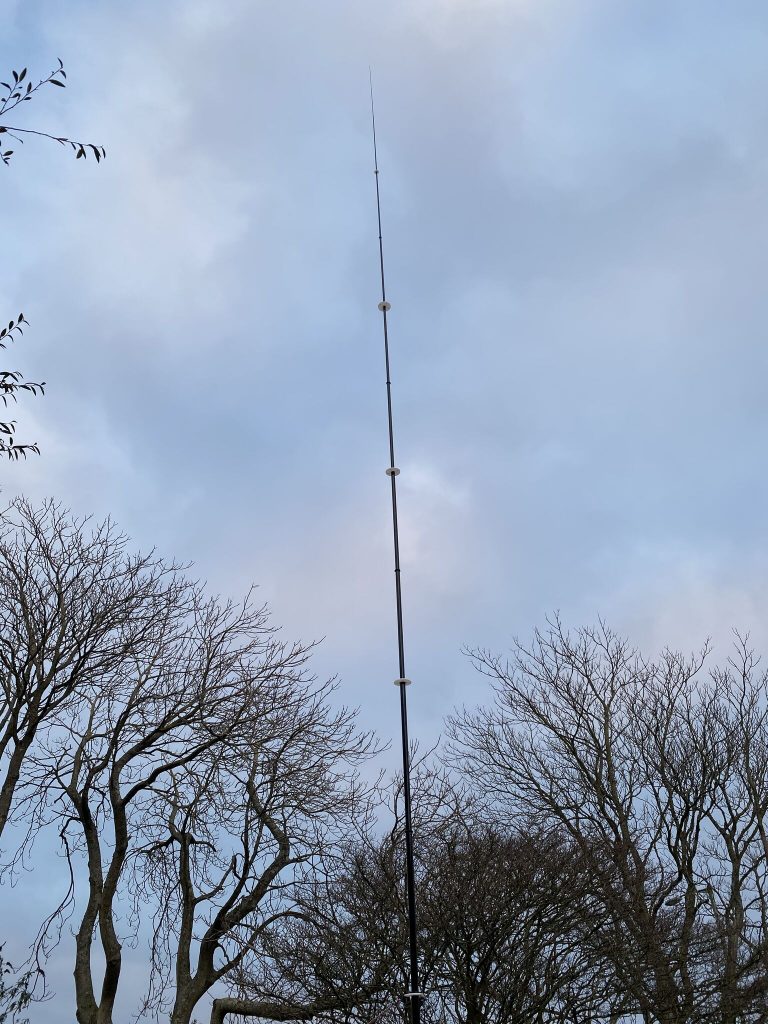
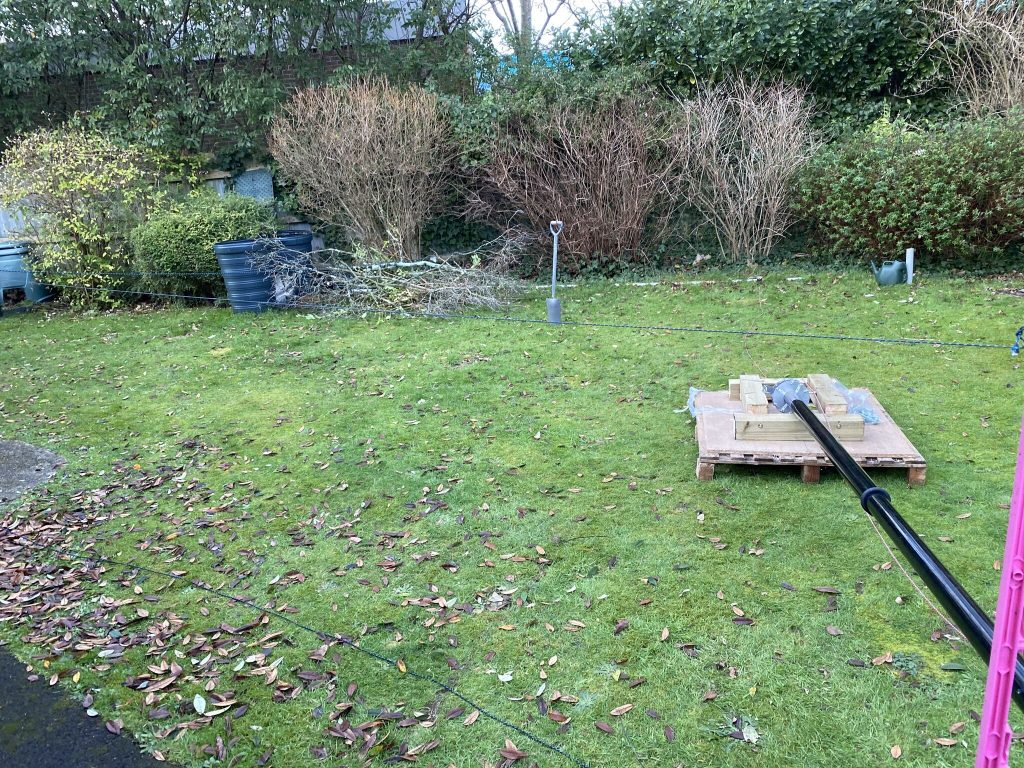
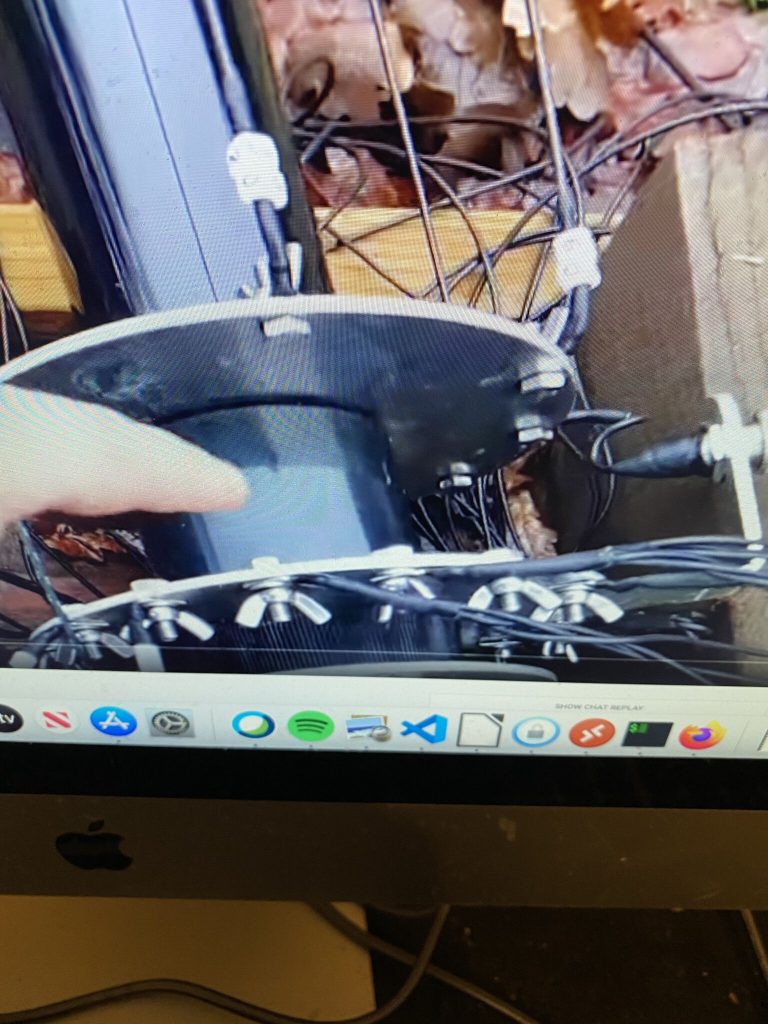
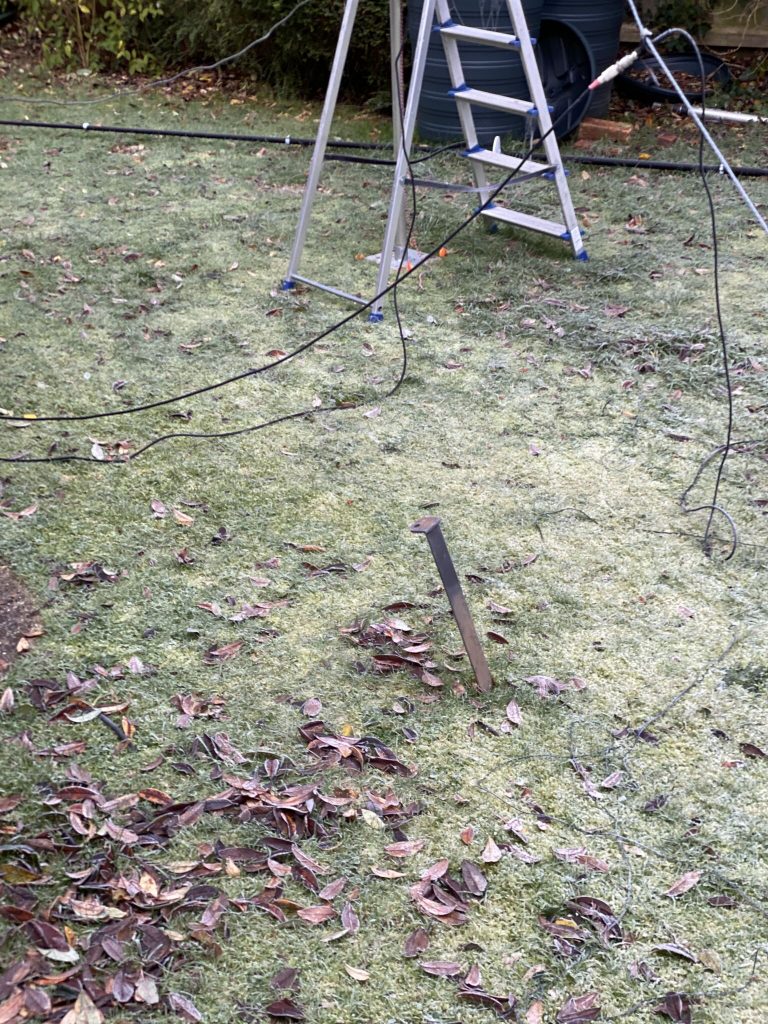
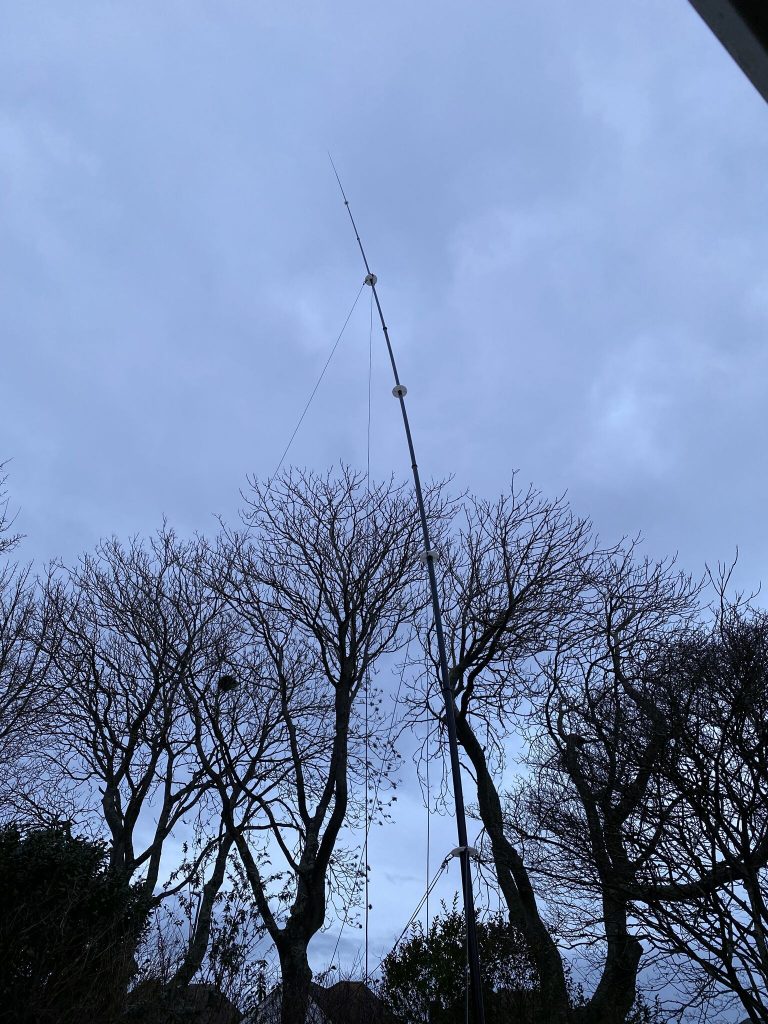
So the days are getting ever so slightly longer, where it used to be pitch black quite quickly from 4pm, its staying brighter that little bit longer. I had guyed all the lower sections but still had one last rope on the highest section. At this time I thought, i’m tired, it will soon be dark and i need to get the mast back down safely and packup for the evening.
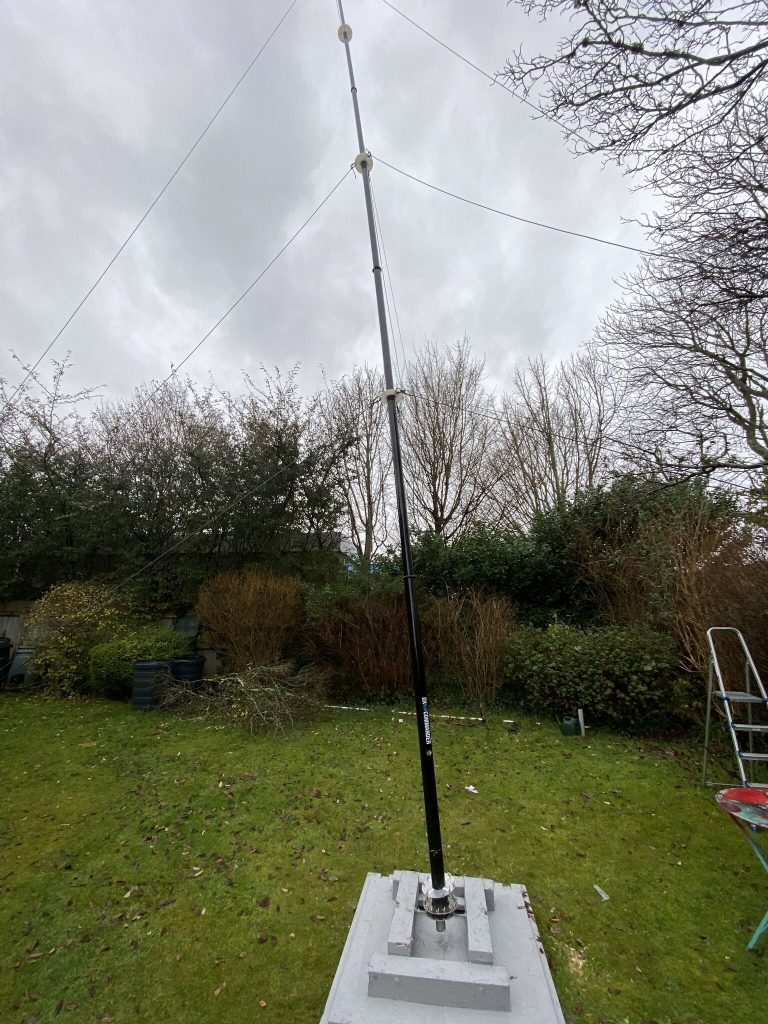
I done just that and have everything ready to get the last rope in place tomorrow. I will re-measure the vertical alingment with the spirit level once more, but its looking far better than it did, ensuring the mast will stay up in inclement weather. I’ve not had the time to solder radials or verticals yet due to uni assignments/exam revision, but am hopeful i can make some headway into that tomorrow as well.
Until next time, 73 & Stay Safe
Alan / 2E0FWE