ICOM 7300 & SM-50

My HF Telephony problem

Whilst i enjoy a ‘ragchew’ on the IC-705 via D-STAR, the Internet and ‘Bit Encoding Rate’ (BER) has more to do with the quality of the received signal than an actual radio wave. (I use a Pi-Star hot-spot as there is no DSTAR repeater nearby IO90).

With that I know that the IC-7300 is a very capable radio on its own, but even with previous antennas having access to all bands did I ‘try’ telephony that much, preferring to stick to digital communications via the computer. I thought it was time to give it a try and get used to operating telephony on the IC-7300.

The inspiring video section !

I checked out this video and it gave very good examples of setting up the audio for various transmit types. If you have a 7300 it well worth the watch and I’m sure the same principals apply to other radios.

Setup the 7300 for optimal audio

Tim, G5TM, has a great video on calling CQ. Having watched the video I was up for trying calling CQ on the 40 meter dipole I am currently using !

G5TM with great advice on calling CQ

I started calling CQ not expecting any replies, but amazingly on 50W on a dipole I did ! My first QSO on 40m was with IZ6TGS. He was obivously a really experienced operator and it was amazing to reach him ! I was immeadilty drawn to how unprepared I was to ‘log’ – when doing FT8, its so well setup it make it easy. Suddenly I was trying write down the call sign and any other details. Thankfully Adrio was a patient and great operator, we managed to give a report each way and I had made my first HF SSB contact !

It did really show I needed some ‘help’ with logging and operating. Having seen both M0MCX and G5TM operate live on air (its great watching a live stream!) they use a free piece of software called N1MM Logger. You can see them both as they start the QSO they are typing in the call sign and any details they can garner. My problem was that I was restricted to the hand-microphone and my Windows PC neither has a screen or keyboard attached as I connect via Remote Desktop Protocol (RDP). Whilst having recently tided my shack-tables up, there is still limited space on my 7300 table.

I was able to come up with the following solution !
Keyboard and Screen Technology

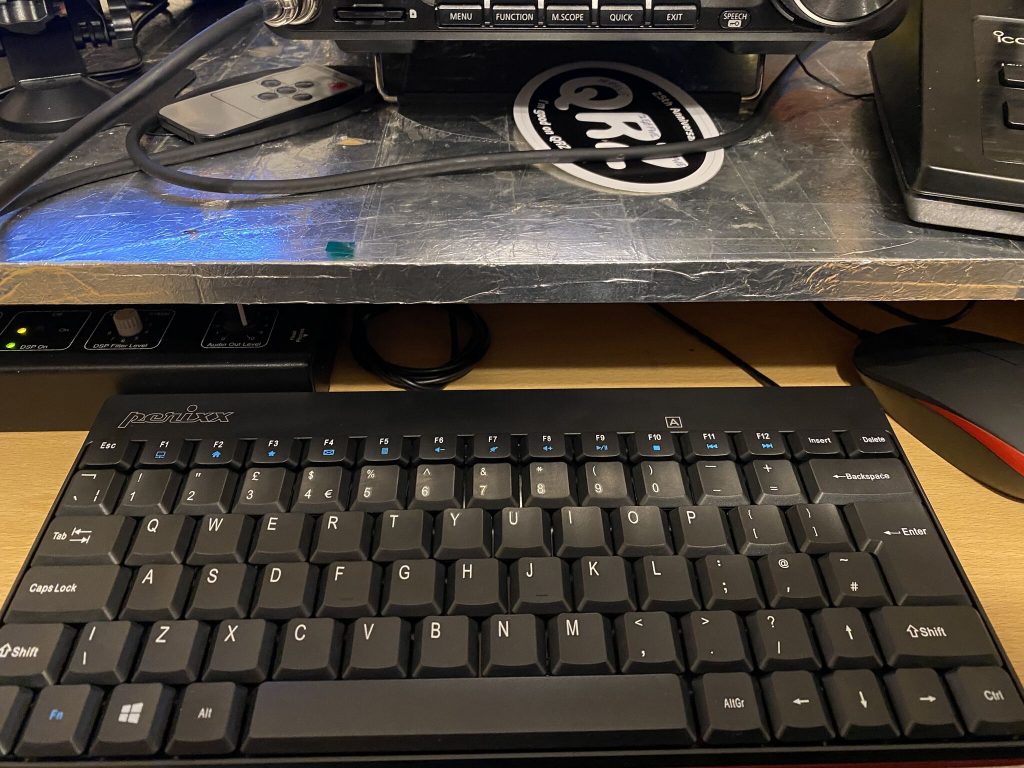
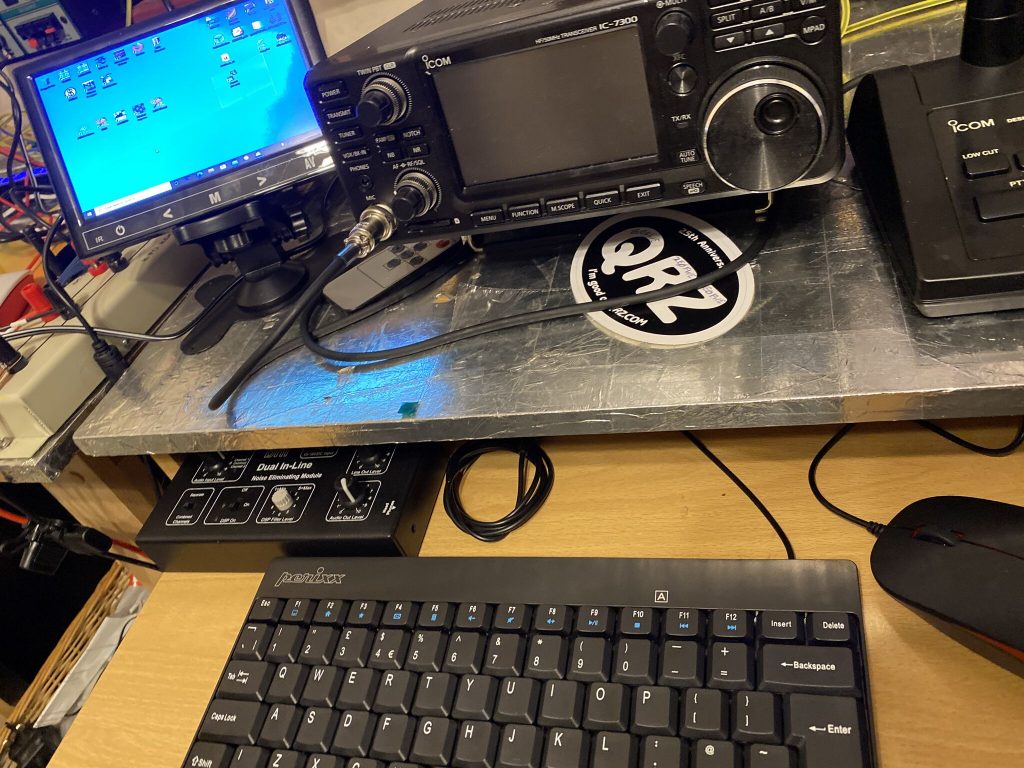
They keyboard and mouse come as a set from Amazon, the Perixx PERIDUO-212 Wired Mini Keyboard fits nicely on the keyboard shelf under the 7300, along side the BHI Dual In-Line Filter. For £16.99 this was a really good piece of kit, obviousy its not as good as the keyboard i use on my mac, but then i’m mostly using it for typing out call signs and reports, not developing stuff 🙂

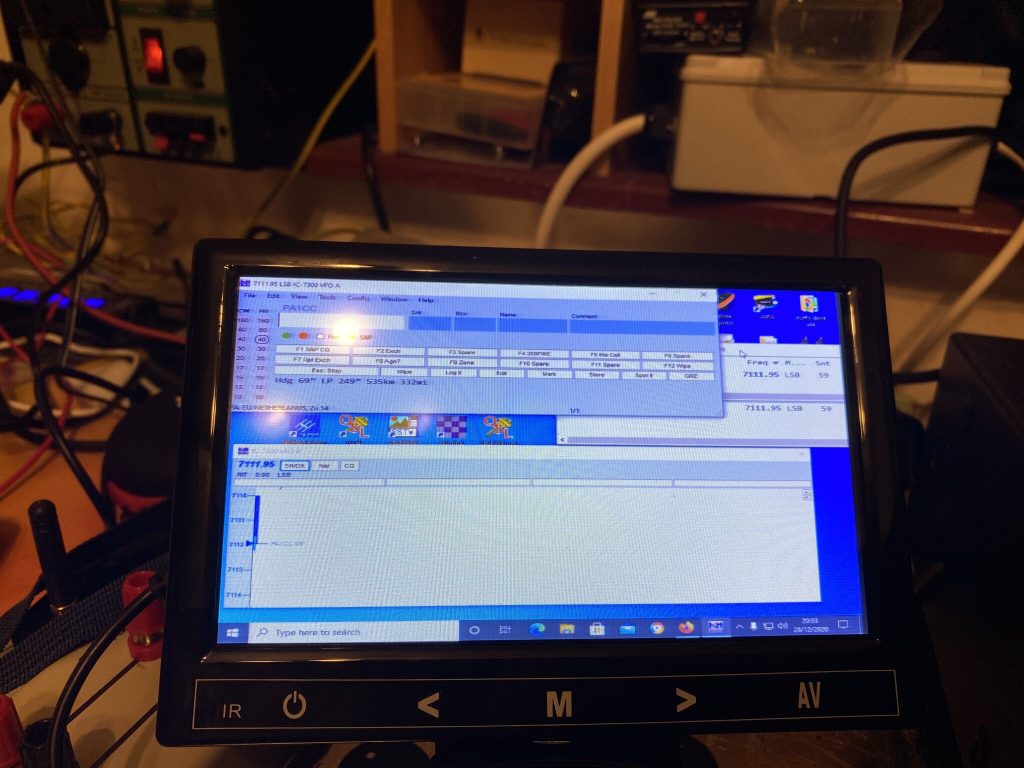
I combined this with the 7 Inch Small HDMI Monitor with VGA which cost £36.99. Even at 7 inches and a respectable 1024×600 resolution, I could easily see NIMM with no problem when using my radio. It fits very nicely on the desk and comes with a fairly decent stand. I’ve not even had to fix it to the table and its staying up nicely.

SM-50

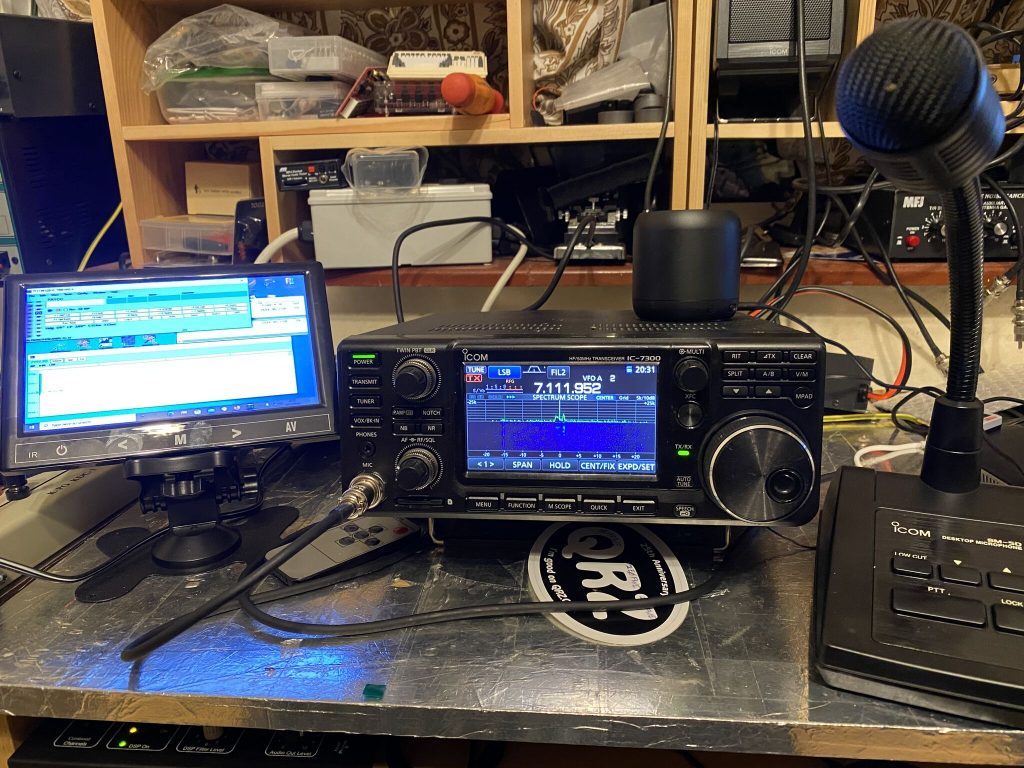
The last part of the equation, is no doubt, the most important. Whilst having a QSO i struggled to write down the call sign as my hand had a handmic in it. Whilst there are many microphones out there, the SM-50 is the recommended microphone within the 7300 manual and importantly receives very good reviews on eham. It is not a cheap microphone, nor is it expensive, as my son can attest in his experience of sound engineering, microphones can get *Very* expensive depending on what you want to record and where.

I orderd the SM-50, i was very impressed with how sturdy the base and the flexability of the neck. I could bend this perfectly over to me a few inches from my mouth to make operating alot easier.

The SM-50 is a fantastic microphone for the 7300

I went about setting the 7300 following the videos above and adjusting the microphone gain on the underside of the SM-50 to match the 7300. I also read the manual on how to setup recording my ‘best’ voice for 7300 so i could replay my CQ call.

This also made listening via Wesbree WEBSDR very easy and amazingly i could hear myself ! During this time my CQ call on repeat was picked up by DK4EI. We had a great QSO, his setup amazing, but i was happy with 50W and a dipole to come thru with a 5/9 report into Germany!

Conclusion

If you have been on ‘digital modes’ during the solar minimum, and also maybe slightly nervous of going on HF, i can say its worth putting the effort in to get onto SSB/Telephony.

My key points are

  1. As per Tim’s video sound enthusiastic/engaging – I took my time and made a ‘good’ recording/playback feature of the 7300 – it works !
  2. Set up your audio/microphone well and for the audience/conditions, the pileup busting video is really good for this. I’ve not had to change my settings, and i get great audio reports
  3. Get your logging software, or pen/pad easily to hand, fill in details as you go, it makes the QSO more rewarding and you can spot people again !
  4. Get a good microphone, for me the SM-50 suited *my* needs and had good reviews. You may want a different type of microphone and use it in a different way (VOX/PTT/Foot PTT, up/down buttons, on a bracket.. SO MANY FACTORS).

I am getting (braver?) better at HF QSOs and am currently limited to 40 meters, so you might hear me put the shout out during the evenings and night. Until then I really hope to have a QSO with you !

Stay safe / 73

Alan / 2E0FWE

Nebula tilt-base progress

It has been fantastic weather for December down here in IO90. With my son visiting for Christmas it was the perfect opportunity to make some real progress on the tilt-base for the Nebula.

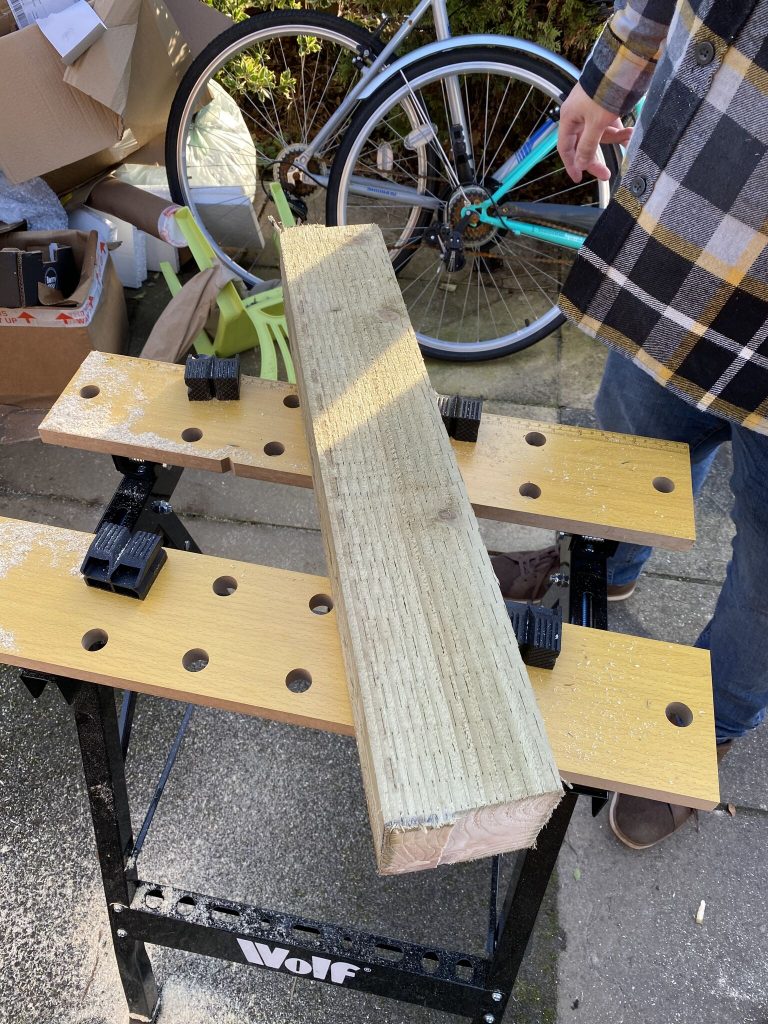
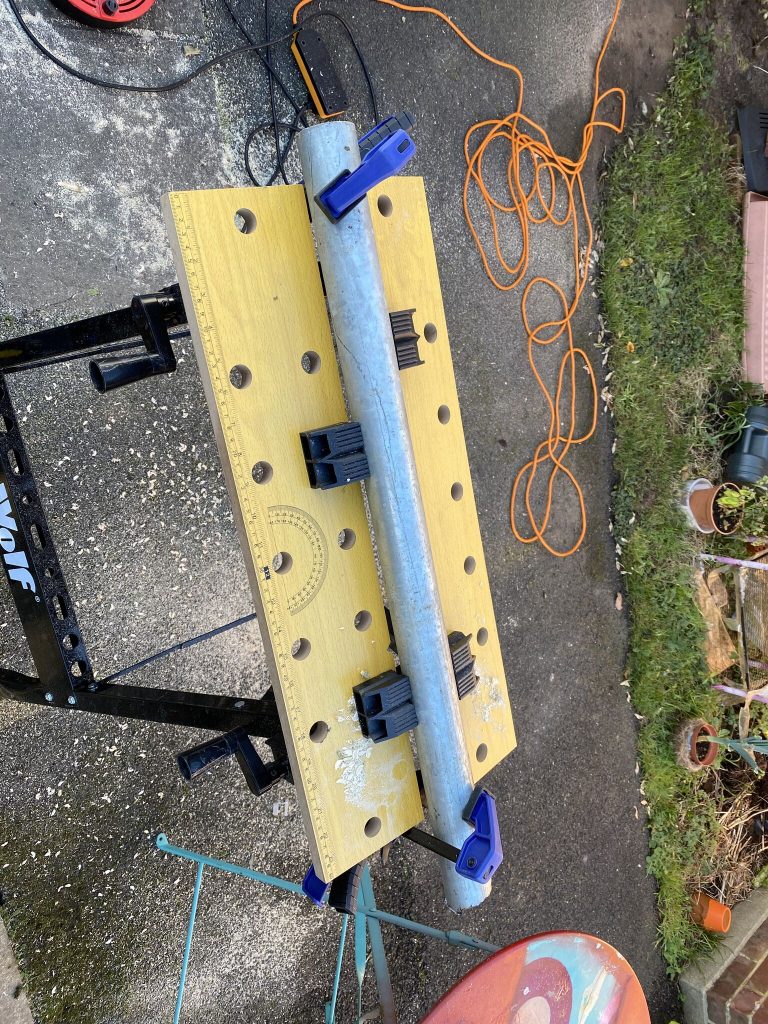
I started out in the morning by building the workbench that had come from Amazon. At £28.99 i wasnt expect high-quality and i was pleasently suprised at how nice this was. Construction was fiddly, but nethertheless straightforward. Overall, if you want a cheap workbench, you can probably do ok with the Wolf.

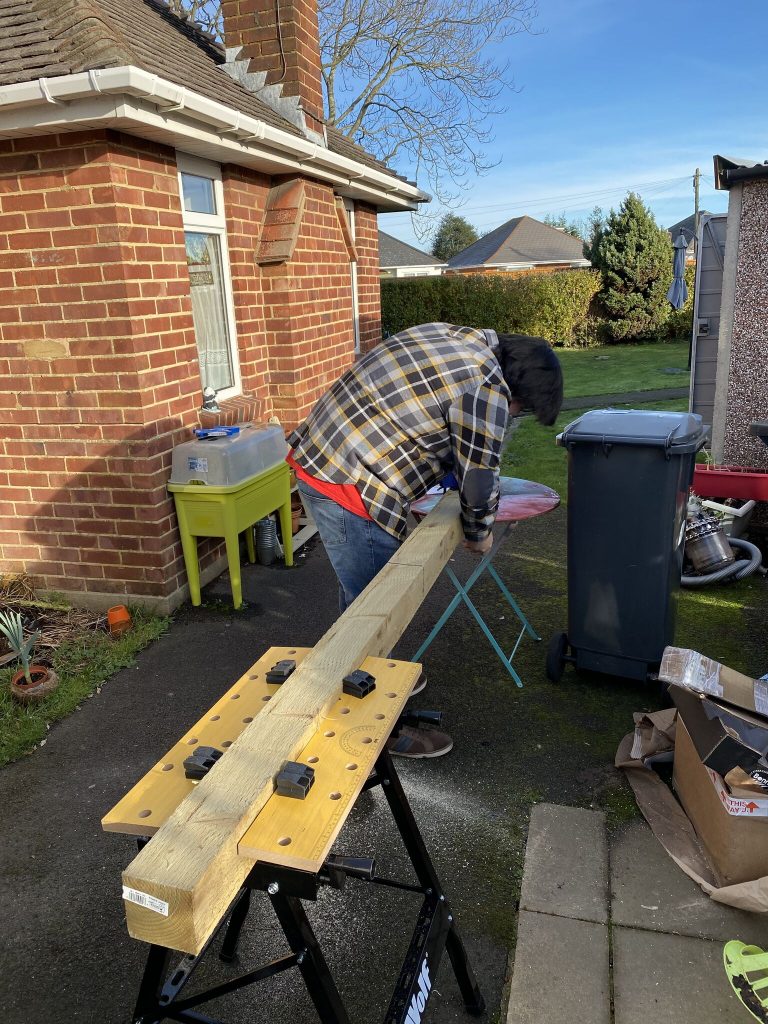
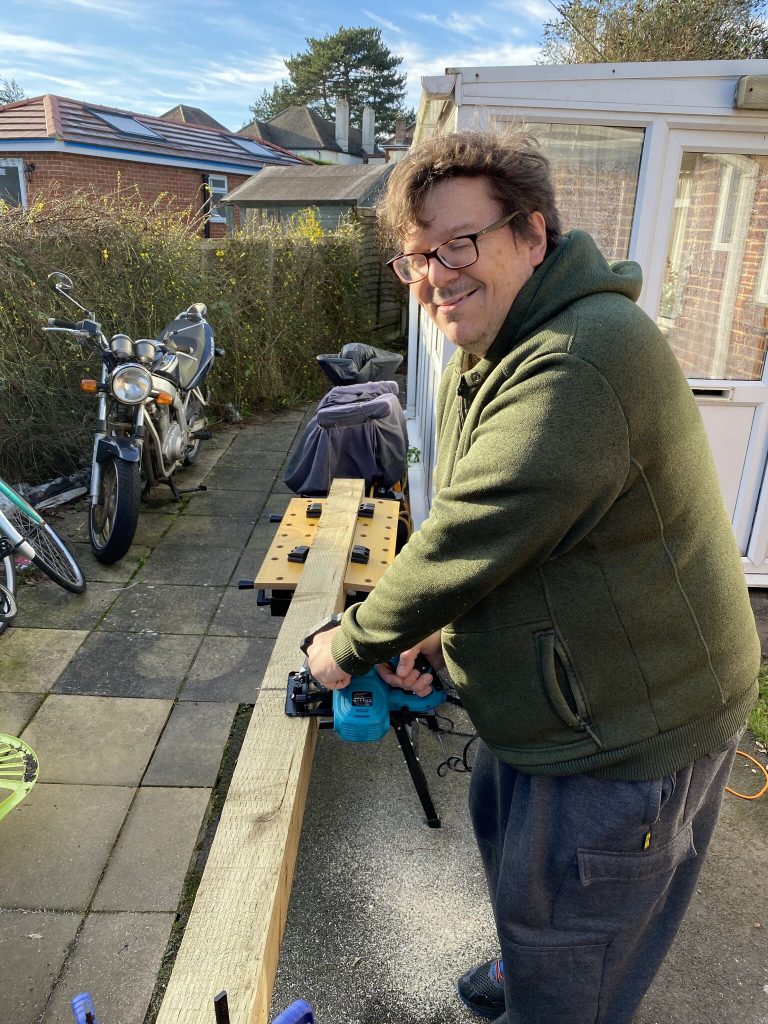
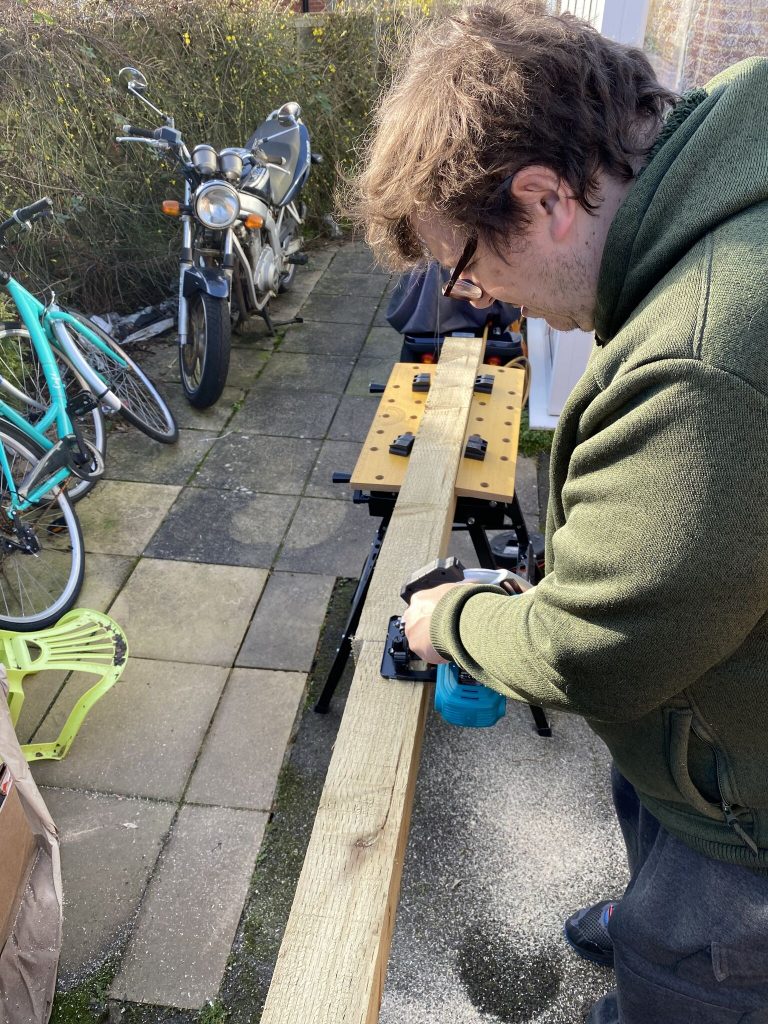
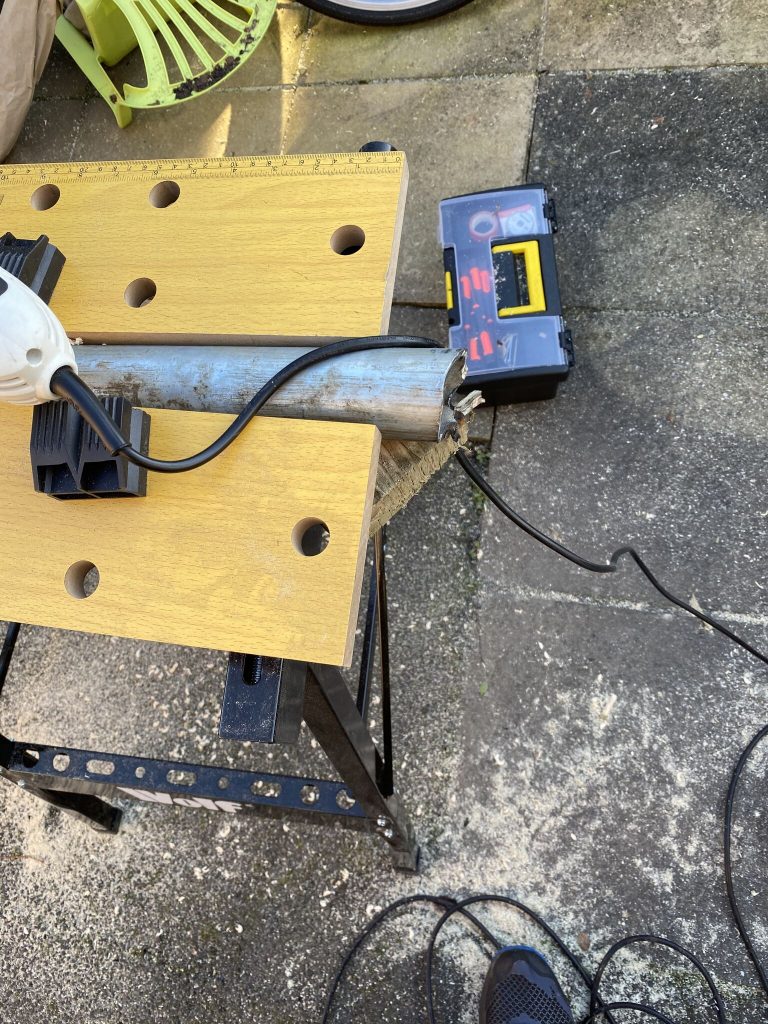
Once the workbench was assembled, Paul and I started getting things safely setup outside. I have never used this type of saw before, and i said to Paul to shoutout STOP if he saw me doing anything dangerous/or could go wrong, thankfully it went really well ! The Circular Saw I used is the Katsu 100793. It cost £43.99 and comes with another wood-cutting blade. The instructions were simple, yet useful and reassured me of being able to use the tool safely, having never used one before. Overall I can recommend this a tool you are going to use on on occasion – one niggle is that it really does need a better protective box, as i’ve kept the original but that will only provide limited protection.

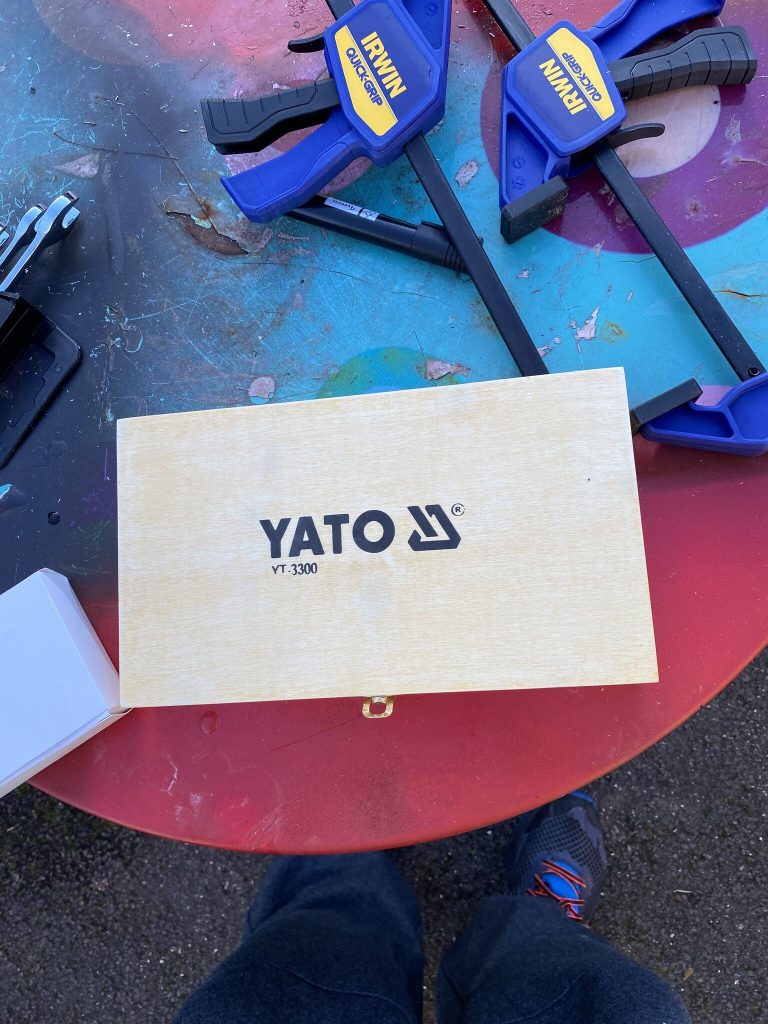
To keep the wood secure on the round table we have, I used Irwin Quick grips – these cost £16.99 but really done a good job in holding the wood tightly in place. Operation is easy enough after the first time of use, and getting things clamped becomes very familiar quickly. Overall I can recommend them as well !

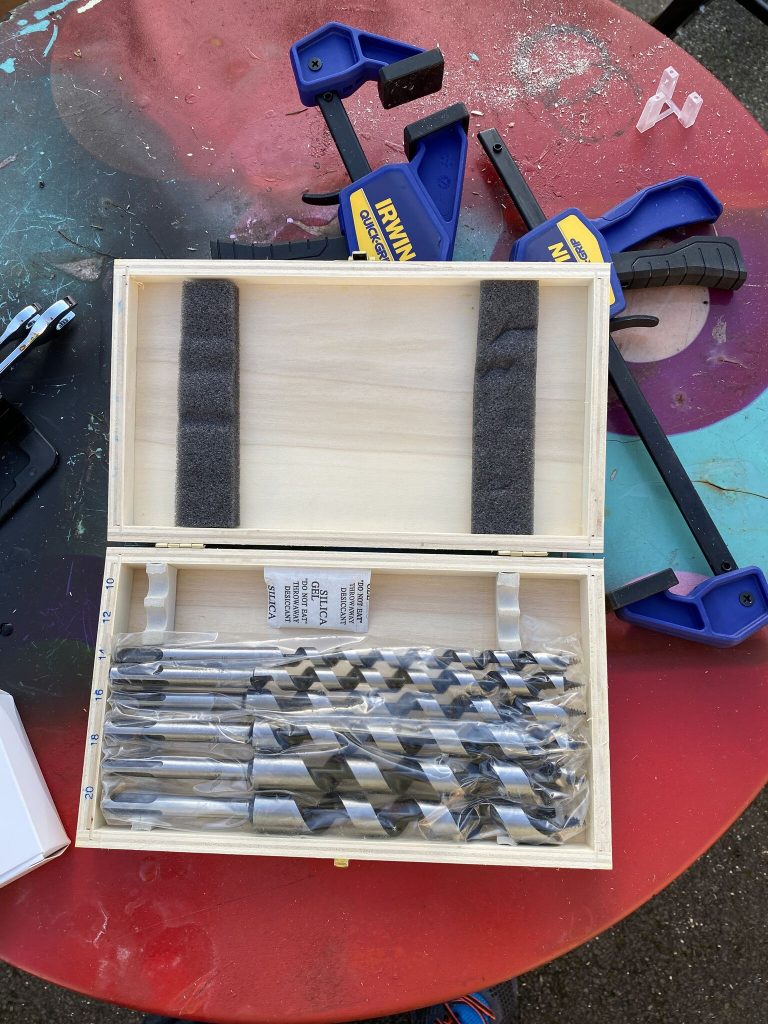
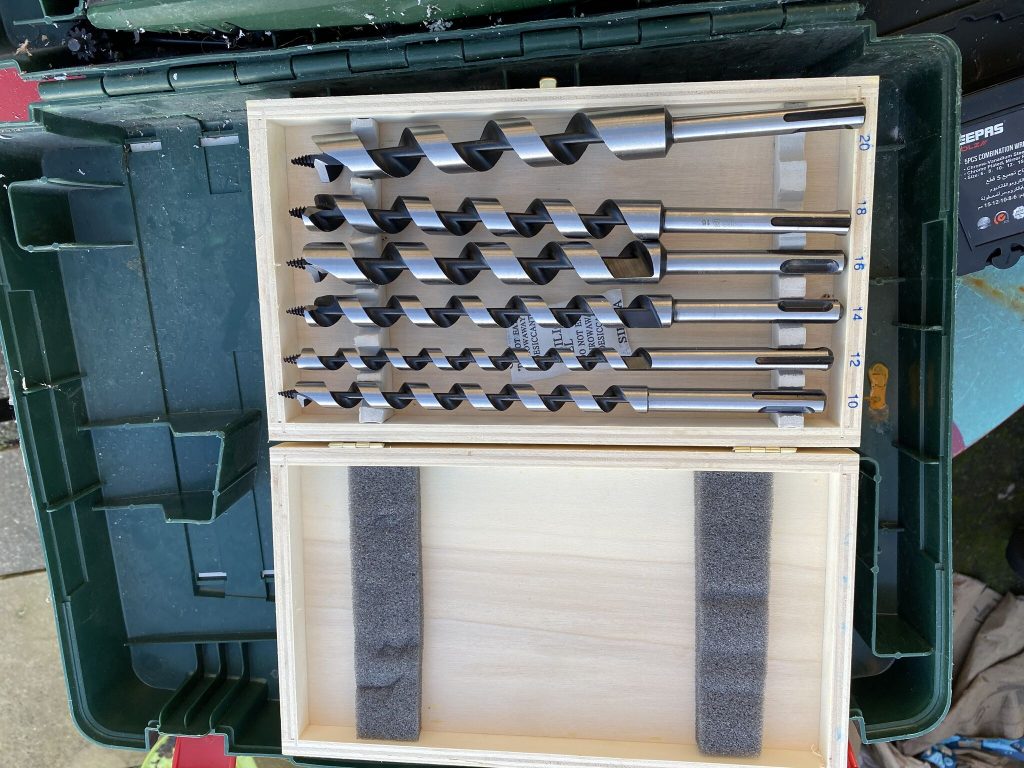
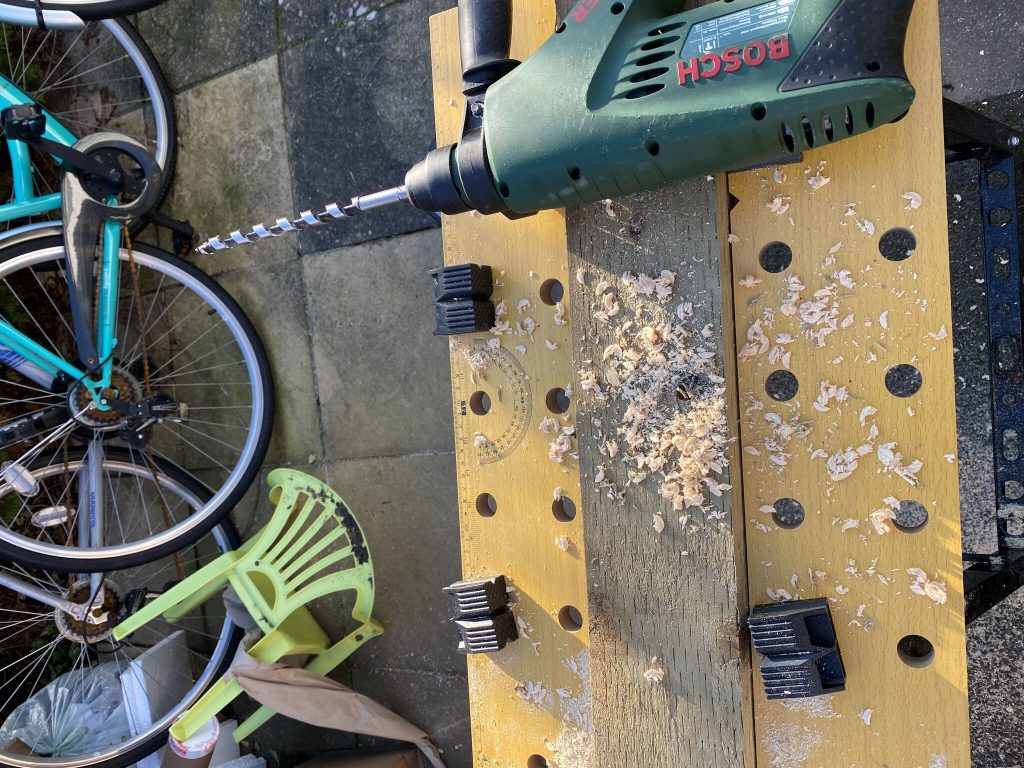
I then set about drilling the hole for the steel bolt to go thru. I already have a good Bosch SDS drill (altough i’d love a Makita like callums !) i just needed to order the required SDS wood drill bits. I chose the Yato YT-3300 drill bits. These come in a really nice presentation pack as well, and made easy work of drilling the hole for the bolt to go thru. I measured an inch from the top and mid-way on poles.

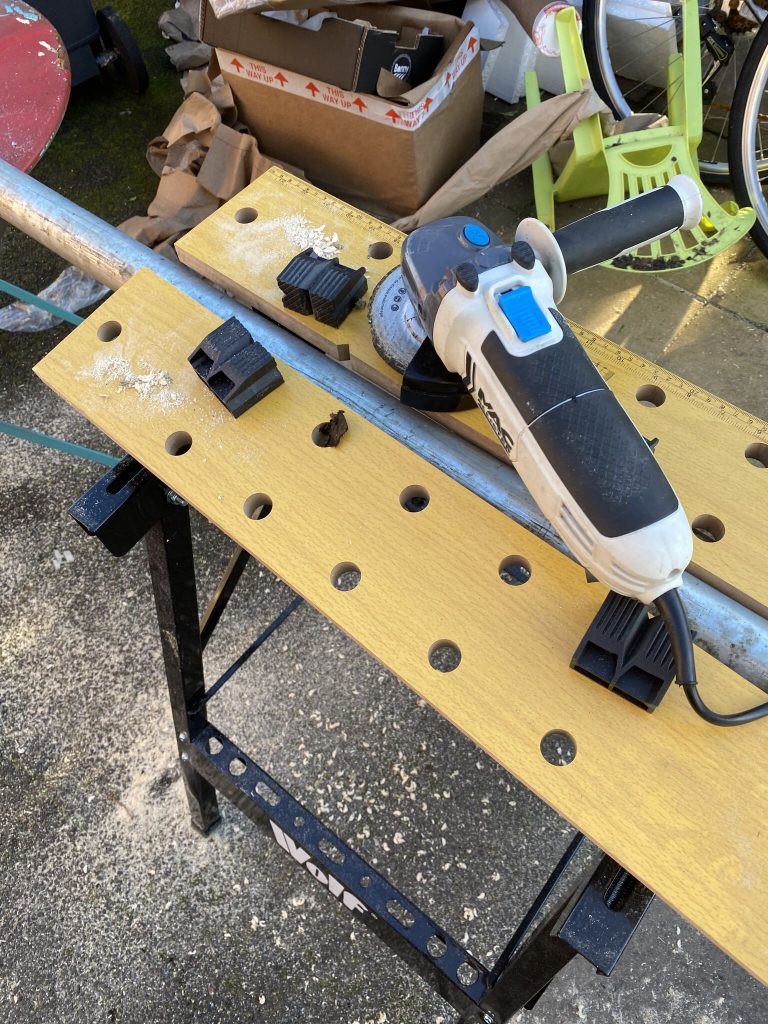
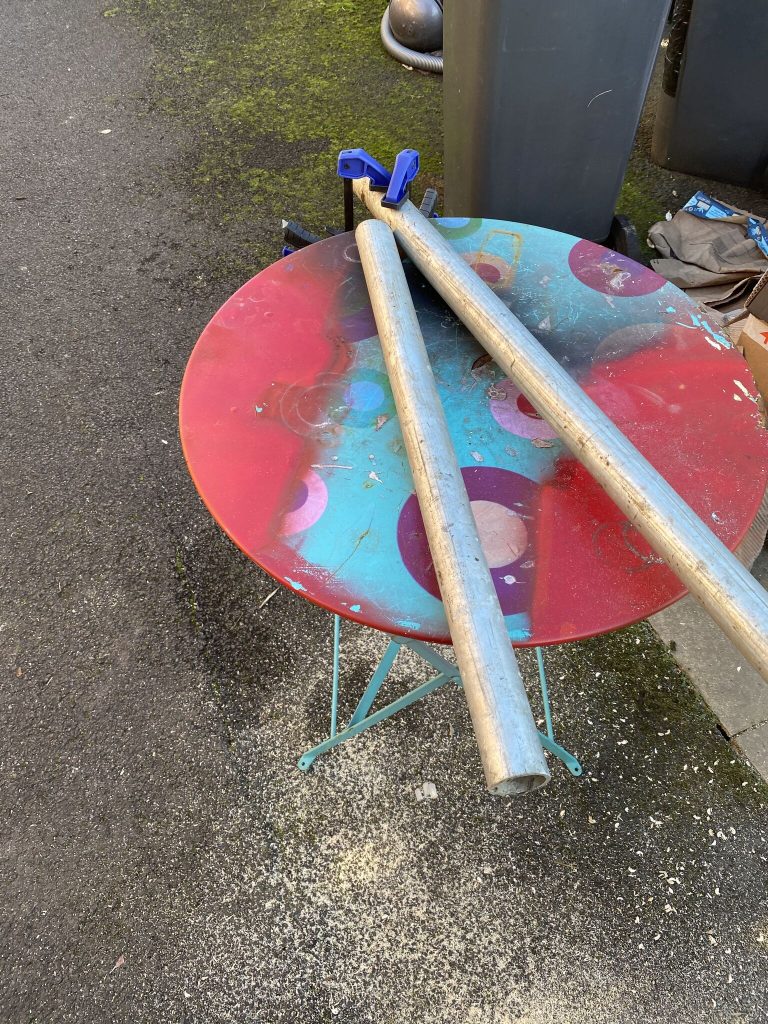
The next step was to use an old bit of scaffold i had lying around – i got this off the builders who were erecting my neighbours buildings in his back garden. £10 well spent. This involved another first as I’ve never cut tubing before, i’ve ground things down (usually flat surfaces) but never cut a tube. I already had an angle grider so put on my protective goggles and tried to see what i could do with the angle grinder

Having cut the scaffold pole, the next step is to put the bolt-hole in it. I thought i had some SDS metal bits, but all the ones I have are for plaster-board. A quick trip to Amazon found LATERN 10Pcs Tungsten bits. At £9.99 the price is good for the amount of bits and I’ll only be using these occasionally. As I was getting a little tired and by now it was about 2PM, thought it best to tidy up and put everything away. I’m really happy that my son and I could work on this together and the bulk of the ‘heavy cutting’ is done, plus I’ve increased my confidience in using power tools I’ve never used before !

Weather is not looking so great tomorrow/monday, so it might be next week/weekend for drrilling the hole in the pole but will see how I’m doing.

A day of masts.. but 20M fun !

AM450 woes

So i started the day out on really wanting to get my MFJ receive only loop antenna up. I have used it before, but always slightly too low. The mast I purchased to support this is the DIAMOND AM 450, it is designed to hold light antennas such as the MFJ-1886.

As you can see in this video

just twist – yeah twist my a**e

When out with it, i guyed it and twist-locked the mast, but it always came slipping down, most the very top and the 3rd section from the top. I took the antenna down and brought it in for the evening, giving the mast a good clean/dry and seeing if i could get each section to lock in the comfort of my hamshack.

I did have some limited progress but still felt the 3rd section was not tight enough, the others were so tight, they really was an effort to unlock them.

I went out the following day, but again the mast slipped. I stood there trying to tighten each section, for untold time, but it just didnt grip, at all. I was clearly wasting my time with this mast. So if you want my opinion, DONT get the AM450, its dreadful mast with poor locking sections. All my other masts have some form of ‘lock’ or ‘locking screw’ and work perfectly.

Buddipole 20M

So whilst i am enjoying just how good the little mag-mount whip works on 20M with the IC705, i do have a proper, and pretty well equipped, buddipole setup. My problem, and here the blame lays soley with me, is that when ever I use the buddipole a part of it breaks, or gets damaged. I am pleased to say todays work showed that my patience and method have improved and no damage to the buddipole occured (so far..)

I want to put this here as a warning for anyone that buys the buddipole *ALWAYS GUY YOUR MAST* and not just ‘at the end’ when its going up, when ever you are working on it/near it, guy it, you need to concentrate on getting the SWR down and doing the loading on the coils correctly, bumping the mast so it falls over is probably going to hurt you and your wallet when the expensive ‘whip’ antennas snap from the copper screw-ends.

You do not want to rush a buddipole build – much like any other antenna, but there is more to do with a buddipole, hence why I’m always a little bit reluctant to get it out. Compared to a dipole or a random end fed, there is a substantial amount of work (arrange parts, put parts on, tune antenna – reguy for elevation, measure SWR, bring down, SWR..)

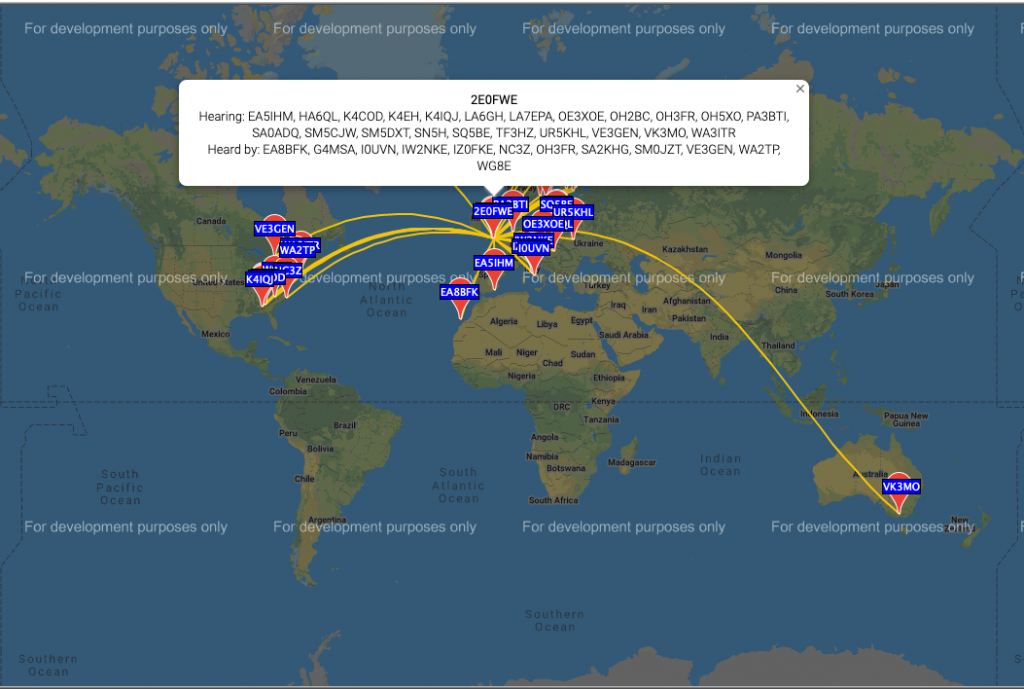
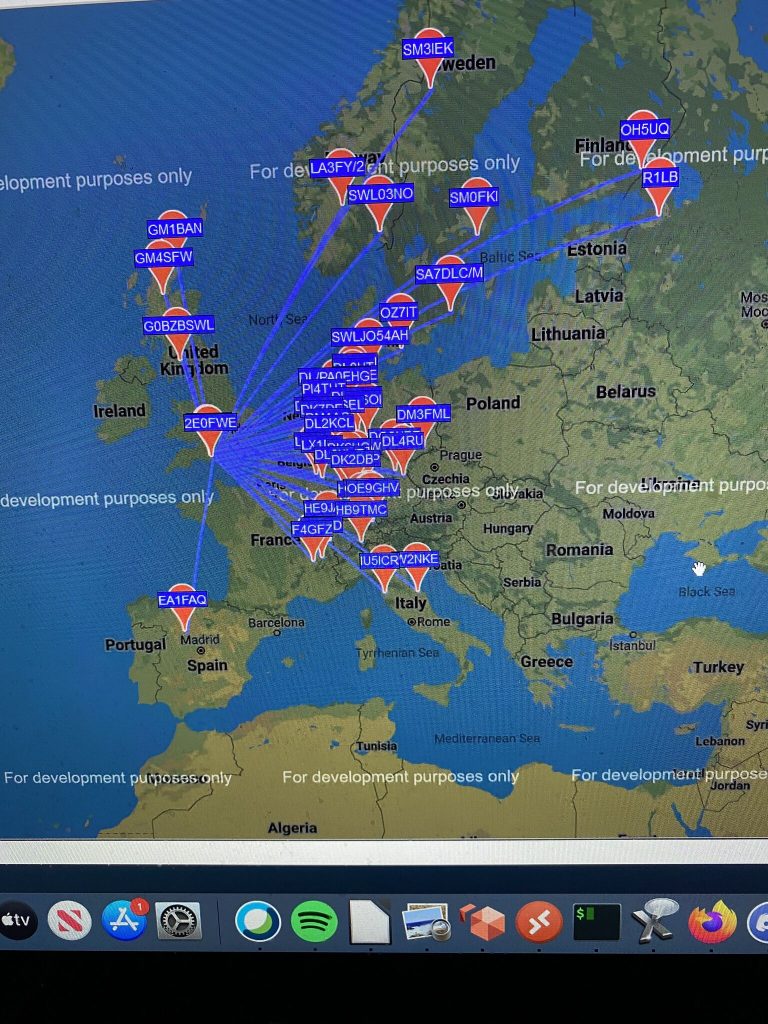
But that said I’m very happy with the gain I’m getting off the buddipole dipole, sure it could jus tbe the conditions, but the antenna is really pulling in the signals. I’m putting out 10mW on WSPR. Just checkout the reports.

WSPR Report on 20m with .1W

On FT8 the SWR was over 3 on 5W of power, but I’m hoping the kit I’m building will help with that !

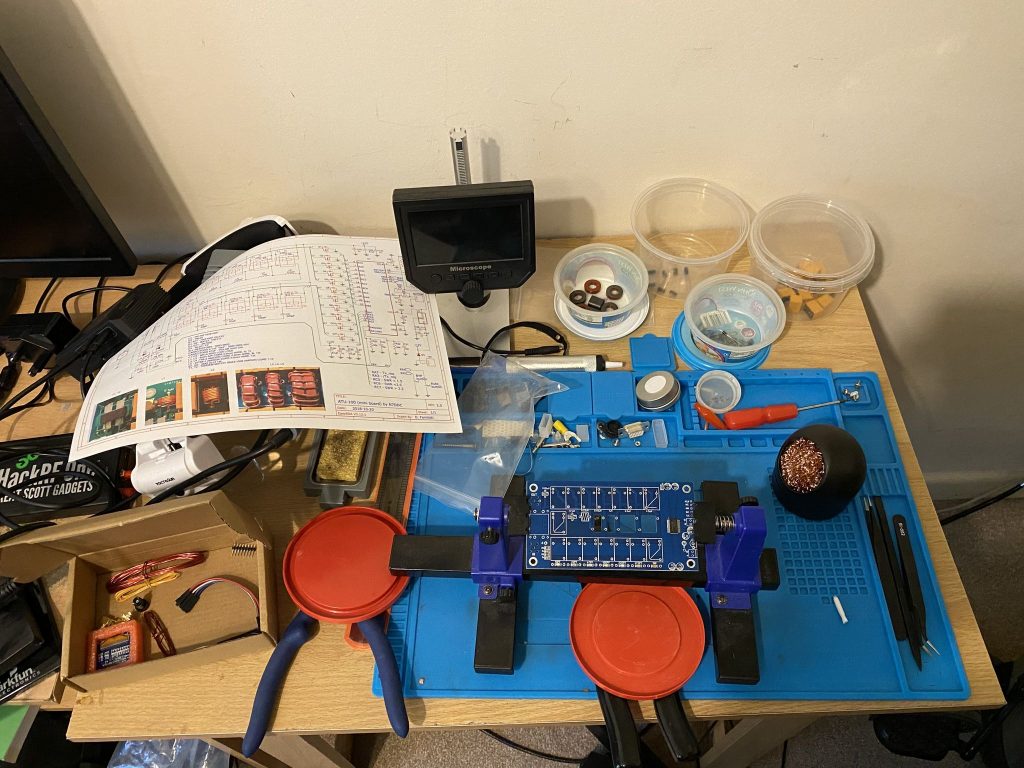
It will probably take me a few hours over a couple of days to do all the necessary winding and soldering, but the ATU gets impressive results (when built correctly !)

ATU-100 demo

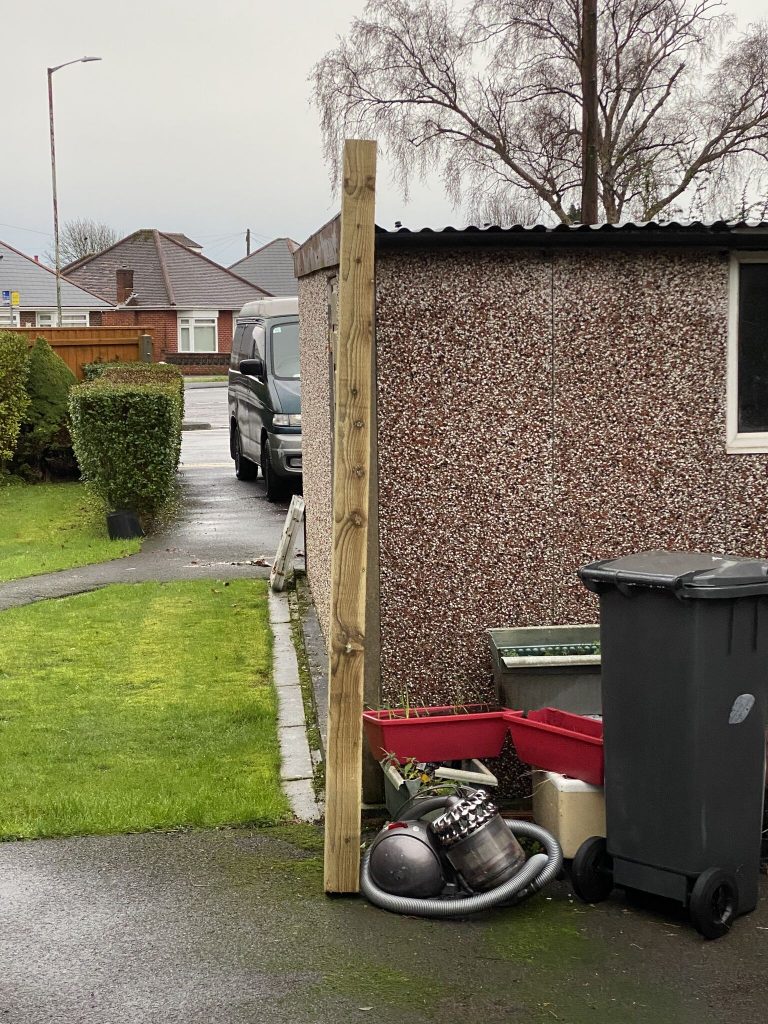
I’ve ordered some tools (didnt fancy cutting a fence post with a small wood cutter) which will come in useful around the house.

Stay safe and 73 !

Alan / 2E0FWE

Books and bits&bobs !

Nebula tilt base progress

Was very greatful to receive an email from Callum regarding the tilt base giving some advice and alternate parts, suggesting the Barenco BE211//2. Myself and JTB (read previous post) are already planning on a ‘metal’ upgrade, so will hold off the BE211/2 for now.

barenco BE211/2

Having watched the ’tilt’ base created by Callum I ordered the parts I didn’t have, and these have since arrived !

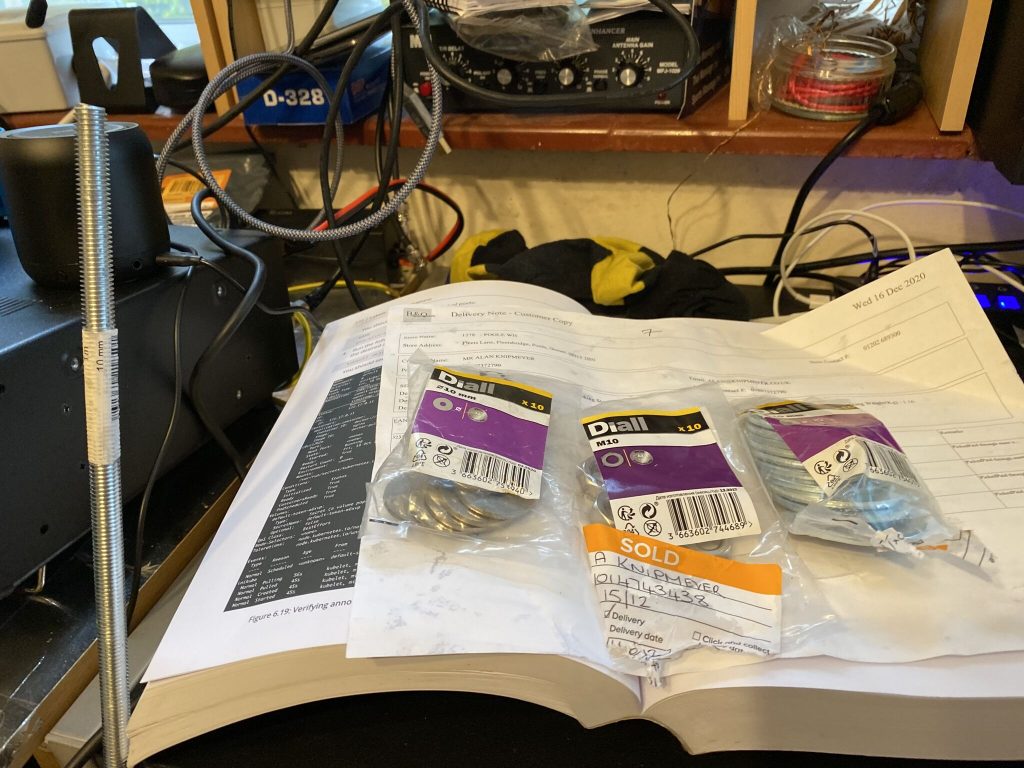
I ordered online for limiting my exposure to other people, but having seen the wood am very glad I did ! Not sure why, but it seemed alot bigger than i imagined – which is good. I have an old pallet in the garage which i think will help with the remaining wood components. I will have to source a pole of some type for mast to go onto, but am glad the wood and bolt/rod have arrived !

QRP

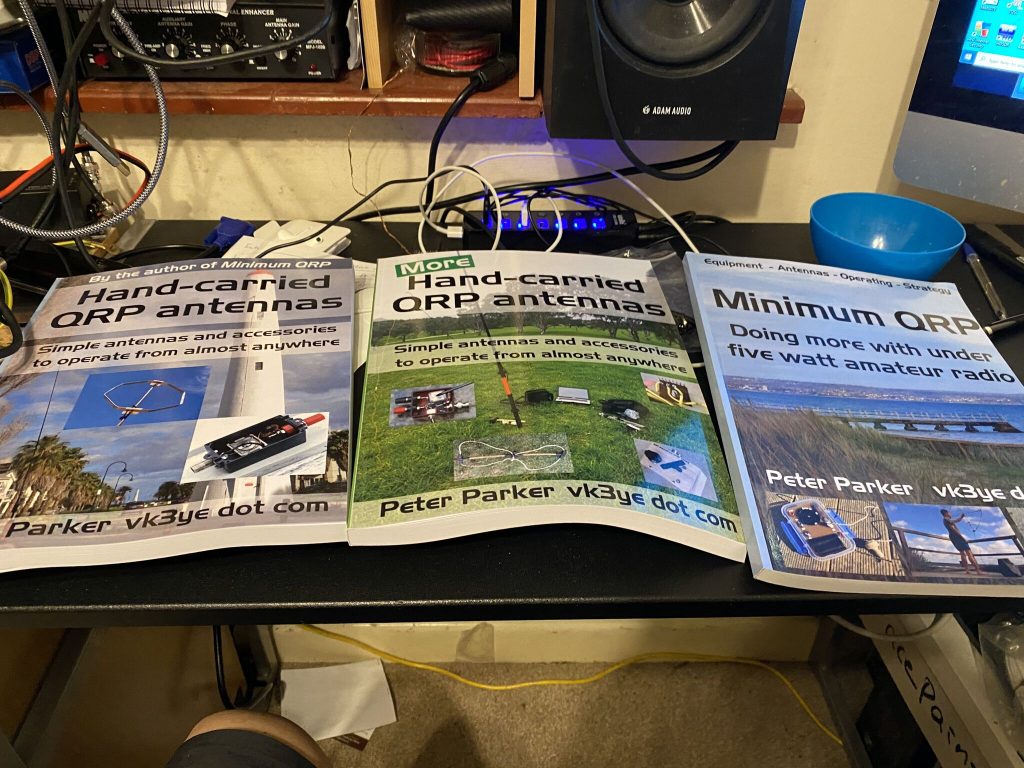
The IC-705 has really got me into QRP, given that without any additions, its max portable power is 5W and 10W when powered from external supply. I watched Peter Parkers’s excellent QRP Video and knew i had to also read these books to really understand and get the most out of what was being taught

QRP Presentation by VK3YE

Needless to say, I’ll be blogging extensively about my QRP experiencs with the 705.

CW Academy

Further to recommendations on DX Commander Discord server I have signed up to CW Academy and book my space on the BEGINNER CW class. It does mean ‘waiting’ until April, but having seen this excellent video about learning from CW Academy, have done well in getting a slot as early as that !

I’m really confident that with tuition from CW Academy and giving the commitment required to learn, i will go from 0 wpm to at least 10 wpm.

Full licence

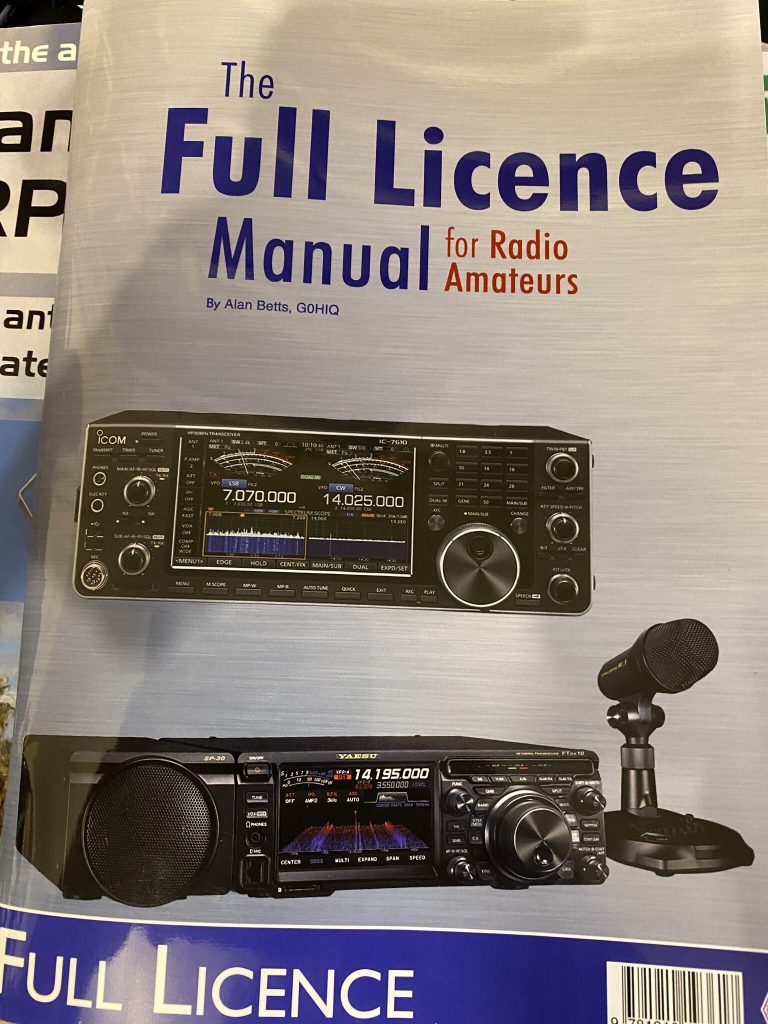
Also learned that the FULL LICENCE is now available on-line ! Of course i wanted to book straight away, but the latest that could be booked so far was end of Feburary. Given my ‘Intermediate’ exam i thought i would really have to commit and revise well, so I didnt book yet. However, i have bought the RSGB Full Licence Manual, which looks slightly less scary than it would of a year ago (Just passed Foundation).

It begins ! I think with my workload & uni, its going to be 4-6 months of training

This great video gives a recent full licence experience, and i will be taking on the advice

full licence exam experience

With the absence of clubs, training again will be online and with youtube, I’m really grateful for the amount of work people put into their training videos. I will be using Cornish Amateur Radio Club – they really helped with my intermediate

I continue to enjoy the 40m dipole, getting contacts all over the world on FT8 and decoding Wefax images. Hopefully the sun is out this weekend so cutting the wood can begin for the Nebula swivel mount !

Nebula build – day 3

So it has been a gorgeous sunny day with little to no rain down here in IO90BS today, of course it being a work day means that I am kept very busy ! However I do get a lunch break and made the absolute most of it !

The decision

So after yesterday was, i dont mind saying, hard work to get the mast up, I really pondered what my next steps are. The days are short, the weather, mostly wet & cold, doesnt lend itself to antenna building like those lovely long sunny days of being able to put an antenna and still have sunlight after it.

I watched Callums DX Commander piviot video, many, many times in the evening – and i thought, this has to be the way for me. On my own, getting an antenna up and down, i have to have as much help as I can get where engineering can give me that assistance. This was about 11:30 a night, and most of my sensible friends are asleep at that time, or at least wouldnt want to be disturbed on a Sunday night about ‘is it a good idea to build a mast tilt DIY’ so couldnt get a second opinon.

https://youtu.be/v0xrqmoKC_s
Tilt Over Vertical Nebula base by Calum

The build !

I asked my good friend, who we shall call ‘John the Brush’, some thoughts on the video. He is very capable and building and generally ‘making things work’. He was very quick to identify the required parts, which is something I couldn’t do after browsing B&Q and Wickes last night.

“he made that from a bit of M10 st4udding and some 100 x100mm fence post” – now i don’t know what M10 studding is, but B&Q sell it and it looks like the pole that Callum put thru the wood.

I’ve now ordered the wood (From Wickes) and the M10 and nuts and bolts from B&Q, total cost – £42.04 (including delivery). I have plenty of tools, although i have to say i love that Makita drill that Calum uses in his video – what an awesome bit of kit that is – i’ve got a Bosch SDS drill which i think should be able to do the same job.

So, that gives me a short-to-mid term plan for the Nebula, but what about NOW ! I dont like being off the air, it was hard work to get my lience and its a nice enjoyable, relaxing hobby (well putting 18m masts up can be a strain…)

The NOW

So I was pondering, what is the quickest antenna i can get up in the small window of time i have for lunch. I thought about and started getting the bits for the classic – i’ve got all the wires and can get it up and running pretty quick, but things can, and do go wrong.. Whilst i was untanglilng all the radials, i spotted my 40 meter dipole, and remembering Tim (G5TM) had just done a recent video on dipoles.

Simple antenna, quick to put up, and respectful performance

Dipole it is ! I had everything ready and could get this up pretty quick.

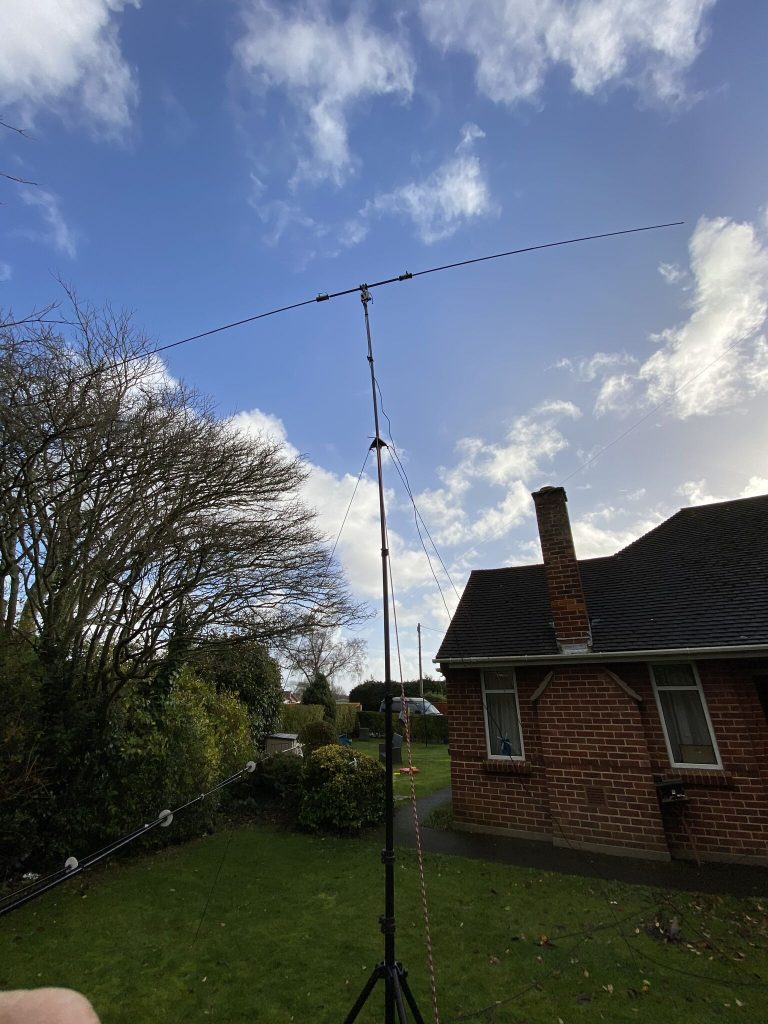
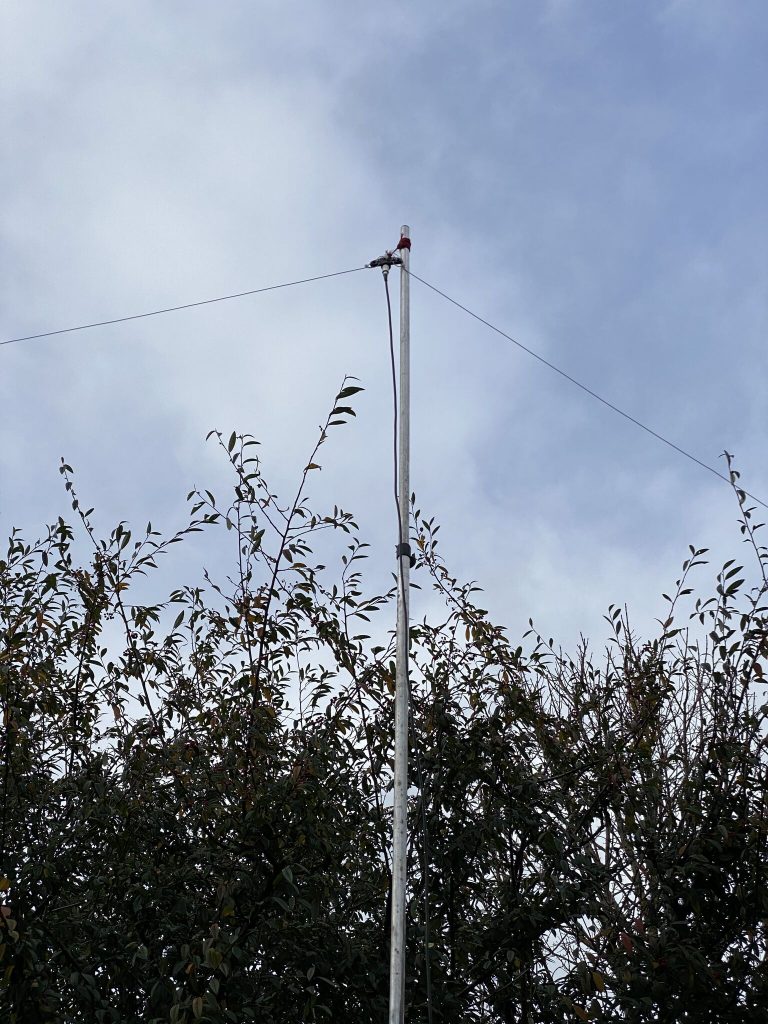
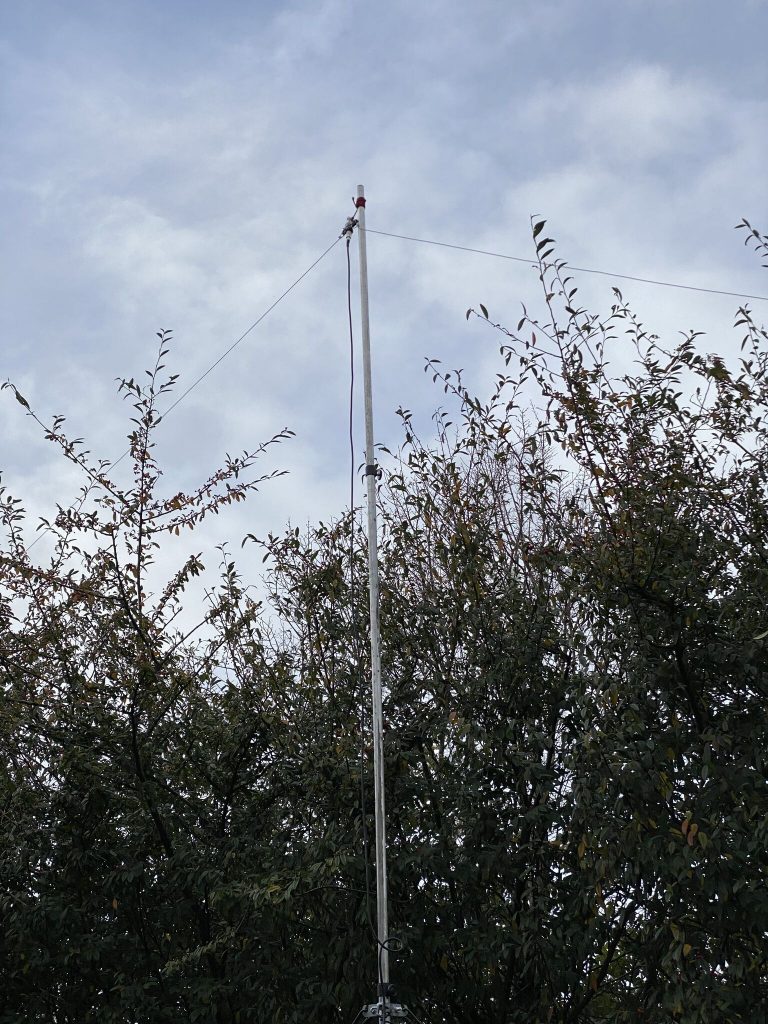
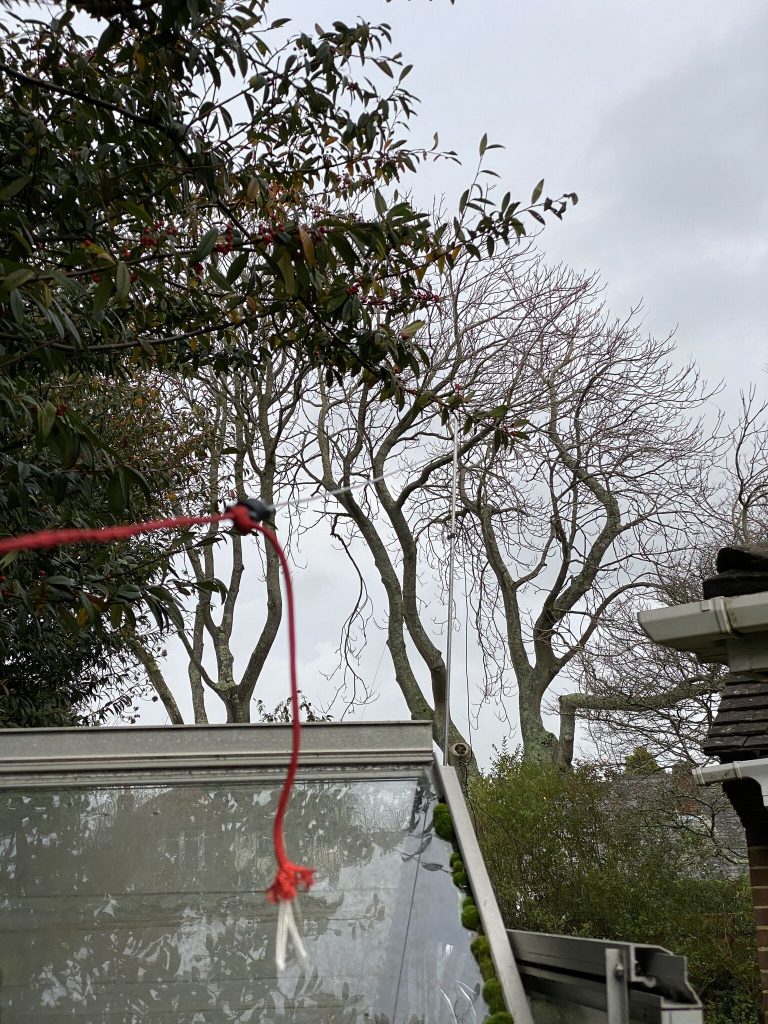
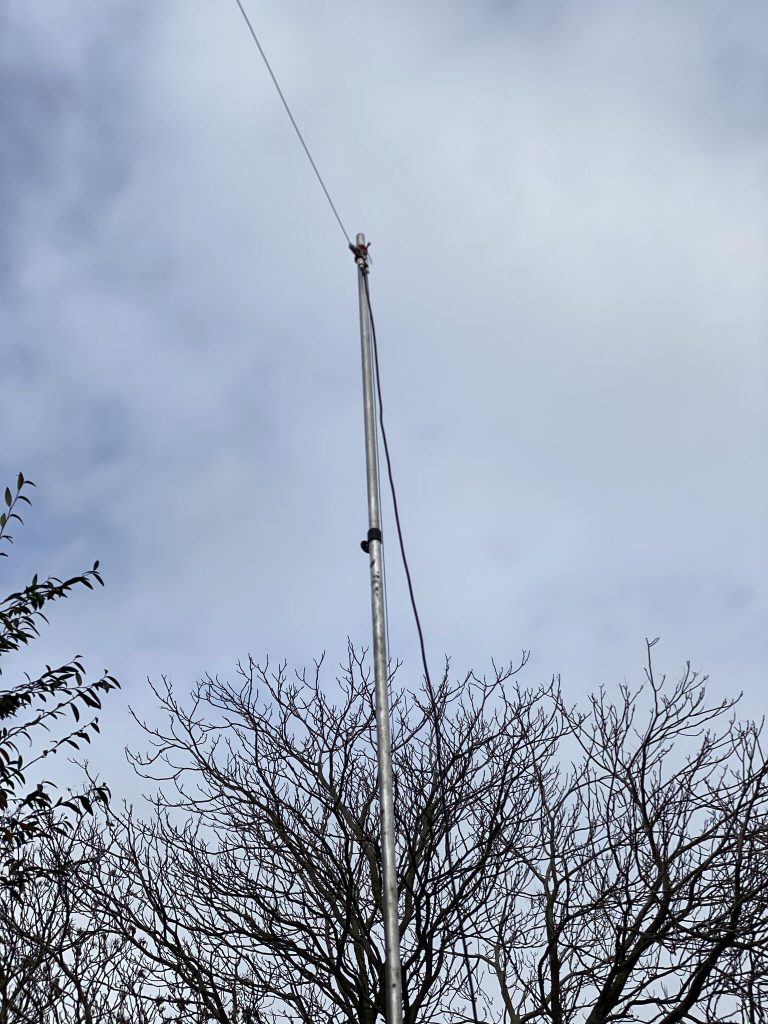
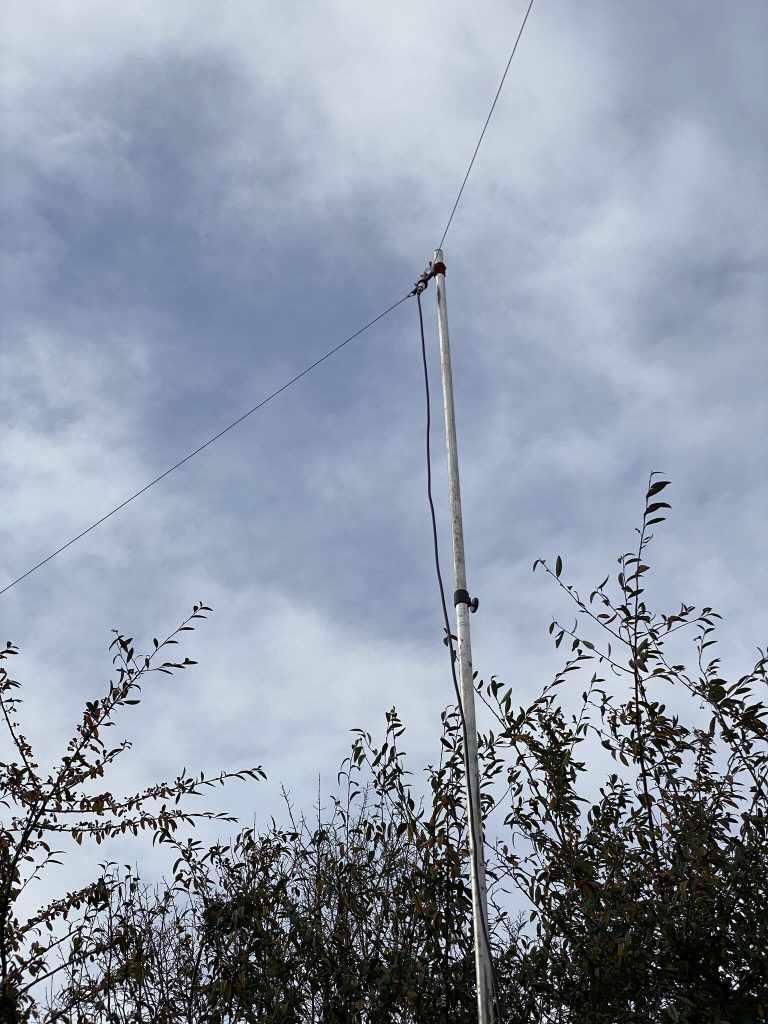
With one end attached to a washing line, another to fence post, it got my 40m antenna up in the air ! Now, time to see, how is the SWR..

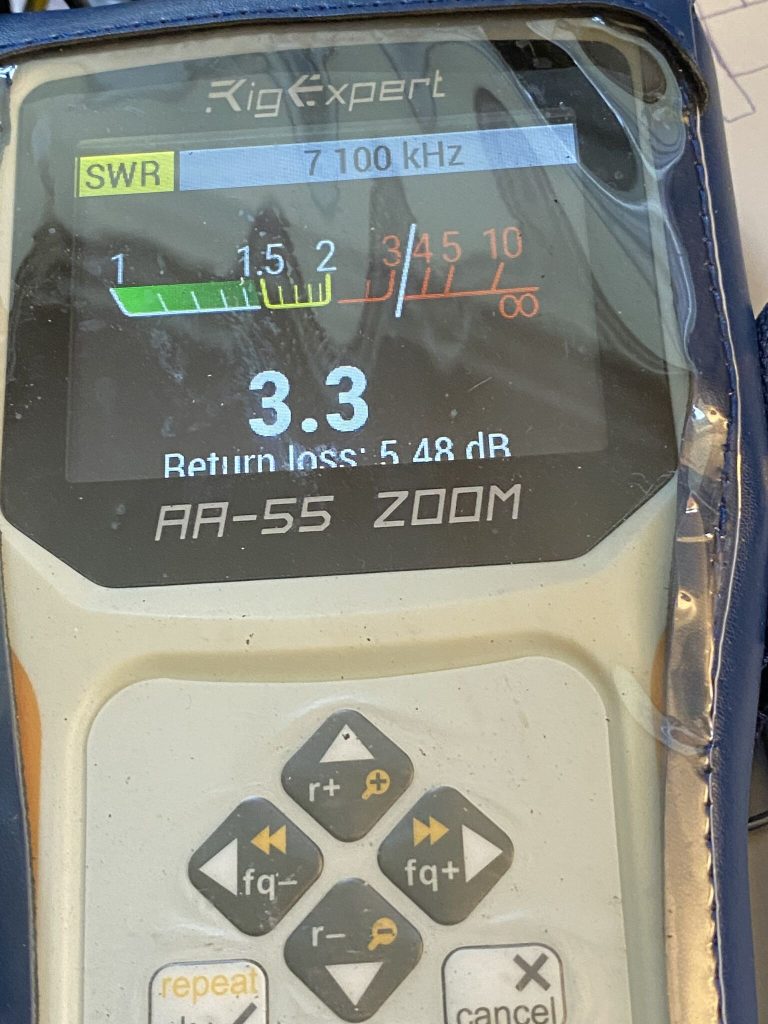
So i only had so much time, usually i’d be looking for between 1.5-2 on the SWR, but 3.3 was good enough – i did have to reposition the right-arm of the dipole as it was just touching the mast, that did get the SWR down a further .3 points.

I went in and put it on the 7300, sure enough I could hit the ‘TUNE’ button and SWR was restored to 1:1 – this is on the 7300 internal tuner !

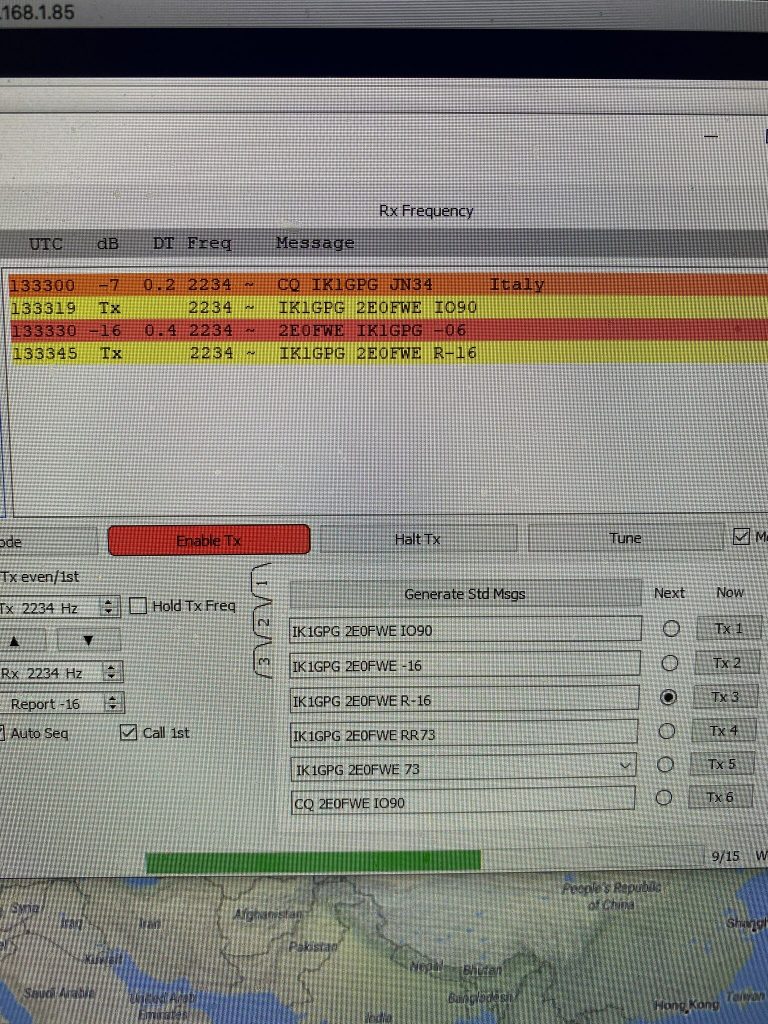
A quick test on FT8 yeilded positive results !

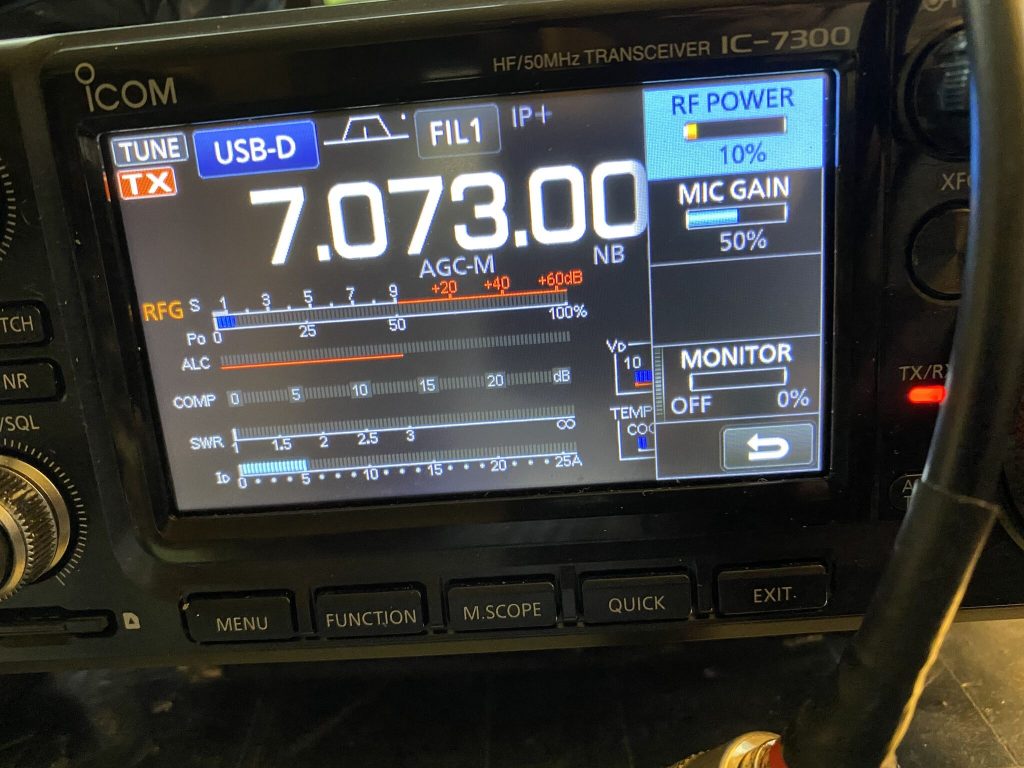
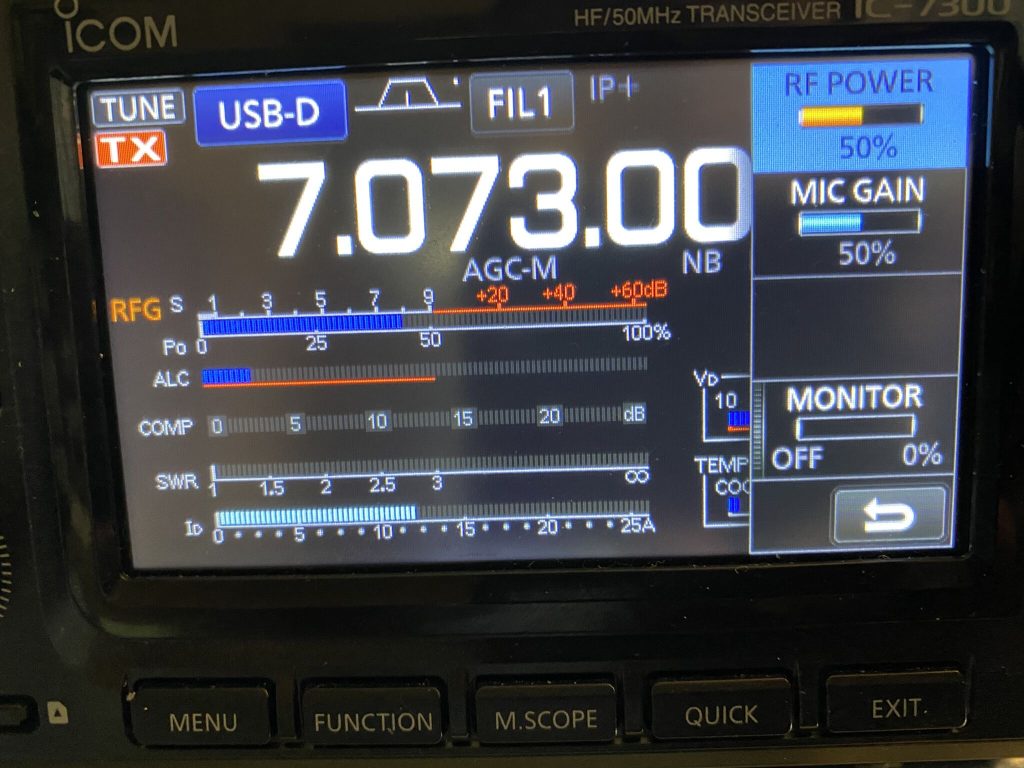
30 Watts into a inexpensive dipole gave good results, even a quick QSO !
QSO with I1GPG via the 40m dipole

What a result, for less than an hours work, i was back on 40 meters. Then I eyeed the 705.. could i use that with 20m ‘whip’ on the mag mount ? hell, lets give it a try !

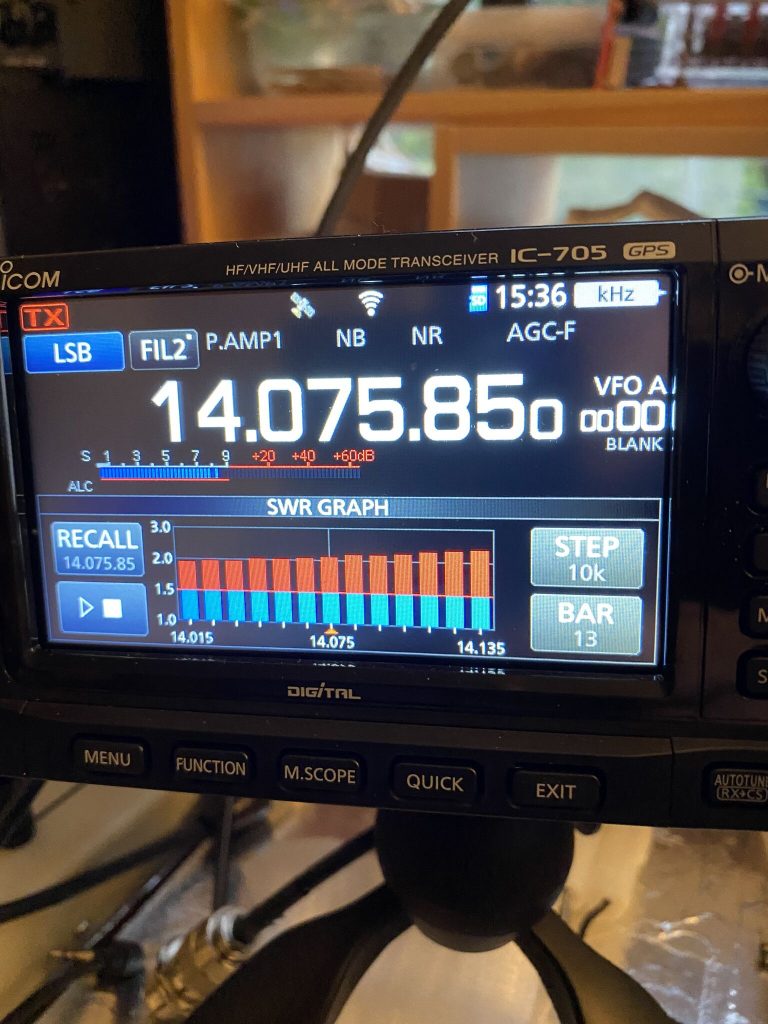
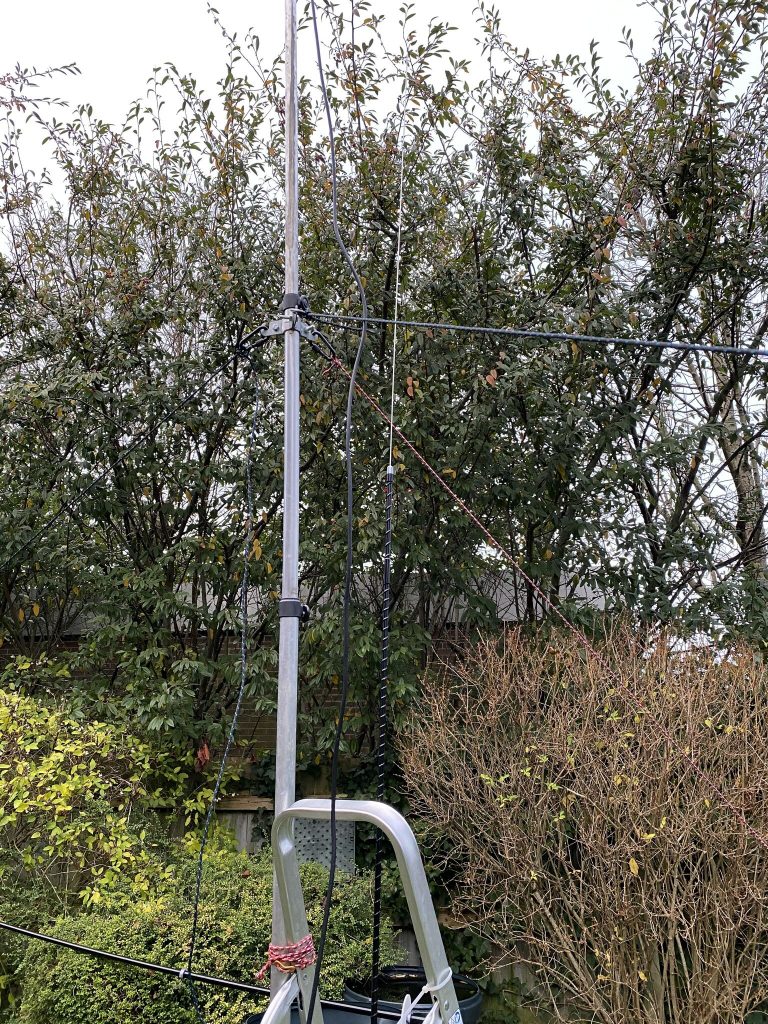
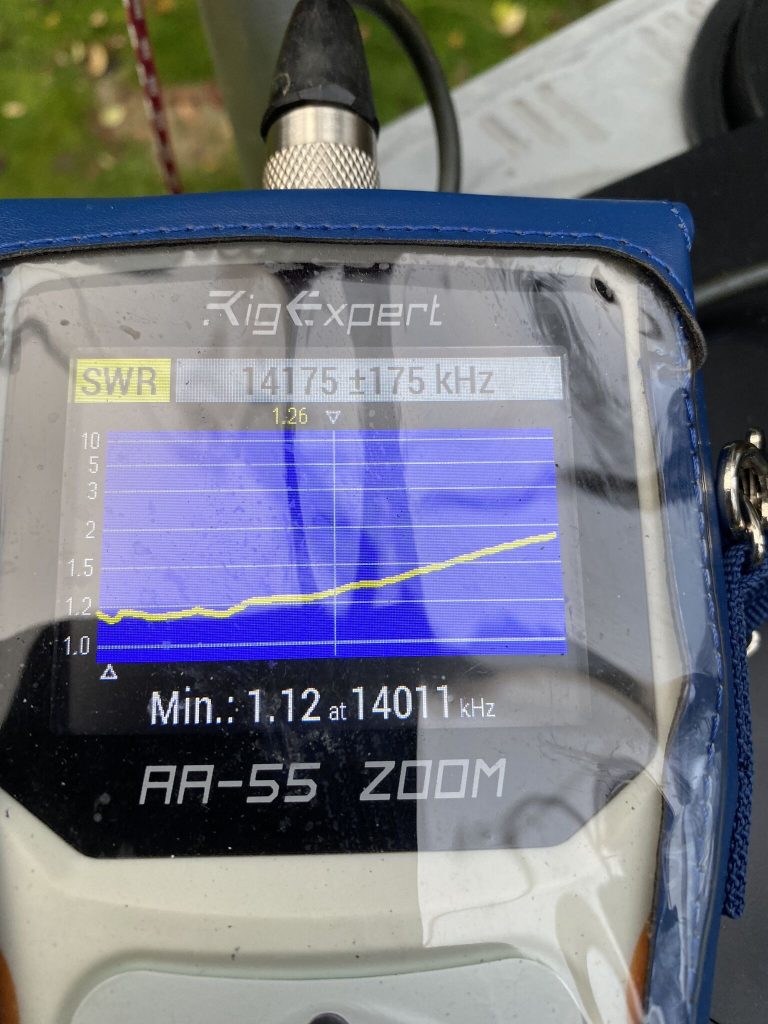
This really was ‘plug and play’ antenna, the mag-mount is on my step ladder, which gives some support (it is guyed as well) to my dipole mast. The SWR results on the 705 were slightly higher than the Rig Expert, but still not bad for such a quick, and somewhat crazy, setup.

I was able to tune FT8 audiably, but have nothing to receive. Next project – Raspberry Pi 400 on the IC705 !

Conclusion

So I’m back on air, able to enjoy listening and transmitting on 40m and potenitally 20m as well , as well as a fix in plan to get the Nebula up. I’m really happy that i can quickly get back on line and also progress the Nebula.

Hopefully tomorrow I will be able to test 20m in the day, even WSPR would be amazing, at a push FT8 ? (FT8 requires working/engaging with the app, I’m working in the day).

Big thanks to “John the Brush” (who is a ham, but doesnt go on air!), Tim and of course Callum !

Nebula build day 2

So as predicted, its been typical English weather here today, drizzly and cold. I bumped into a neighbour and we was discussing how “spring” like it was yetersday.. and the forecast doesnt look good for a while..

So what did i manage to do today – well long and the short is that after a couple of trys i *did* get the nebula vertical and guyed in, but the wind and rain was really taking the toll on me, so i had to pack up for the day.

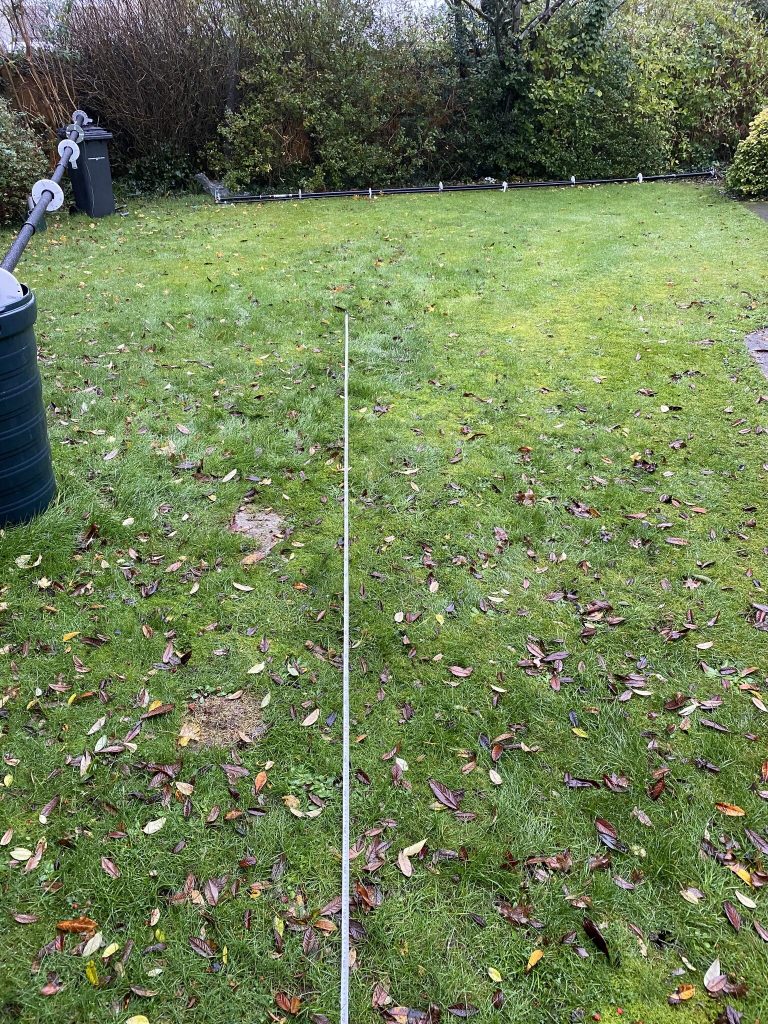
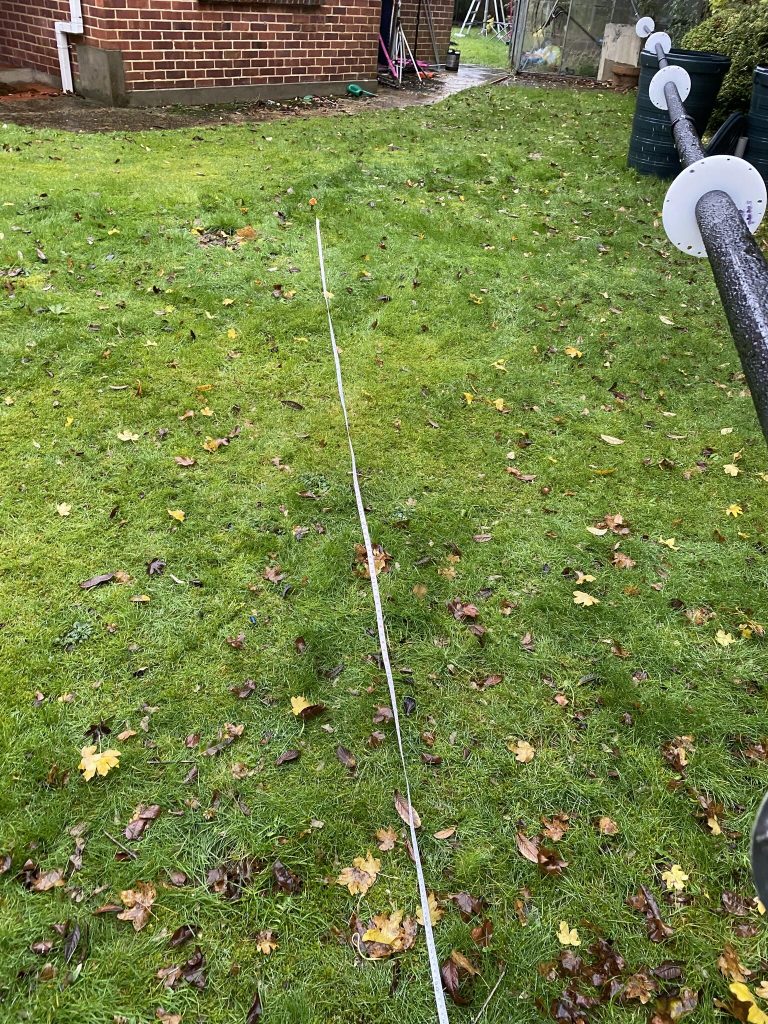
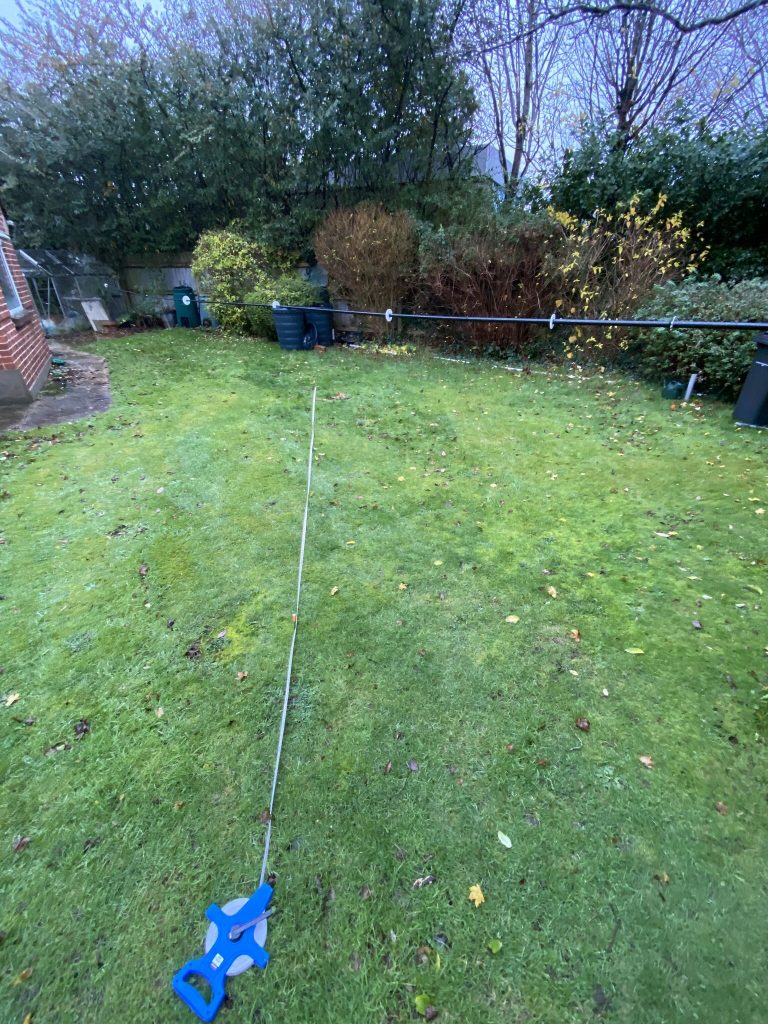
I took the 120 degree pattern and 5m distance for the stakes so (hopefully) my measurements for the ropes would be long enough.

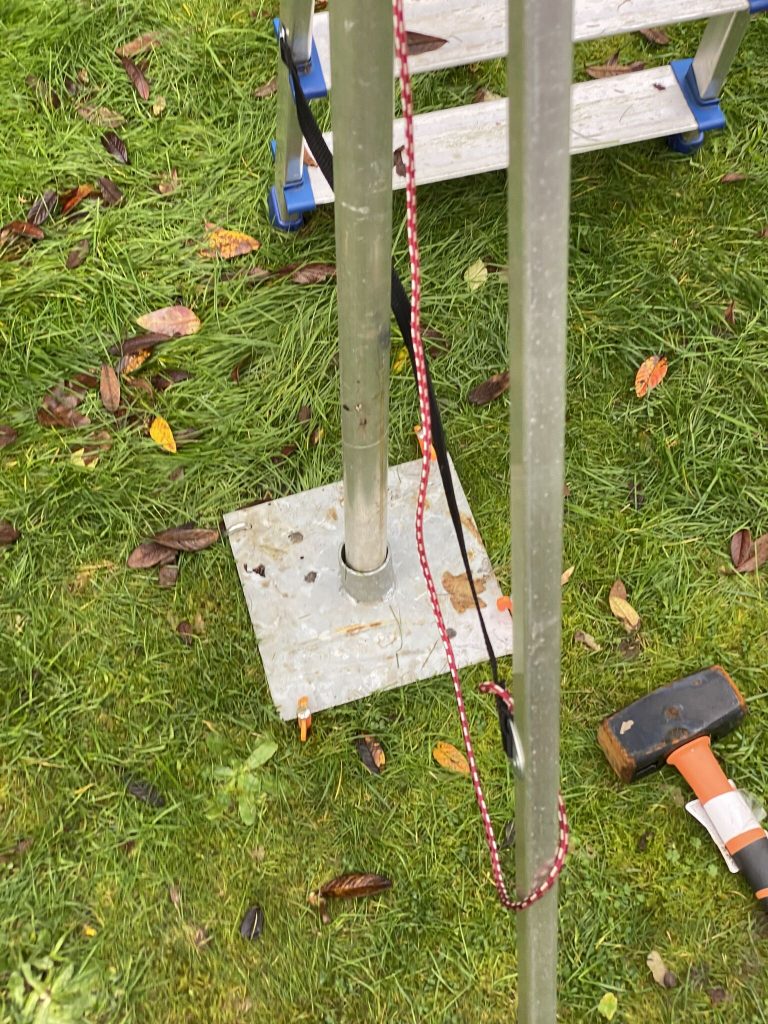
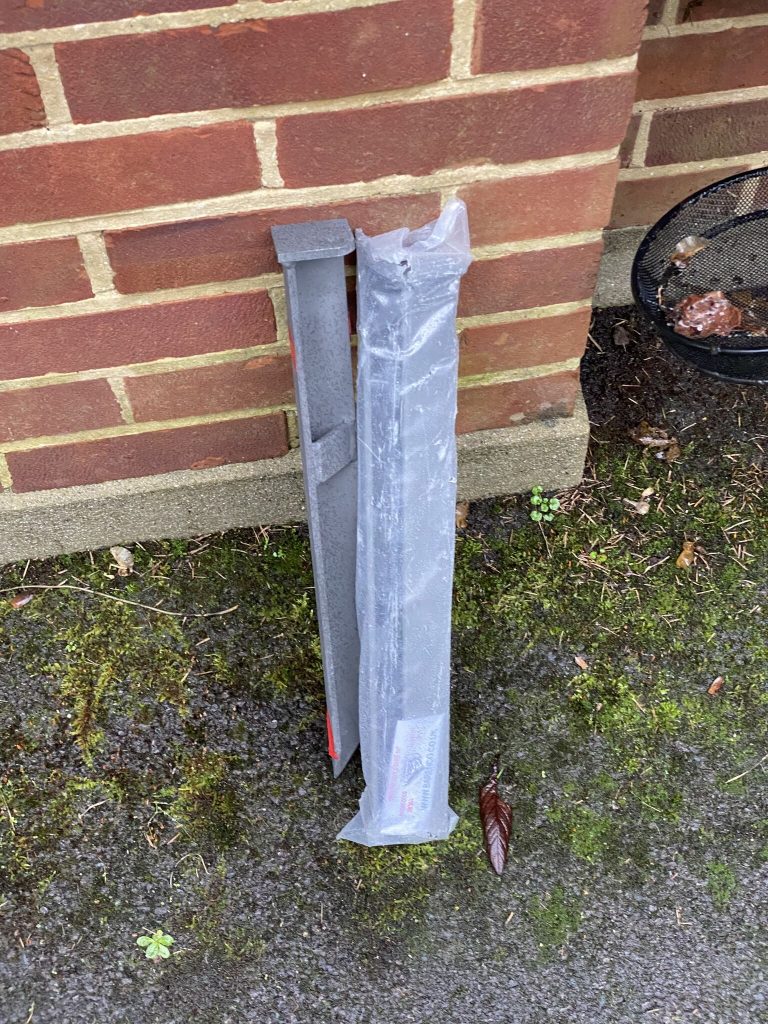
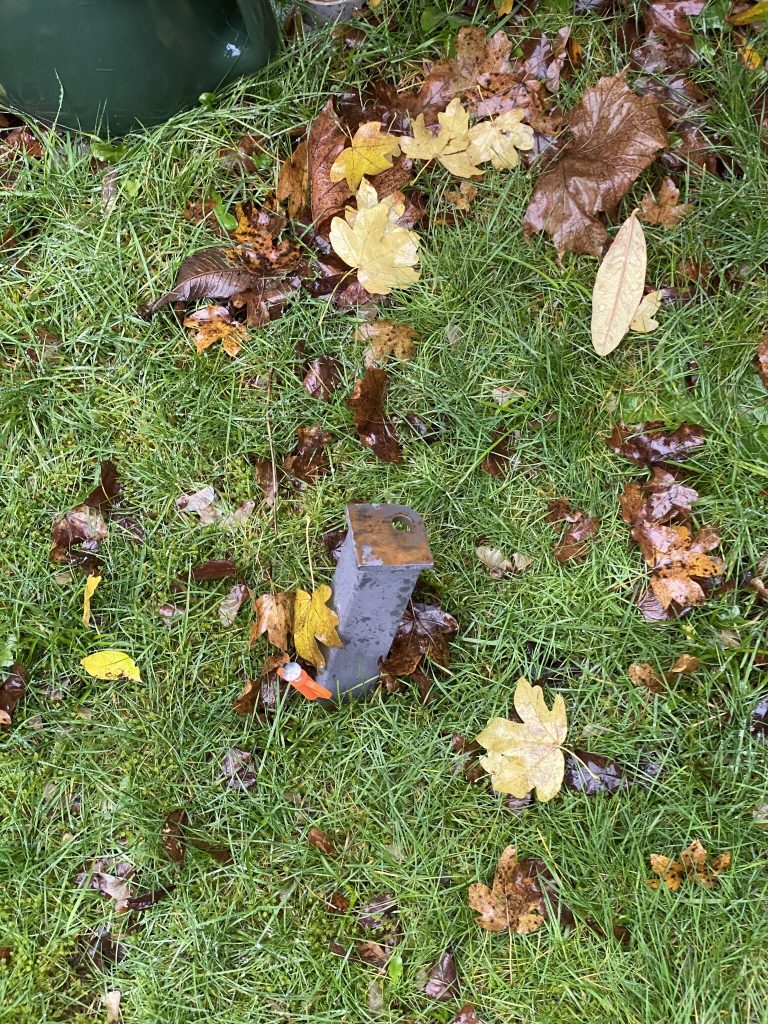
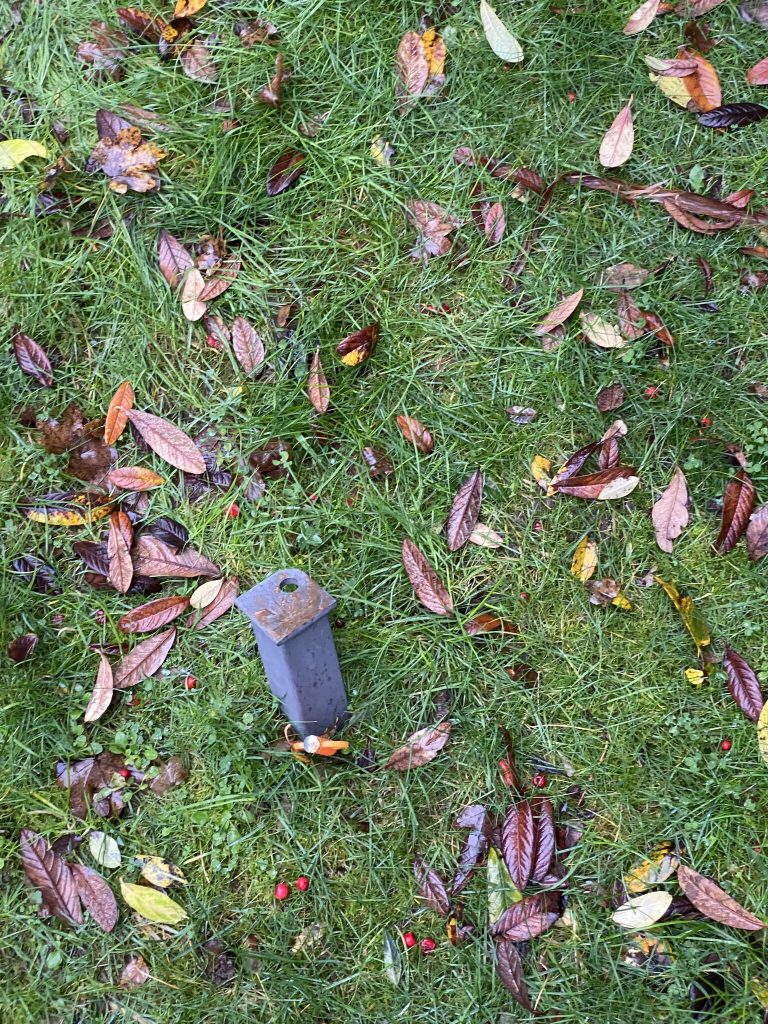
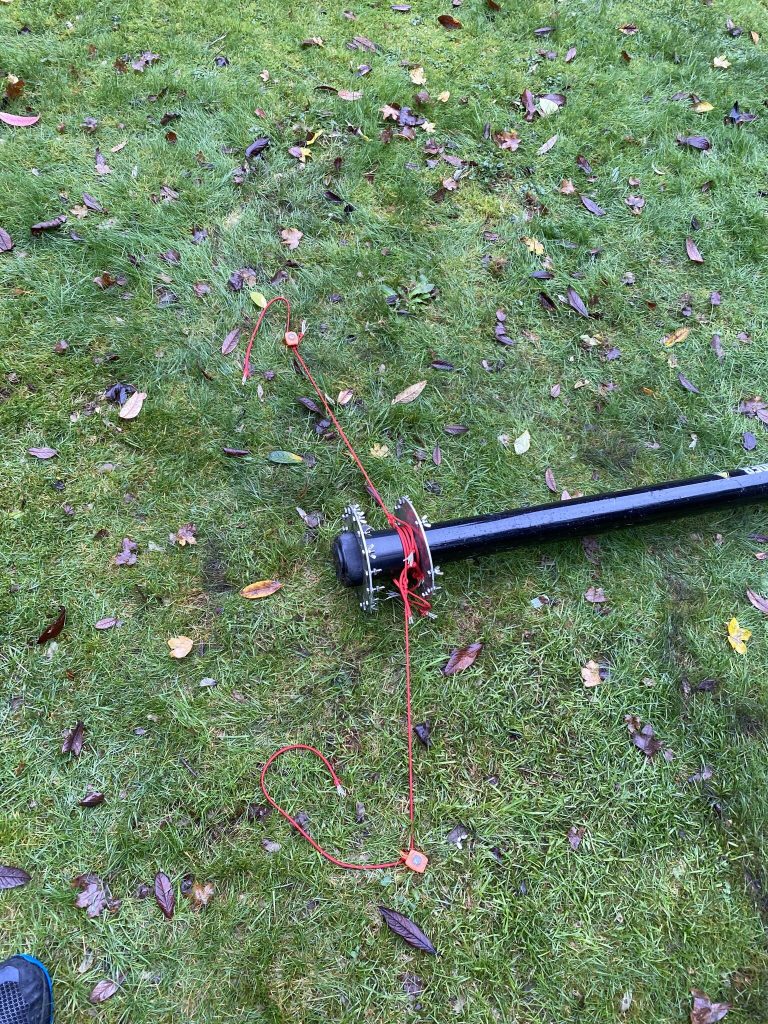
One area where the wet weather did help was being able to get the stakes into the ground, as you can see from the first pic, these are not short at 18″, a good club hammer got hem into the ground nicely, so it was a positive start after measuring and getting them into the ground easily.

I really struggled for about an hour with getting the mast up, its really heavy and i was getting no traction. With a classic i can get it up no problem, but its much, much lighter than a nebula. I was somewhat at a loss as to what i was doing wrong ! So i went back and RTFM’d, in it sugest using two ropes as a ‘2nd man’ on the base. I done this and that at least started to get the mast in the air ! huzzah – but now the guy ropes wouldnt reach 🙁 bummer. So i repositioned the mast and ‘2nd man’ and finally was able to get the mast vertical !

Nebula in the wind and rain, its up but its coming down pretty quick agian !

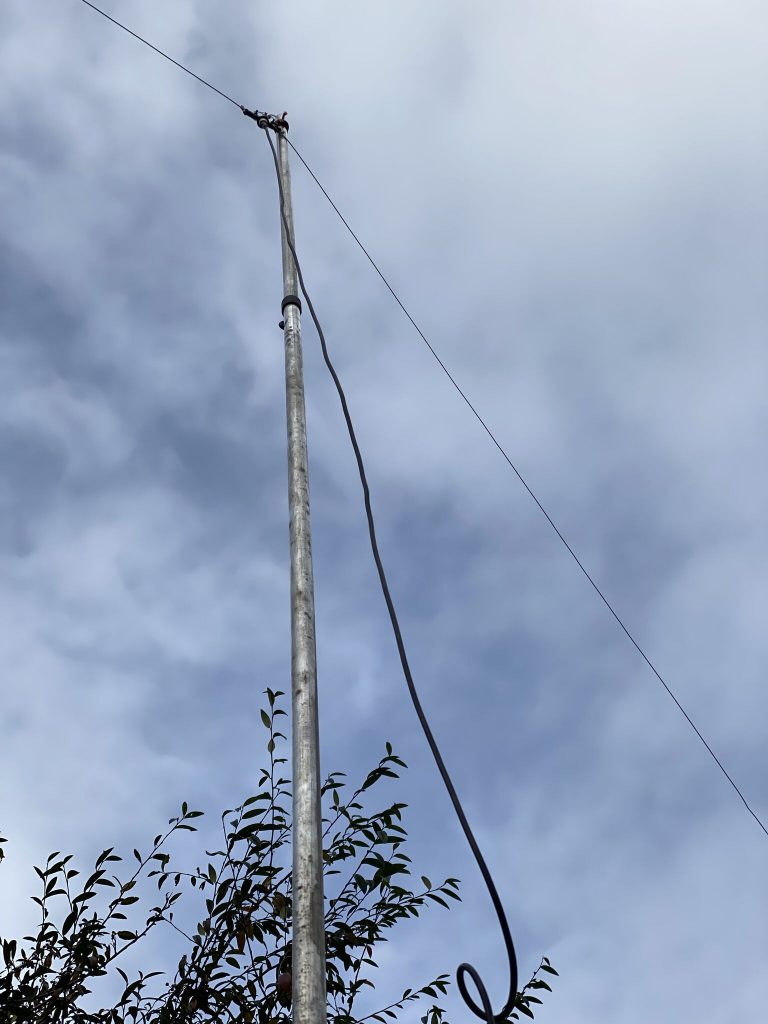
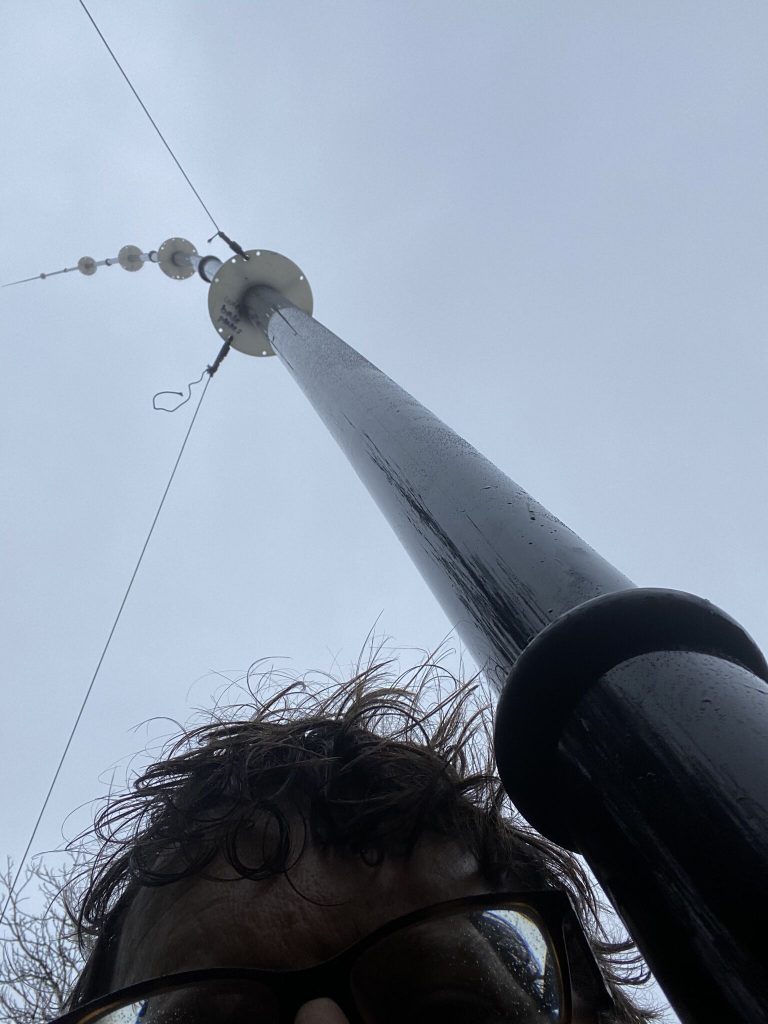
I was happy that i could get it vertical and on the guys, the wind was having a great time vibrating it like heck, and as you can see from the top of the mast was really wanting to send it over – guying the nebula at 3 stages is giong to be a minimum IMHO, anything less, you could end up waking up to a mast on the ground… or worse !

So to conclud whilst I’m ok with todays progress, it leaves me asking some questions. I follow the weather and when there is a warning, the mast always come down (see previous blog postings) – the Nebula is always going to be hardwork to get it up and down as easy as a ‘classic’. I can ask friends for help to get it up the first time fully rigged, but what when I need to get it up and down myself ?

I’m thinking to make the most of the bad weather, get a classic back up, but with M&P cable/connectors, and follow Callums example of a tilt base over the next few weekends, at least that is something I can do in the ‘garage’ in the dry and will mean getting the mast up and down is that much easier. I dont think any of the ‘commercial’ tilts will take a mast with a 3″ diameter, plus adding on more (i would estimate at least £100, if not £150) to the atenna the costs are going up.

I will sleep on it but i suspect the English weather and keeping to a budget on these things will decide for me.

DX Commander – Build activities

It has been a lovely sunny down here in Bournemouth and have been able to take full advantage of the good weather by getting on with assembling and tidying the gardens.

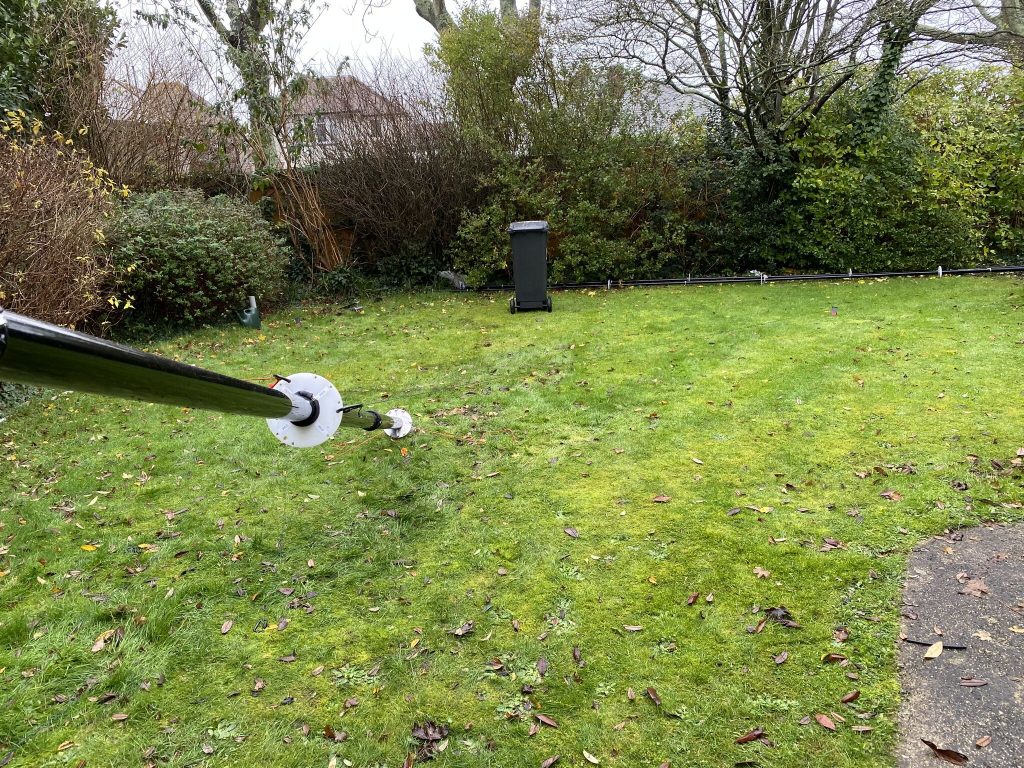
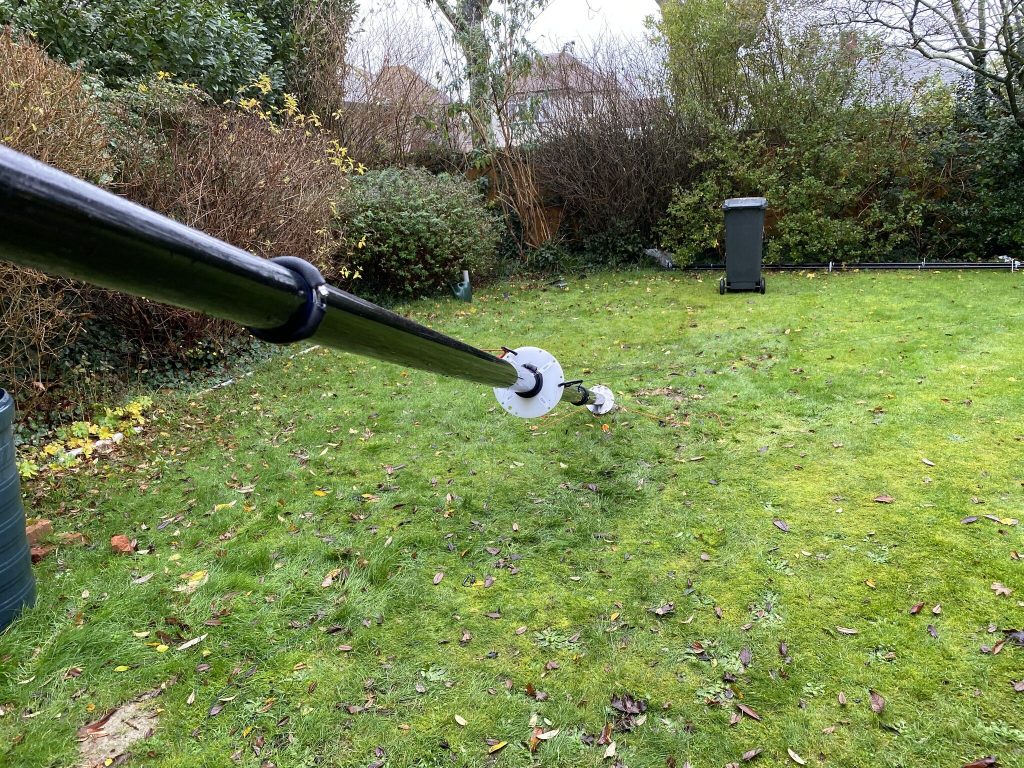
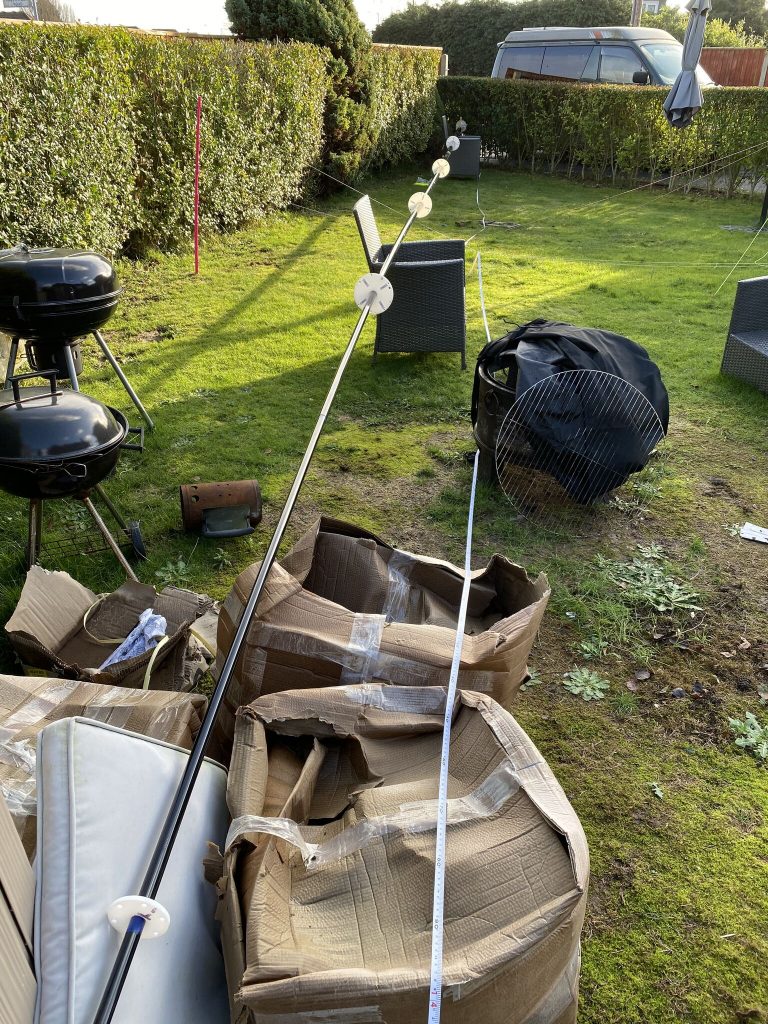
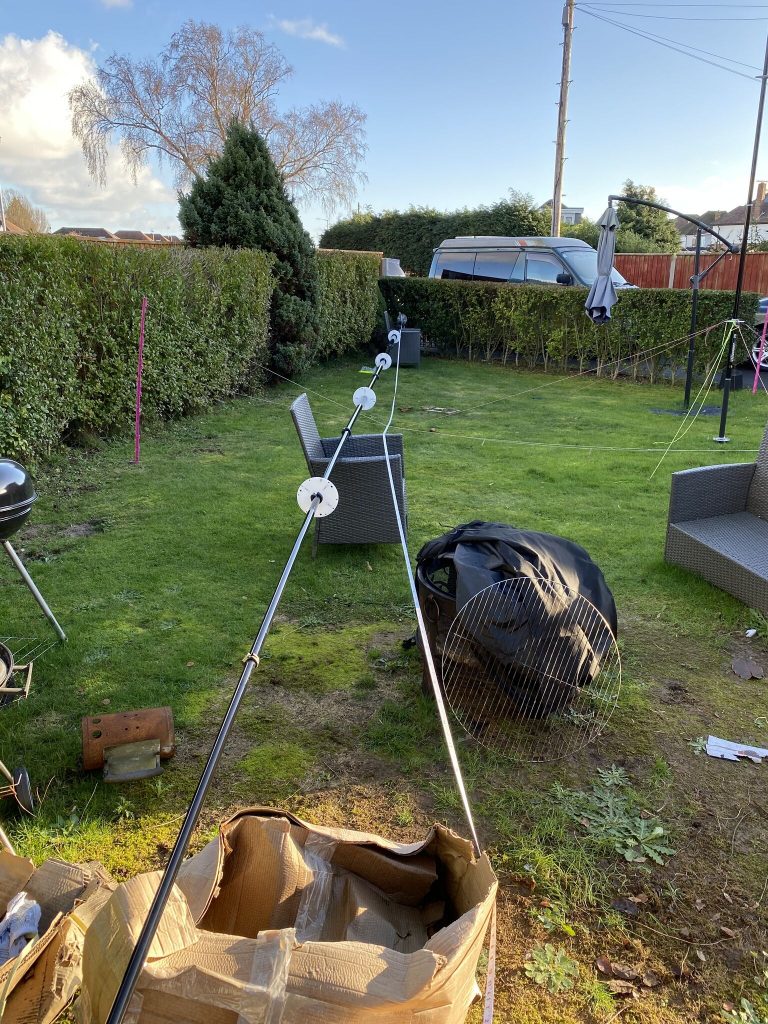
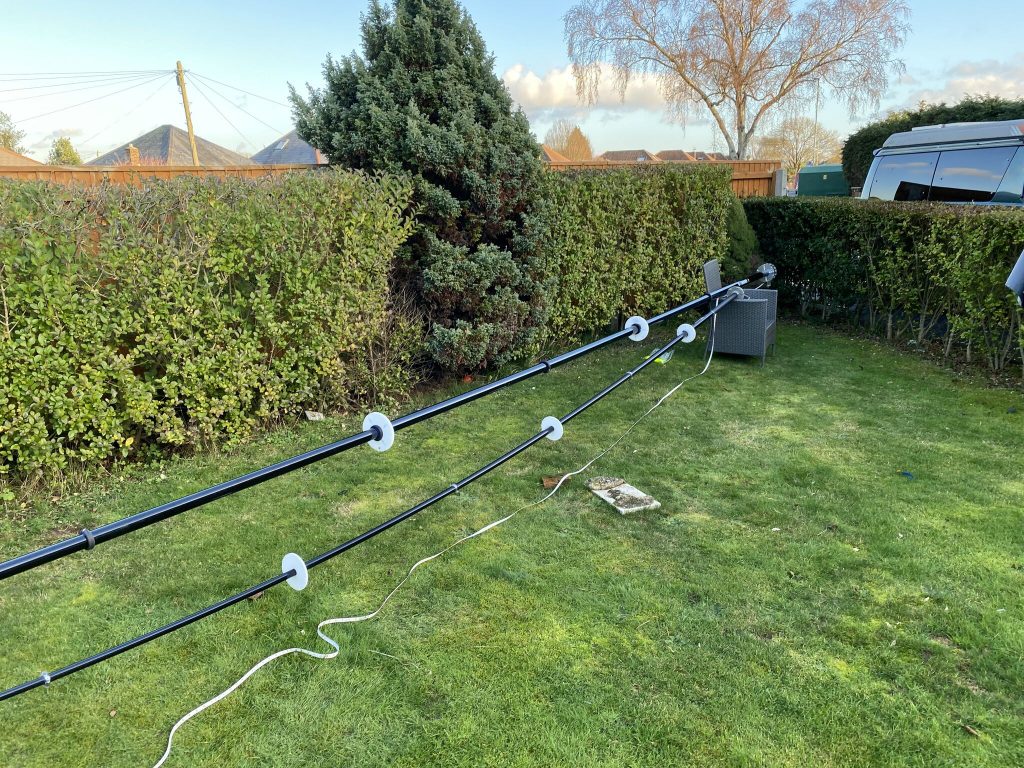
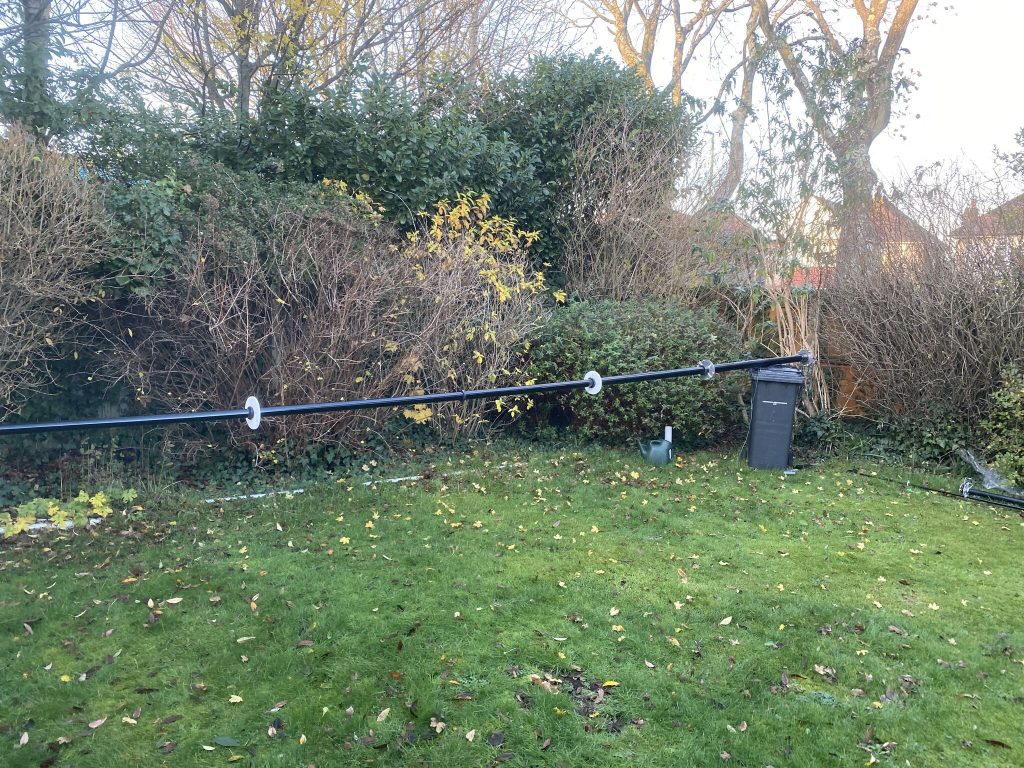
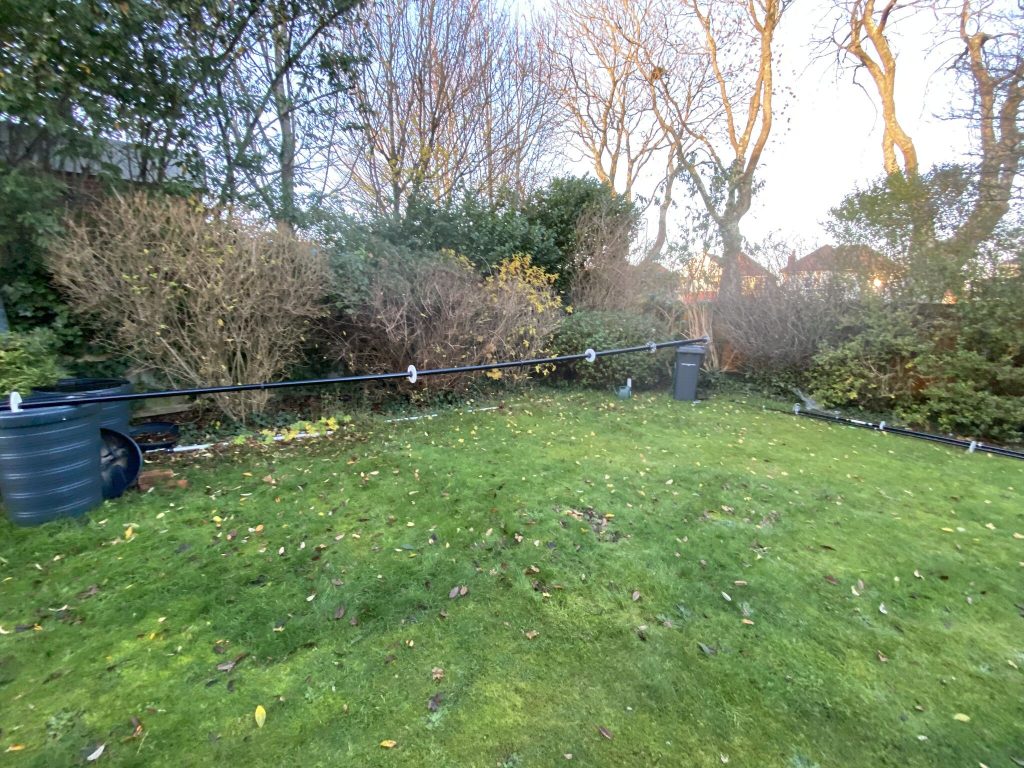
First off i set about extending the Nebula as far as I could on my own. With much twist I managed to get it to 17m32cm, which is what the docs say is ok to use.

DX Commander Nebula – 17m32cm

I dont mind saying it took me a few times to get the antenna out fully, the first attempt with trying to get it to lock from the bottom-most sections didnt work out, so i put it all back down, then carefully took out the furthest (top) sections carefull and locked each section. There is a fair amount of flex, but I’m stil careful as the top looksl like it could snap if careless exertion took place.

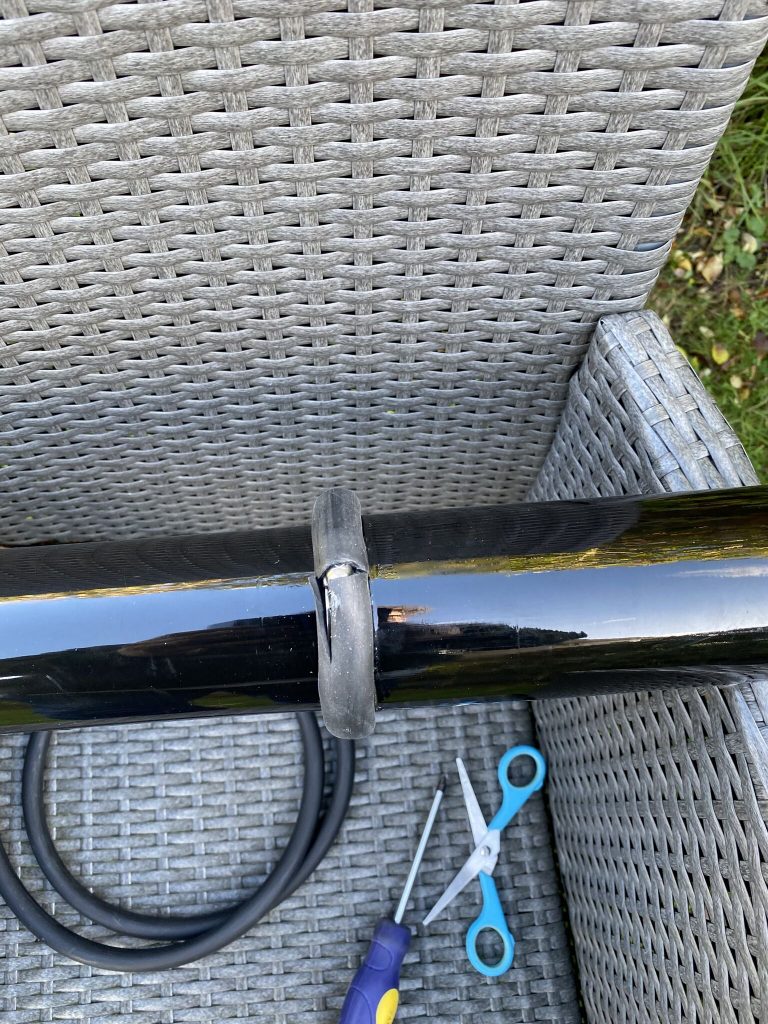
Once extended, i set about putting electrical tape on each joint of the mast, to give additonal support and minimize any tension scratching from the jubilee clips.

Electrical tape was appliedto each joint (some had to be corrected, but mostly ok)

with the mast now ready for the plates, i headed back in and started work on those.

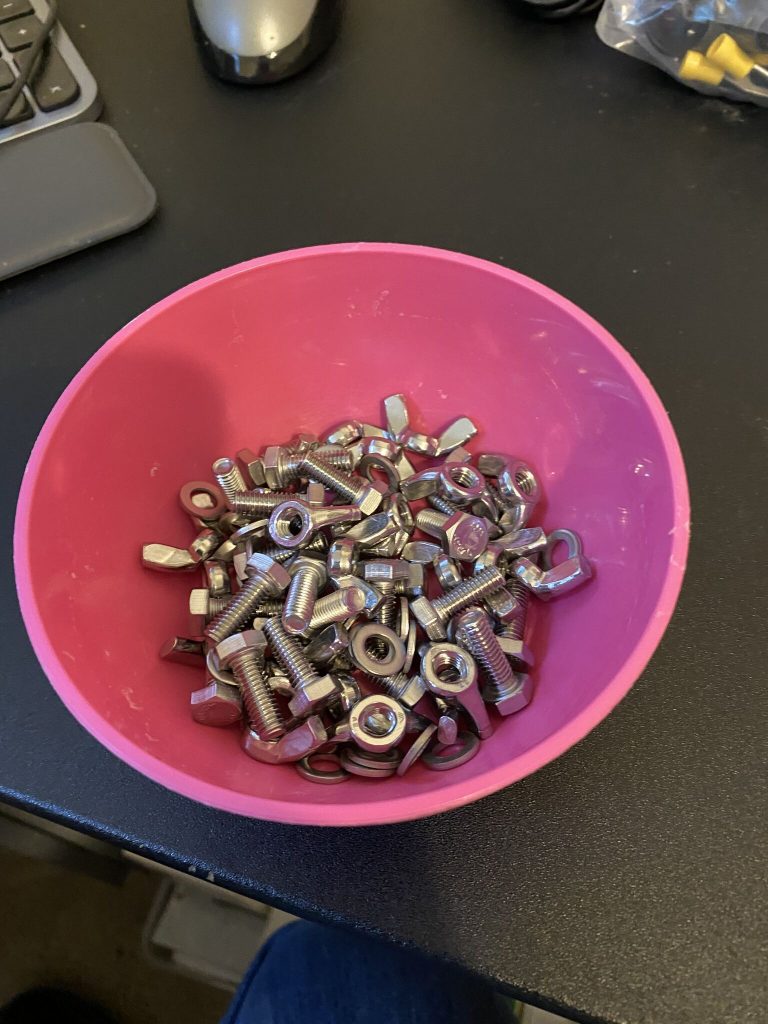
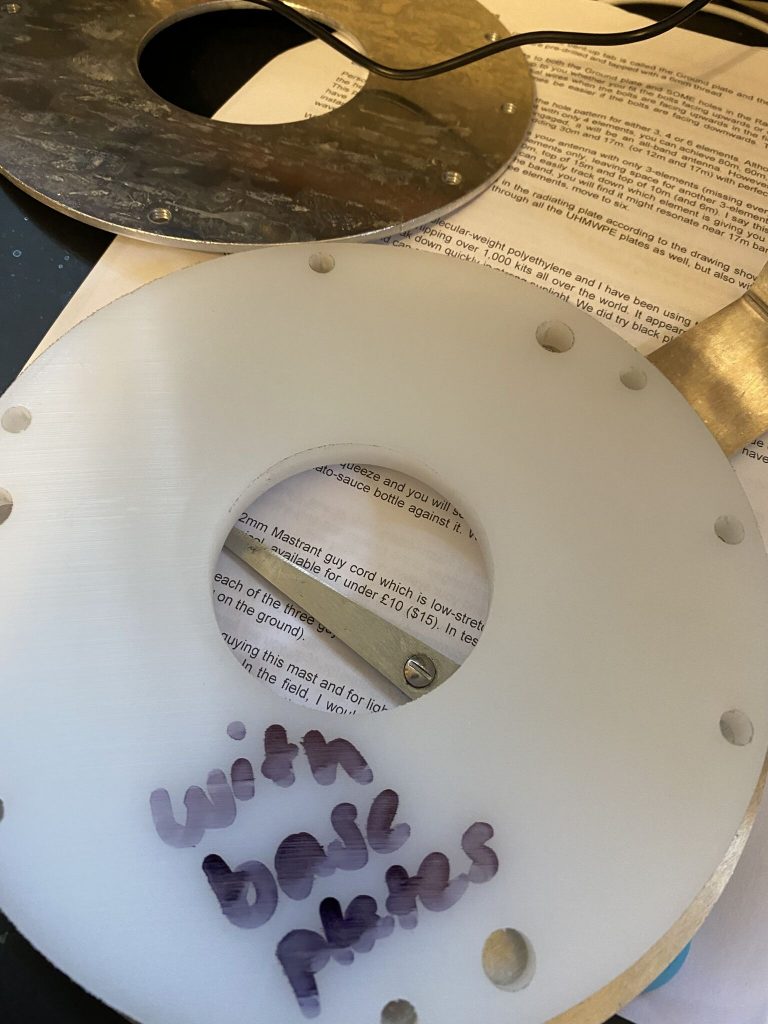
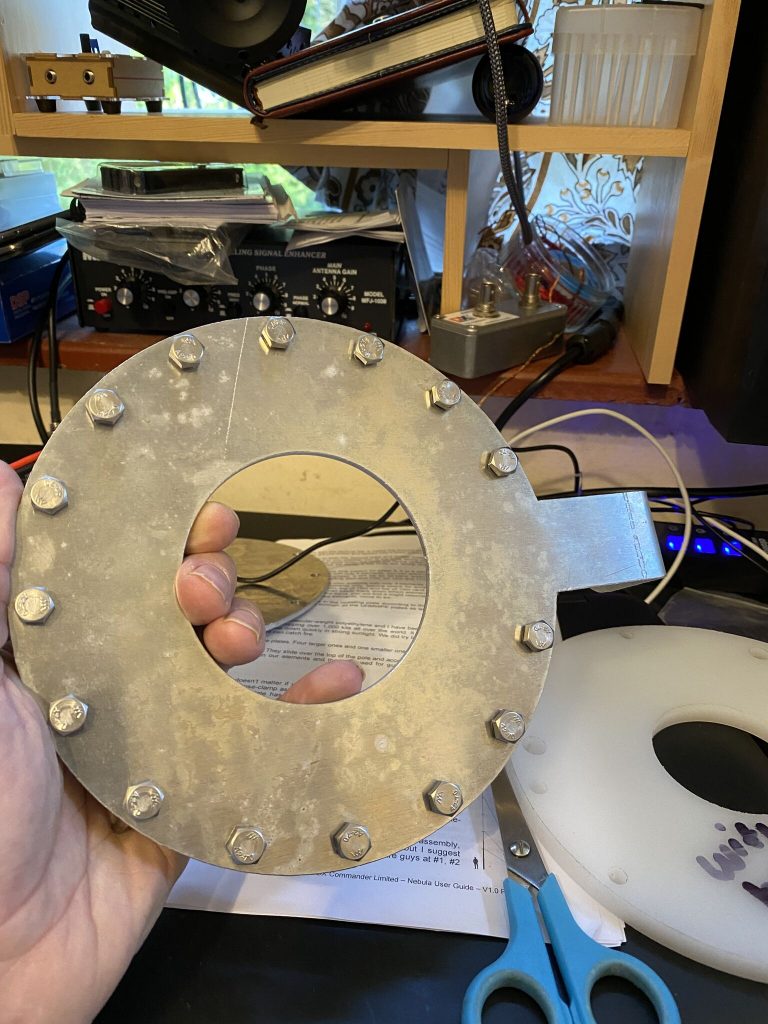
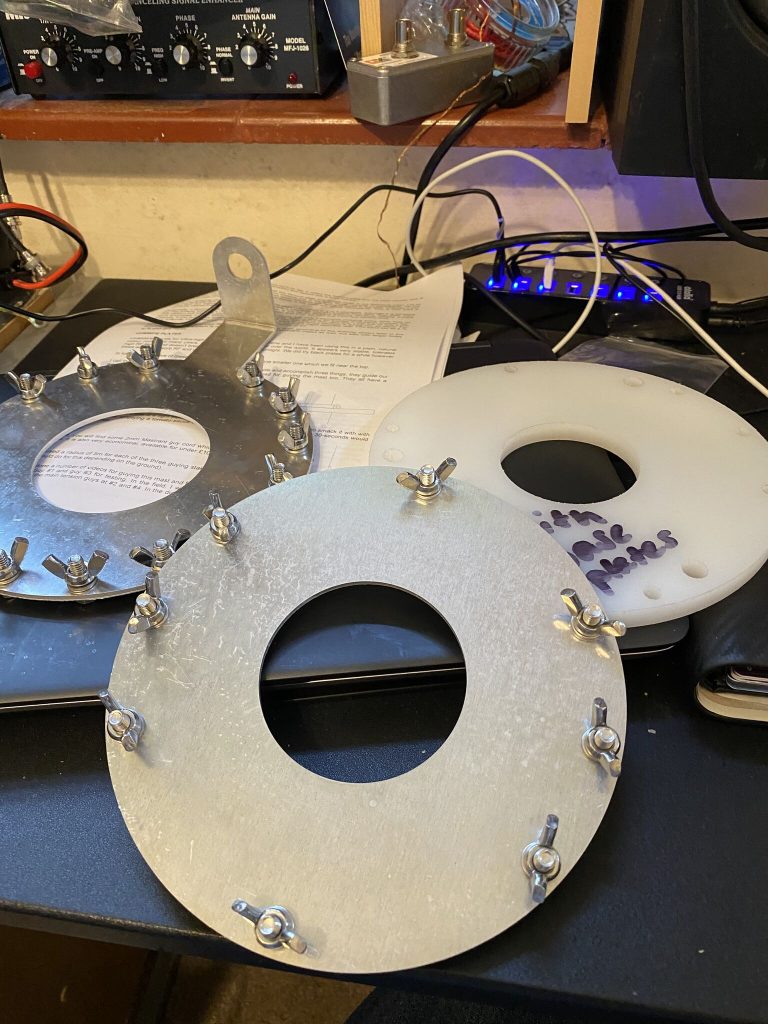
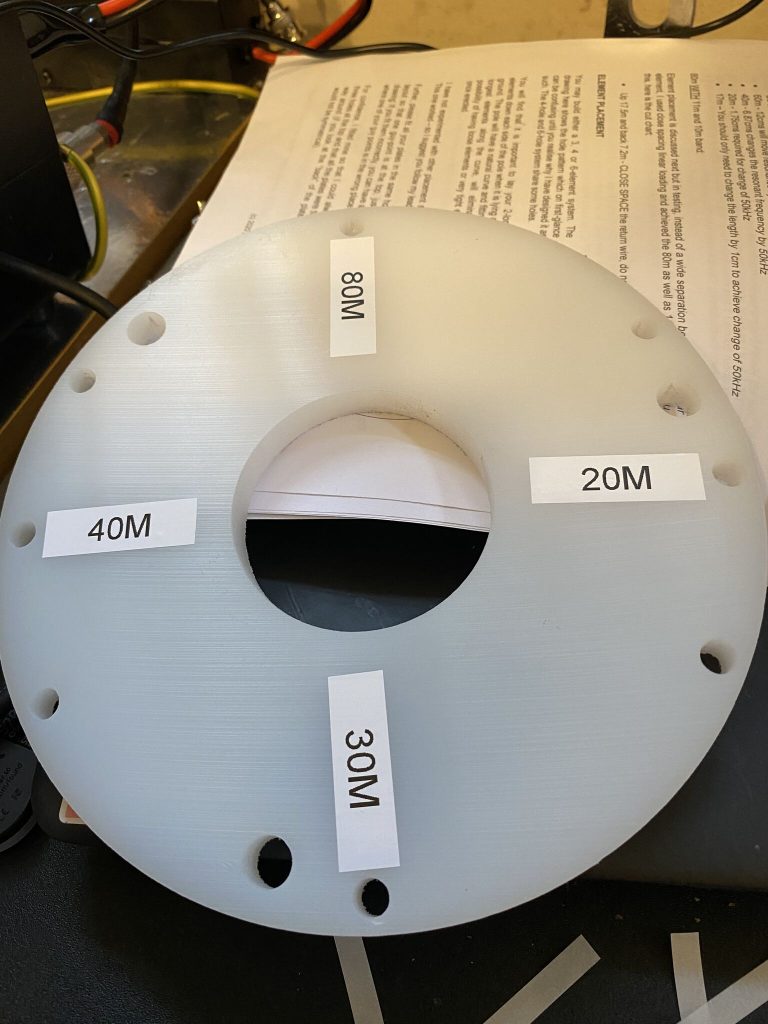
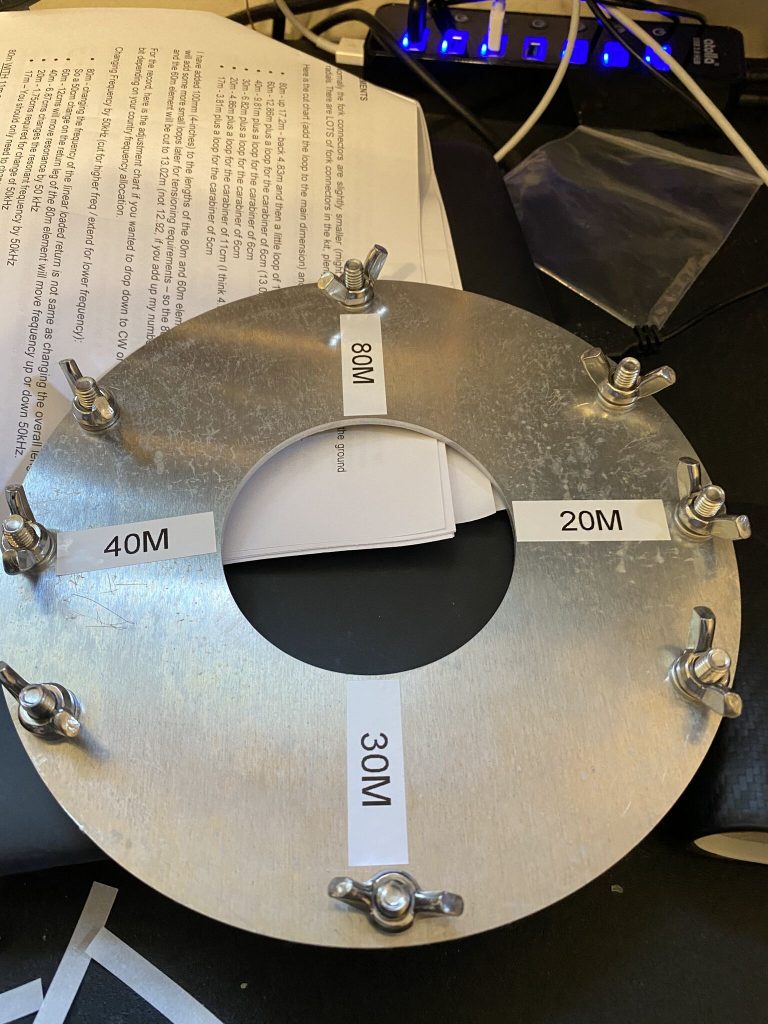
Building the radial and element plates was straight forward. The bolts, washers and wingnuts fitted perfectly with little or no resistance going into their thread – good manufaturing process there. The plates themselves look great and built to last. They are considerably bigger than the ‘classic’ plates, the amount of radial mounting points is great – and its those raidals which really helpin with the direction and ability to ‘push’ the transmission out.

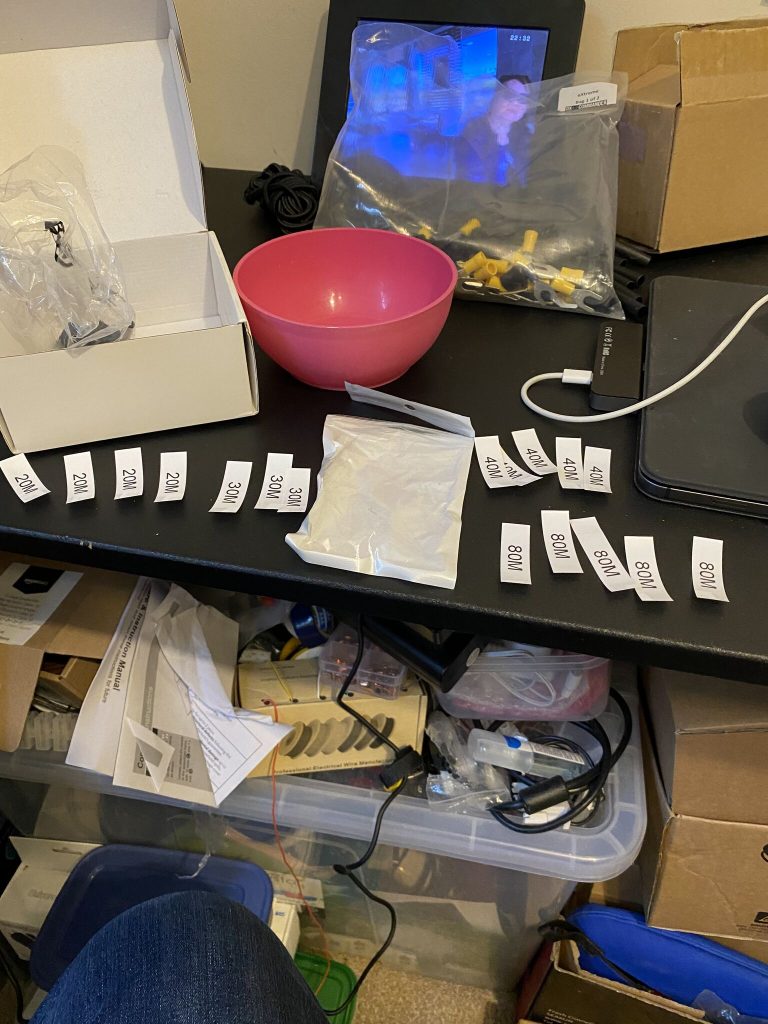
I’m going to follow Callum’s advice and start with 3 elements, namely, 80, 40 and 20 – as those are the bands i use the most. When i have all the SWR for each band as good as they should be i will add all the elements for more band coverage, but walk before I can run so to speak!

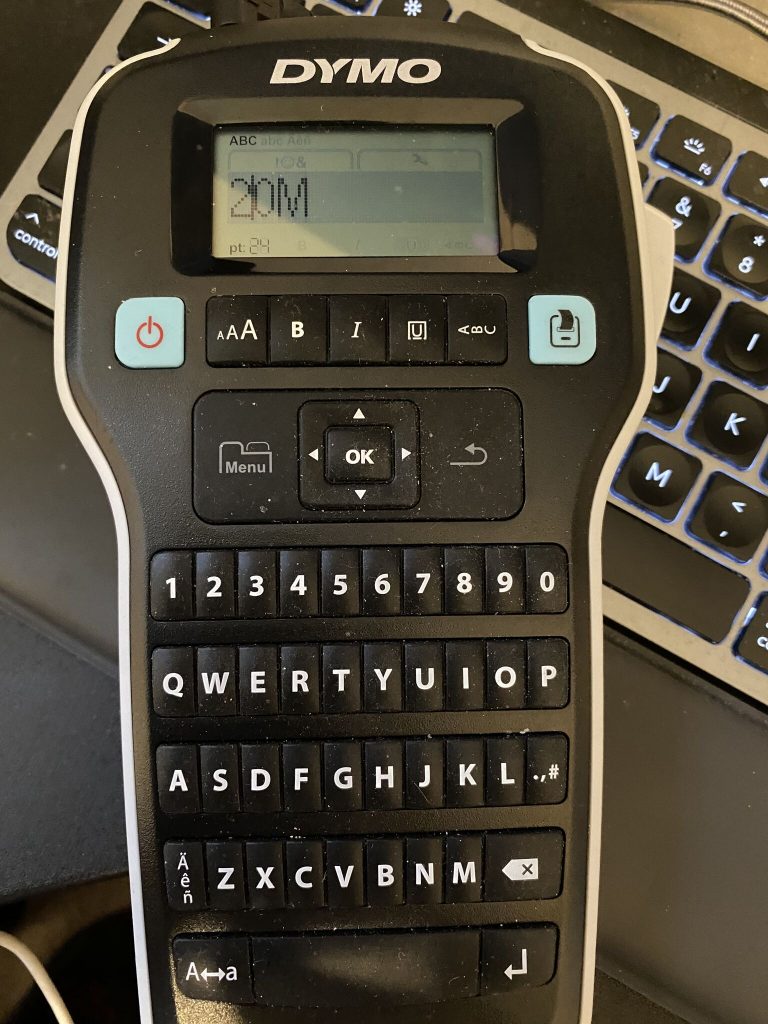
Alignment by using the documentation provided was easy enough and one less job to do outside. I dont like littering and despite my best attempts previousy the label-backs have flown off after sticking on, theres a fair bit of nature (birds,insects,etc) and I dont want to ruin their habitat with sticky label backings (what a hedgehog makes of an 18m mast has yet to b eseen.. I did have a robin visitor earlier this year tho !).

With the spreaders in place i was able to take the measurements of the heights to calculate the length of the guy wires. I’m going to use (as per doc) 1, 2 4 spreader points for guying, but will start with #1 first to ensure my measurements and cutting are accurate. All values are cm

SpreaderHeightTime Selfx=(h*h)+(d*d)sqrt(x)total rope
131096100346100588.302
2580336400586400765.767
41134128595615359561239.336
7780.221
Diameter500
Guy rope length in sqrt(x)

I will double check these measurements again, so if your planning to do this between now and tomorrow morning – please do check your measurements as mine havent been applied yet!

I then set about tidying everything up and removing the existing end-fed wire. This took quite a bit of time and the end fed got caught in the tree – thankfully the tree wasnt damaged and a good ‘yank’ set it free ! Here is my video of the tour of the QTH after removing the end fed and the nebula work-in-progress.

Nebula Day one progres

And with that I then moved the nebula to the side garden where it will be erected. It was a real handful to move but i got it around the corner of the house from the front garden to the side eventually and have safely mounted it above ground height.

Tomorrows weather doesnt look as good as todays, so progress may be limited, however I’m pleased with what i have acheived so far, and as ever, am greateful for all the hard work Callum has put into creating what I’m sure will become a legendary antenna.

Stay safe and hope to publish more progress tomorrow !

Alan/2E0FWE

DXC 18m eXtreme – its arrived !

To give its ‘full’ title, that being the DX Commander 18m eXtreme, has arrived ! Very well packaged and thankfully unharmed in transit.

The packages came on two separate days, but well tracked with the couriers used by Callum.

The packing was really well done to get so much into a relatively small box.

dx commander parts – alot of wire !

Was glad to check that everything (as long as the contents of the bags) seems all there (including guying rope)

Visually, the quality of the components makes me think these will last a very long time indeed. The plates and UHMWPE ‘spreader’ plates are incredbly well made, and Callum is a perfectionist, so can be sure that these will fit the 18m pole really well. I did have to look up what the ‘green things’ were, these are securing the radials – a very nice idea.

The ‘pole’ itself is quite something, it is quite a weight compared to the ‘classic’ pole, but given the amount of sections, unsurprising. As ever, it looks incredbly well manufactured and will provide many years of operation. Whilst this at my QTH is still a ‘temporary’ antenna, i;ve had no problems with a well-guy/rigged dx-commander staying up. The only time i have taken down is the met office weather alerts for very high winds, and thunder (i dont have a lightening arrestor).

18m pole

I have done several ‘surveys’ and thinking of the practicalities of building an 18m mast will bring. I’m glad i’ve got several large lawns which will accommodate the build ! I will take a video before taking down the current 80m end fed configuration which has served me really well for last few months. The UK Antennas multiband has been exceptional, and I’ve had many QSO’s – i dare say my antenna is setup far from optimal, so its all credit to the UK Antennas build that i get out with very low (i.e. mostly 1:1 – 1:3 SWR) SWR readings.

good quality cable land connectors

I have up until now being using, whilst not bad, not exactly the best/recommended. So I will be using M&P connectors as well as Ultra Flex 10 coax measured to good lengths (as in not too long, not too short).

For now i am reading the instructions carefull, learning some new knots to help with the guying and will make that video before the weekend, when the end fed will come down and construction hopefully start !

Stay safe and 73

Alan / 2E0FWE
IC-705 – 2E0FWE/M kinda

So having not only being able to listen to G5TM on air today, he published yet another fantastic mobile operating video.

G5TM – Another excellent Mobile session on 15M

I was mulling over what to do today, I always have enough to do, but Tim’s video made the decision for me that I will at least try out my 20M antenna which I had purchased from Thunderpole.

As ever, there was a light drizzle, but i was determined to at least try out the IC-705. My Mazda Bongo already had a fitting for an antenna on it, which hasnt seen much action at all in ove ra year I suspect, but thought I would give it a try.

Mazda Bongo in the New Forest today (no antenna, but a cracking picture with the rainbow!)

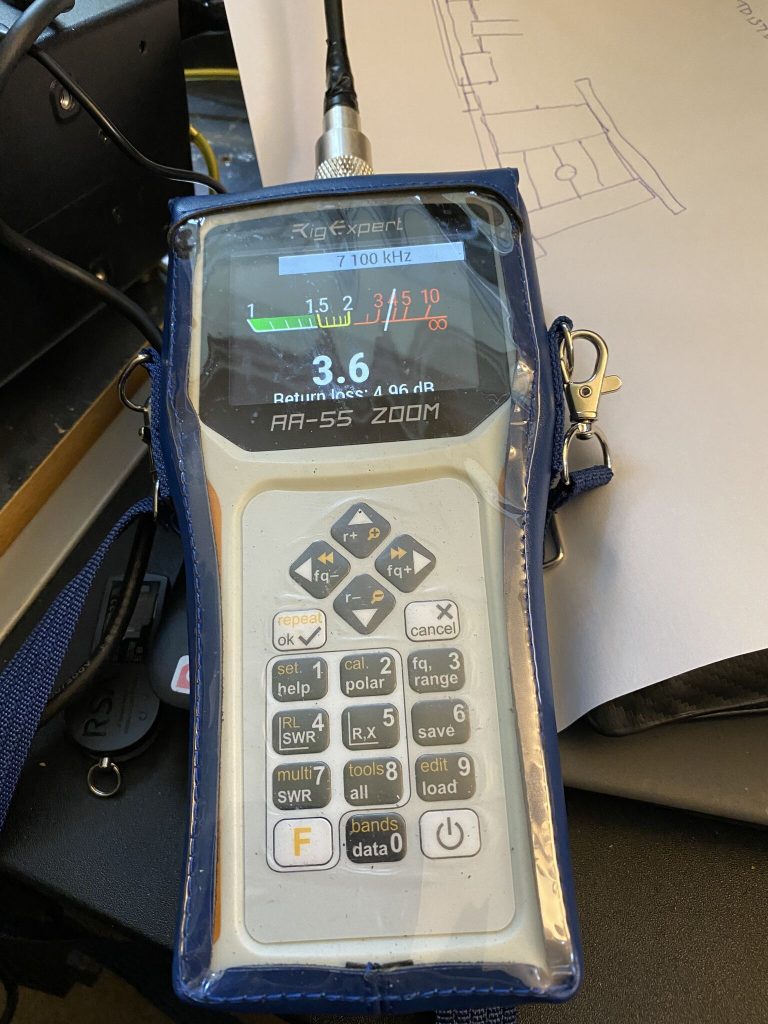
I headed out with the the Rig Ex[ert AA-55 and started to read results off the antenna. First reading was ok

First reading off the 20m vertical on the bongo, not bad, but should be better

I took the anntena down and readjusted the bolts, simple enough, especially compared to putting a great big mast/vertical up and cutting/adding lengths each time.

Second attempt – far more reasonable results

The second adjustments brought very good results with almost less than 1:2 SWR across the band, with a very nice low in the morse area (more motivation to learn morse now !) with the SWR at 1.5 to 2.1 on the telephony side of the band I think this is acceptable, ideally i’d like to get it down further across the whole band but for 30 minutes fiddling, this was good enough to start with.

a bump in CW, but <1:2 on the upper half ot the 20m band

I continued my fettling and got the SWR down to 1.03 and less than 1:2 on the SSB telephony range. For a £19.99 antenna, i think this is a satisifactory result. I then went about attaching the IC-705 !

IC-705 in the bongo attached to a 20m whip

So i was very happy with the reception across the 20m band with the whip antenna, apologies for the quality of the video with putting my phone down,etc – i’m not even an ‘amateur’ when it comes to making videos like this, but I will get better 🙂

I tried a test transmit but the SWR was way off the readings the rig-expert had given me, which was slightly disappointing, but if everything went perfectly the first time of trying, it would make it the interesting hobby that it is.

As i said, the mount has been on the bongo for quite some time, and the metal around it has got quite corroded.

Removing the antenna mount from the Bongo revealed more rust

So i have brought in the antenna mount and intend to rub-back the rust and treat it before returning the mount to see if the SWR improves.

Rust on the interior of the clamp

I still am very happy that the intial experience was generally positive and am very much looking forward to operating mobile.

I’ve ordered an ATU kit from america, but that will take some time to come (Jan 2021), but am looking forward to building and trying it out!

Until next time, stay safe and 73

2E0FWE
Nebula update

Fantastic news is that my shipping label notification for the DX Commander Nebula arrived in my inbox. I am really looking forward to this antenna – hopefully it will be with me for this weekend.

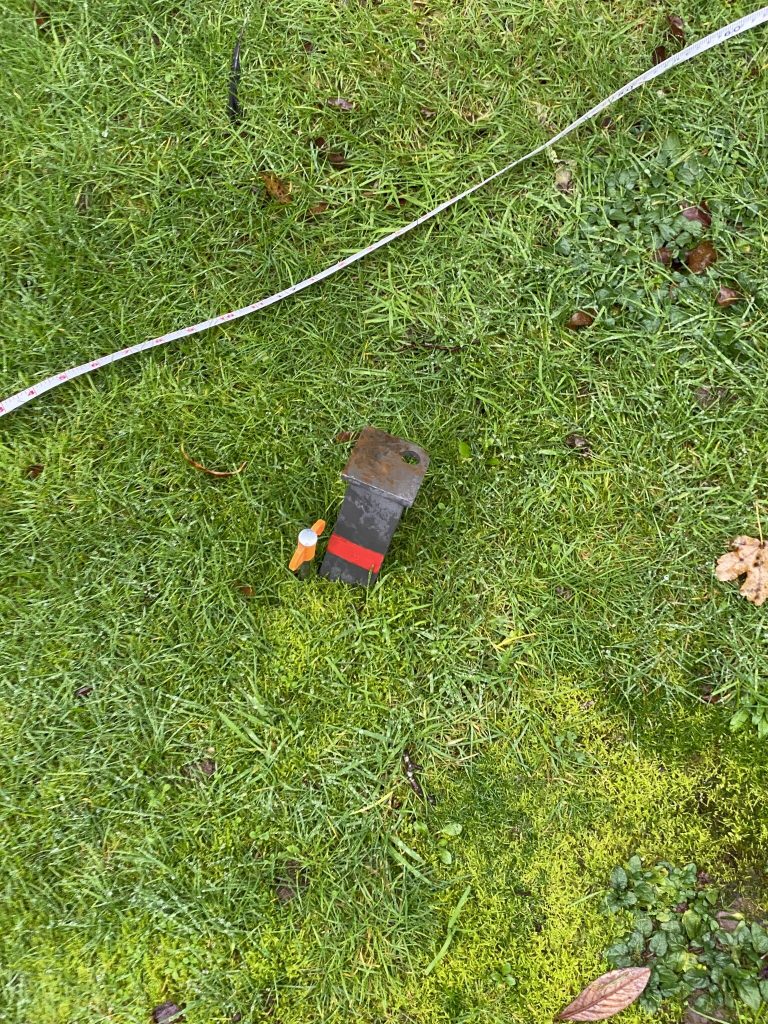
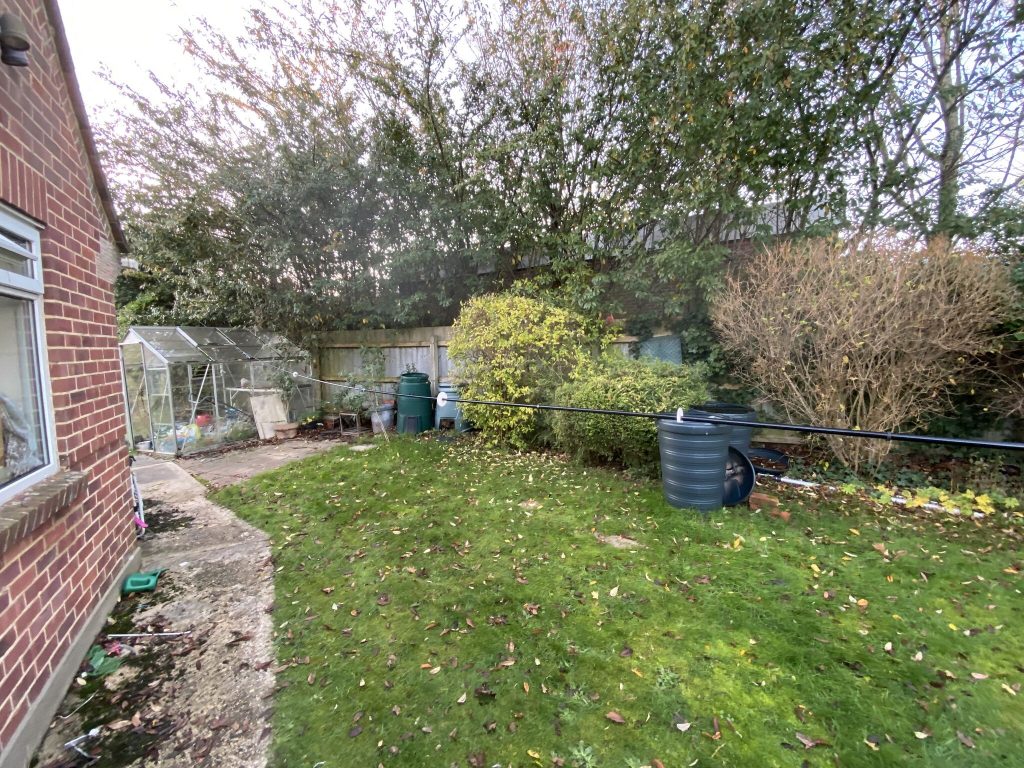
I have measured a 5 meter guying radius ready for the whopping 18 meter tall antenna.

https://youtu.be/RZHtHMOAPCQ
18 meter tall !

I reckon the build will take some time, everything is quite scaled up. So now I’m waiting for that big package to come.

Exciting – yes – alot of work to do, VERY MUCH SO !

73

Alan, 2E0FWE